Installation
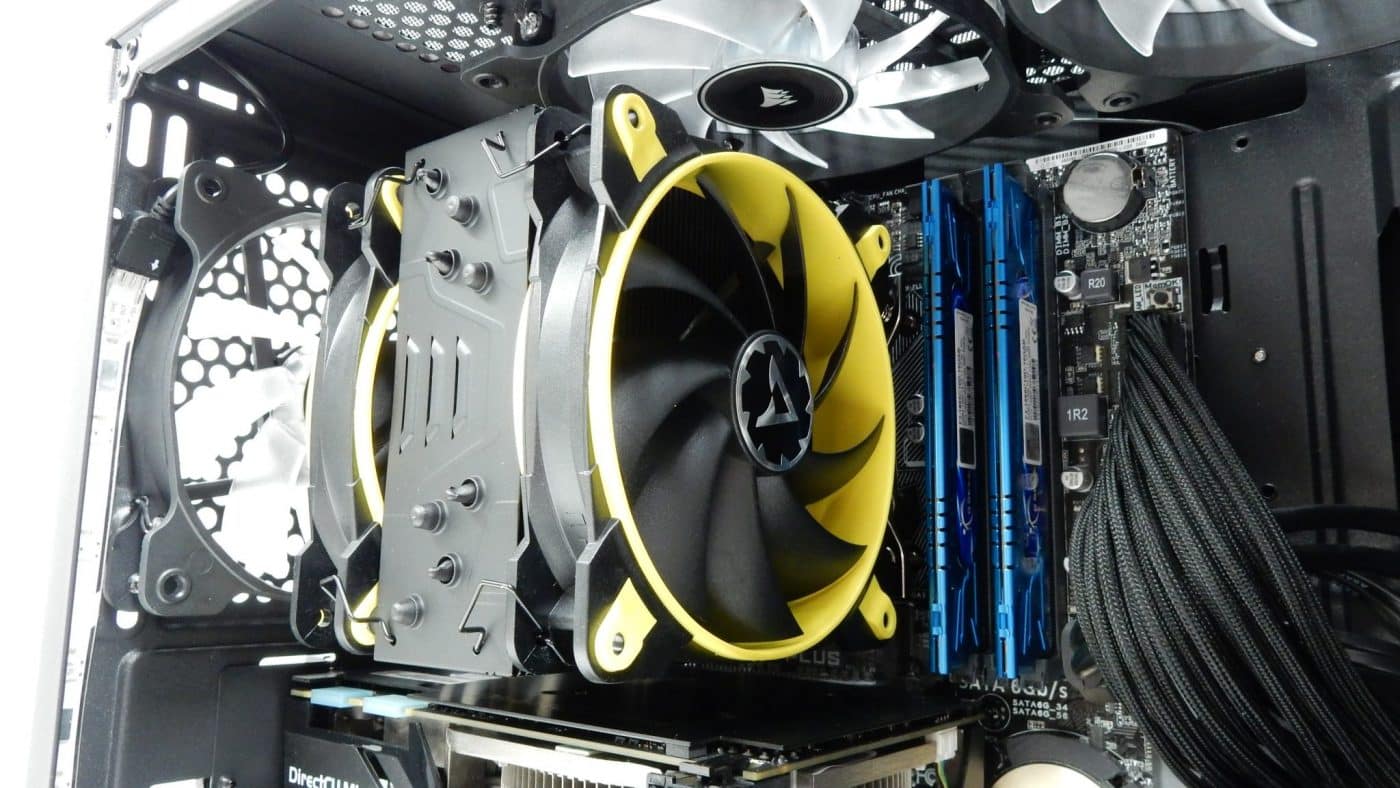
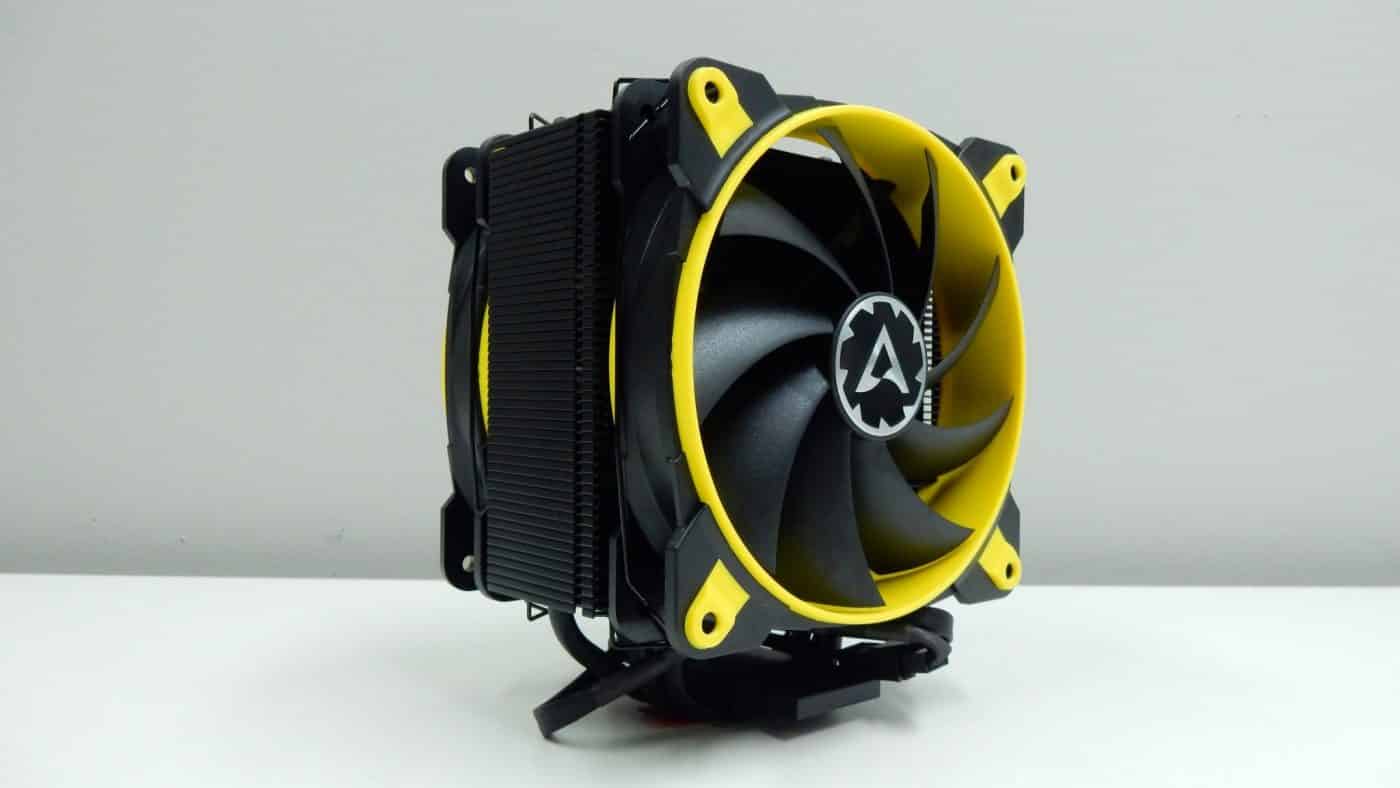
The first step in preparing the Freezer 33 eSports Edition for installation is to remove the two 120mm fans from the cooler. This is a very easy process, as the mounting clip design that ARCTIC uses allows the clips to simply unhinge from the fans and stay in place on the cooling tower. Removing the fans will give us better access to the mounting brackets for screw installation.
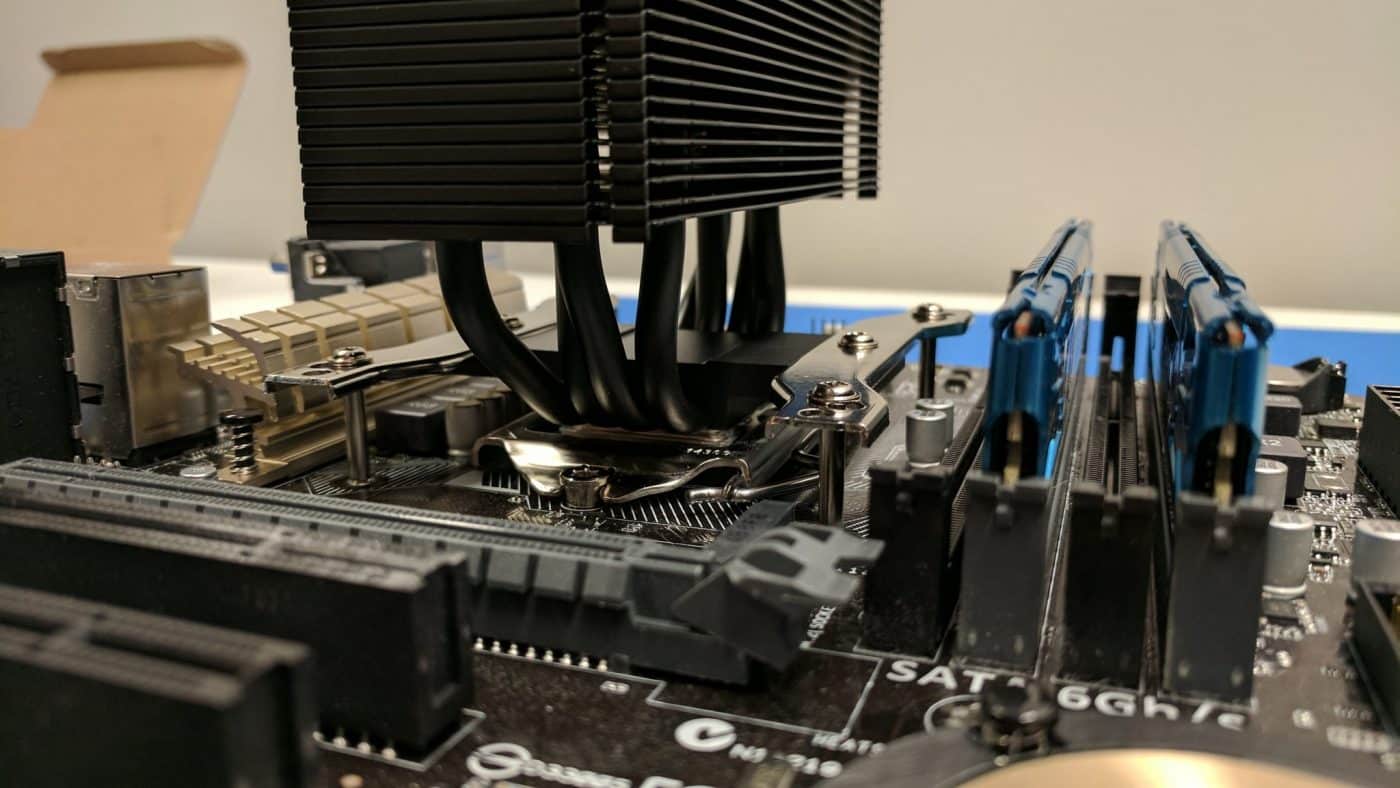
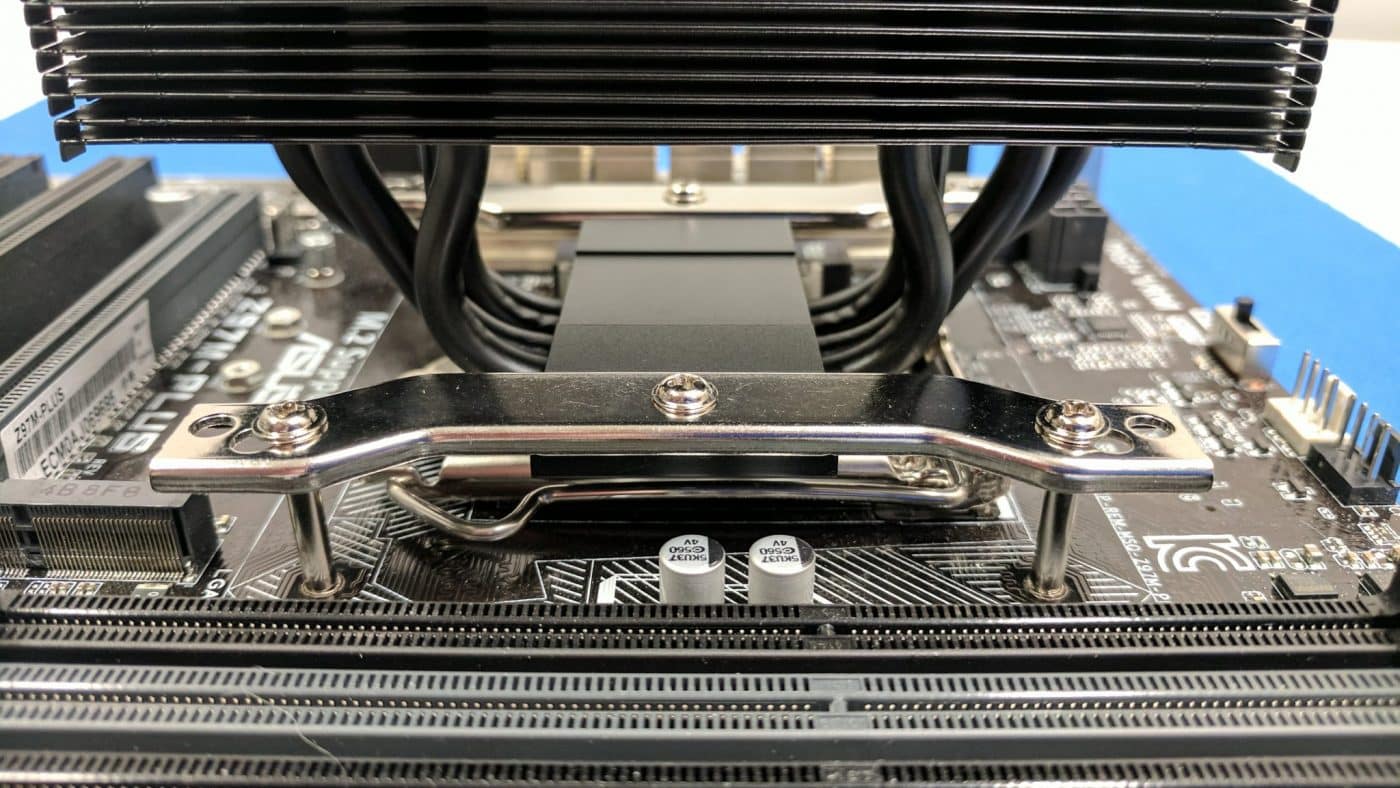
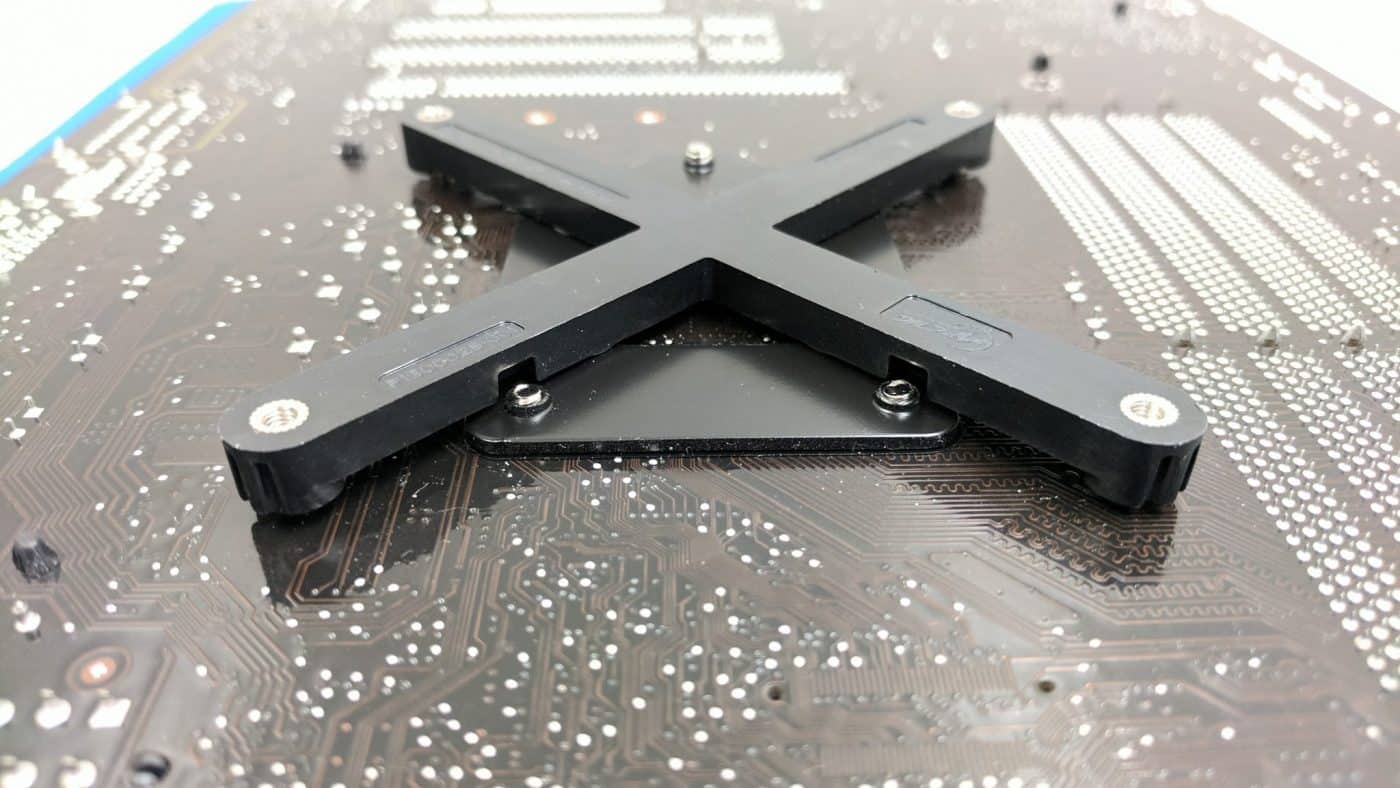
The included mounting hardware for our Intel system utilizes a plastic “X”-shaped bracket that sits on the back of the motherboard, while two metal brackets are attached to the base of the cooler in one of two ways, depending on your configuration.
With our brackets attached to the base, we then install four long screws through the metal brackets and into the backplate, which keeps the cooler in its place. This was definitely one of the easiest coolers we have installed lately.