Installation
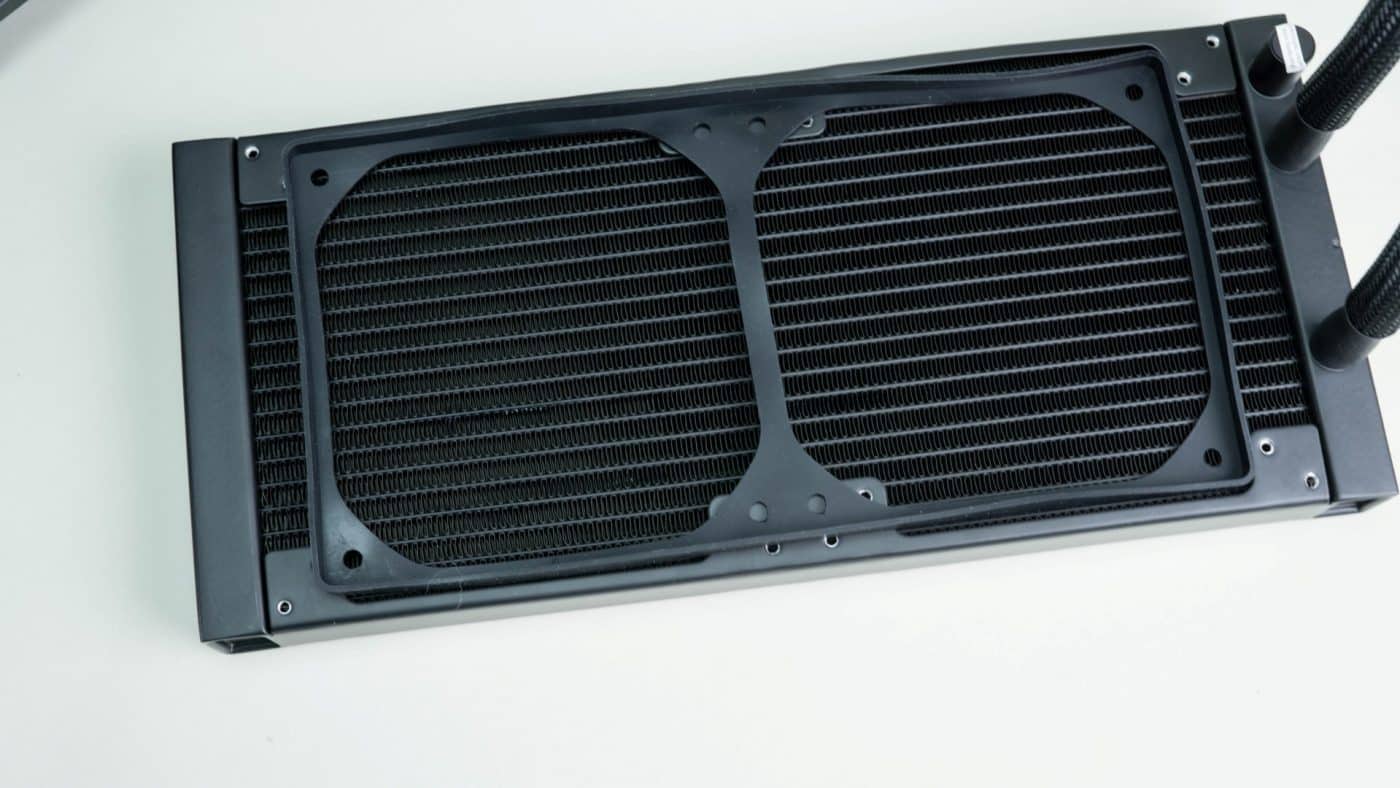
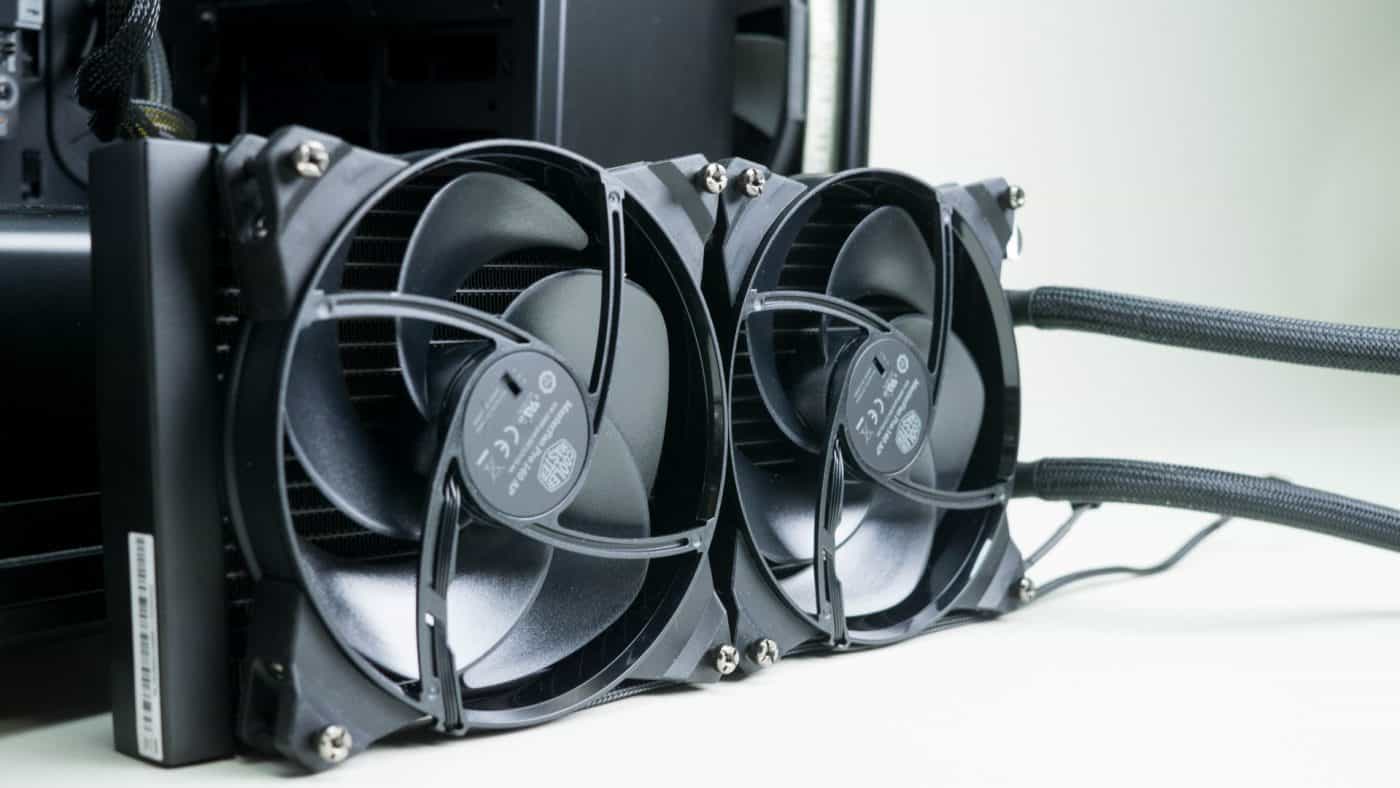
To begin your installation, start by attaching the fans to the radiator. The cooler comes with a rubber shroud, unfortunately since this is a pre release sample ours came with the wrong size shroud. We received one for the 240mm rad which just isn’t going to work. Considering the minimal impact the shroud represents for performance, we continued with our install, though CM does have the proper size shroud on the way that we will retest with at a later date.
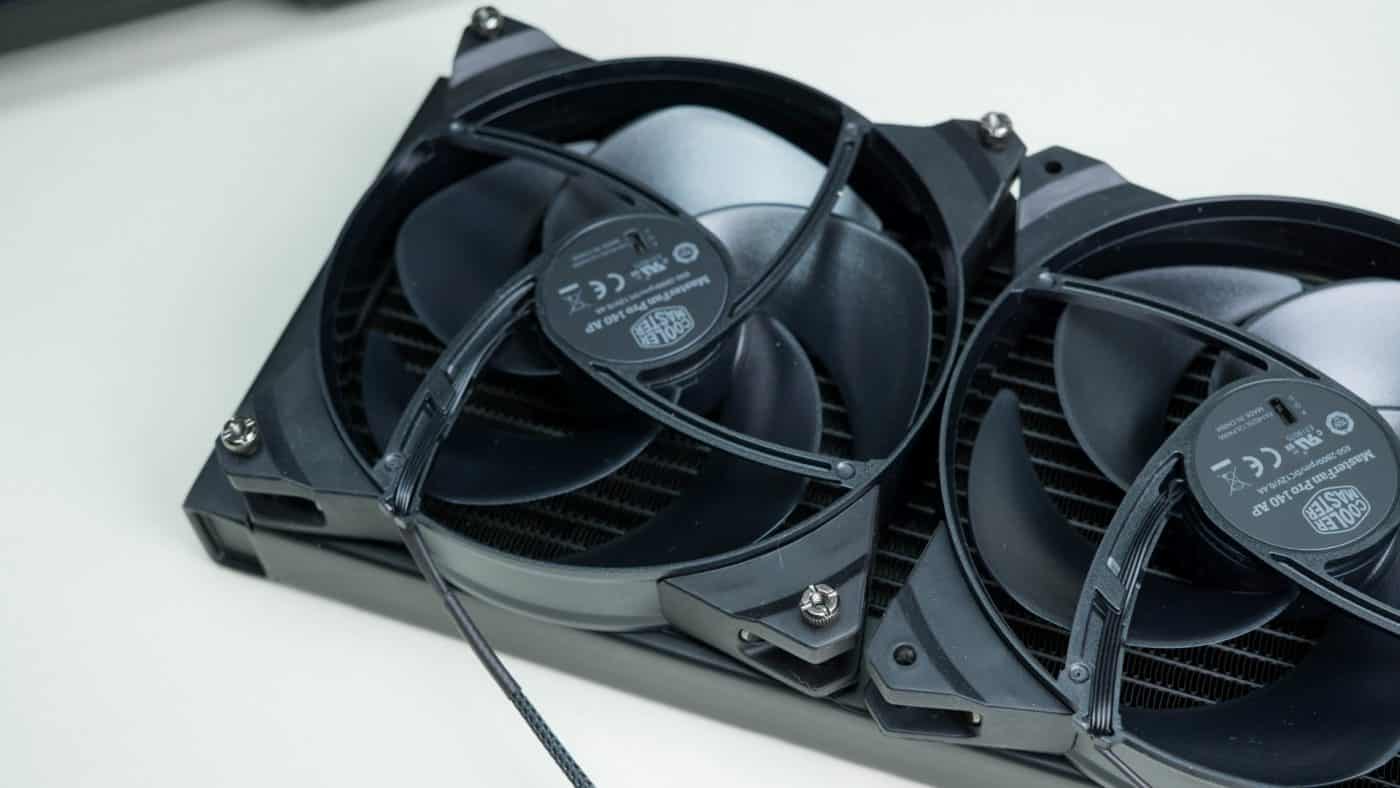
Back to the installation, you will start by laying your shroud out with the edges up so that the two fans sit down inside it. Orient the fans so that whichever direction the fans are facing, the wires go towards the back of the case. Next align the screw holes from the fans with those in the radiator and attach with the eight included thumb screws. There is plenty of room for moving the fans around on the radiator so aligning them shouldn’t be an issue.

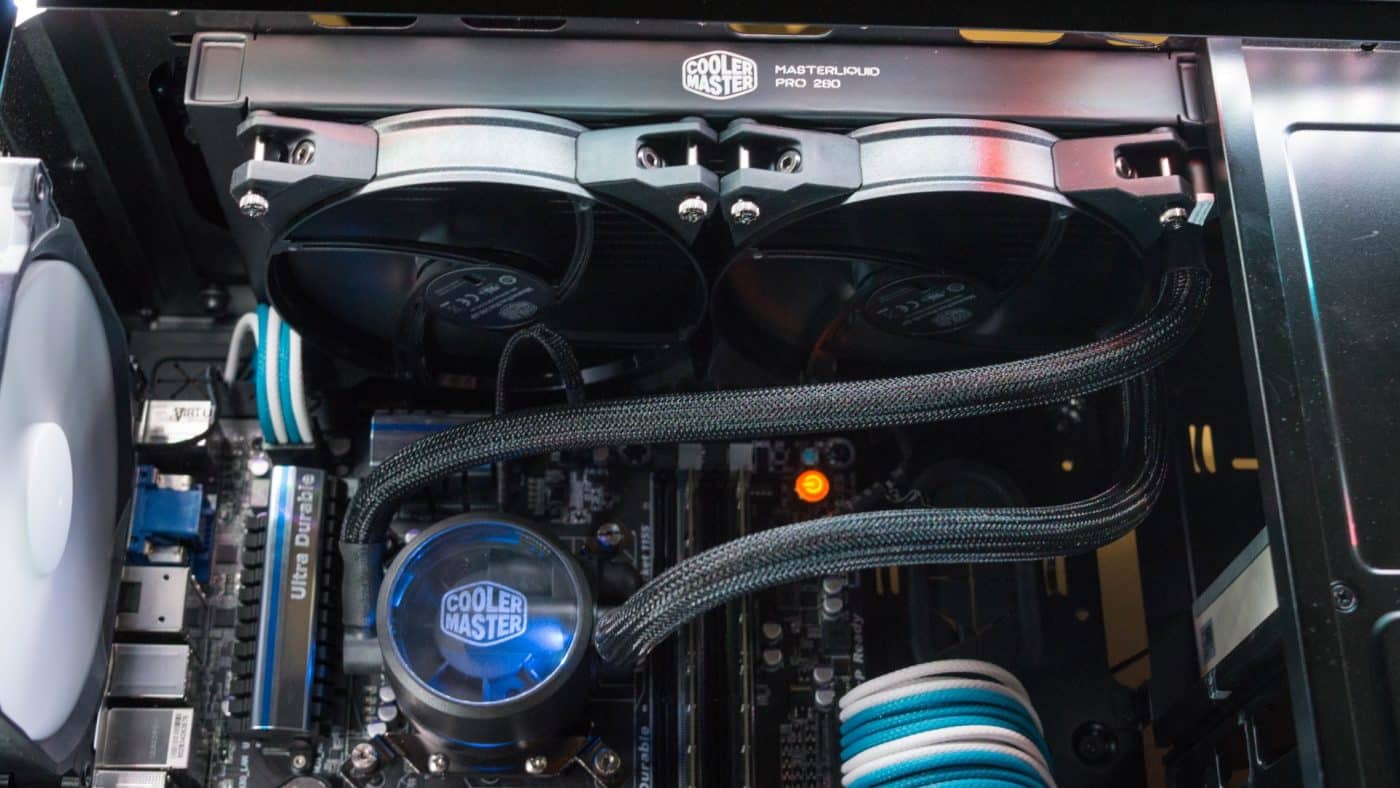
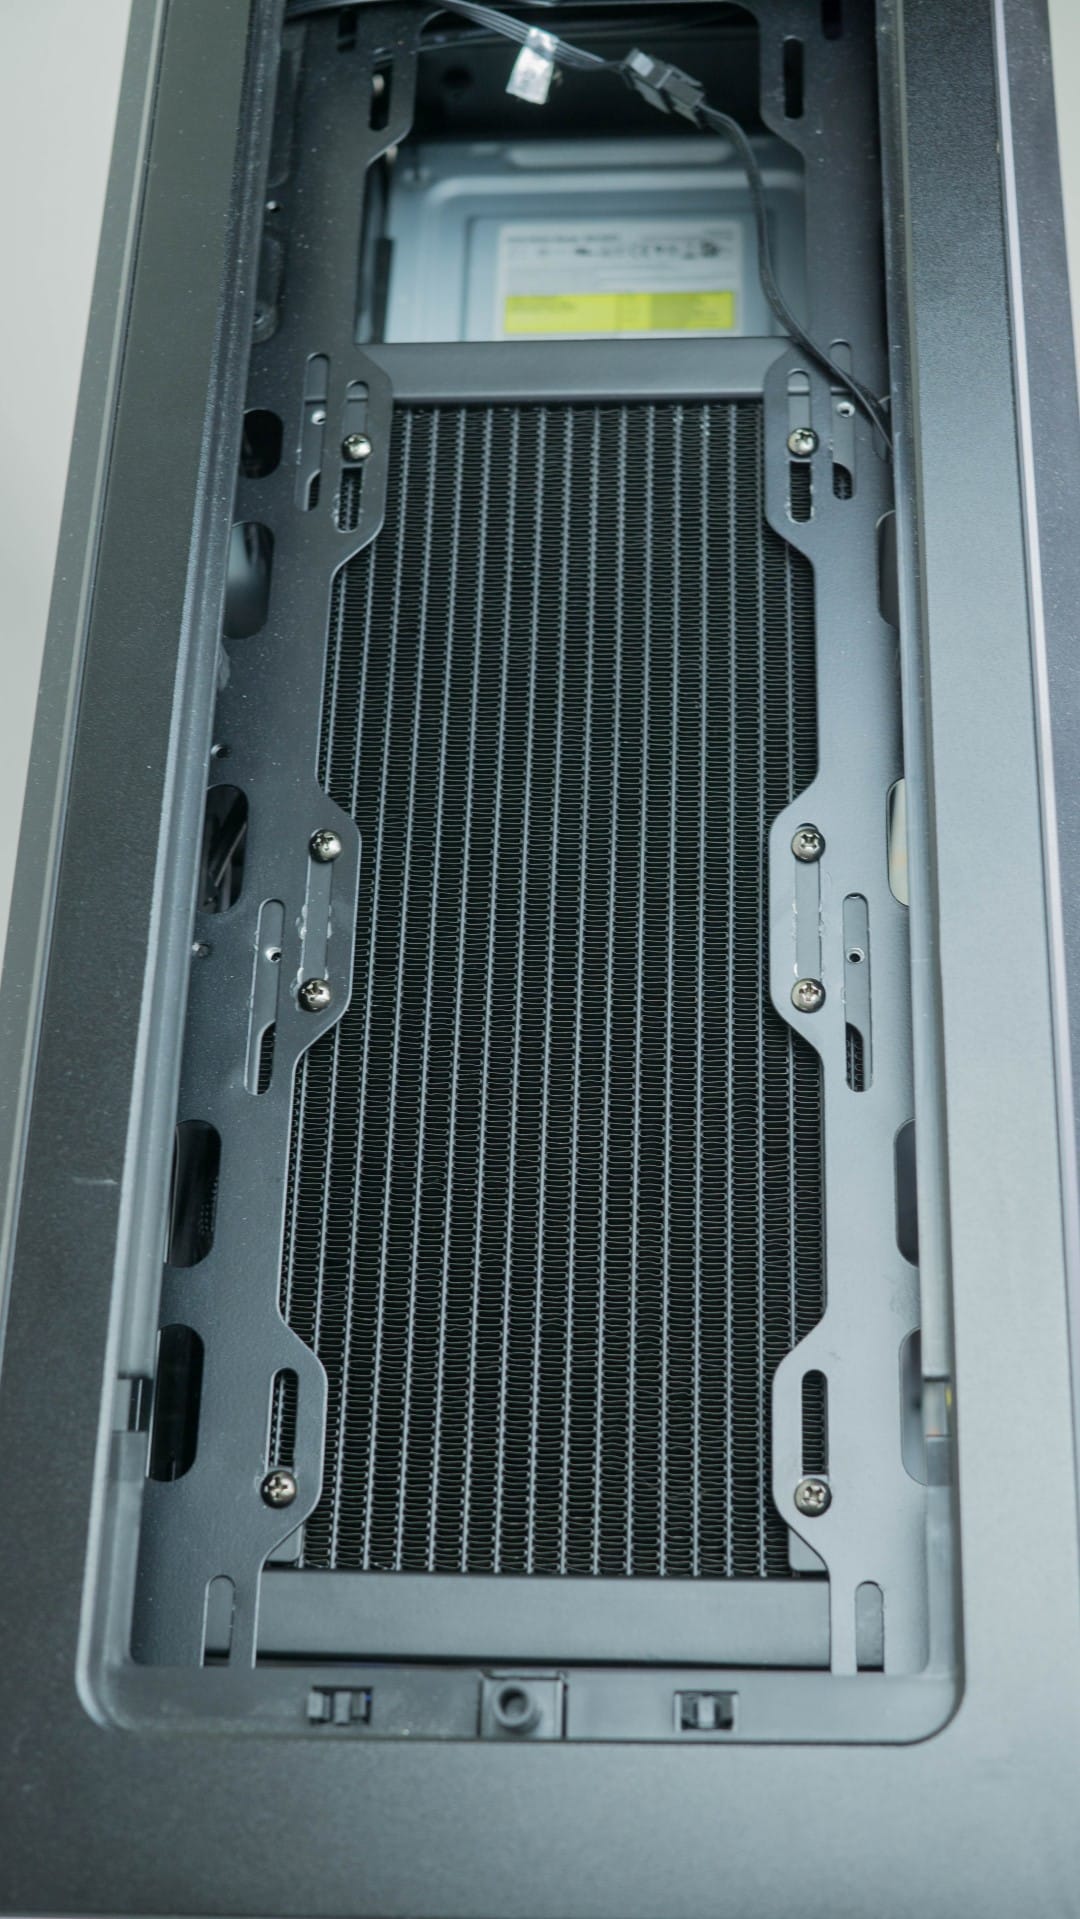
With the fans both attached we can now attach the radiator itself to the case. Simply place the radiator into the case and hold with one hand while you start a couple of the screws with the other. Attach all eight screws and secure them with a philips head screwdriver.

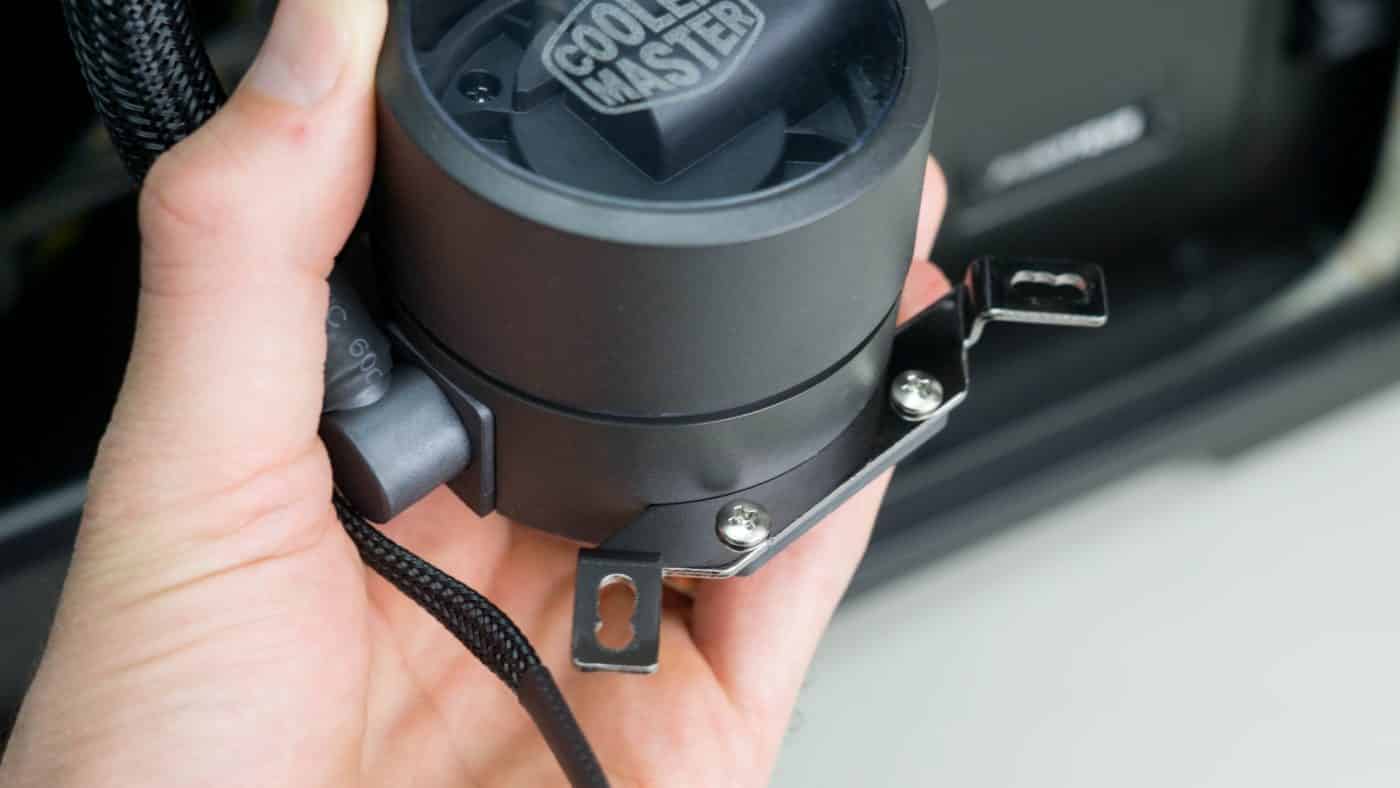
Now that the AiO is secure in the case go ahead and attach the wings to the pump. We are doing and Intel install so we used those wings with the tips flipped up. They slide right into the slots on the pump and notch into place. Secure each wing with two small included screws.

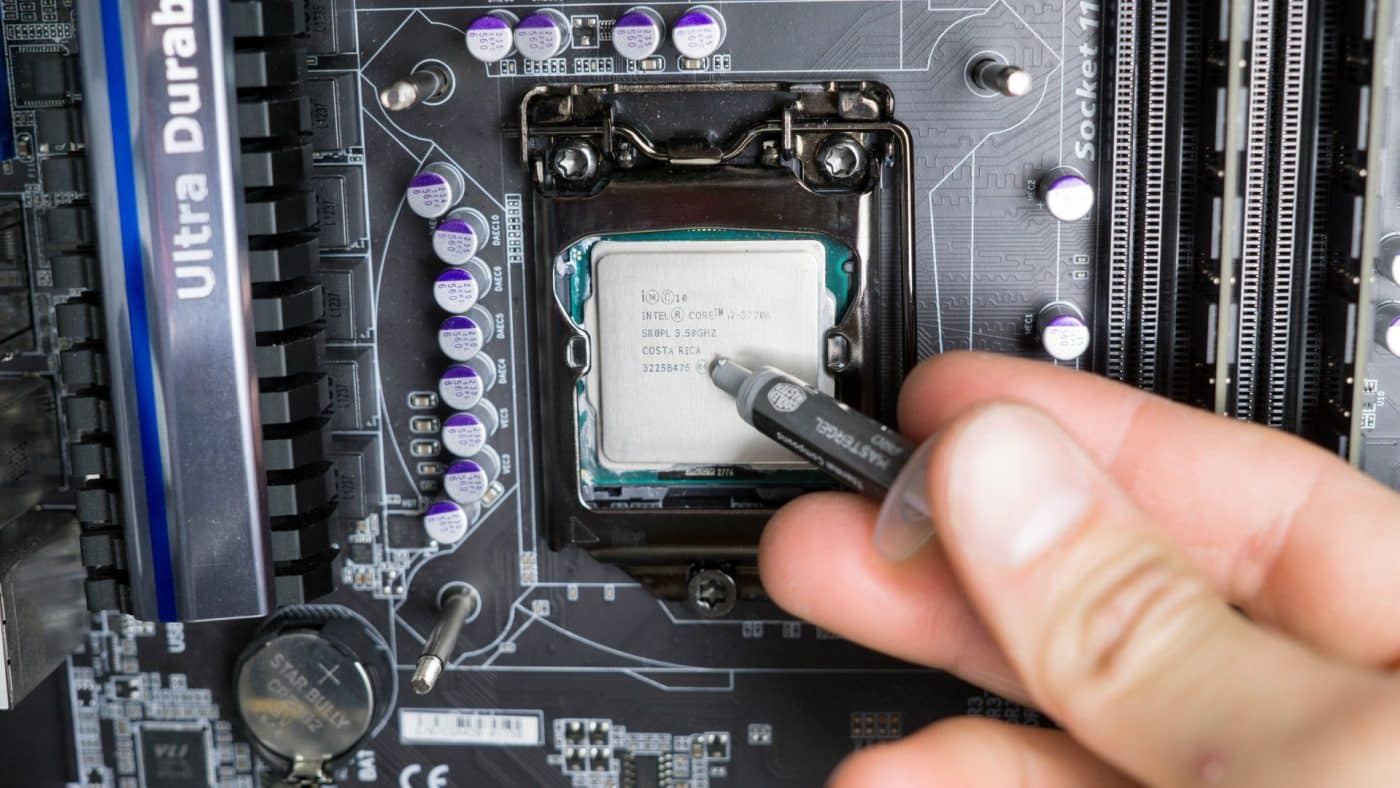
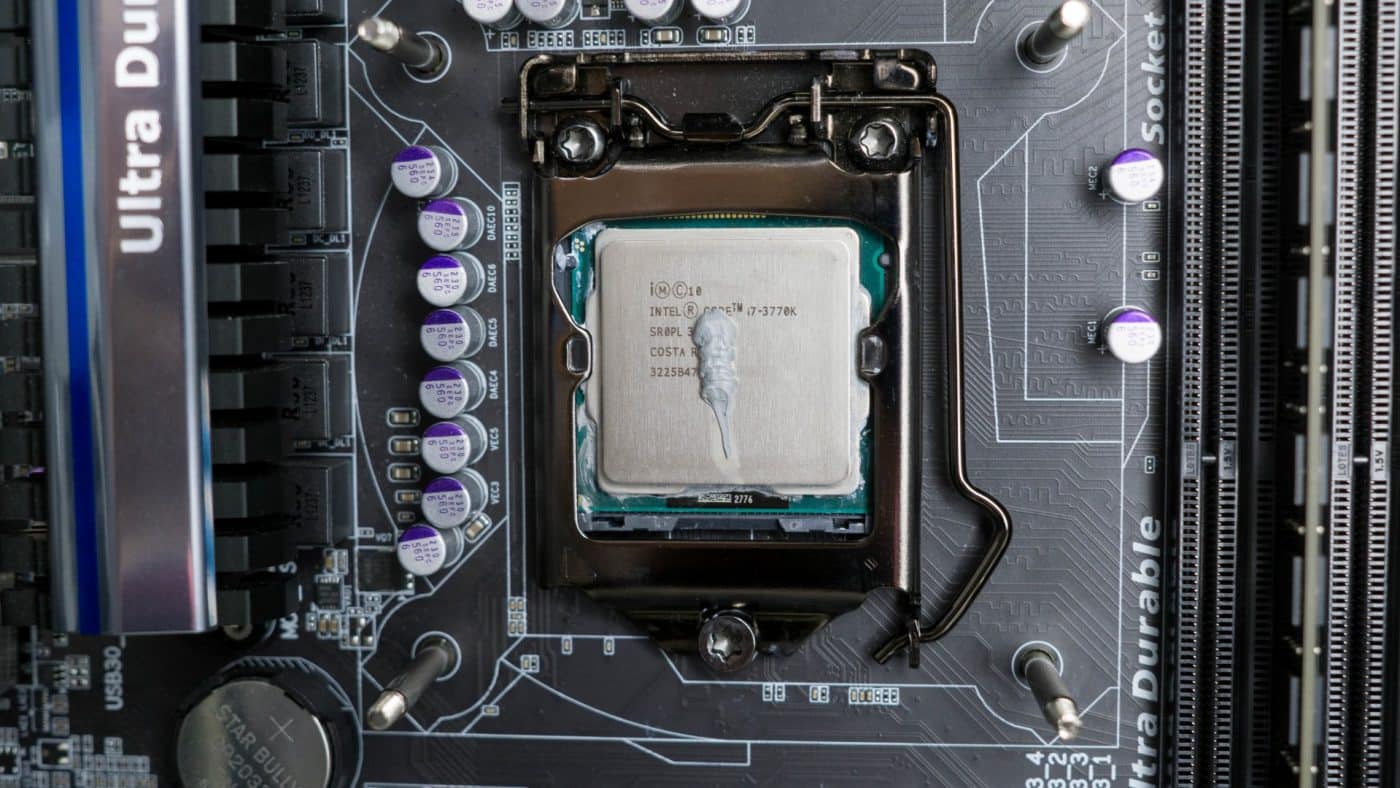
Now would be the time to apply some of the included thermal paste to the top of the CPU. Simply place a small grain of rice sized amount to the center of the CPU and call it a day. The included paste is rather thick, but it does spread out well enough under pressure.
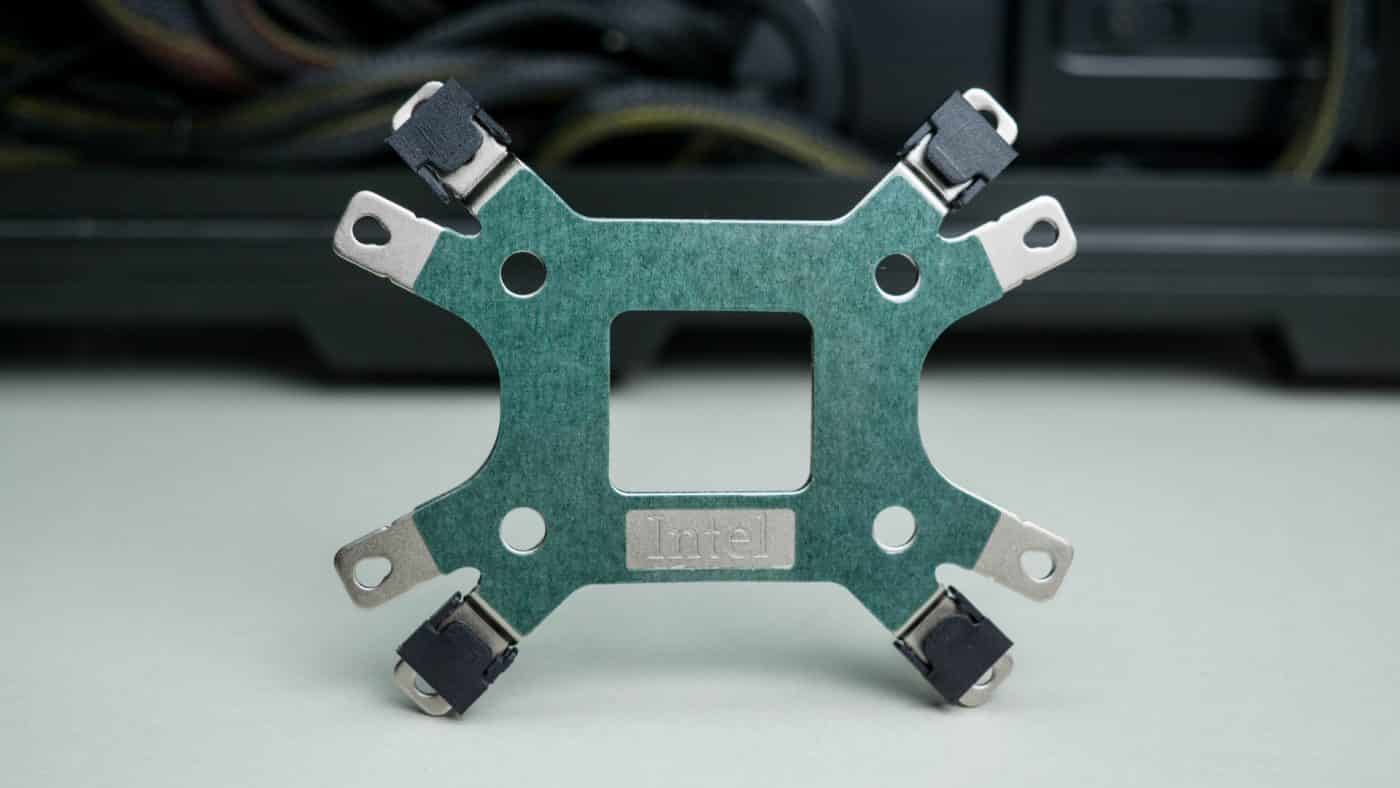
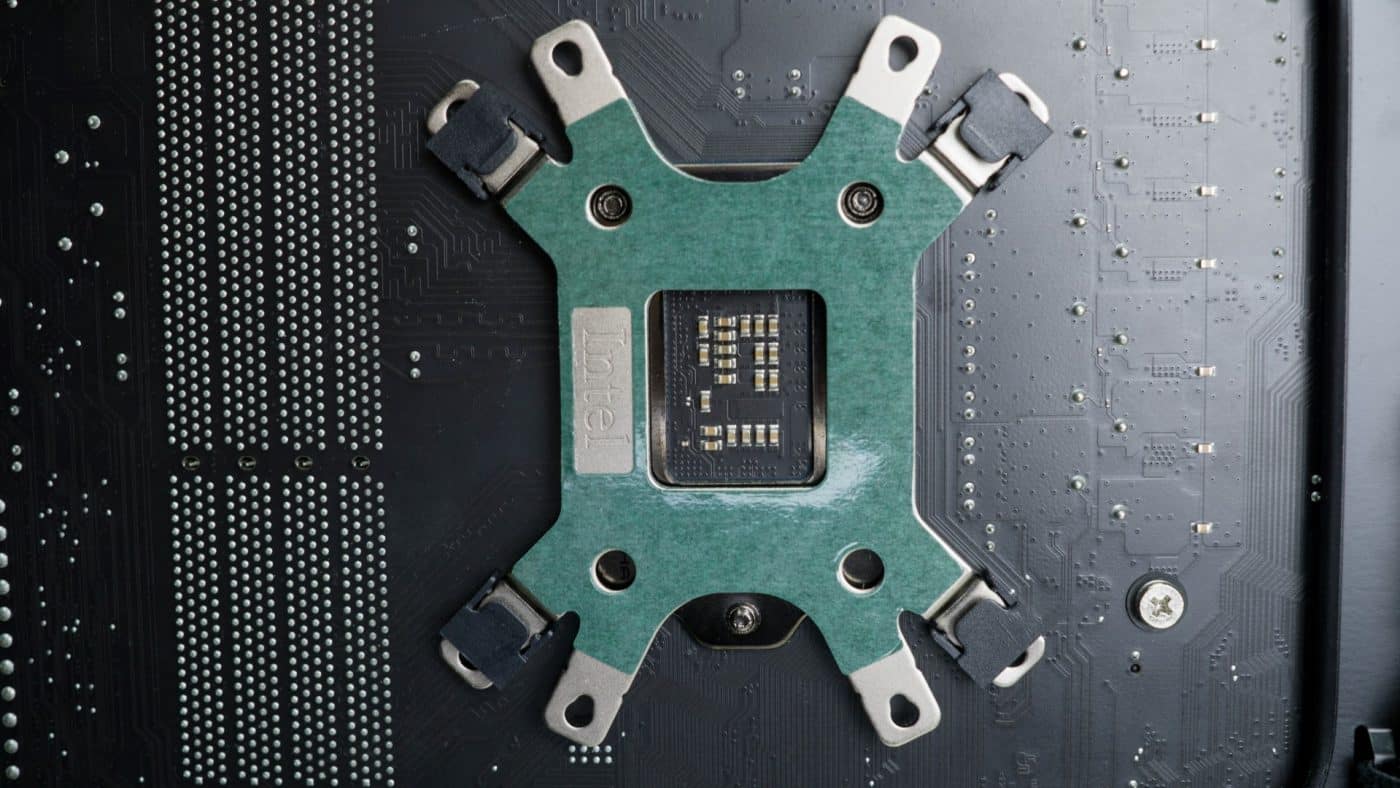
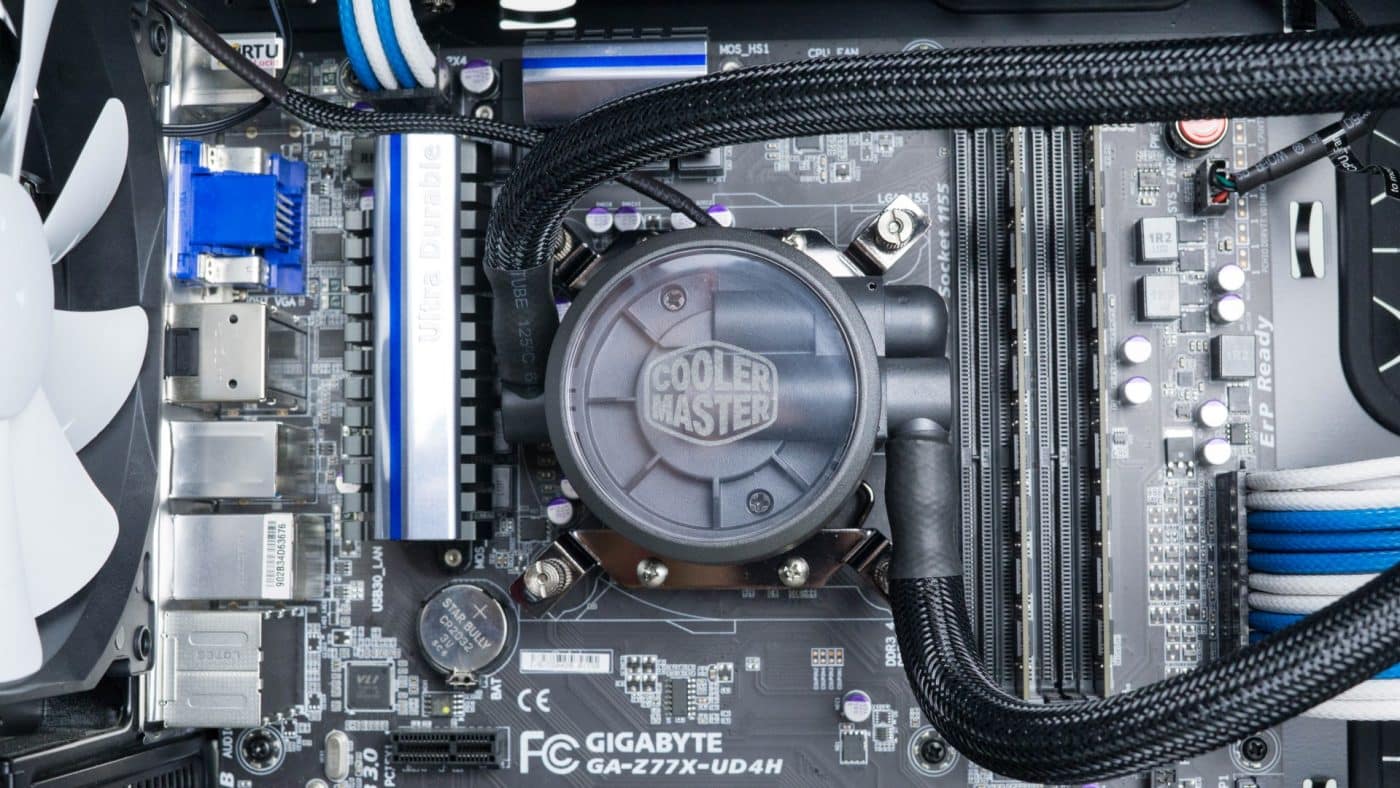
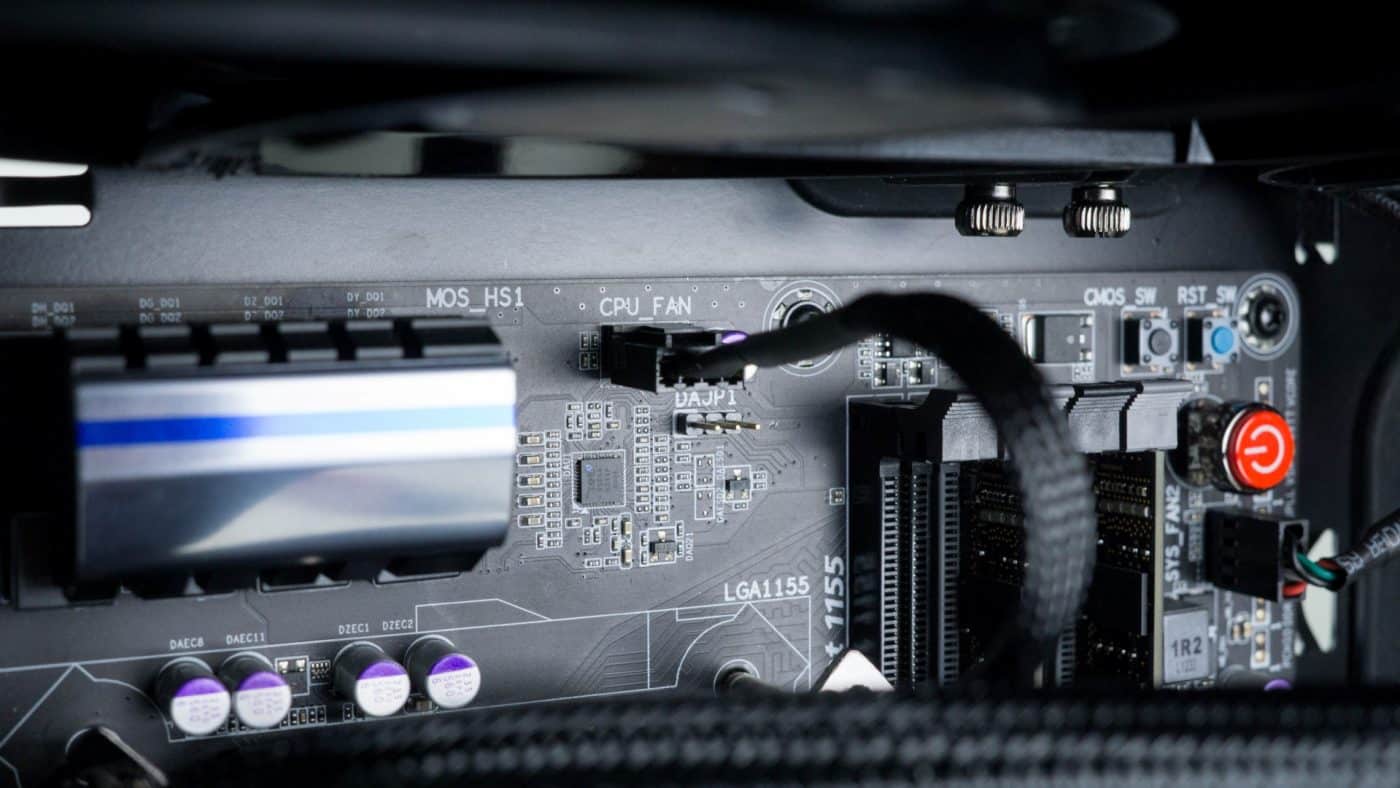
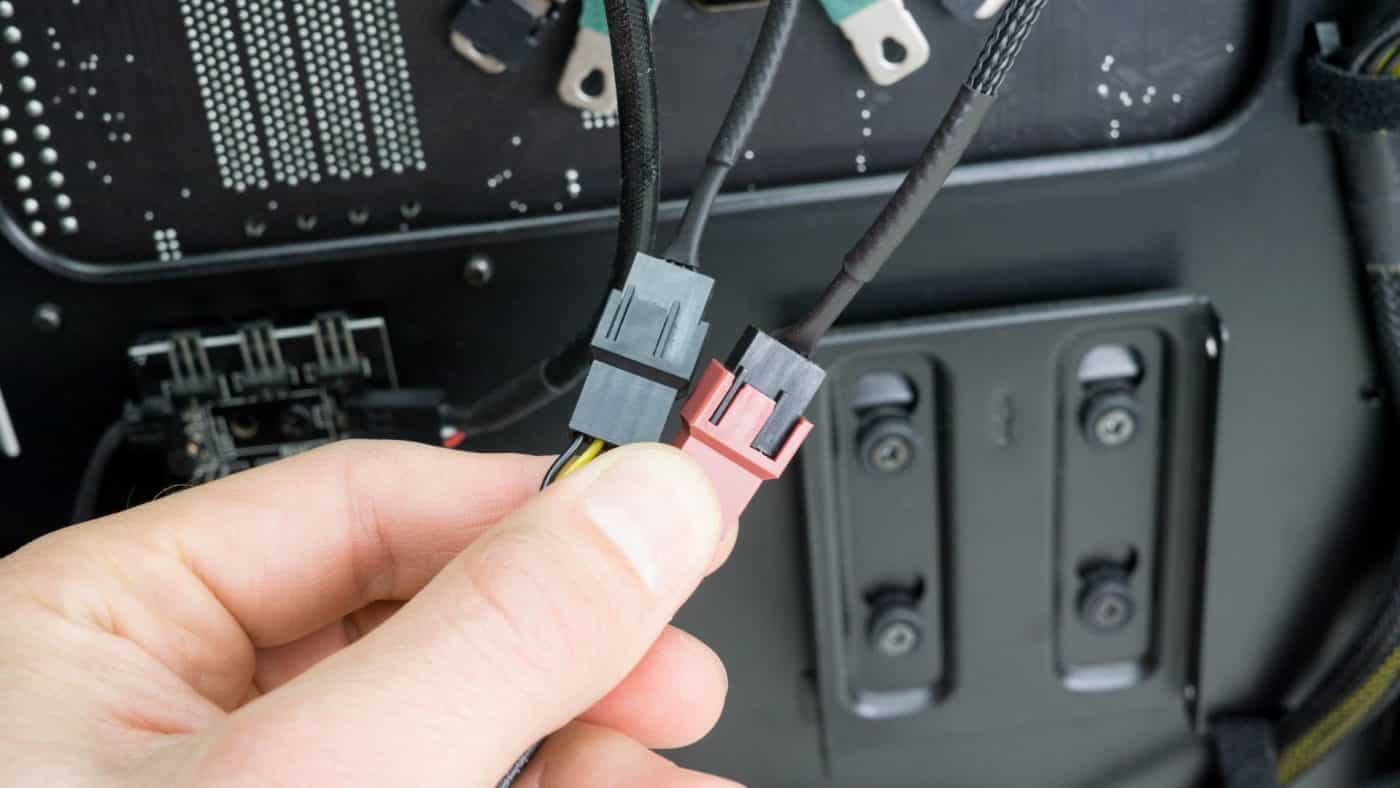
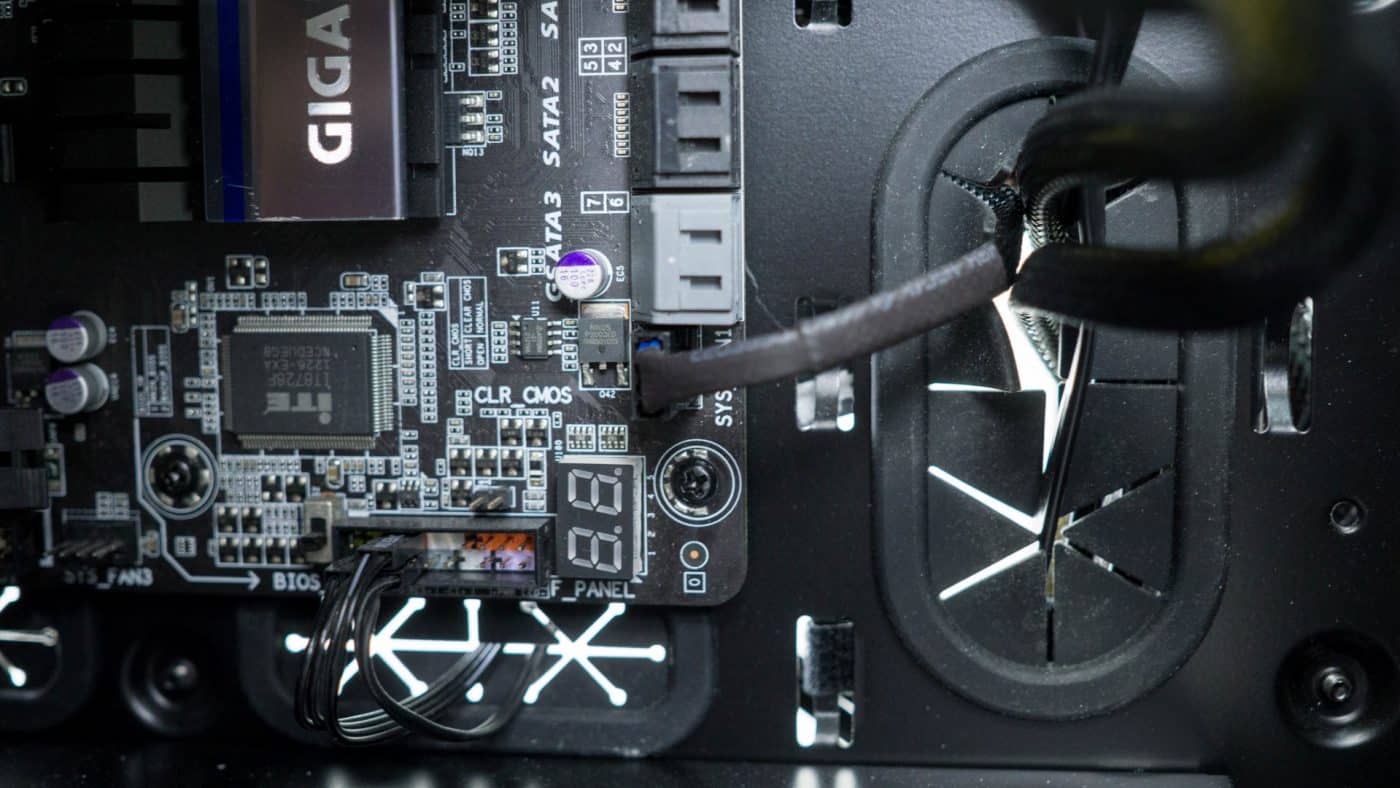
Remove the protective sticker from the base of the pump and align the holes in the wings with the stand off screws. You will find that there is no retention mechanism for the back plate and it will likely need to be held in place with one hand while you align the pump with the other. Press and hold the pump to the top of the CPU and secure the pump with the four thumbscrews. Do this in a cross pattern so that equal pressure is applied to the thermal paste. All that’s left now is to attach the electronics. The pump should be attached to the CPU_FAN header. The two fans can be attached individually to the motherboard or any other power source, or to the Y splitter and then to a power source to simplify things.
Check that everything is clear of your fans, reconnect your case power and start the system up.