Installation
If you’ve read our review of the TD02-E you will find that Installing the TD03-E is very similar. We’ll start by attaching one of the fans to the inward facing side of the radiator. This is the side with the tubing attached. Simply orient one of the fans with the directional arrow facing up so that the cooler draws in cold air from the outside of the case. You will also want to be sure to have the wiring in a position to easily run it to the back of the motherboard tray. Attach the fan with four of the long fan screws.
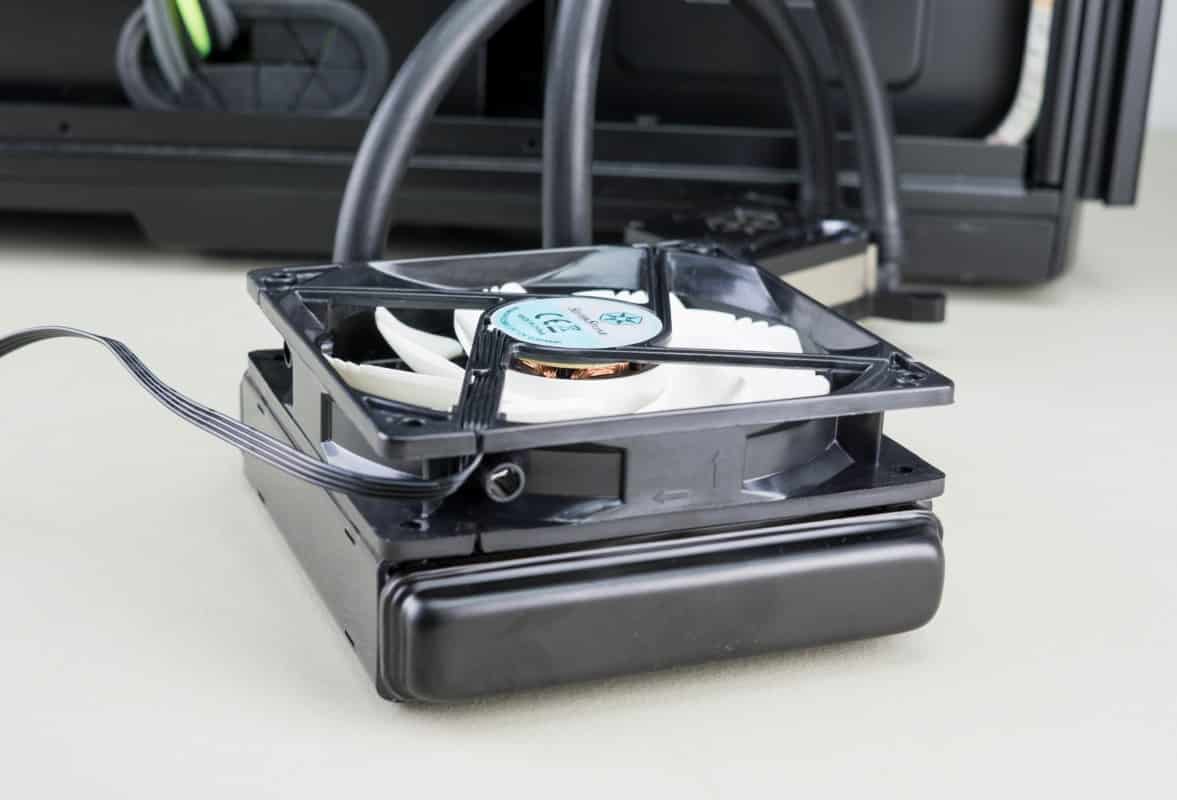

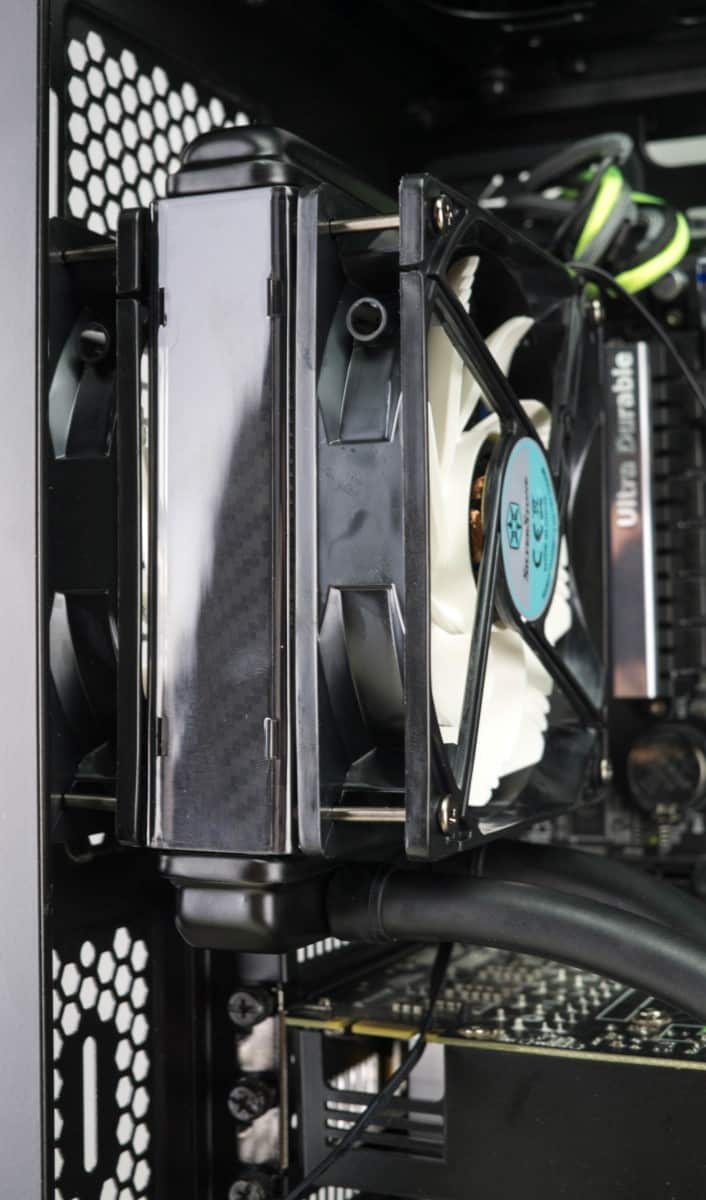
The next step is a bit trickier. Place the second fan on the opposite side of the radiator oriented the same as the first. Now with one hand sandwich the fan between the radiator and the back top fan port of your case. Holding it secure with just the one hand, insert a screw into one of the holes and tighten it with your fingers. Repeat for the other holes until the unit is secure enough to stay in place on it’s own. Now using a Philips head screwdriver tighten the screws until they are snug.

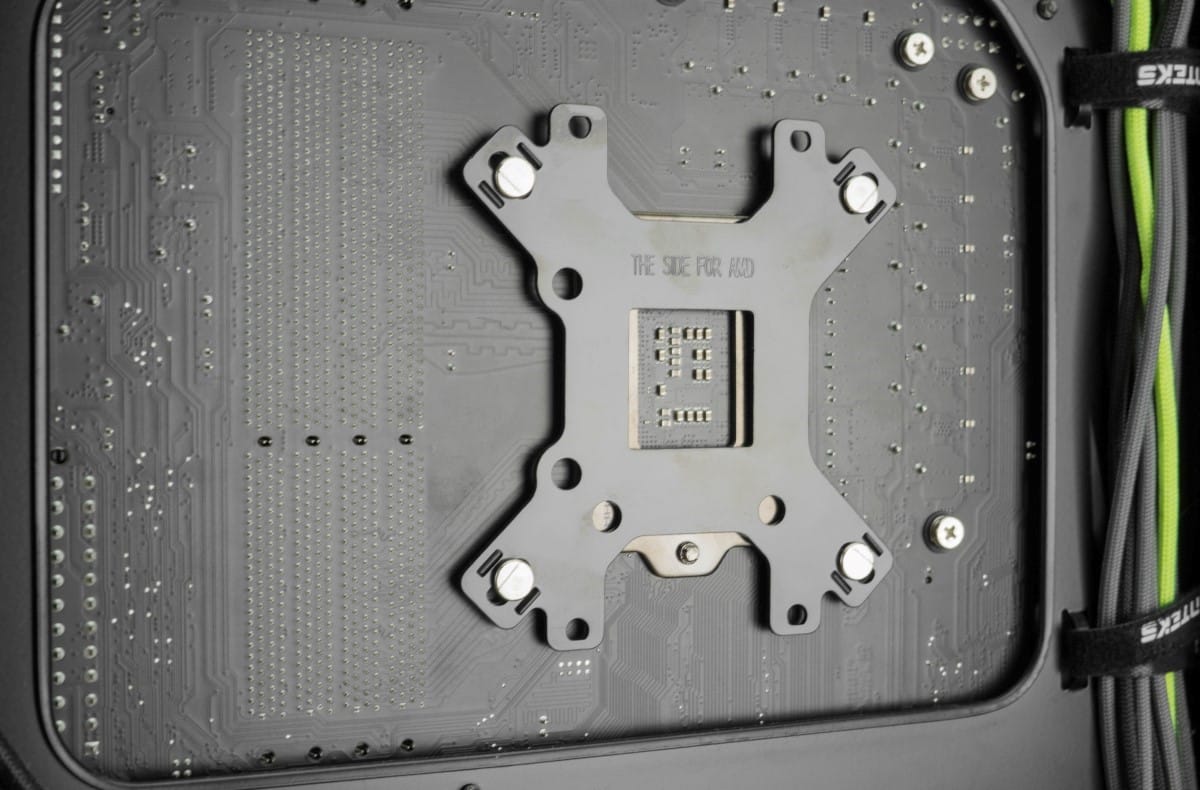
Now we will install the backplate for mounting the pump. As you can see in the photo Silverstone has clearly labelled which holes are for which socket. Take the four remaining screws which are the stand off screws and insert them into the correct holes. The plastic on the bracket will lightly hold the screws in place. You can now align the stand off screws with the holes in the motherboard and insert them through to the top side of the motherboard. On the opposite side of the board place a stand off on each of the screws.


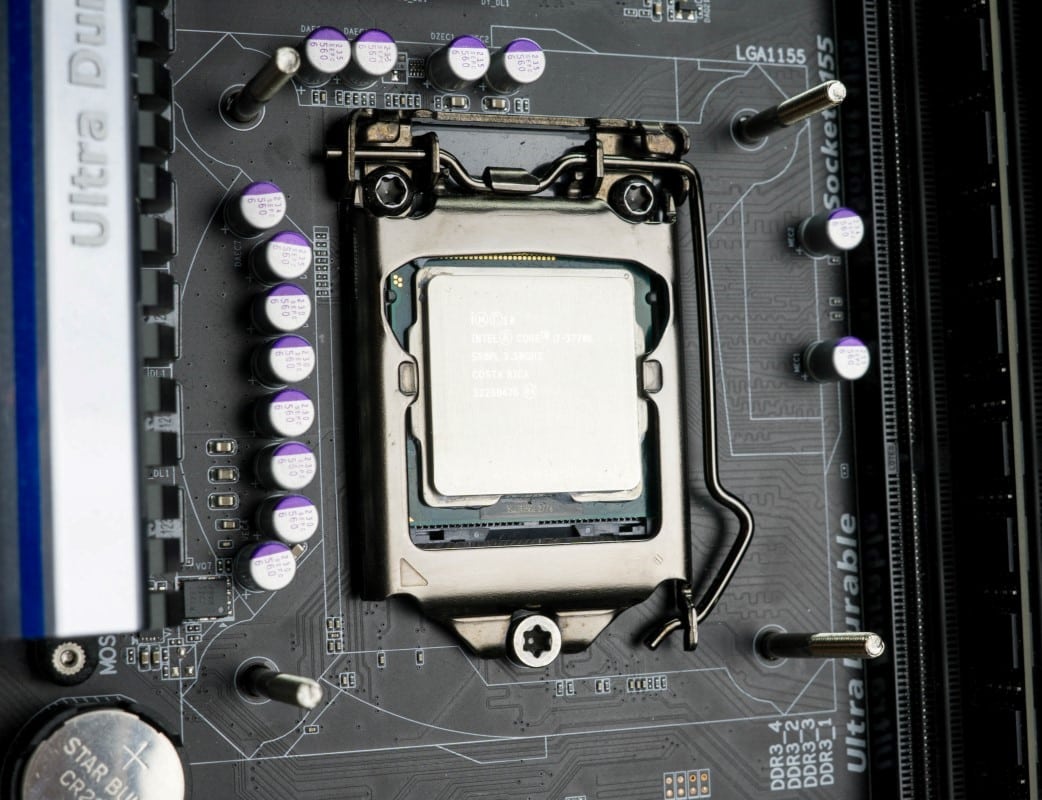
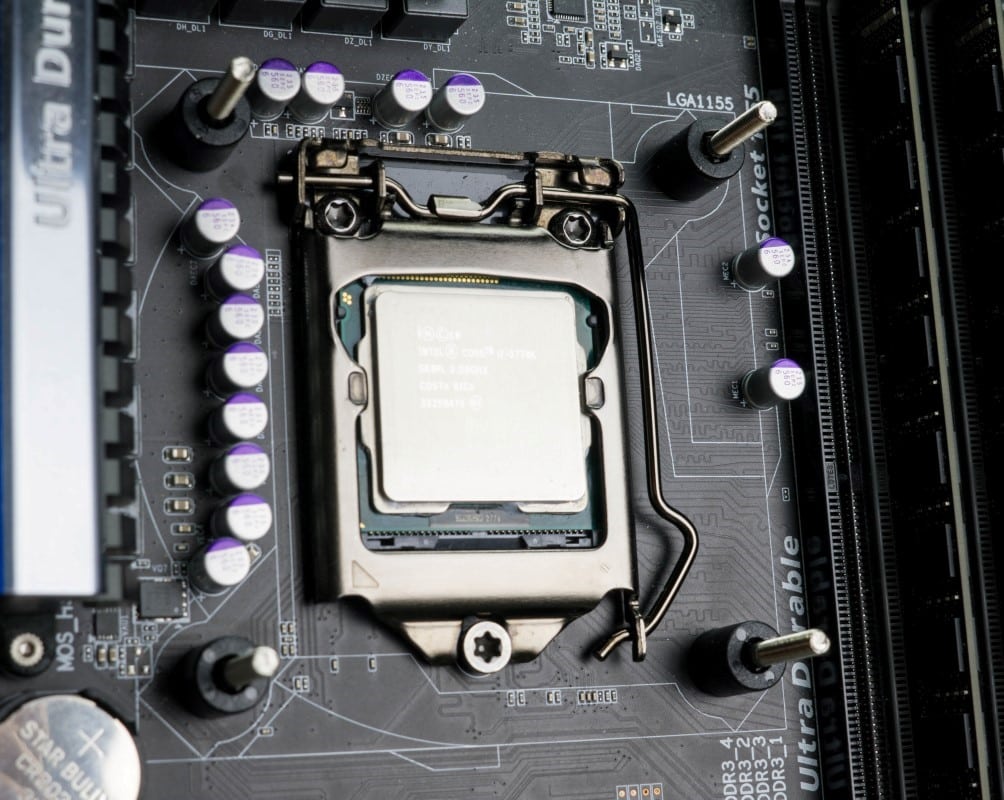
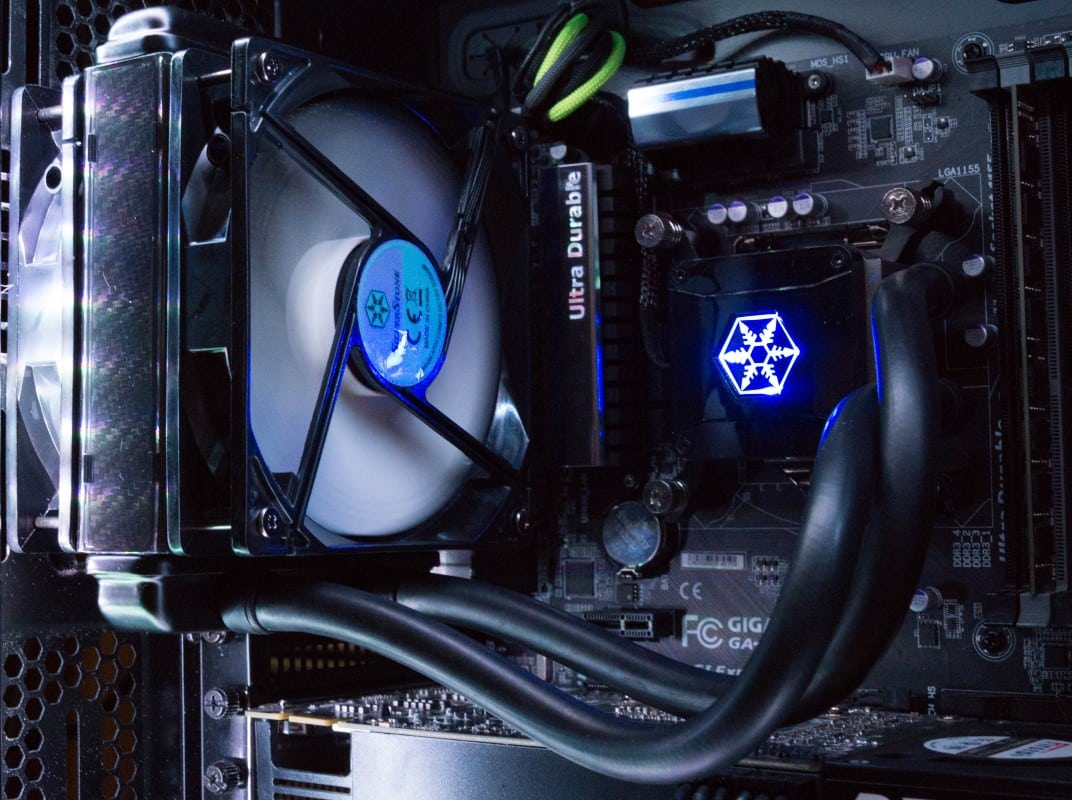
With the CPU set for the pump to be installed apply a grain of rice size bit of thermal paste to the top center of the CPU. After removing the sticker from the base of the pump align the ends of the brackets with the four screws and press the pump firmly on the CPU. Holding the pump firmly in place begin attaching the four thumb screws. Alternating diagonally get all four screws finger tight before letting go of the pump. Finally using a Philips head screwdriver tighten the thumbscrews until the springs are completely compressed.

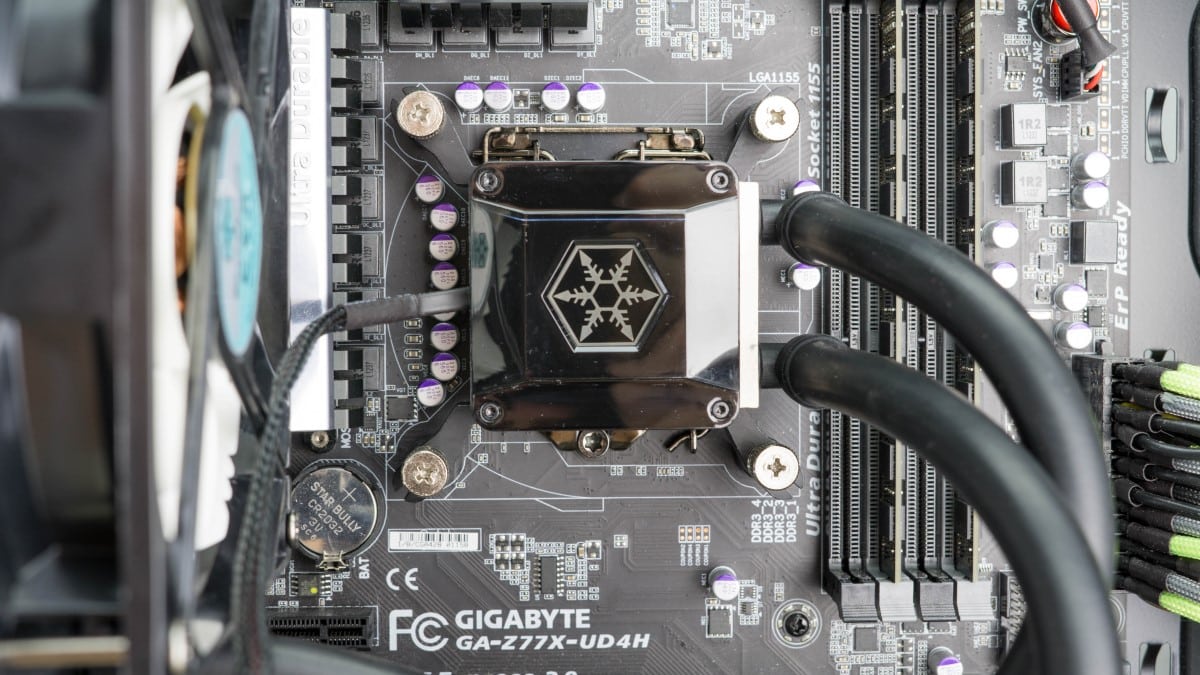
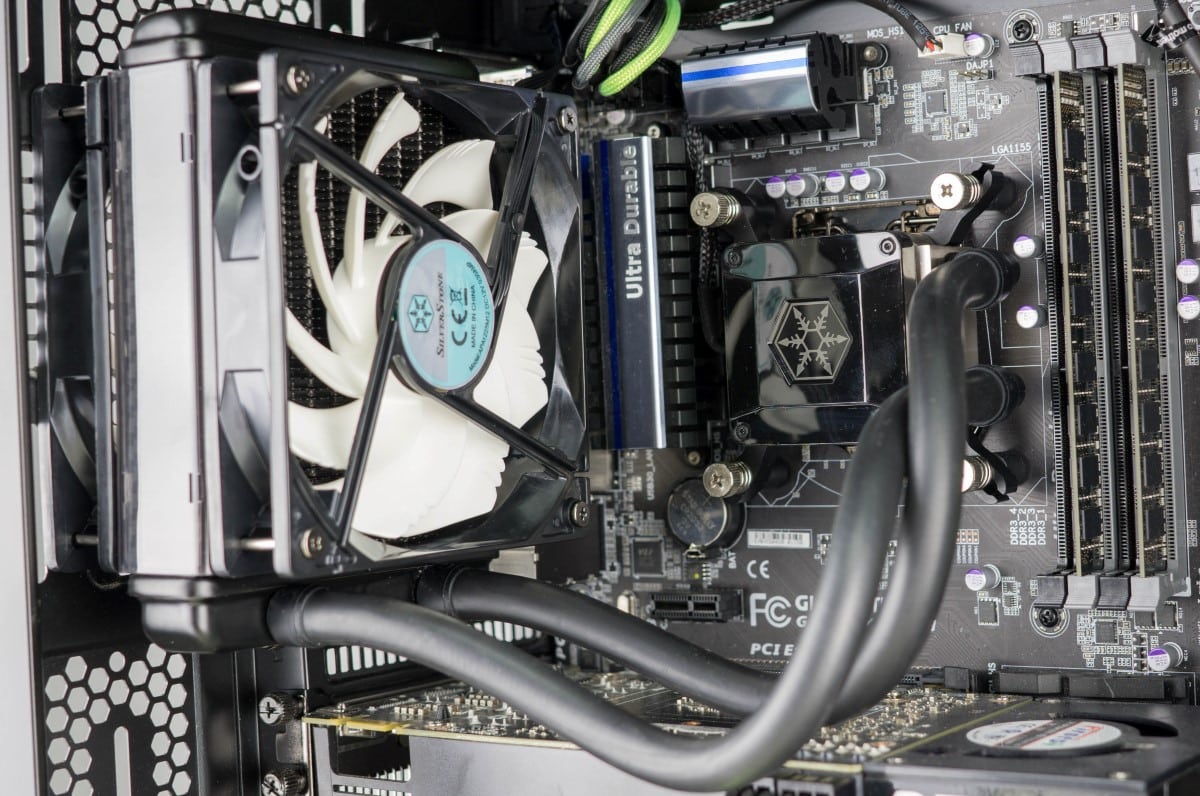
With the hardware installation complete you can now finish by attaching the electrical connections. The 3-pin from the pump needs to be connected to the CPU_FAN header on the motherboard. And the two 4-pin wires from the fans should be plugged into the splitter and installed in an open fan header on the motherboard. If one is not available you can also power them using the molex adapter and an available molex connector from the PSU.

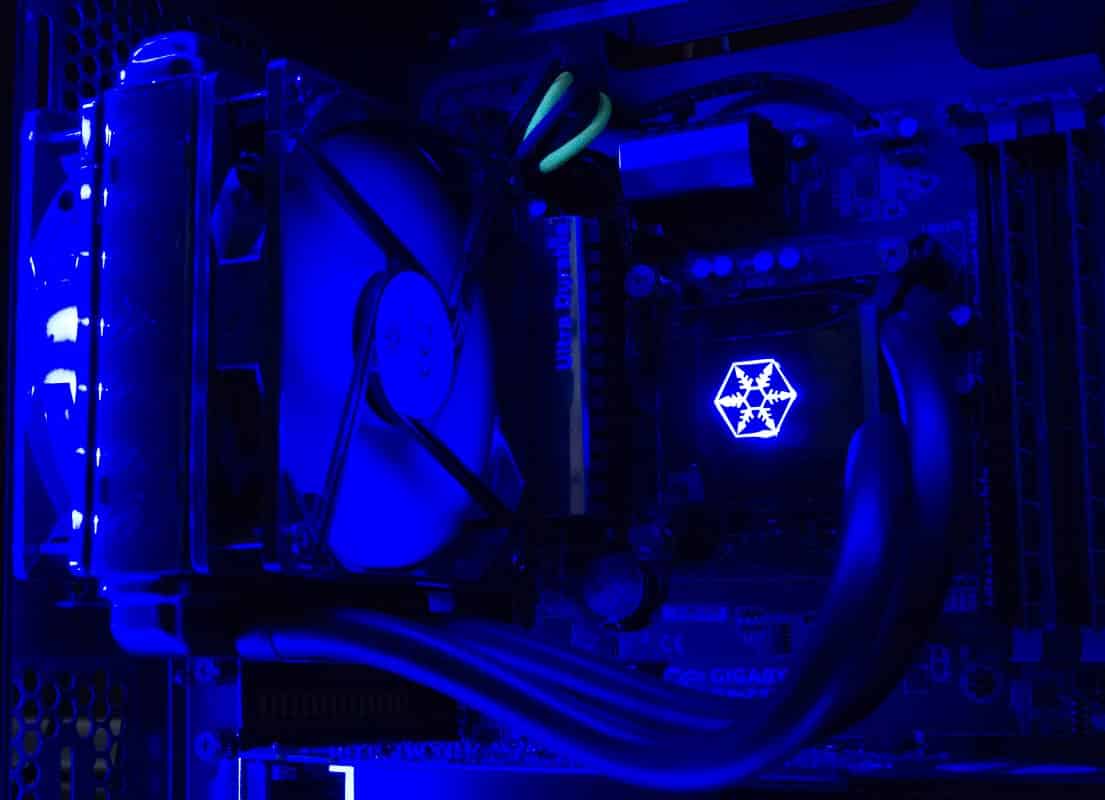
Installation of the TD03-E is now complete. You can now power on your upgraded PC!