Installation
As with most AIOs, the installation of the Alphacool Eisbaer Aurora 360 CPU is quite easy, provided you follow the installation steps as directed. As DIY PC building seems to be getting more popular each and every day, the option of AIO liquid coolers is sure to entice those wanting to have a more advanced build, and easy installation will go a long way towards not scaring off first-time builders. As we mentioned when we covered the included accessories, Alphacool has included all of the necessary mounting hardware for a large list of both Intel and AMD processors, including AMD’s TR4 setup. Alphacool has also included a physical installation manual, which we really appreciate, as we still prefer a physical copy of installation instructions, and were happy to have them for this kit.
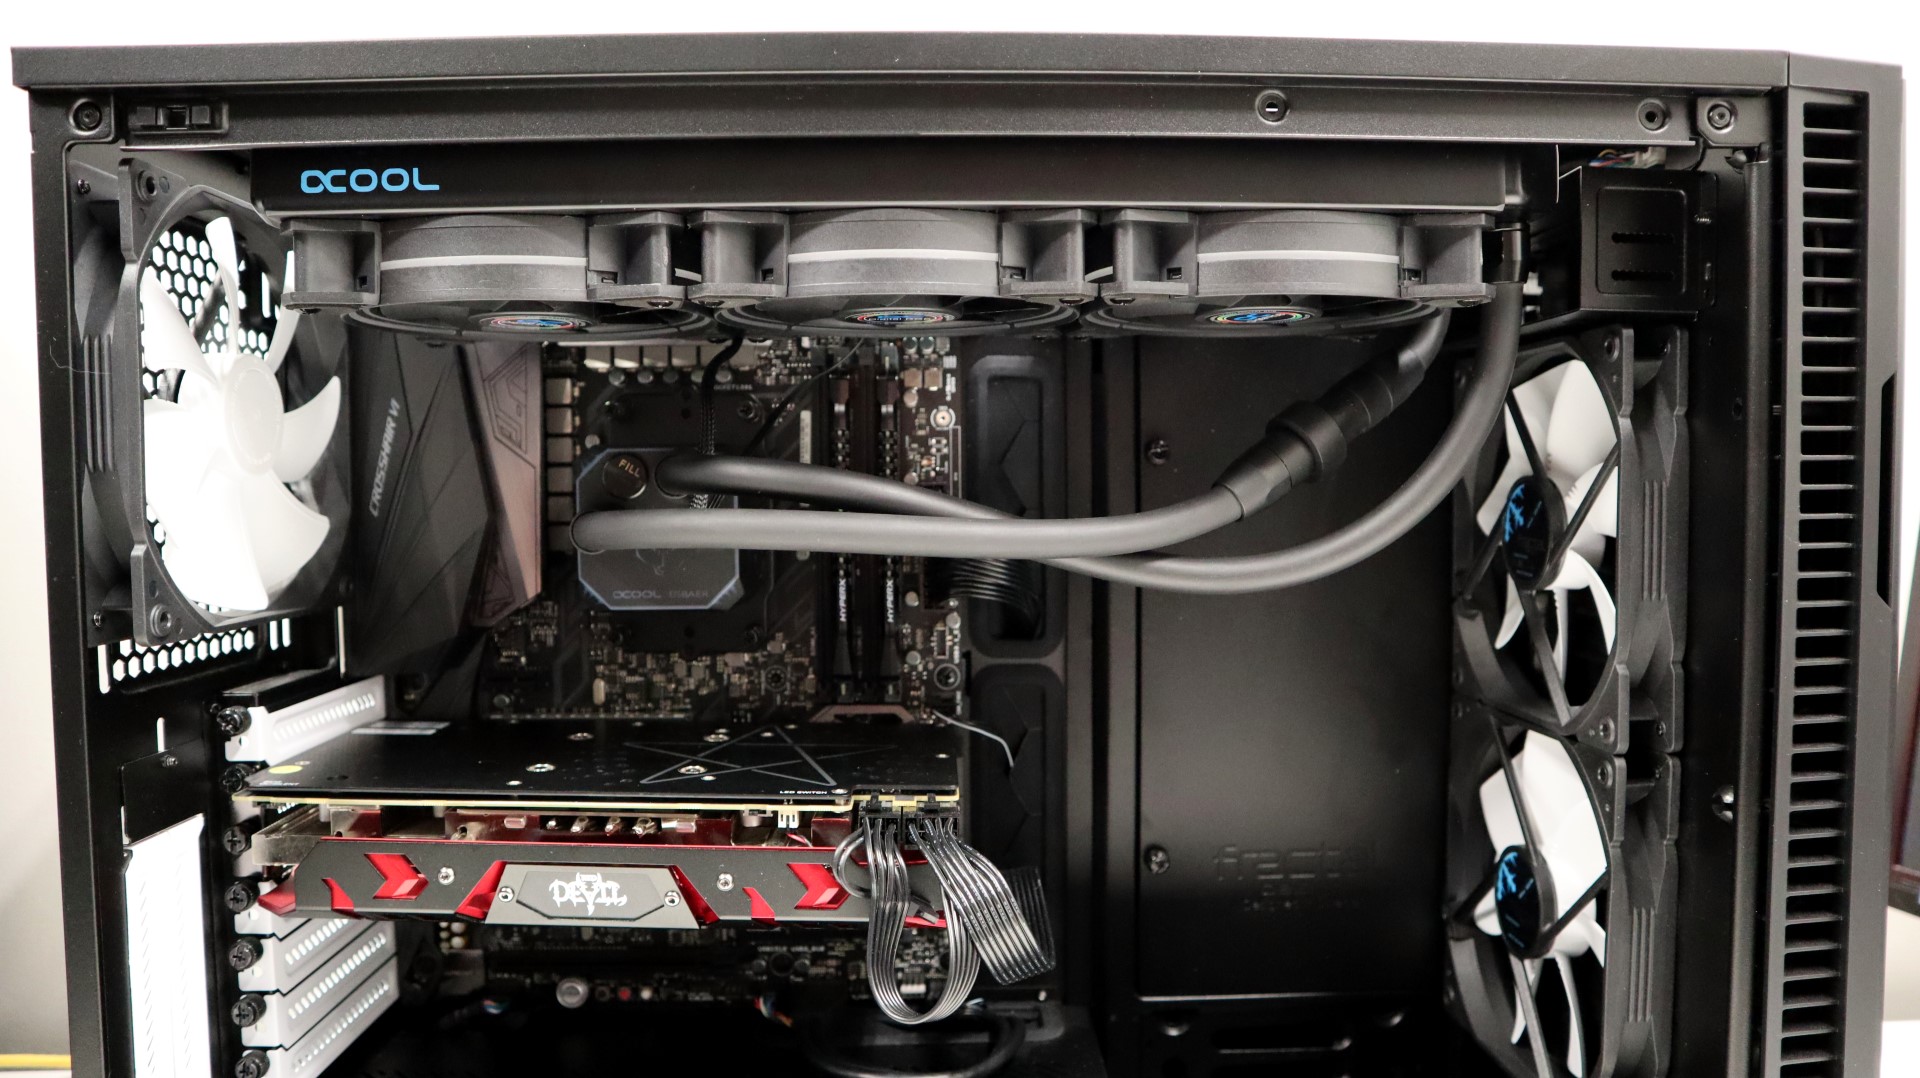
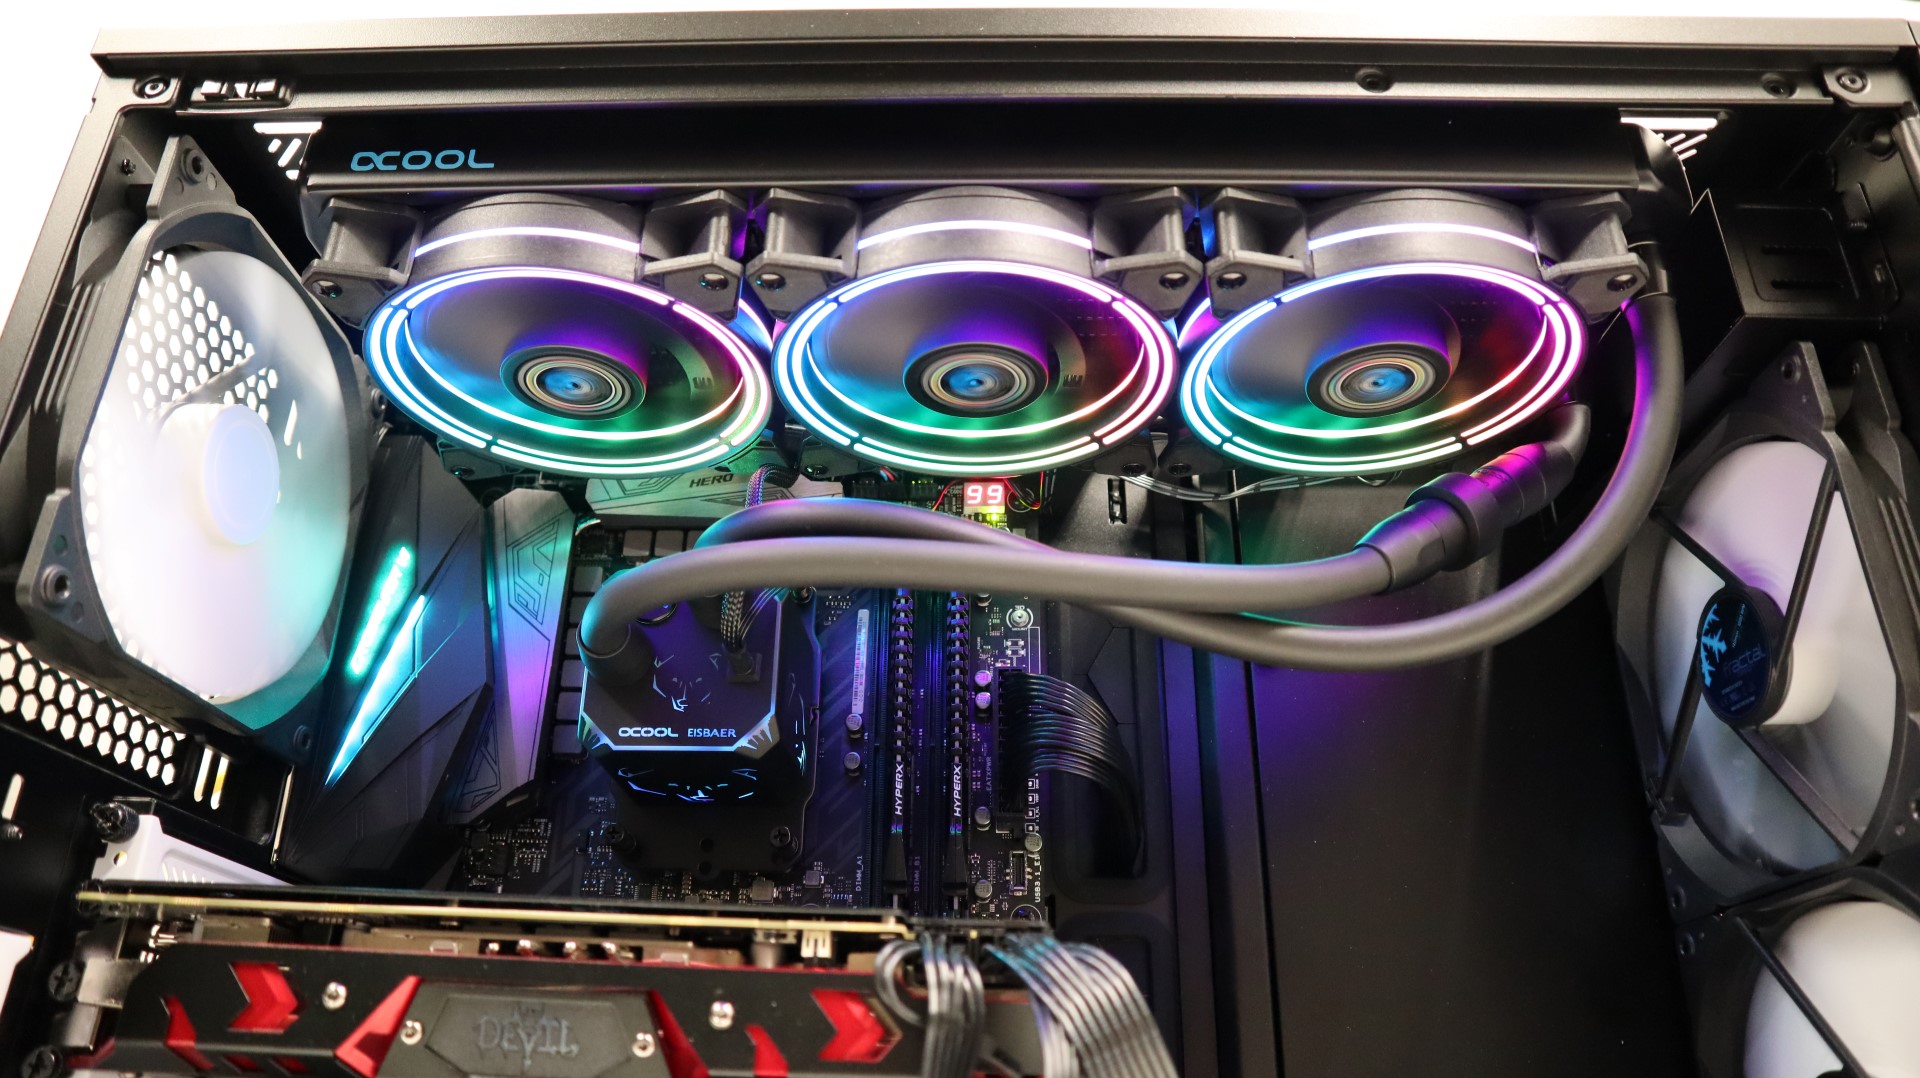
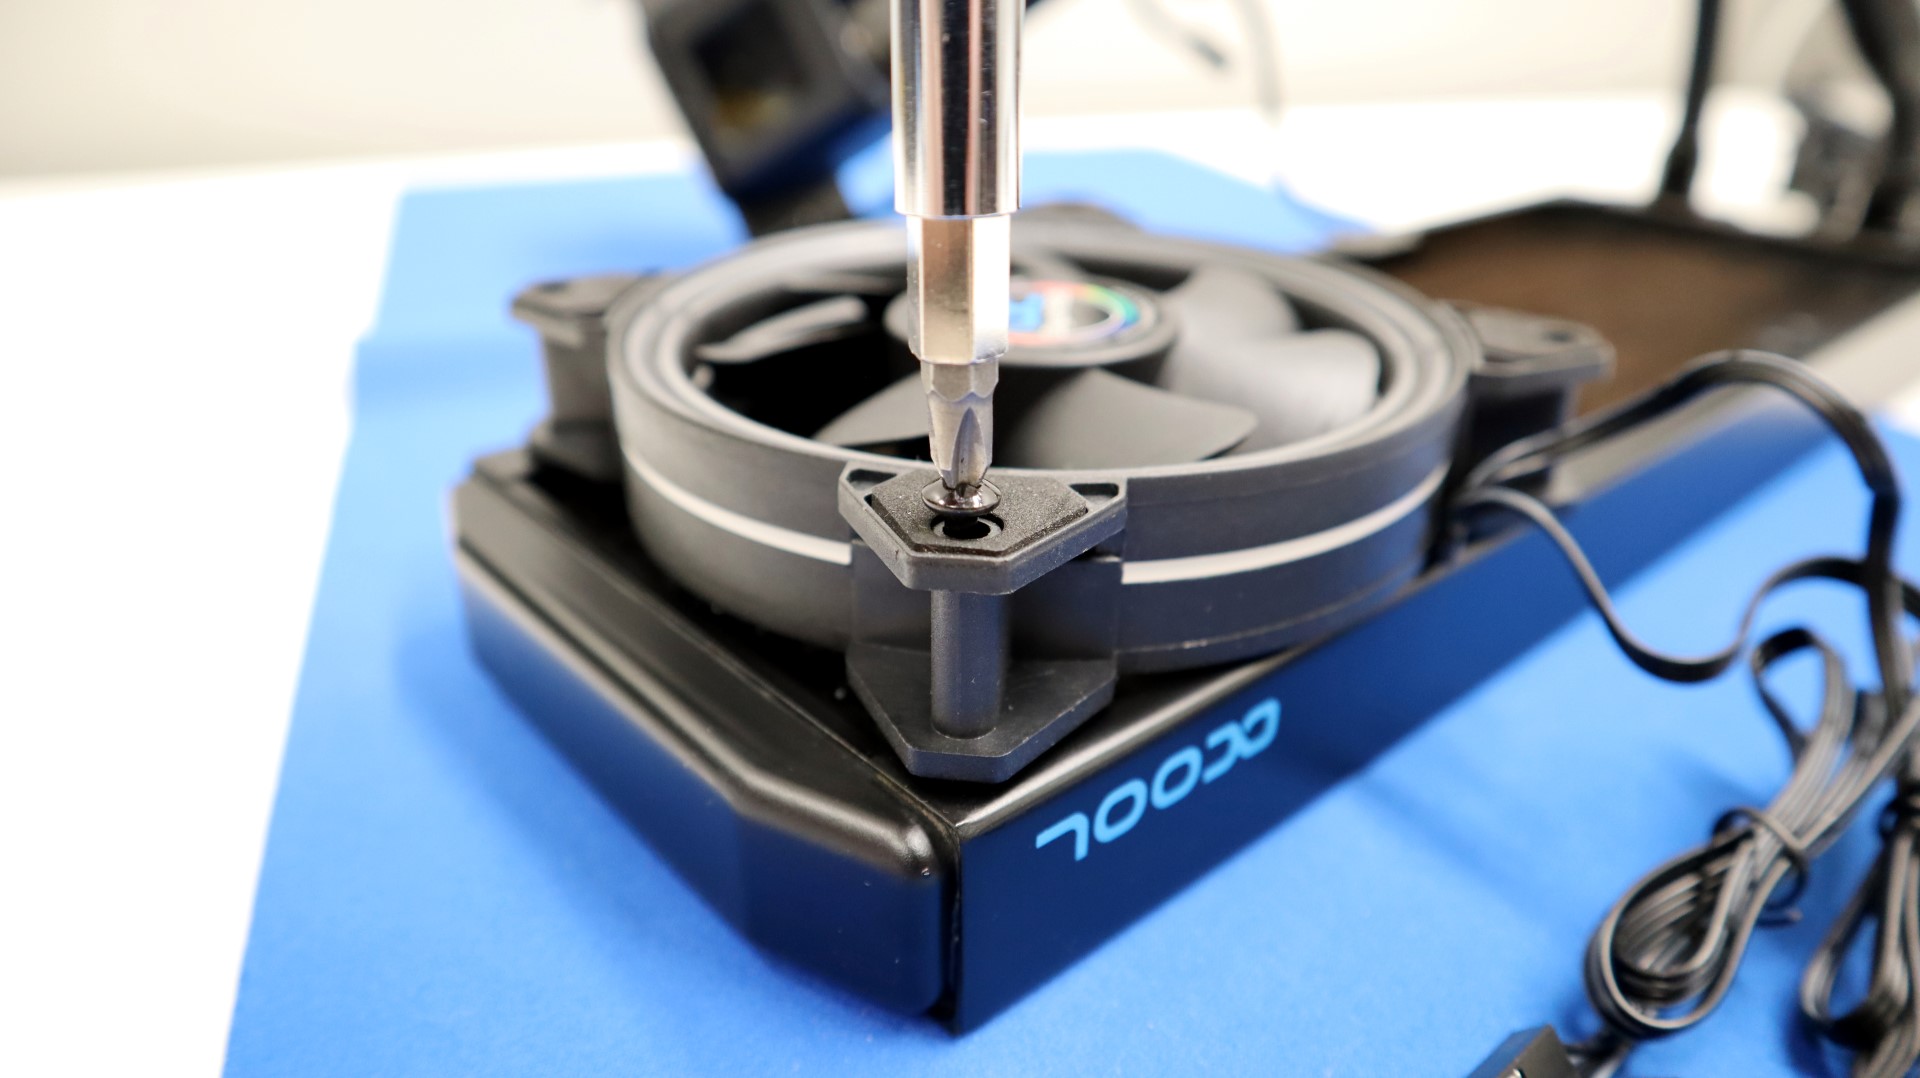
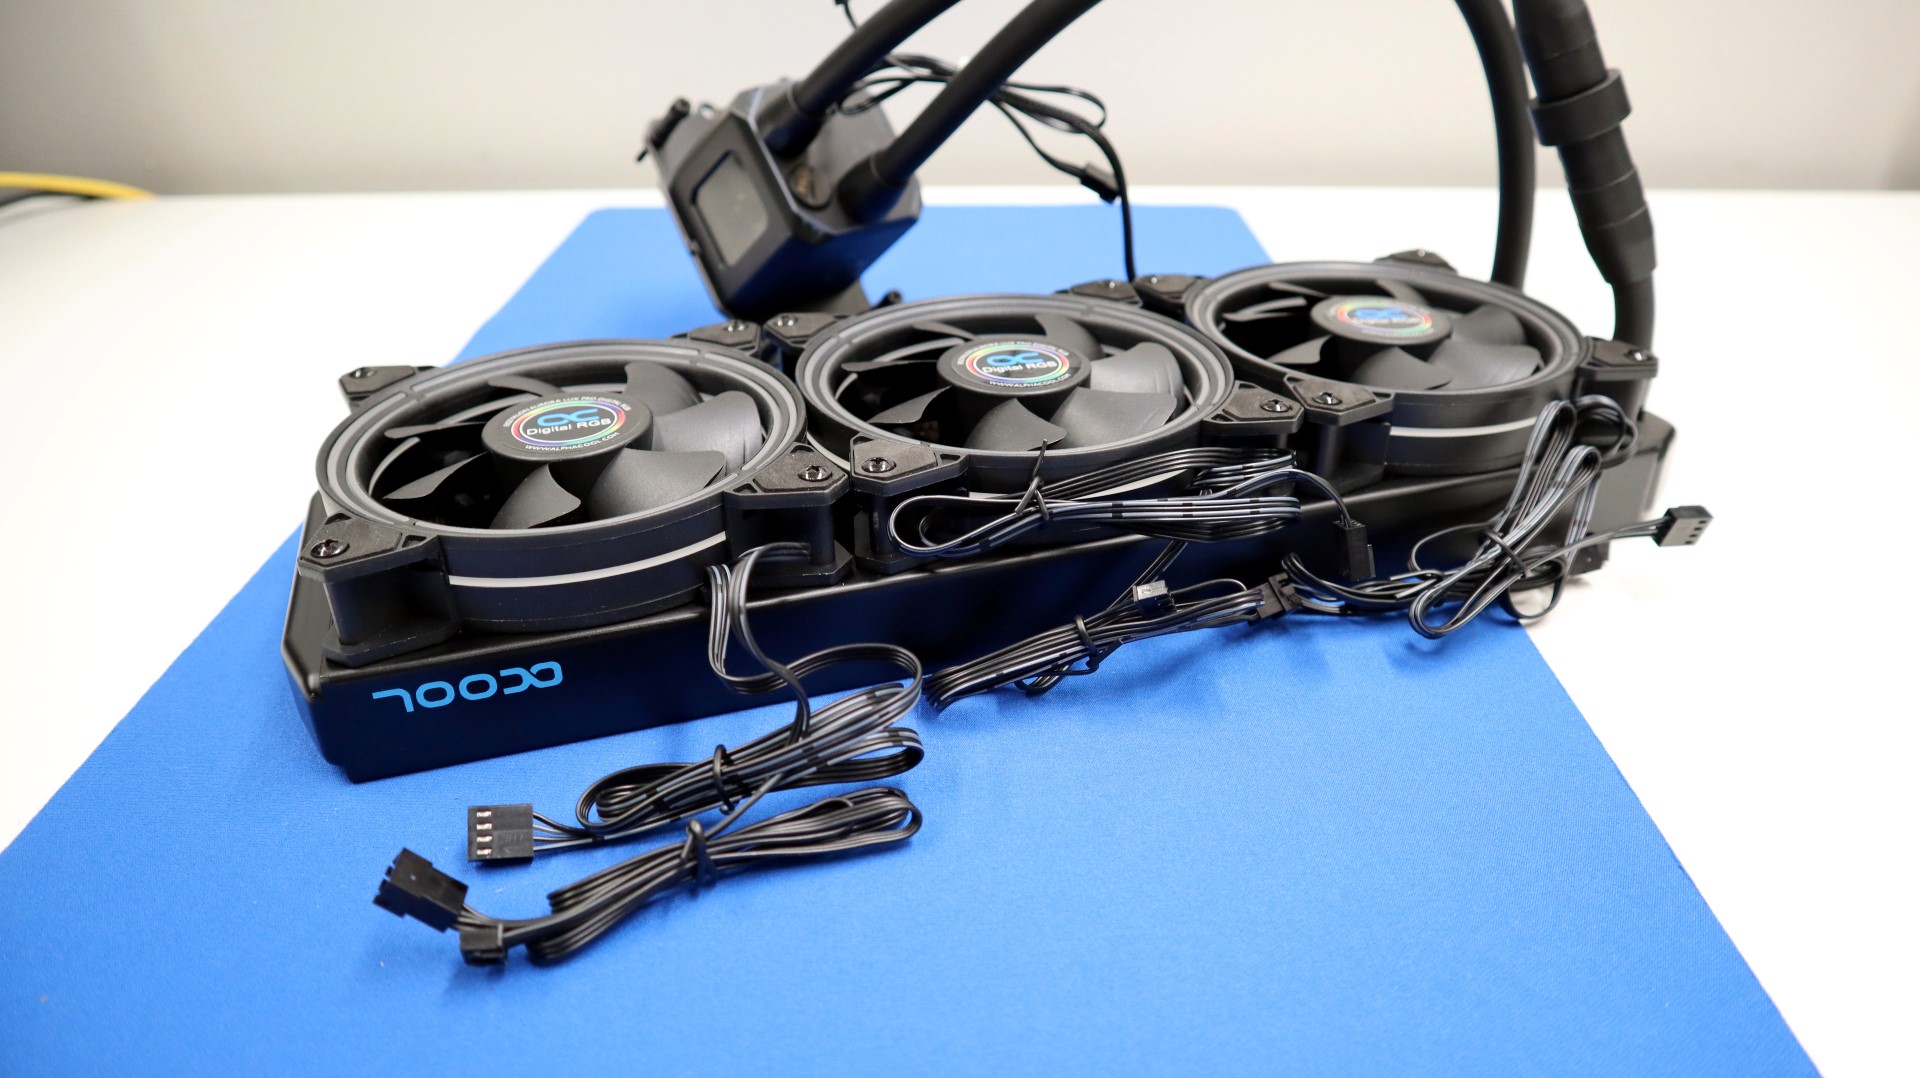
Our testing is performed with fans in a push configuration, so to get things started, we first needed to secure the three Aurora LUX Pro fans to the radiator using the supplied screws. This is a very simple process, and as long as you line up the screws with the screw holes, and know how to use a screwdriver, there isn’t much else to it.
One thing to keep in mind however, is the orientation of the fans with regards to their power cables. This becomes even trickier when DRGB lighting and the associated cabling is involved, as the wiring mess can quickly get out of control. We mounted the fans to the radiator so that their PWM and DRGB cables would be between the fan frames and our motherboard tray. That allows us to easily route them behind the motherboard tray for easier cable management.
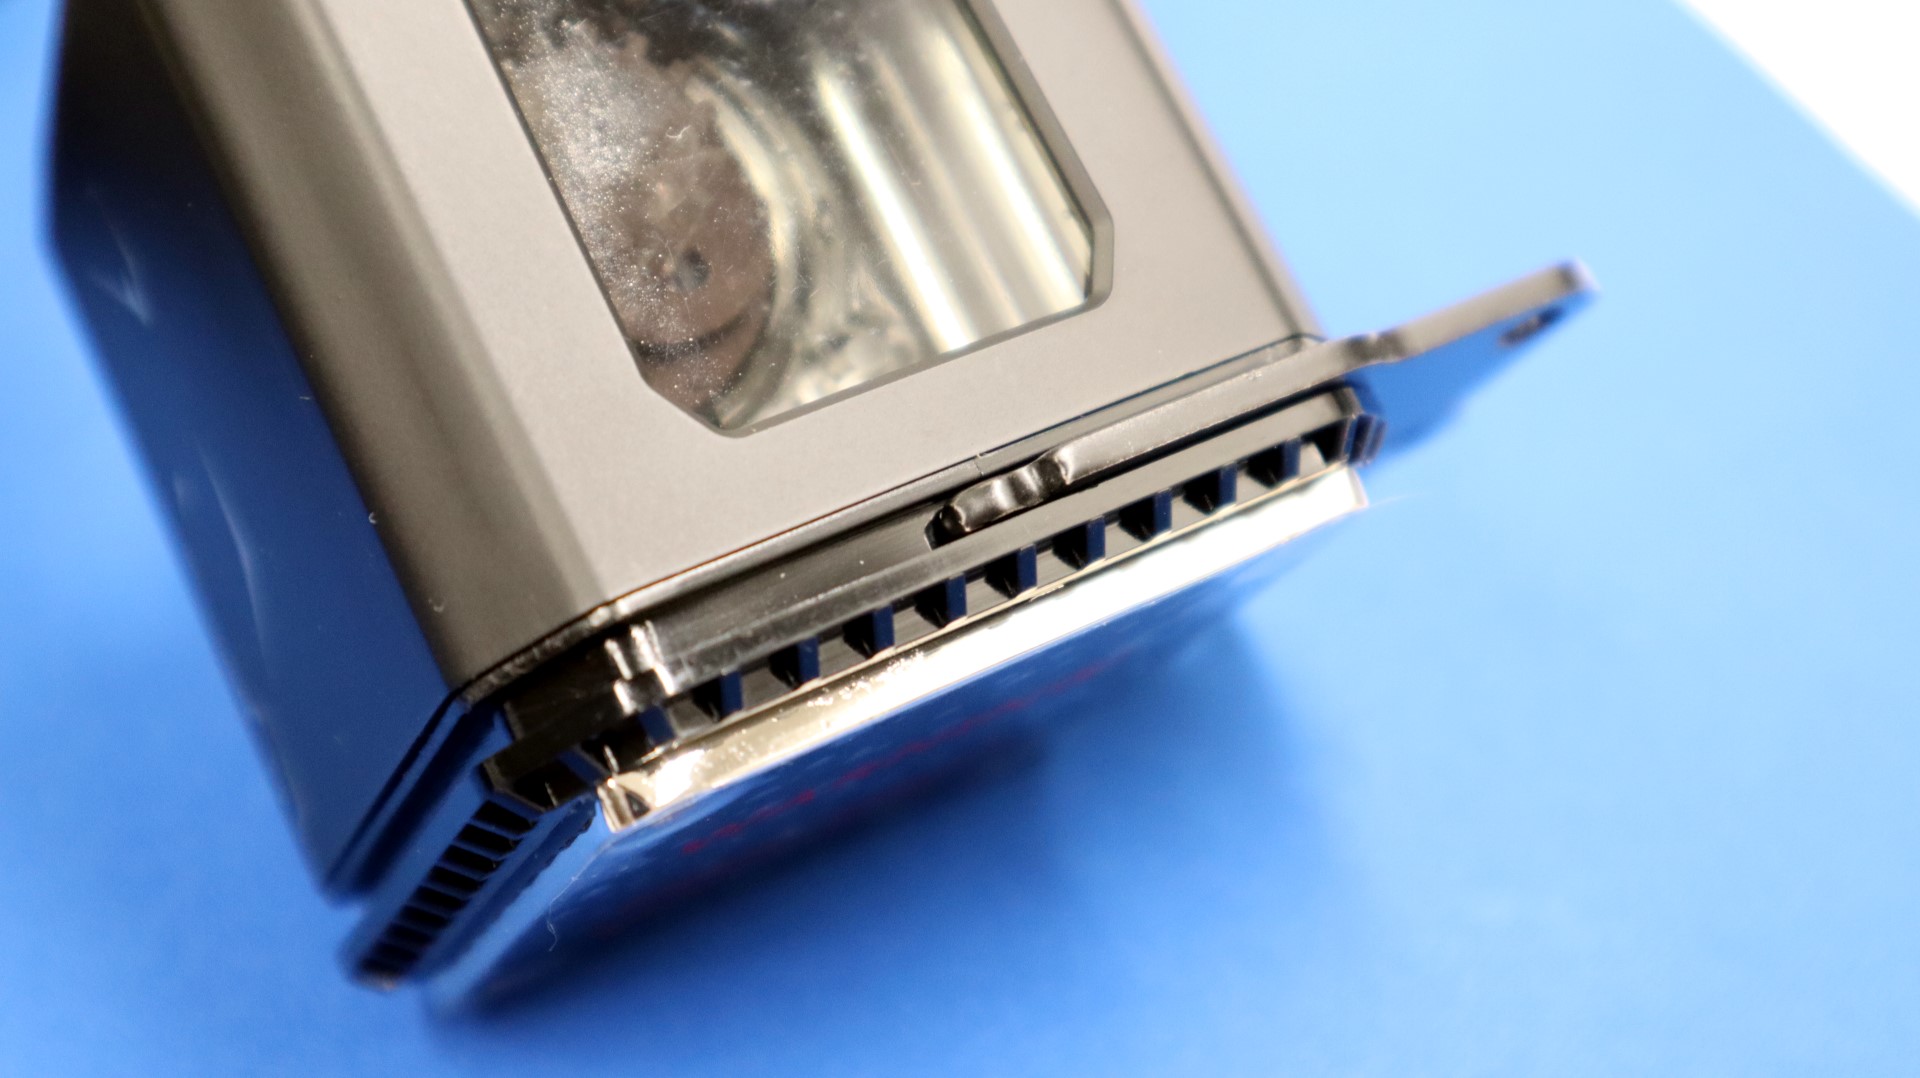
As we will be testing this AIO on our AMD 1800X-based test system, we first had to install the AM4 mounting hardware to the pump housing. Thankfully, Alphacool has made this a very easy process, and no tools are required to attach the brackets to the pump housing. Bracket installation is as simple as sliding two brackets towards each other and snapping them into place.
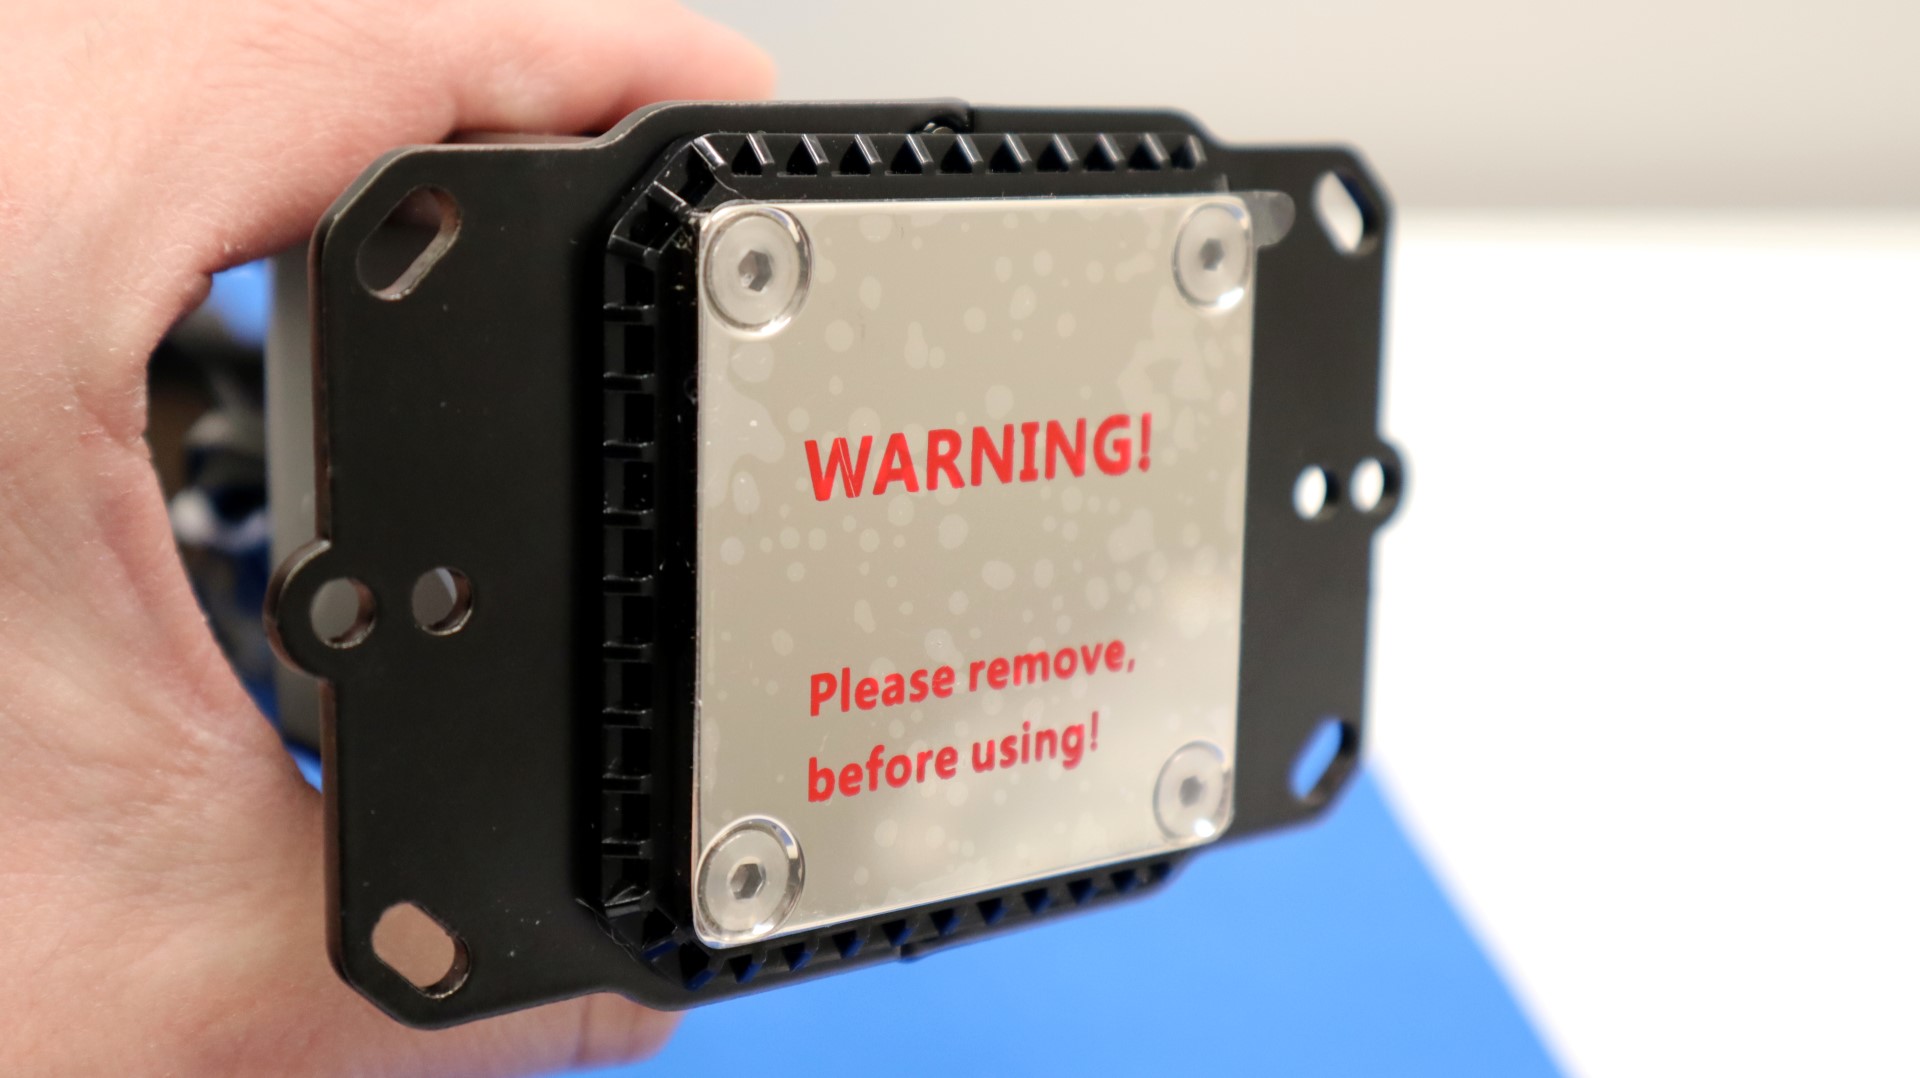
We did have to double check our bracket orientation to make sure that the window of the reservoir would be facing up in our installation, as that is the recommended configuration from Alphacool. This is where reading over the installation instructions comes into play.
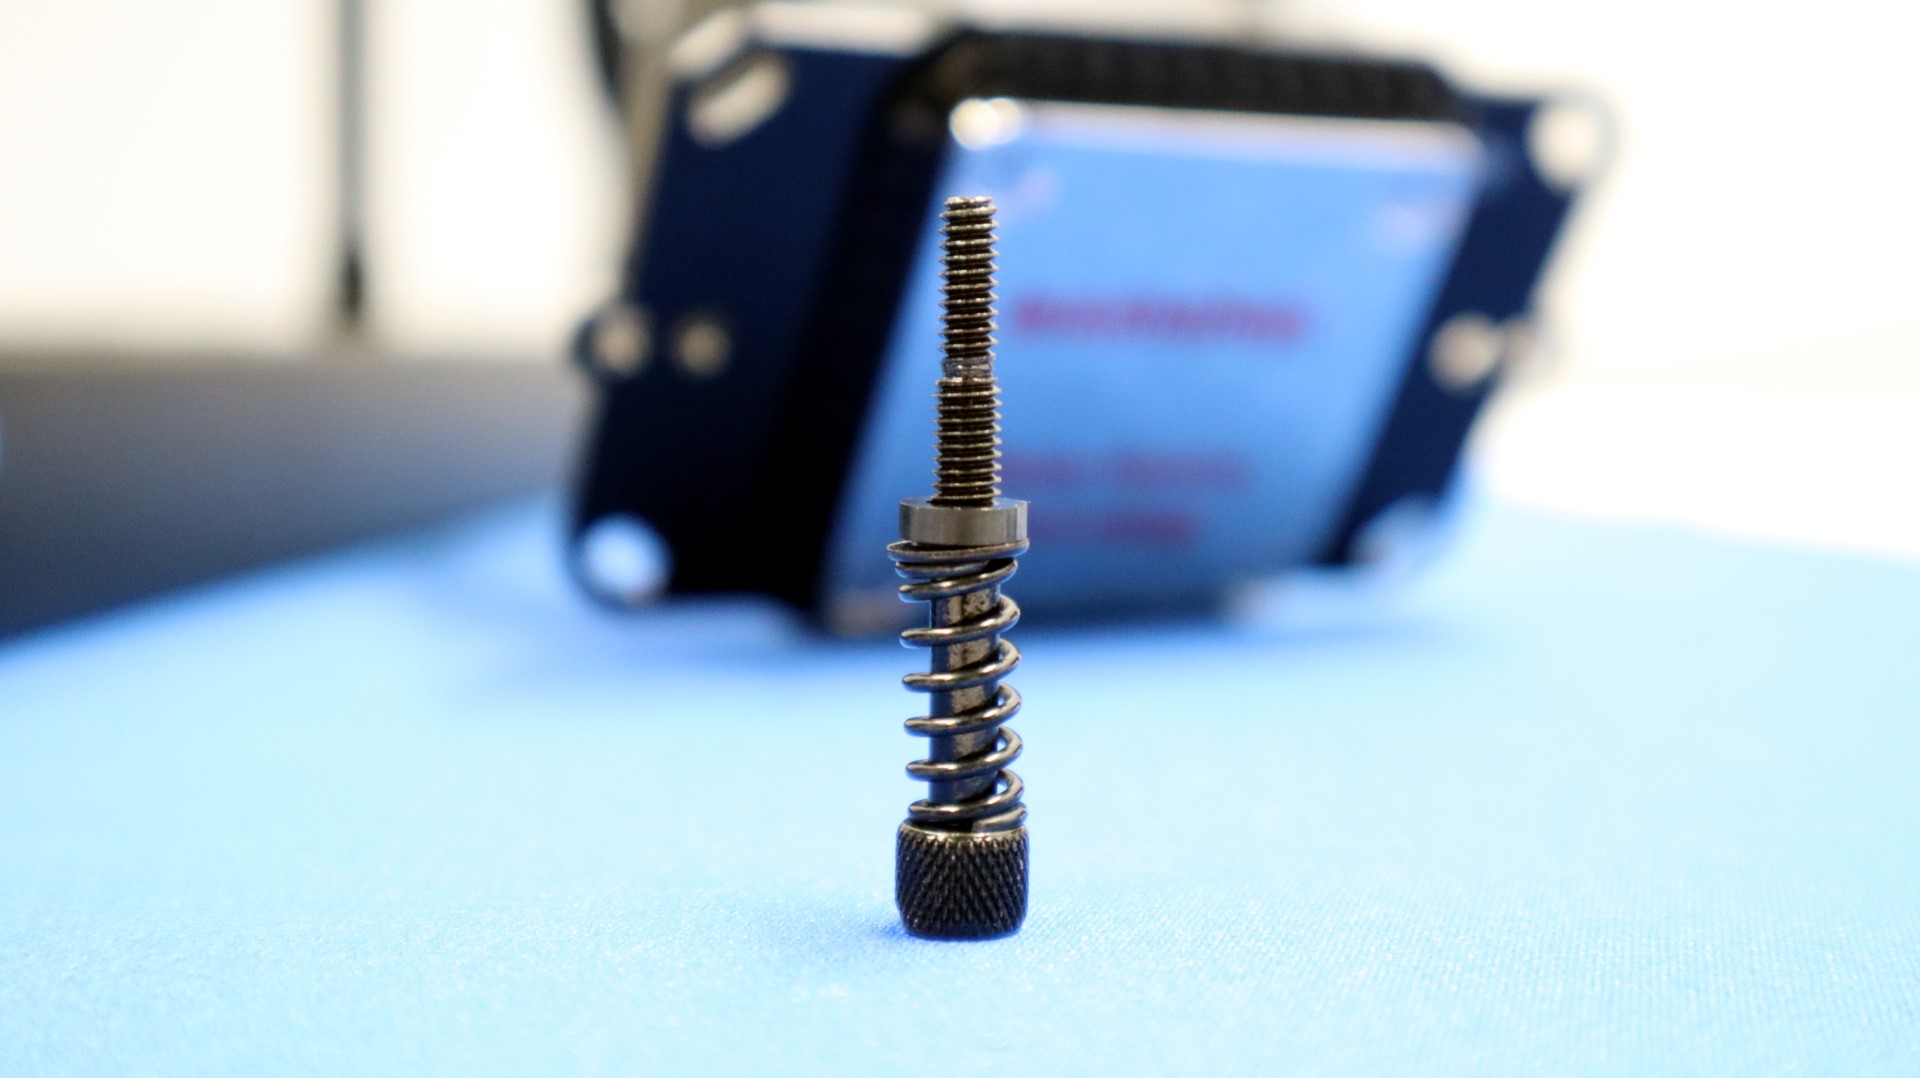
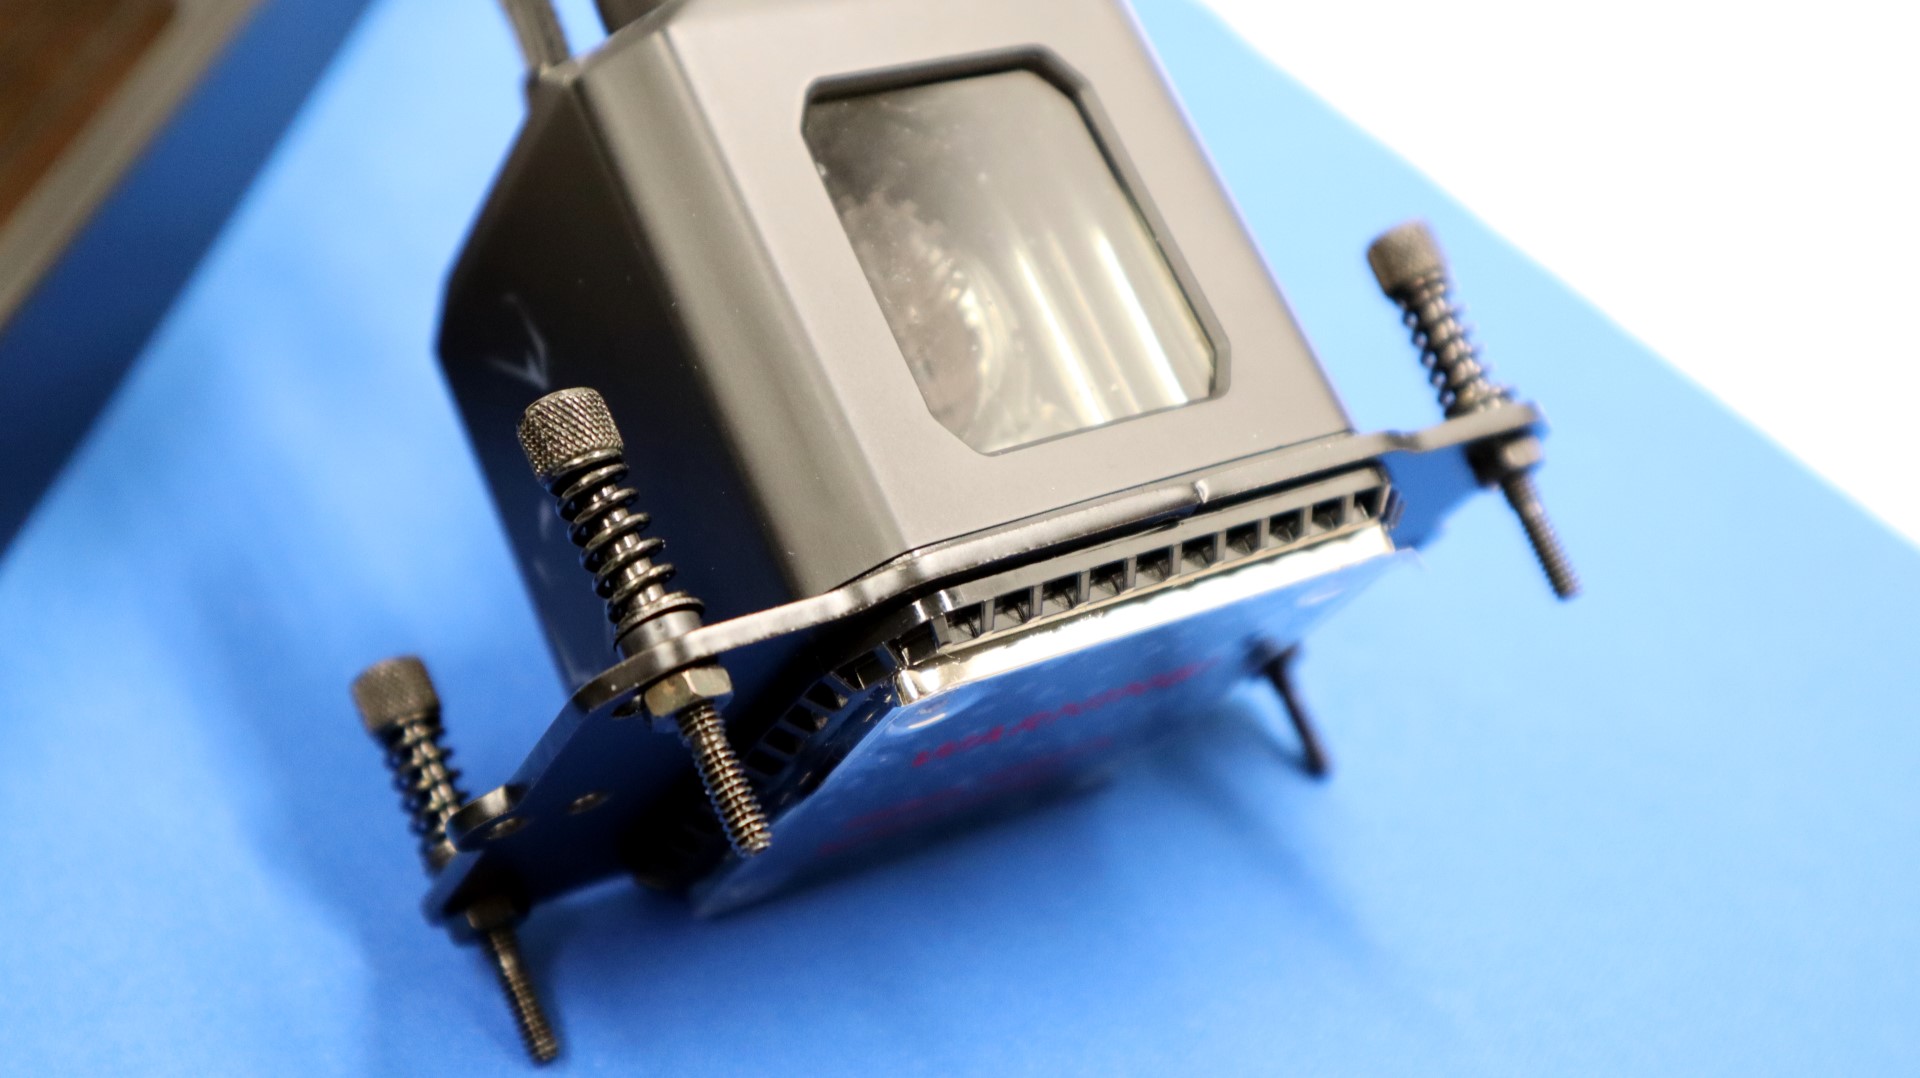
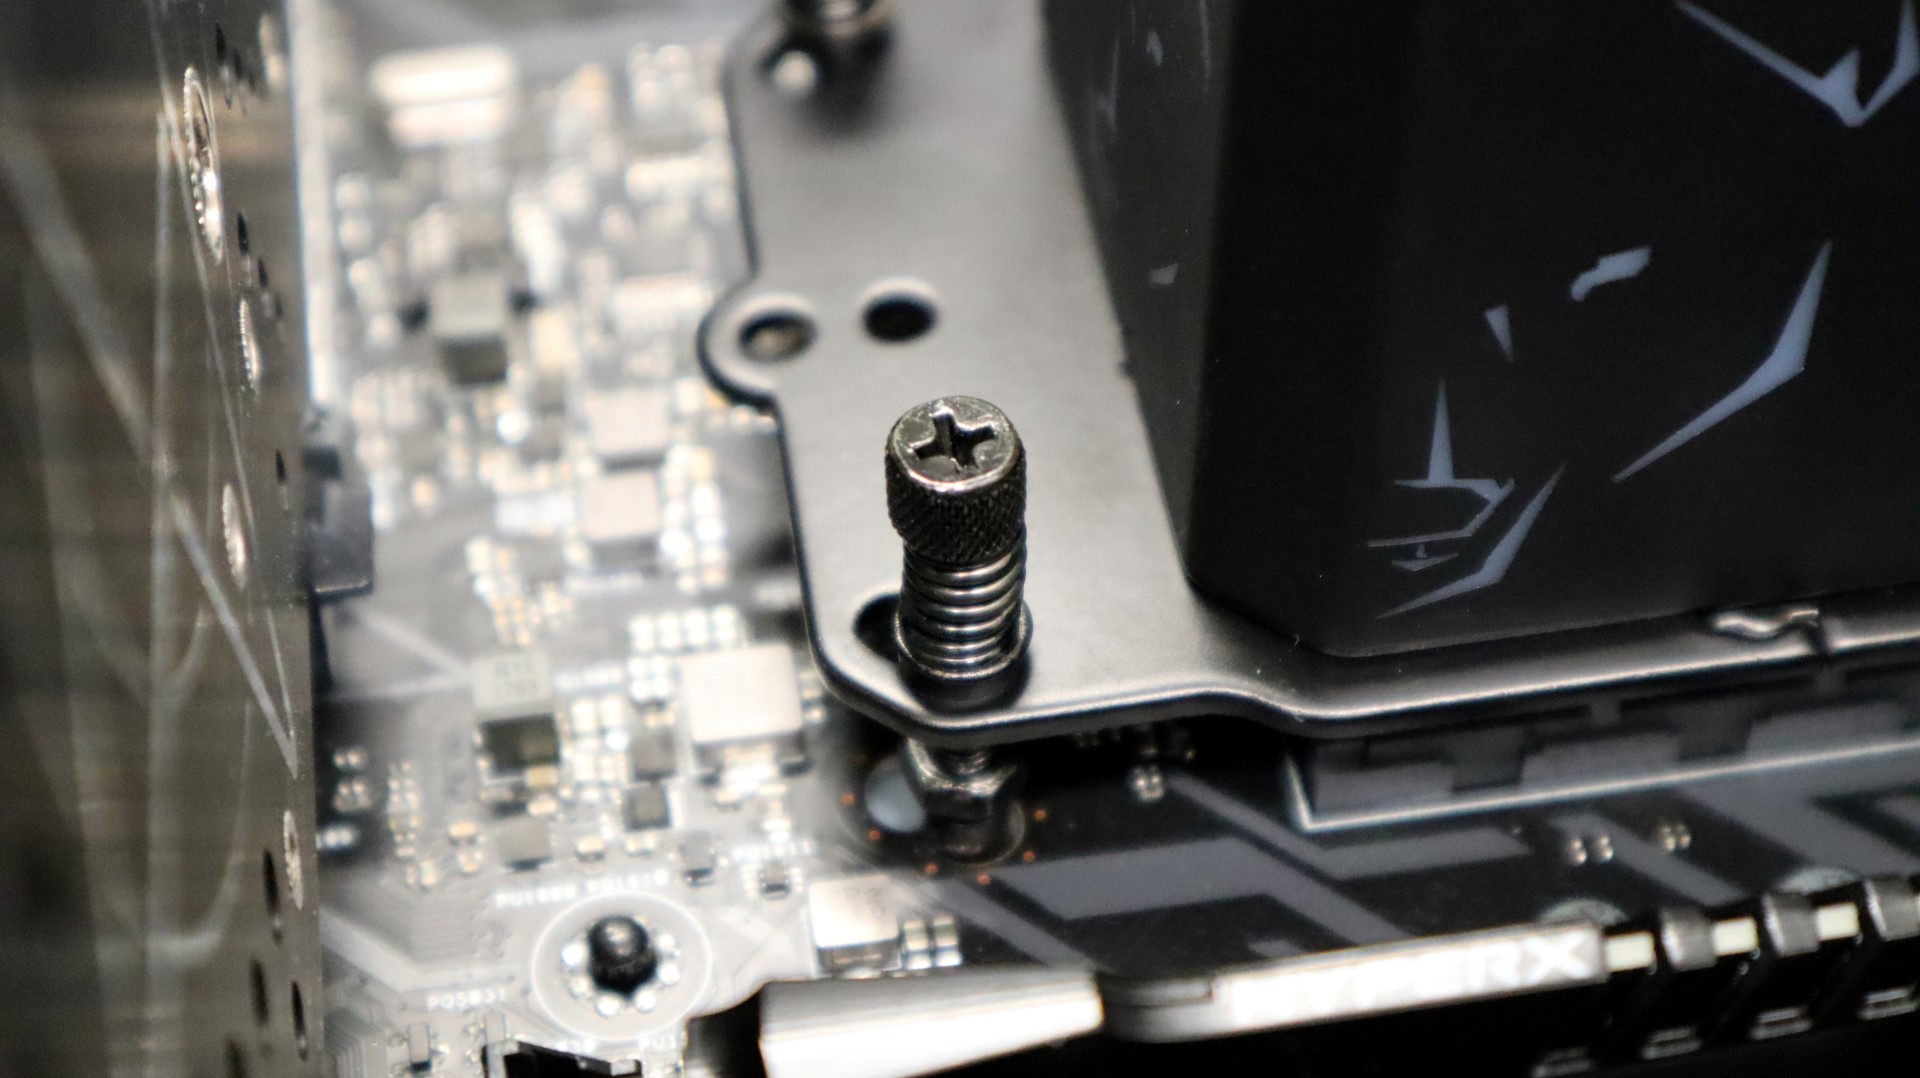
With the correct brackets in place, we then proceeded to attach the mounting hardware to the brackets. This consisted of a long screw, spring, washer, and nut at each corner that will pair up with the AM4 mounting block holes.
All of our mounting hardware is in place, and we are ready to move on.
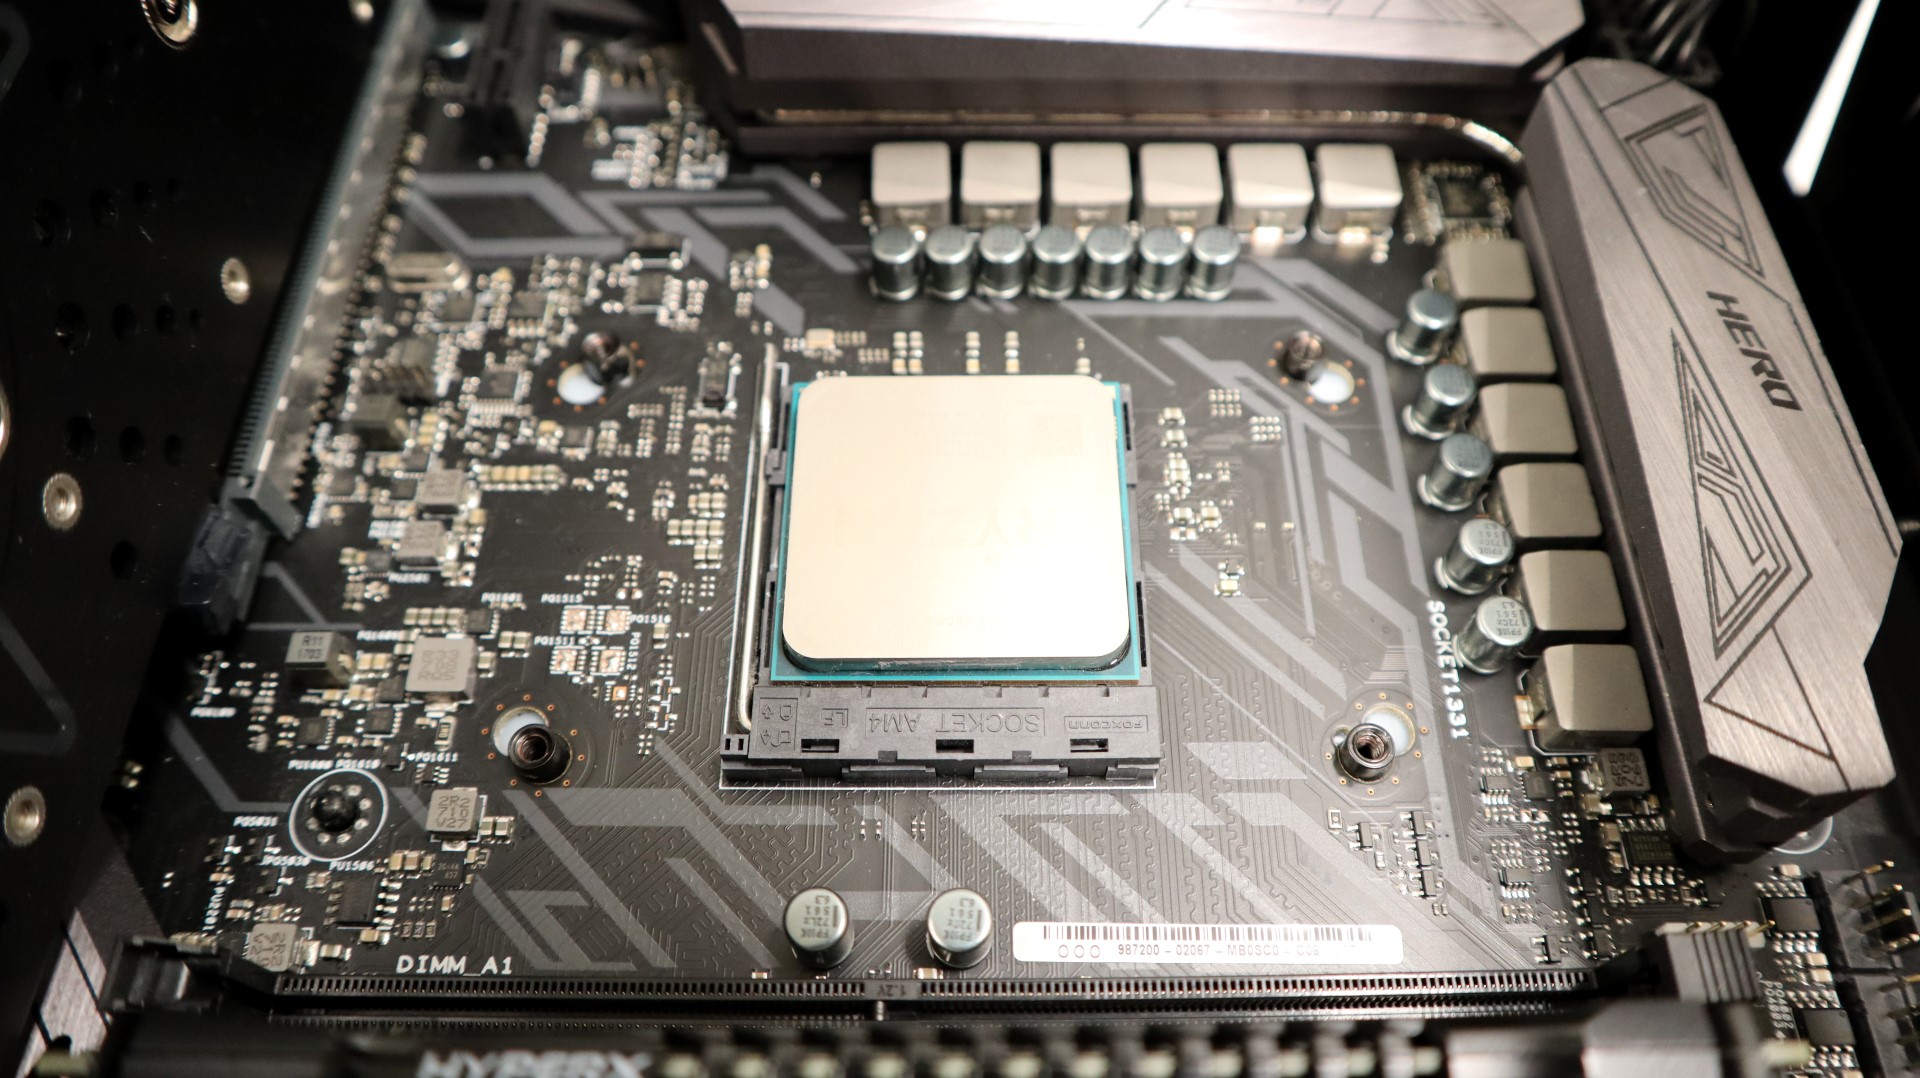
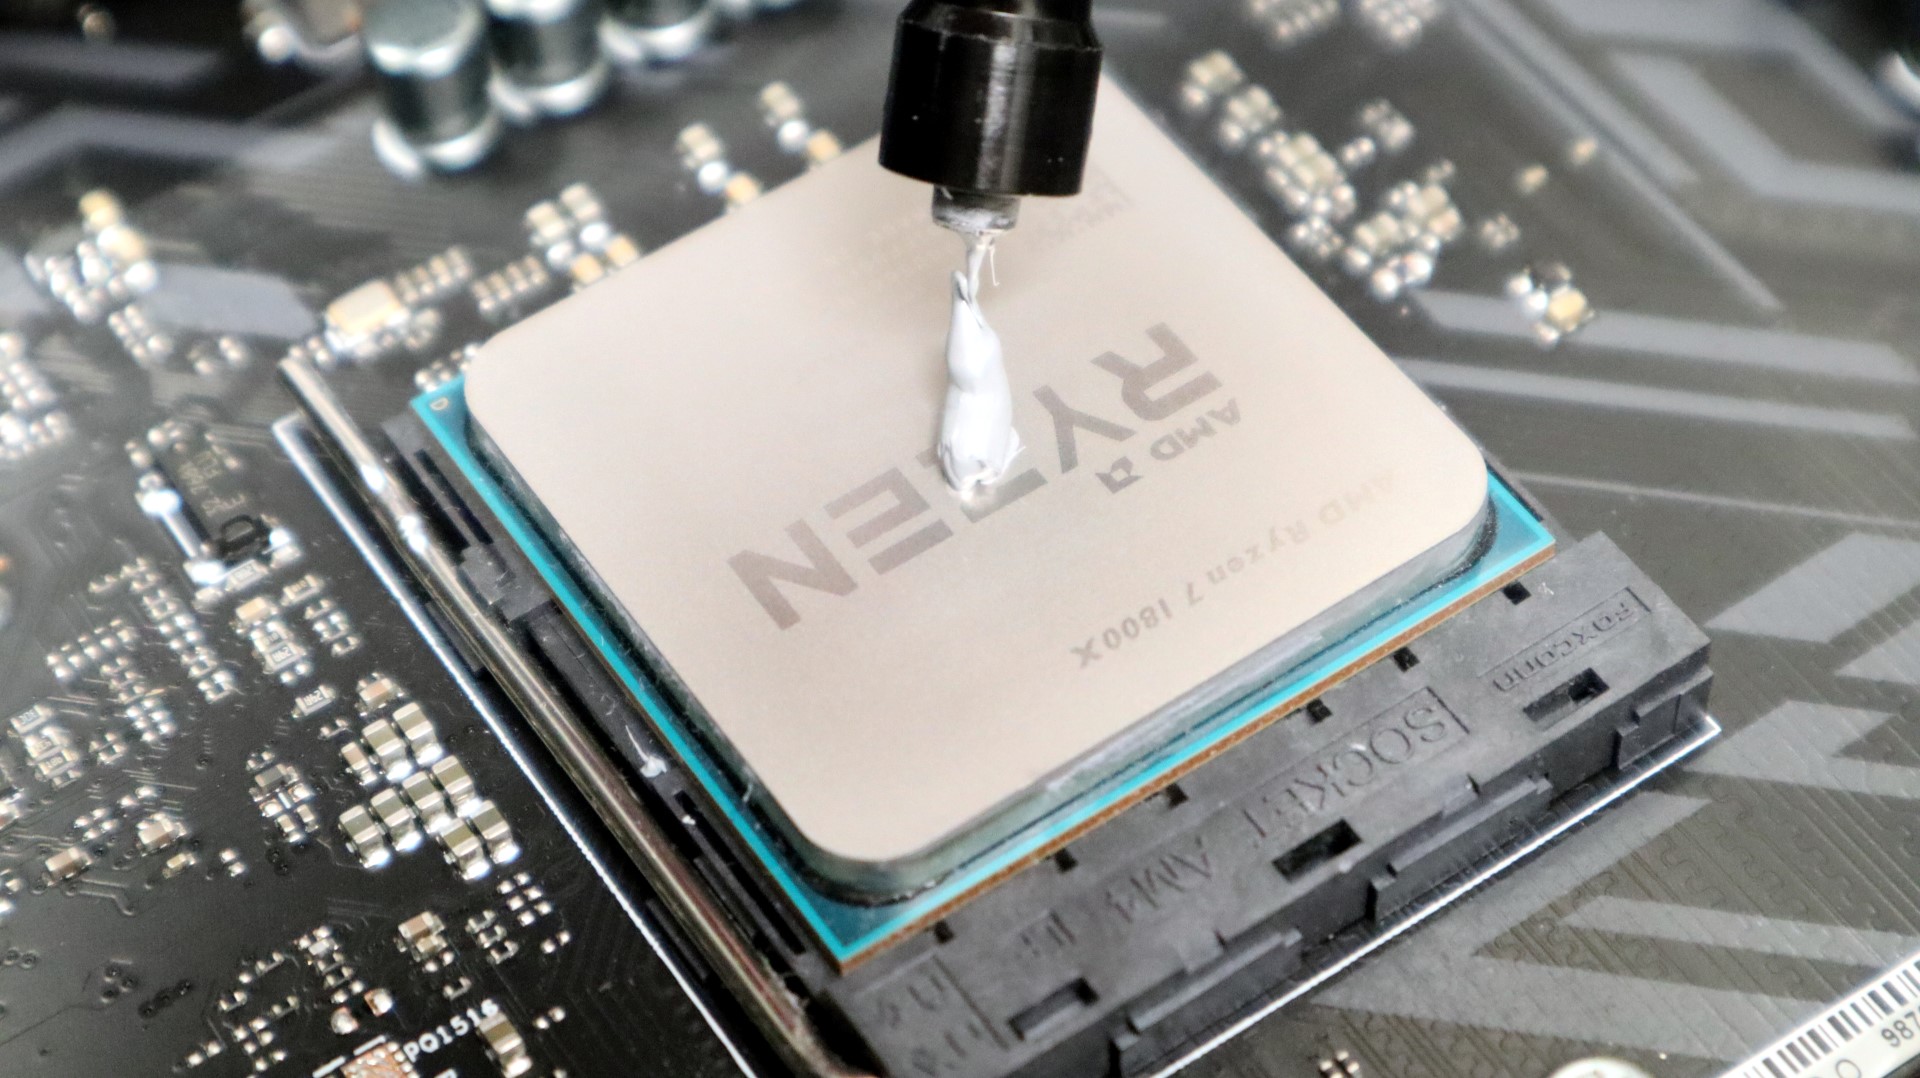
Next up, we did need to remove the factory AM4 mounting blocks from our motherboard, as the Eisbaer Aurora 360 takes advantage of the four screw holes that are used for these blocks.
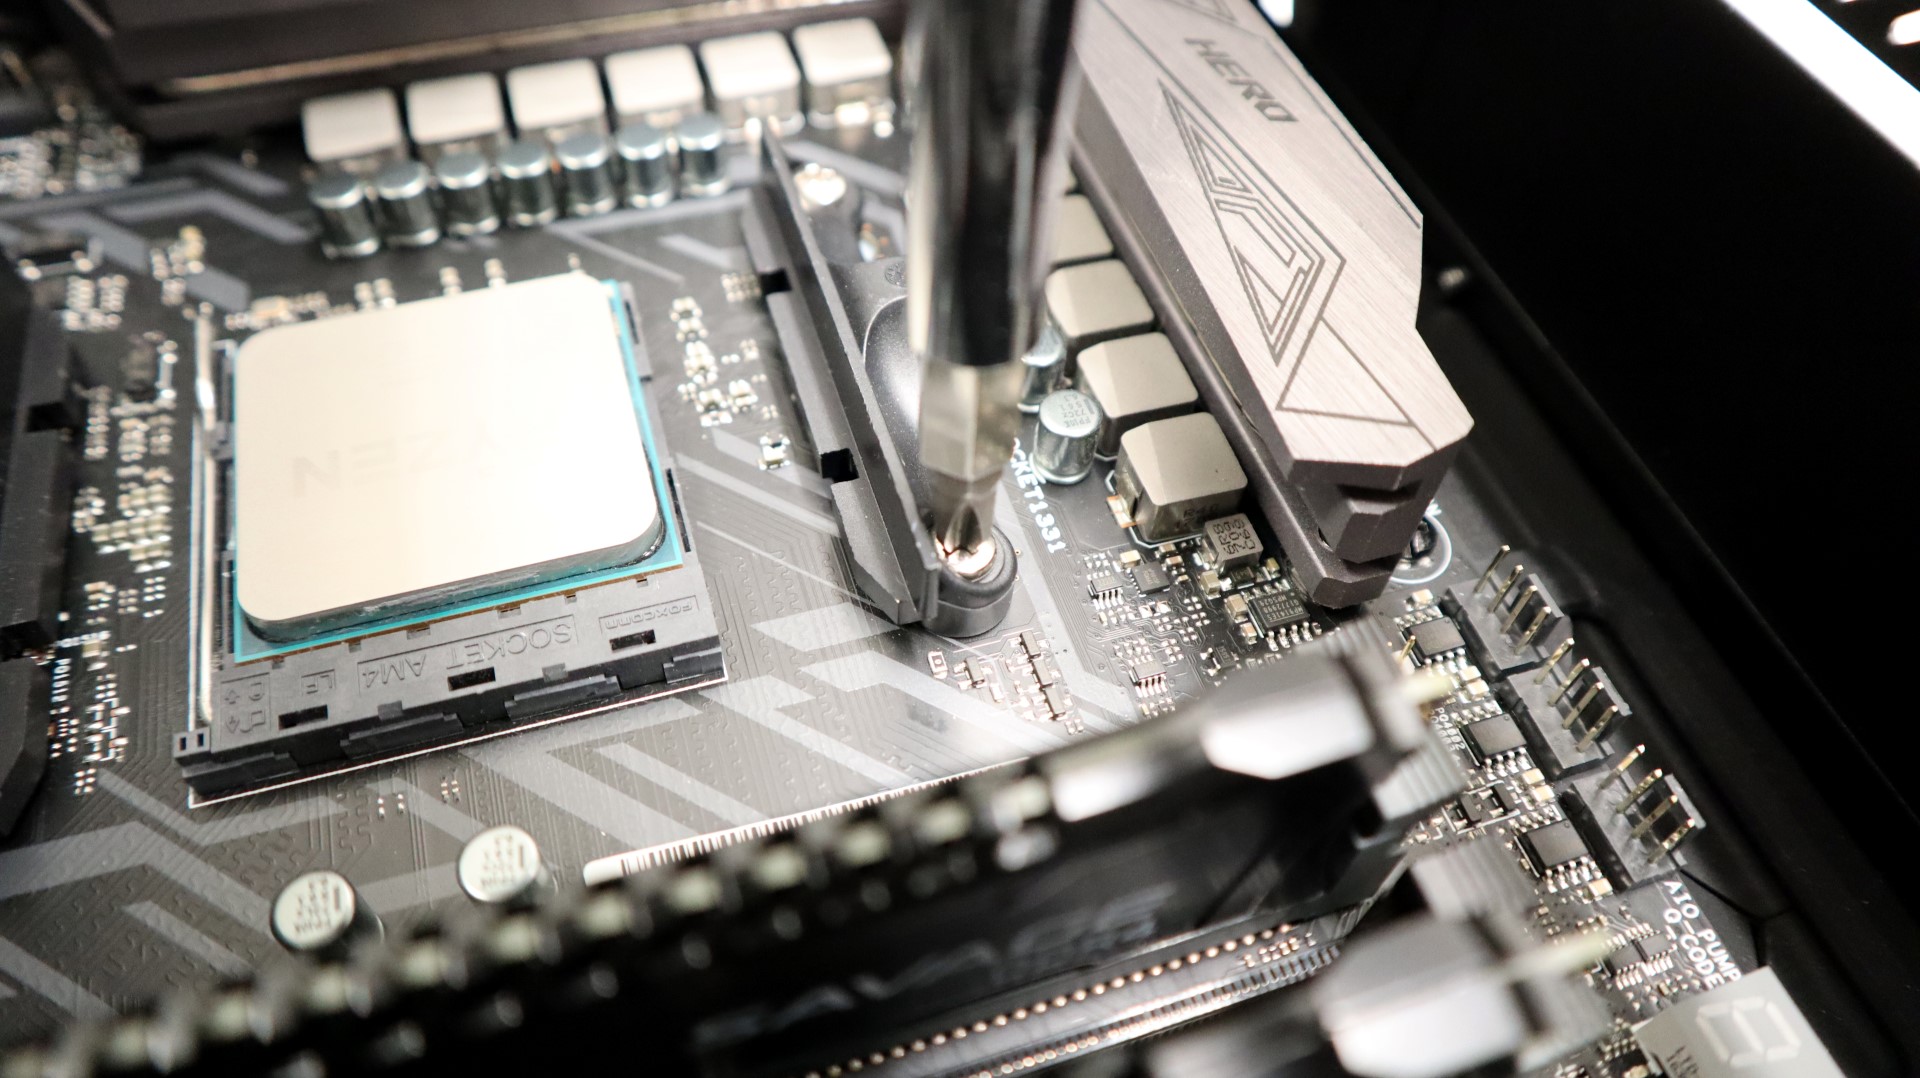
With the blocks out of the way and a small application of the included thermal paste on our CPU, we simply worked our way around the mounting hardware, tightening each corner by hand, making sure not to over-tighten.
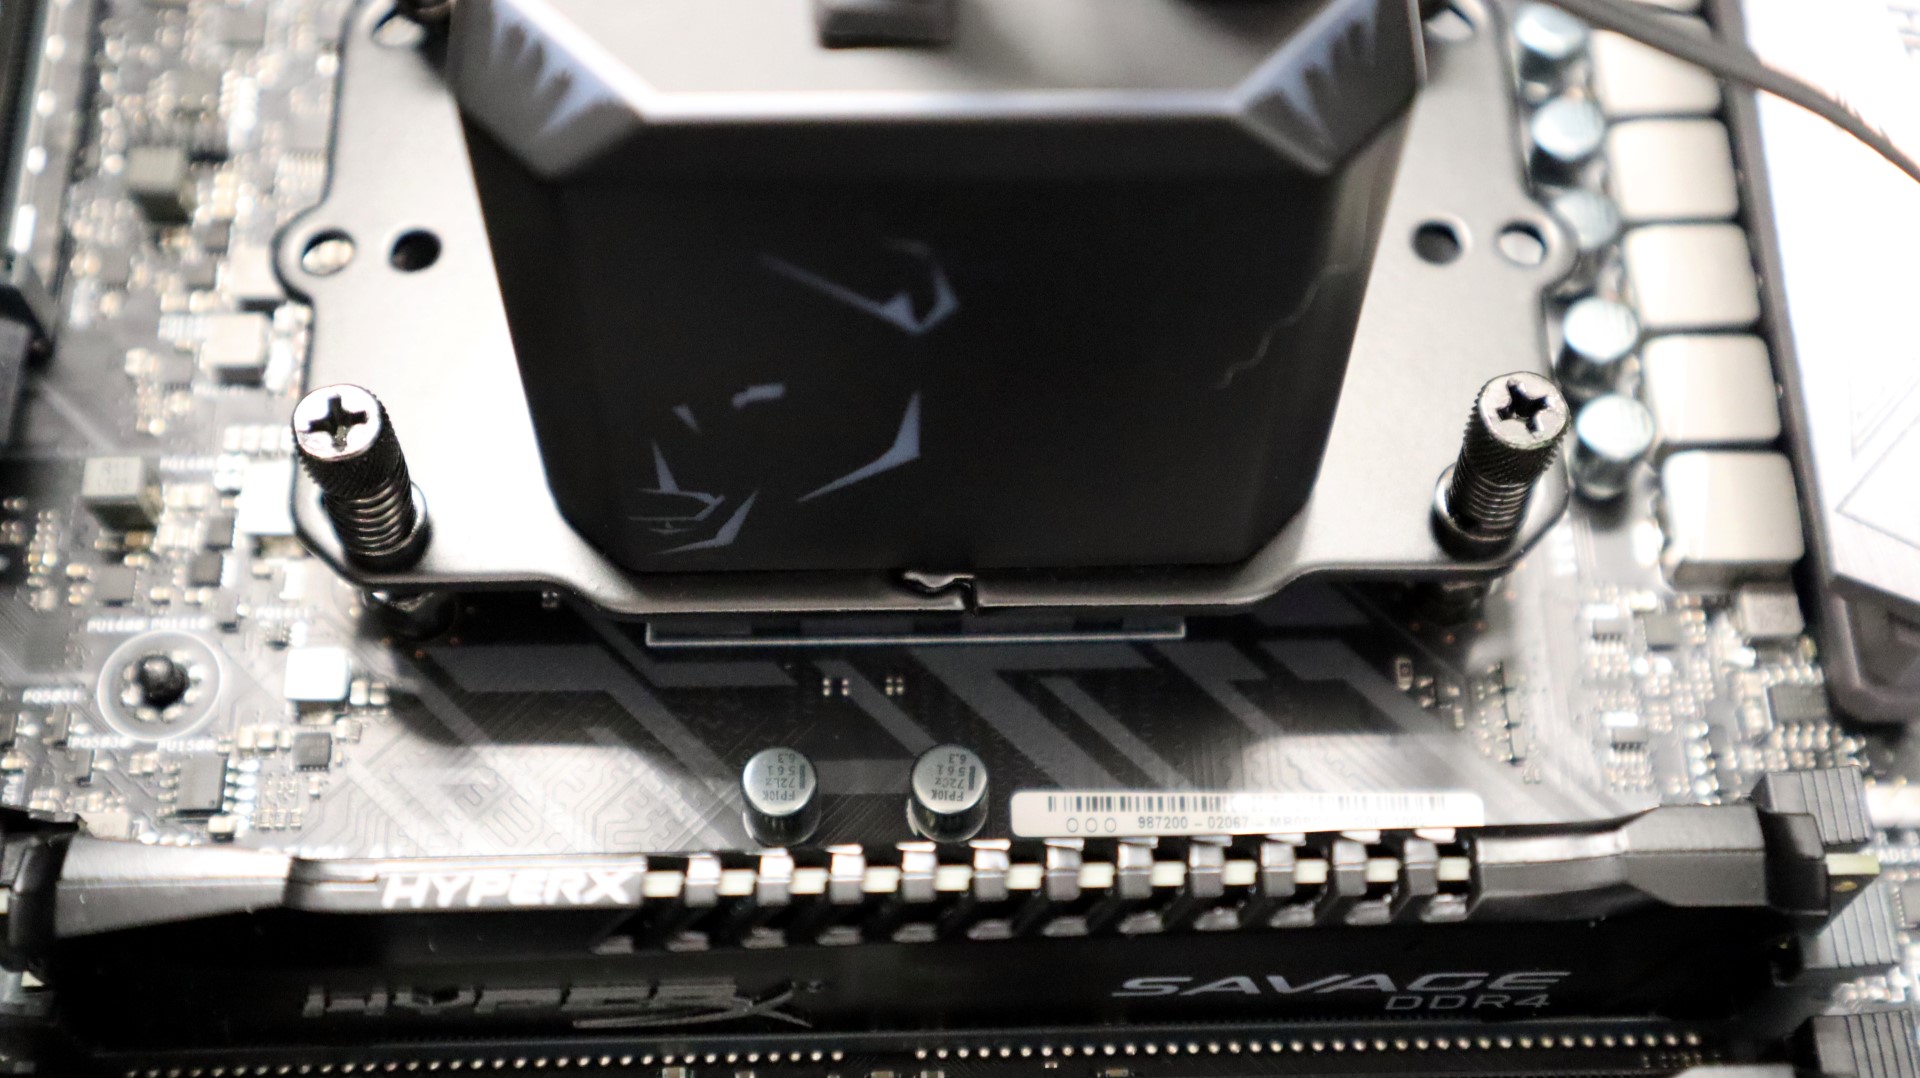
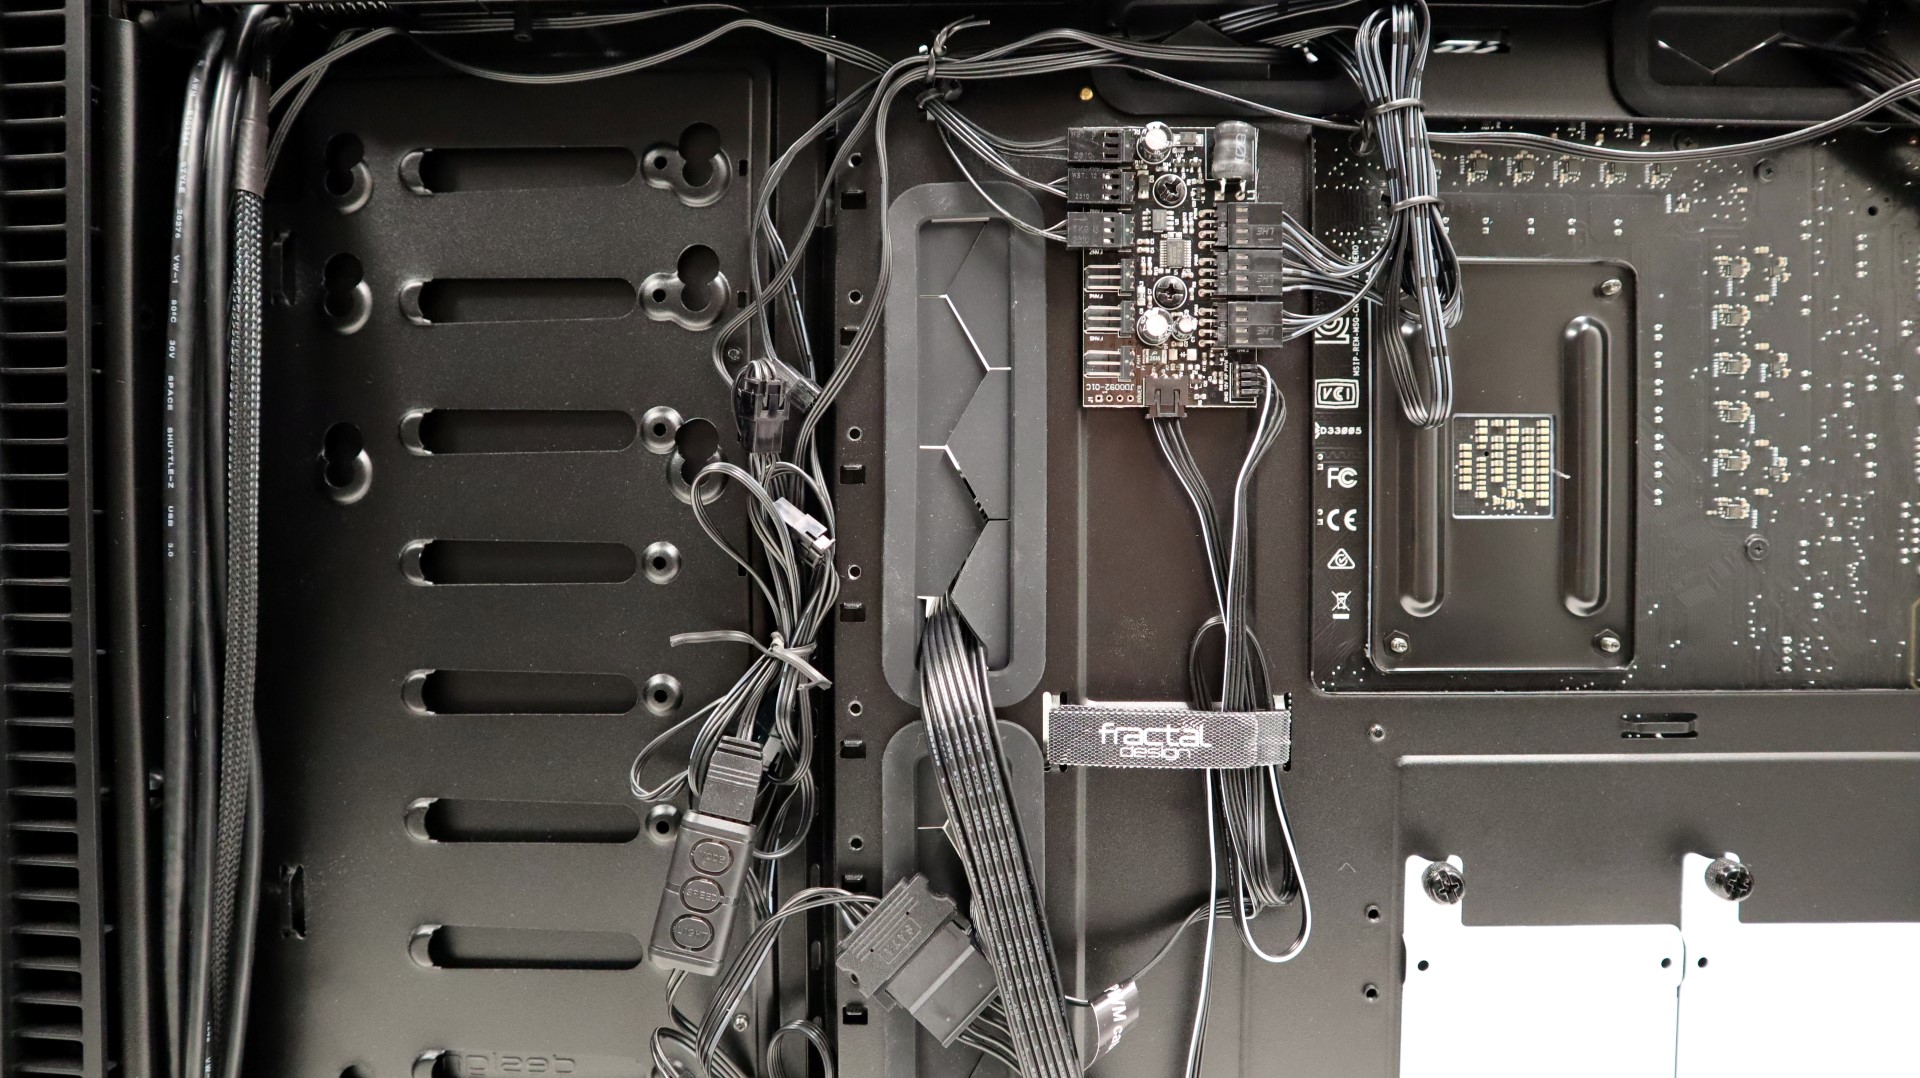
We then attached the 3-pin power connection to our motherboard’s 4-pin CPU header for power, and routed the lighting cable through our motherboard tray’s cable management cutout. With the CPU side of things taken care of, we next turned to our radiator and fans. Routing the power and lighting cabling through our motherboard tray’s cable management holes took a bit of time, but when you think about what it takes to nicely route six cables at the top of the case, that’s not much trouble.

Next up is attaching the radiator to the top of our case. Just like attaching the fans to the radiator, attaching the radiator to the case was a simple task. Using the twelve included screws, we simply aligned them with the appropriate mounting points on our case, and tightened. We then pulled the slack out of the power and lighting cables from the right side of the case. This cleaned up the main compartment of the case and prepared us for a bit of cable management. Bundling the resulting mess of cabling took a bit of time, but we were able to connect the three Aurora LUX Pro fans power to our test case’s built-in fan controller. The remaining DRGB wiring was bundled up and connected to the pump housing’s lighting connector, and lastly to the included lighting controller.
With the cooler fully installed and wired up, we were ready to fire our system up and see how it performs.