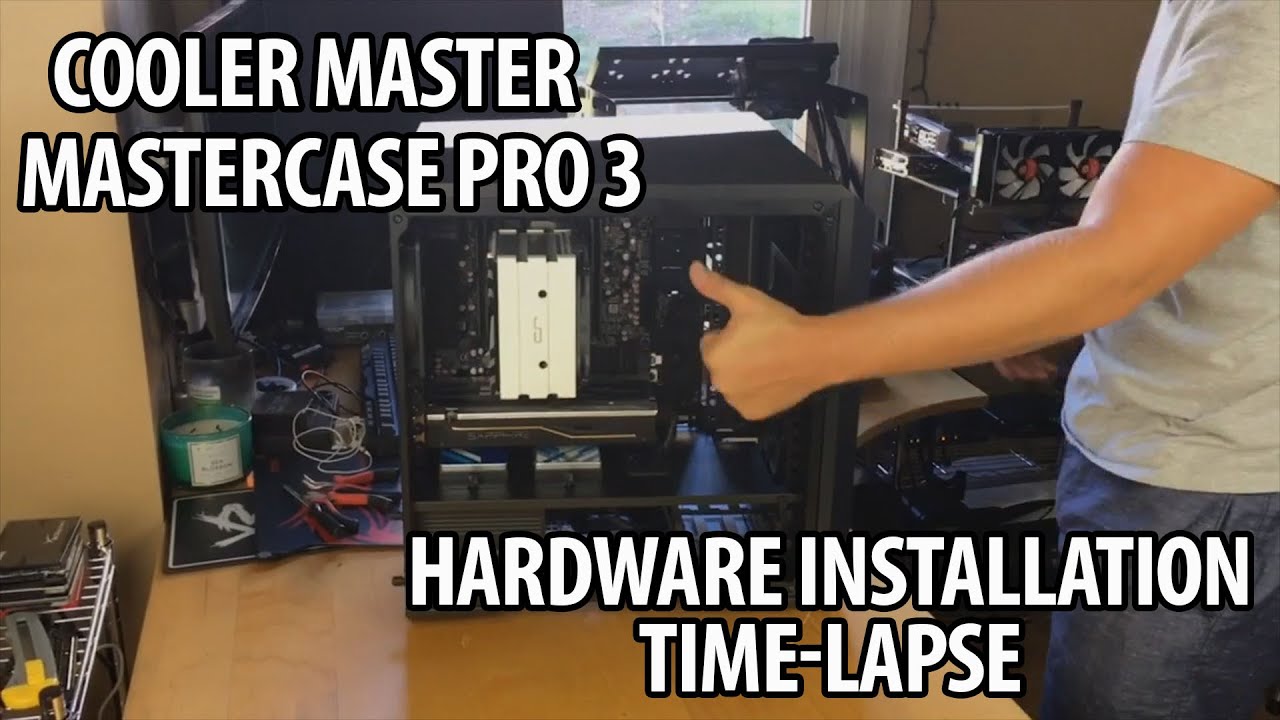
Installation
Getting your hardware installed in the MasterCase Pro 3 is quite easy. There is quite a lot of room inside to work with and the FreeForm modular system makes things simple and straight forward. Check out our installation time-lapse below.
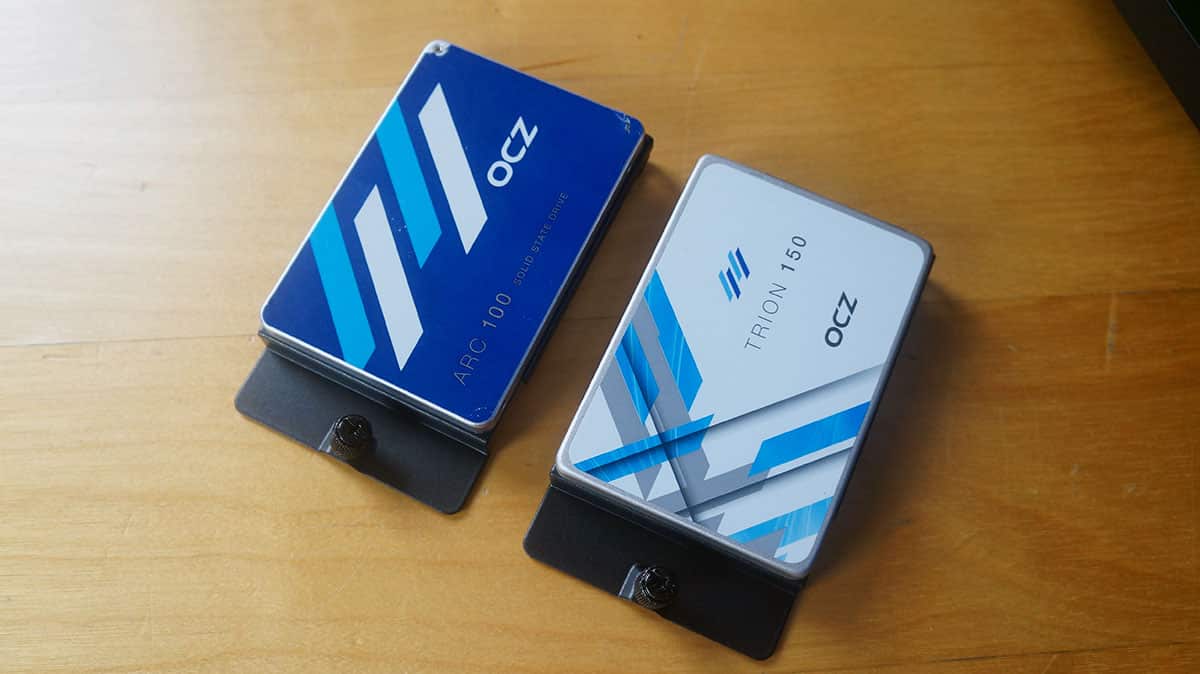
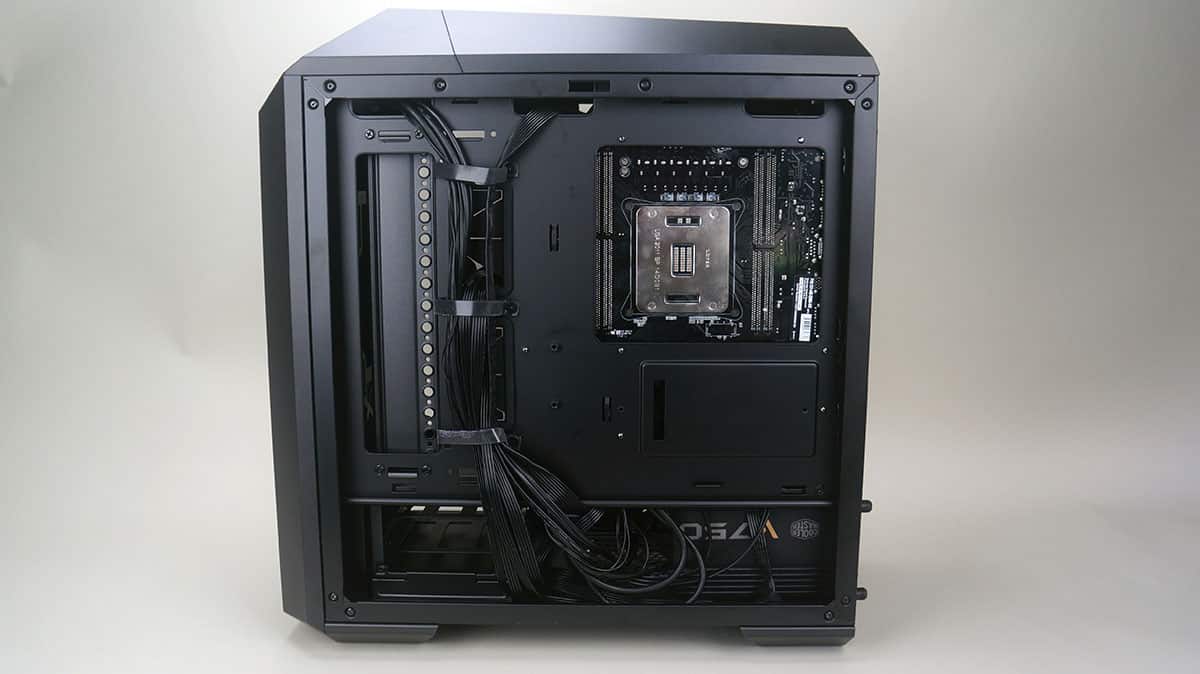
A few things to note about installation. When you are installing your solid state drives in the center of the case you are going to want to connect your power and SATA cables to them first. If you wait till you install them inside the case it is going to be a pain to connect everything up.
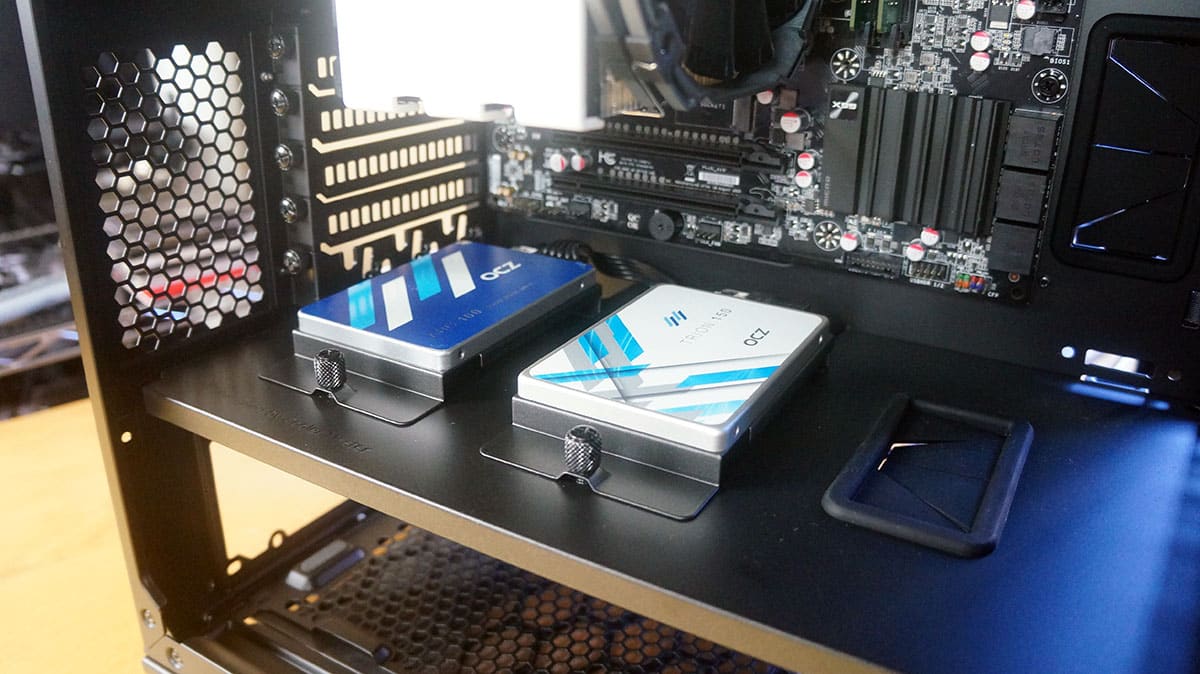
If you route your EPS connector through the center cable routing hole you should be able to bring it down through the center of the case using the included Velcro straps. As you can see we have an extremely clean cable routing job here.
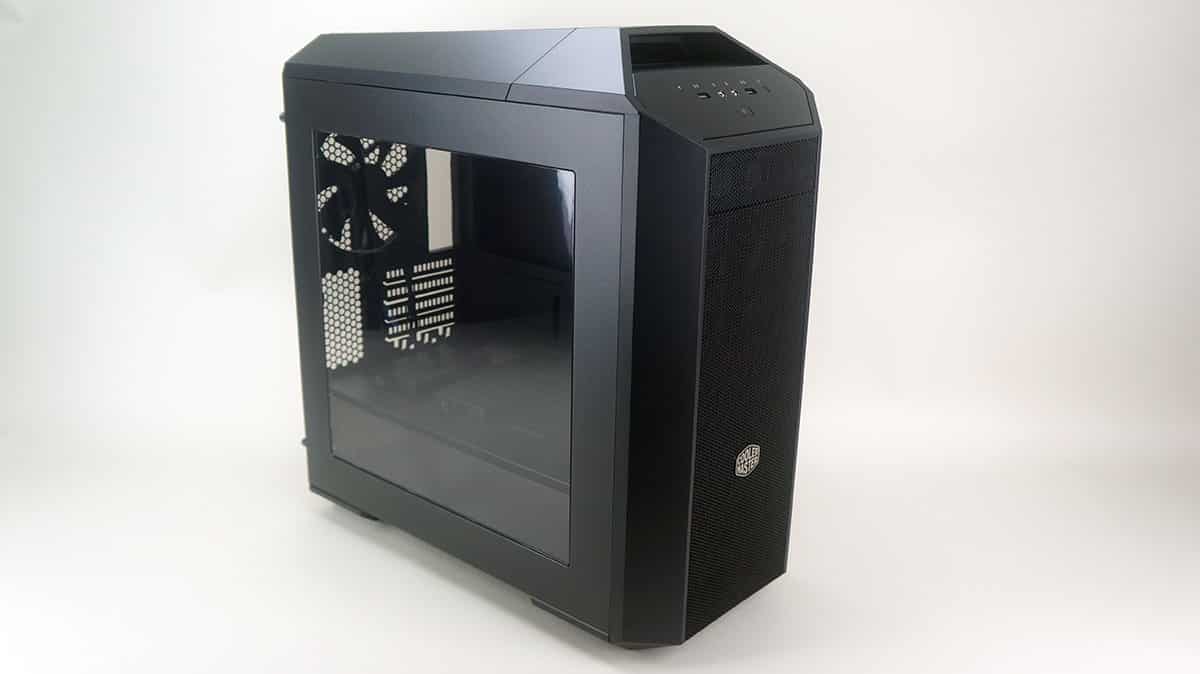
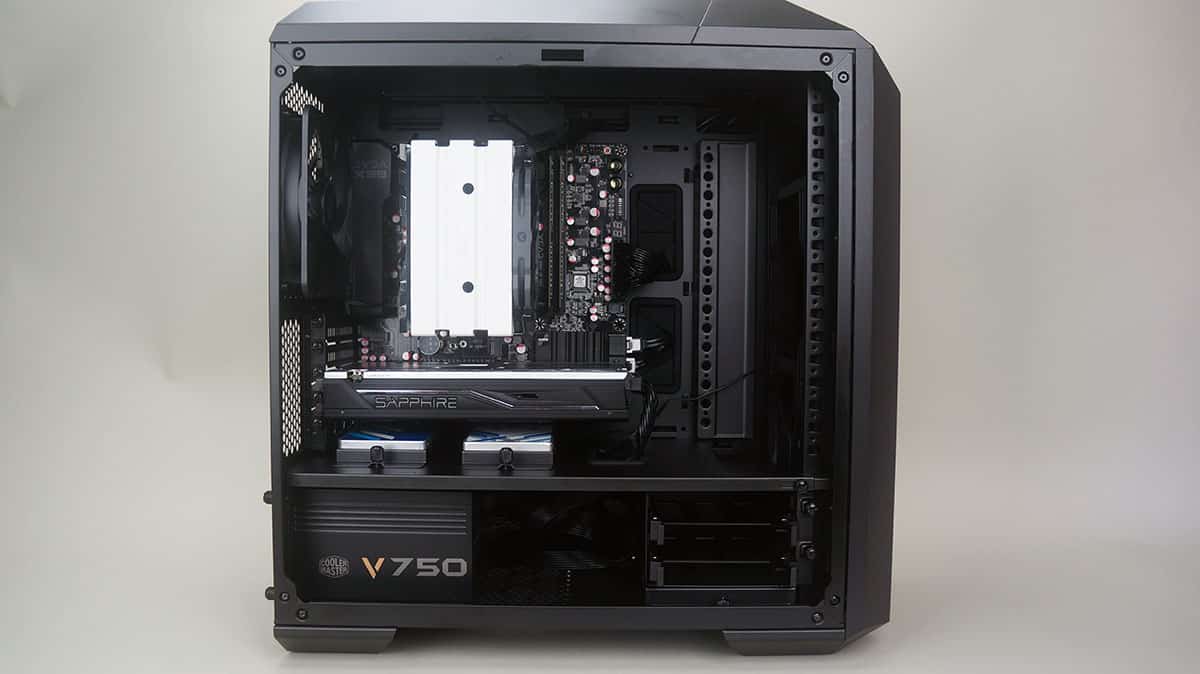
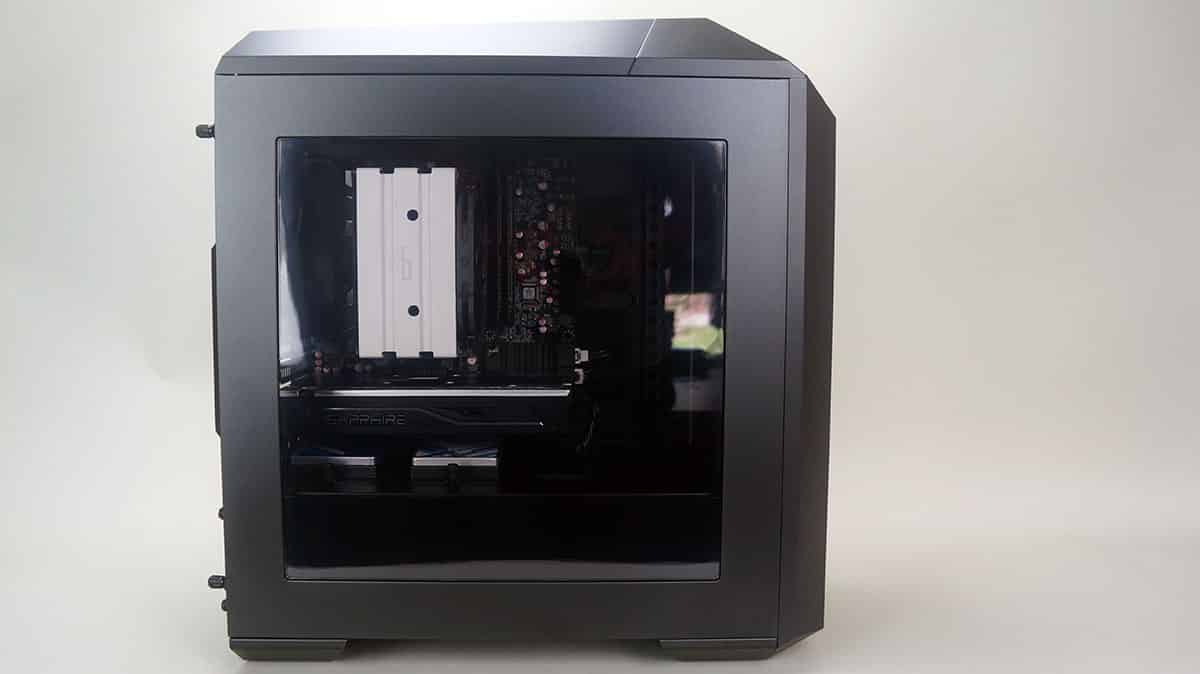
When your build is completed you can see on the main side of the case we have a very clean build as well, with lots of room to upgrade our system over time. With the side panel window we are able to show off our build, but I would suggest getting some RGB LED strips to really set off the inside of the case.

Just when I think I didn’t want another Cooler master case. The Mastercase 5 pro was too big. I am trying to a replacement for a storm trooper and this case looks like it. I was also thinking about a ThermalTake x5 but still seems a bit big and heard the quality isn’t that great for the mobo tray. Ever since I started building my own I have always used cooler master. I wanted to change over to another company and this case is pulling me back. Grrrr.
Let me know when the Master Case 7 Pro comes out 🙂
MasterCase 5 is bigger than this one, with the same quality and functionality 😉