Endorfy Navis F360 ARGB Installation
As we have mentioned in our most recent AIO reviews, we have taken on a brand new test bench platform in 2025, which we will go into more detail about later on. That said, the change from AMD’s AM4 to their AM5 platform really doesn’t change things up as far as installations go, so let’s get right into it.
Like most AIOs, the installation of the Endorfy Navis F360 ARGB is a very straightforward process. As DIY PC building seems to be getting more popular each and every day, the option of AIO liquid coolers is sure to entice those wanting to have a more advanced build, and easy installation will go a long way towards not scaring off first-time builders. As I mentioned when I covered the included accessories, Endorfy has included all of the necessary mounting hardware for modern AMD and Intel platforms. Endorfy provides a fairly basic installation manual with the cooler, though I wish it had a bit more direction for first-time builders.
Our testing is performed with the fans in a push configuration, and as Endorfy installed the fans at the factory, we can skip right past this first step. I do appreciate when fans come pre-installed, as it saves a decent amount of time during the installation process, but there are certainly times when you will want to reorient the fans from their factory installations if airflow and cabling is not congruent to your build plans.
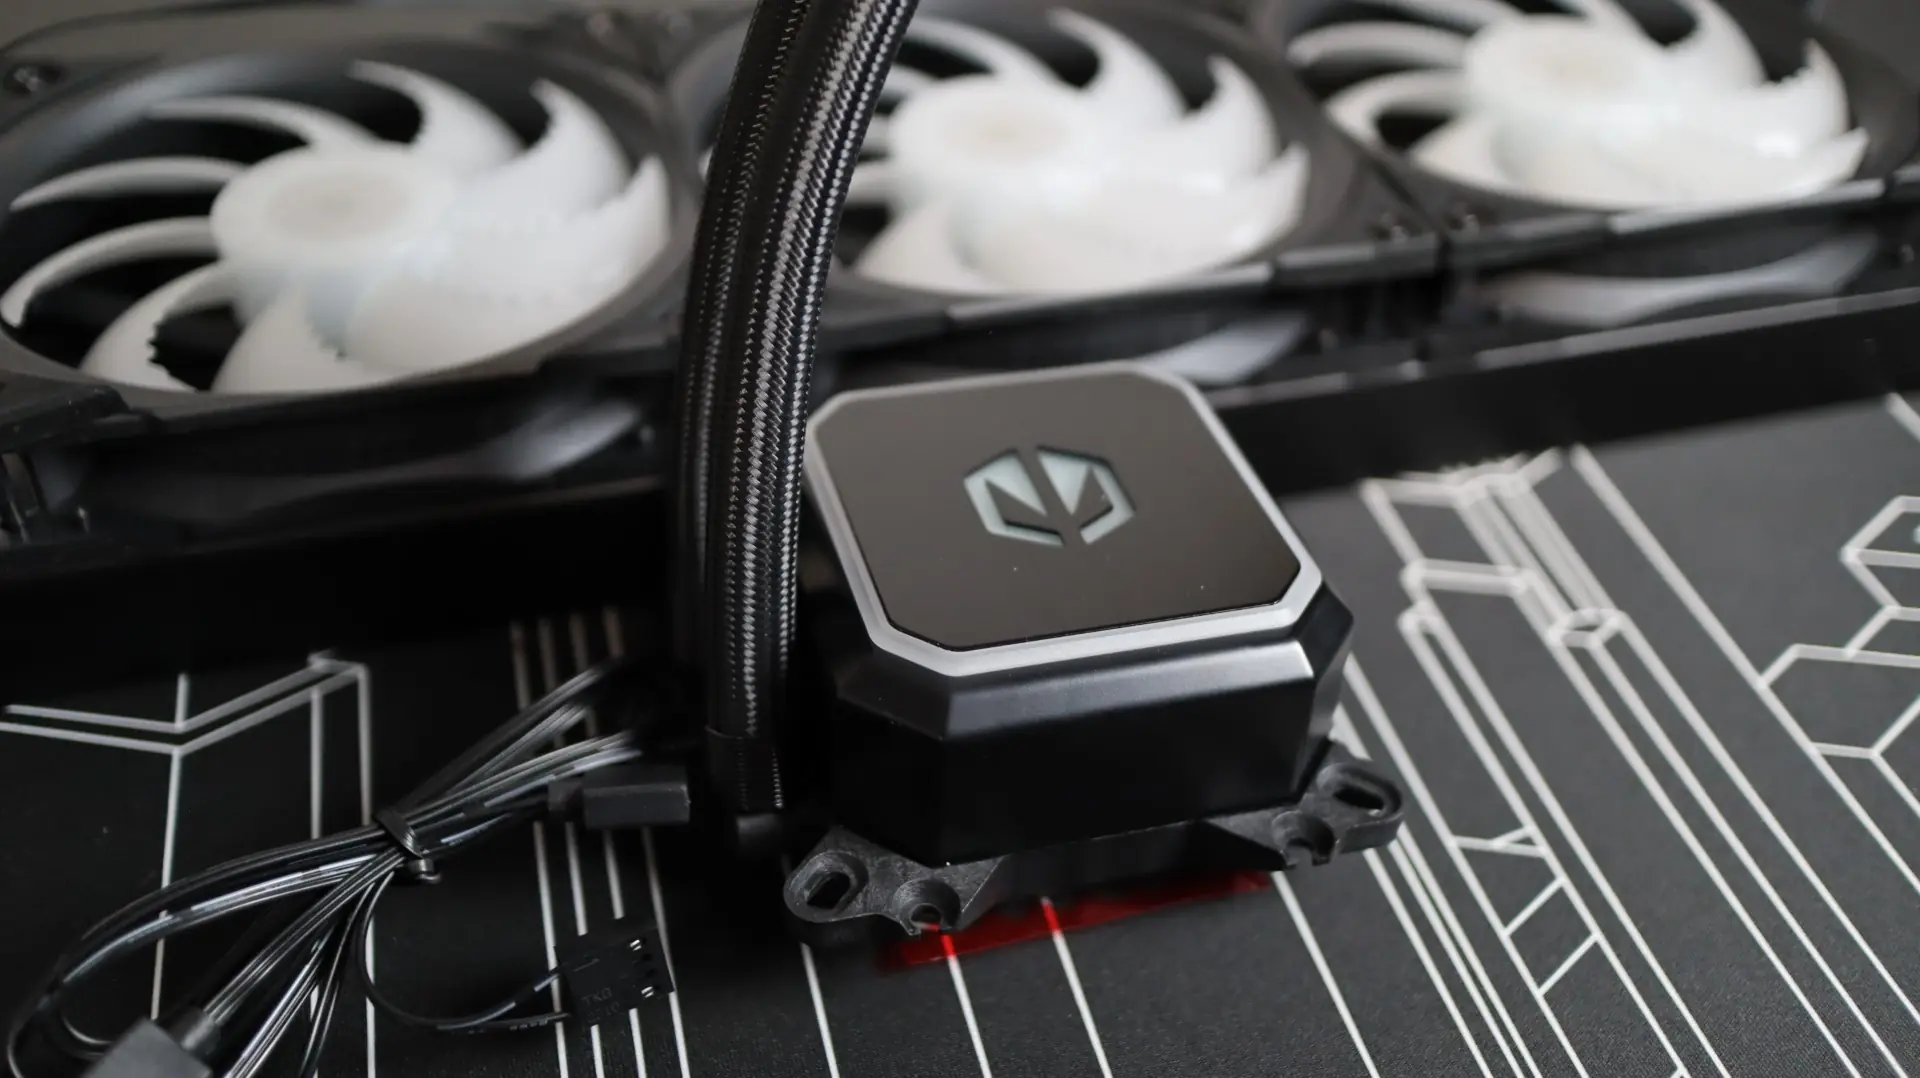
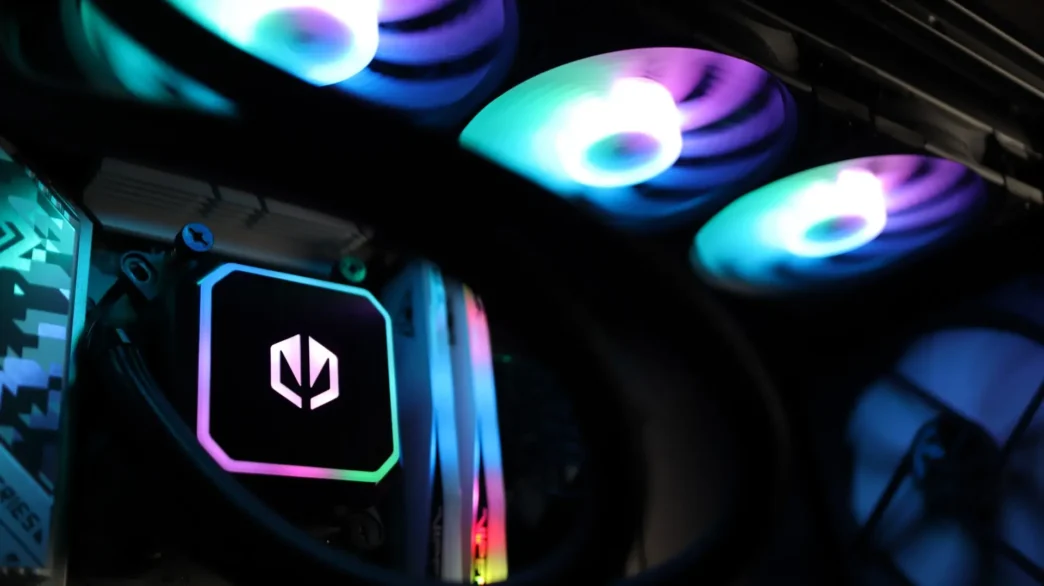
Since the fans are pre-installed and already connected to each other, the only cabling needed for them is connecting the ARGB cable to the splitter that is on the pump housing cable, and to one of the motherboard’s 4-pin PWM headers.
The Navis F360 ARGB’s pump housing features integrated AMD and Intel mounting options, so there is no need to install or swap out a platform-specific bracket. While Intel builds will still require the included backplate to be used during installation, AMD builds will take advantage of the AM4/AM5 backplate and the included mounting hardware.
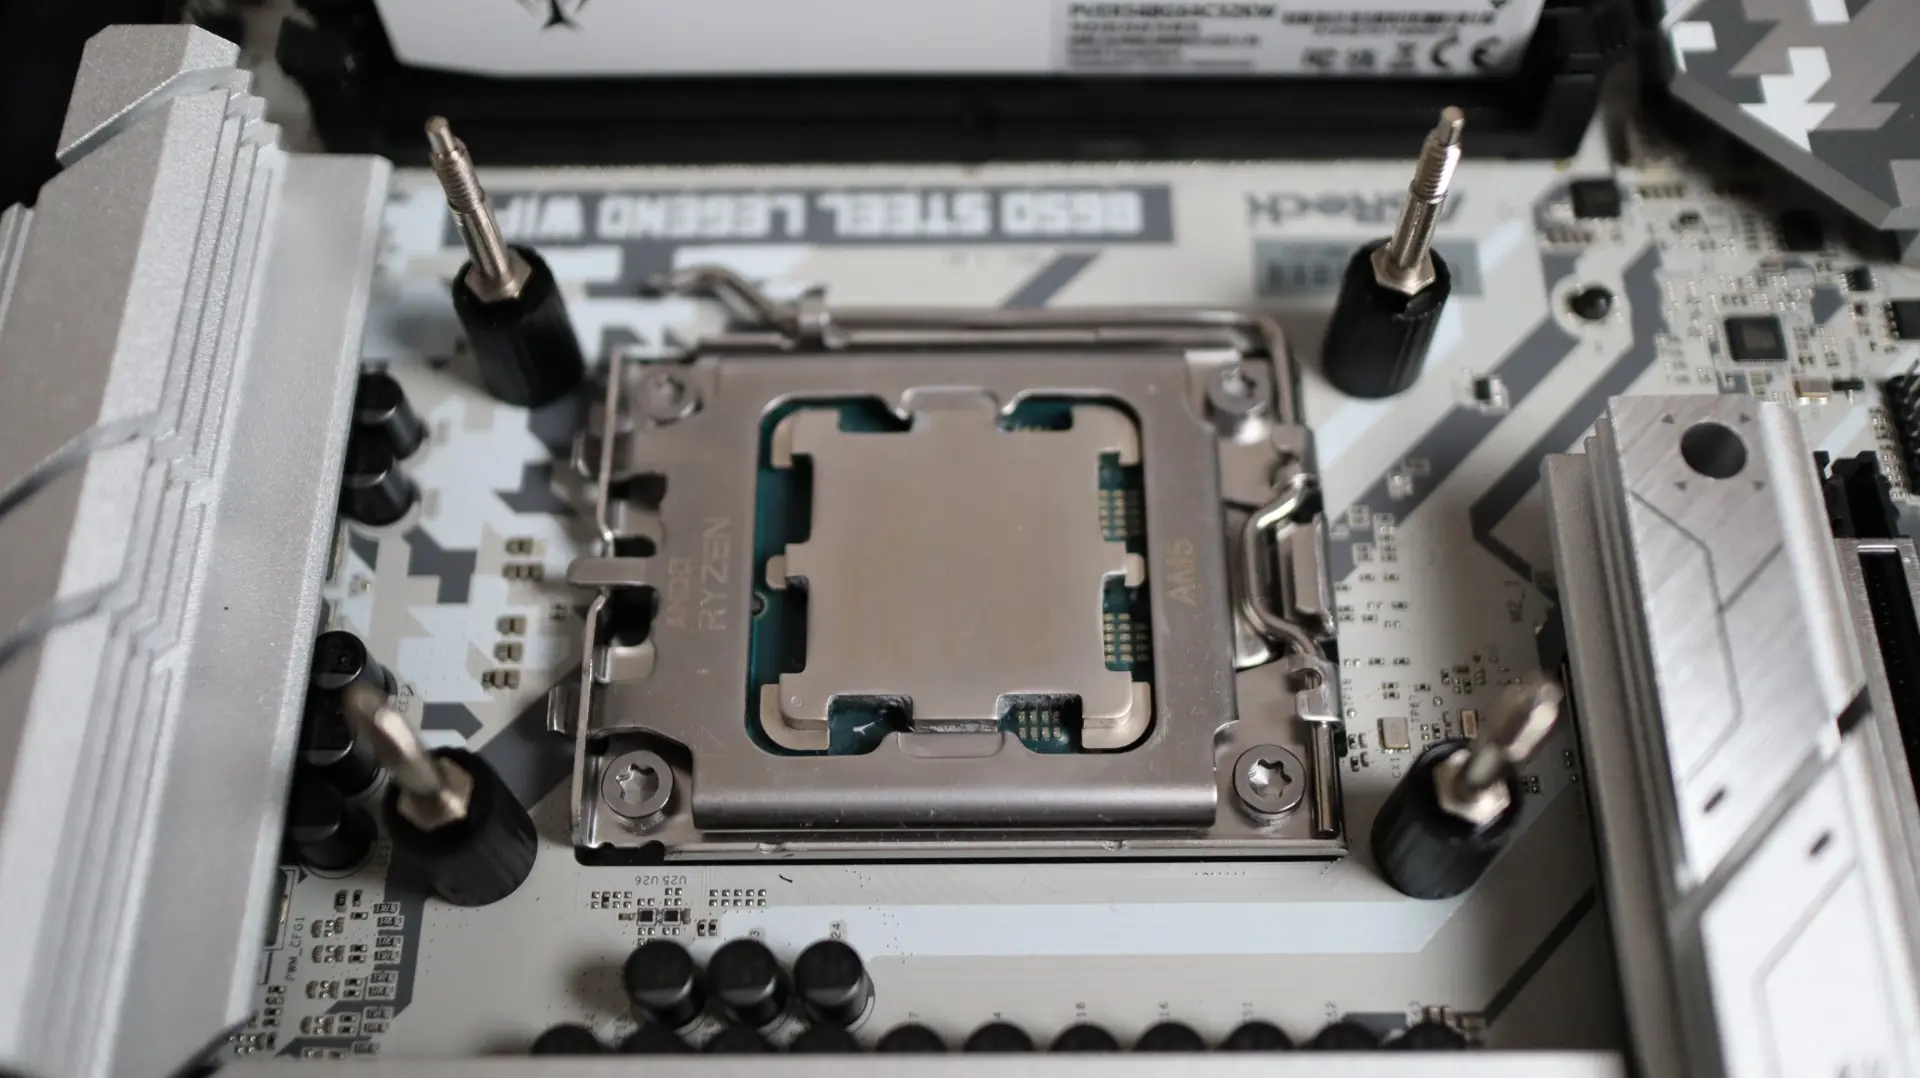
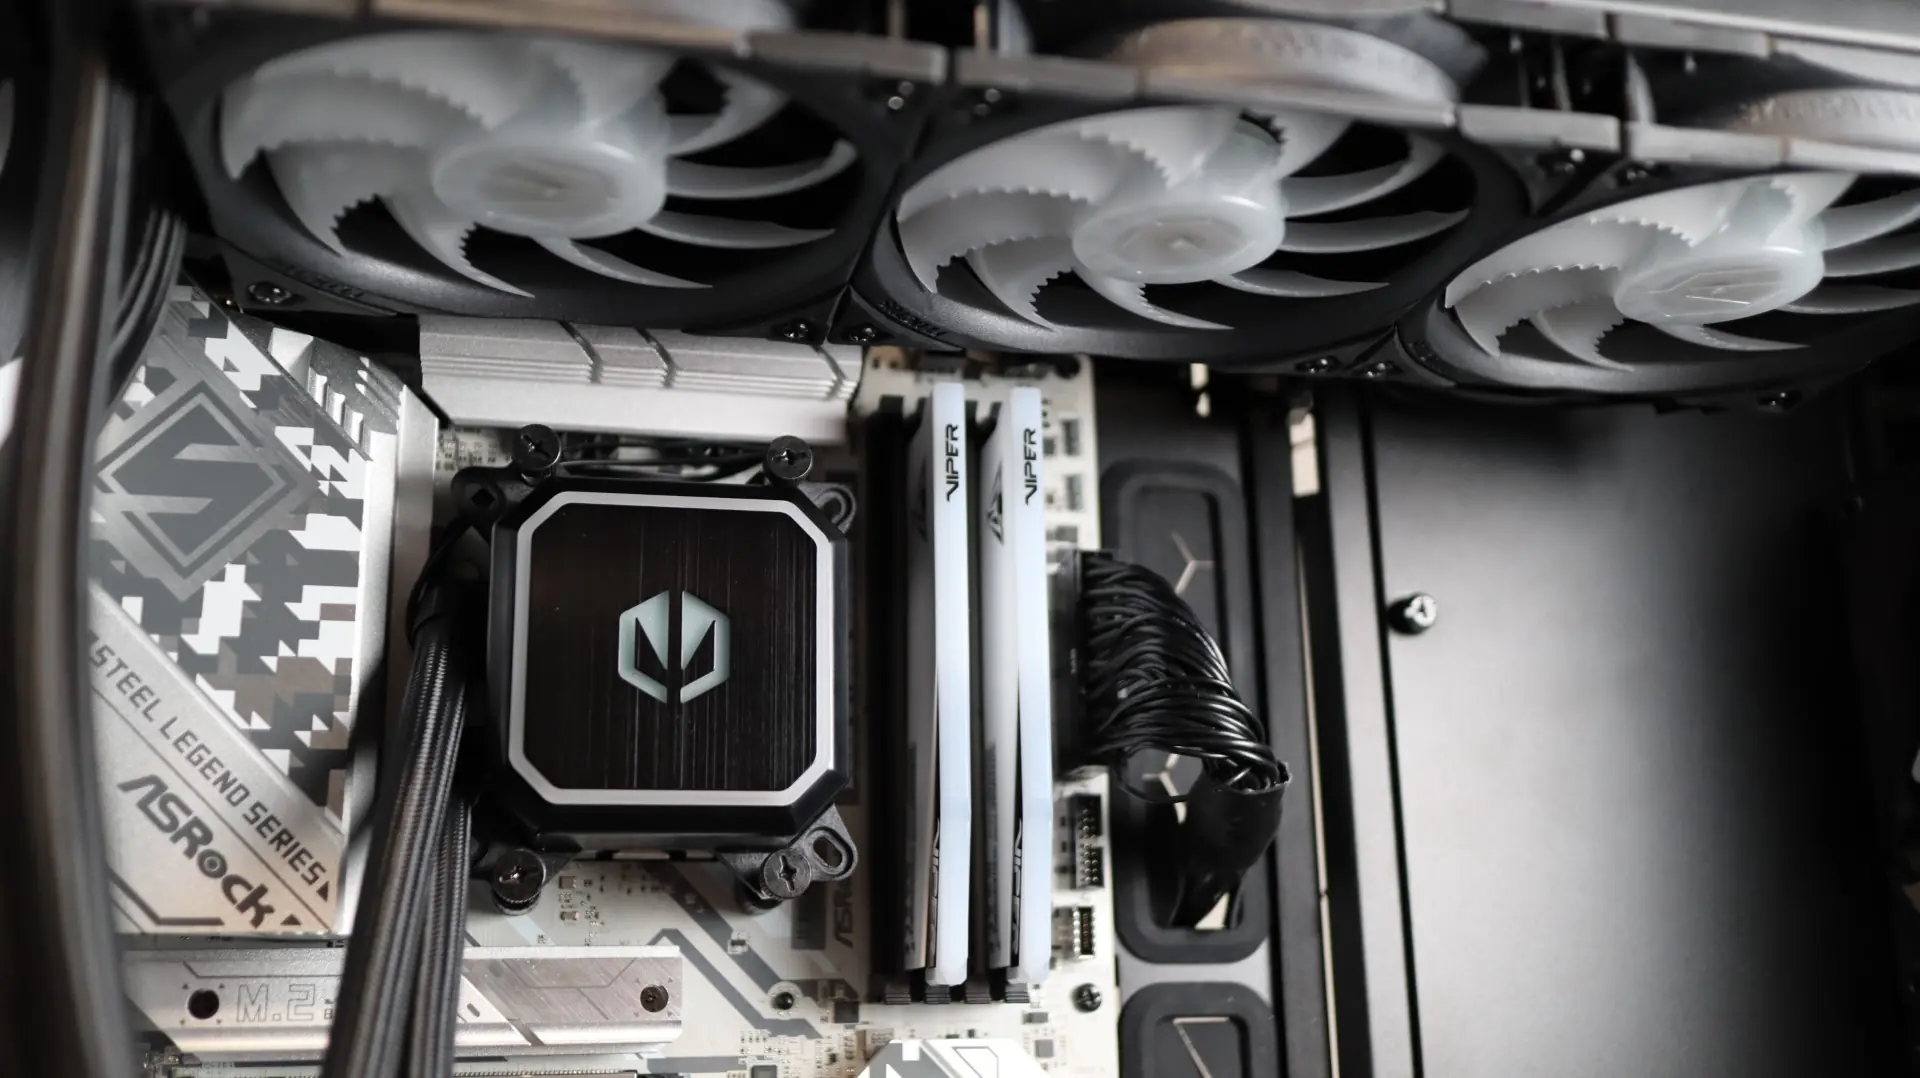
The Navis F360 ARGB does not use the factory AMD mounting clips for securing the cooler to the motherboard, so I did have to remove the plastic mounting brackets in order to secure the cooler to the motherboard. Instead, small standoffs are placed over the CPU backplate threads, and act as a base for the cooler to be laid upon and then tightened down with.
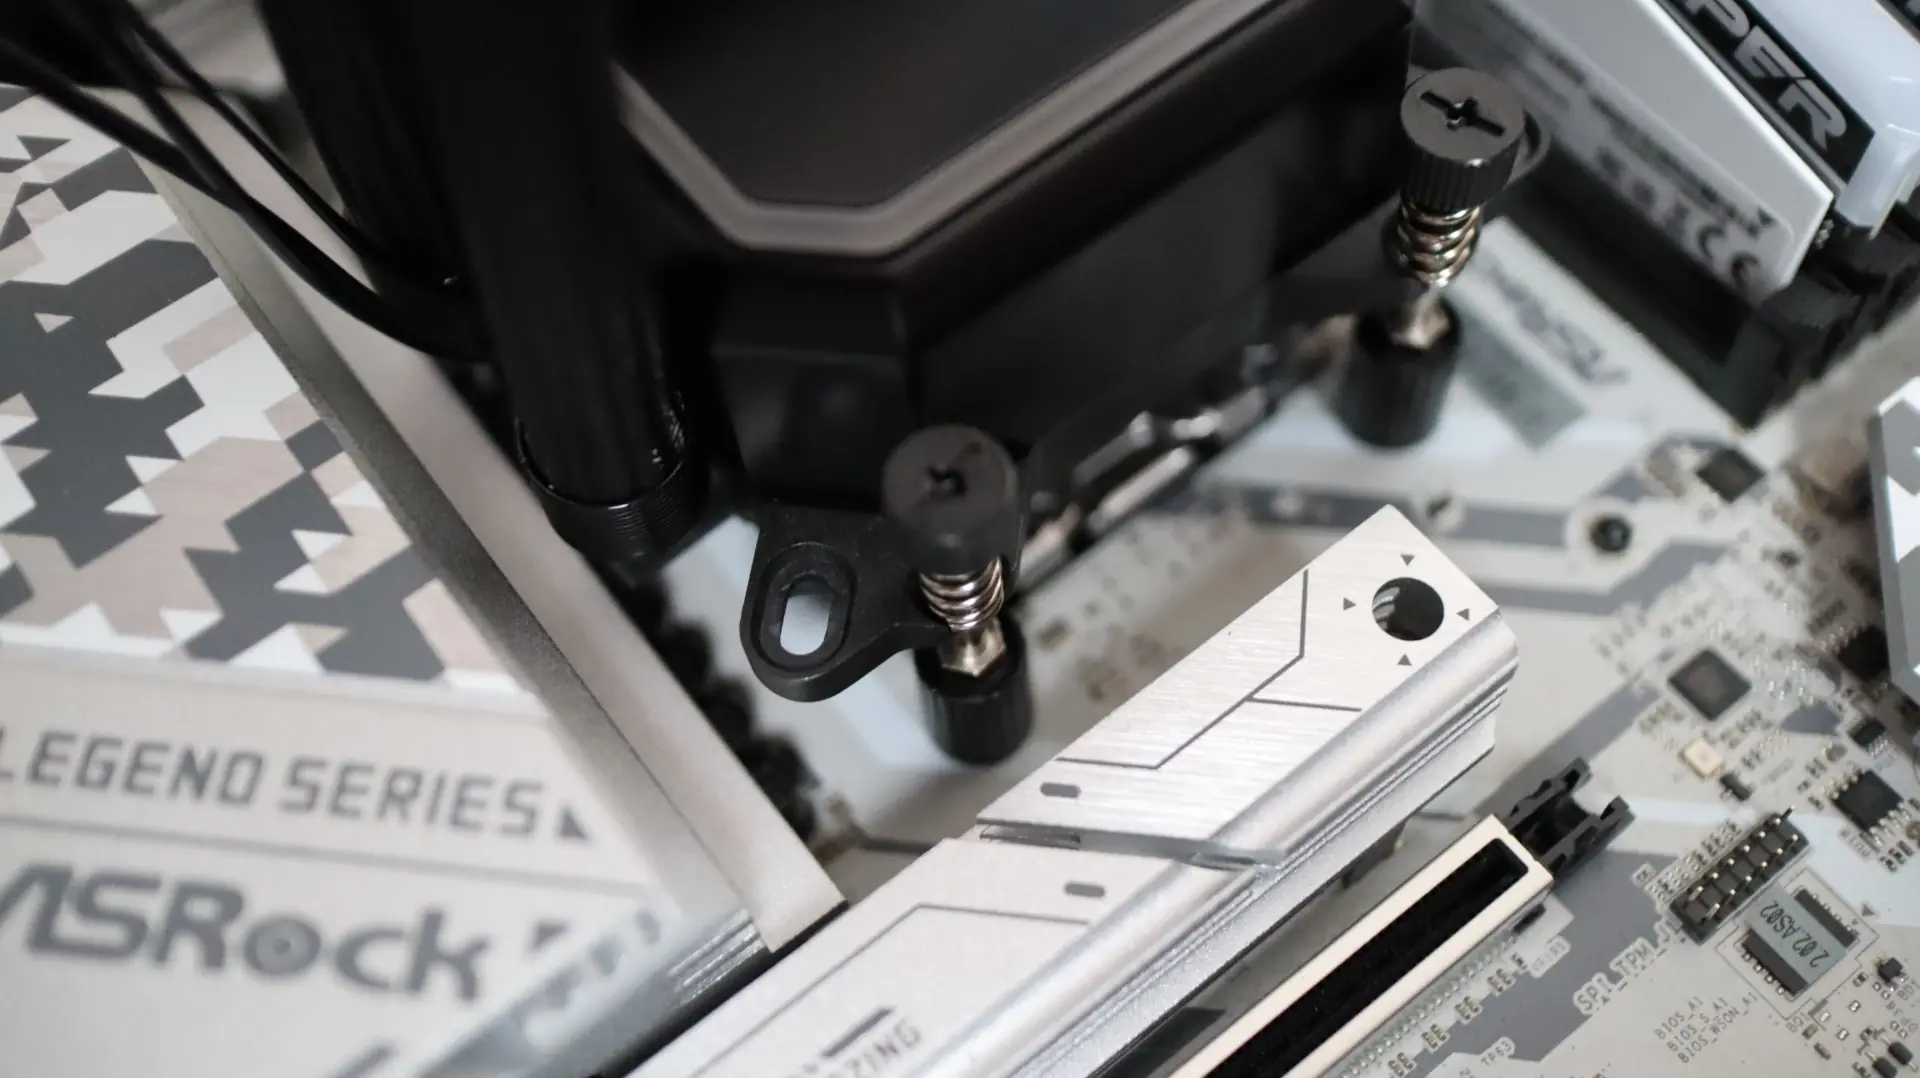
With the mounting hardware in place on the motherboard, it is time to simply line up the cooler with the brackets and tighten everything down via the included springs and thumbscrews.
Next up is attaching the radiator to the top of our case. Using the twelve included screws, simply align them with the appropriate mounting points on your case, and tighten. I also made sure to thread the PWM and ARGB cables from the pump housing and radiator to their respective motherboard standoffs.
With everything installed, it was time for testing.