Installation
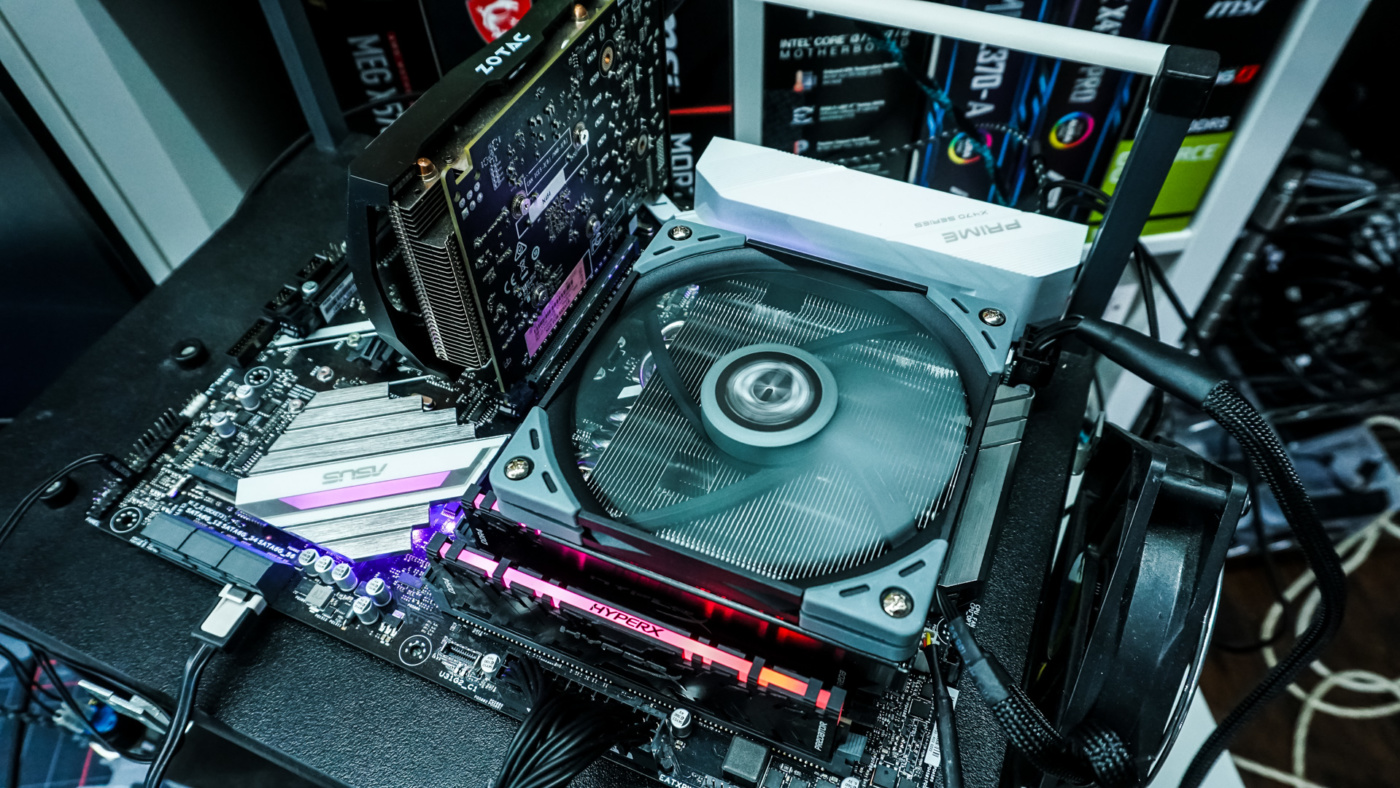
Starting off our installation we’ll be installing our motherboard. It easily slides right in with plenty of room to spare.

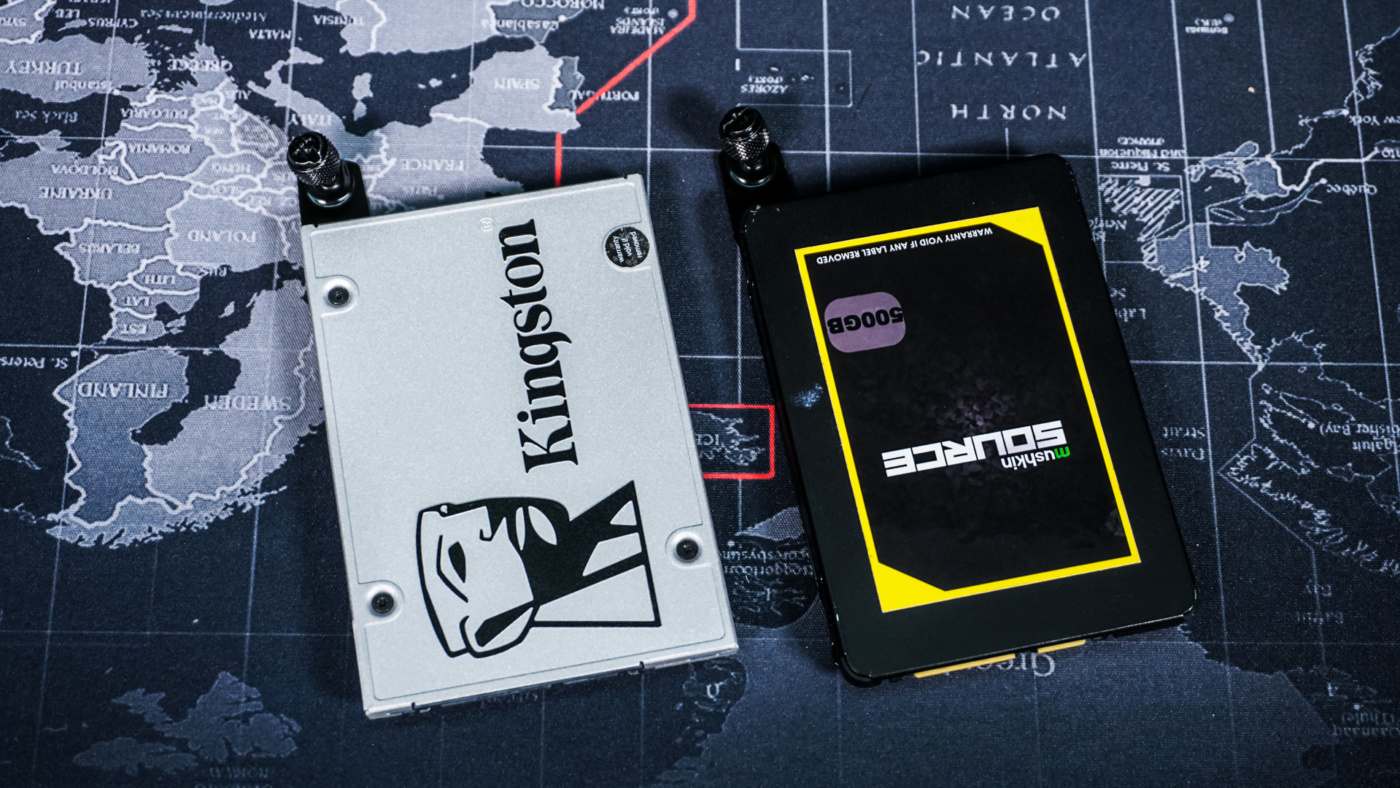
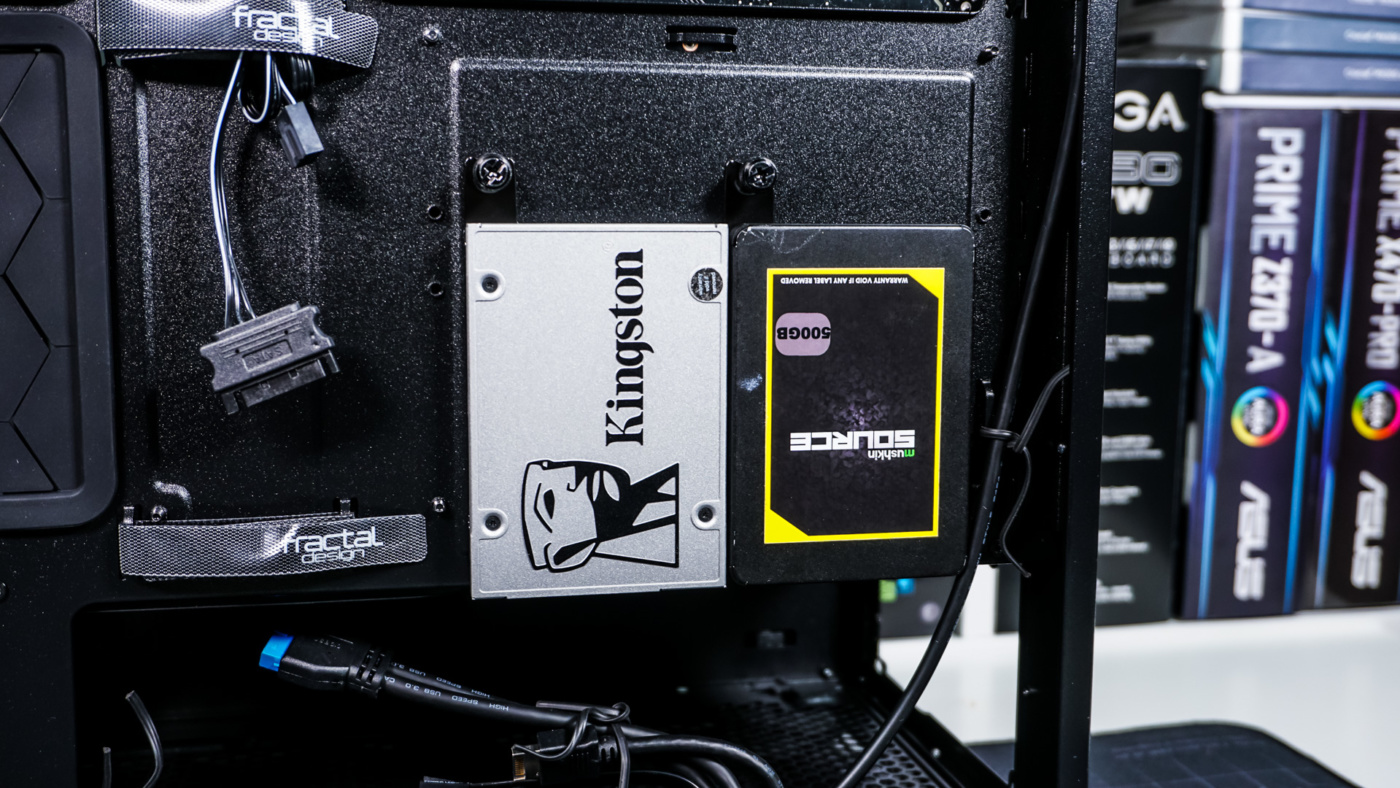
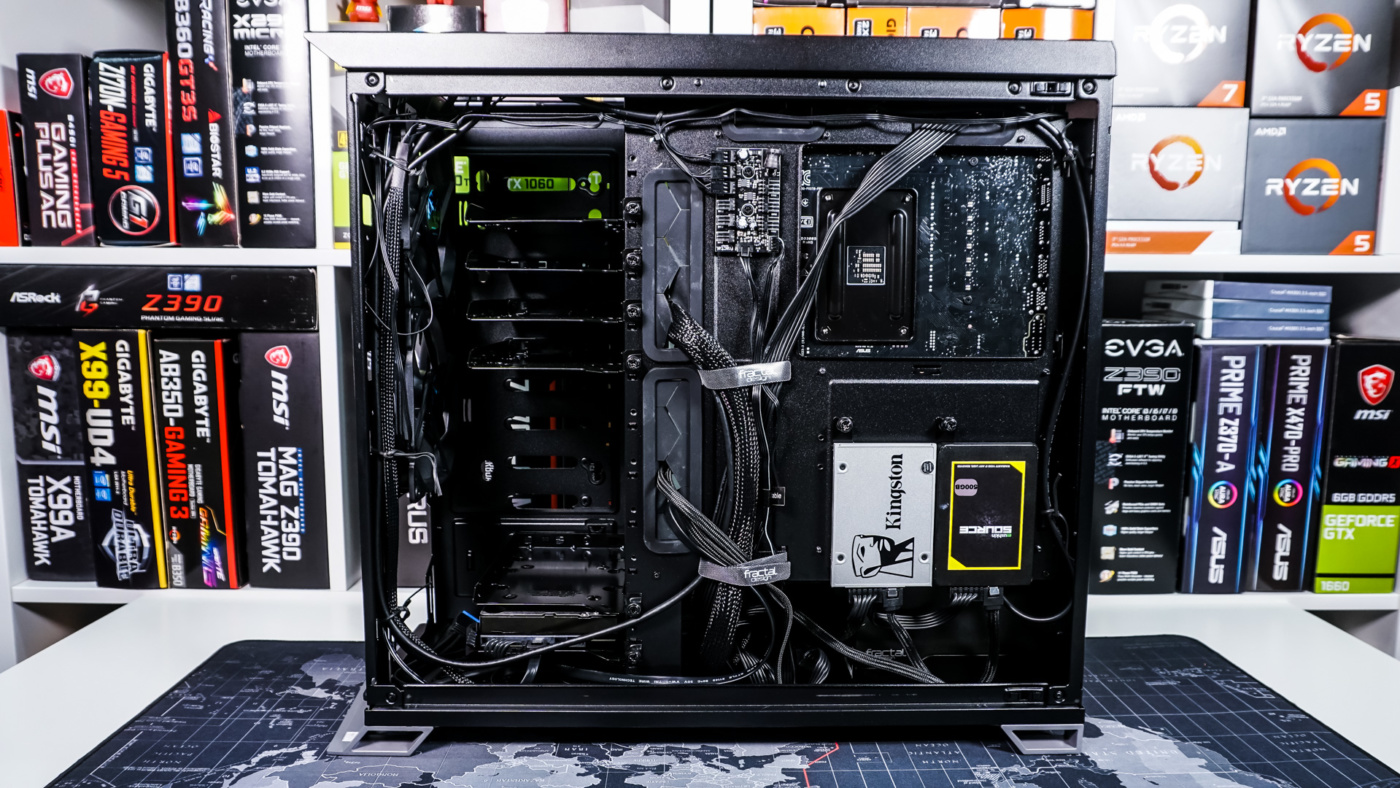
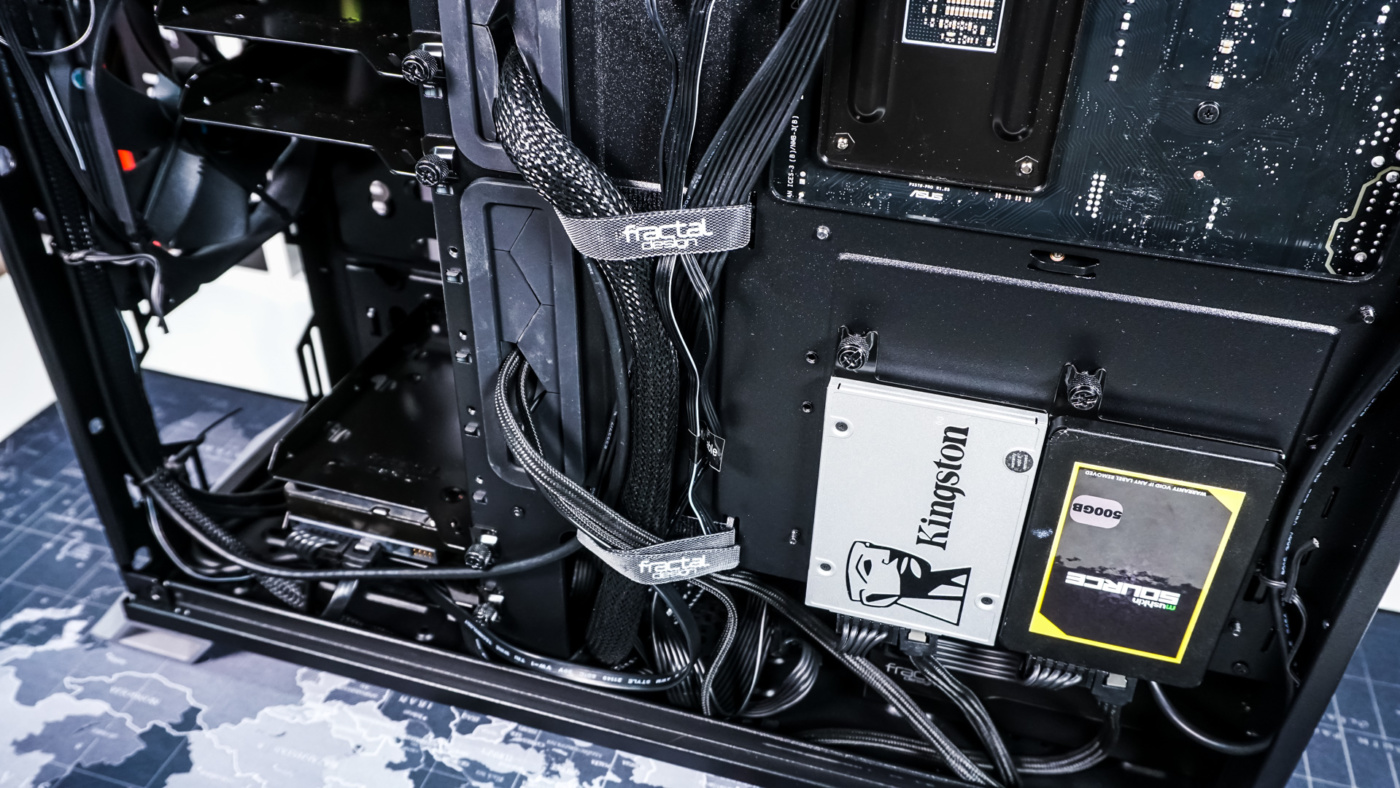
Next we install our solid state drives. We decided to install them on the two removable SSD mounts. So just take the mounts out of the case, install the drives on the mounts, then reinstall the mounts in the case.
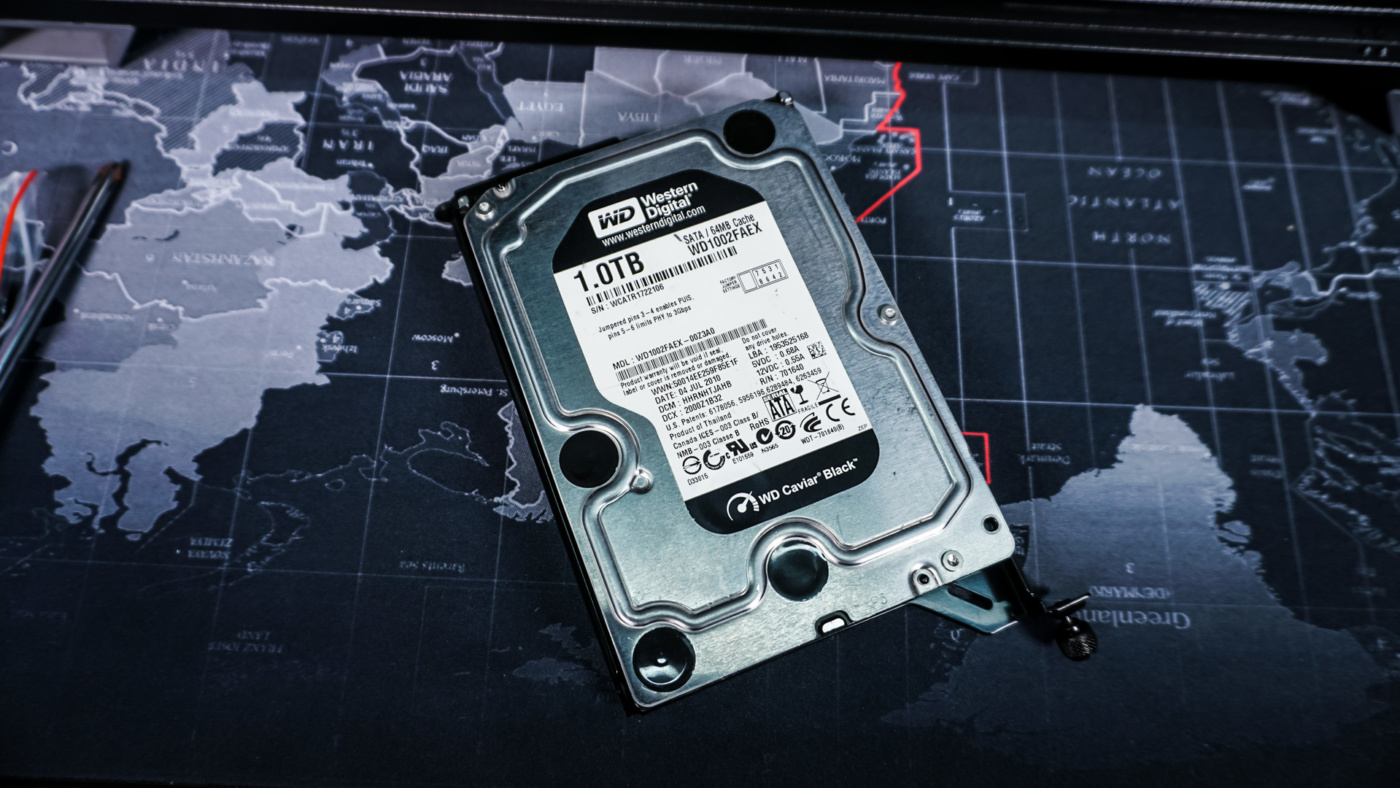
I also decided to install a 3.5-inch drive in one of the larger removable trays. Just remove the tray you want to use, install your drive, and then reinstall the tray in your case. You secure 3.5-inch drives with screws and vibration-dampening rubber grommets, which is nice to see.

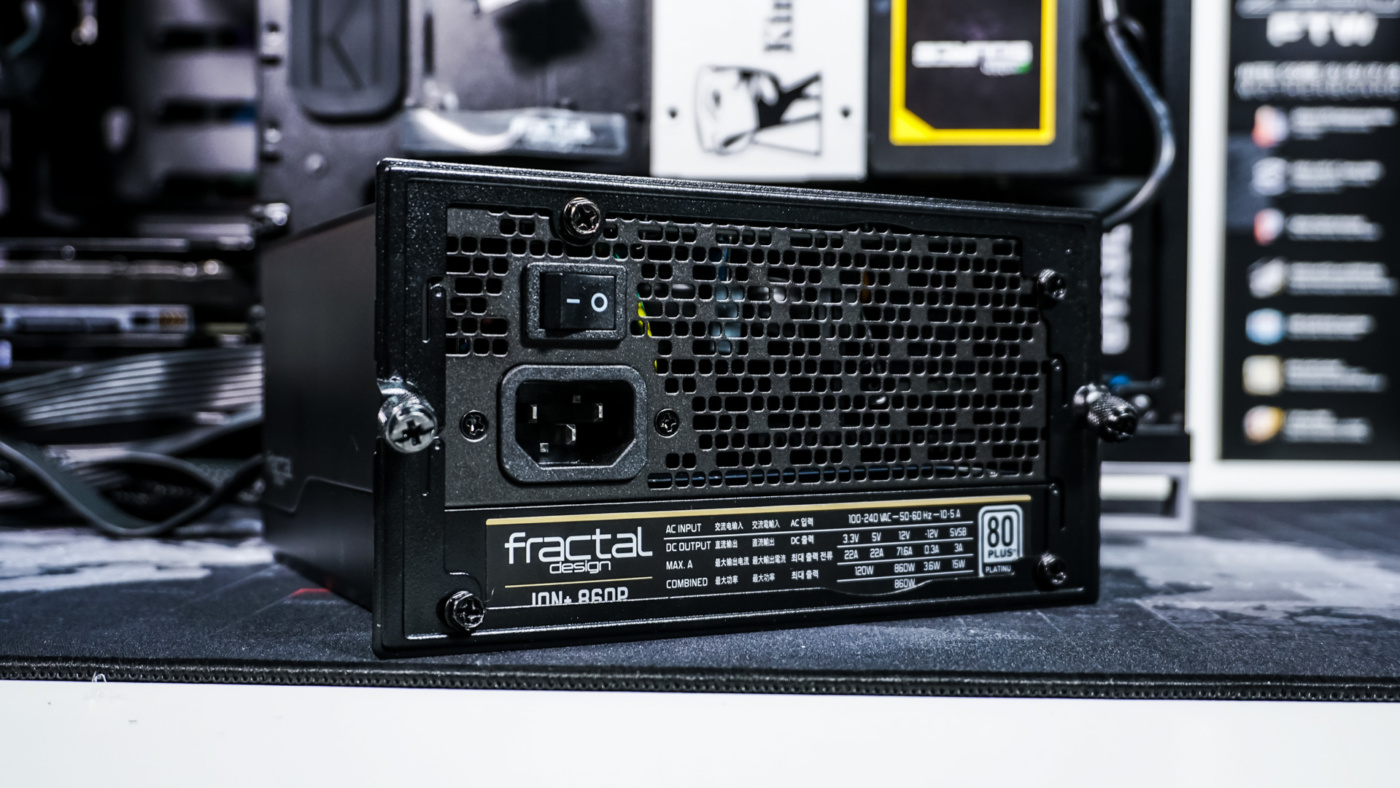
The power supply is next. Start by removing the power supply bracket from the back of the case and installing it on your power supply. Now slide your power supply through the back of the case and secure it with the two captive screws on the power supply bracket.

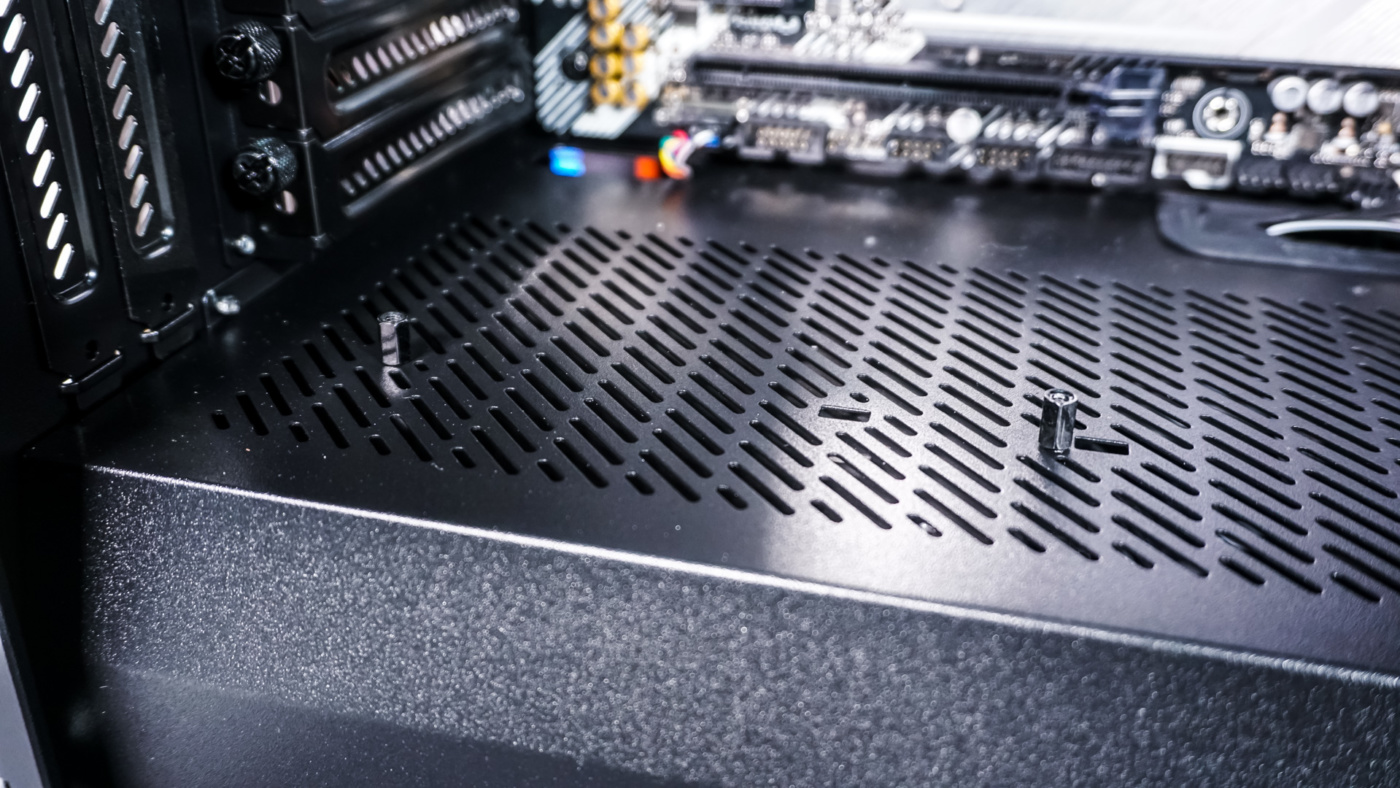
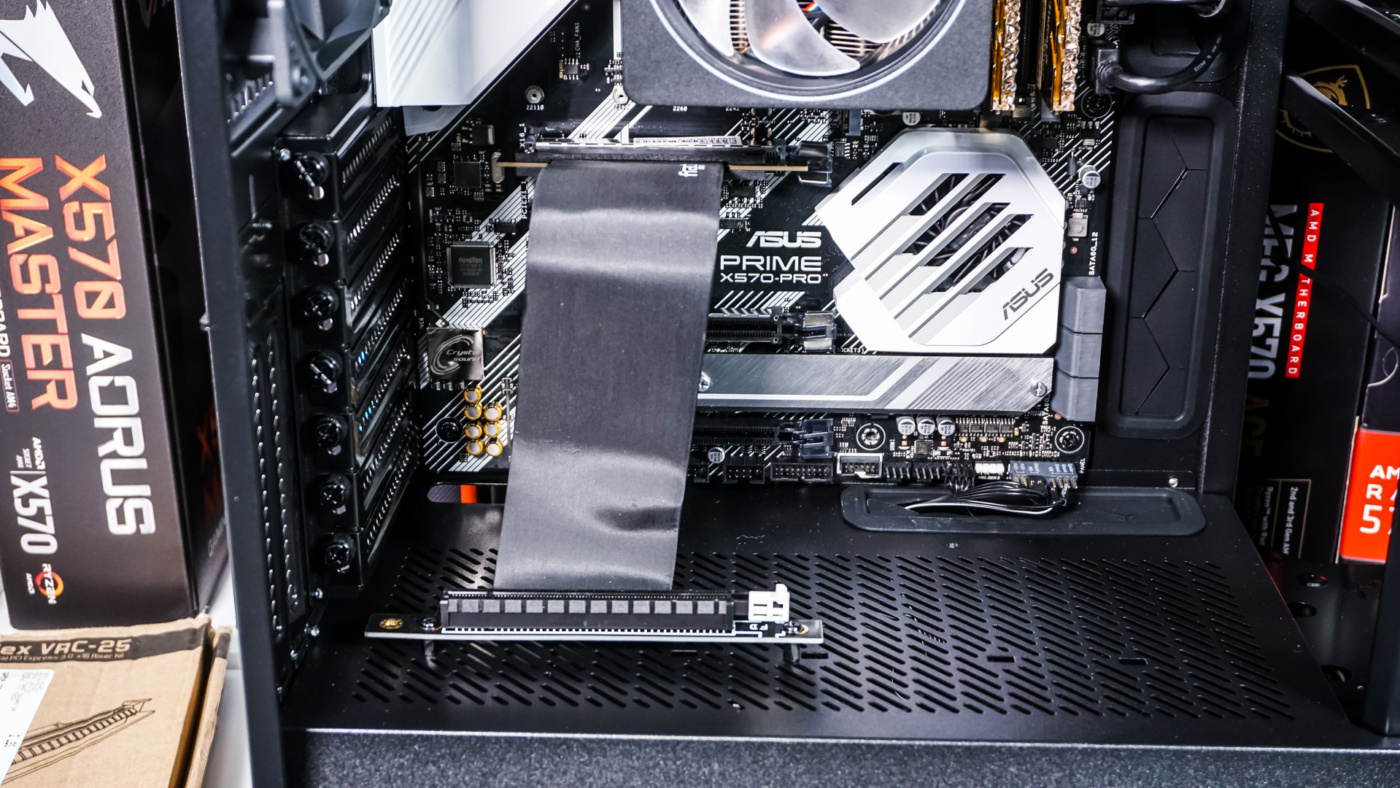
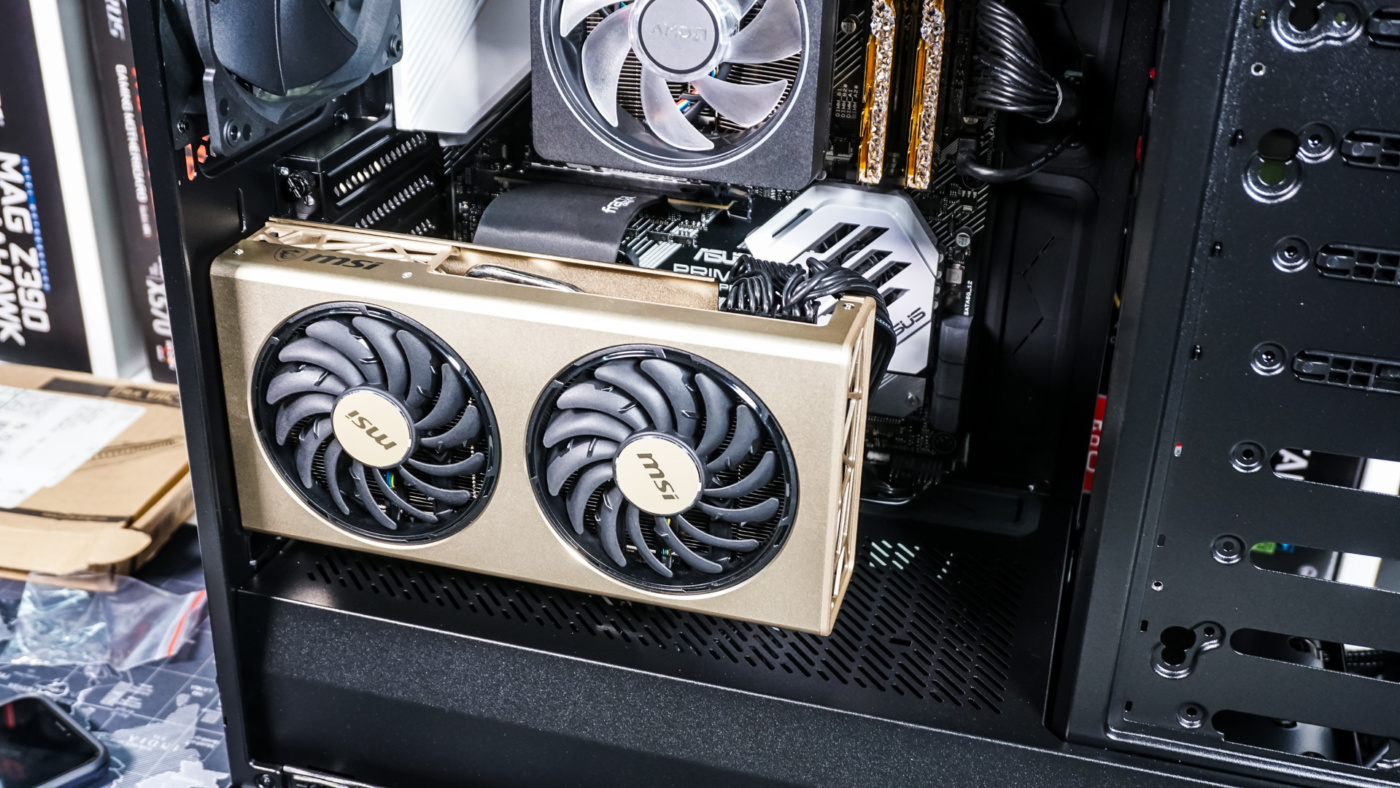
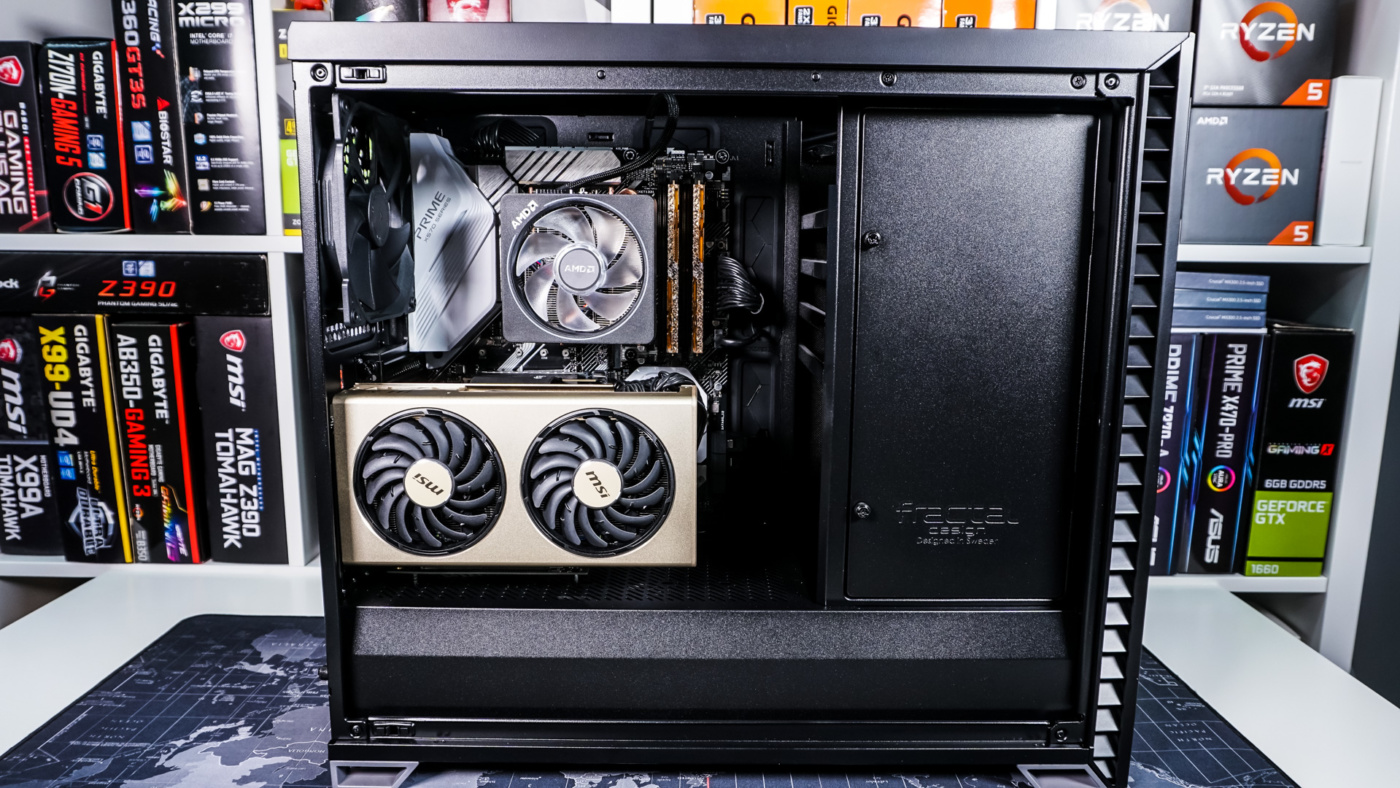
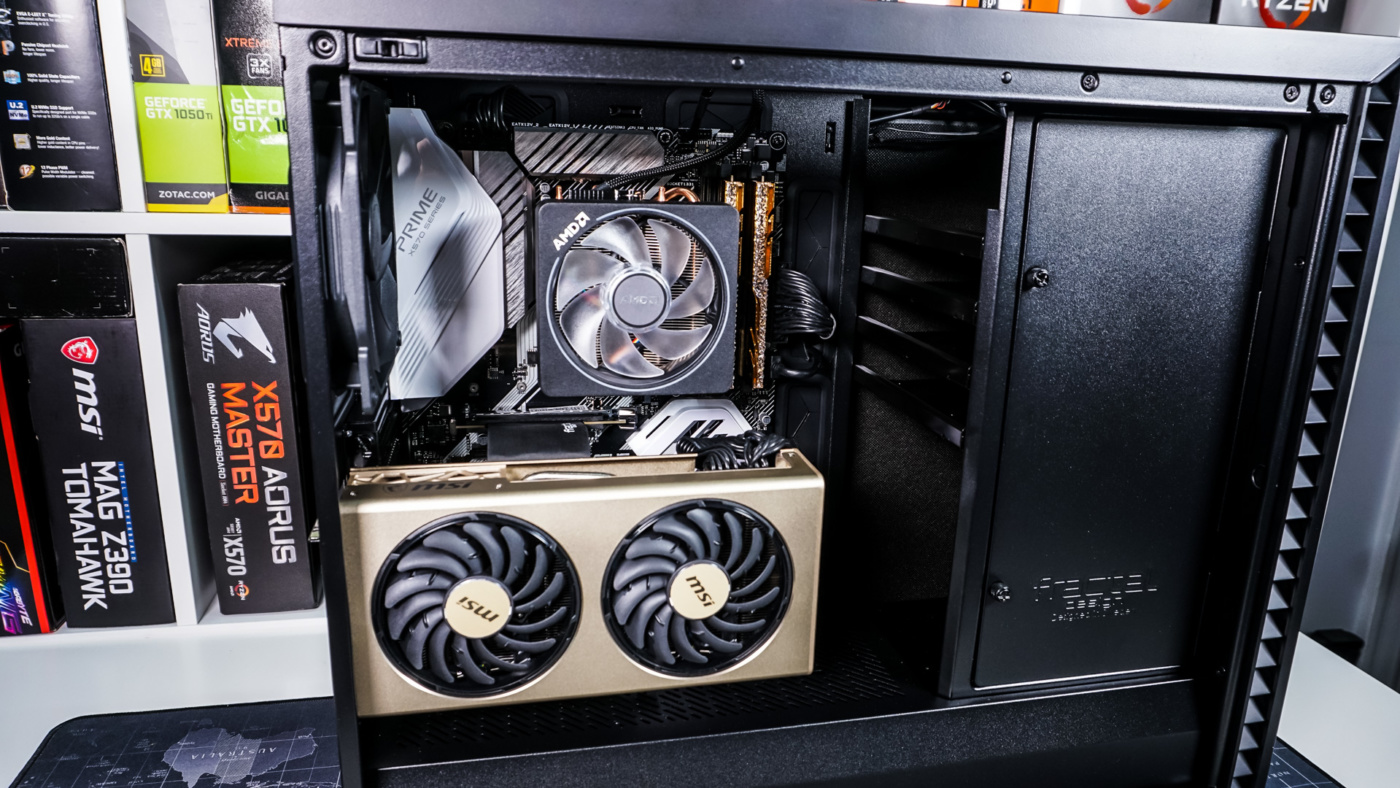
Fractal Design actually sent us their Flex VRC-25 PCIE riser ($46.99) so we could install our graphics card vertically. First take the two standoffs that come with the Flex VRC-25 and install them in the holes in the power supply cover. Then go ahead and install the riser on top of them connecting it to an open PCI-Express slot in your motherboard. Then just simply install your graphics card. This was actually my first vertical graphics card installation and it was quite easy!

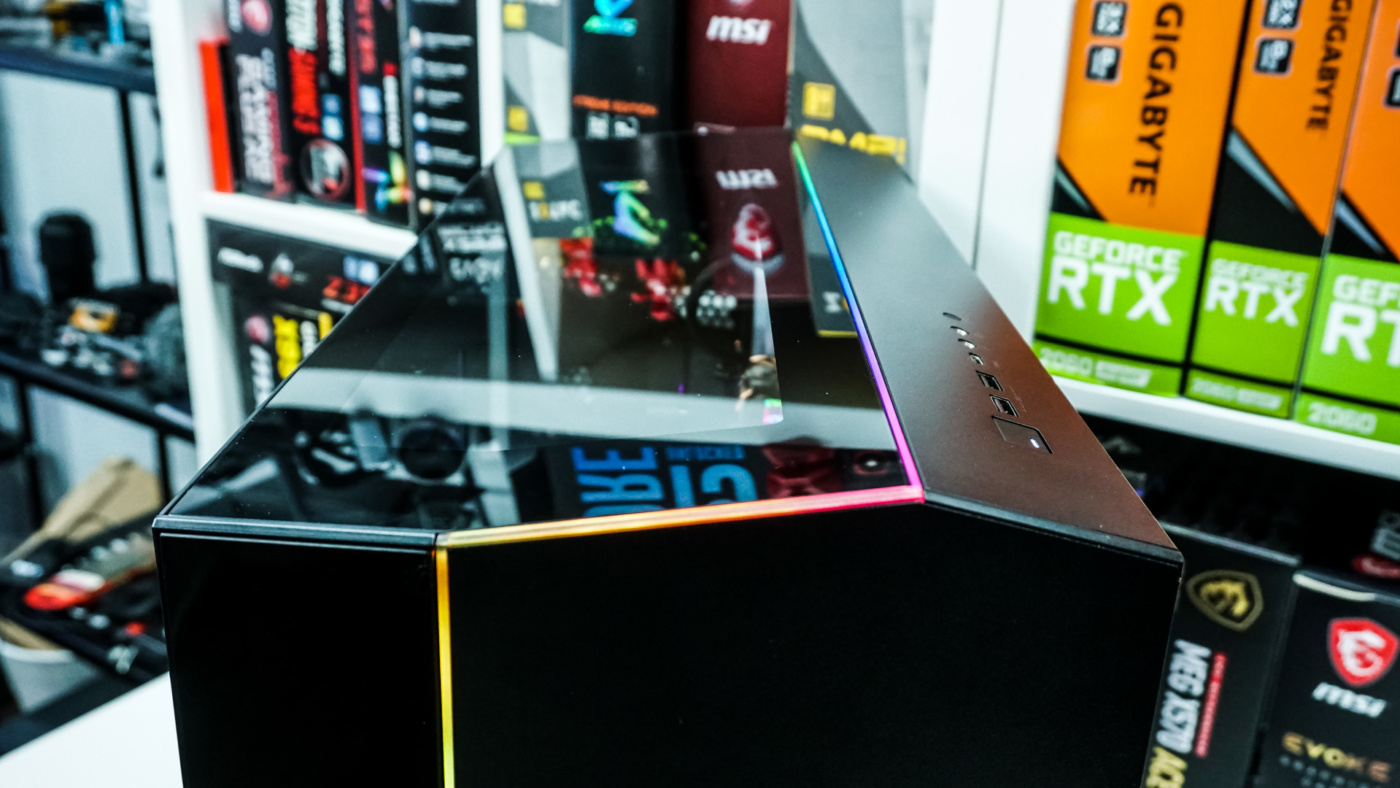
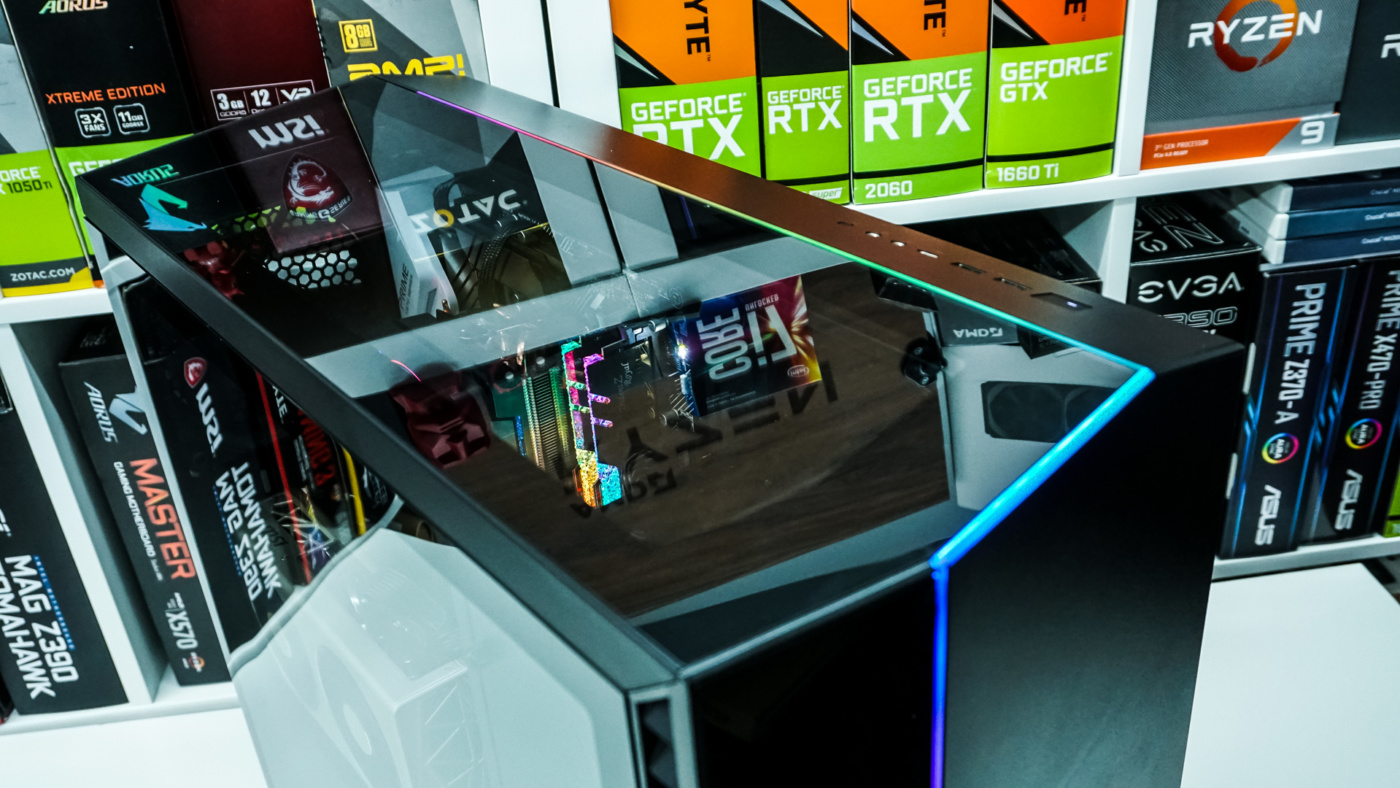
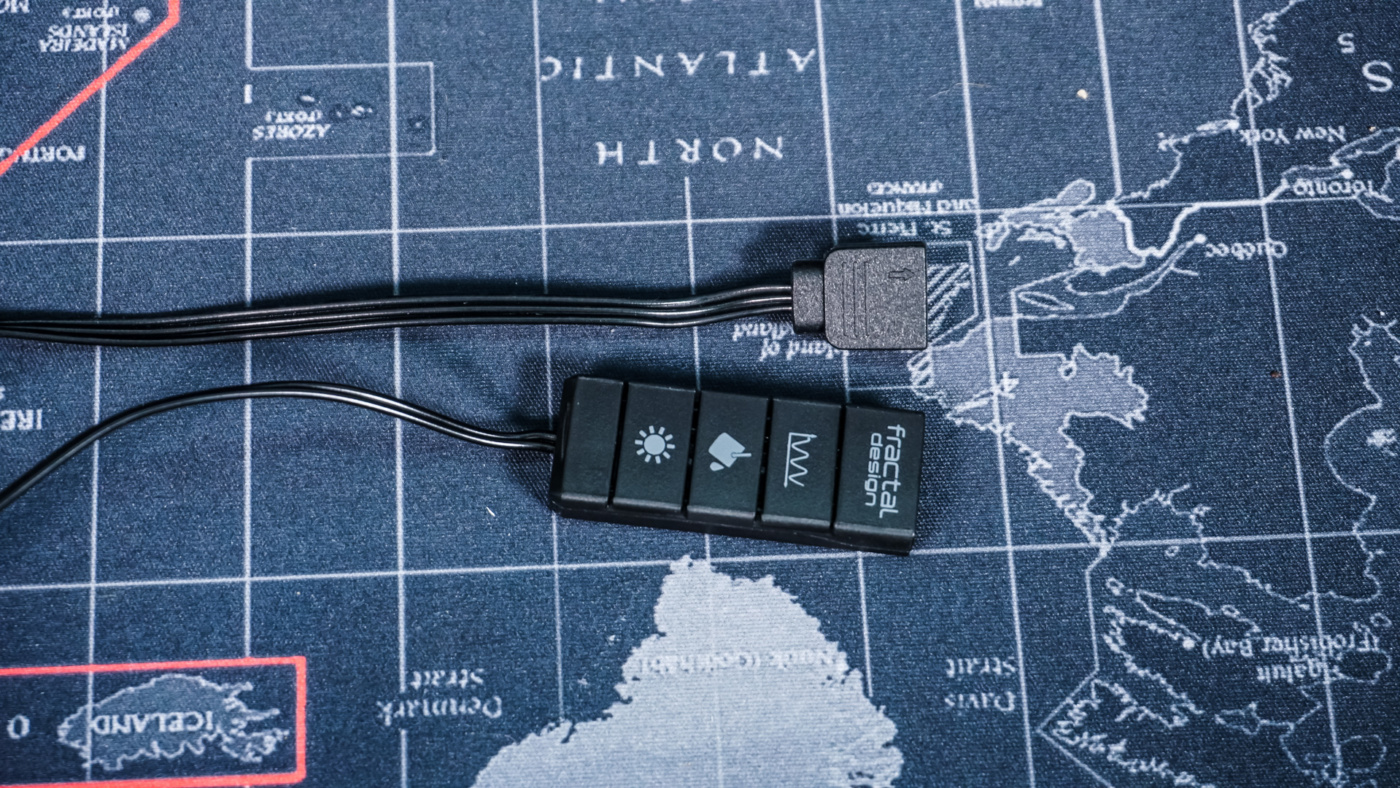
Fractal Design does include their Adjust R1 RGB controller for the ARGB strip on the case. You can either connect it to the controller or connect it to a 3-pin addressable RGB connection on your motherboard.
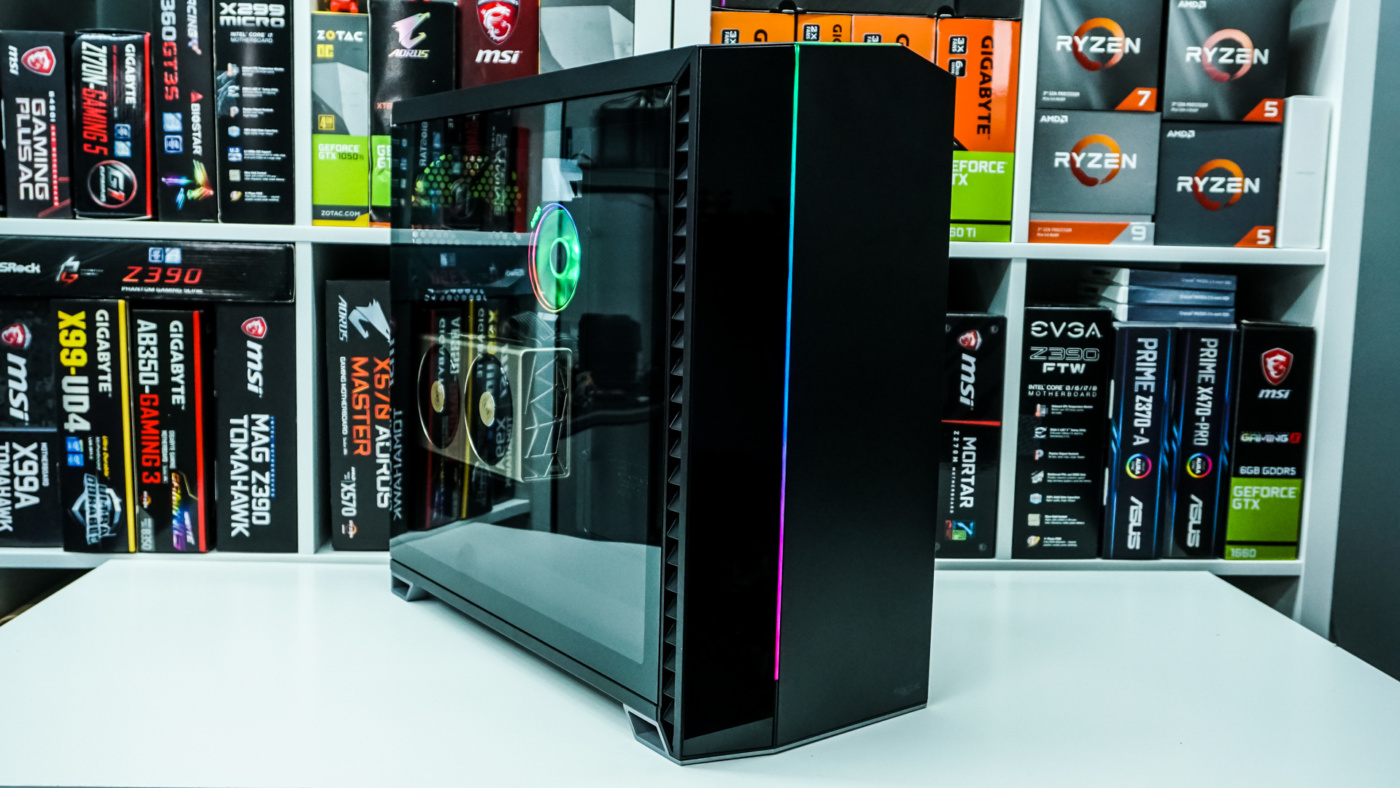
Now it is time to route and organize all of our cables. On the backside of the motherboard tray and two large velcro straps and all of the tie-down points really helped out. Fractal Design does include cable ties. Overall I think we have a very clean build.
With the main side panel put back on we went ahead and powered on the system. The ARGB strip really sets this case off and it looks quite elegant. While the tempered glass panels are not tinted I would suggest an RGB strip on the inside of the case to light things up a bit.