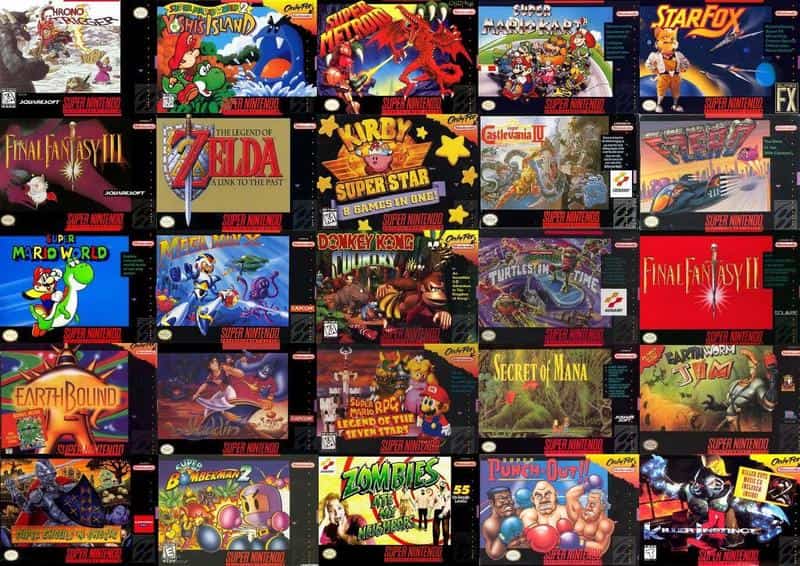
There is something about classic retro SNES (Super Nintendo Entertainment System) games that truly make them magical! Think about it, from the most beloved Super Mario, Teenage Mutant Ninja Turtles, Super Punch-Out!! to NBA Jam, Chrono Trigger, and The Legend of Zelda, each one of them holds a special place in the heart of the die-hard gamers.
But, do you know what’s even more exciting? Thanks to advanced BIOS and emulators, you can now download and play the SNES games on your personal computer and laptop as well. Wondering how this works, and the steps that should be taken for emulating your favorite game? Read on to find out more.
Decode the Basics: What are Emulator and ROMs?
Any console game from the house of SNES can be made functional and realistic on the PC using an emulator and ROMs.
- Emulator: This is a form of software that mimics the hardware of good old consoles, enabling computers to operate retro games.
- ROMs: This is a read-only memory (ROM) that contains a copy of SNES games in the form of a cartridge.
Steps to Download and Play SNENS Games Using Emulator
To download and play SNES games on your computer using an emulator, there are four steps that you need to follow:
Step 1: Getting the right emulator
The first and perhaps the most important step are to find a suitable emulator for the game. For this, do remember to:
- Choose the emulator according to the operating system of your computer i.e. Mac OS or Windows. An emulator meant for Mac will not be able to run on Windows operating system.
- Designate a specific destination for the SNES emulator, and apart from this, have another folder for ROM files of the game. With this, you can effectively organize both emulators and ROMs.
Step 2: Download the ROMs
Once you’re done with the emulator, the next step is to get free and safe ROMs from a secured platform. No matter which website you consider for downloading SNES games, make sure that it holds the reputation of providing the best ROMs that do not have any sort of malware.
Step 3: Playing the Game on PC
The work doesn’t end here; rather it’s now time to set the emulation and ROM for your PC. To do this:
- Keep ROMs and emulators in a separate folder and open the emulator.
- Click on the emulator, and from the drop-down menu select ‘Load Game’. CTRL+O can be used as a shortcut for this step
- A pop-up of ROM files appears at this point, and you can select and run the game that you want to play (based on the number of ROMs you have downloaded on your PC).
- You don’t have to choose the game now and then, as the emulator automatically picks and cues the ROM, based on the game that you had selected earlier.
Step 4: Setting up Configuration of Controller
Configuring the controller is a must for a seamless gaming experience. Most of the emulators come with instructions for ample scope of customization.
This can be done by clicking on ‘Input’ and from the drop-down menu, select ‘Input Configurations’, Alt+F7 can be used as a shortcut key to this method. Now, a pop-up appears on the screen and this allows you to customize every aspect of the controller.
A golden rule of thumb is that after you have performed the customization, the background turns white. This happens because, every instruction reading on the emulator has a different color, and it’s basically on the user whether he or she wants to follow the given cue or not.
Final Words
It’s crucial to find a compatible emulator that supports the OS of your computer. Later, opt for ROMs that can take your gaming to the next level. Most beginners often consider default settings to be more than enough, but if you are a pro with desired expertise then you can make the much-needed adjustments too.
At the end of the day, one can never have enough of SNES games and with the power-packed combination of emulator and ROMs, you can effortlessly gain access to millions of classic retro games that are cherished by gamers across the world.