It doesn’t matter what you have rigged up—a standard laptop or PC can’t run some of the recent gaming titles out in the market, most notably when you crank them up to their highest settings. However, you can still tweak and optimize your computer to provide you with a fantastic in-game performance.
The best part is, you don’t need to be a geek head to achieve this with your rig. Here are five tips that can turn your gaming rig into a supercharged workhorse.
#1. Check Your Specs
Before you start the process of optimizing your gaming rig, you must ensure that it meets the standard system specifications of the latest game titles.
If you want to keep this whole process affordable, check out the best $500 gaming PC build. These devices meet the essential specs for gaming while being budget-friendly. You can find specifications for gaming PCs already listed by the game publishers.
A note of caution: optimization won’t make your 12-year old PC run all the brand new game titles and their high-end graphics smoothly. You must make sure your device hardware is capable of high-def gaming.
#2. Update Your Graphics Card Drivers
In optimizing any PC, you should update your graphic drivers. An outdated driver can disrupt your game flow with constant freezing or crashes.
Your gaming PC is likely to have an AMD or NVIDIA graphic unit. They are usually the best in the market at this point.
Updating your drivers ensures you have access to any new features, bug fixes, and performance updates from manufacturers. The updates also potentially improve gaming experiences.
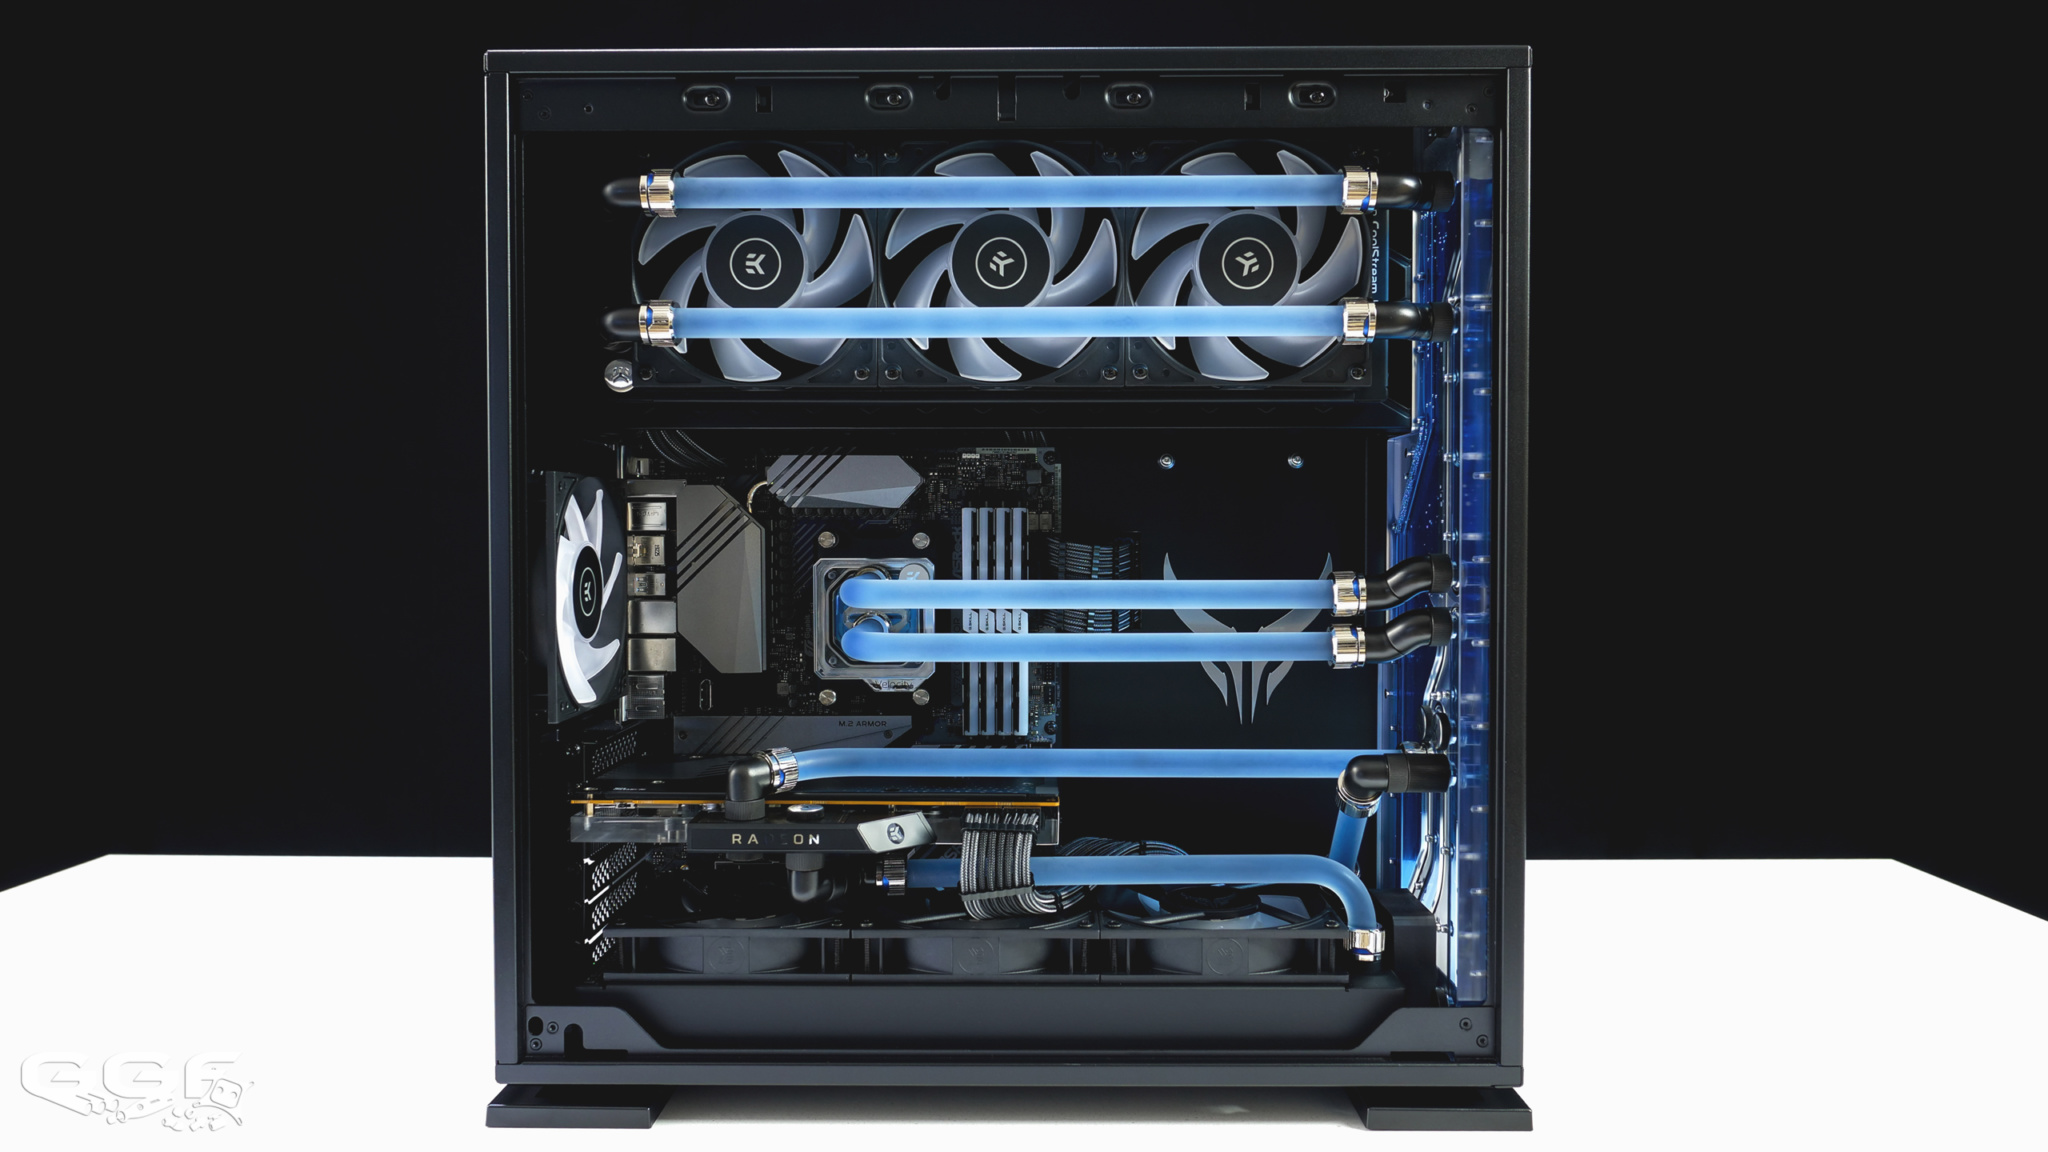
#3. Upgrade to a Solid State Drive (SSD)
SSDs have faster read and write rates, and these guarantee you some performance advantages when you upgrade your hard drives.
Upgrading won’t make you better at the game, but the flash memory composition gives you faster load and boot times for your game, especially if you have large files.
#4. Defrag Your Hard Drive
With frequent use, your hard drive becomes fragmented. When this happens, it causes a drop in performance. Fragmentation means that files are randomly spread out all over your disk drive, and the drive needs to gather all the scattered data before it can run any command. This gathering process slows your game load time.
With large files, this is worse, and the game becomes painfully slow ( and most games have large files). Defragmentation organizes the scattered data, reducing load time.
To defrag your hard drive, simply do the following:
Click “Start Menu” >>> Select “All Programs” >>> Then “Accessories” >>> “System Tools” >>>Click on “Disk Defragmenter”.
#5. Shutdown Unnecessary Processes During Startup
The startup process of a PC is involved. A ton of third-party services and applications start and run in the background without being prompted. These services and applications end up slowing down the time it takes to load your game because they eat up some of the memory you need for the game. As your PC gets older, this gets worse.
To improve load speeds, you will have to stop specific processes, services, and applications from launching whenever your PC restarts. To do this, follow these steps:
Long-press the “Windows” key on the keyboard and click the “R” key >>> Type “MSConfig” on the box that appears >>> Click “OK” >>> Then click the “Services” section >>> Tick “Hide all Microsoft Services” >>> Then click “Disable All.”
Restart your PC when this is complete. The clean startup process stops third-party applications and processes from disrupting your game load time.
If there are essential programs you need to run at startup, you can manually select them from the “Services” section. Always restart your PC once you have finished with this process.
The Bottom Line
These five tips are necessary to get your $500 gaming build working like a supercomputer to a reasonable extent. Doing this doesn’t only ensure your games load faster, but they also run faster, and you don’t experience crashing, frozen screens, or stuttering graphics.