Whenever we want to do something, we love to work with the best tools or software. If you are a gamer or have a unique talent or skill and are getting a challenge to share it with the world, you need to download Wondershare DemoCreator. It is the best free screen recorder useful for screen recording and video editing.
A professional screen recorder or video recorder will tell you that such tools should be easy to use and effective. DemoCreatoris easy to download and install. It also has a user-friendly platform and comes with a range of useful tools.
One thing is that you cannot start the screen recording process before you have a recording software on your PC. DemoCreator screen and audio recorder is compatible with the Windows system and works excellently for Windows 10. Let’s see how to go about it:
Downloading and Installing DemoCreator.
This is the first step to your screen recording task. Below are the simple steps to get Wondershare DemoCreator in place:
- Visit the https://dc.wondershare.com/website and click on the “free download” button.
- Once it downloads, open the exe. file to install this amazing software. Follow the on-screen instructions until you complete the installation process.
- After installation, you can launch the software to screen record or edit your video files.
To work effectively, you may need to alter some computer settings to allow the microphone and the webcam to work with DemoCreator.
To start recording, you must click on the “capture” button when you launch the software.
Adjusting the Capture Settings.
After clicking the capture button, you will have an opportunity to adjust the capture setting to suit your needs. You have the chance to select the screen capture size and the frame rate.
You can also adjust the camera settings, such as the resolution and the frame rate. You should customize all screen, video, and audio settings.
After customizing all the settings, hit the “capture” button to start recording. If you want to record the audio, ensure you select the microphone or your system audio recorder.

Capture Screen Activity on Windows 10.
Capturing screen activity is easy and does not require someone to be a technocrat to use. Whether you are a gamer or want to record a tutorial, you are good to go.
- You begin by launching the software to open a window that displays the “Capture” button on it.
- Clicking the capture opens another window that allows you to adjust the capture region to your favorite size. You can opt to record the full screen, take a custom size later, or select a target window later option depending on your preference.
- There is an option to manually edit the dimensions of the screen you want to capture. You will also be required to select the microphone to use, either the system microphone or an external microphone. Either of them can be switched off and on at will.
When screen recording on Windows 10, the webcam will enable you to record videos of what you may wish to demonstrate. You can include these live videos to your screen recording videos to make them more real and lively.
- After selecting the recording area, you are free to move on and record the screen. You can stop or pause the recording any time you wish. The F10 and F9 functional keys are used to stop and pause the recording, respectively. F9 is also used to resume the recording.
- Once you stop the recording, the editor Window pops up to allow the user to edit the recorded videos.

If you feel some video parts have errors or need editing, this is the right time to edit your videos. With the many editing tools available on DemoCreator, you can make stunning videos for your YouTube channel or Instagram.
Remember, Wondershare DemoCreator does not require the installation of an additional video editor. It has an inbuilt video editor that works perfectly. It is useful than some expensive video editors.
Edit your Recorded Video Clips.
After recording your videos, you can edit your videos and leave them in your favorite style. Below are some of the video editing features you can use on DemoCreator:
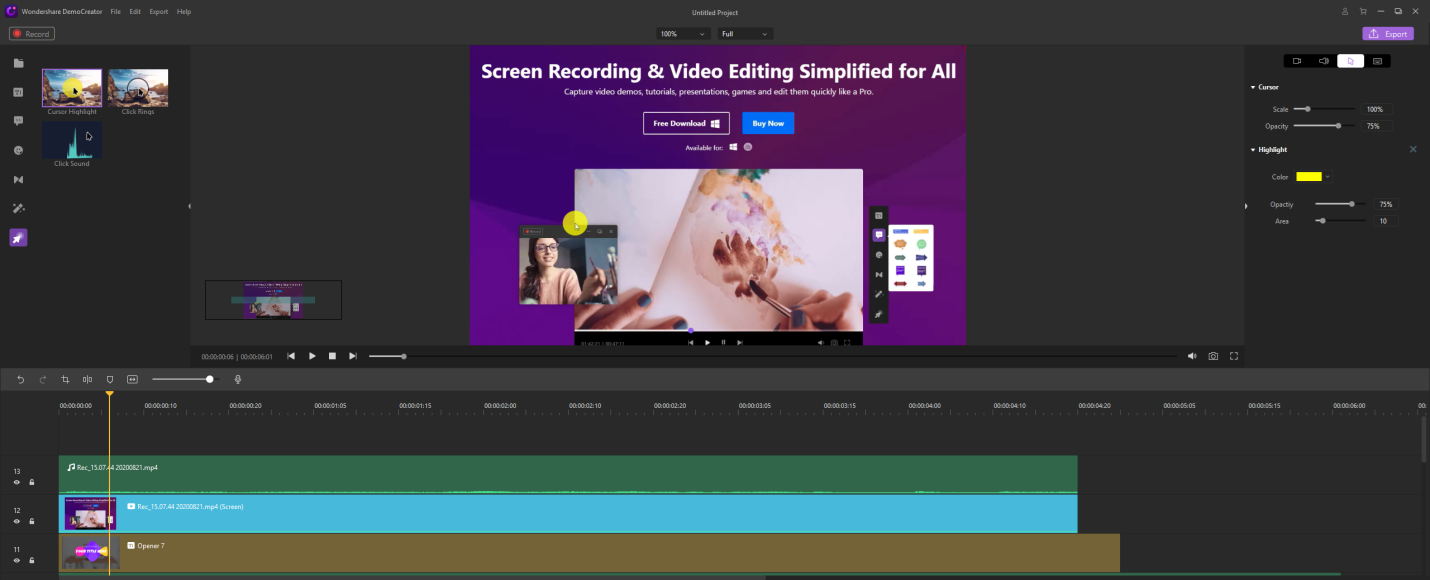
- Add cursor effects to take the movement of the cursor.
Suppose you are creating a tutorial or coding videos, creating a cursor to grab the video viewers’ focus. A student will concentrate on the cursor movement to understand the detailed description you are making. You can apply Cursor Highlights, which makes the cursor visible, and other cursor effects such as Click Rings and Click Sound. Cursor effects make your videos interactive.
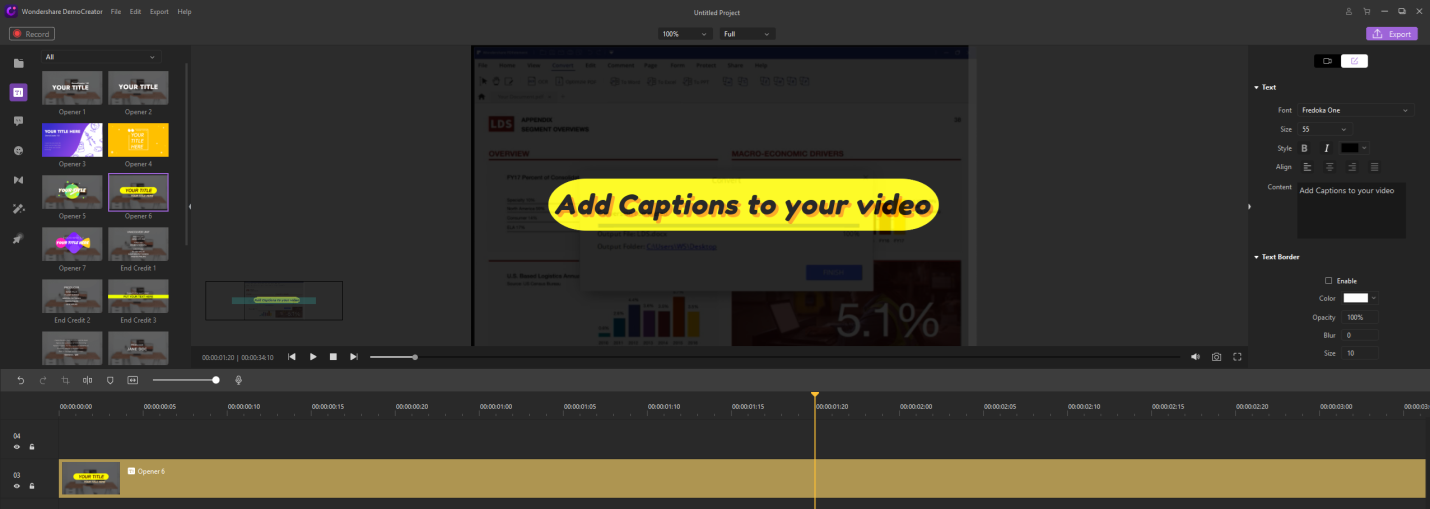
- Add captions.
You can add captions such as openers, titles, subtitles, end credits in your video. Caption effects can help to express the meaning of each part of the video more clearly.
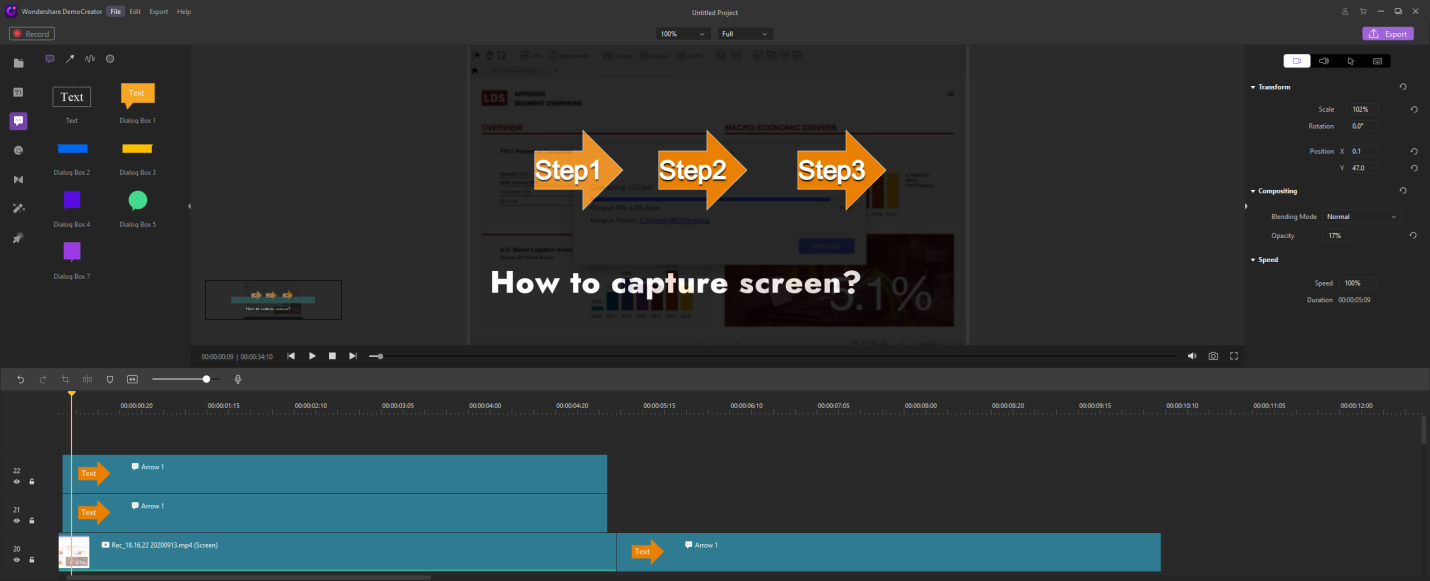
- Add annotations.
When we talk of annotations, we refer to adding arrows, texts, shapes, and sketch animations to your videos to make them interactive and appealing. The use of books, for example, makes a video more comfortable to understand. It is easier for viewers to connect what you say in the audio when you have annotations in your video.
- Add stickers.
Stickers also play a significant role in screen recorded videos. You can use a sticker to emphasize a feeling that could not be displayed on your video. You may not necessarily laugh until you cry, but you can show this using a single sticker on the video.
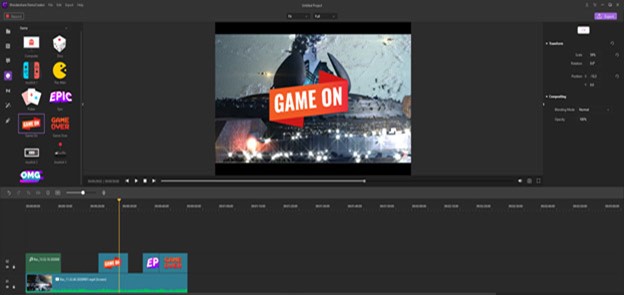
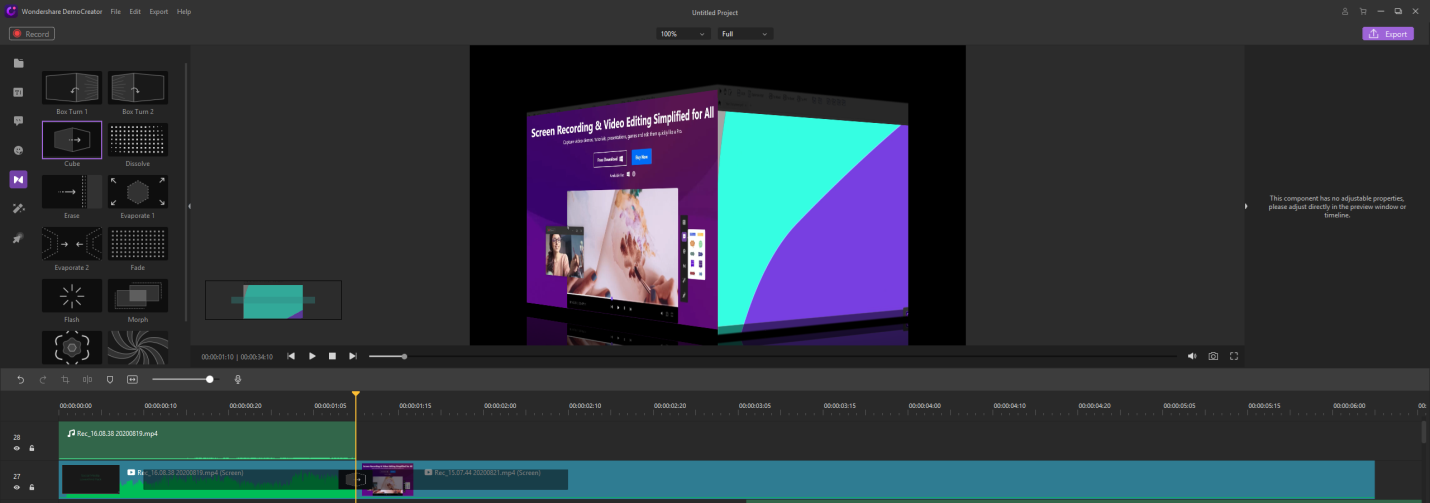
- Add Transition and Other Basic Effects.
Video editing on DemoCreator is not limited to the above feature. You can add creative transitions and use other essential video editing functions like resizing, cropping, splitting, flipping, and rotating.
Now that you understand the right part of this software, you should hike your screen recording and use more elegant videos on your YouTube channel. The DemoCreator Screen Recorder for Windows 10 came to sort all your screen recording and video editing needs. Videos can be saved in various formats you prefer.