Kingston IronKey Keypad 200 Overview
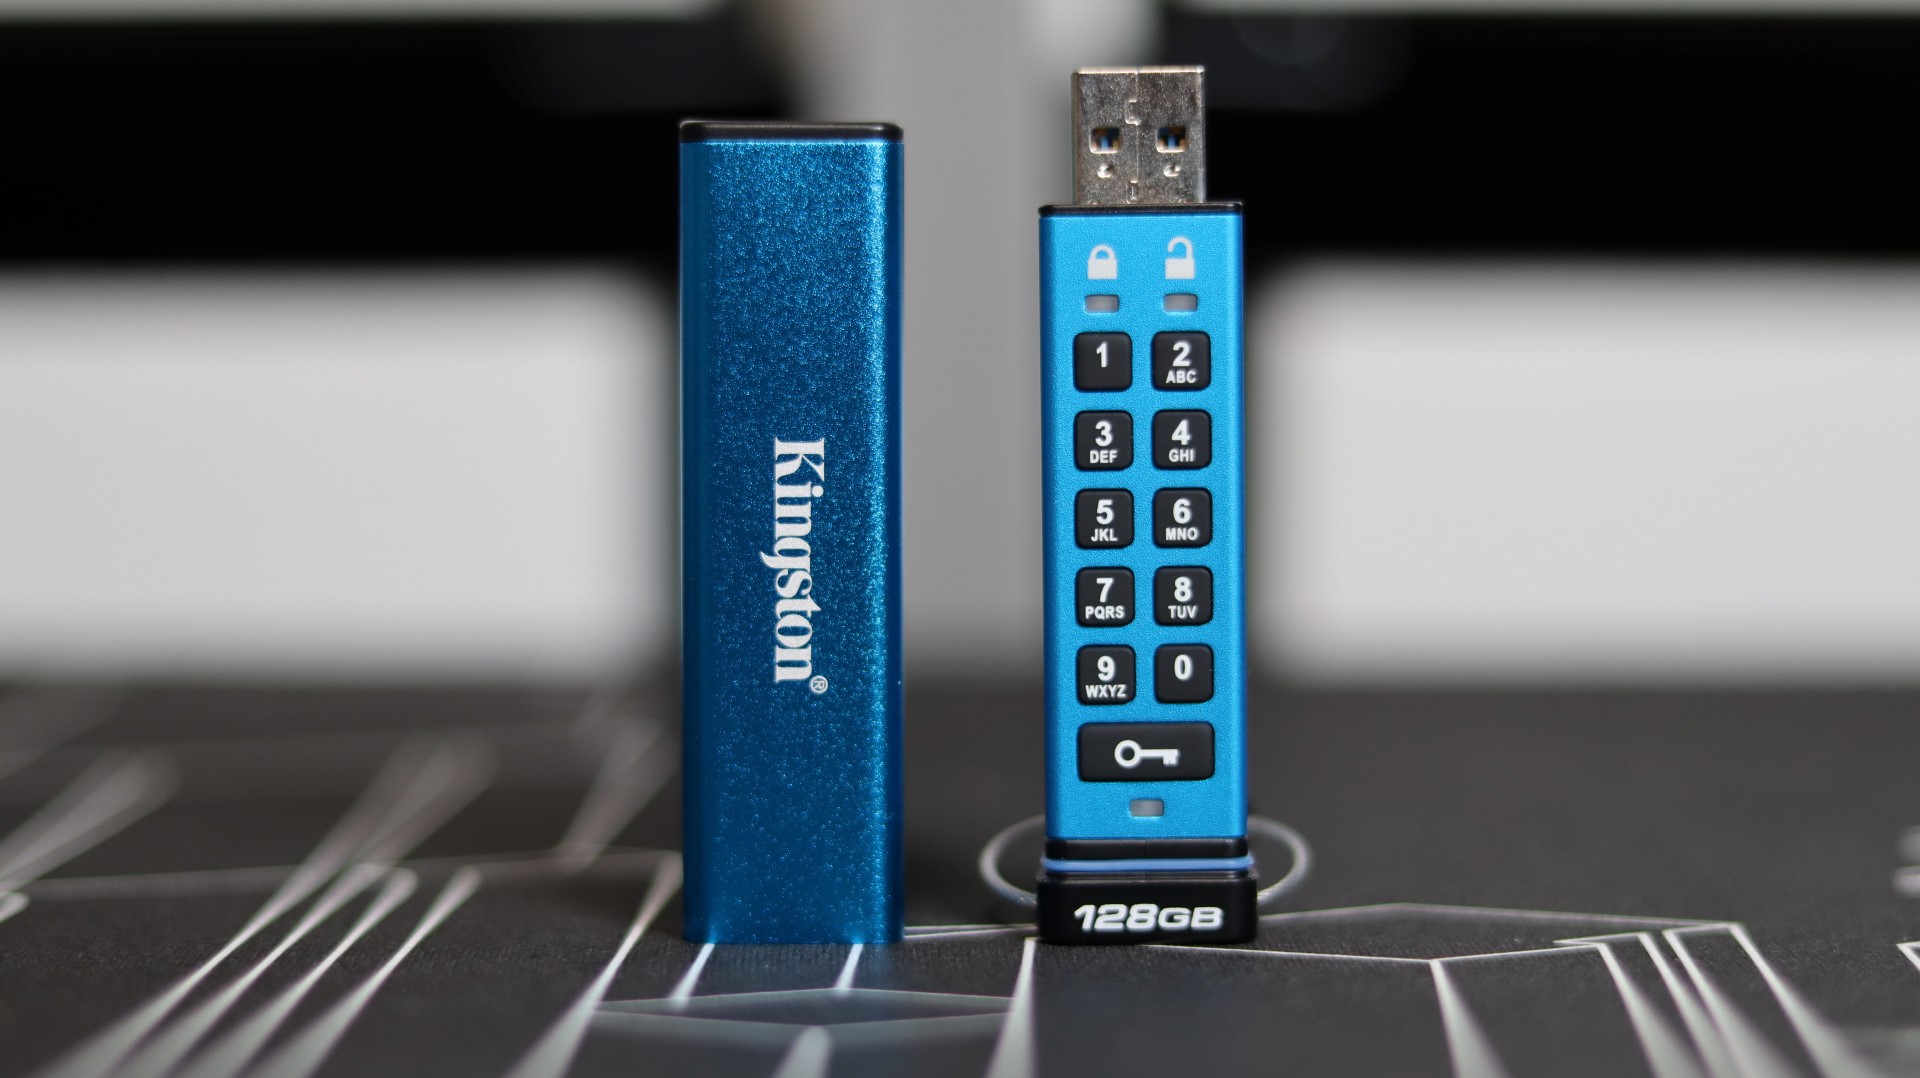
Once out of the packaging, I was able to get a better look and feel for the Keypad 200. The bright blue metal body found on the drive and protective sleeve has a nice satin finish, with a few black plastic accents on the device ends. With the drive inside the sleeve, you end up with an object that has the shape and dimensions of a small pack of gum.
The outer sleeve has white IronKey and Kingston text and imagery along the sides, while a black plastic endcap closes up one end.
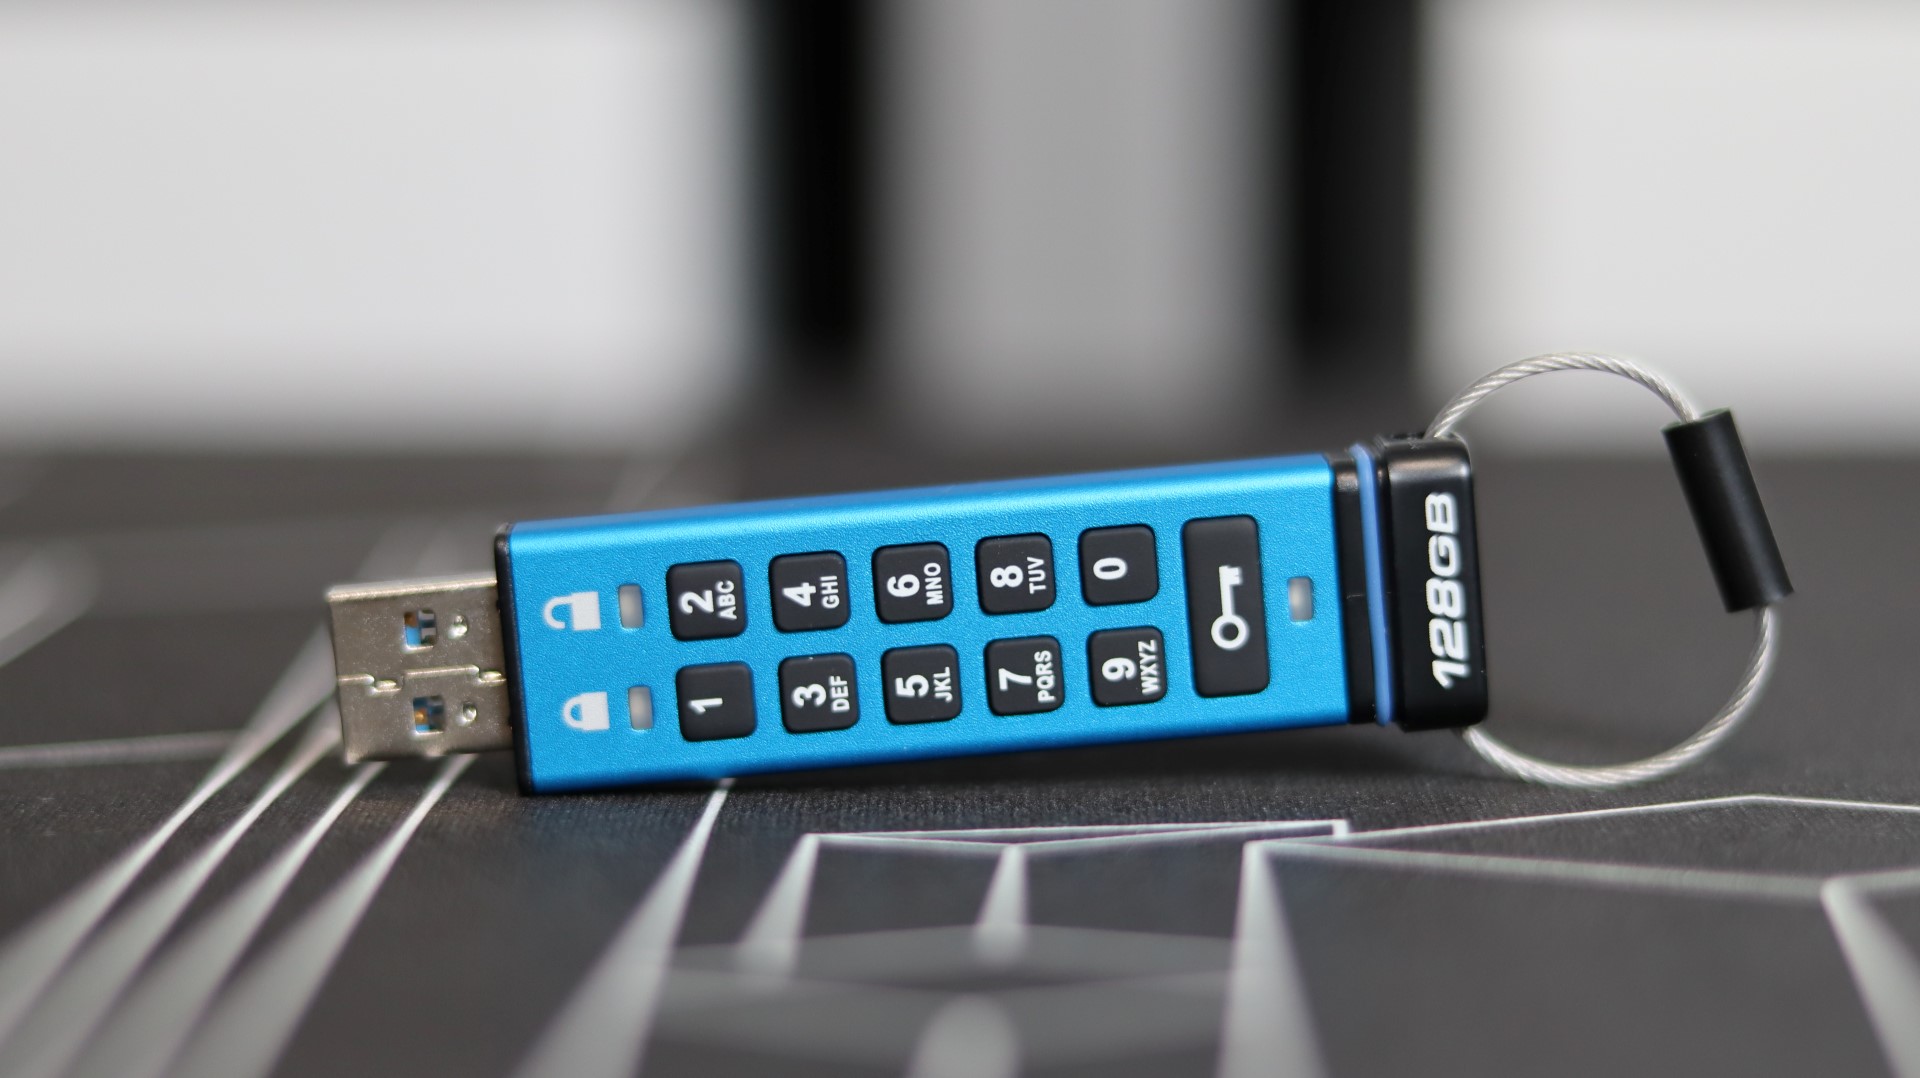
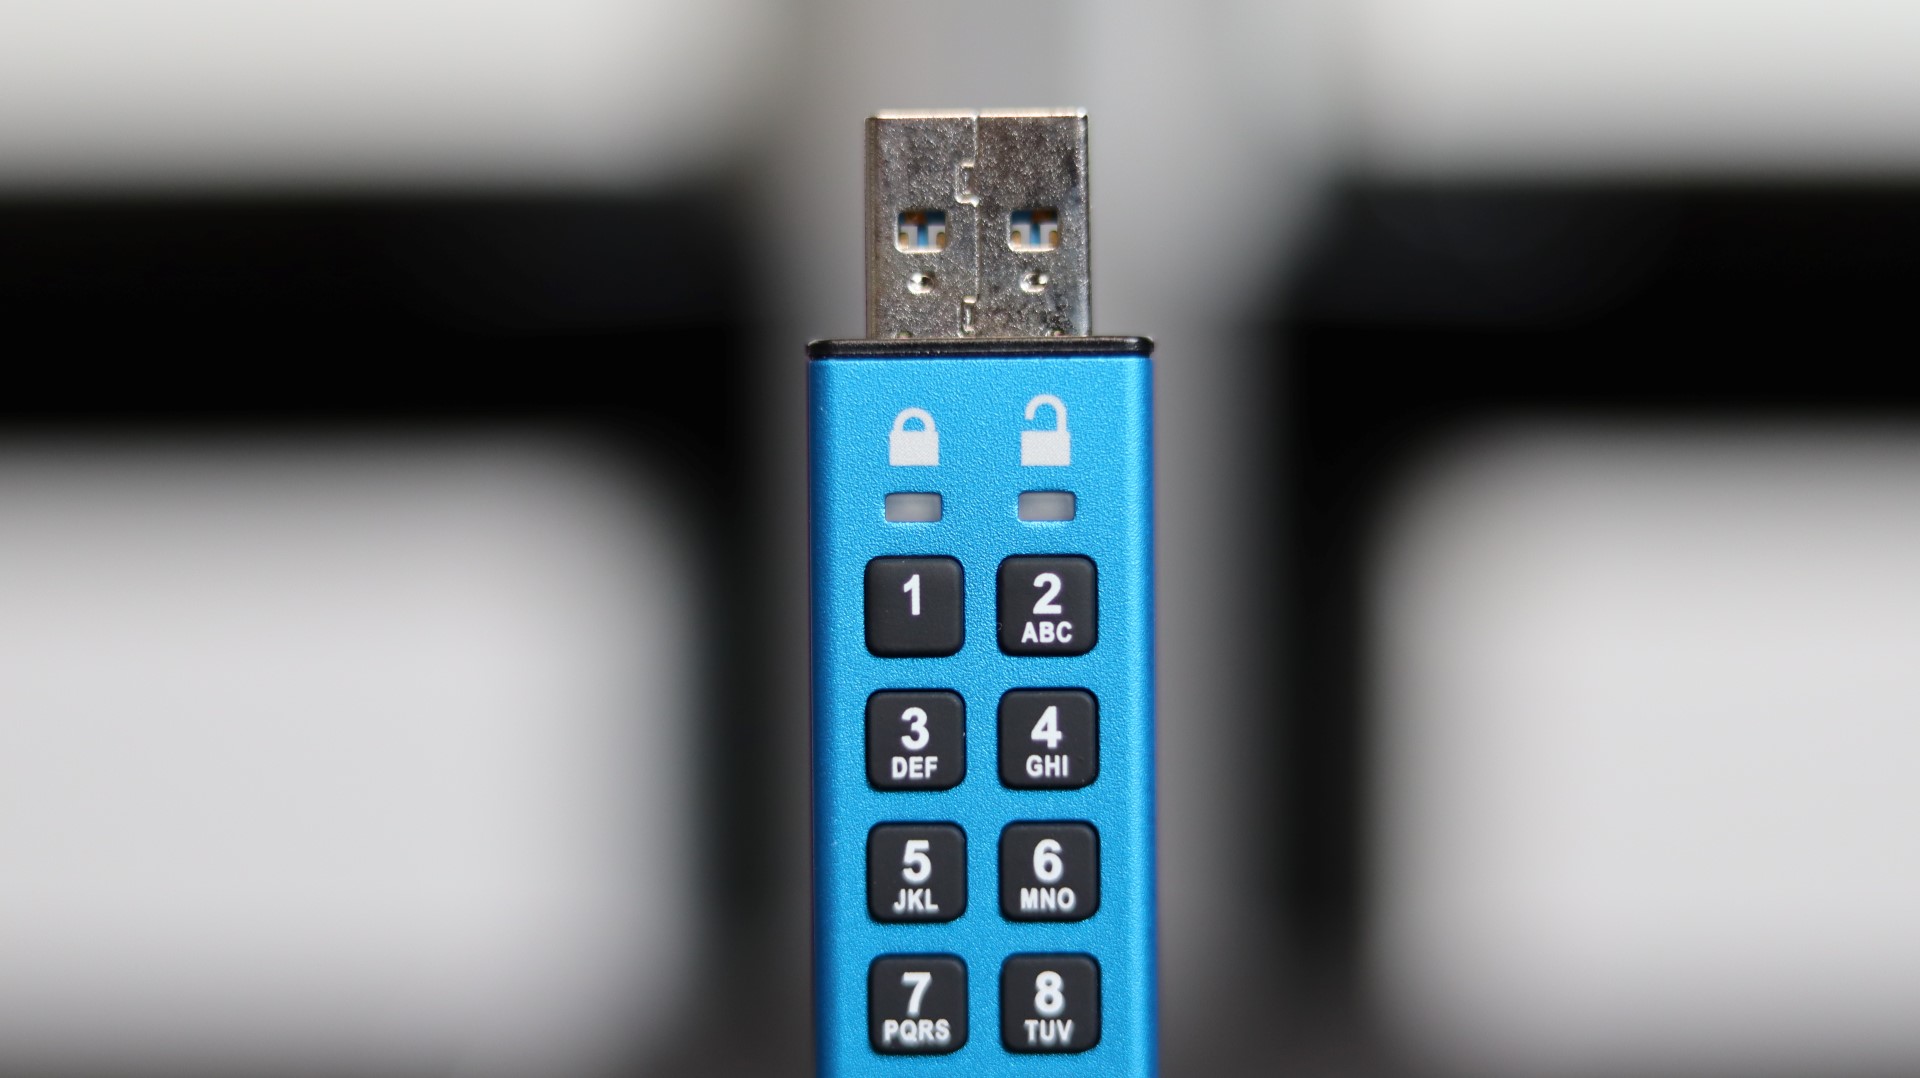
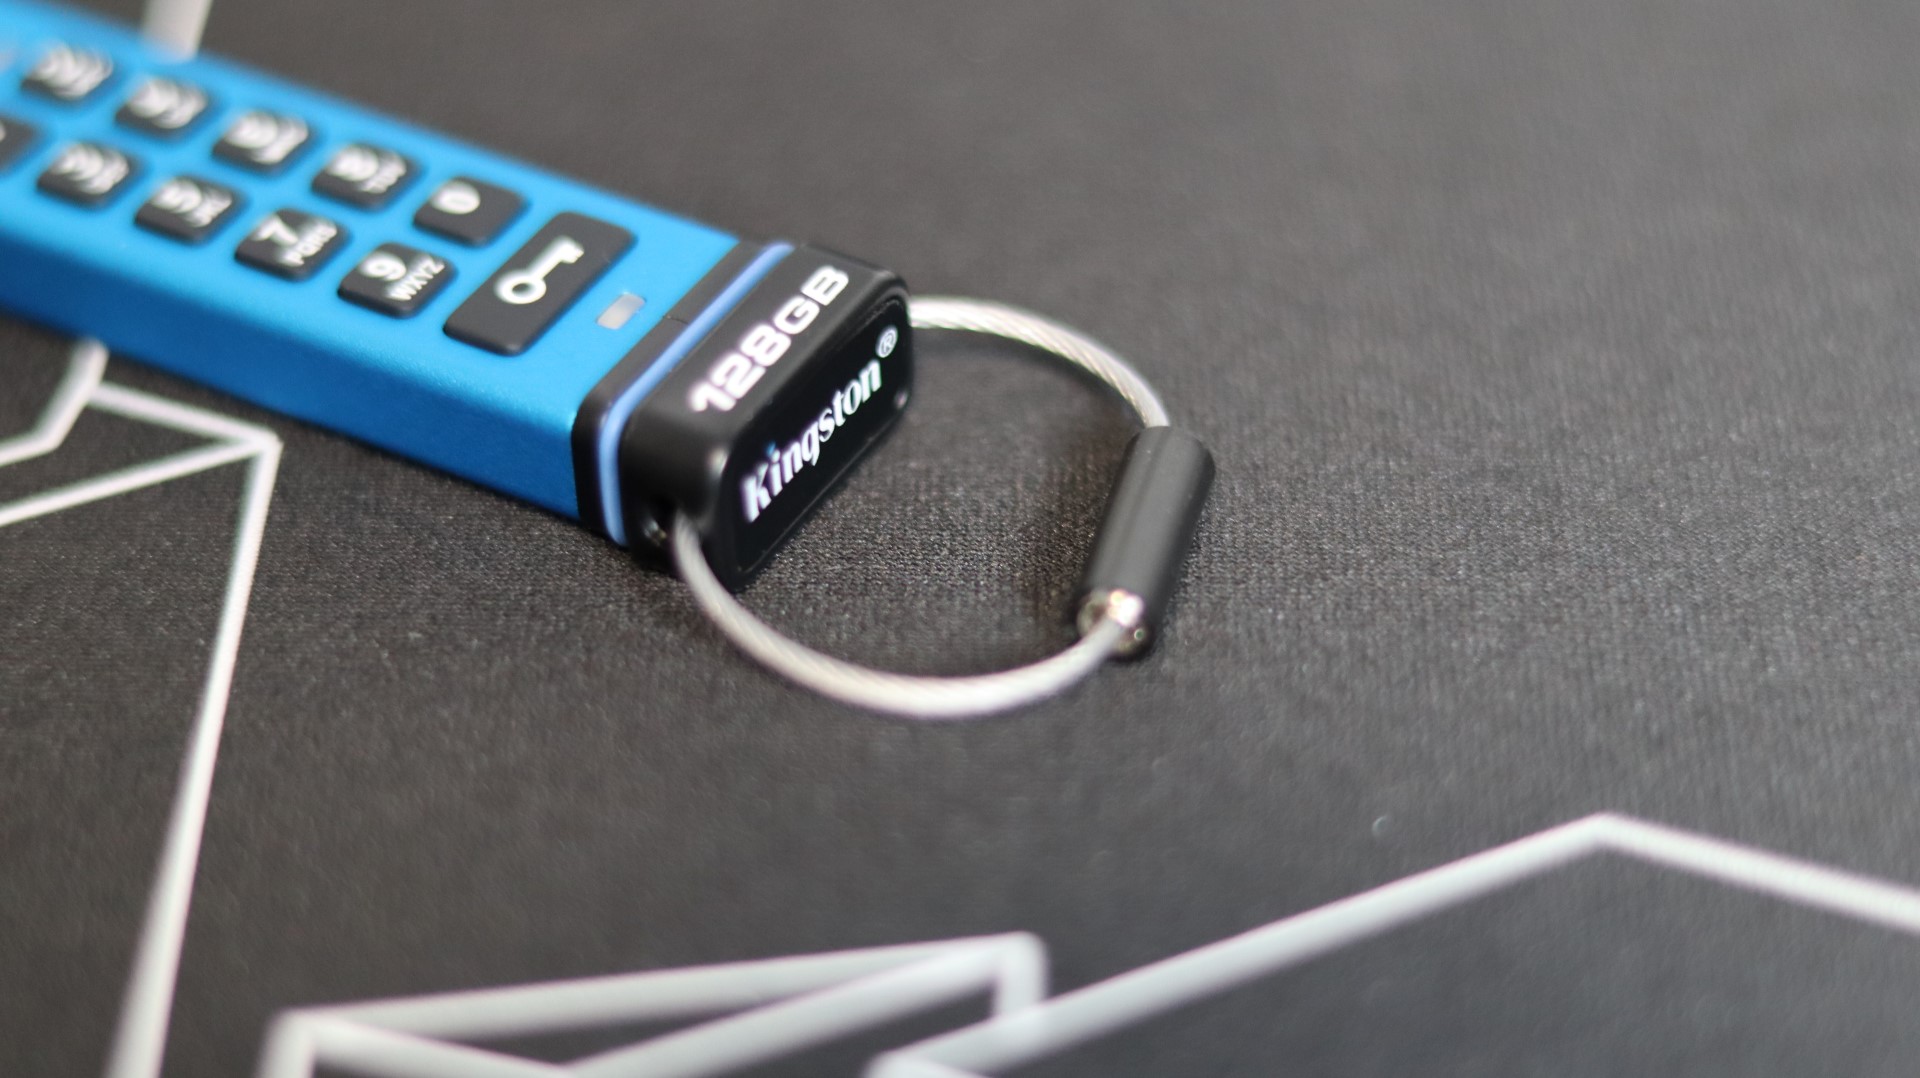
Taking a closer look at the drive itself, what I consider the front is where all of the cool features are found. Starting at the top are two LEDs, marked with a locked and unlocked symbol, that provide a visual representation of the drive’s status without the drive being plugged in. Just below are the 11 buttons that allow you to interact with the drive. The 10 alpha-numeric buttons provide more than just numbers for the PIN, and make entering a more secure password an easier process for users. A single lock button is placed below the rest of the keys, and is used not only for locking and unlocking the drive, but for setup and configuration as well. Another LED resides below the buttons and acts as a drive status indicator and is also used in the setup process.

A really great feature of the PIN pad is that all of the buttons are coated with a polymer that keeps the keys from showing fingerprints that might allow someone to figure out your PIN. We’ve all seen horror stories of someone getting into something they shouldn’t by looking at the worn down buttons on a lock of some sort – no danger of that with the Keypad 200.
Below the PIN pad area is a black plastic endcap that provides a few very handy features. The first is a small rubber gasket that helps keep the Keypad 200 in the protective sleeve, as well as keeping debris like dust and water out of the sleeve – this feature helps ensure the IP57 rating.
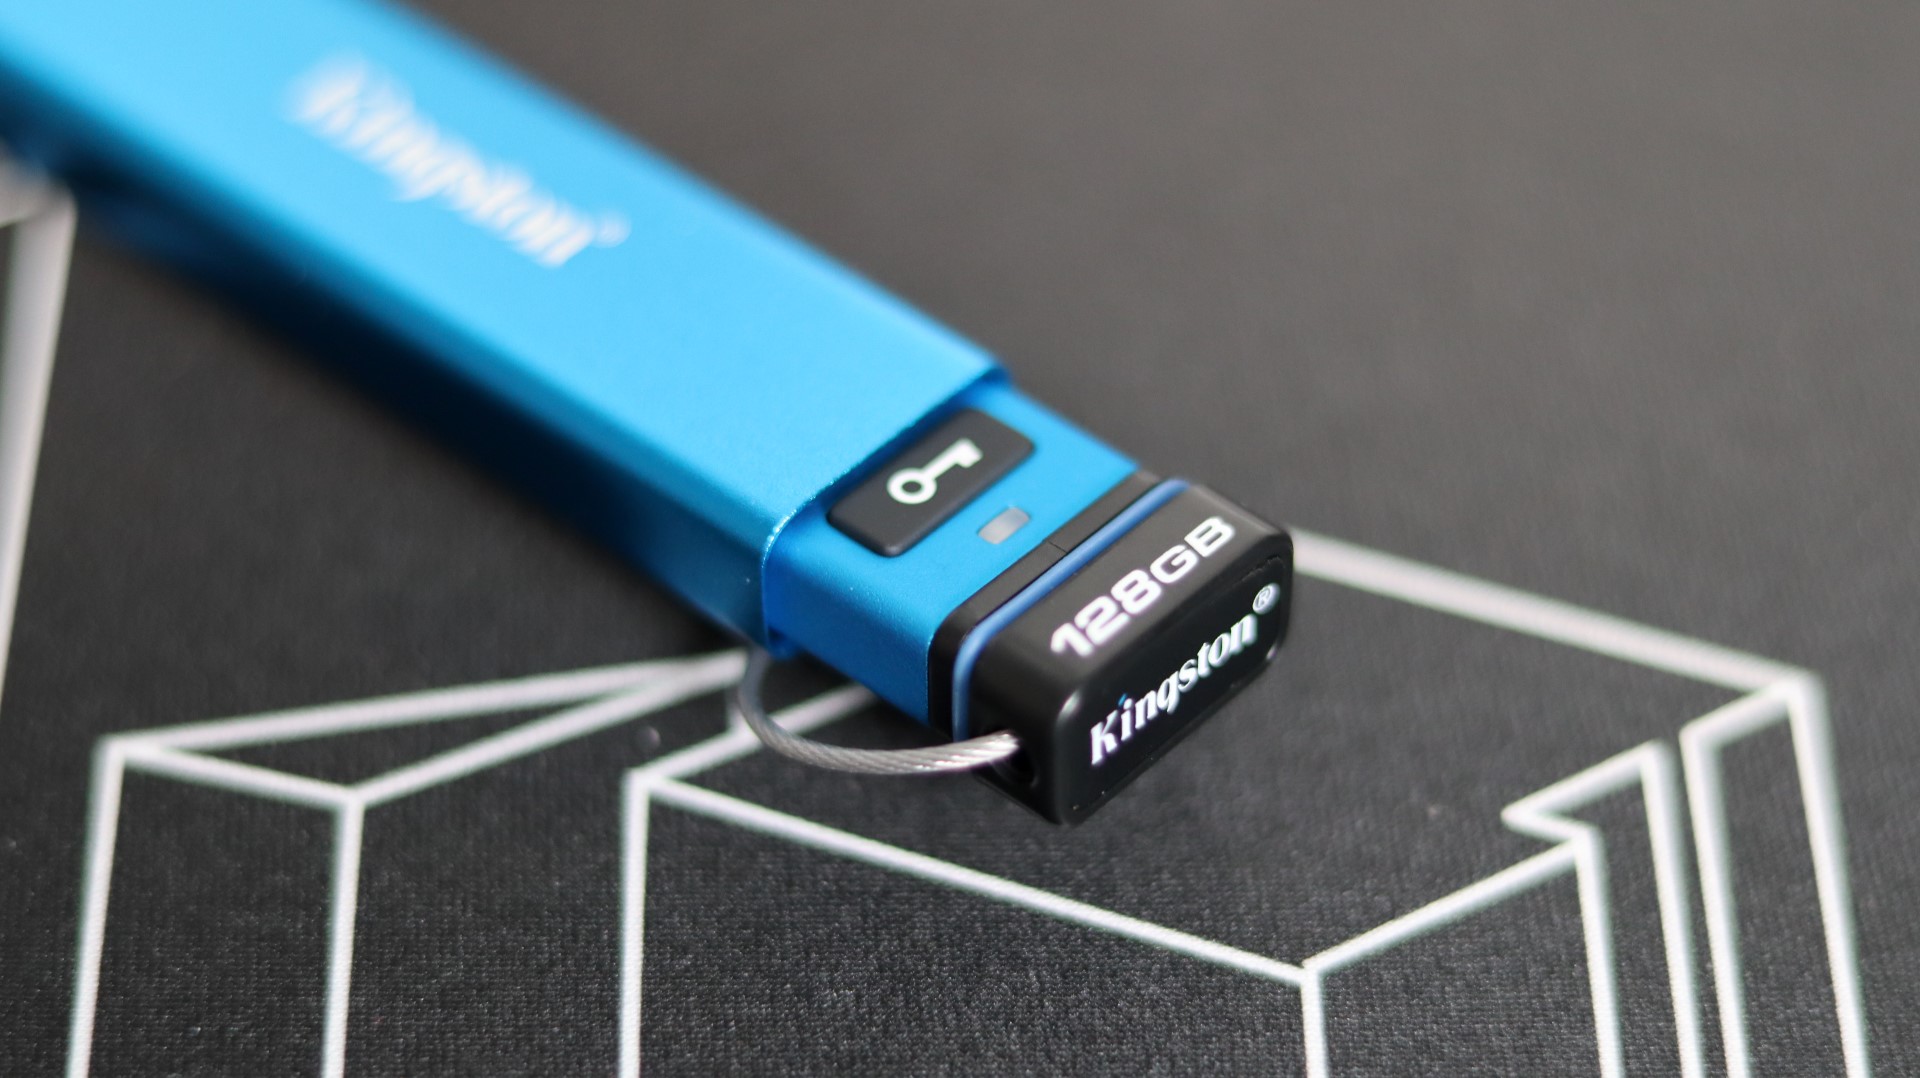
Additionally, a small braided steel cable loop is present for attaching the drive to something like a keychain. A small threaded closure mechanism makes this installation very easy. This black plastic endcap also has a designation for the drive capacity – in our case 128GB.
The backside of the drive has information about the drive, like model and serial number, as well as information regarding the internal Li-Po battery.
Internally, Kingston has protected the circuit board and components from tampering by covering everything with a layer of epoxy that will damage the components if tampered with. This epoxy also helps the Keypad 200 gain an IP57 rating, which means that it is protected against dust, as well as temporary water submersion. There is also a small, 3.7V Lithium-Polymer rechargeable battery inside the KP200 that allows you to utilize the drive’s keypad without it being plugged into a device.
Setup
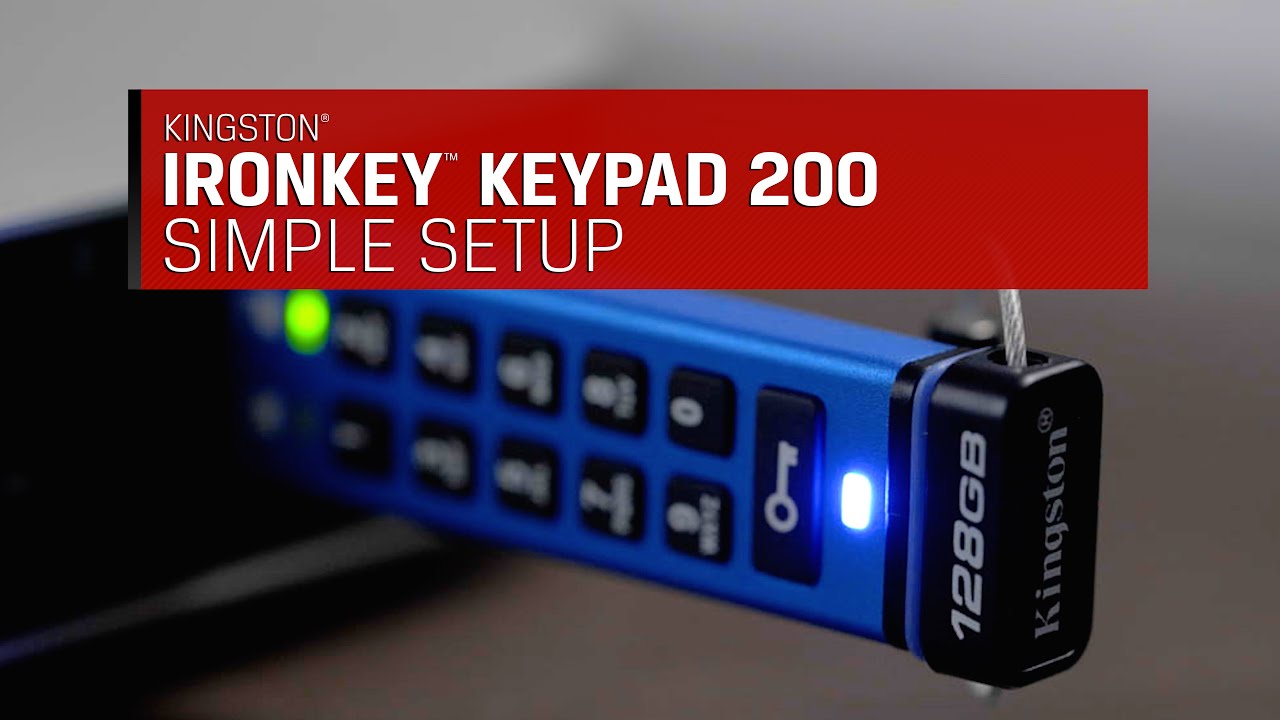
The Keypad 200 does not come with a user-manual per say, but a quick guide on the back of the retail packaging shows how to perform the initial setup of a PIN on the drive. There is also a URL on the back of the packaging that will point you to the full user guide on Kingston’s website. Kingston also provides a great setup video on their website and YouTube channel, which I have embedded below.
PIN Setup
The PIN-setting process is very simple, thanks to the LED indicators and PIN pad, and goes as follows:
1. – Press Key button once – All LEDs will flash, and then the RED LED will stay solid, while the GREEN LED flashes.
2. – Press Key button twice – BLUE LED will flash.
3. – Drive is now ready for USER PIN (Must be 8-15 characters, not include any repeating or incremental characters).
4. – Enter PIN, then press KEY button twice.
5. – BLUE LED will stop flashing and the GREEN LED will begin to flash.
6. – Enter PIN again and press the Key button twice to confirm.
7. – Flashing GREEN LED will go away, RED LED will light, then GREEN will light.
Unlocking
Unlocking is a simple process as well, and is completed with the following steps:
1. – Press Key button once.
2. – Enter User PIN.
3. – Press Key button once.
4. – GREEN LED will become solid for 30 seconds.
5. – Plug drive into device.
Admin PIN
Kingston recommends setting up an Admin PIN on the Keypad 200, as this allows you to unlock the User PIN, as well as make other more advanced changes to the drive such as setting the drive to Read-Only mode, adjusting the Timeout Lock, resetting the Keypad 200, and more. You can check out all of the advanced options in the KP200’s user manual via the following link: Kingston IronKey Keypad 200 – Support
I really wish you could adjust the KP200’s advanced settings via software as well, as the process for adjusting these settings will definitely require use of the user manual each time. Since you can only interact with the drive’s advanced settings via the keypad, you have to know exactly what buttons to press, and what the LED indicators are telling you in order to make these changes – something that would be much easier with compatible software. That said, this may be a limitation of the FIPS 140-3 (pending) implementation in order to ensure the drive is as secure as possible.