Installation
Getting the NH-C14S installed is actually quite easy. We will be installation the cooler in our X79 system, which uses the LGA2011 socket so our installation might be a little easier than most.
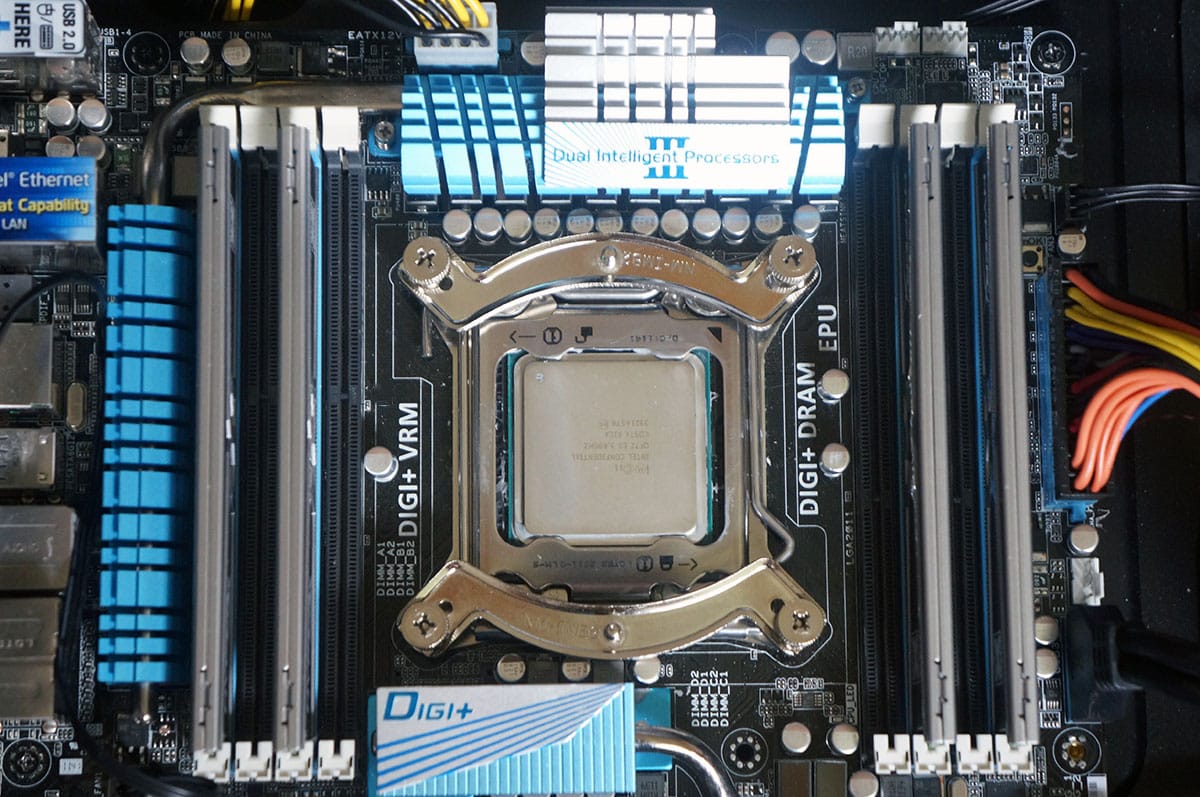
The first thing we need to do is install the NM-IBT2 bolts on to the LGA2011 socket as shown in the photo below.

Next is to install the mounting bars. You easily secure them with the included thumbscrews. We have the mounting bars installed for our cooler to be installed in orientation A, which most users will be using as well.
We decided to move the fan up to the top of the cooler. Noctua tells us that this provides the best cooling performance. With the fan installed and thermal paste applied on the CPU carefully place the cooler on the top of your CPU lining up the pegs in the mounting bars with the screws on the mounting system. Now take the supplied screwdriver and slide it through the fan and the heatsink to secure the screws on each side.
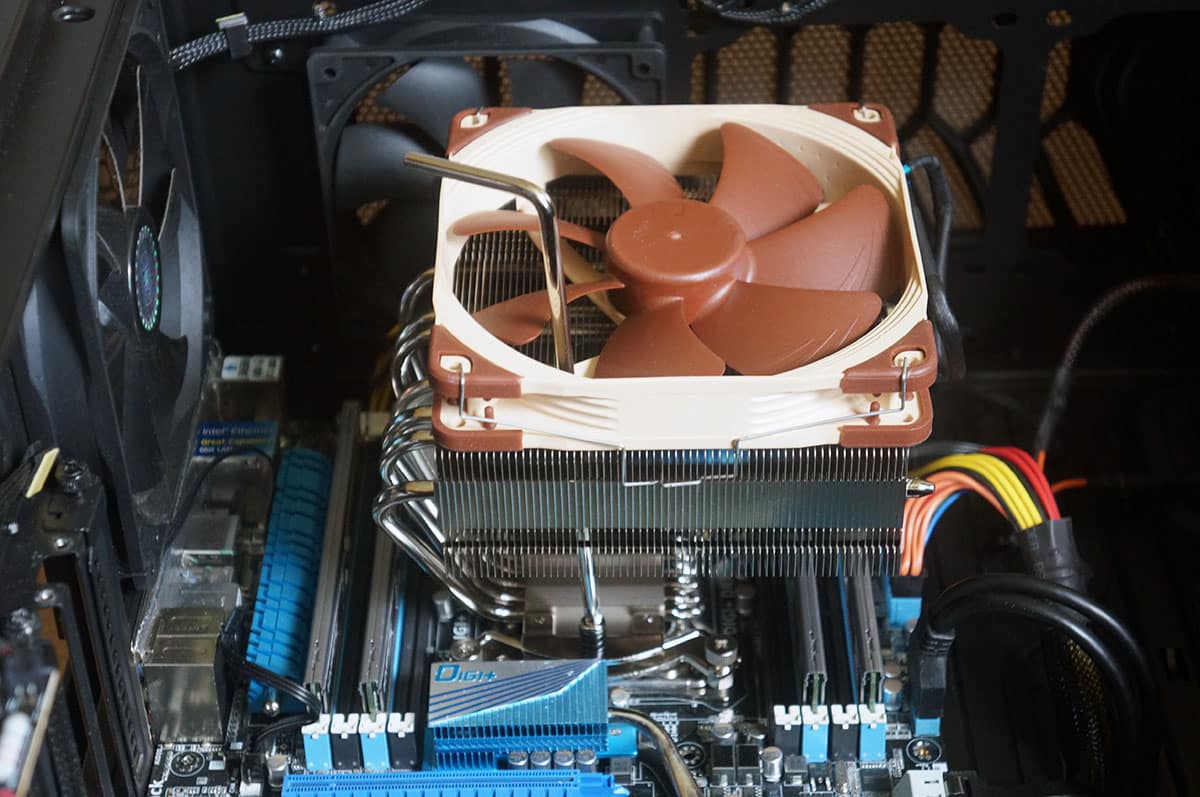
With the cooler securely installed that last thing you need to do is connect the fan to the CPU fan header on your motherboard. If you want more quiet operation you can use the low-noise adapter.

With the fan on the top of the cooler this is quite a lot of room below the actual heatsink for memory with larger heatspreaders, 70 mm to be exact. Even if you have the fan installed on the bottom or have two fans installed it will not block normal-sized memory modules.