Installation
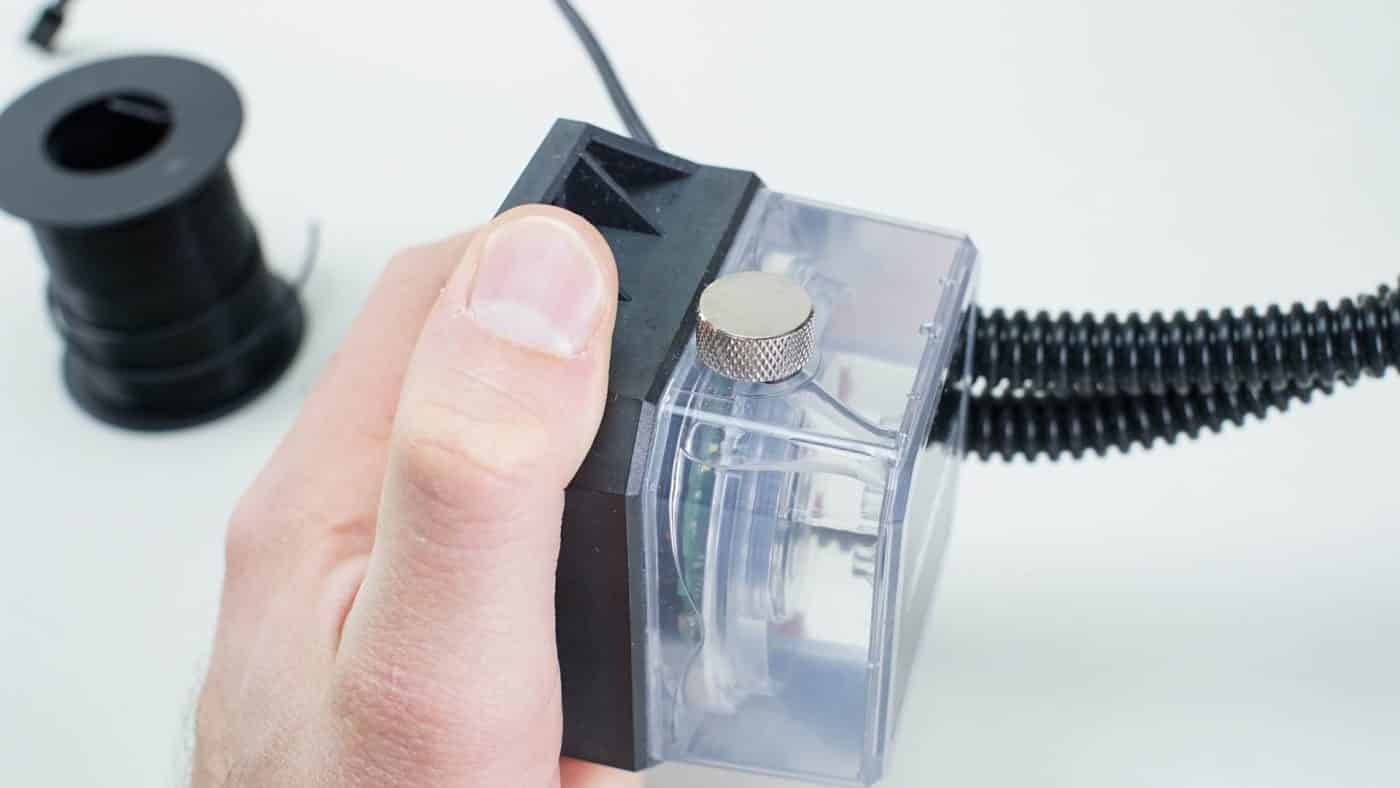
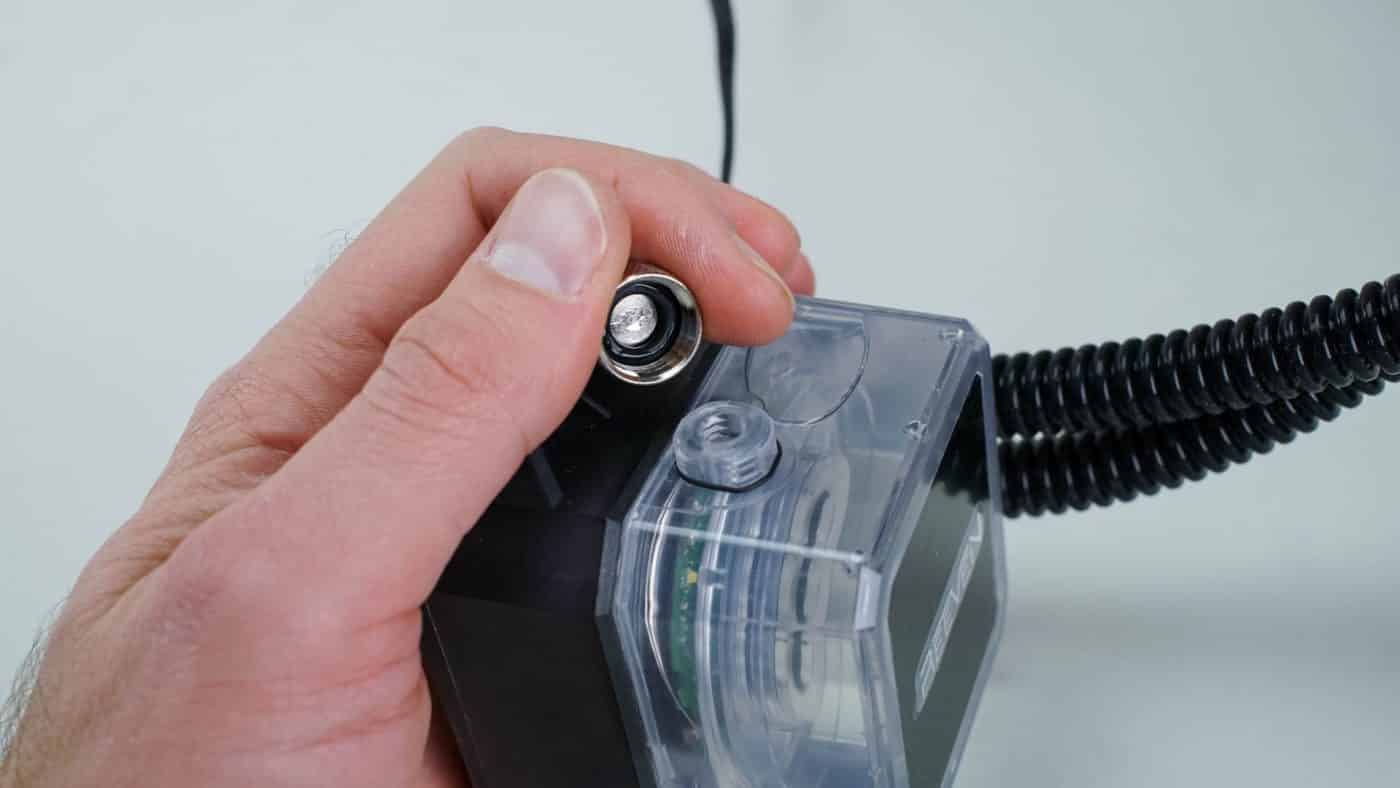
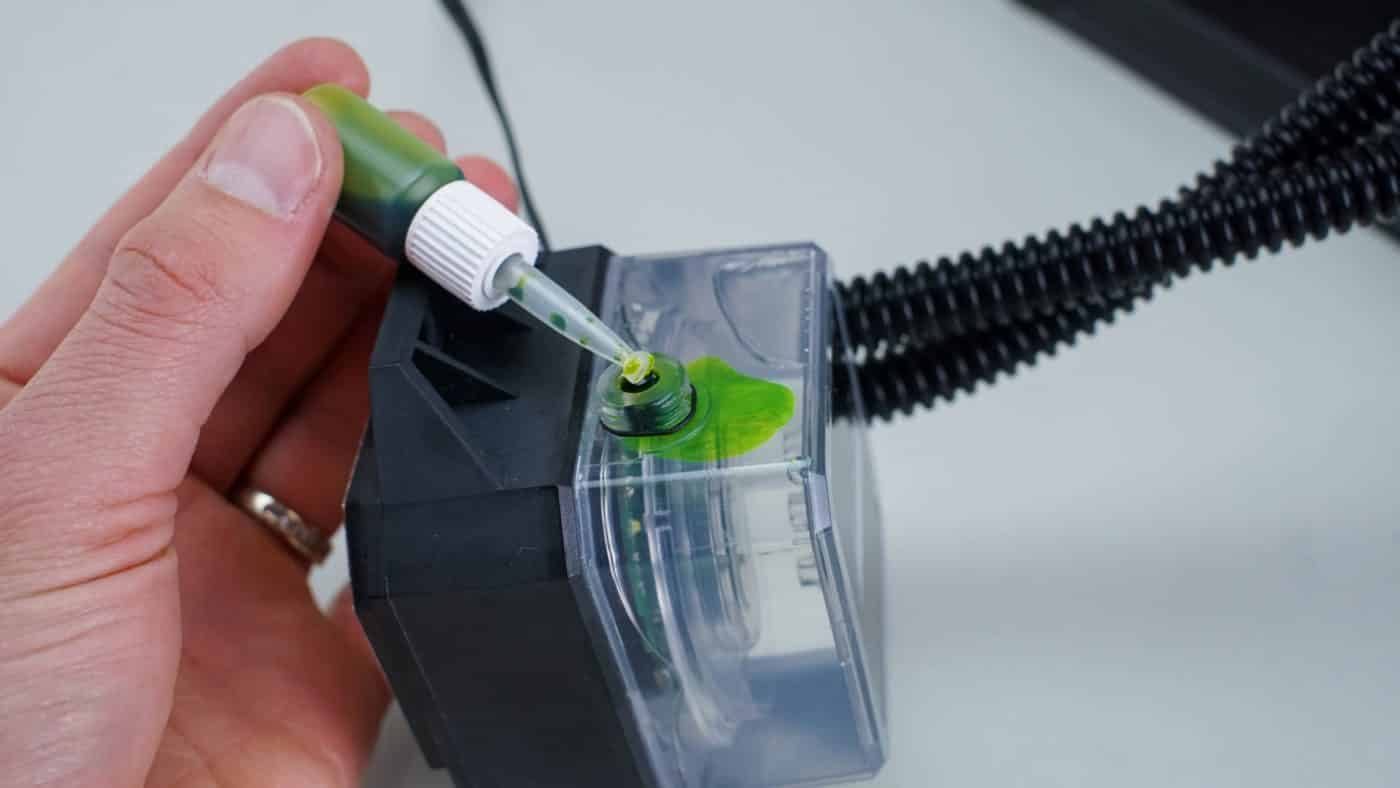
Installing the NAIA 240 is very similar to most other AiO coolers. However there are some additional pre-installation tasks that you may or may not want to do. There are also some precautions listed in the detailed installation manual that you will want to read through. Since the unit comes with three different colored dyes (red, green, blue) you will probably want to add one, two, or three of these prior to installing to cooler into your rig. Reeven placed a handy port right on the side of the pump top. Start by removing the silver plug that keeps it sealed.
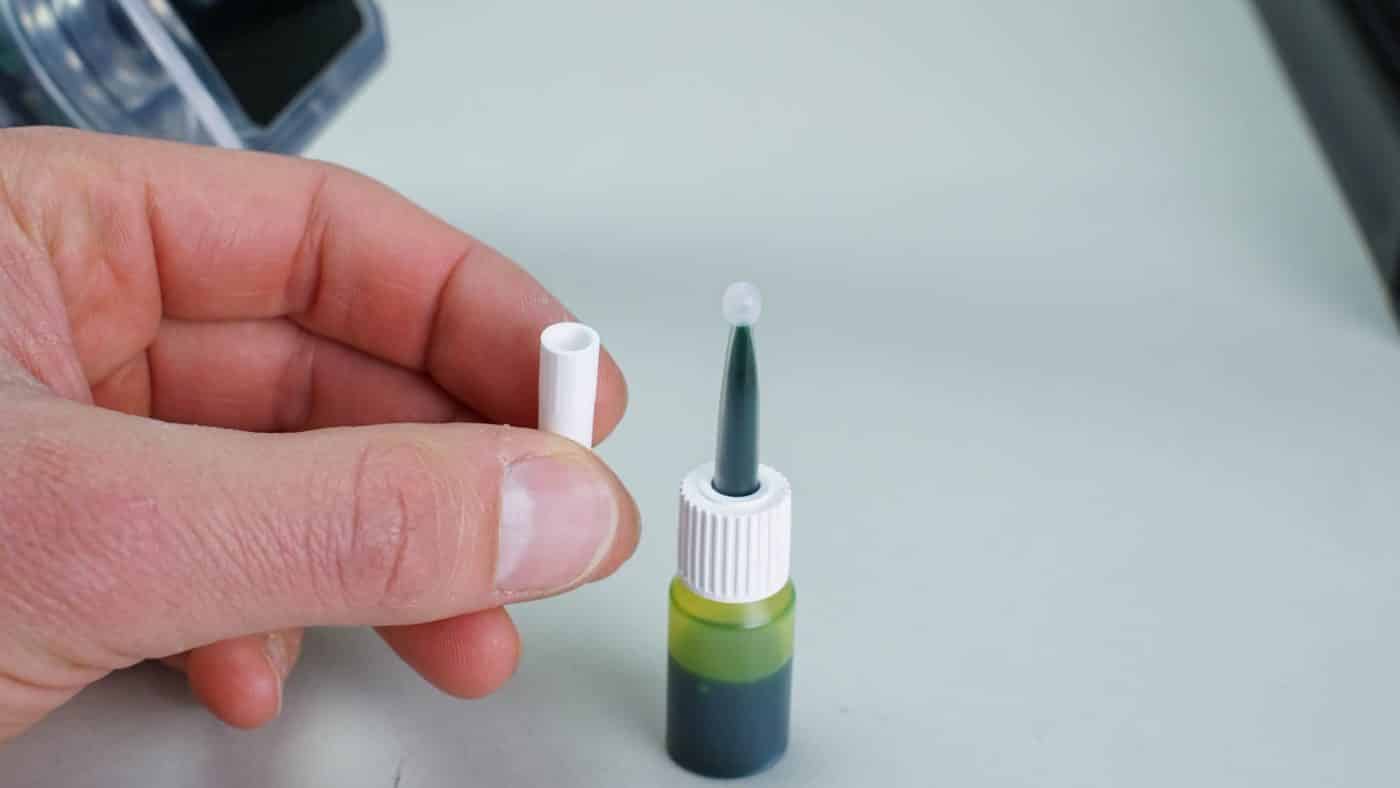
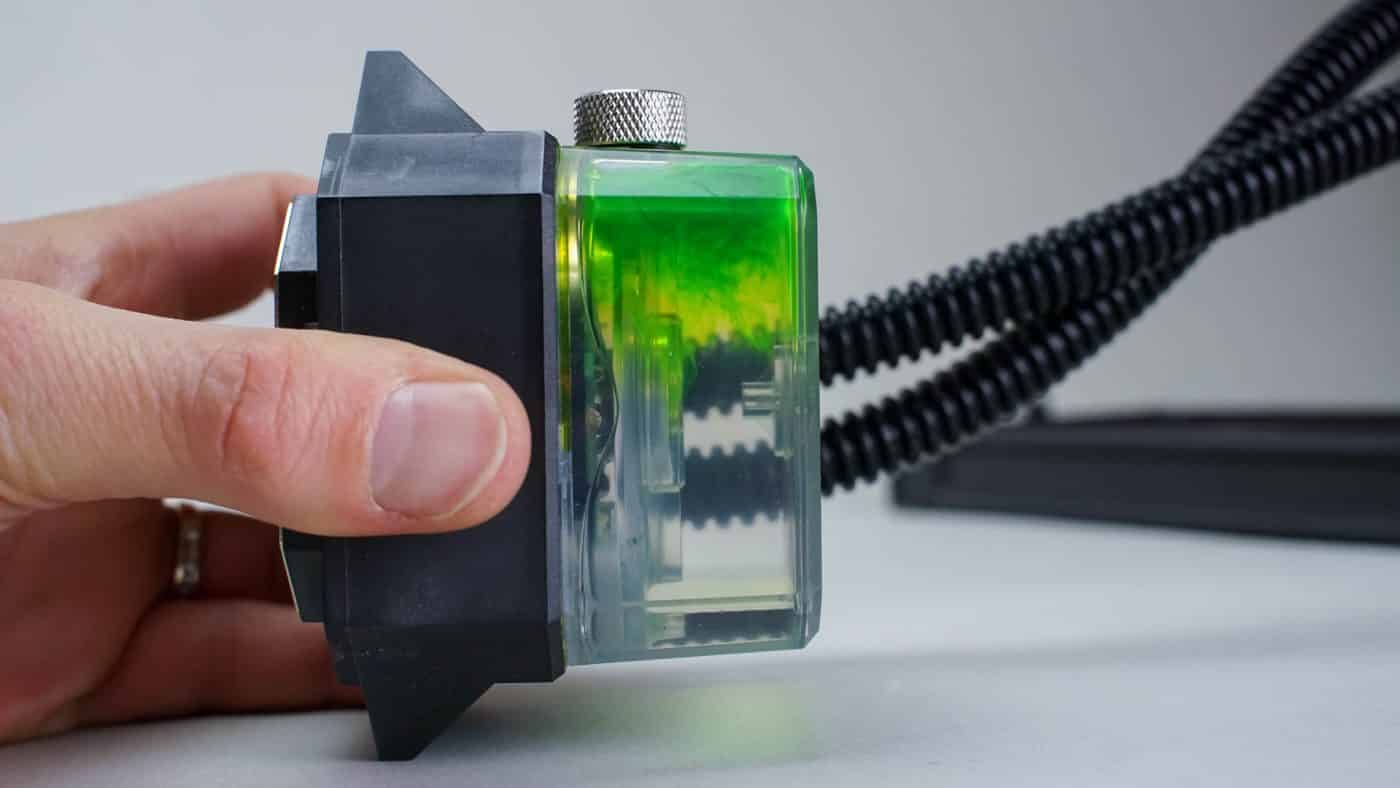
Now choose the color coolant that you want to add. Removing the white cover from the small bottle of coolant you will find a bulb on the end. Half way through this blub the dropper tube starts. We cut this in half, but also believe you could simply cut below the bulb to get to the dye. Use caution with the dye as it can and will stain anything it touches including your skin.
With the tube and port opened simply add drops of dye until you are satisfied with the level of color saturation. If you need to, you can also add coolant from the included bottle through this port. As this AiO is not technically a closed loop you will likely see the level of coolant drop over time.
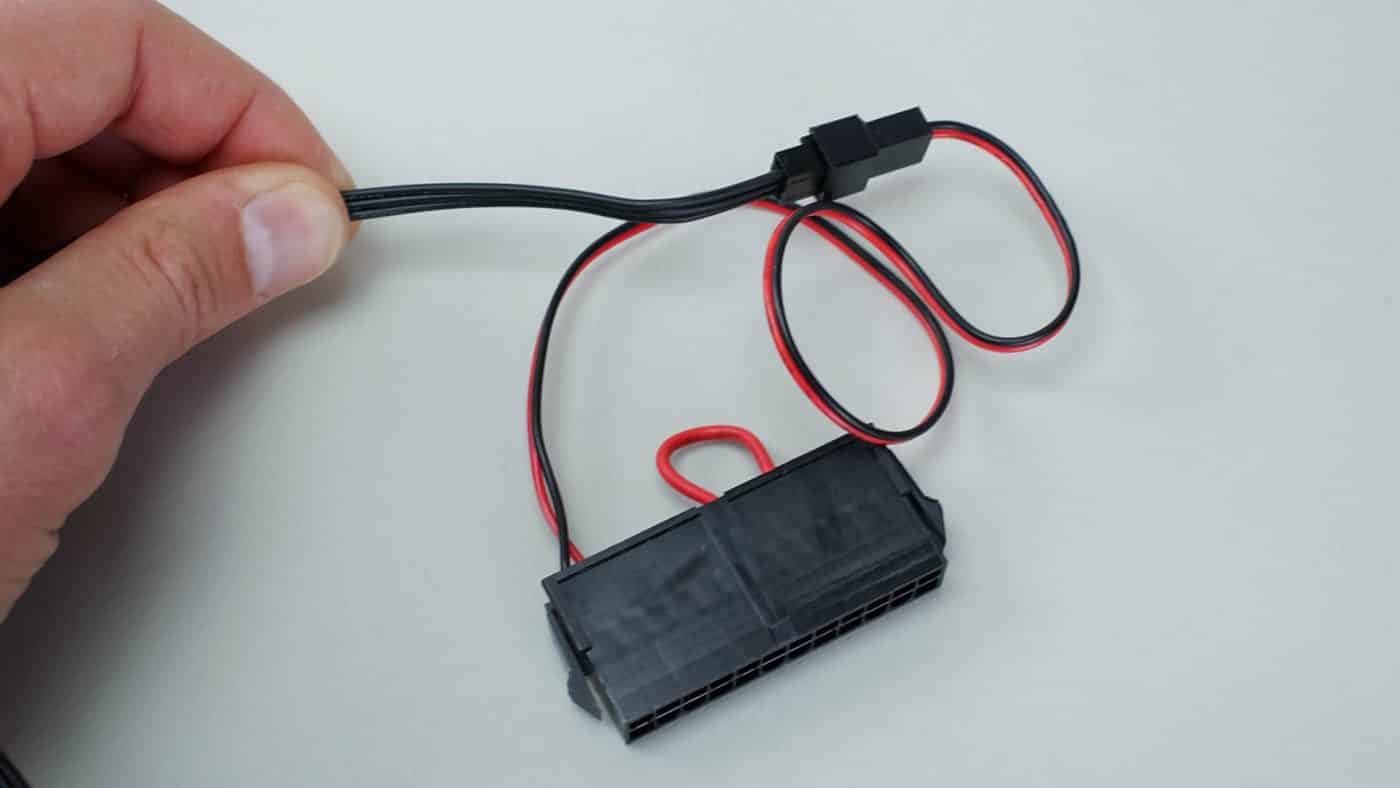
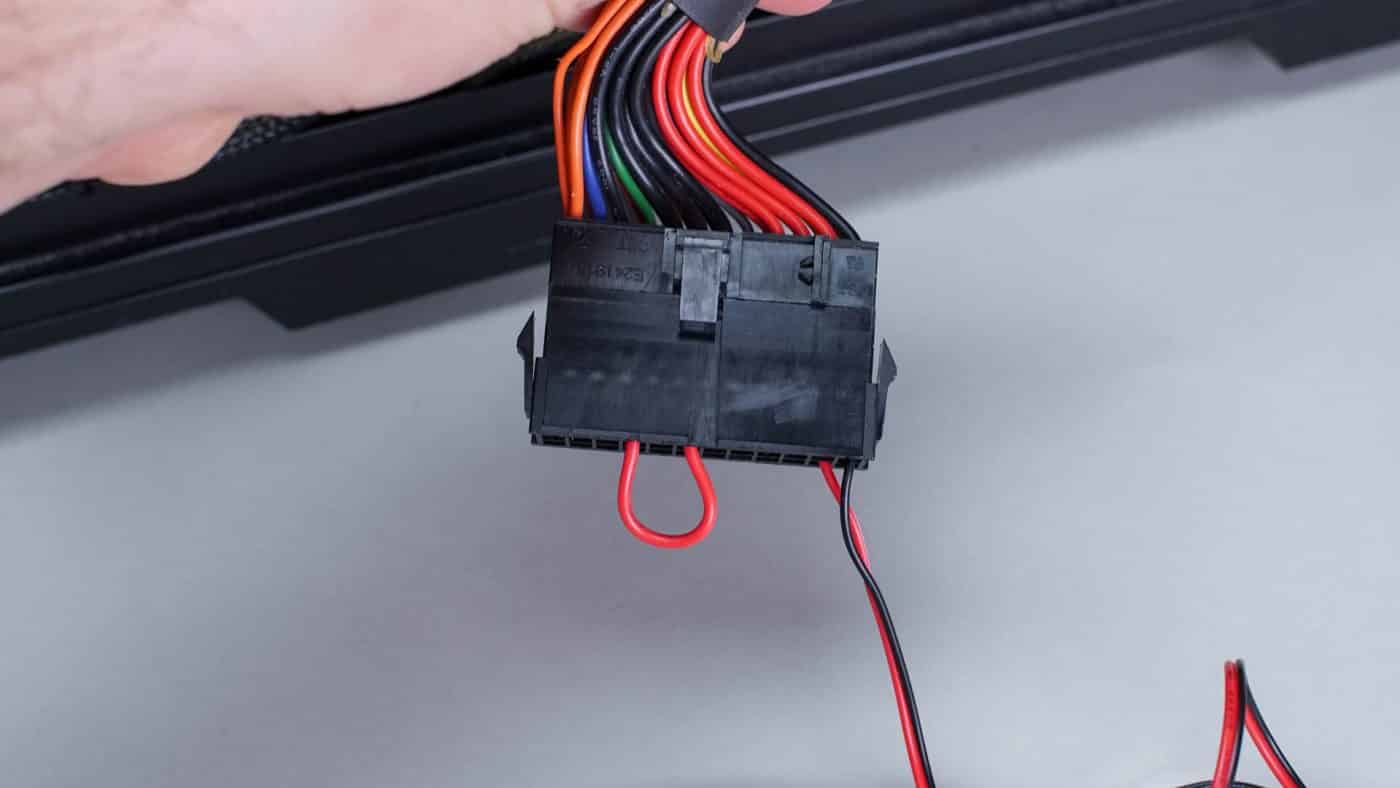
The next way this cooler differs from most is the pre installation procedure. Reeven recommends you run your loop outside of the case prior to installation in order to protect your components in the case of a leak. To do this they have included a 24pin jumper/3pin to power the loop. Attach the jumper to the 24pin cable from your power supply and the 3pin to the power connector on the pump. Next switch the PSU on and let the loop run for a period of time until you feel satisfied there are no leaks. Once complete you can proceed with the standard installation.
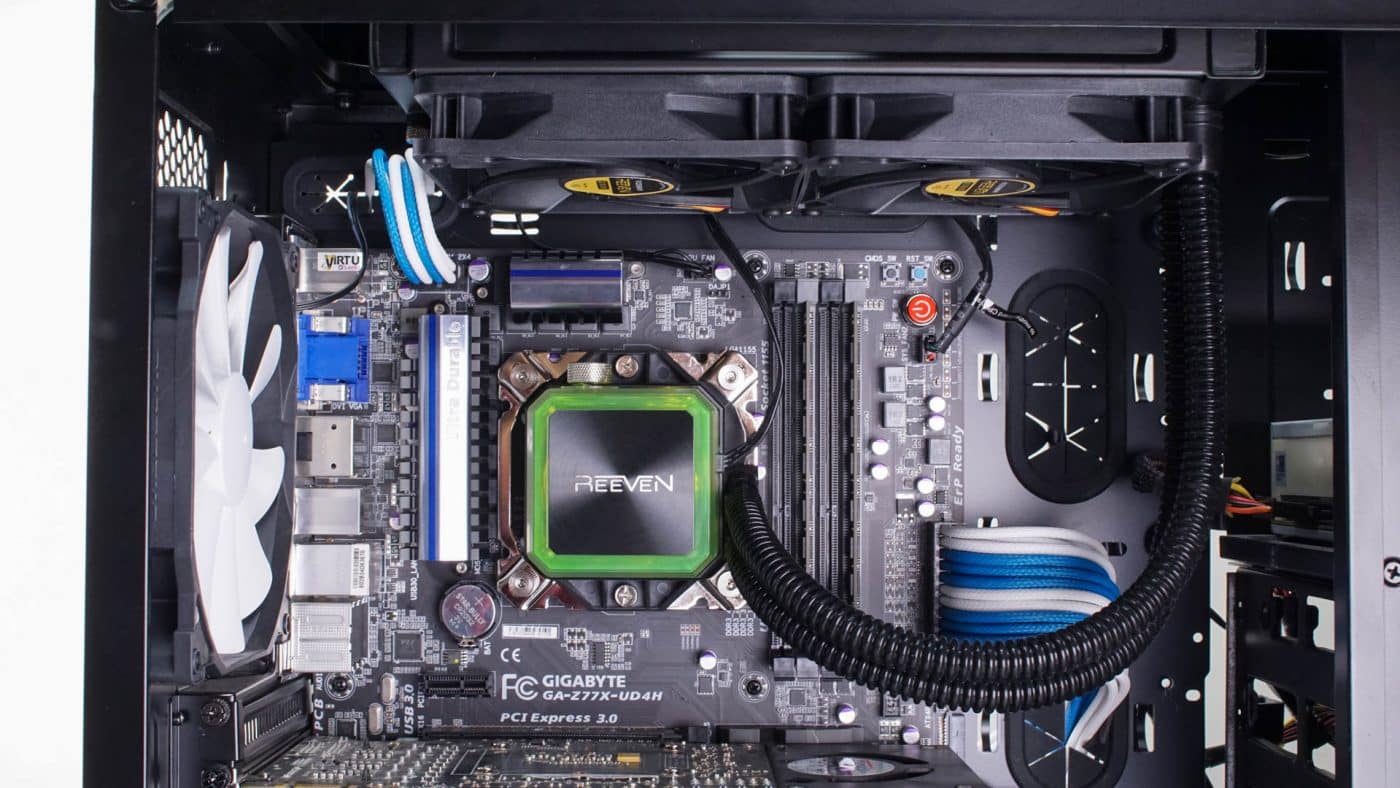
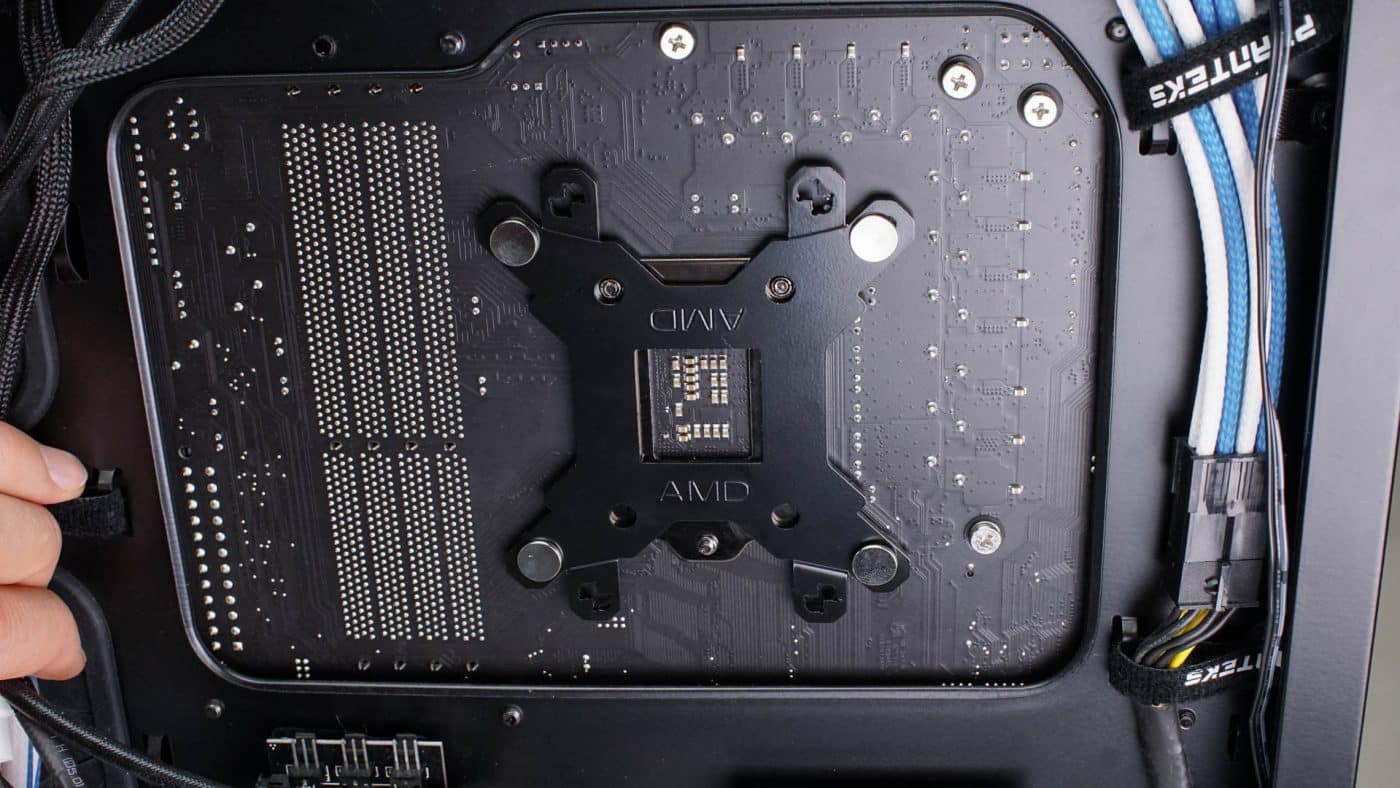
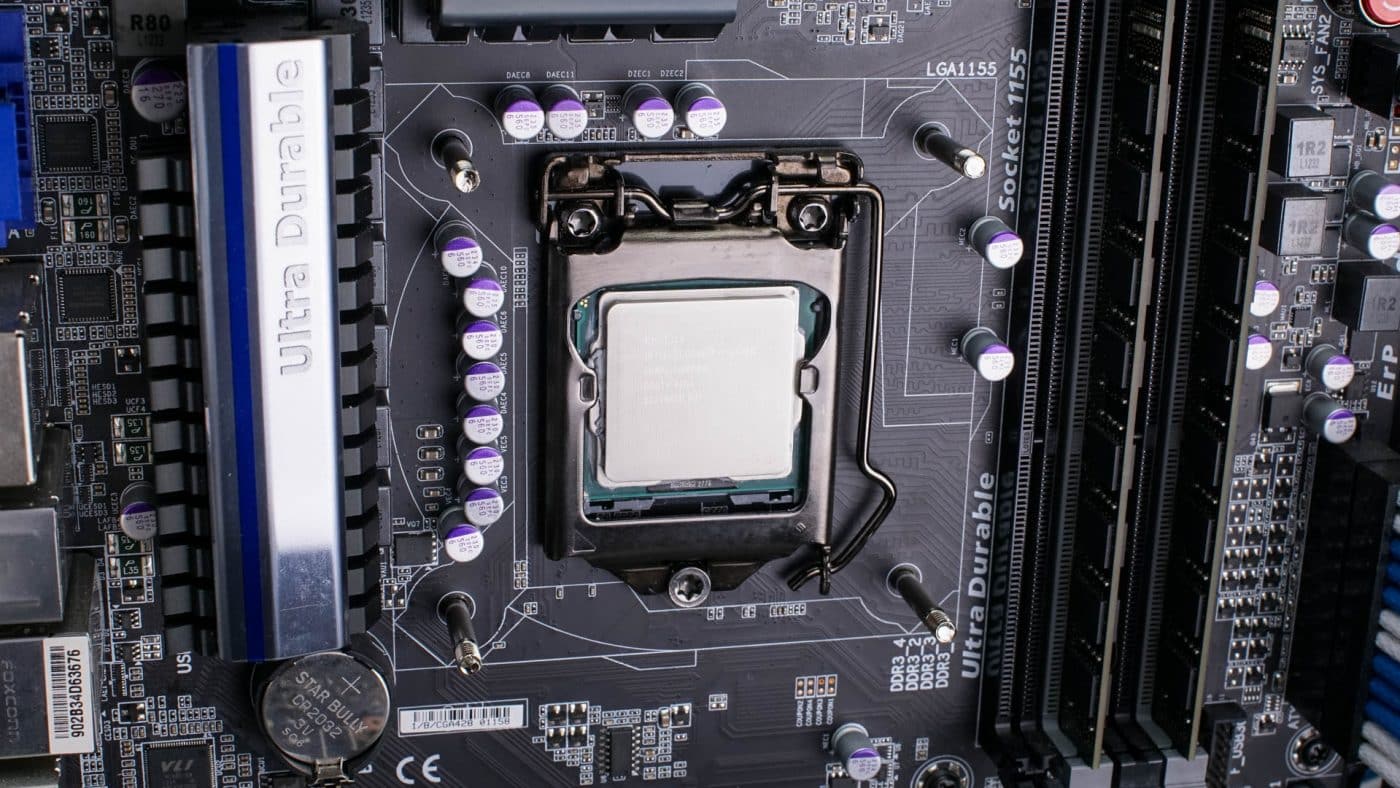
Begin by installing the backplate to the back side of the motherboard. Select the correct plate for your socket type (ours is 115x) and install the stand offs in the correct holes. Once installed secure in place with the rubber washers.
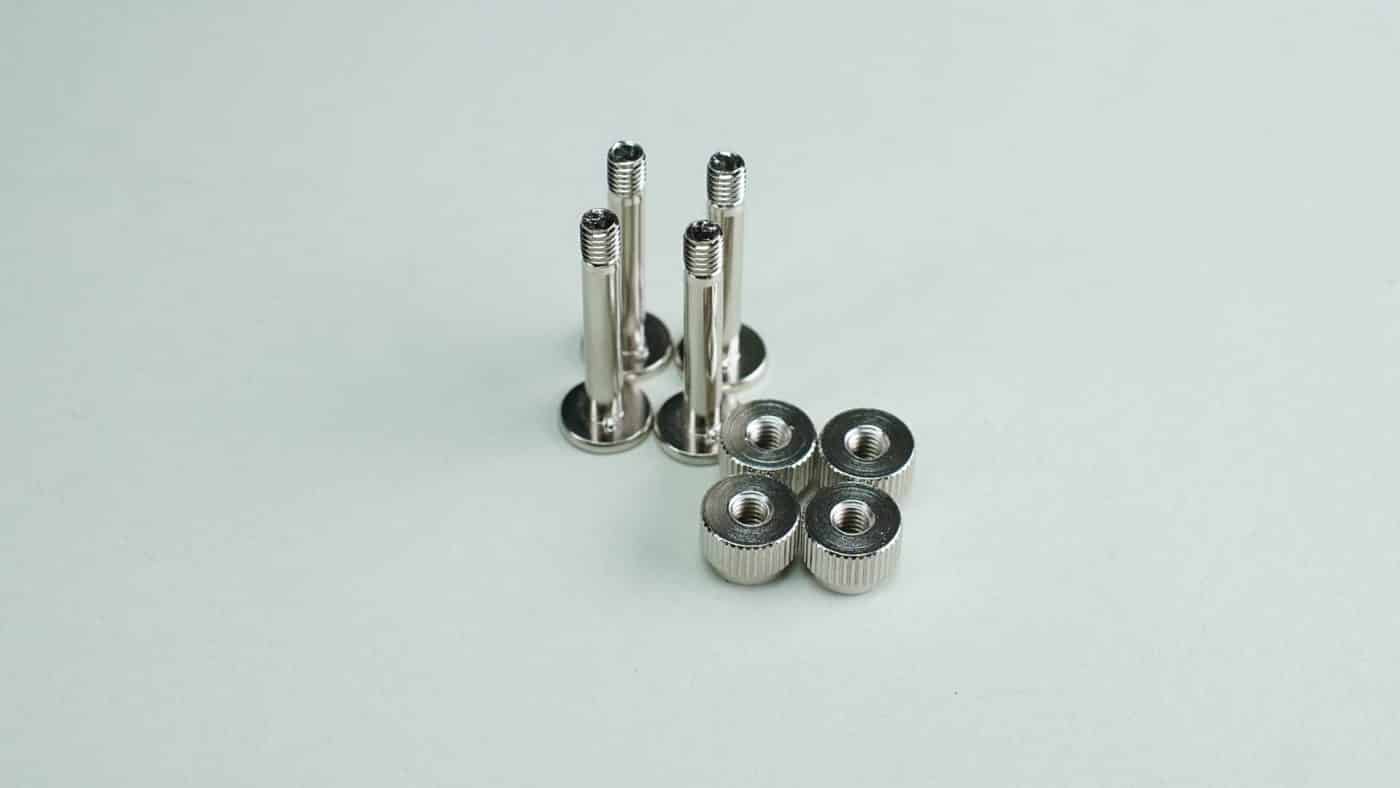
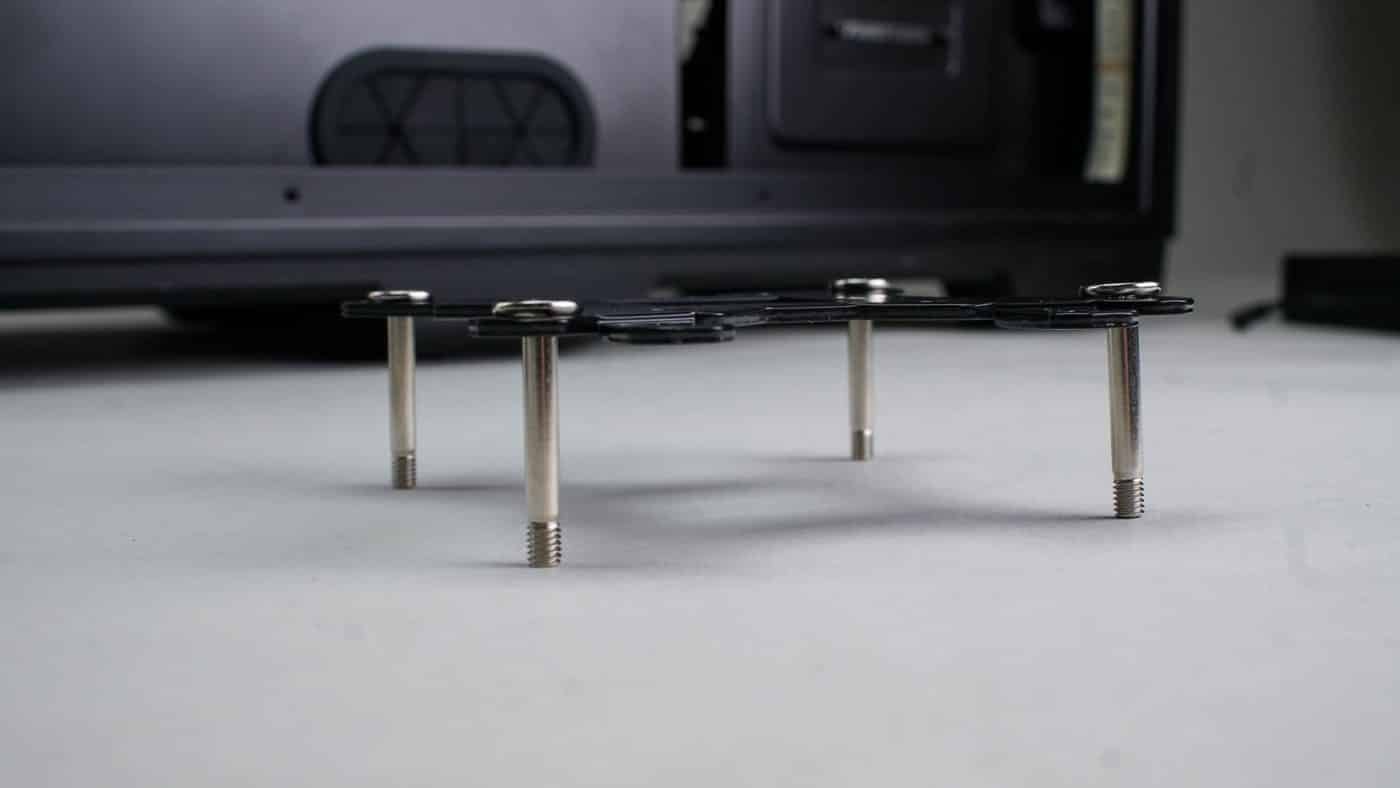

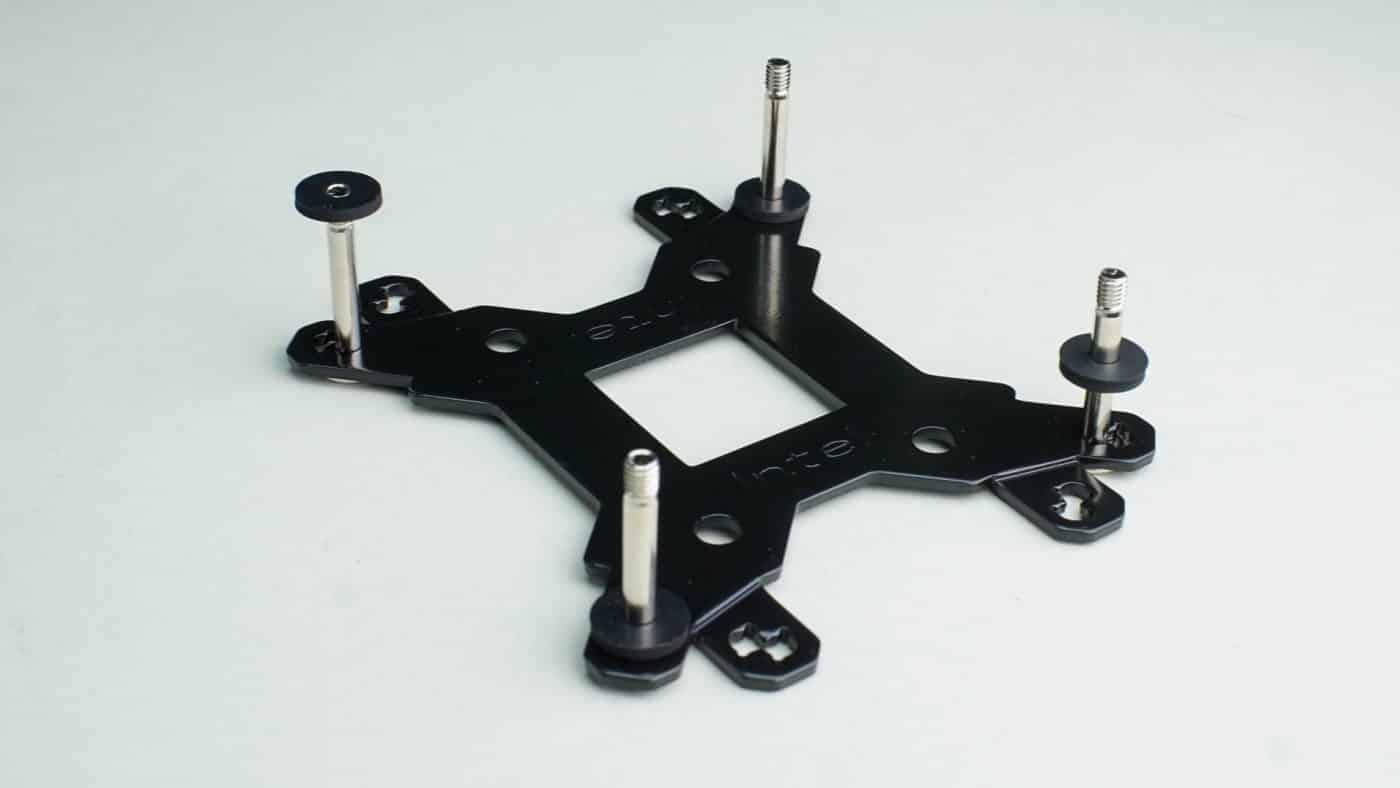
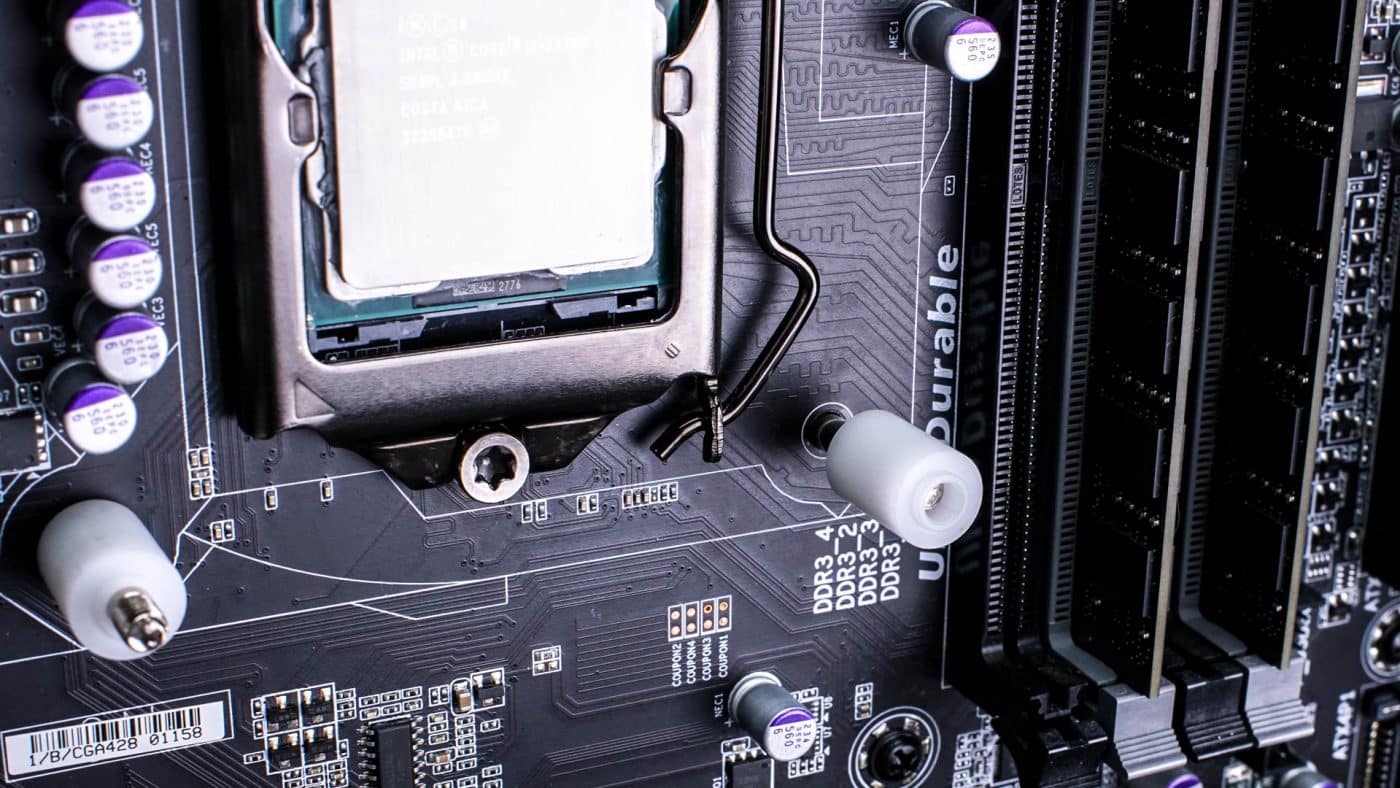
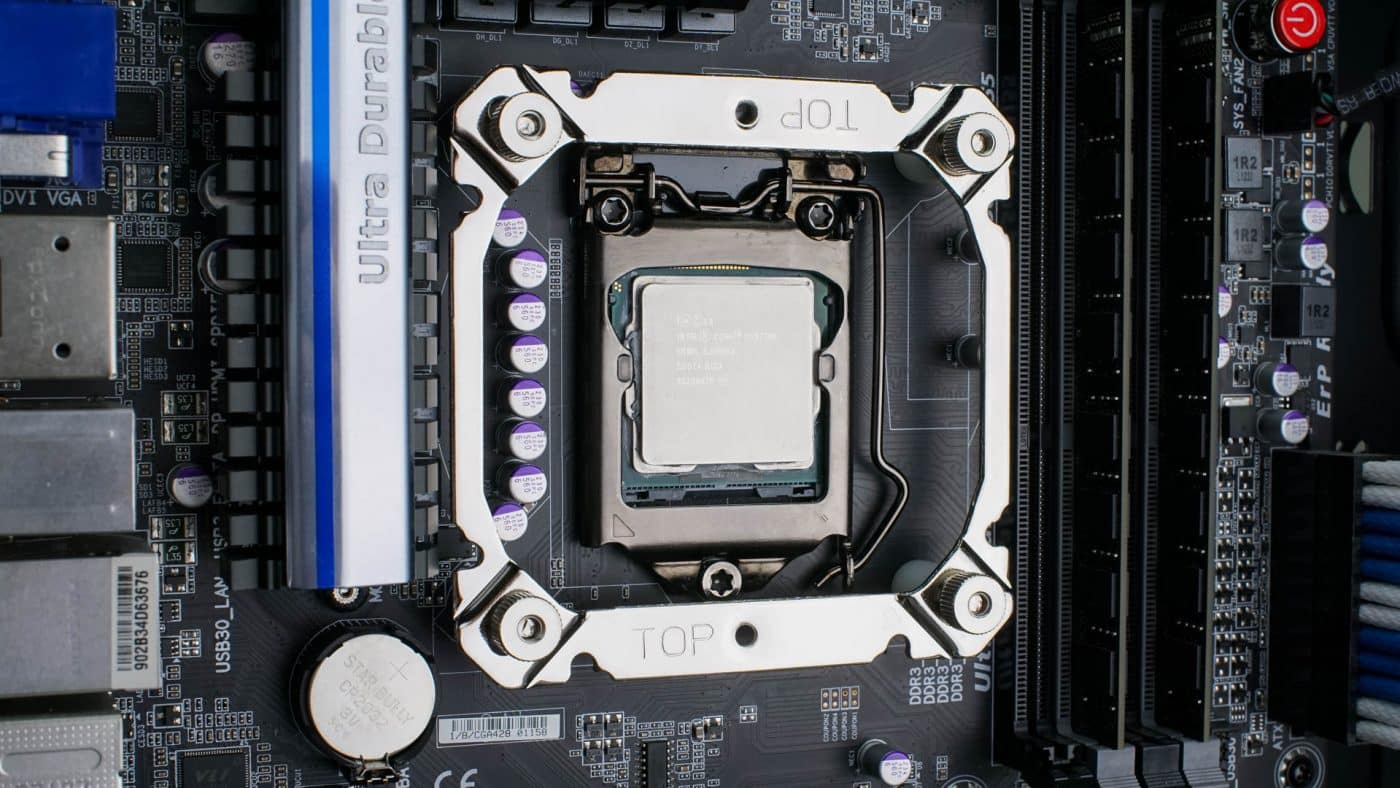
Simply slide the standoffs through the four holes on the back side of the motherboard and secure with the white plastic dowel type pieces. These are directional and need to have the raised center section towards the outside. Attop the white plastic standoffs place the pump bracket and secure at each corner with a silver thumbscrew.
Moving to the cooler we are going to install the fans while it is outside the case. Reeven recommends they be installed in a pull configuration or with the fans attached to what will be the bottom side of the radiator with the airflow going away from the radiator. Be sure to position them with the wiring facing the back of the case and secure at each corner with a long black screw.
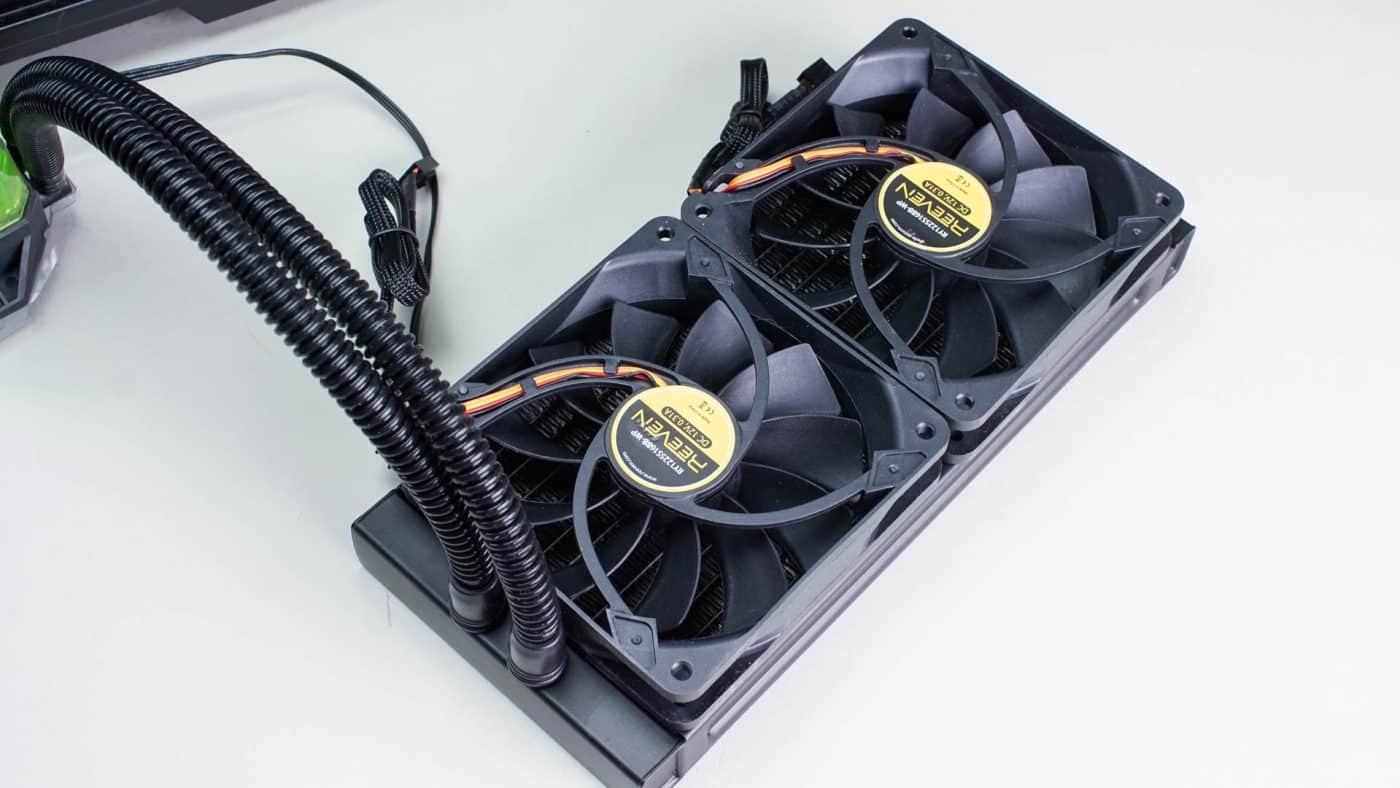

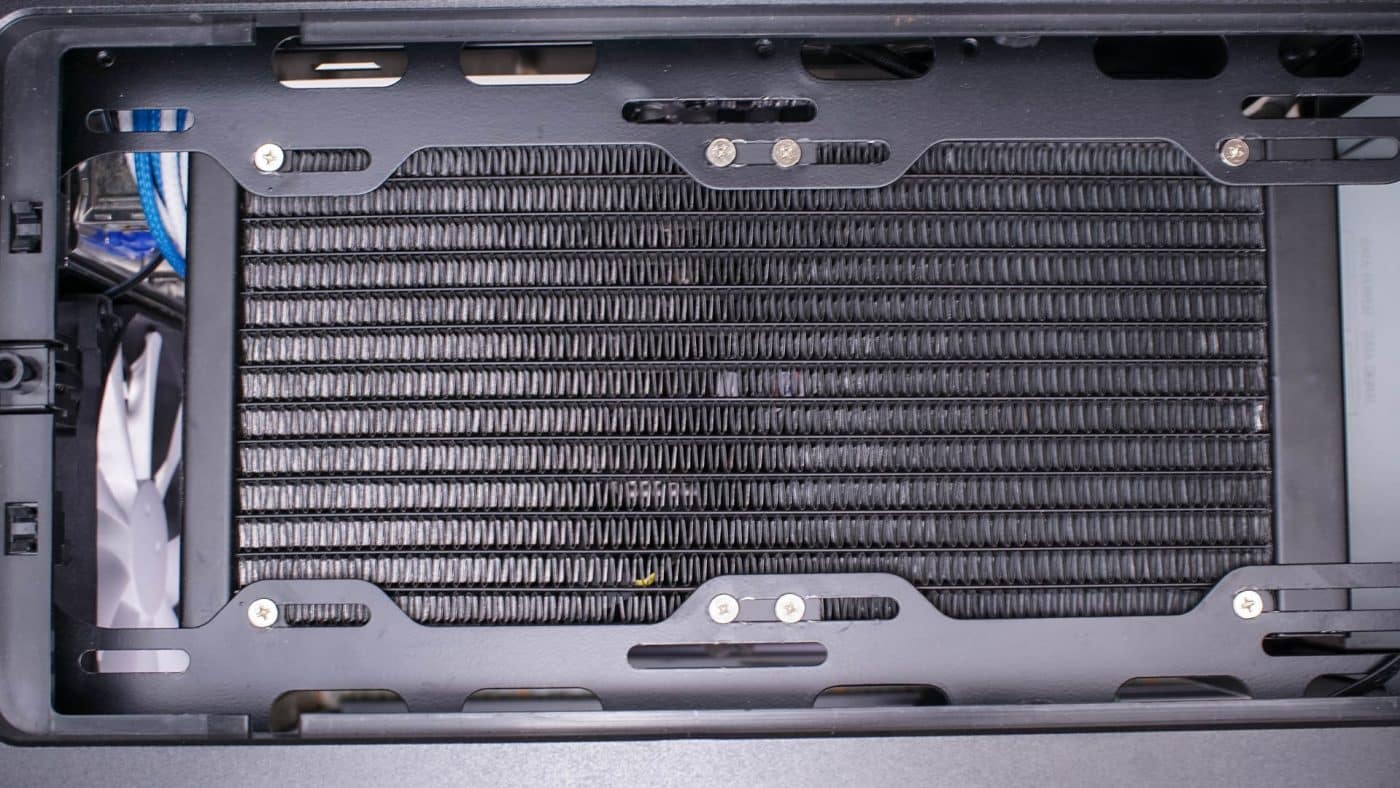
We can now attach the radiator to the top of the case using the set of eight short silver screws. Hold the radiator in place with one hand while you start a couple of the screws with the fingertips of your other hand. Finally tighten them all the way with a Phillips head screwdriver.

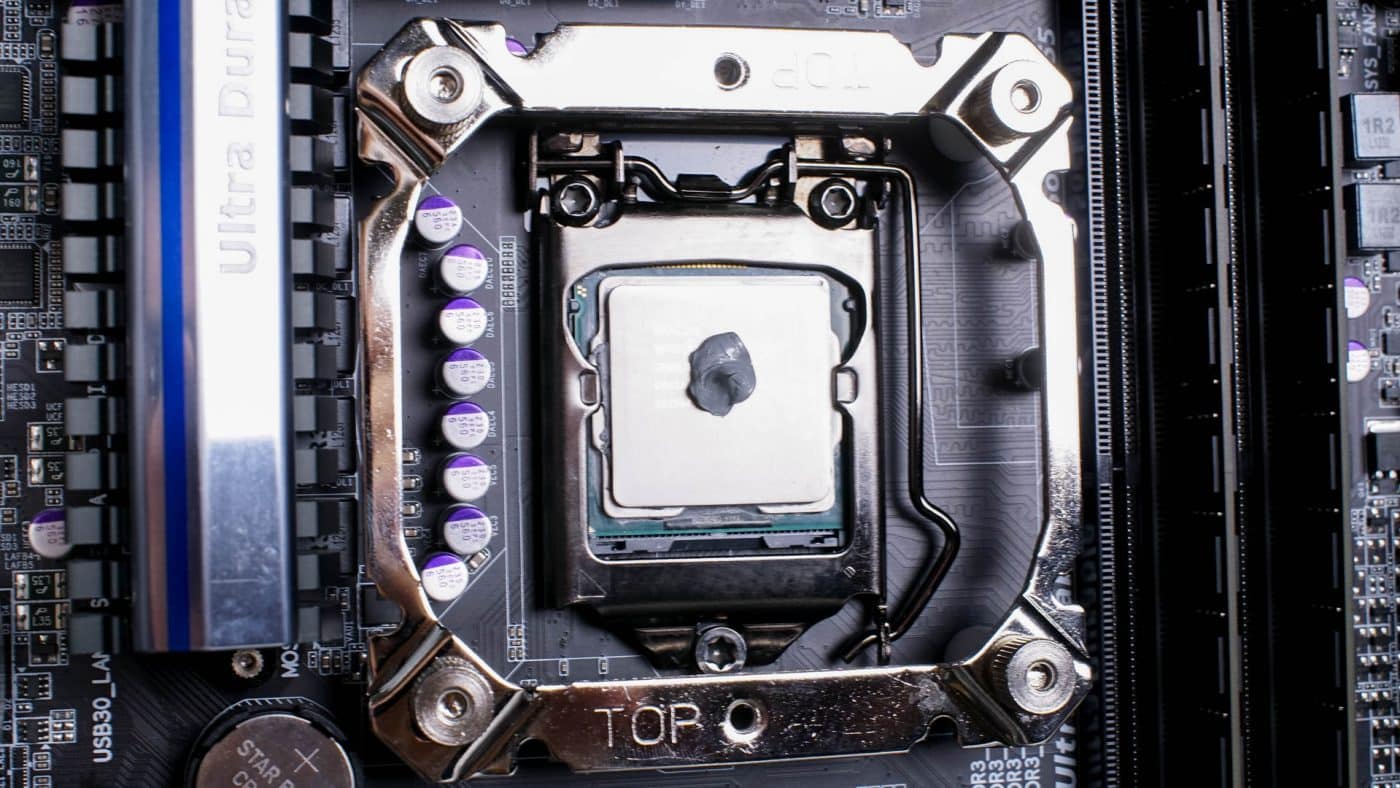
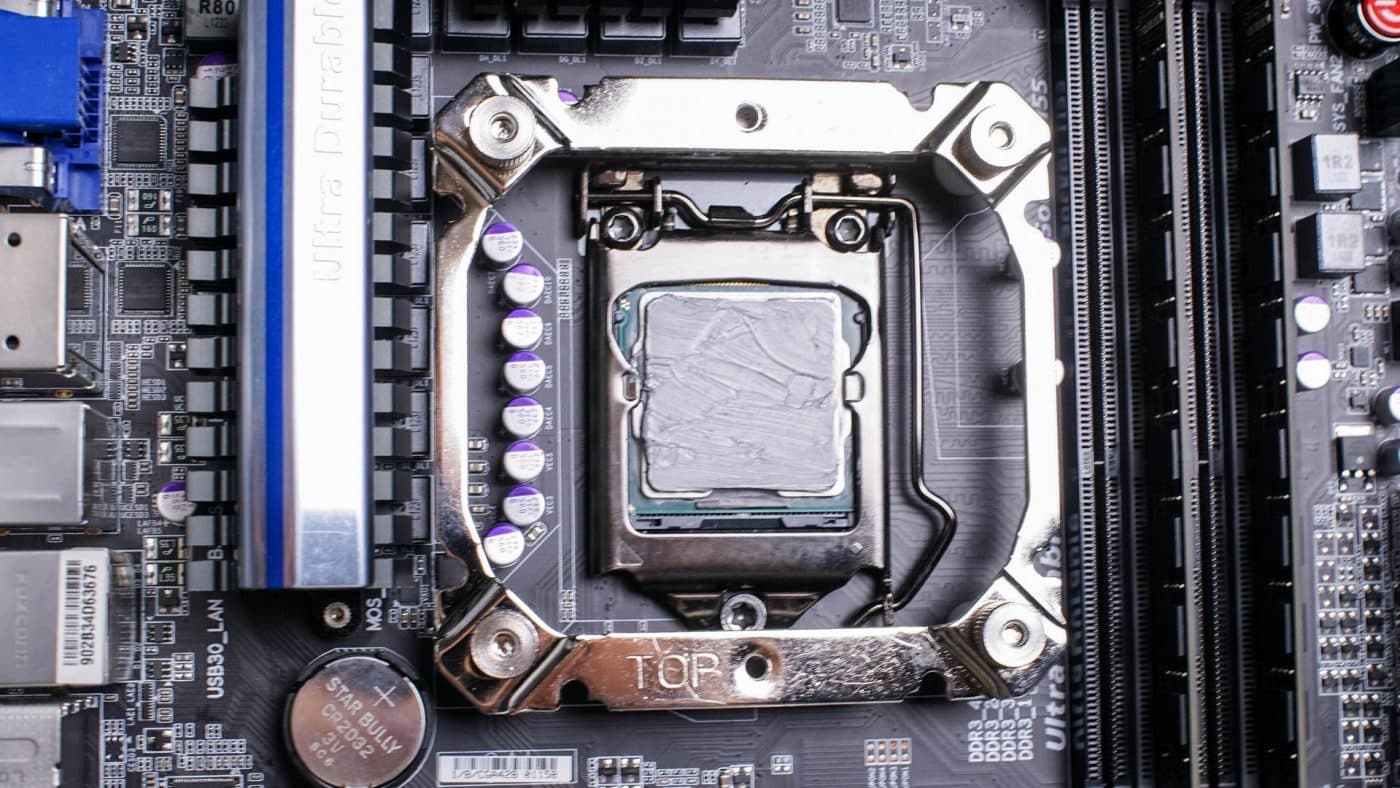
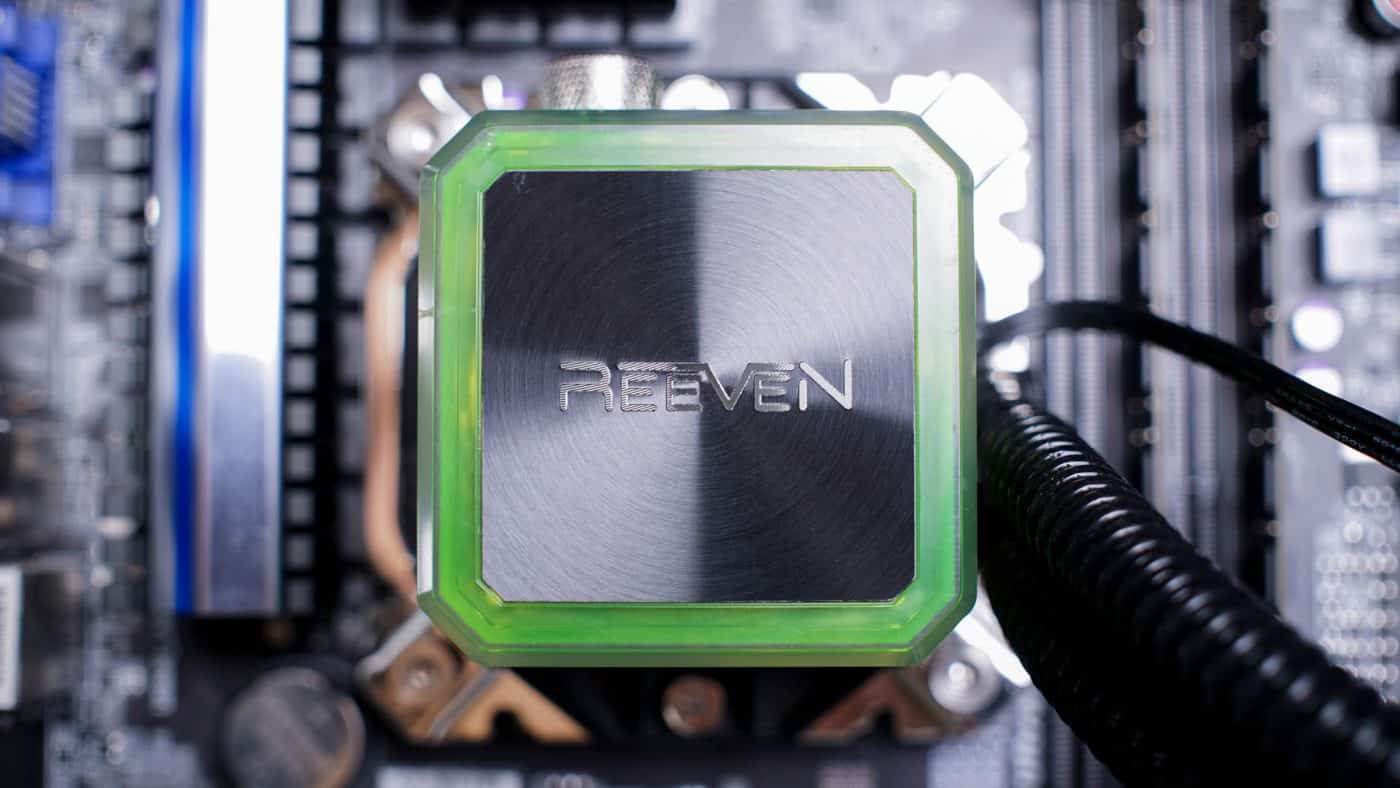
Before you can attach the pump to the socket you need to apply thermal paste. The curved shape of the base of the pump requires just a little more paste than usual. Once applied spread evenly across the CPU with the included spatula.
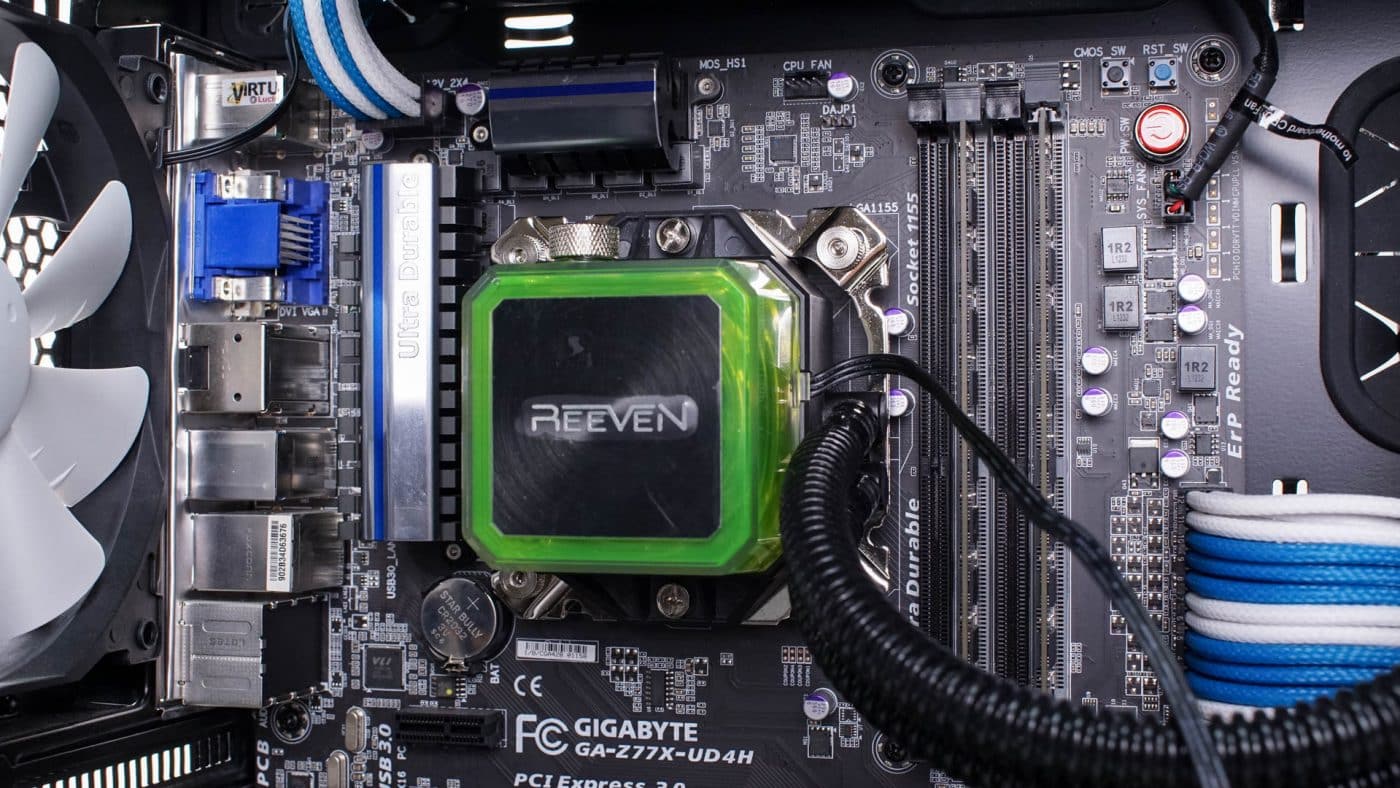
You can now apply the pump to the processor and secure it to the brackett with two screws; one at the top and one at the bottom of the pump. Once secured feel free to remove the protective plastic from the top of the pump.
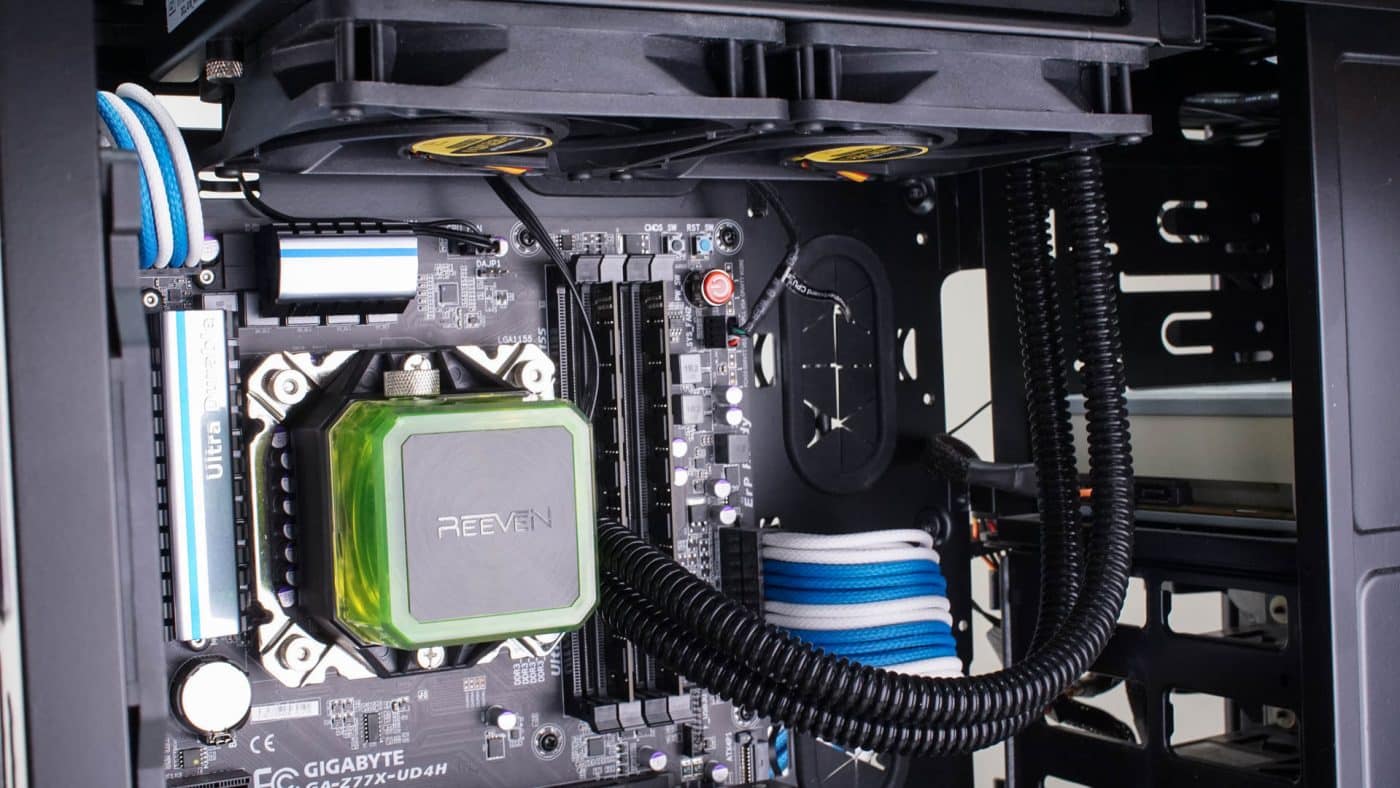
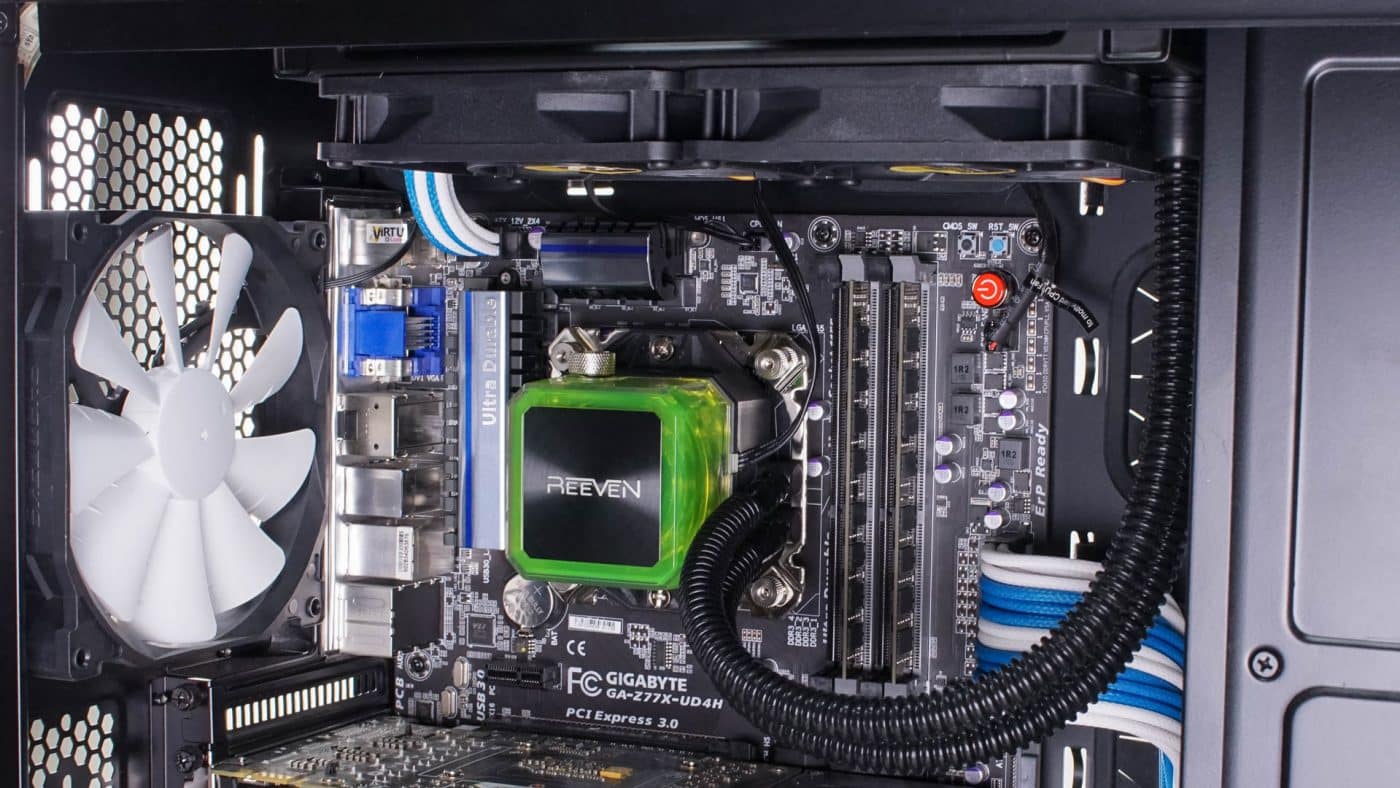
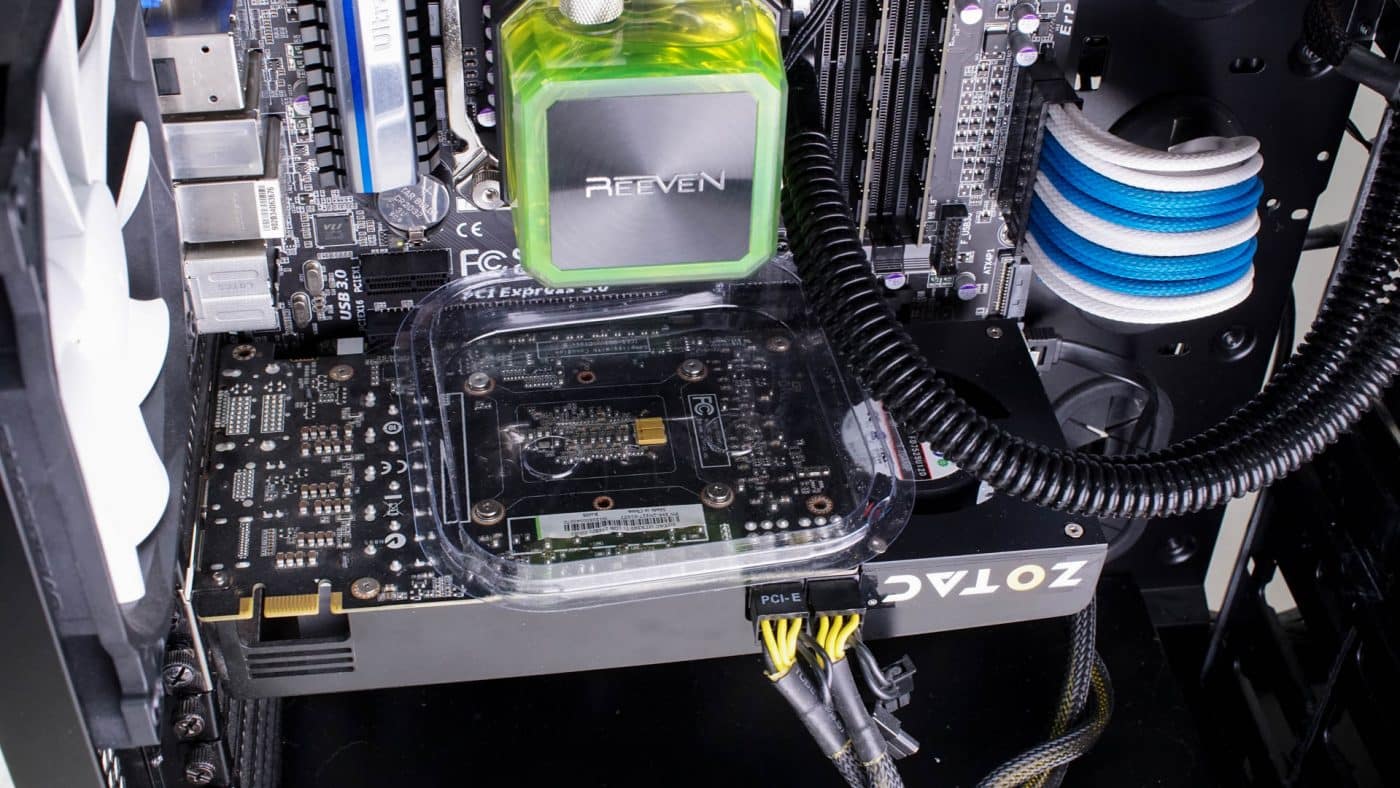
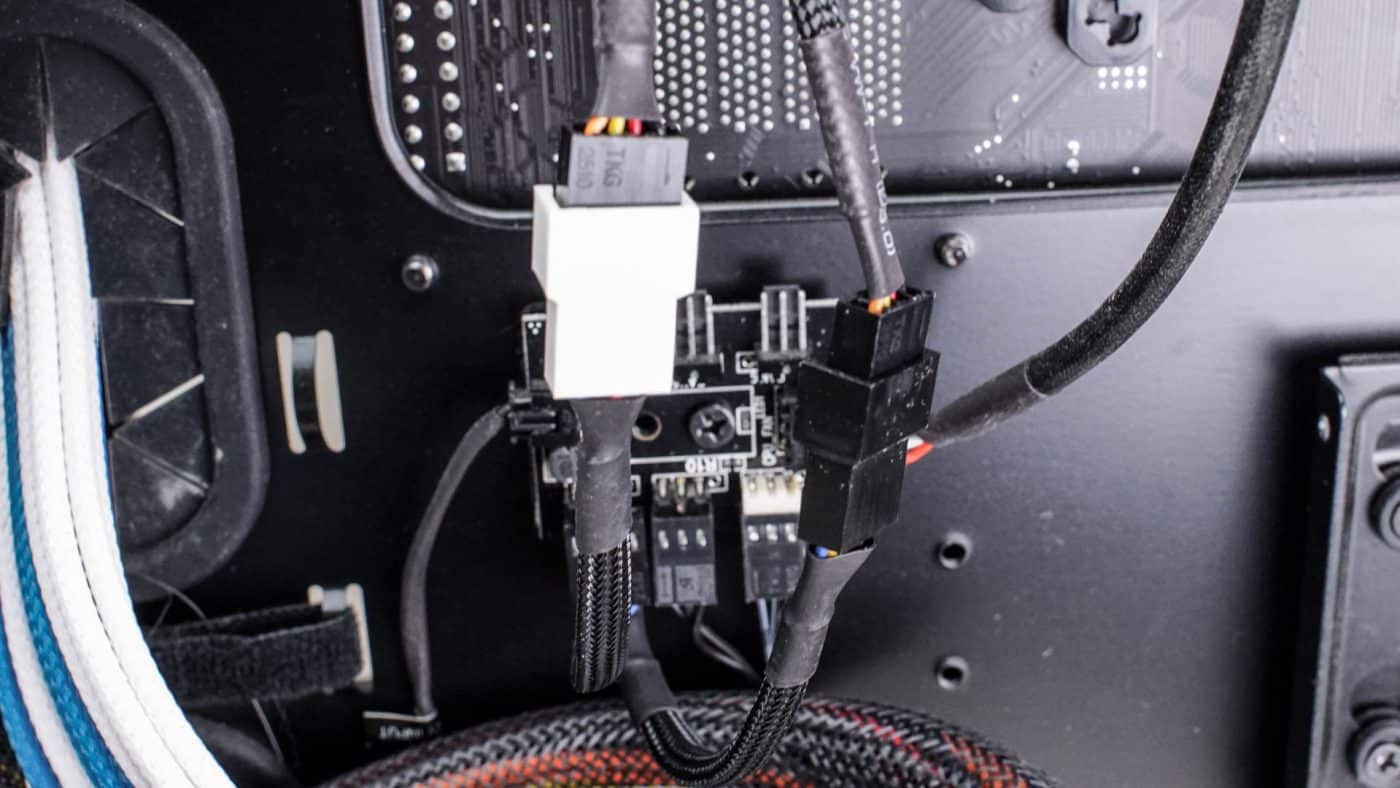
Next take one half of the parts case and place it as a tray beneath the pump to serve as a catch basin in case there is an unforeseen leak. Lastly you’ll want to plug in your fans. Using the included splitter attach them to an open header on the motherboard or to another power source within your case. They are 4pin PWM which when connected correctly will allow you to have some degree of control over the speed at which they operate.
The only thing left to do is power on your PC. Immediately you will know you’ve done it right if the backlights on the pump turn on. Additionally you will likely hear some bubbling from the pump at first as air vacates the pump. After the bubbling goes away the operating pump is very quiet.