SilverStone ES03-WiFi Overview
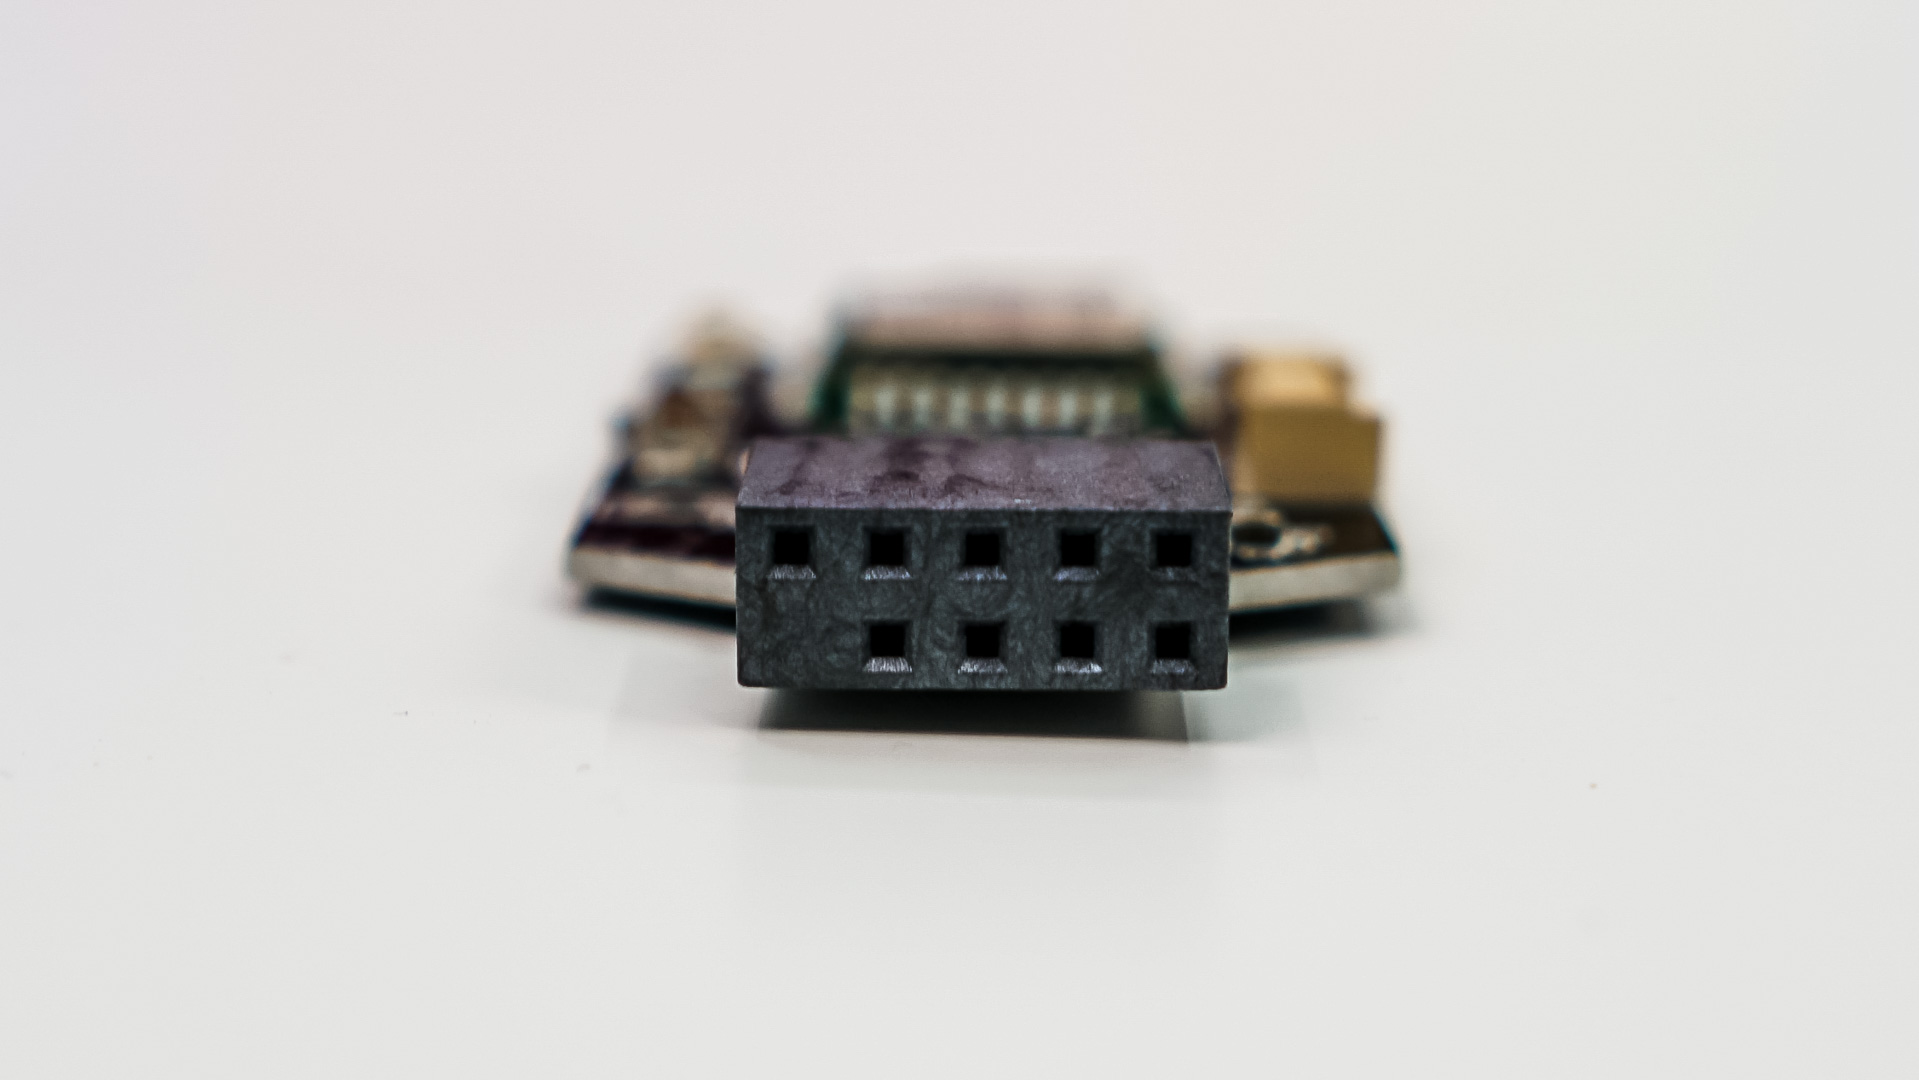
The SilverStone ES03-WiFi is very much like the ES02-USB as it is a simple PCB board that you connect into a USB 2.0 header on your motherboard. Except in this case we have some WiFi equipment on the board as well.
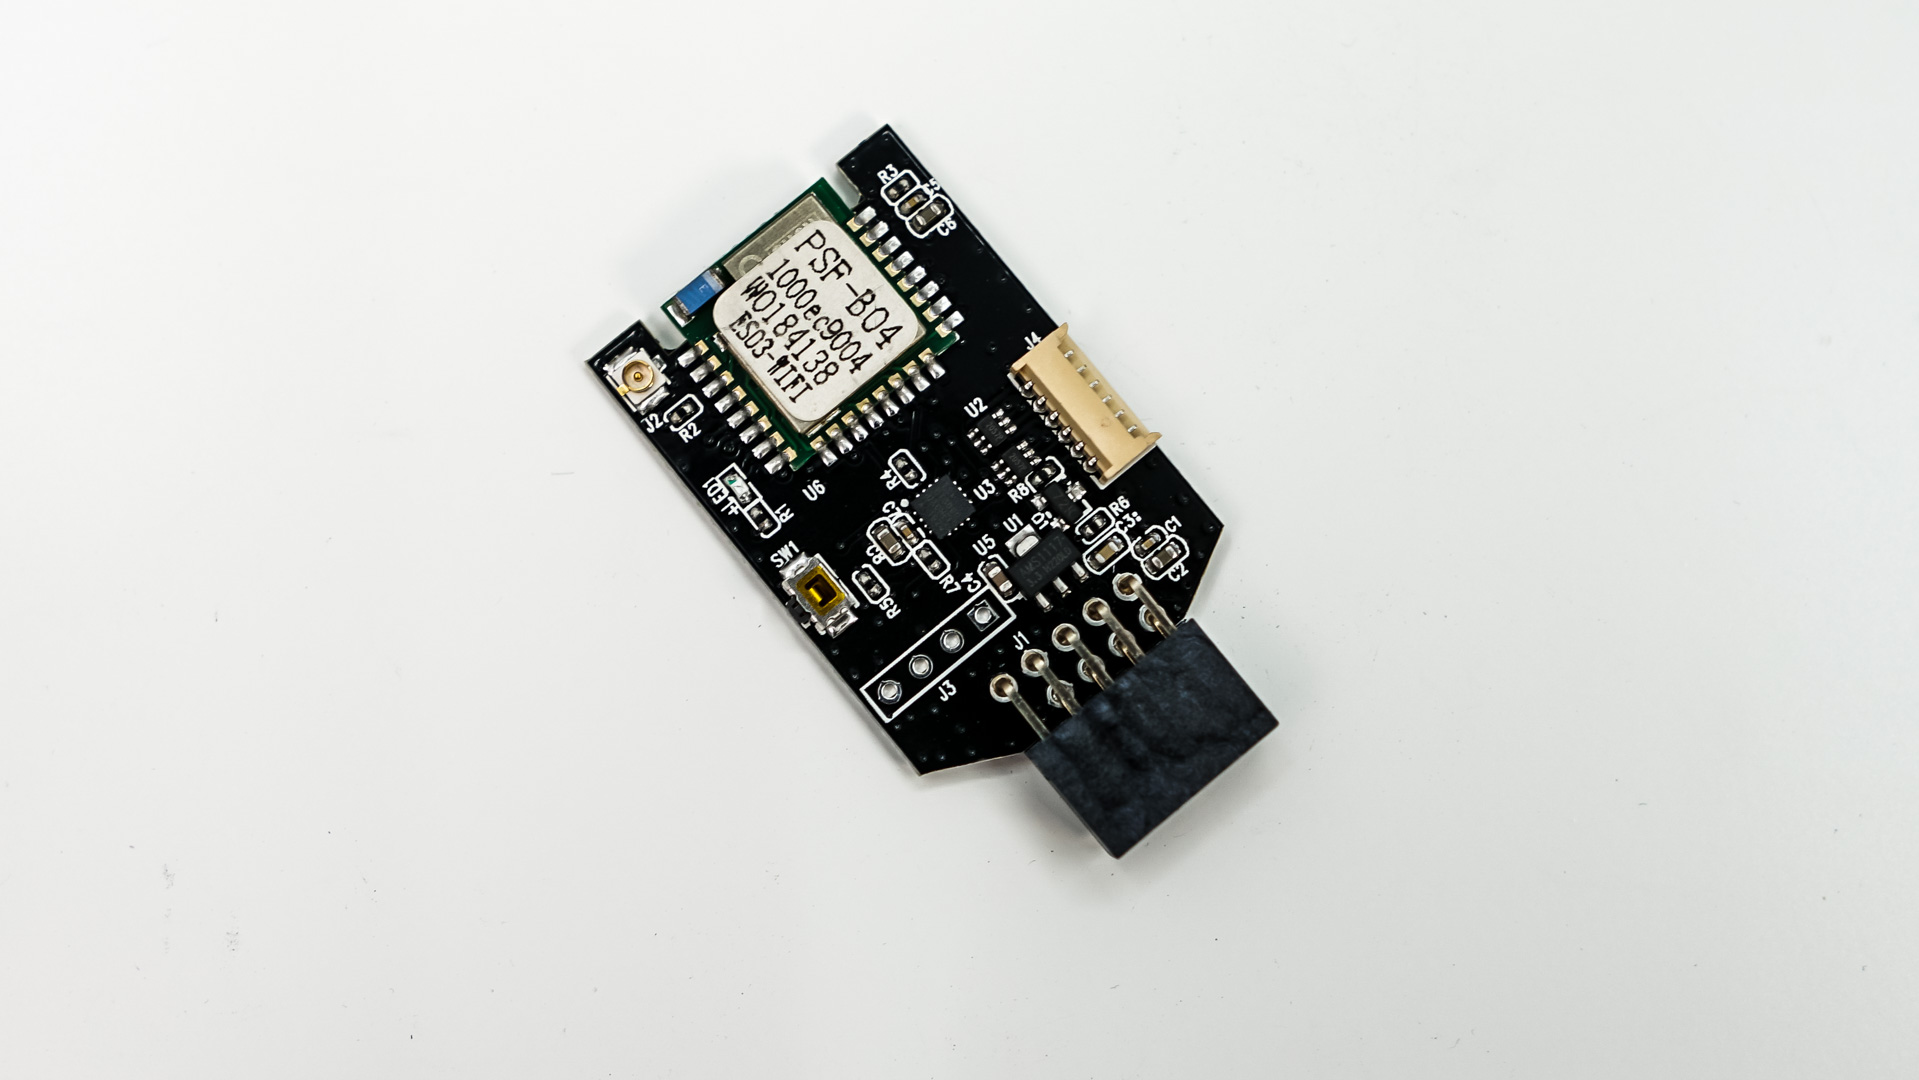
There is a small connection on the side of the board where you’ll connect the included set of wires. These wires include connections for your power button, reset button, and speaker, as well as pass-throughs for both the power and reset so the power and reset buttons on your system will operate normally.

Setup
Getting the ES03-WiFi setup is not all that hard. Check out our video below that goes over installation.
With your PC turned off plug the ES03-WiFi into an open USB 2.0 header in your motherboard. Then connect the wires to the ES03-WiFi and then to the appropriate headers on your motherboard.
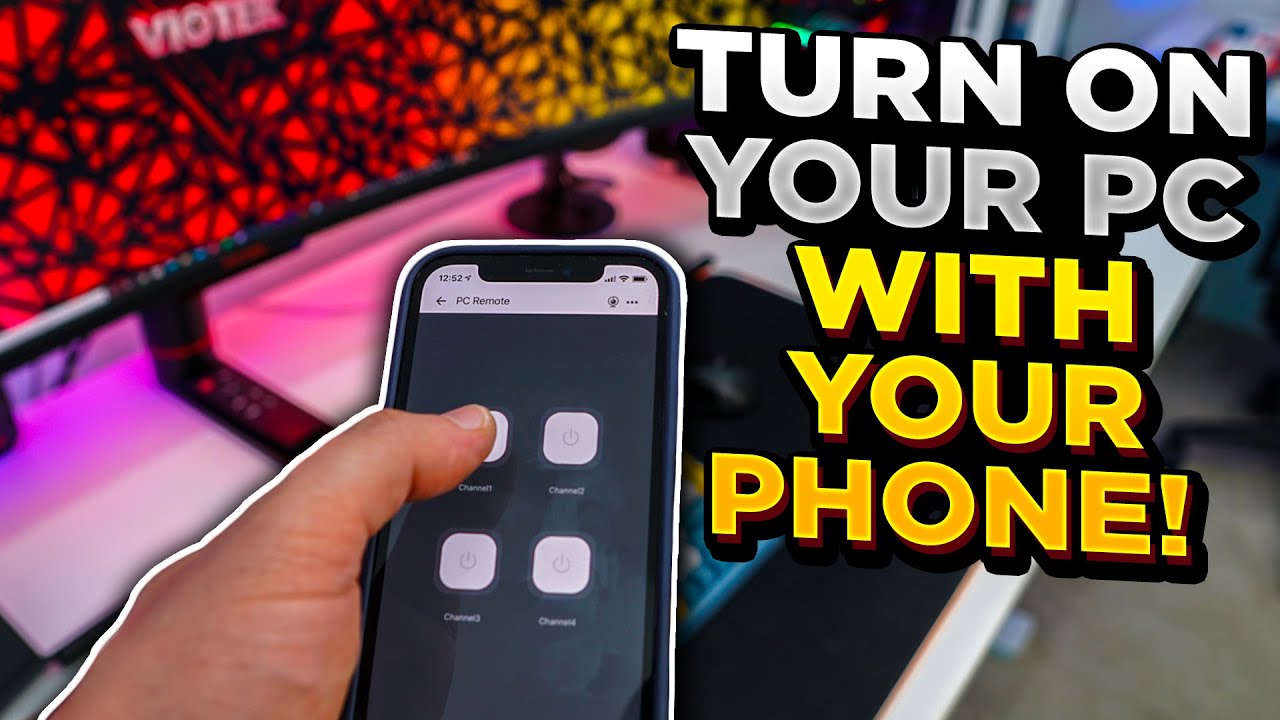
Then take out your phone and download the eWeLink-Smart Home app, it is available for both iOS and Android. In order to use this app you will need to create an account. Once inside the app click the “+” at the bottom center of the main screen to add a new device. In the device screen scroll down to the bottom and select compatible mode.
From here locate the very small button on the ES03-WiFi and press and hold it for more than 5 seconds, this will put it in pairing mode (the light will flash three times). Then press and hold the button again for more than 5 seconds to enter compatibility mode. (the light will flash continuously and quickly).
Then follow the on-screen instructions in the app and the ES03-WiFi will be connected to your local network and you’ll be good to go.