Installation & Initial Setup
To get started you will need to install your hard drives. We will be installing two WD Red 6 TB drives, which are specifically made for NAS devices.
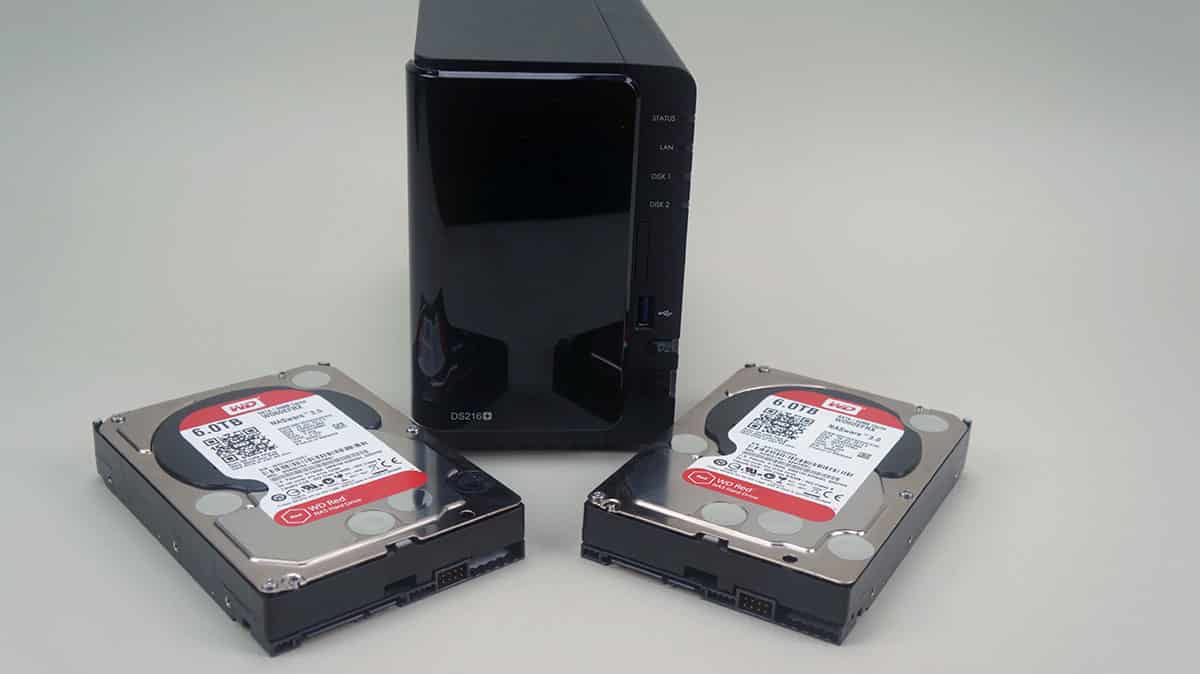
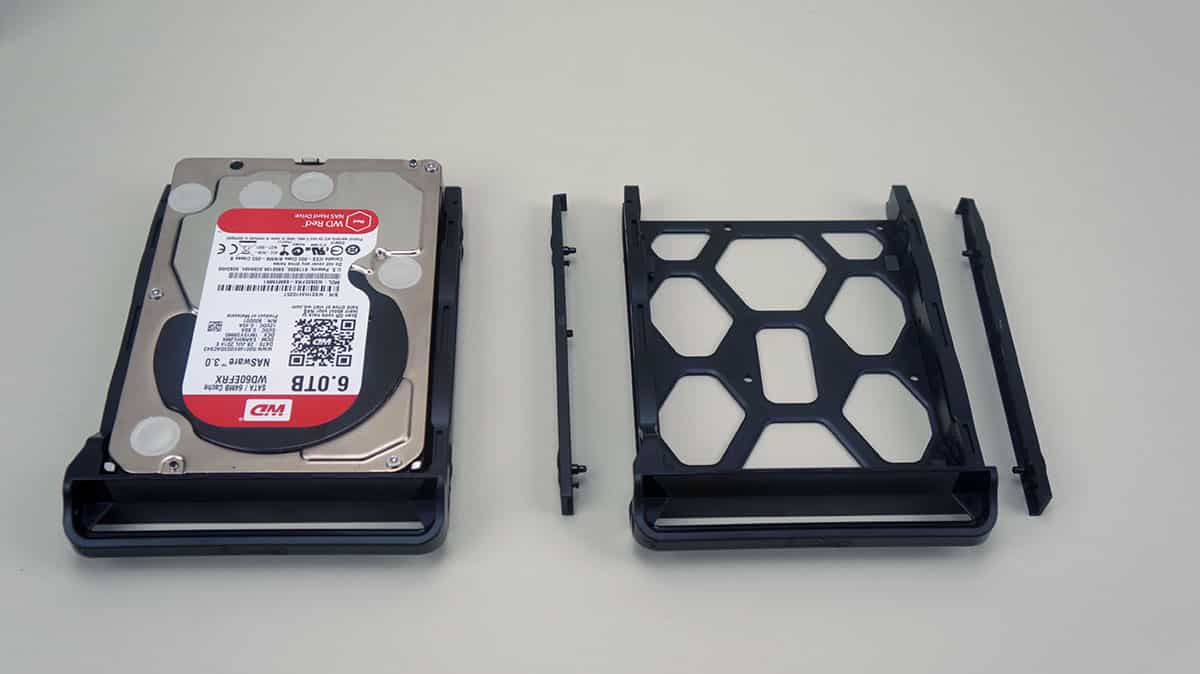
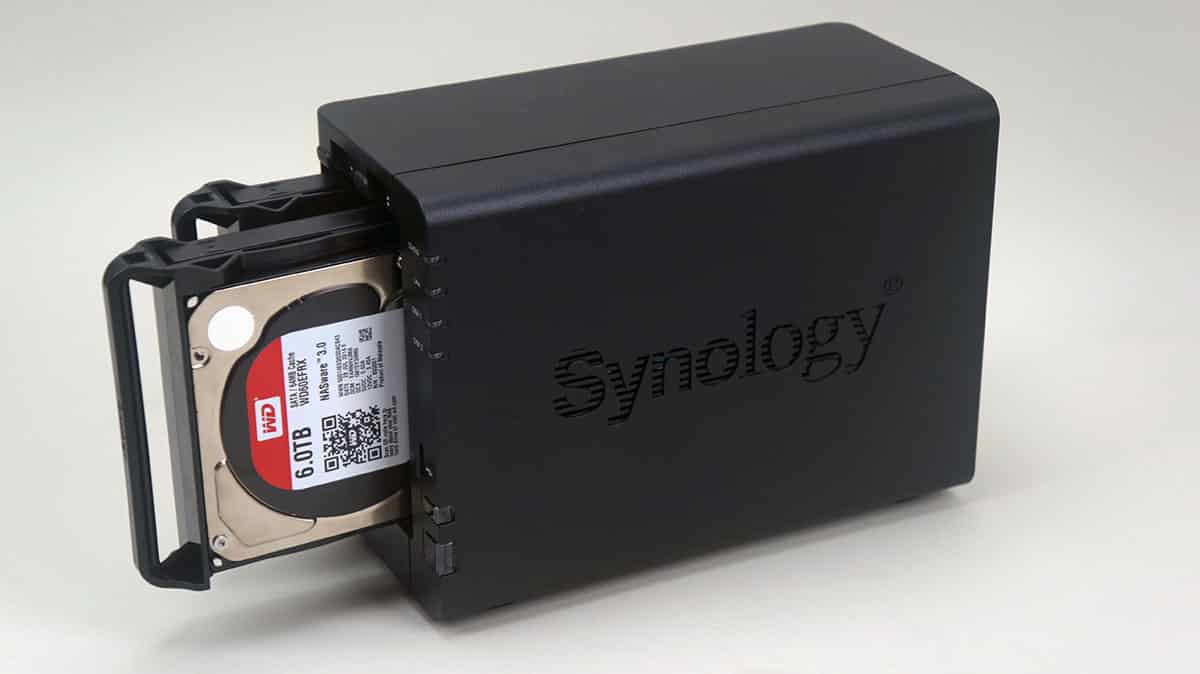
As I said 3.5-inch hard drive installation is completely tool-less. So remove the trays from the unit and pop off the sides. Place your hard drive in the tray then put the side back on to secure it. Now just place the trays with your installed drives back in the DS216+.
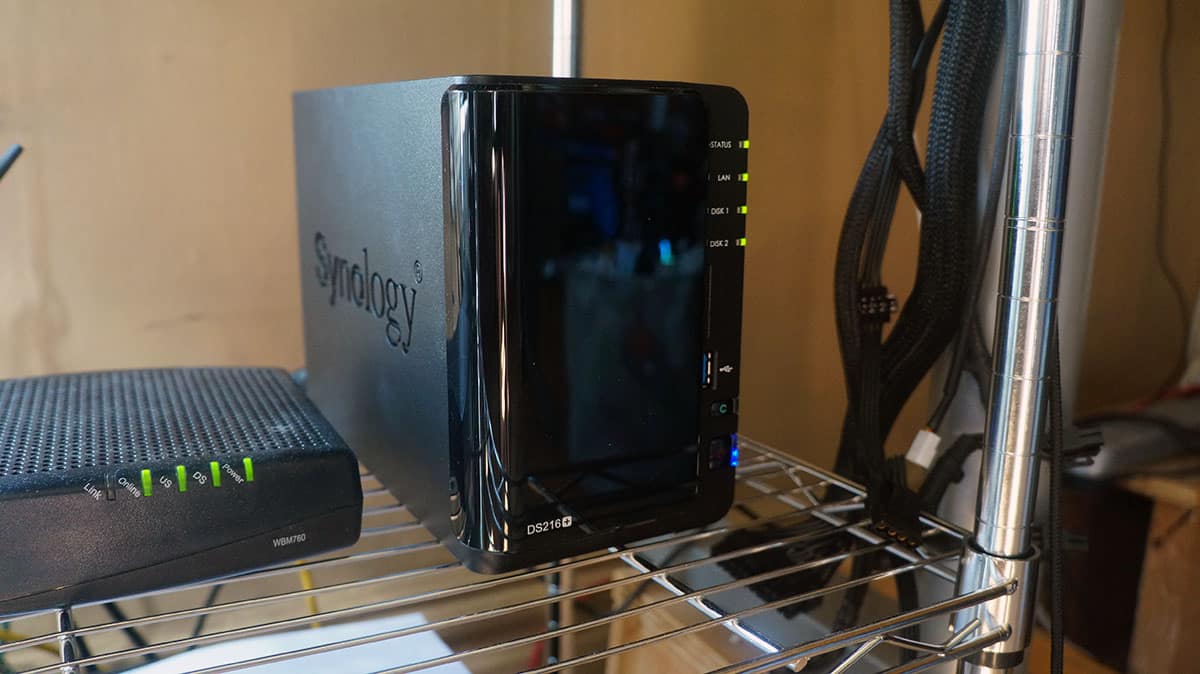
To get up and running plug the DS216+ into power and connect it to your network using the supplied Ethernet cable. It will take about a minute or so for the unit to power up for the first time.
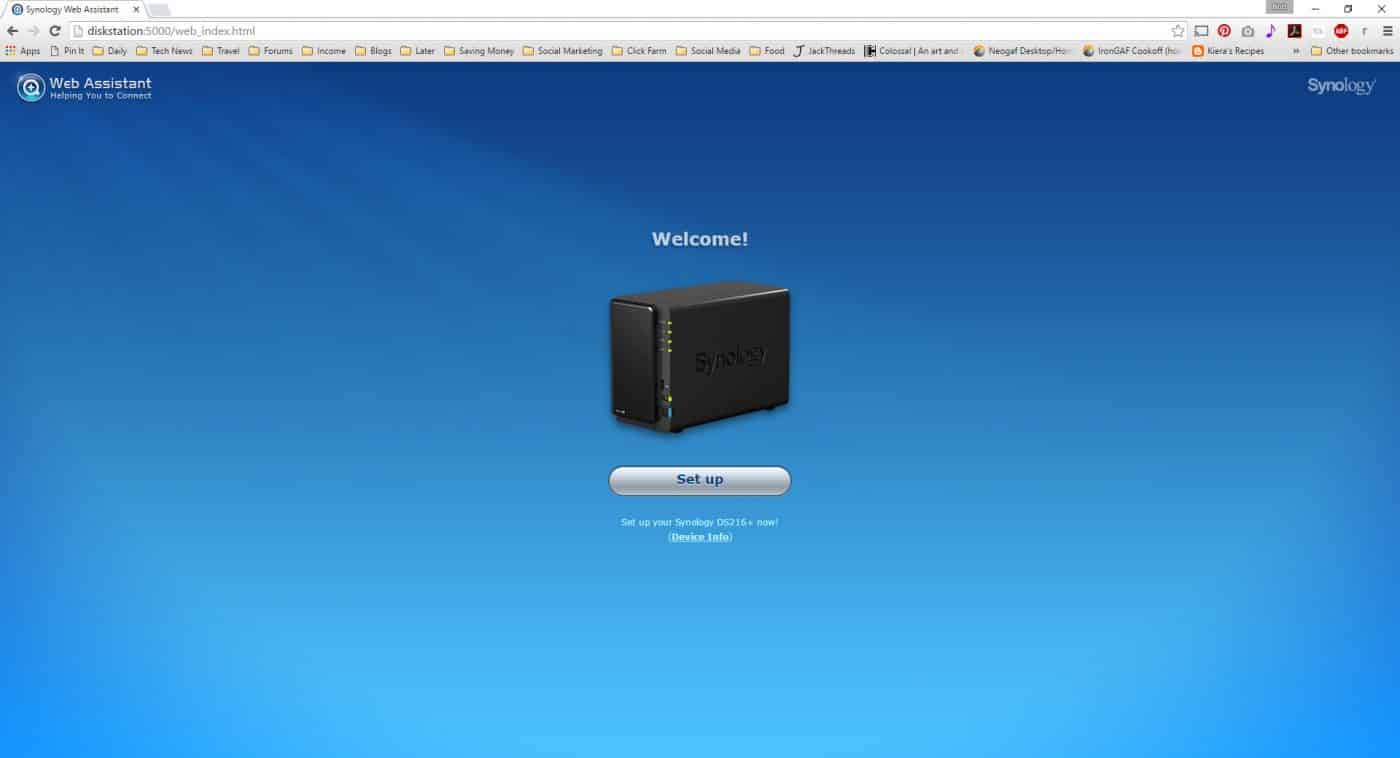
Synology makes it really easy to configure and setup the DS216+ for the first time. To get to the admin panel all you have to do is goto either http://find.synology.com or http://diskstation:5000. The first time you are setting up your DS216+ you will be brought to the below screen, which will guide you through the setup process.
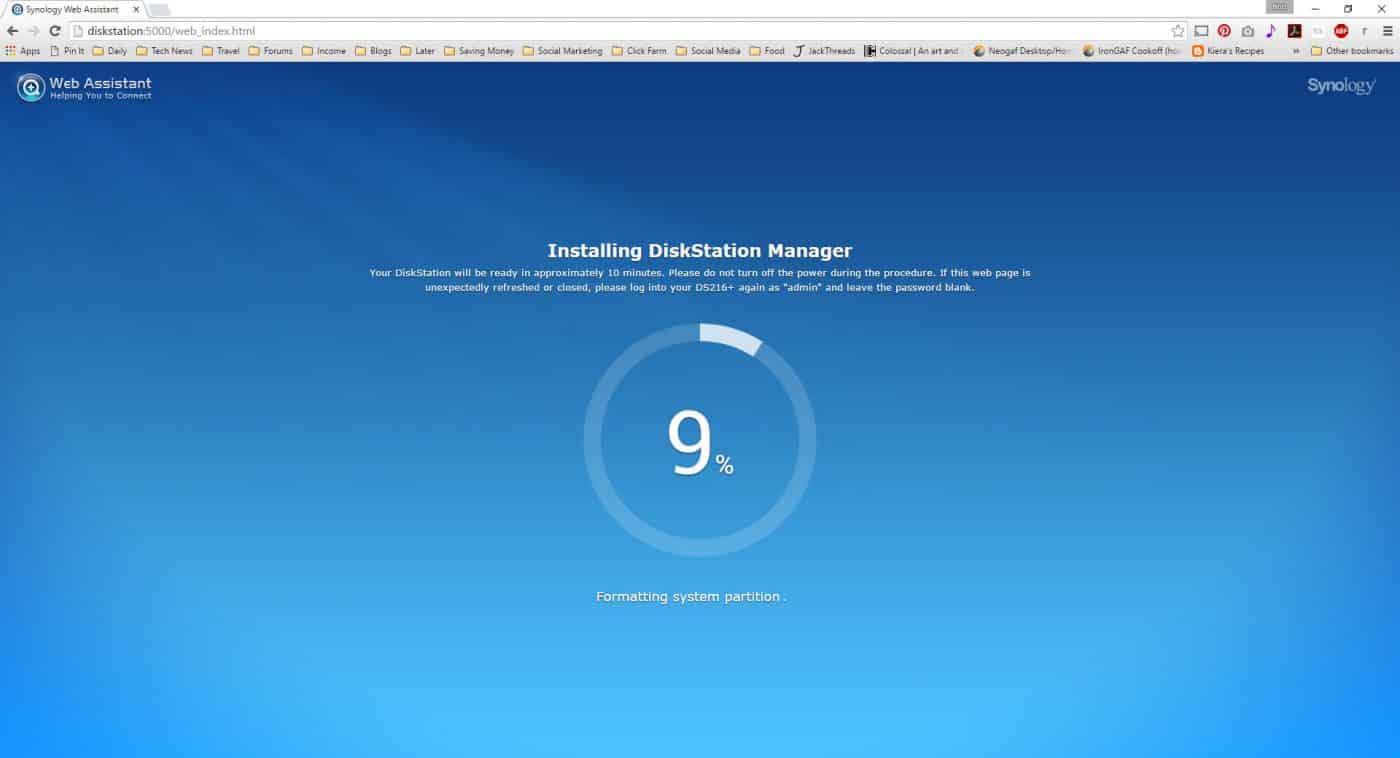
The first thing you will need to do is install the DiskStation Manager software, it will be automatically downloaded from the internet and installed for you.

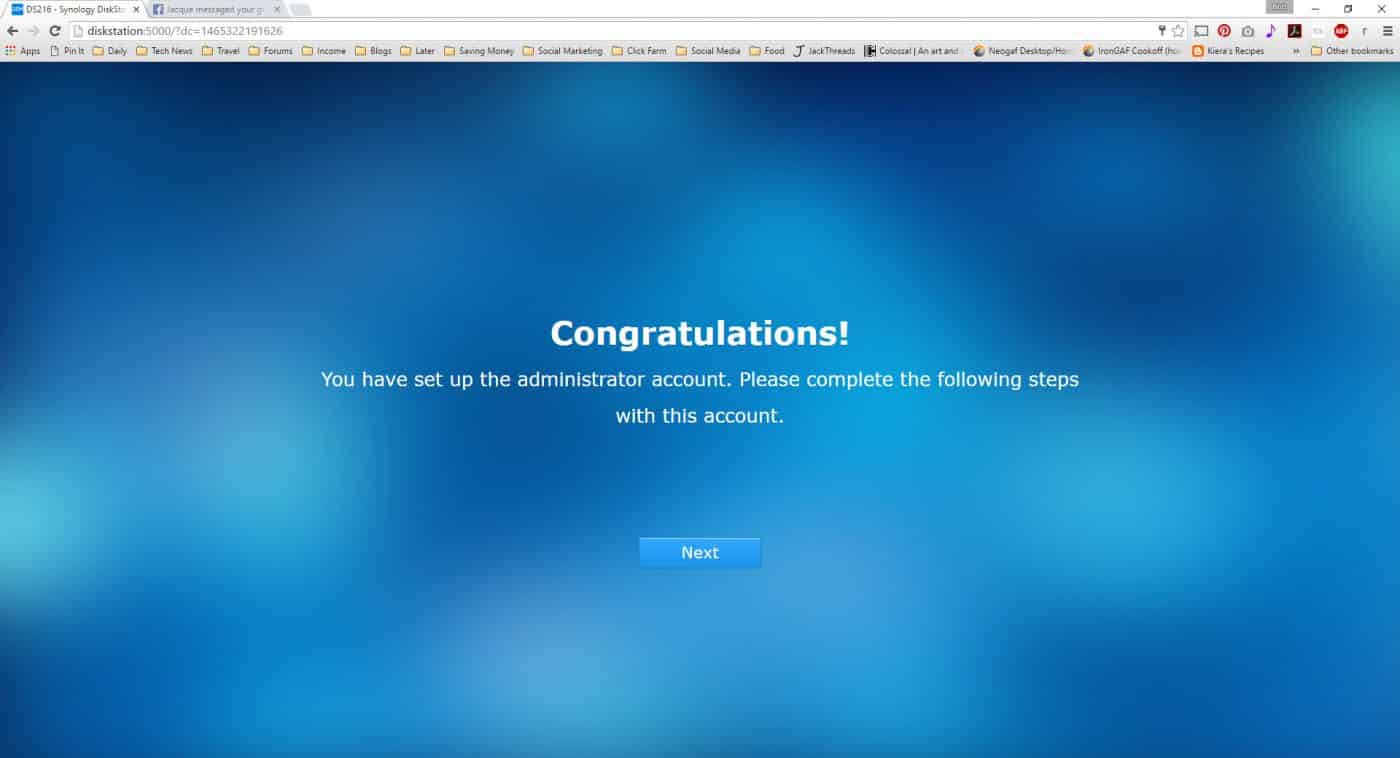
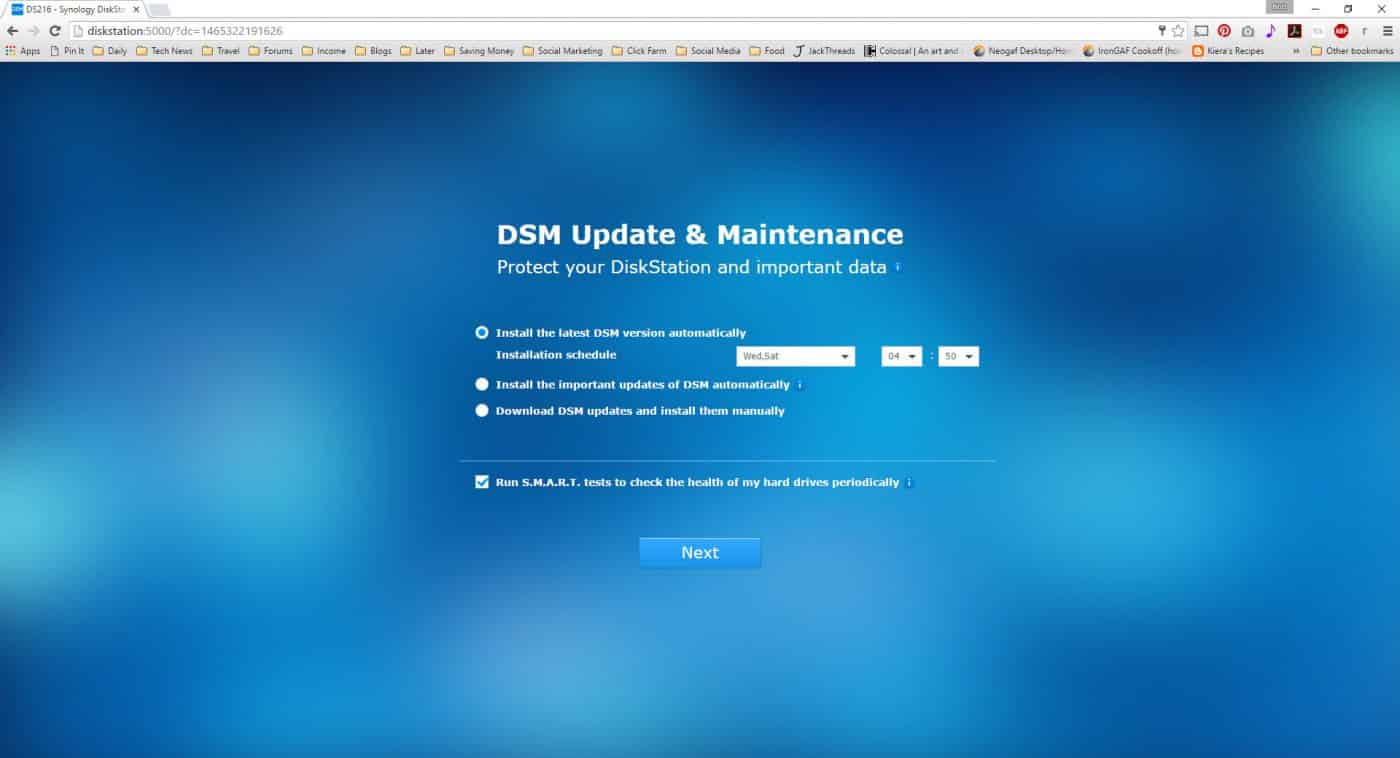
From here you can create your administrator username and password as well as set when updates happen and what updates are installed.
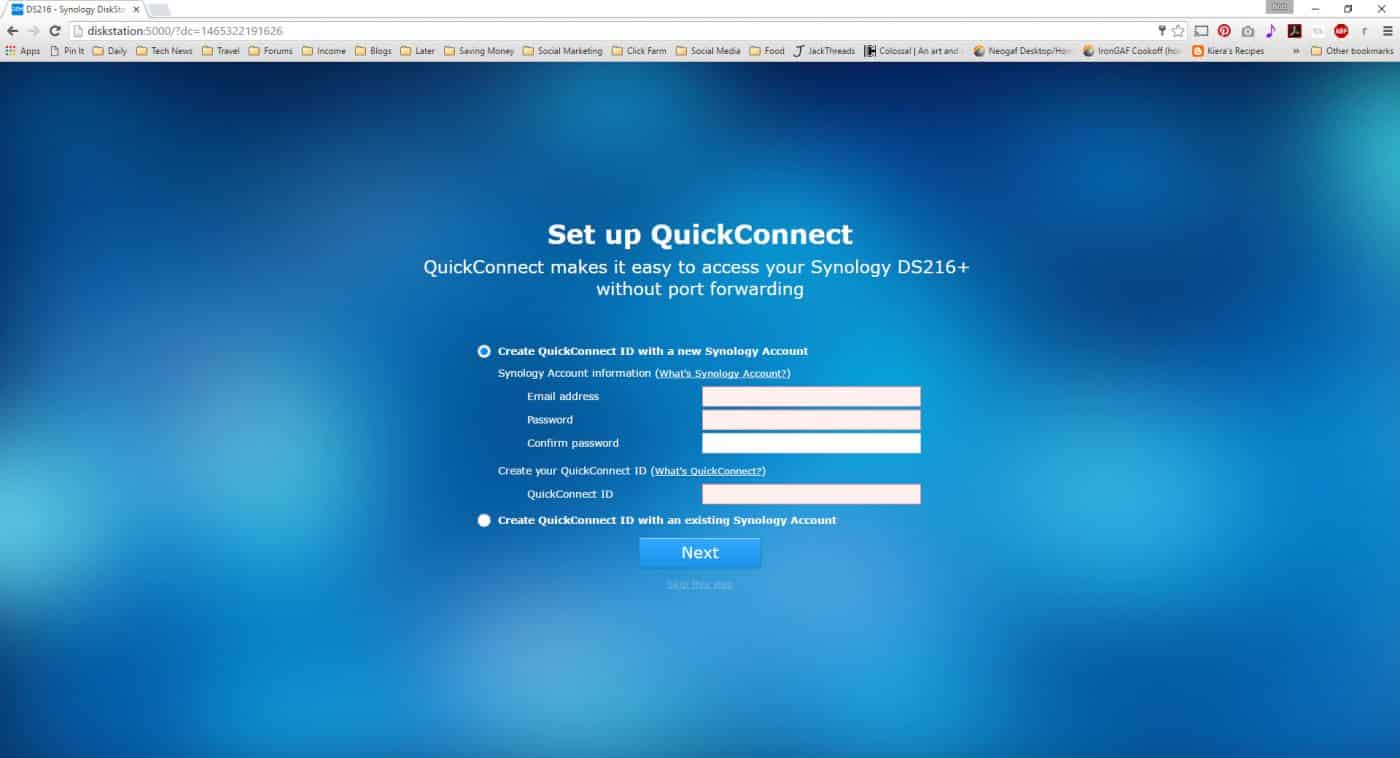
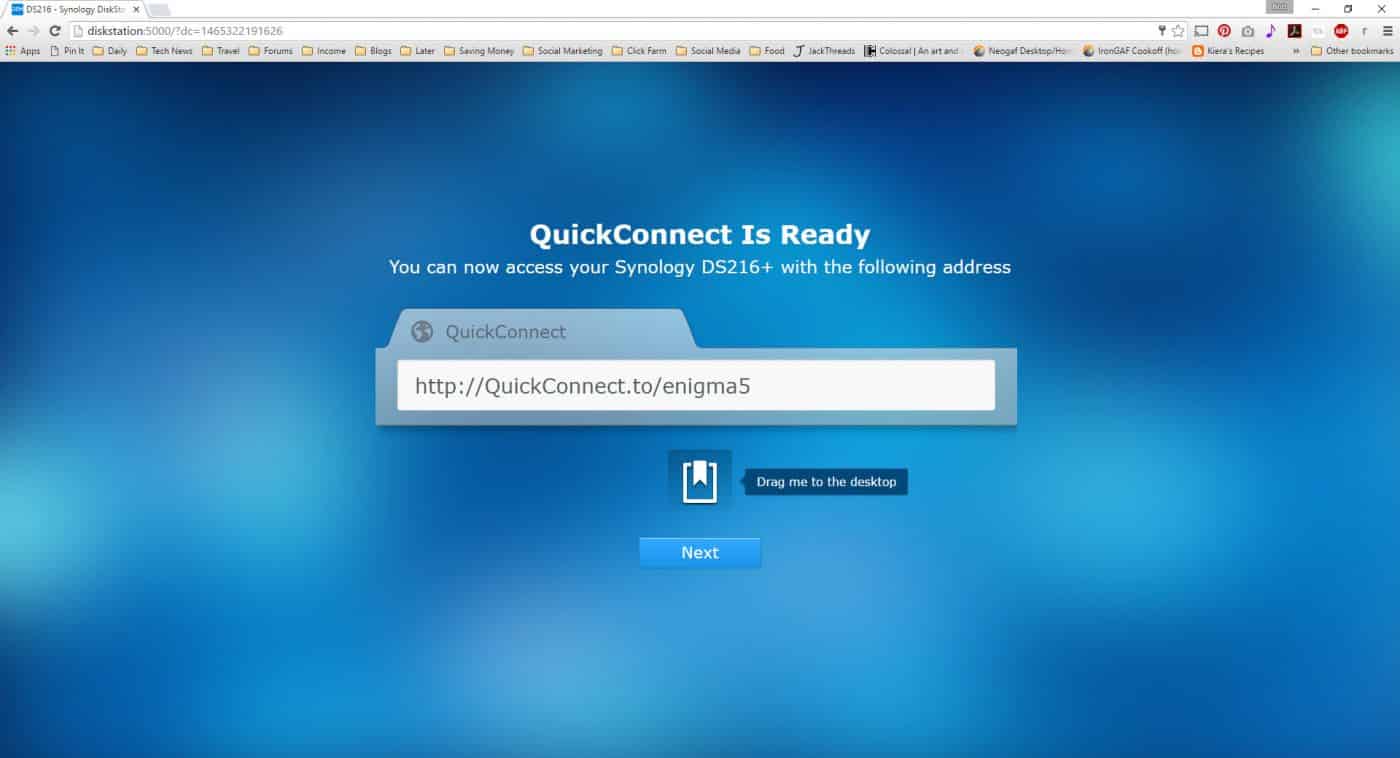
One of the other cool things is that you can setup QuickConnect. This gives you your own personal URL that enables you to access your NAS at all times. This makes it much easier than trying to remember the IP address it is on, or if you are off network your actual home IP address.
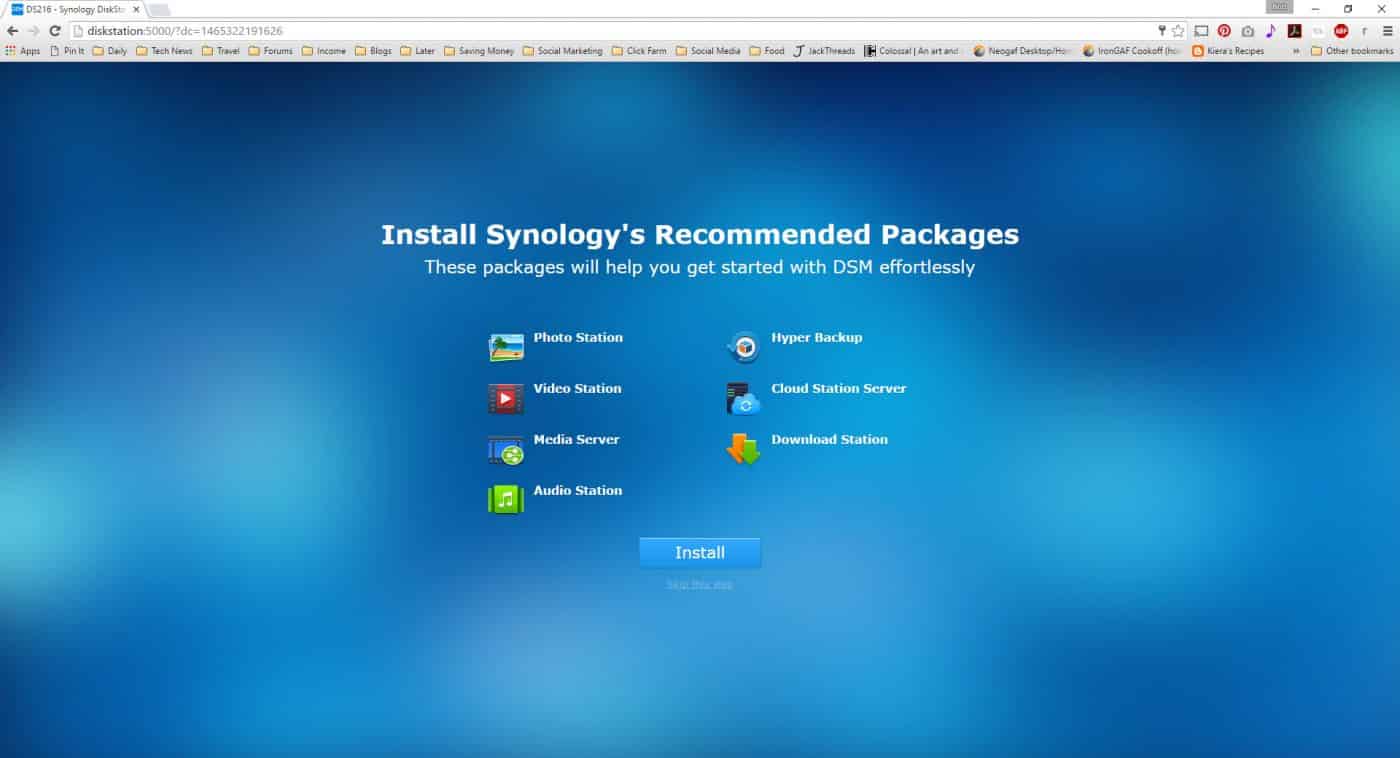
Finally Synology gives you the ability to install its Recommended packages, which are basically applications that run in DiskStation Manager to give you different functionality.