Are you ready to become tech savvy? Although it may seem difficult at first, building your own computer can be a rewarding and affordable activity if done correctly. This is a detailed instruction for making your own computer with your own hands. Plus, it will introduce you to the “golden slot” that will change the way you interact with your computer and help you save a ton of money.
Benefits of Constructing Your Own Computer
Building your own computer has several benefits beyond the satisfaction of finishing a do-it-yourself job. One of the key benefits is that you may customize your computer to meet your needs. The parts that the manufacturer has chosen are frequently the only options available when buying an off-the-shelf computer. Building your own gives you the freedom to select the perfect combination of components and ensures the finest results for the task.
Additionally, you could be able to save a significant amount of money by building your own computer. In addition to manufacturer price hikes, labor and support expenses can drive up the cost of off-the-shelf computers. You can avoid these pointless expenses and redirect your funds toward better components that improve your computing experience by creating your own computer.
Comprehending Computer Parts
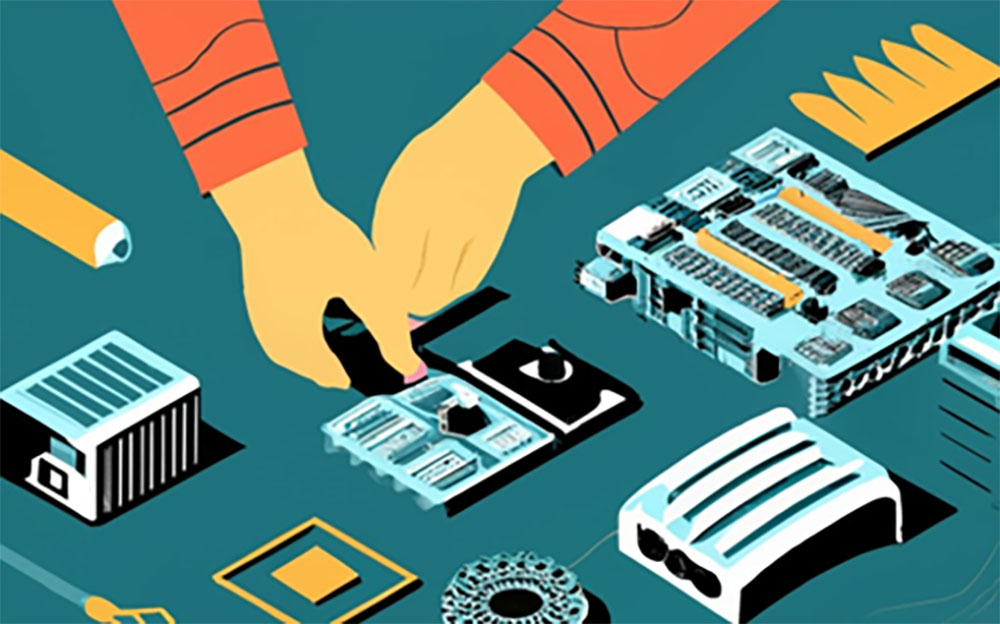
It is important that you familiarize yourself with the many parts of a computer before dabbling in do-it-yourself computing. Selecting the appropriate parts for your own project will be made easier if you are aware of each one’s role and objective.
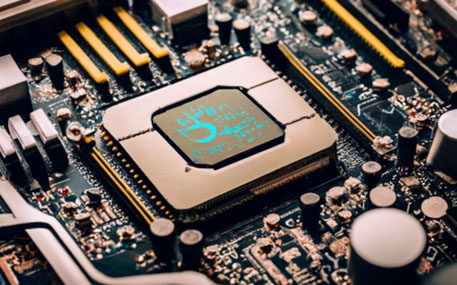
Many people refer to the central processor unit (CPU) as the computer’s brain. It carries out calculations, carries out directives, and monitors the system’s overall functioning. The motherboard connects all the components, supplies power and communication channels, and functions as the computer’s central nervous system.
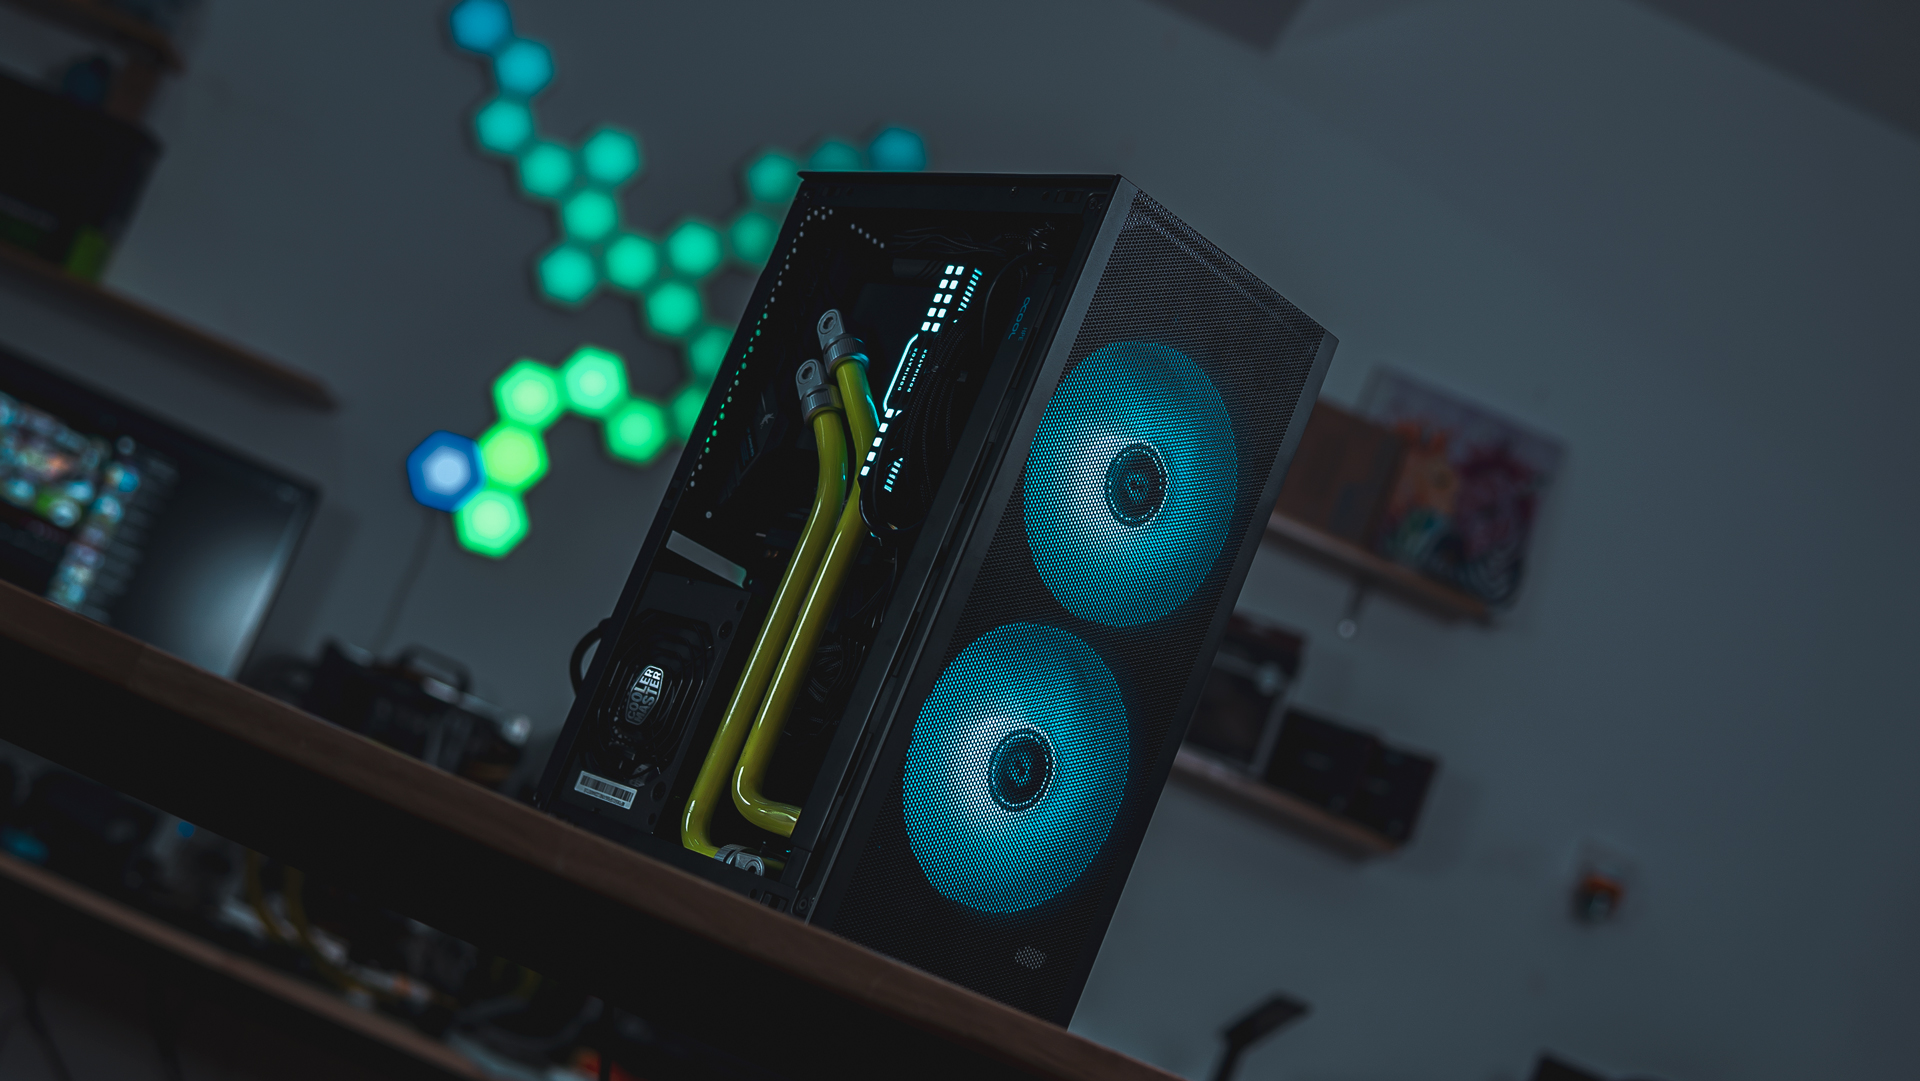
Important components include random access memory (RAM), which stores data temporarily for the CPU to retrieve quickly, and storage devices like SSDs and hard drives, which house the operating system and files. The graphics processing unit (GPU) is responsible for rendering images and videos; this is particularly significant for tasks like gaming and video editing.
Choosing the Correct Components for a Custom Computer
Understanding the parts thoroughly is necessary to select the appropriate parts for a handcrafted computer. The key to selecting the finest option is being aware of your particular needs and budgetary limitations.
Think about the kind of job you will be doing when selecting a CPU. A mid-range CPU will work just fine if word processing and web browsing are your main computing tasks. But you might want to have a high-performance CPU if you play games or run resource-intensive apps.
The kind of job you conduct will affect the RAM size you choose. For basic activities, 8–16 GB should be plenty, however 32 GB or more can be required for applications that are more demanding. Regarding storage, you can shorten boot times by combining a solid state drive (SSD) with a conventional hard disk with a large capacity.
Comprehensive instructions for making your own computer
Are you prepared to embark on the exciting project of creating your own computer? Take heed of these detailed instructions to guarantee a smooth and error-free build.
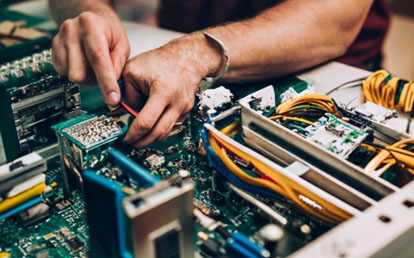
Assemble your workplace first. Ensure that your workstation is comfortable, clutter-free, and well-organized. Assemble all the necessary tools, such as cable ties and a set of screwdrivers, to keep everything organized.
The CPU and motherboard should be combined; before carefully placing the CPU into the motherboard socket, ensure that it is positioned correctly. Apply thermal paste before to installing the CPU cooler to enhance heat conduction.
To finish installation, carefully insert the RAM module into the corresponding motherboard slot. Until it latches into place, press evenly.
Fit any storage devices, like SSDs or hard drives, into the proper motherboard ports. Use the included screws or brackets to secure.
When directed, place the power supply unit (PSU) into the computer casing. Connect the required power cables to the motherboard, CPU, storage units, and other components.
Make sure the mounting holes on the motherboard line up by carefully inserting it into the computer casing. Use screws to secure.
Connect the front panel connectors, including the audio jack, USB port, and power button, to the appropriate pins on the motherboard. To make sure that the alignment is right, consult the motherboard guide.
Make that the GPU is securely positioned in the appropriate motherboard slot before attaching any required power lines.
To make sure that everything is in the right place, double-check all of the connections. After turning off the computer enclosure, connect any other devices, including a keyboard, mouse, or monitor.
To install the operating system, turn on the recently created computer and follow the on-screen directions. Best wishes!
Tips for Fixing Computers Made at Home
Assembling might result in issues even with meticulous preparation and execution. The following troubleshooting advice will assist you in overcoming common challenges:
Absent power No power: Before restarting the computer, make sure all of the connections are securely plugged in. Make that the power switch is turned on, and if not, try using a different outlet.
POST error code: To find the reason behind an error code that shows up on the computer during the power-on self-test (POST), consult the motherboard guide. The problem could be bad hardware, incompatible RAM, or a shoddy installation.
Overheating: If the computer overheats, it could malfunction or abruptly shut down. Check to make sure every fan is installed correctly and is working. If more cooling is required, you could choose to install a CPU cooler or case fan.
Driver issues: Install the most recent drivers for the components after installing the operating system. Refer to the manufacturer’s website or use specialized software to ensure compatibility and best performance.
Overview of the Golden Slot Machine and its Savings Features
Having created your own computer successfully, allow us to present to you Golden Slot, a state-of-the-art feature that maximizes savings. Several GPUs can be used if you attach a second graphics card to a unique expansion slot known as a goldenslot.
Without needing to rebuild your system, you can greatly improve your computer’s graphics performance by adding a second graphics card to a Golden Slot. Professional gamers, content producers, and other users that need strong graphics processing capability will particularly benefit from this reasonably priced option.
Golden Slot not only saves money but also provides improved scalability and future-proofing. Upgrading your PC will be simple and cost-effective as technology advances. Your system’s speed will rise just by swapping out the outdated, underpowered secondary graphics card for a more powerful, modern one.
Finally, use DIY Computers to let your inner technical go and save some cash.
Congrats on finishing your do-it-yourself computer project and learning about the incredible features of Golden Slot that can result in significant cost savings. Not only will you fulfill your inner geek, but constructing your own computer will end up costing far less than purchasing an assembled system. Remember that the keys to a good DIY computer build are being aware of the parts, making informed decisions, and adhering to detailed instructions. If you’re patient and persistent enough, you could be able to construct a computer that meets your needs and price range exactly.
Not to wait? Golden Slots allows you to indulge your inner techie, save money, and learn about DIY computers. Prepare yourself to enjoy the thrill of creating and personalizing your own computer while achieving improved performance and cost savings. Cheers to building!