Installation of the Thermaltake UX200 SE CPU Cooler
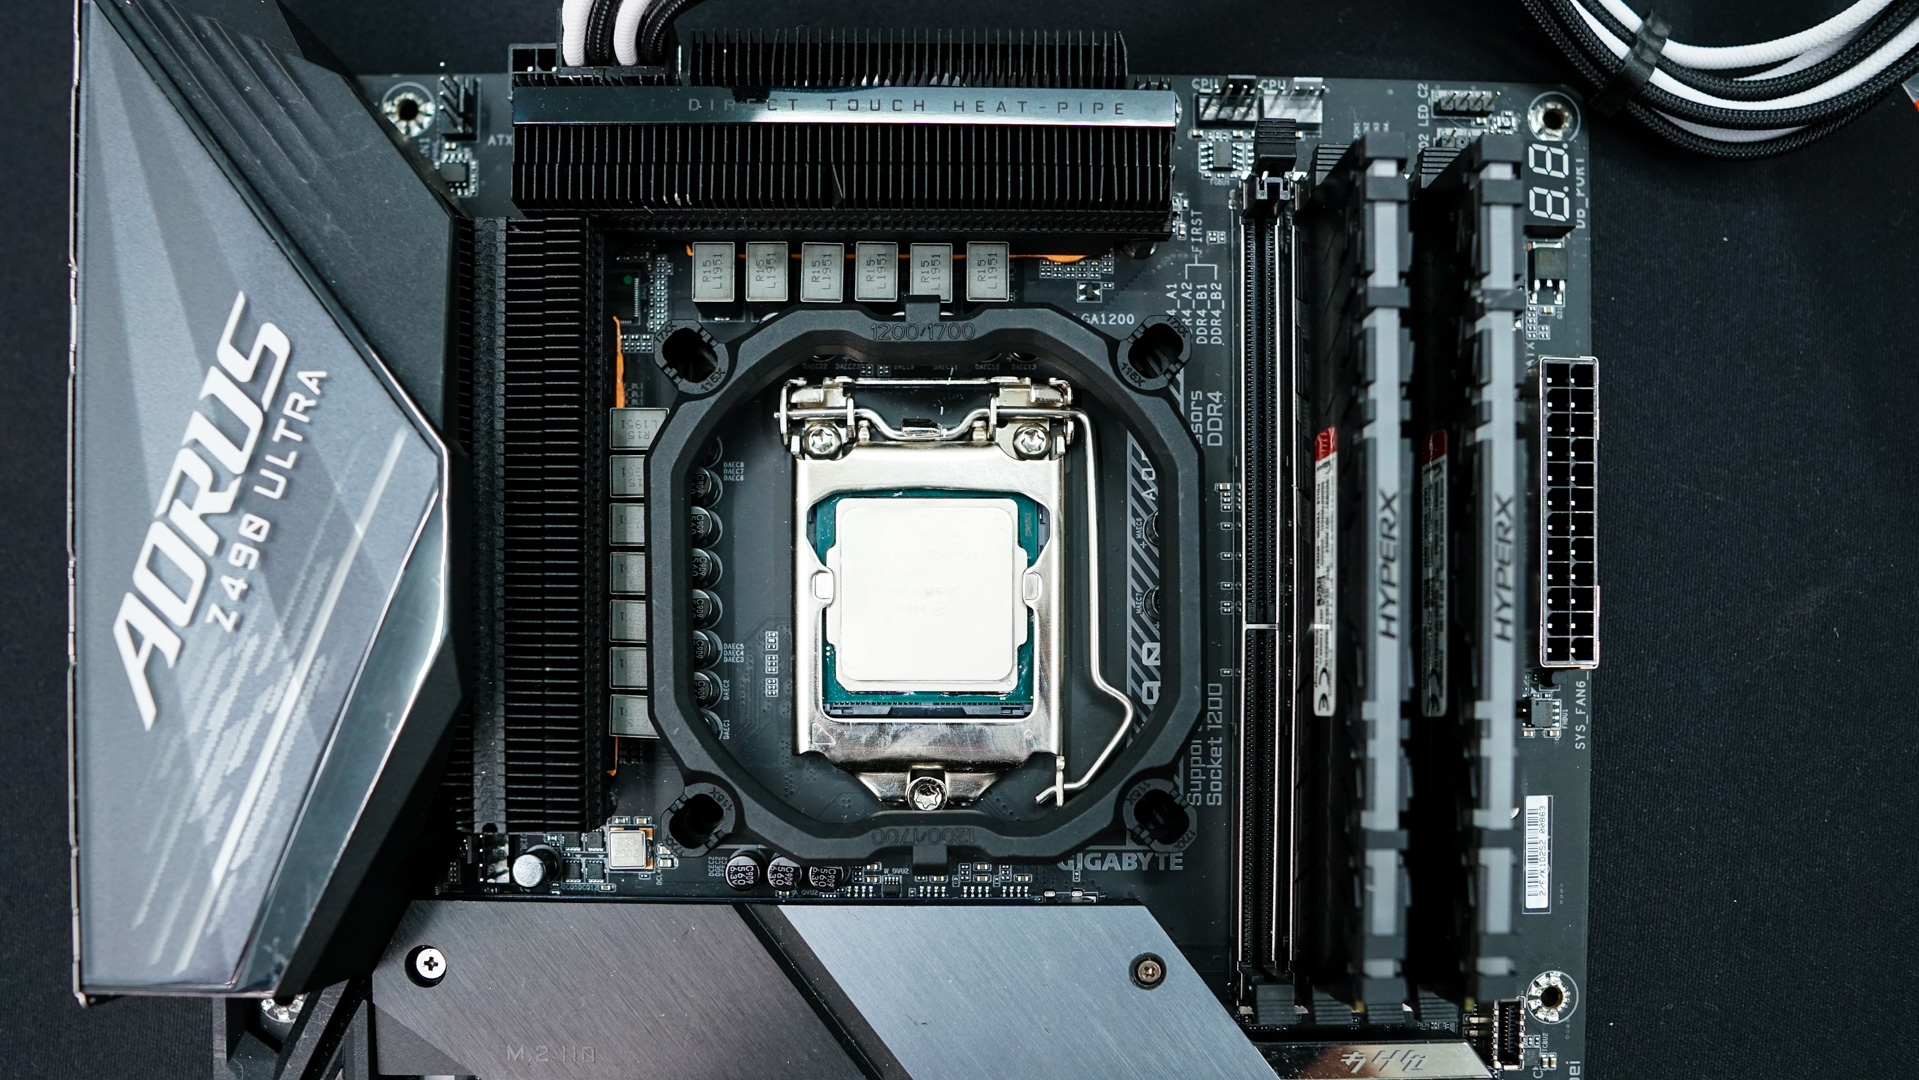
We will be doing our installation on an Intel Z490 system so this installation would be pretty much the same for Intel LGA 1200, 1150, 1151, 1155, and 1700 sockets.
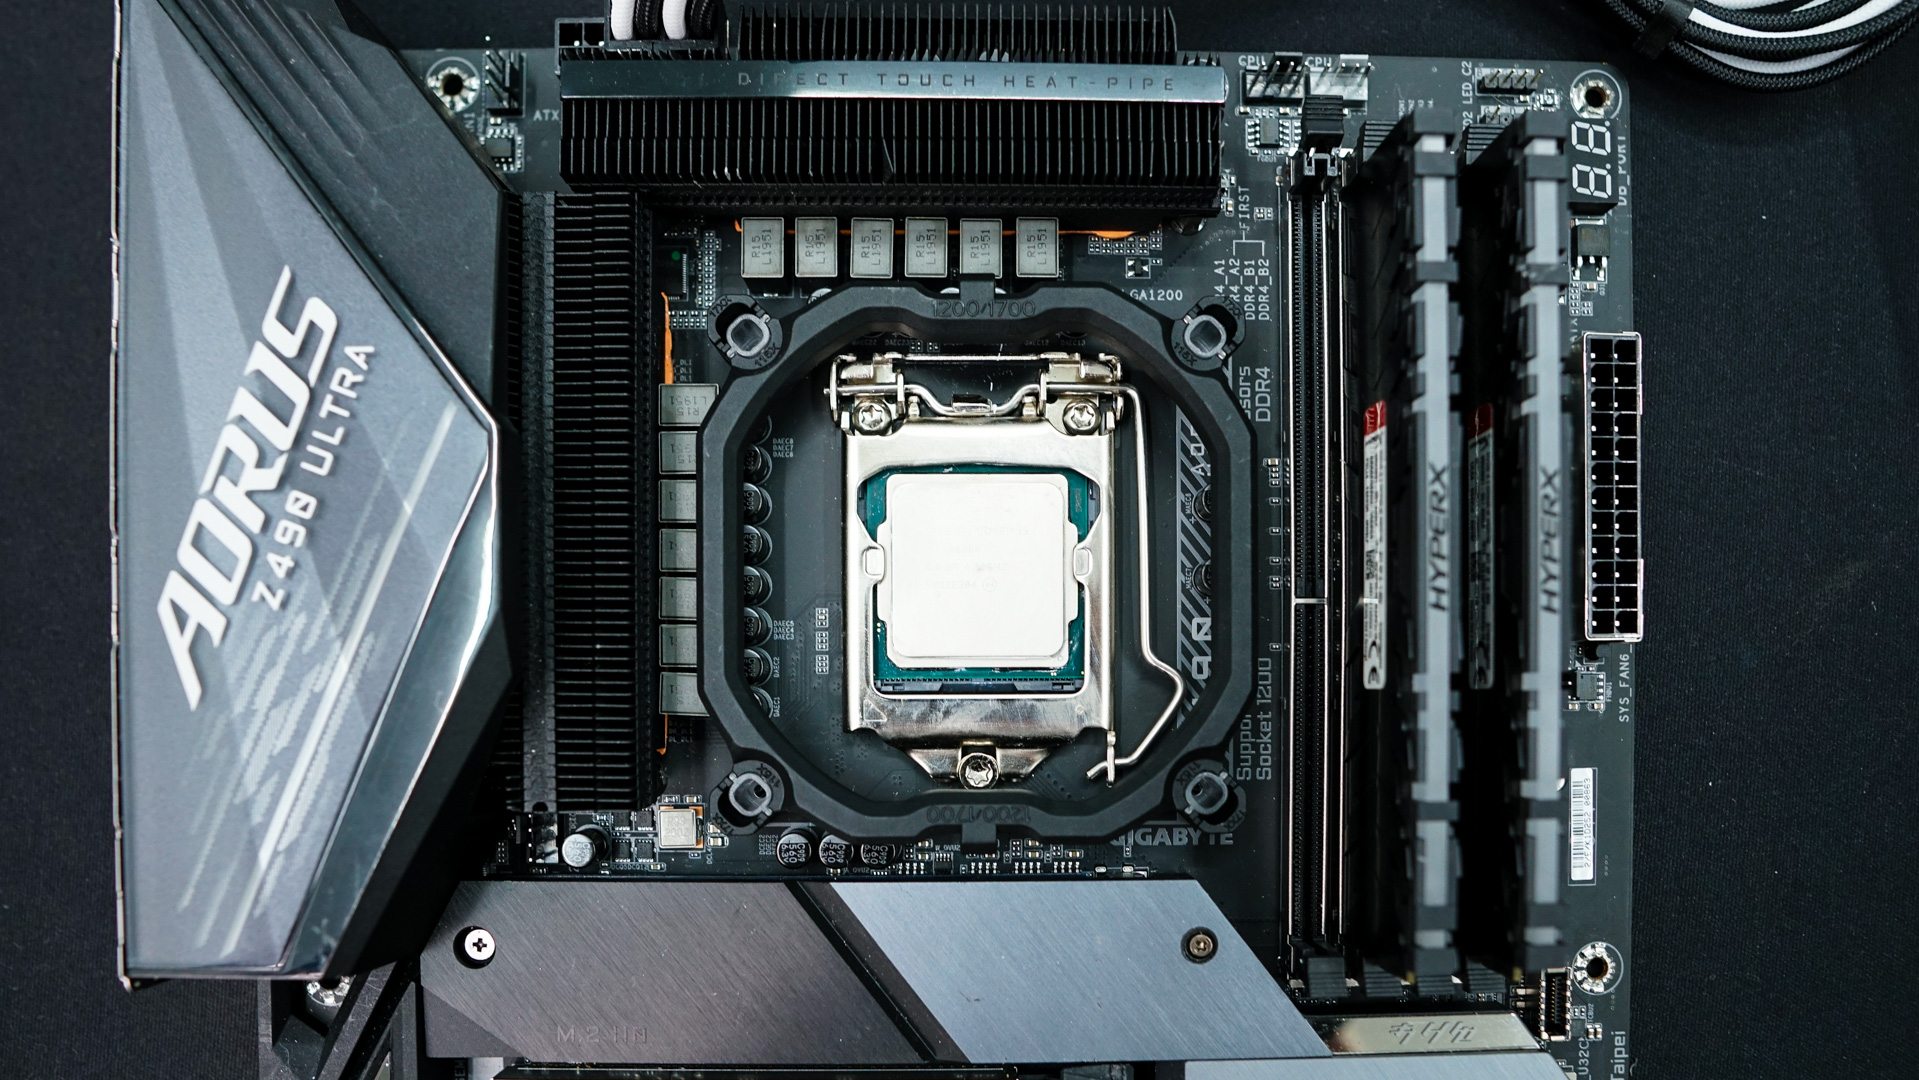
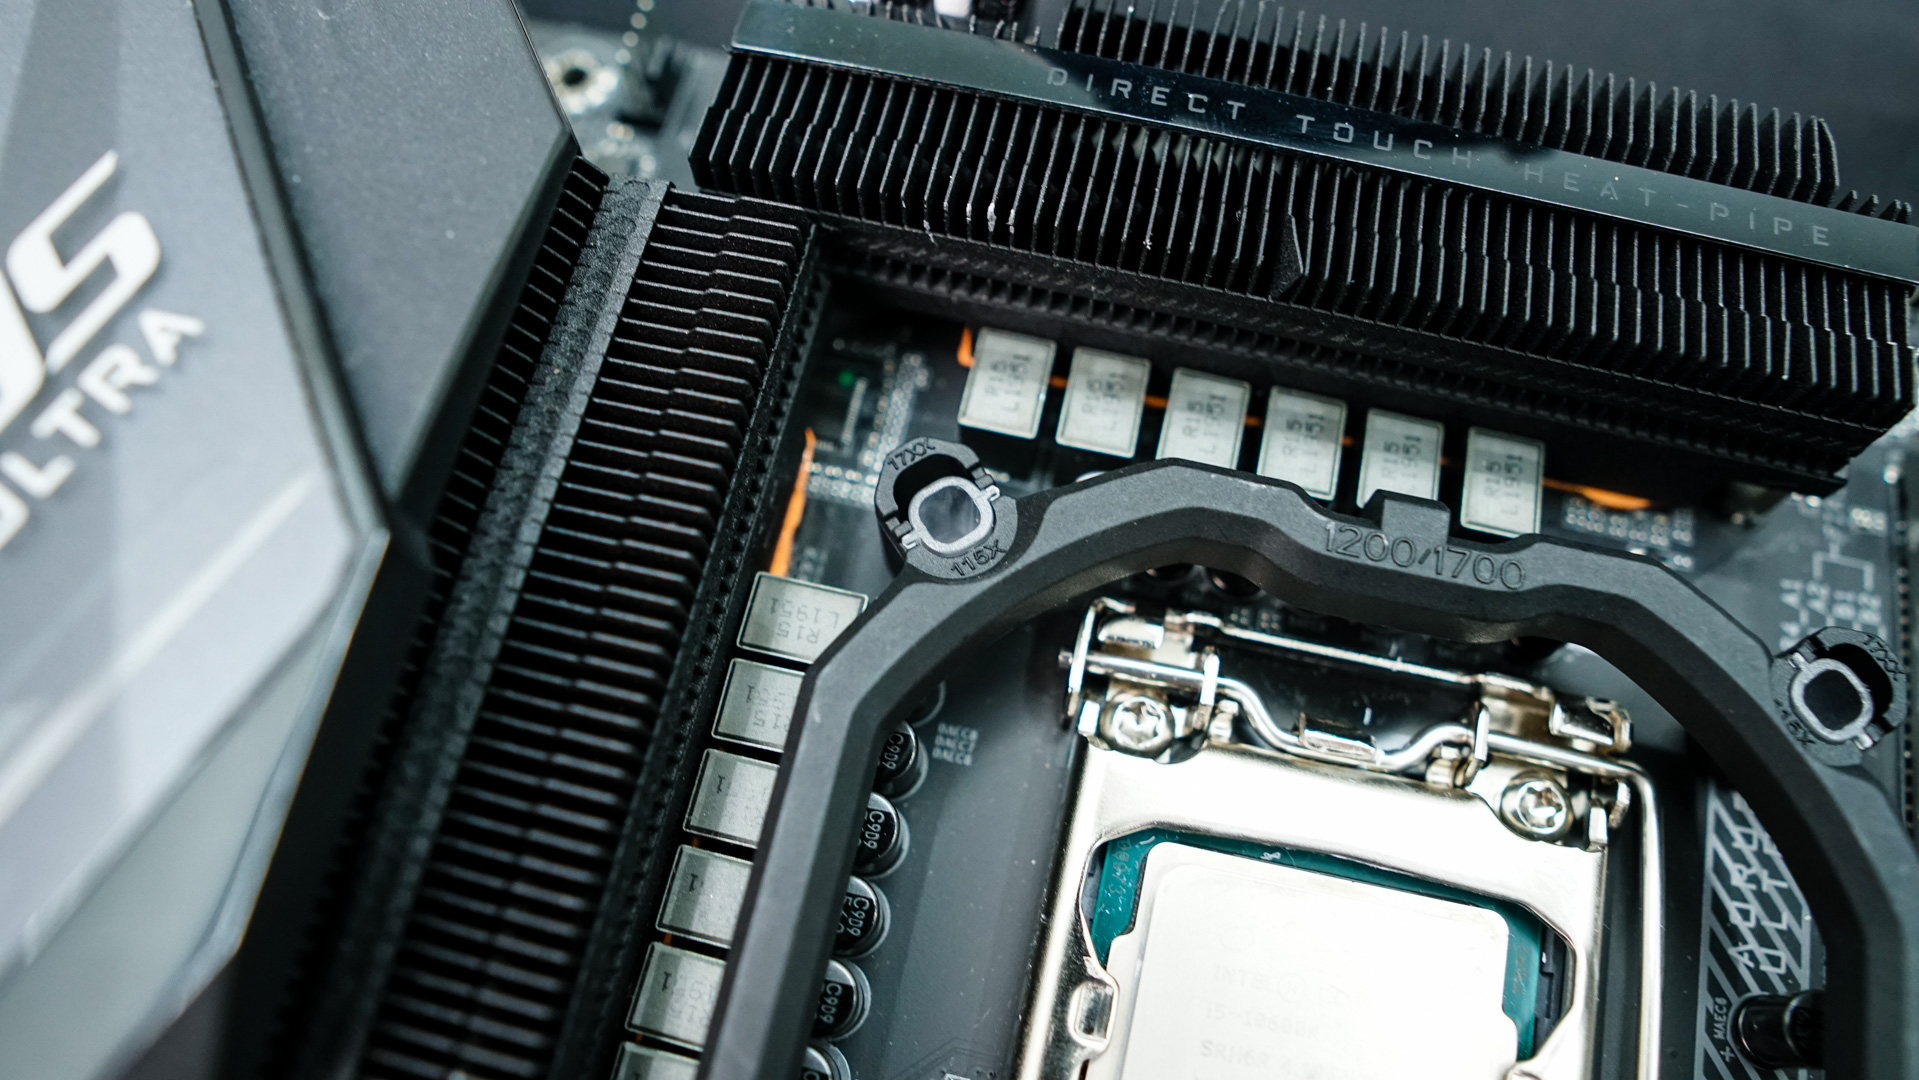
Installation of this cooler is pretty straight-forward. First take the Intel retention bracket and set it on top of your motherboard lining up the holes in the bracket with the holes around your CPU socket.
Then take the clear plastic pegs and press them down through the holes, locking the retention bracket in place. There are specific slots in the retention bracket for LGA 115x and 1200. Once you have the retention bracket locked in place finally get the larger black plastic pegs and press them down through the clear plastic pegs, this will make sure the retention bracket is securely locked in place.
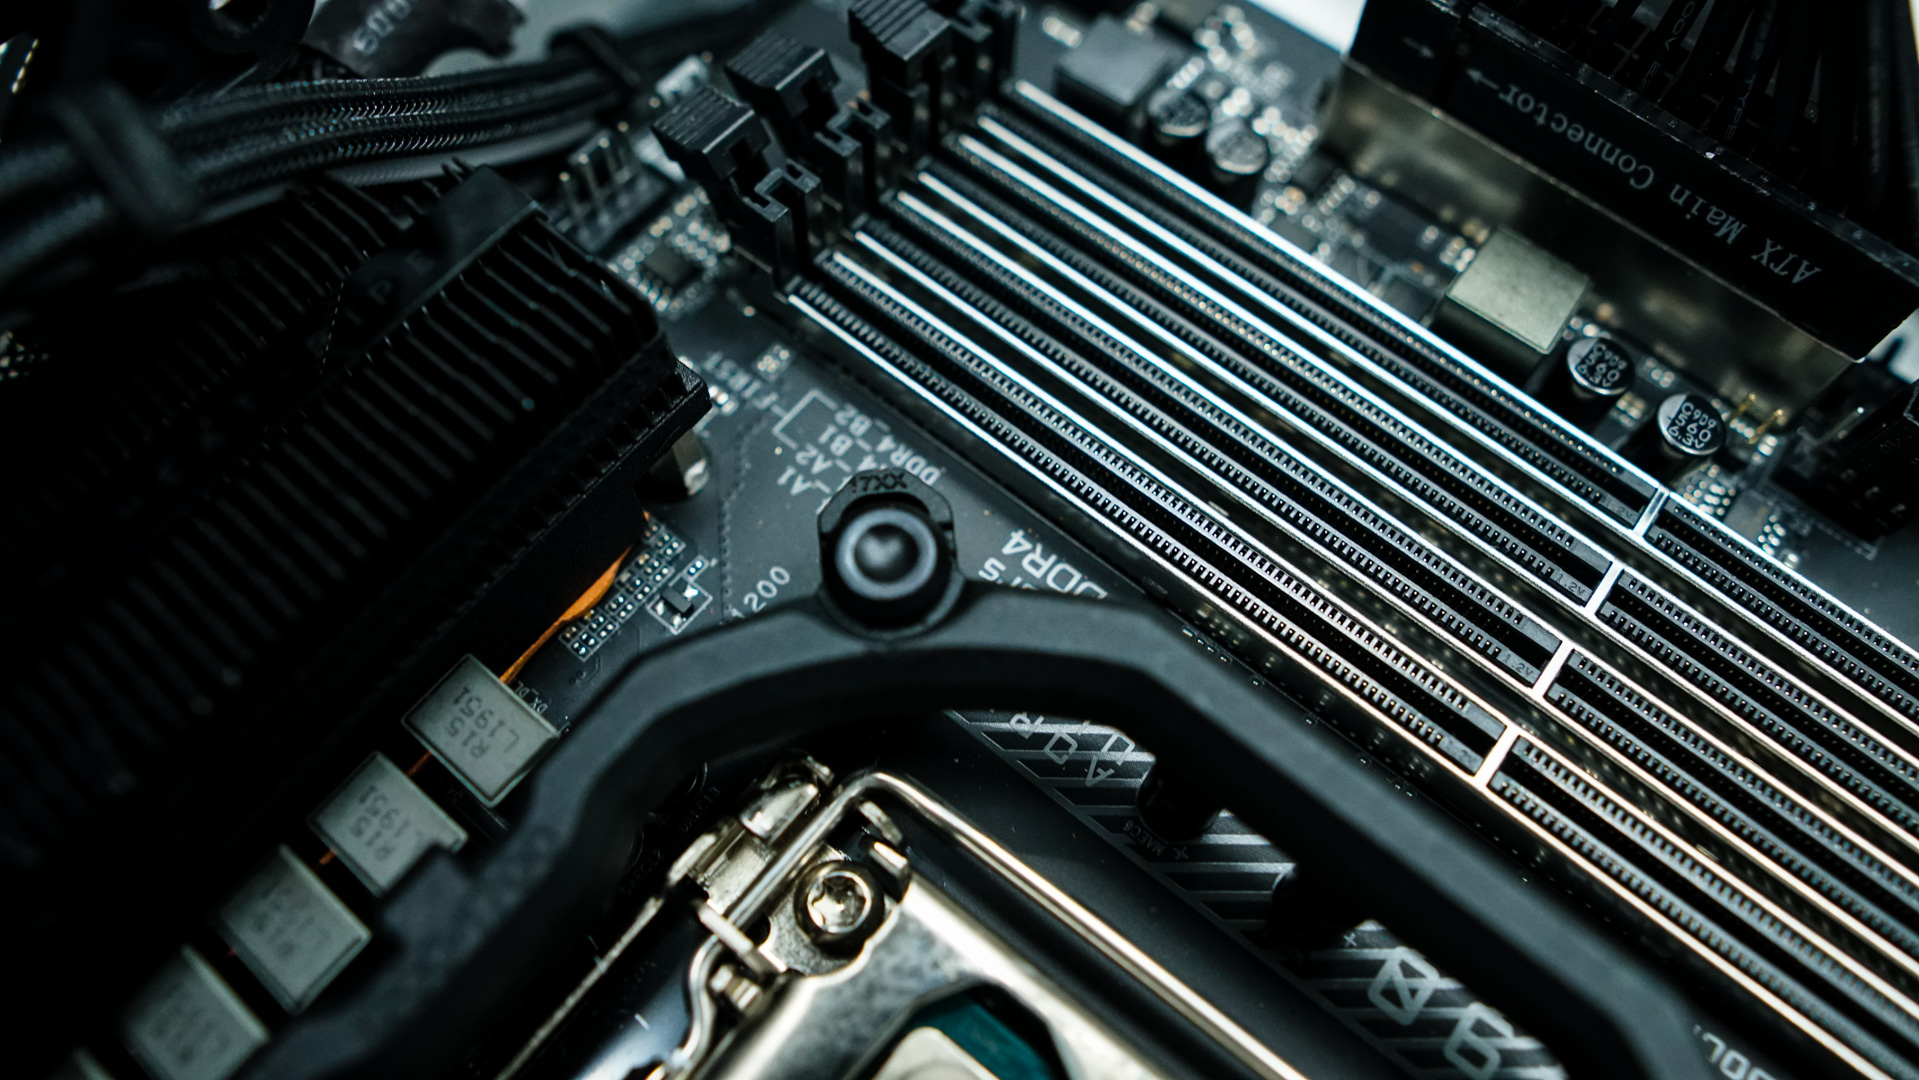
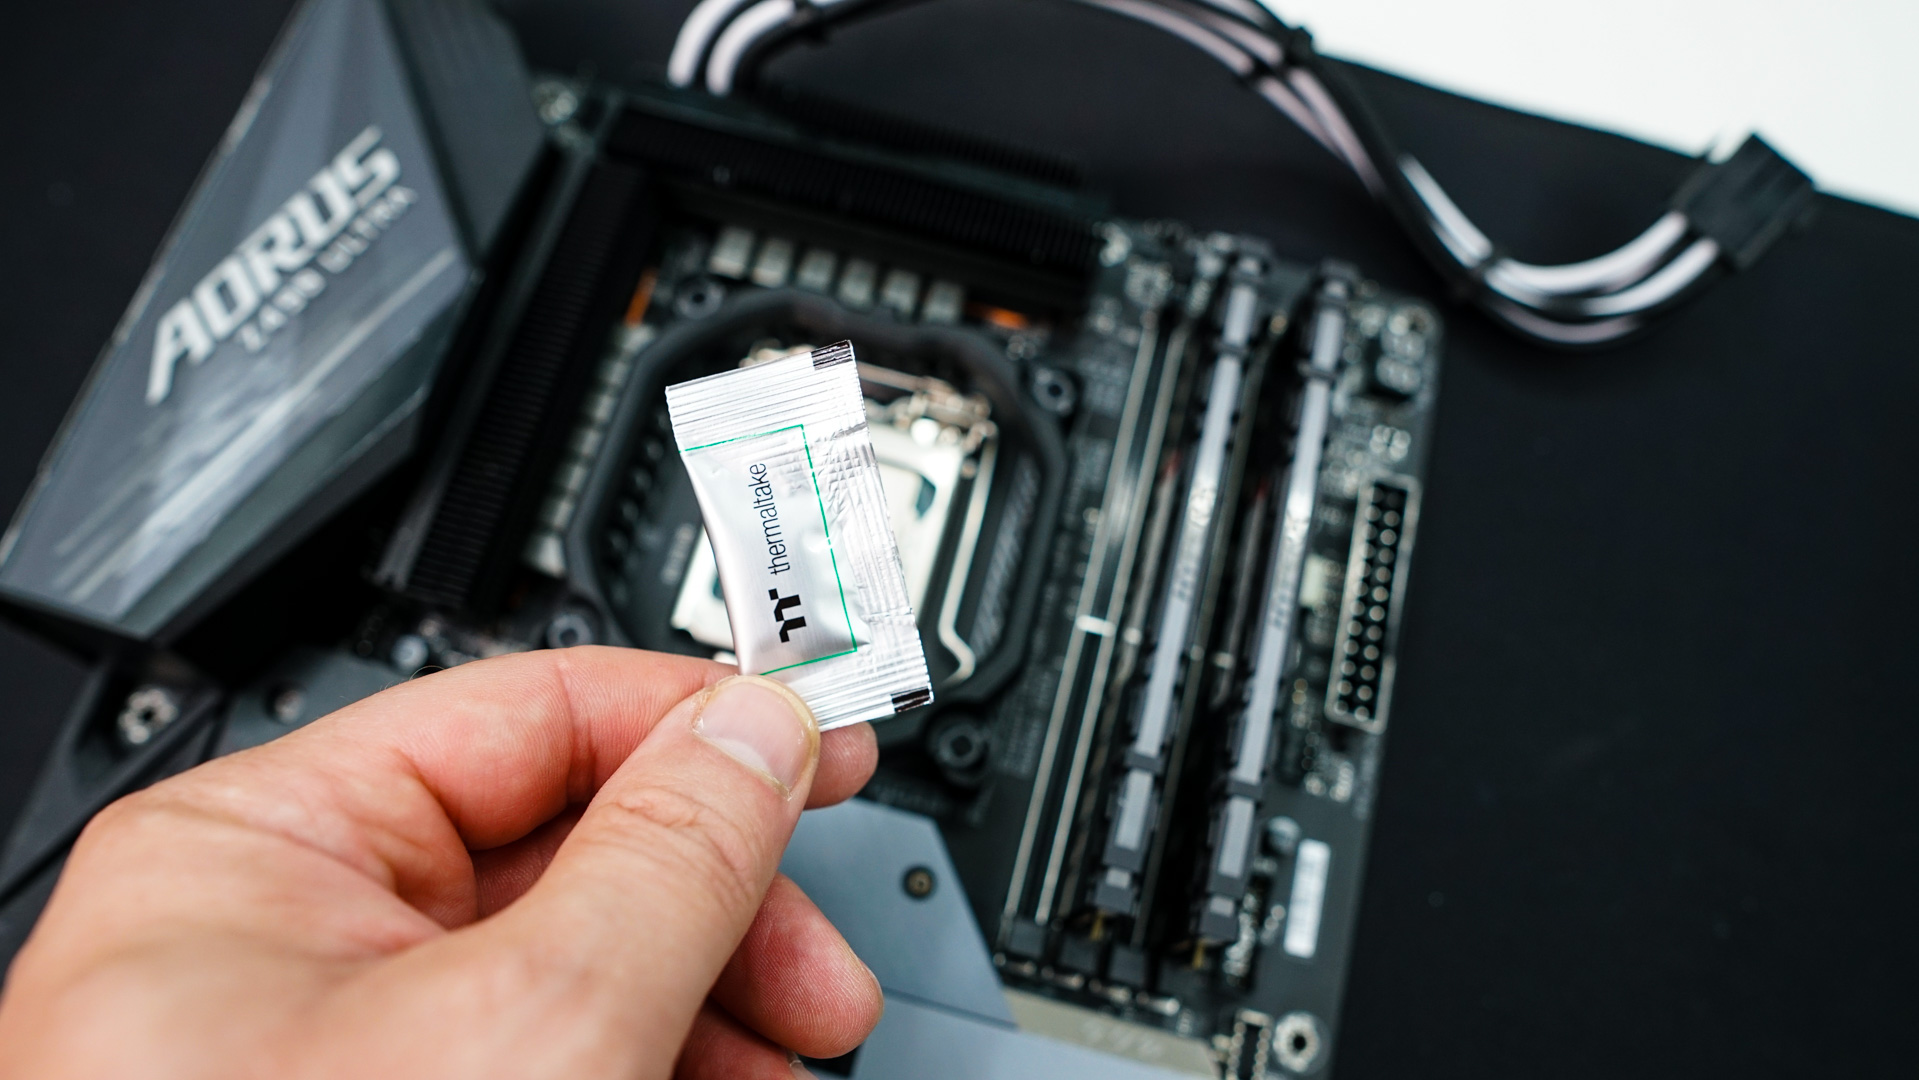
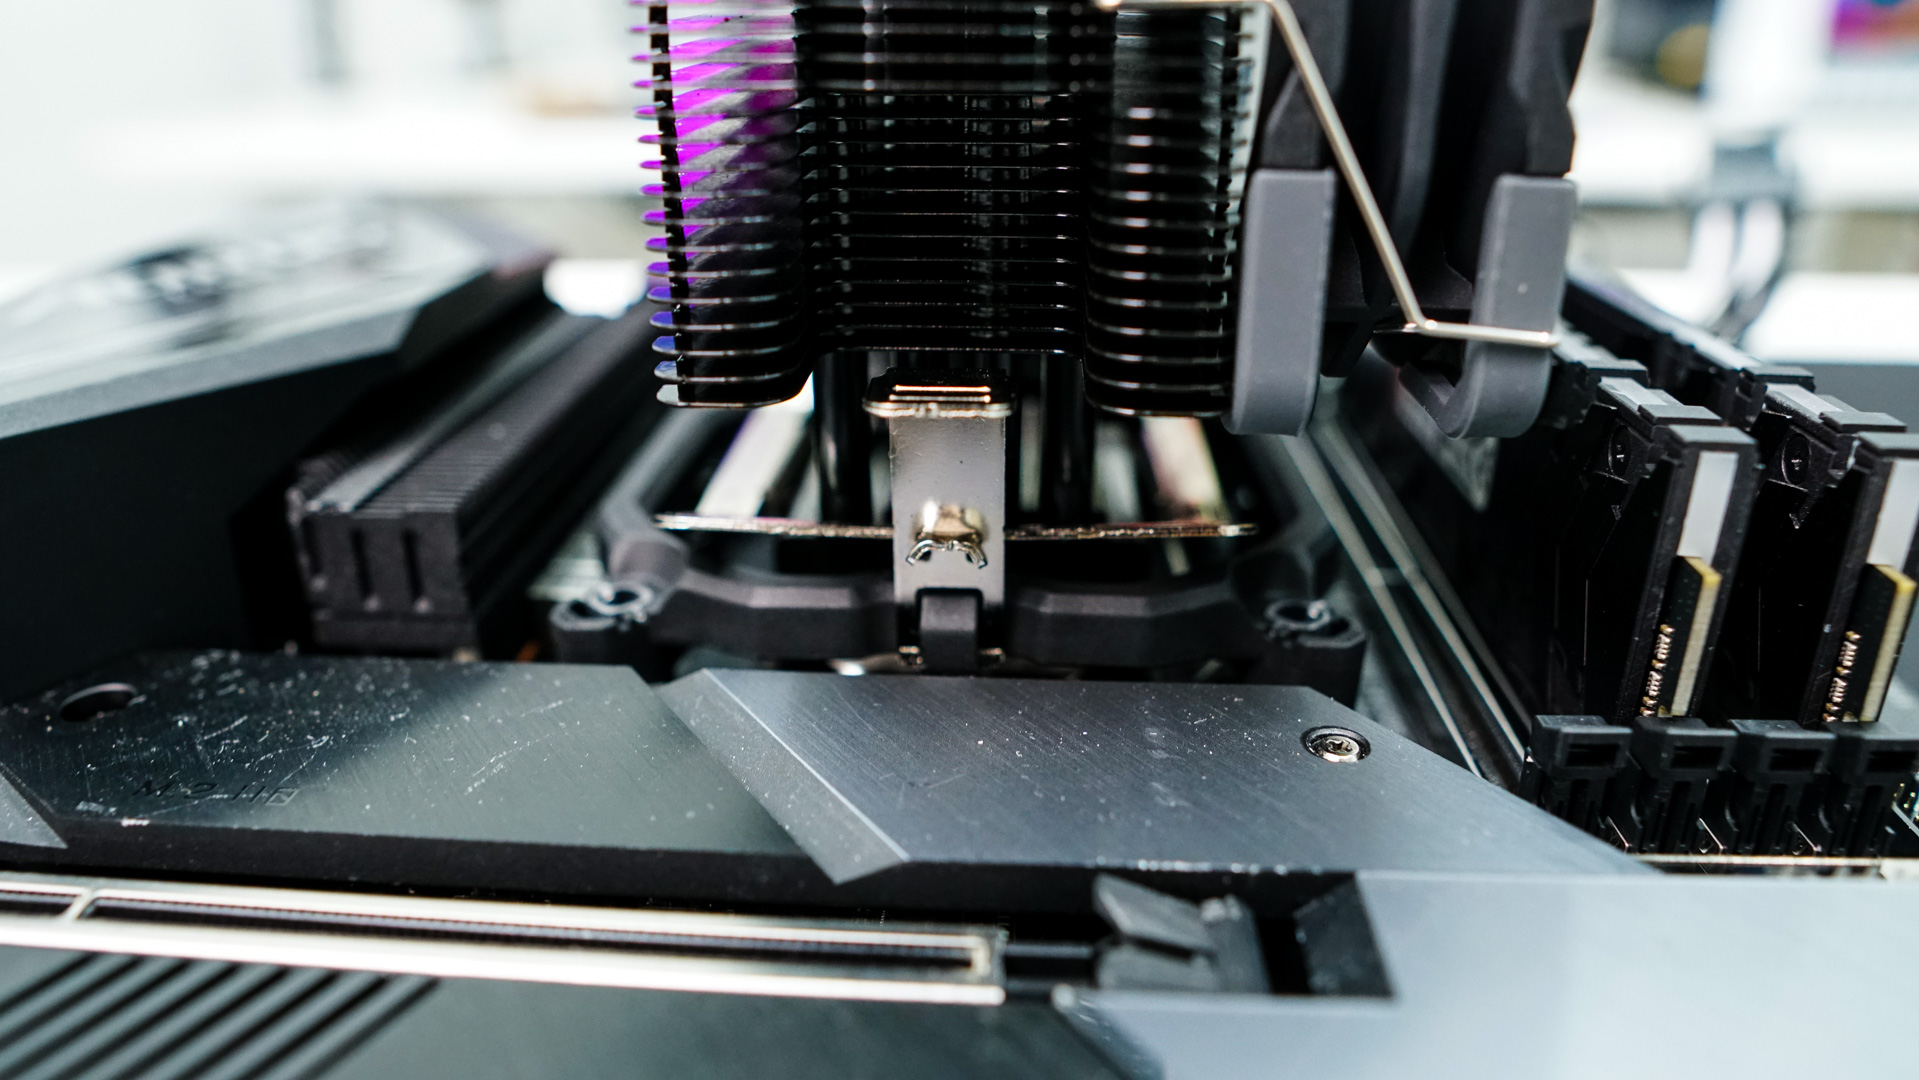
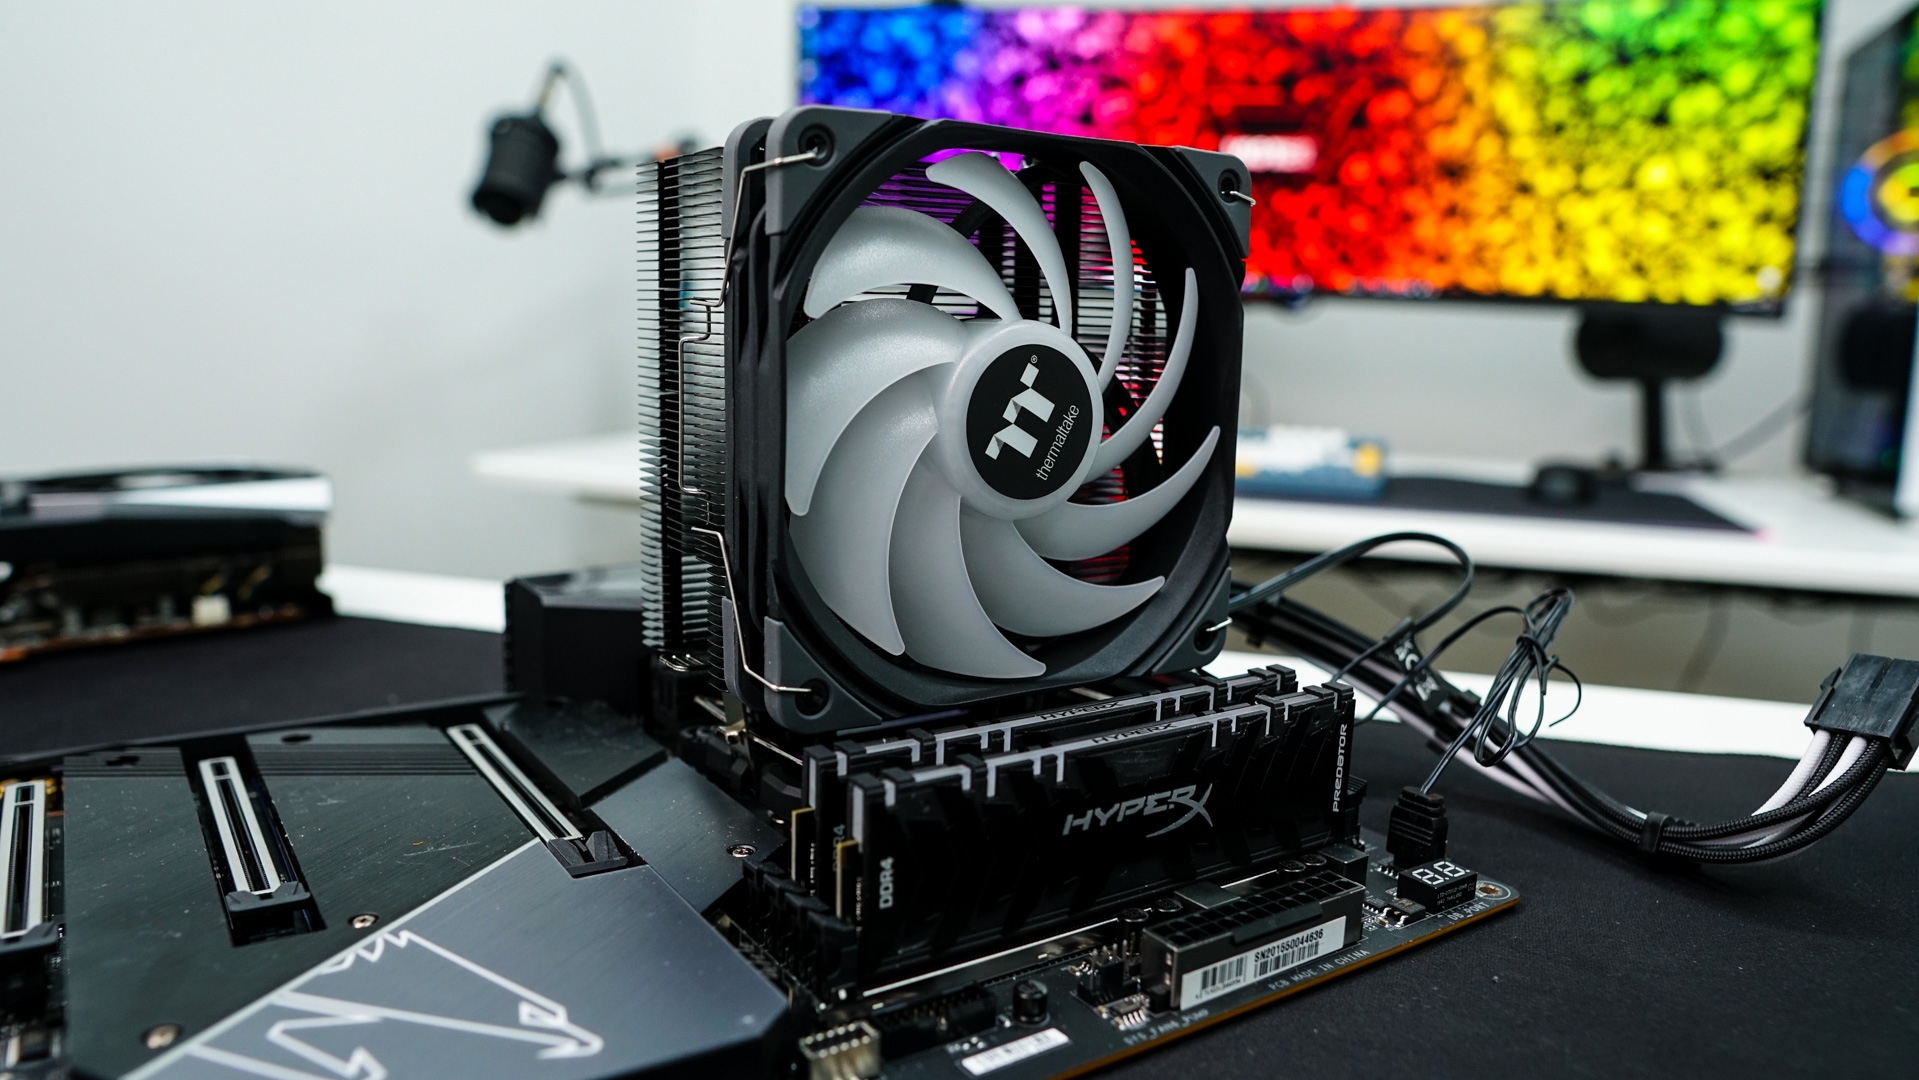
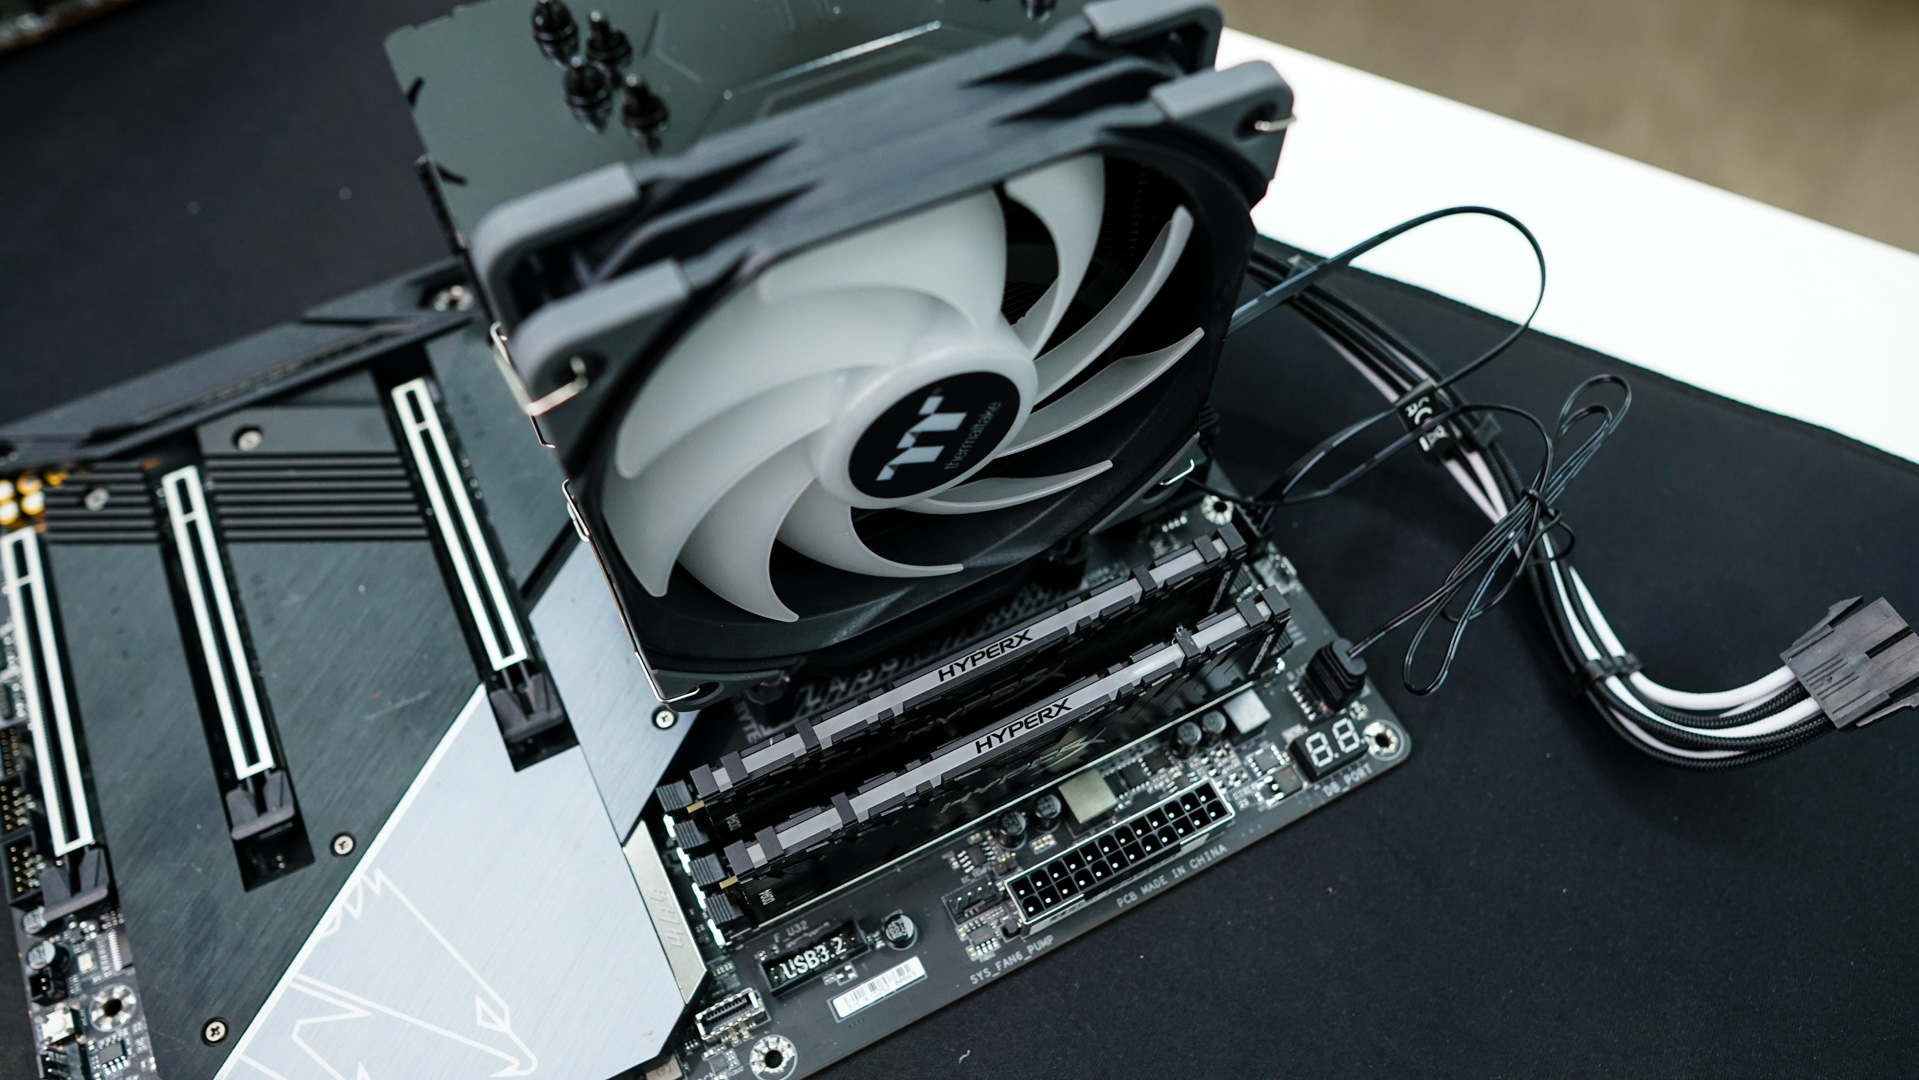
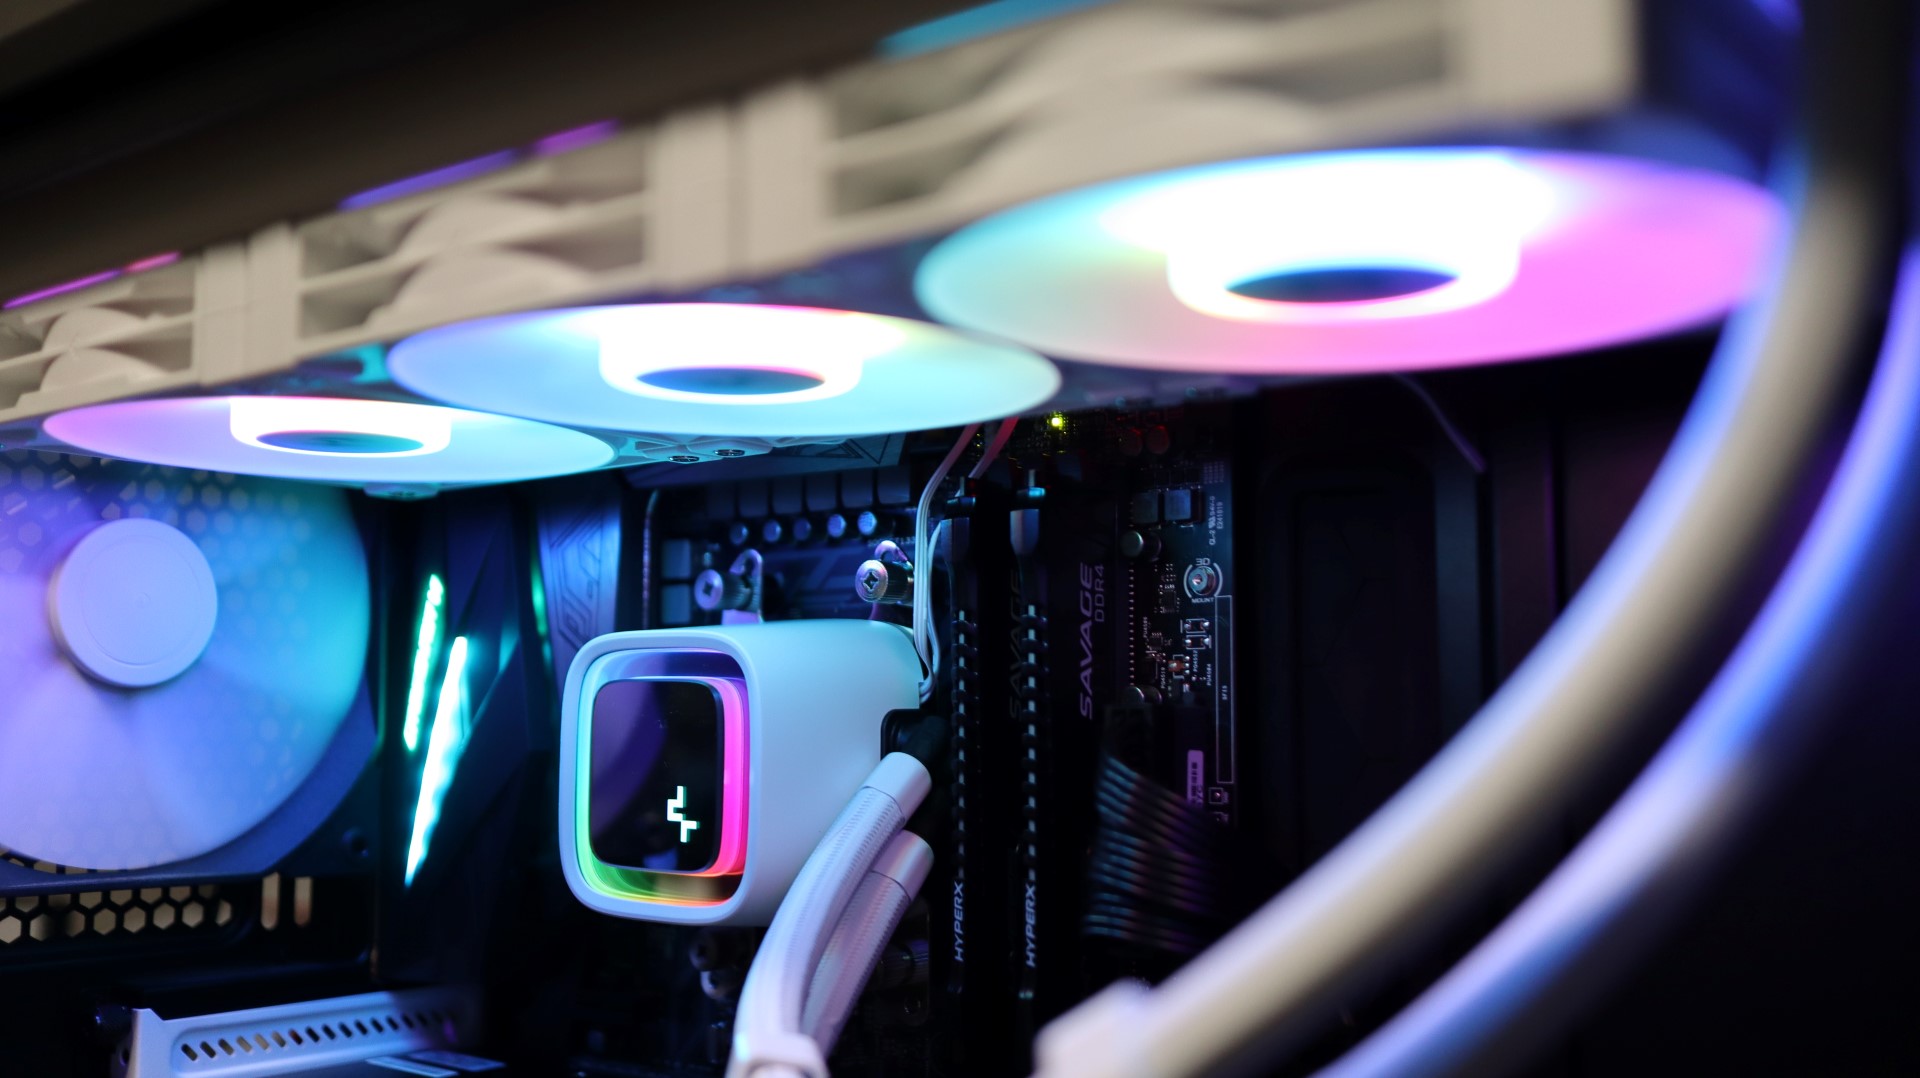
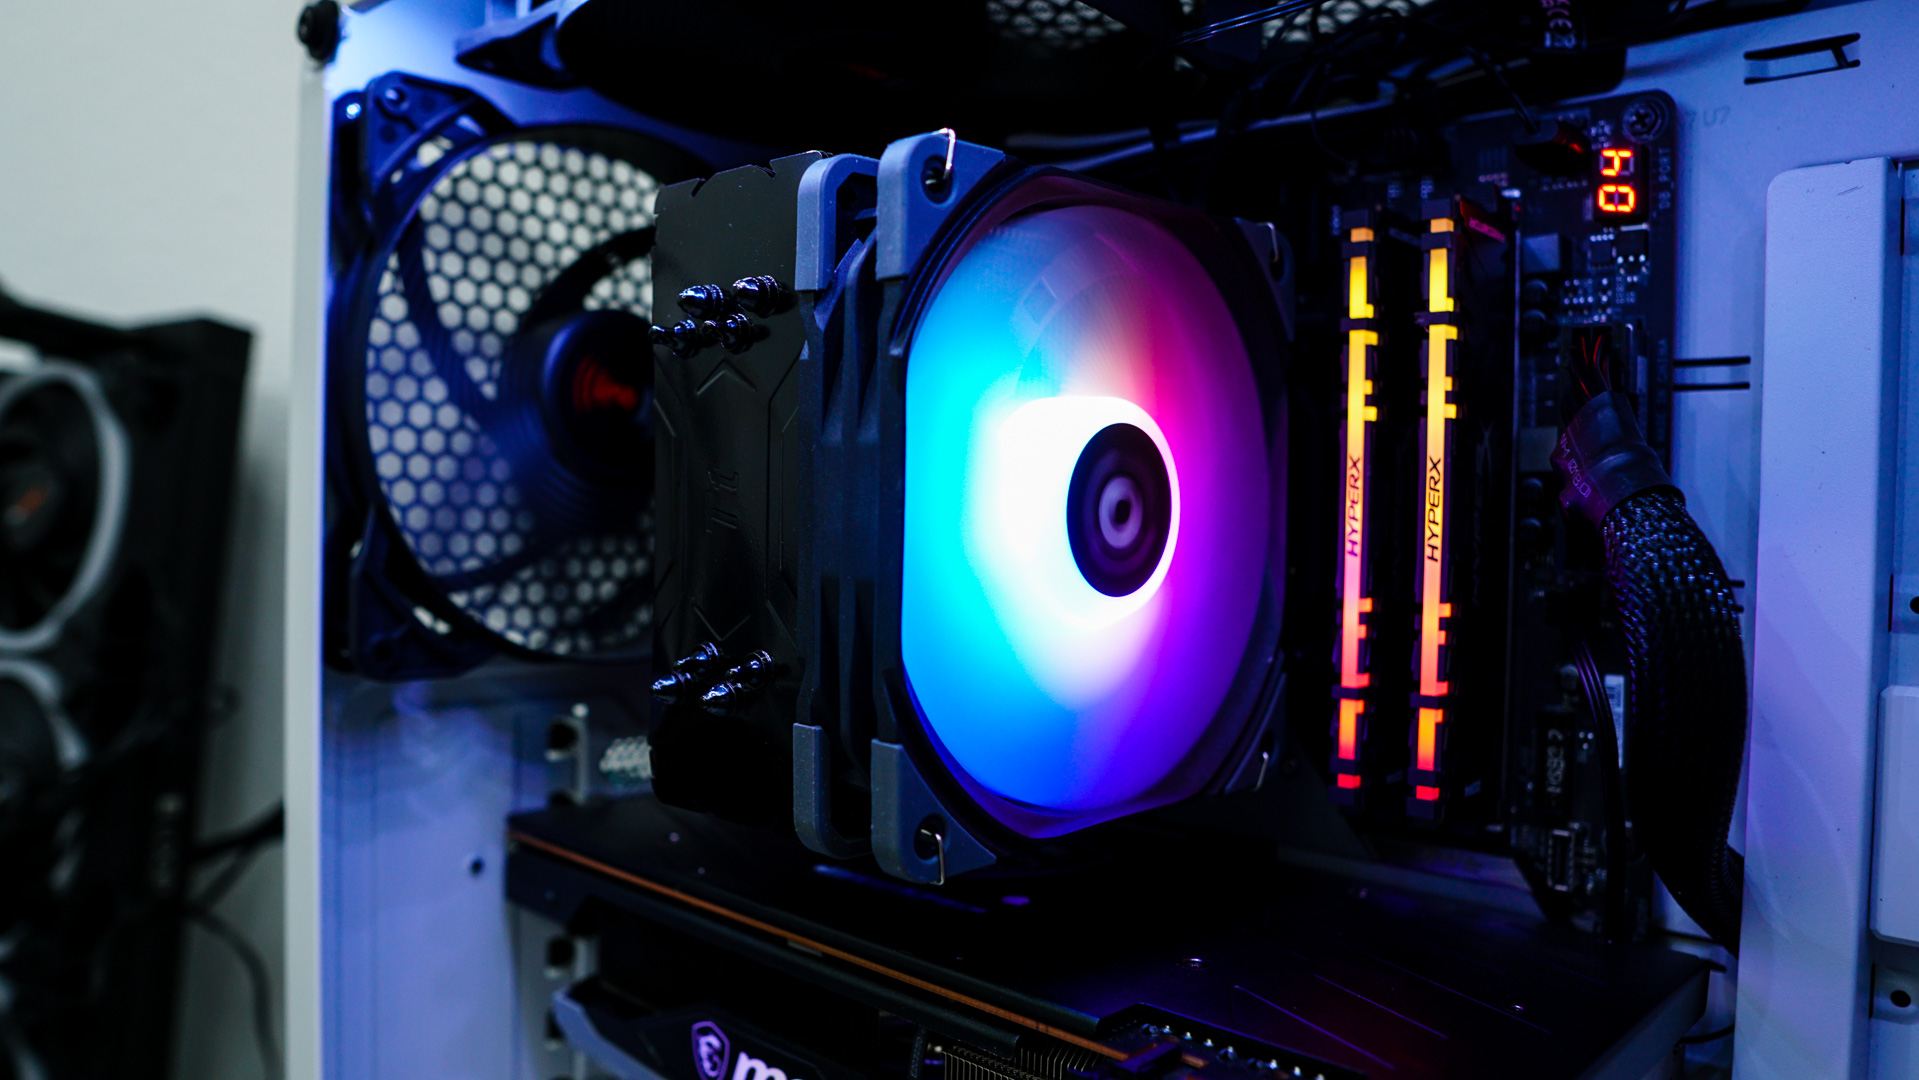
Now carefully apply the thermal paste and place the cooler on top of your CPU latching one side onto the retention bracket and securing it by locking the other side in. This installation process is quite easy and shouldn’t take you more than 10 minutes. Finally connect the fan to your CPU fan header and 3-pin ARGB header on your motherboard. As you can see we have full memory clearance which makes this cooler perfect if you have RGB memory.