Installation
Installation of a closed-loop water cooling system is typically more complicated than installation of a traditional air cooler. That being said, it shouldn’t be too much more complicated – as I’m sure product manufacturers are going to want to scare customers off with unnecessarily complex instructions or requirements.
The first thing you’re going to want to do is line up the backplate with your motherboard. You can do this in-case if you wish – providing your case has a cutout for a CPU cooler. Most enthusiast or even “mid-range” cases have these nowadays, so you should be alright. If not.. time to whip that motherboard out.
Insert the silver grommets into the corresponding socket holes on the backplate. They’re marked on the plastic backplate; though they are very small, so it may be hard to see.


Know the orientation you’re going to use when placing the backplate on. The reason I say this, is once the mylar sticks, it’s extremely hard to remove without breaking or damaging the mylar itself. You can of course not use the mylar if you wish, but it makes the backplate hang loose, so you’ll need to hold it on when screwing the block down later. Attach the mylar if you’ve chosen, and stick the backplate against the back of your motherboard, with the socket holes in the correct position.

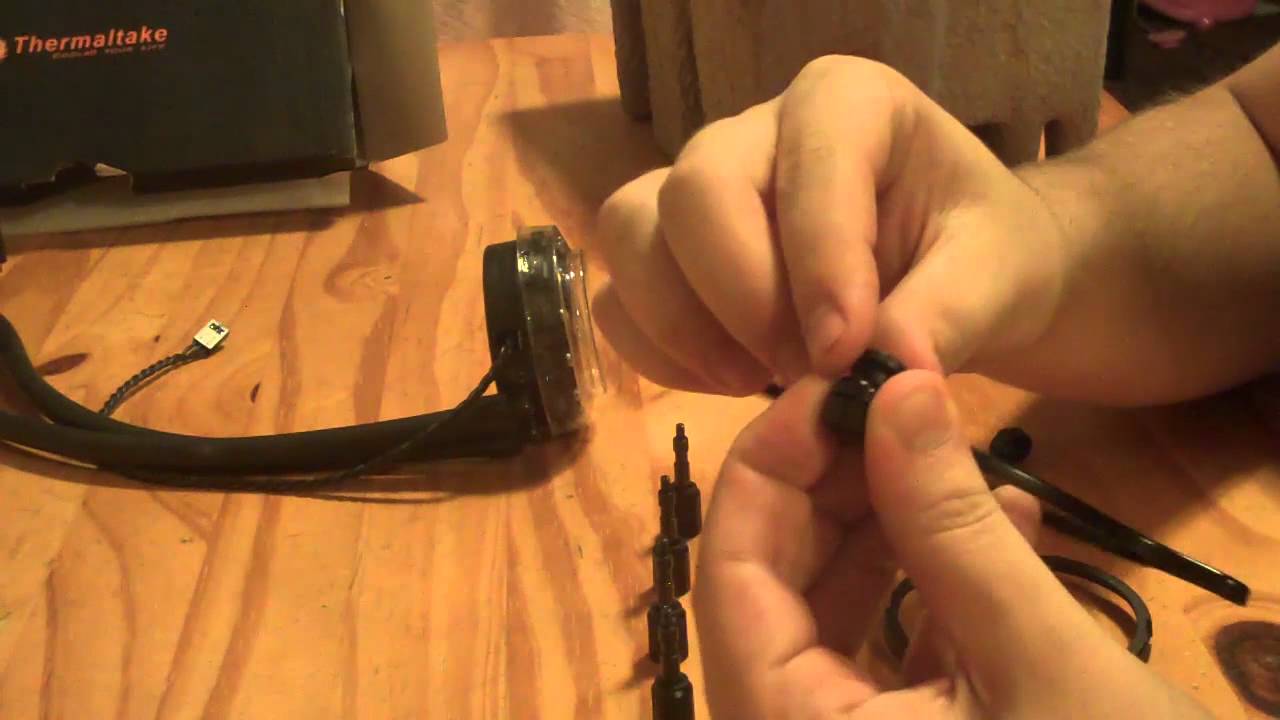
Next, you’re going to want to arrange the mounting system on the waterblock itself. First, get the correct mounting bracket (intel or AMD). Then, collect the two-piece plastic locking tabs and the correct large thumbscrews that correspond to your socket. The bottom piece of the plastic locking tabs must be in the correct orientation in order to be able to mount, so make sure you put these the correct way. Complete the puzzle by inserting the screw through the two plastic tabs, and then locking the top tab in place.
Finally, there’s a plastic ring that is used to hold everything together. You’ll need to remove the plastic piece that protects the block and paste from fingers in order to do this next part. Make sure you don’t touch the thermal paste or the copper block itself. First, slide the mounting bracket over the block, and then use the plastic ring to secure it in place. This can be a bit tricky if you don’t get the orientation correct, as the ring and the mounting bracket need to be in the correct position.
For block installation, check out our video!
Once that’s all done, carefully align the four screws with the mounting holes on your motherboard. The plastic grommets from the backplate should be poking through these holes. Make sure you’re all lined up correctly, as you don’t want any air bubbles or unnecessary movement of the thermal paste on the block. Place the block on the processor and screw down.
Installation of the radiator is a much simpler affair. Find a preferable mounting location in your case (intake may perform slightly better, but you’ll also cake the radiator in dust over time if it’s not dust filtered, which will significantly reduce performance.) Mount the first fan to the radiator, in either push or pull, depending on how you want the airflow to blow. Each fan has an airflow direction marker on it. Next, mount the next fan to the CASE using the elongated screws. The screw ends will poke out, and you can line the radiator holes up against these. Tighten the screws. Make sure both fans are blowing in the same direction. Intake and exhaust both have their perks but having fans blowing against each other only causes air turbulence and will reduce the performance of the radiator.


Connect the fans to the PWM CPU fan header on your motherboard, and connect the pump to the secondary CPU fan header, or, a standard 3-pin connector.
That’s it, you’re done!

