It’s not surprising that 5 billion users come to YouTube every day. Some of you would upload HD video to YouTube for sharing the music video, game video, vlog, tutorial, comedy sketch, or more.
Virtually, the way to upload HD video to YouTube is the same as posting the standard video. Just make certain the uploading videos are original and in 4k high definition. For Beginners, you need to register a new YouTube account firstly and it has evolved into one of the most popular social networking platforms of modern times which is increasingly being used to garner greater engagement and reach out to a wider segment of audience. The same thing can also be said about video marketing which is expected to lure in 80% of the global traffic by the end of 2019. But the main problem happens when we try to upload 4K video to YouTube and it succumbs to massive deterioration in quality.
Although 4K visuals are a lot more visually appealing than HD ones, it can also prove to be extremely demanding for your computer to tackle especially when it comes to editing. As a result, its post-production stage might seem pretty slow. Today we are going to address this burning issue of YouTuber around the globe who have been failing to retain the rich quality of 4K content shot through either a dedicated GoPro 4K action camera of 4K capable phone and uploaded over YouTube.
YouTube accepts a large scale of video formats. If your current format can’t be recognized by YouTube, you’d convert it to an appropriate one with a video converter tool.
Sometimes, the video size is problematic: the VideoProc team (video size calculator) noticed that a 1-minute 4K@60fps video requires 529MB of phone storage and this jumps to 643MB with ProTune turned on. With VideoProc, there are several strategies to increase the compatibility and/or reduce the file size of the 4K videos for use on mobile devices which include converting 4K videos converting 4K HEVC to H264 (supported by most devices) using the newer HEVC video converter to compress video by ~50% without noticeable loss, or tuning the resolution, bit-rate, frame-rate settings to reach the desired size with minimal loss.
Additionally, keep in mind that YouTube has size limitations that sometimes require compressing video from a 4K GoPro to a size that fit their maximum upload limits. Here are some key advantages of VideoProc:
- GPU acceleration of video processing and compression
- Support most-frequently used video edit operations, including cut, crop, subtitle, effect, rotate and merge
- Advanced video processing such as video stabilization, distortion correction, noise removal, GIF conversion and more!
- Compatible with legacy 4K and new HEVC video formats
4K video editing with VideoProc:
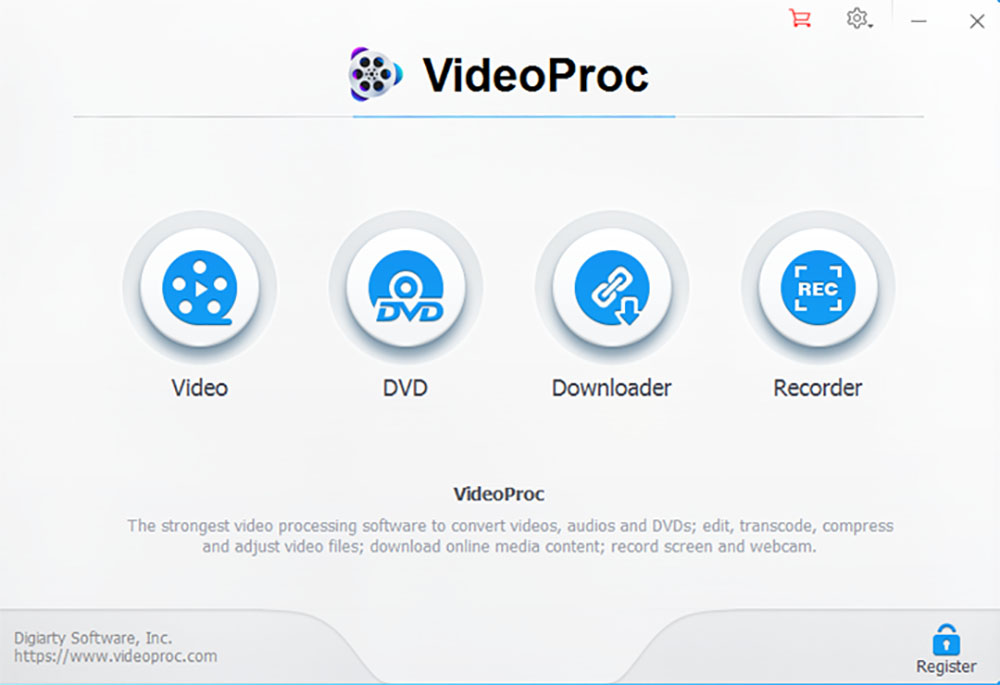
- Primarily, you will have to download VideoProc on Windows or Mac, launch the application and click on the ‘Video’ button appearing at the main interface.
- In the second step, you will have to import the video file you wish to process by clicking on the +Video button.
- You can now choose the output format of your edited video by clicking on the ‘Video’ tab appearing at the bottom of the interface and take your pick amongst the available formats.
- If your desired format is not there in the list, then you can simply click on ‘Target Format’ for accessing more profiles.
- You can adjust different parameters from the Codec Option of the Format Settings window. It becomes possible to modify resolution, frame rate and aspect ratio from the ‘Video Codec Options’ section for generating better playback effects.
- You can select the destination folder by clicking on the ‘Browse’ button appearing at the top left of the interface.
- Ultimately, you will have to click on ‘Run’ for initiating the transcoding process.


How to Upload 4K HD Videos to YouTube?
- Sign in your YouTube account and click the upload button at the top right-hand corner.
- Click the arrow to upload a 720p/1080p/4k HD video from your computer or drag-n-drop it into the browser window.
- There are four initial video privacies for you to set: Public, Unlisted, Private, and Scheduled. Pick one that you want your HD video to be.
- Add a title, a description and relevant tags for your HD video. Make sure that people will seek out your video via some typical words.
- Finally, check advanced settings and click Publish button to post your HD YouTube video.
Conclusion
Millions of contents get uploaded over YouTube on a daily basis. This creates the requirement of a humongous data center which could keep all the data intact in its original form. Keeping such things in mind, YouTube compresses every single video for making optimum utilization of the limited storage space and bandwidth. You can tackle this problem by transferring your original footage to your PC for tapping into the raw power of your system and utilizing its large display to unleash your fullest potential. This also creates the requirement of potent 4K video processing software and that is exactly where VideoProc comes in to your rescue.