Installation
Let’s get down to it! Installation is probably the best part of watercooling and nothing is better than new watercooling gear. The art of loop design is subtle and complex, both a joy and maddening at once. The biggest key is to carefully plan your steps out and double check what you are doing to avoid unnecessary and time wasting missteps. The second key is to follow along here to see what you should do to avoid the standard pitfalls.
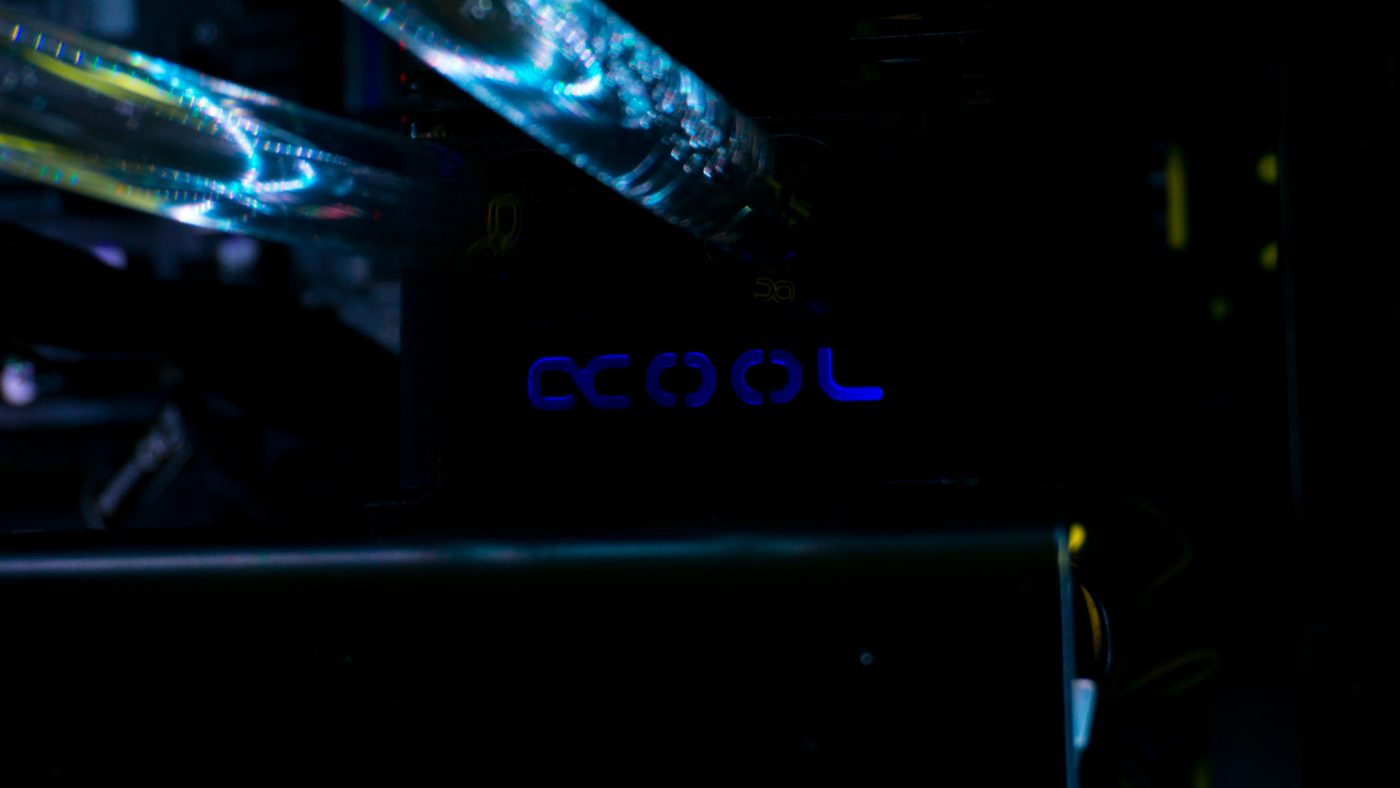
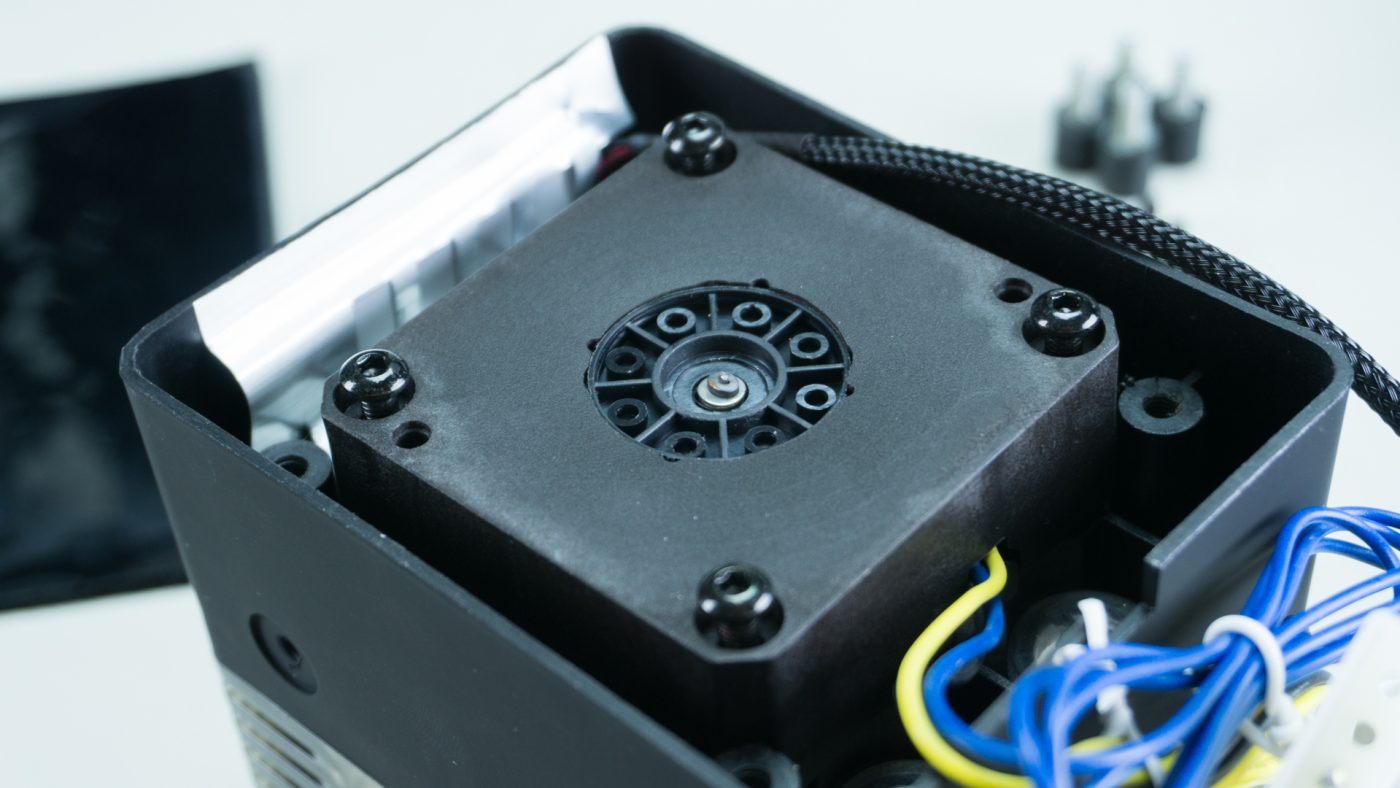
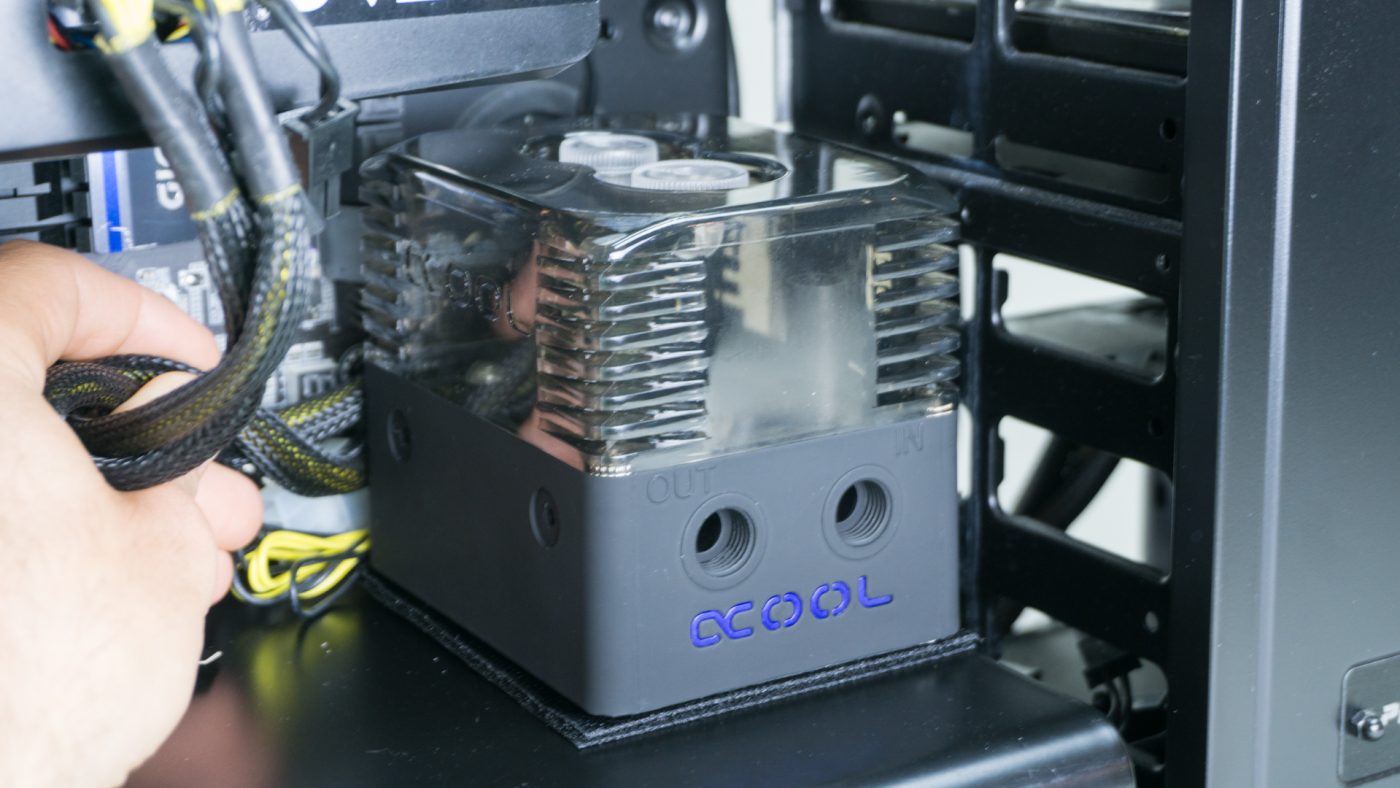
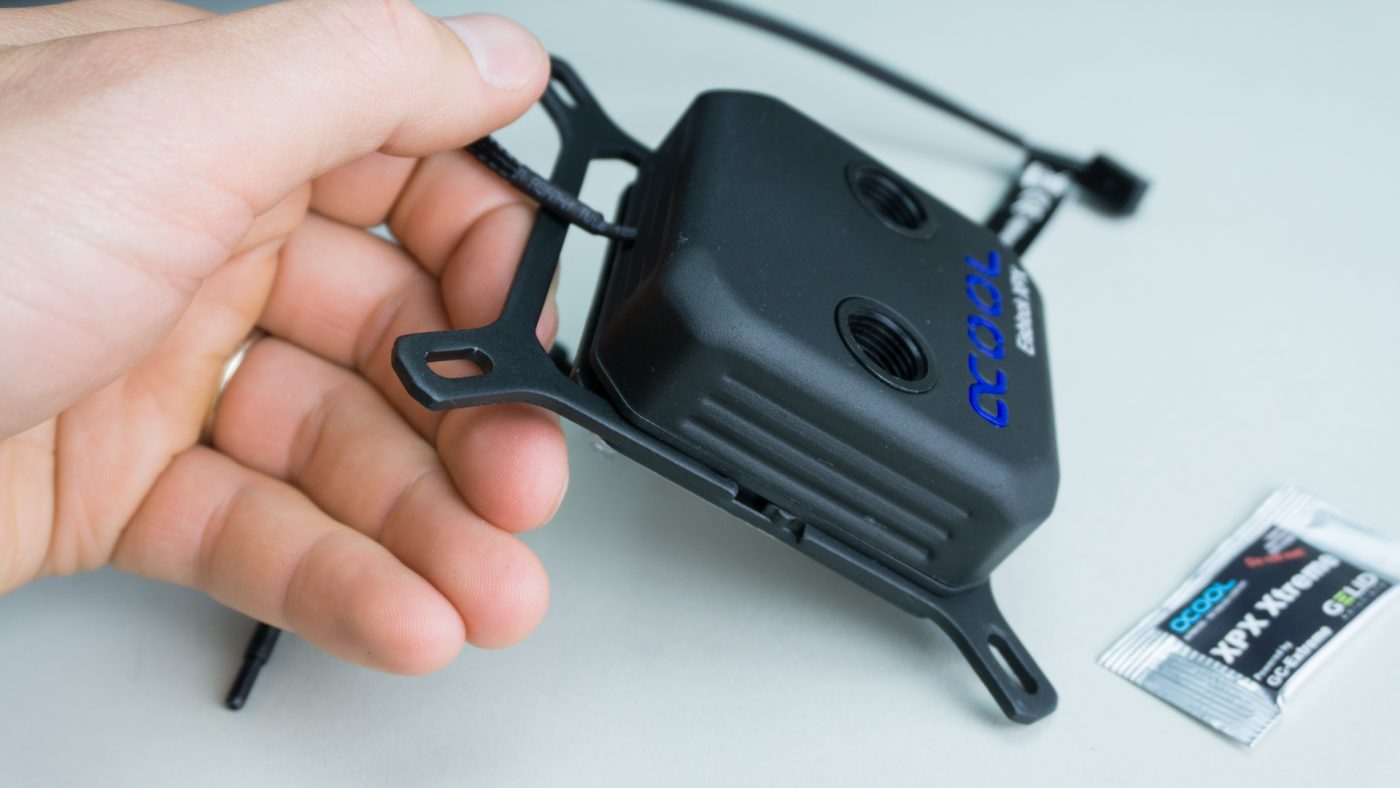
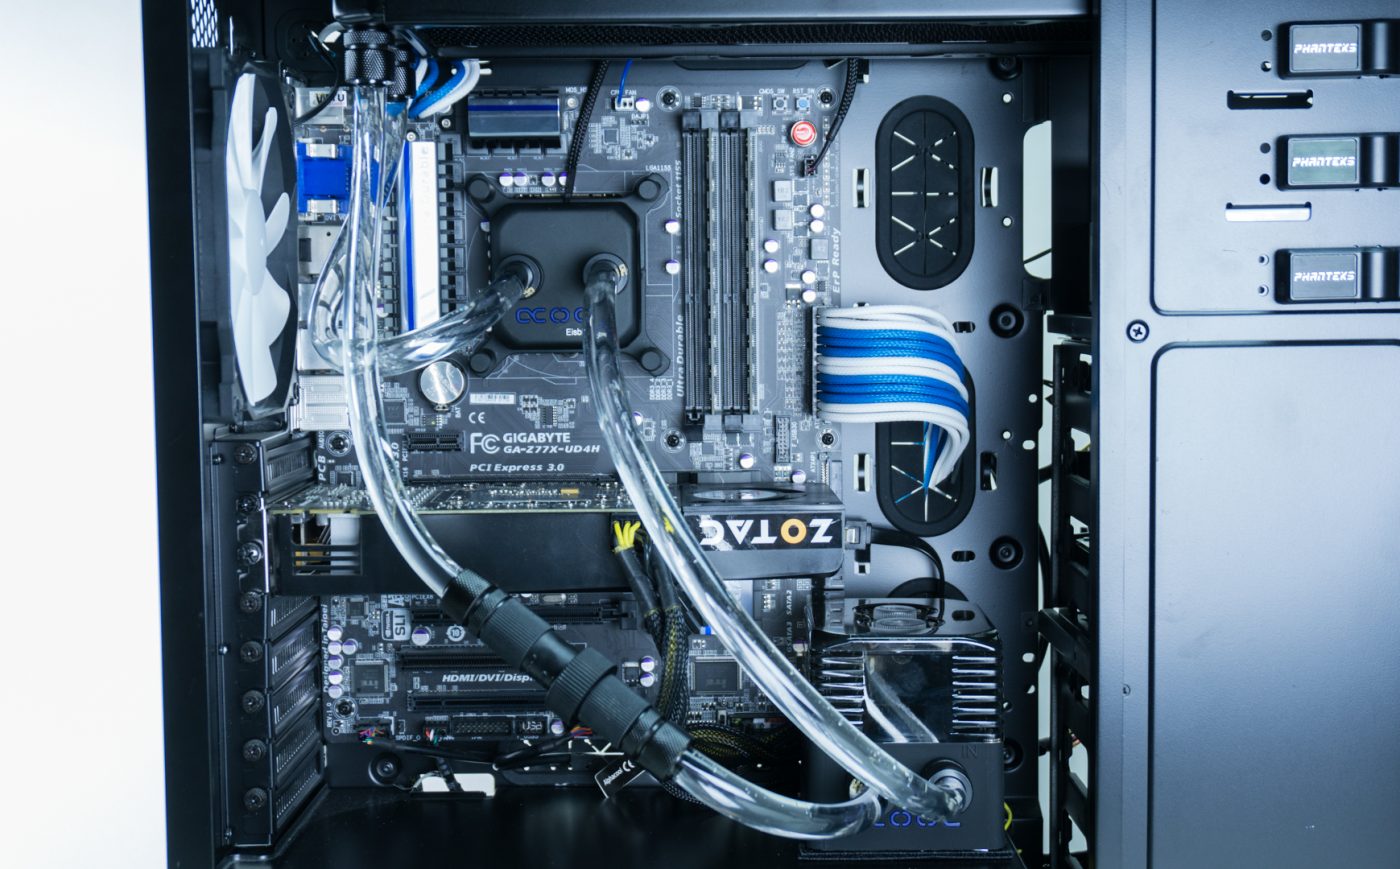
To begin we are going to assemble the Eisstation. For us this means installing the true Laing DDC pump, attaching the bottom plate, and then finally attaching the velcro. First make sure the large o-ring is in the groove around the pump. Next instead of inserting the pump into the housing and having the o-ring fall out of it’s groove, place the housing onto the pump and flip it over. Secure the pump using the included long screws and an allen wrench. If you don’t have a set, you should probably buy one, but there is also one in the small box of screws included with all Alphacool radiators. Tighten each screw a little at a time to ensure even pressure is placed on the o-ring. Remember that o-ring is the only thing keeping the water in once the loop is filled.

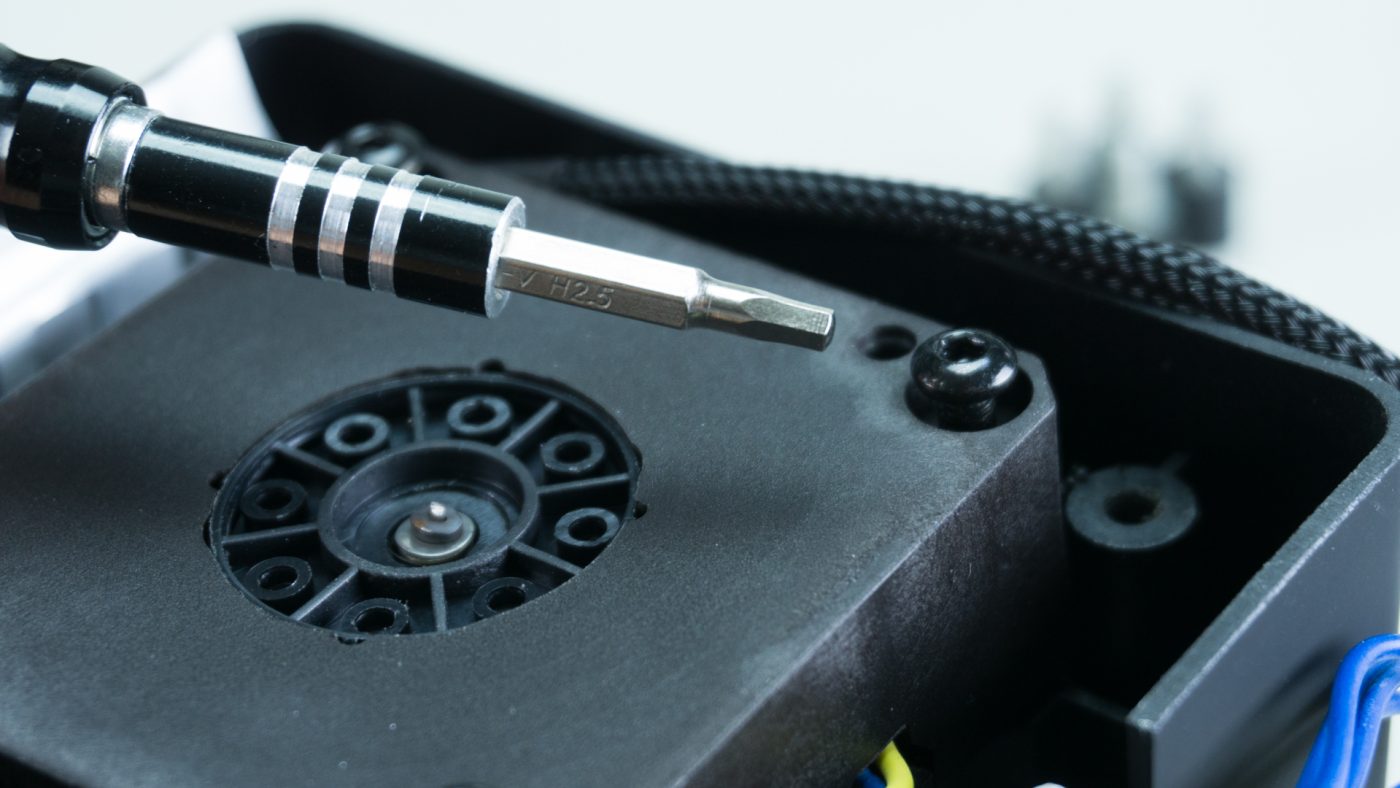
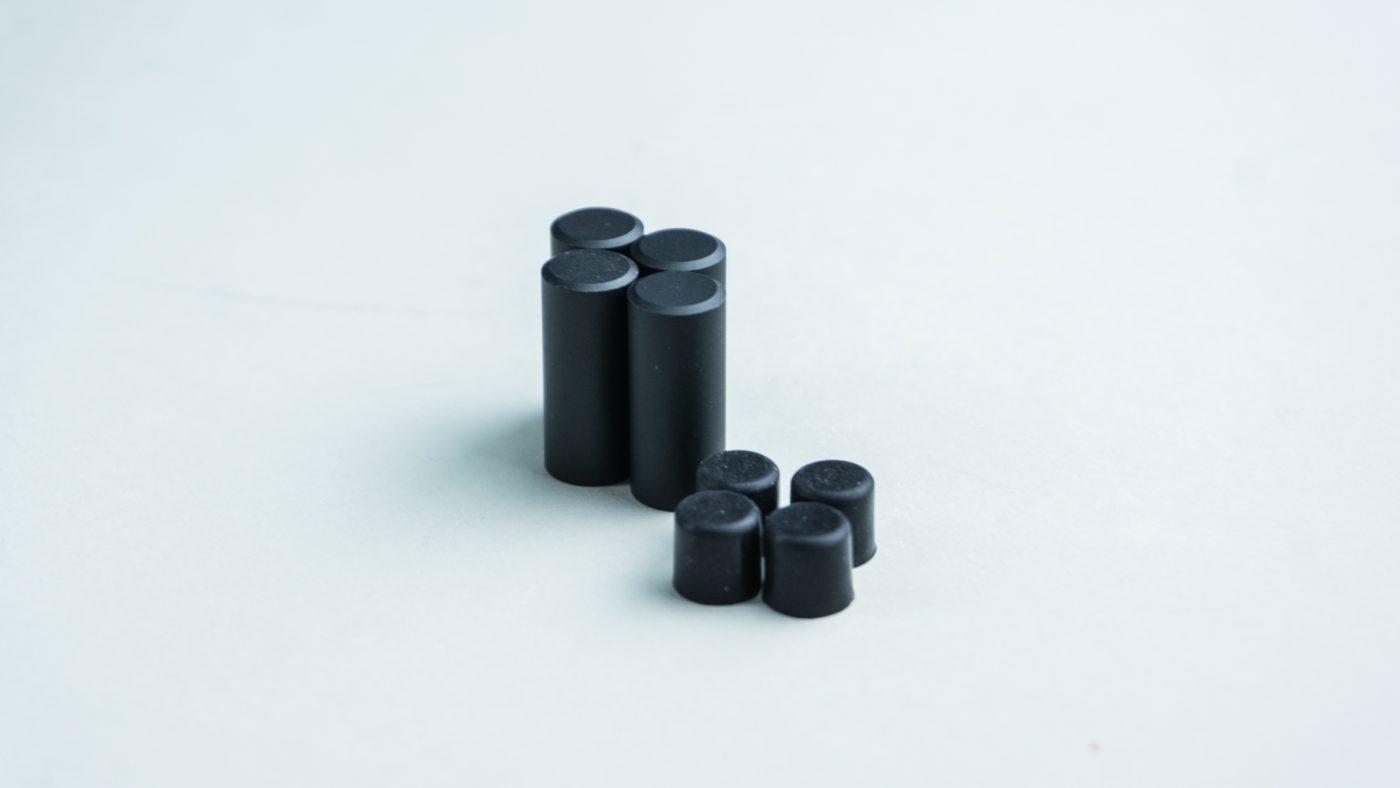
With the pump installed install the decoupling screws into the base of the reservoir. These same screws install onto the sides of the reservoir if you choose to mount the unit in a 3.5” bay. Install all four and route your cables around to the notch in the back. Once those are routed out of the way place the metal base on the decoupling screws and secure with the four mounting screws that install mostly flush. Mostly because on our unit they don’t quite clamp down on the plate as they bottom out first.

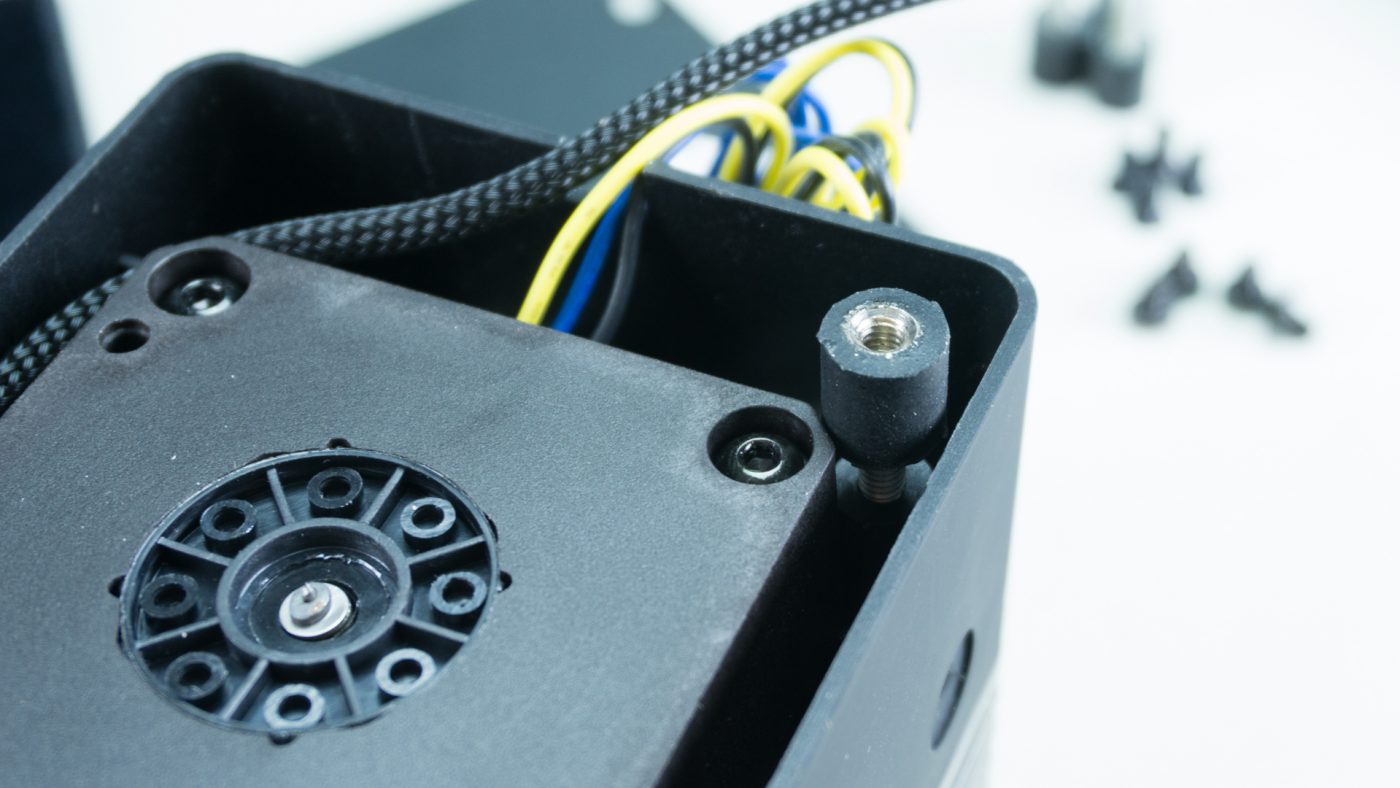
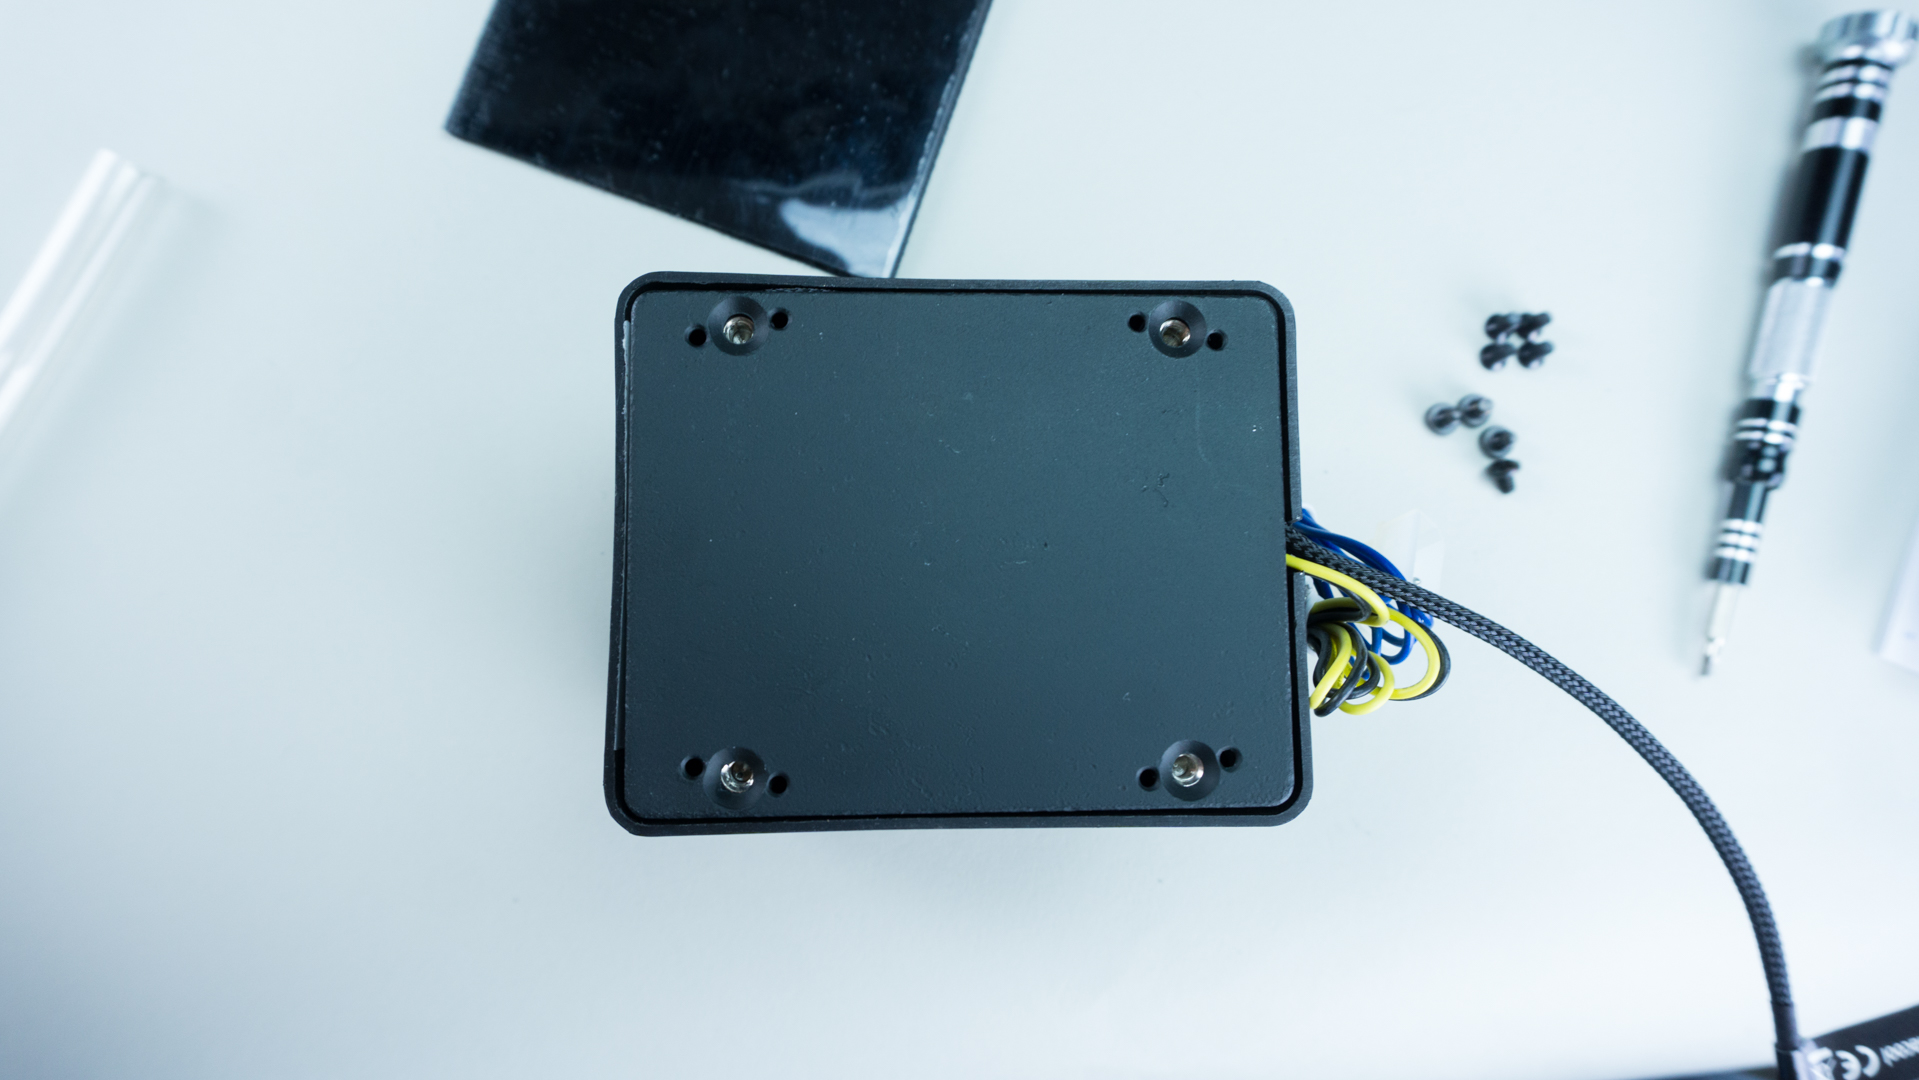

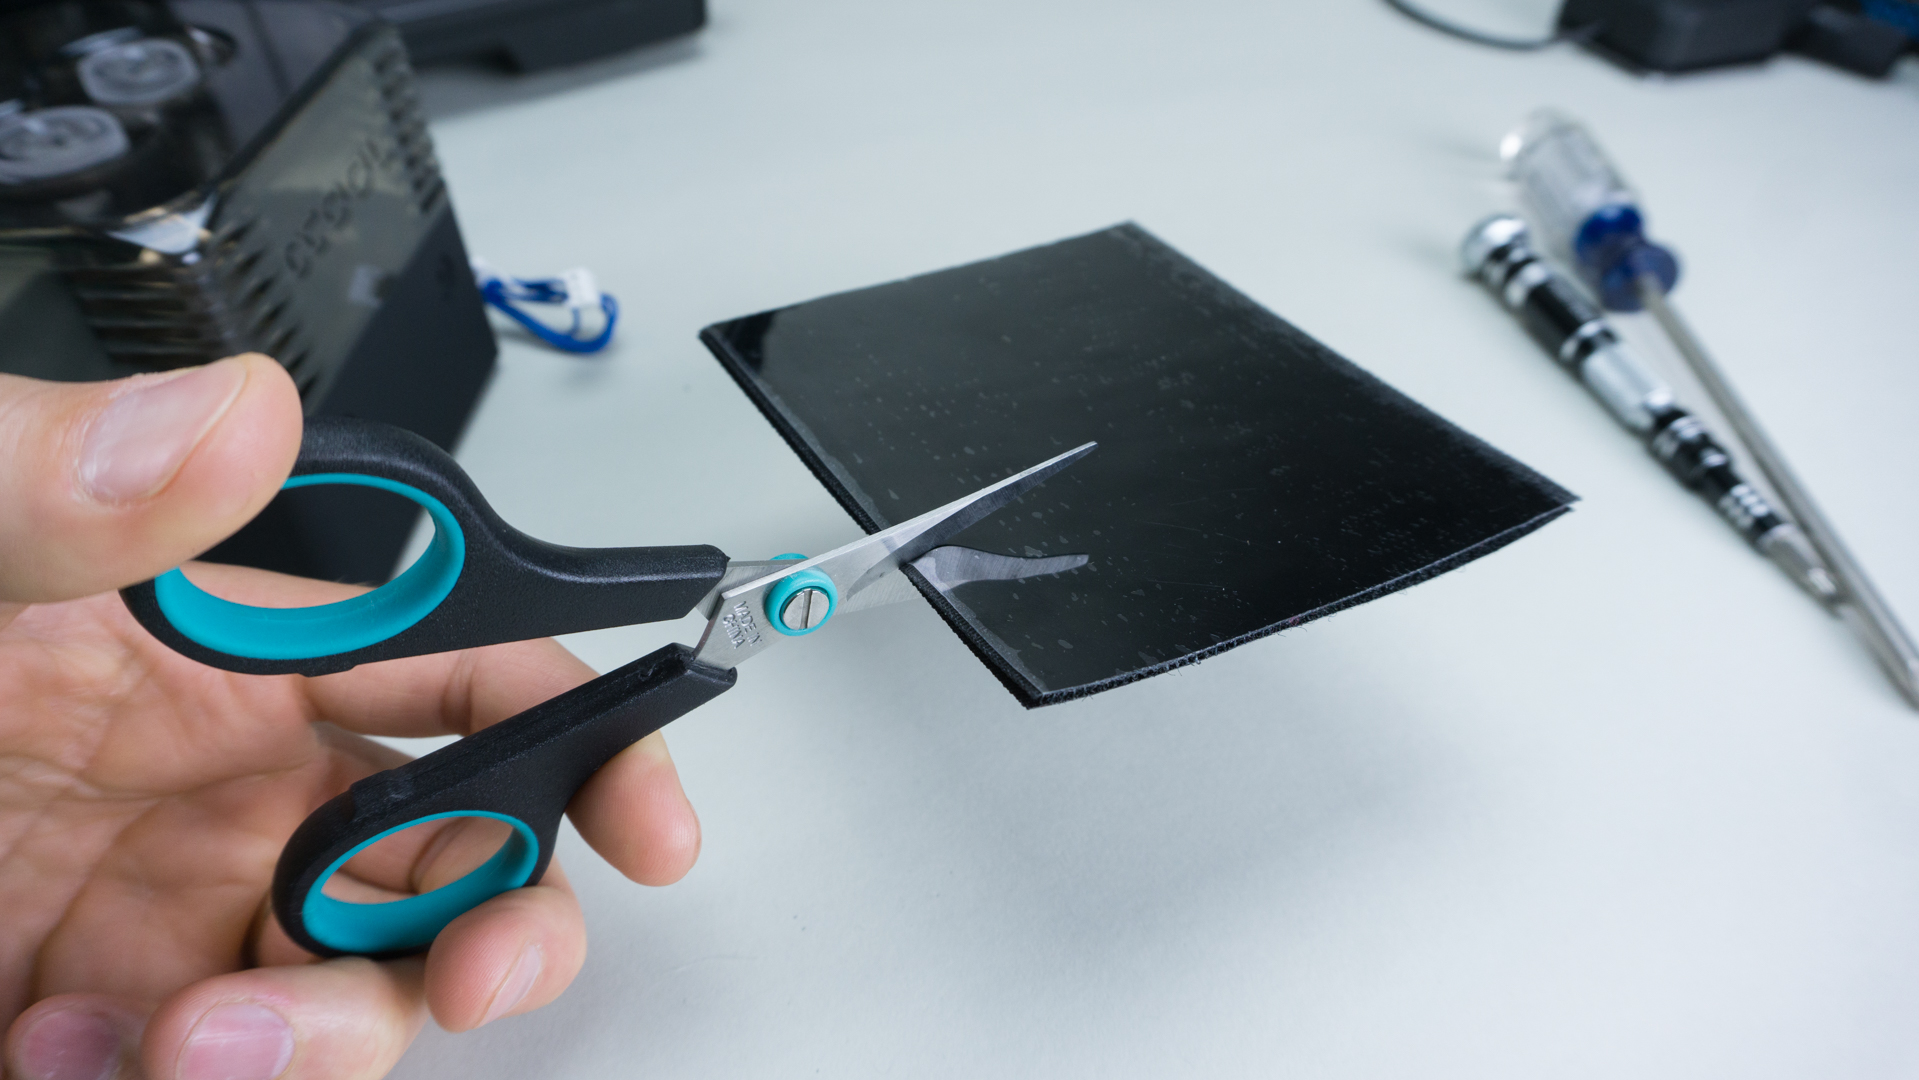
Lastly we install the velcro onto the reservoir. The included velcro pad is too long by about and inch or so. You can use it as is or simply trim it to size with a pair of scissors. Once you’ve attached the velcro, test fit it in your case before removing the plastic from the bottom side.
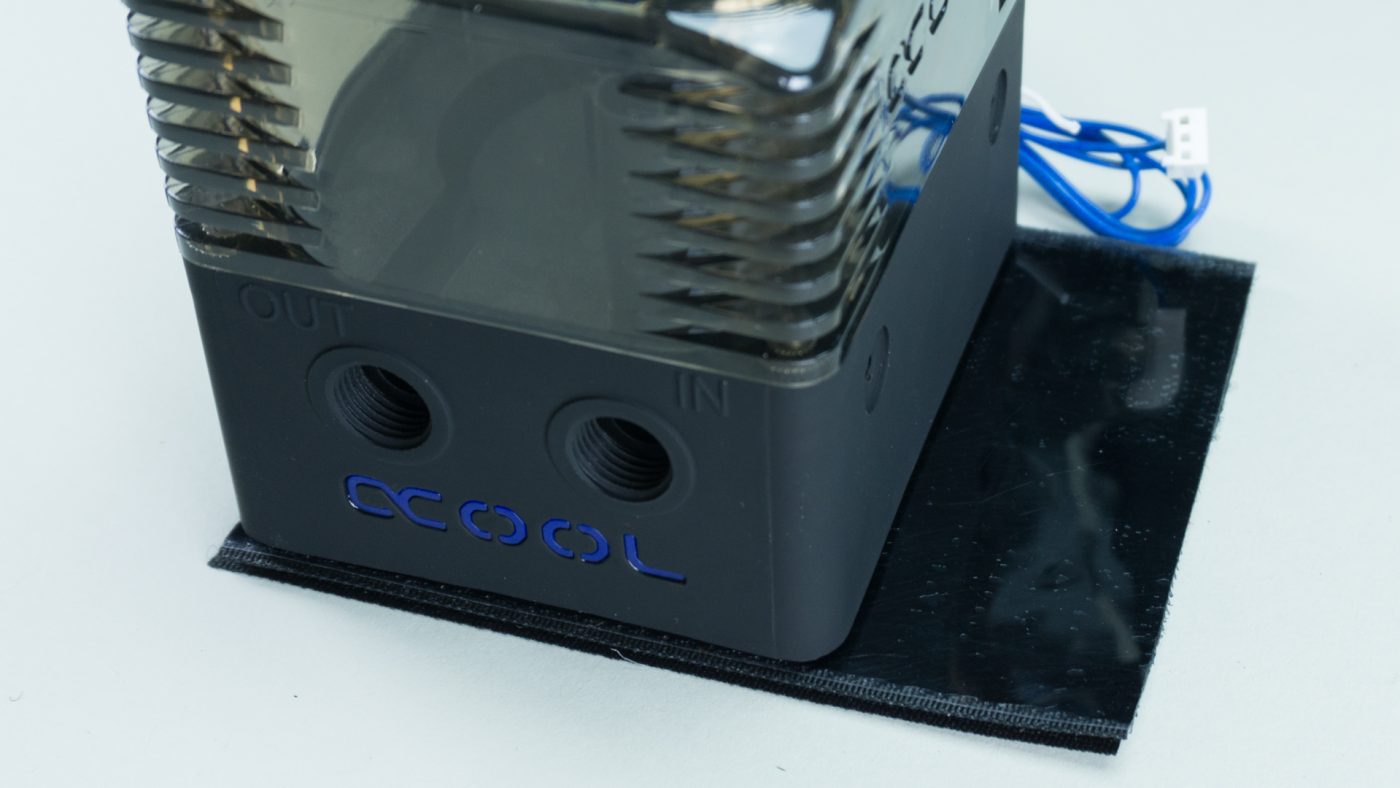
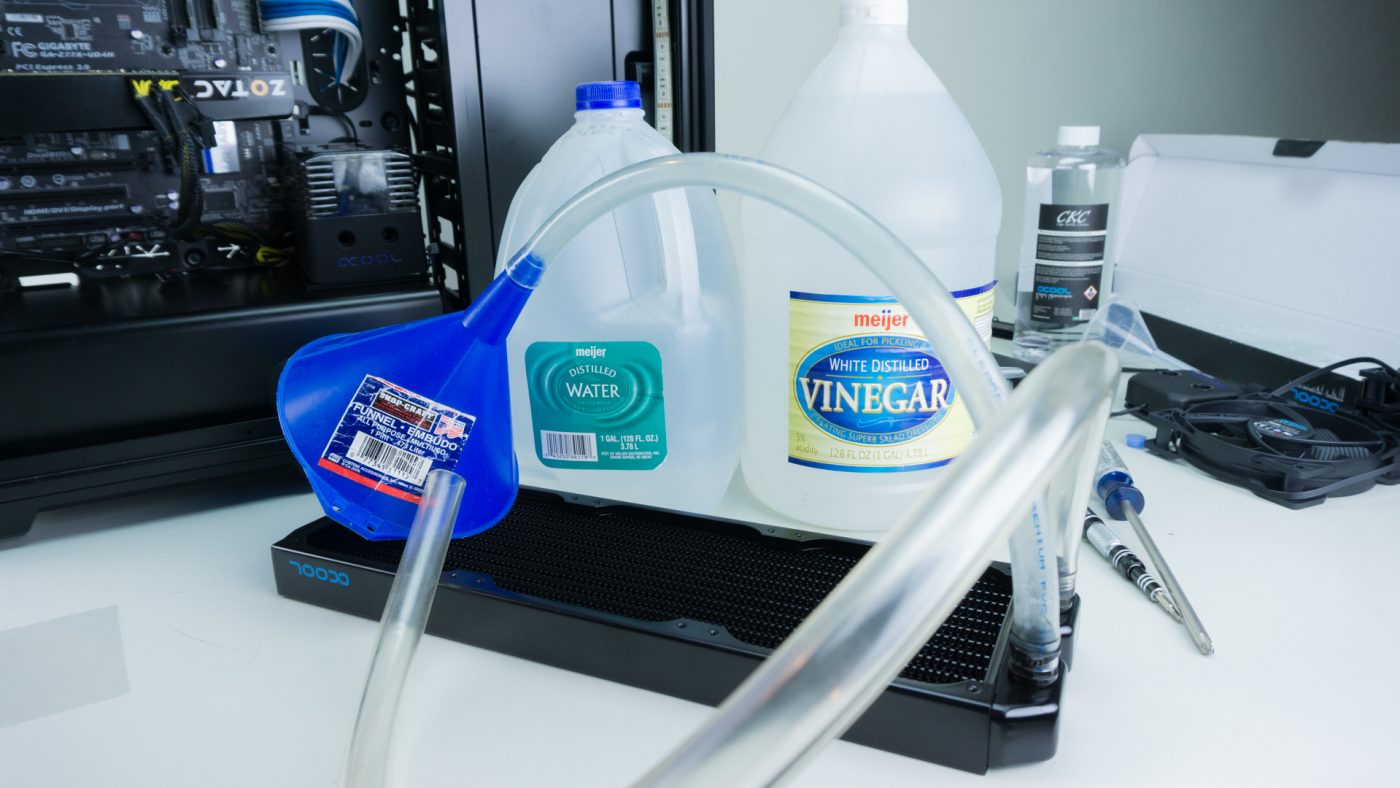
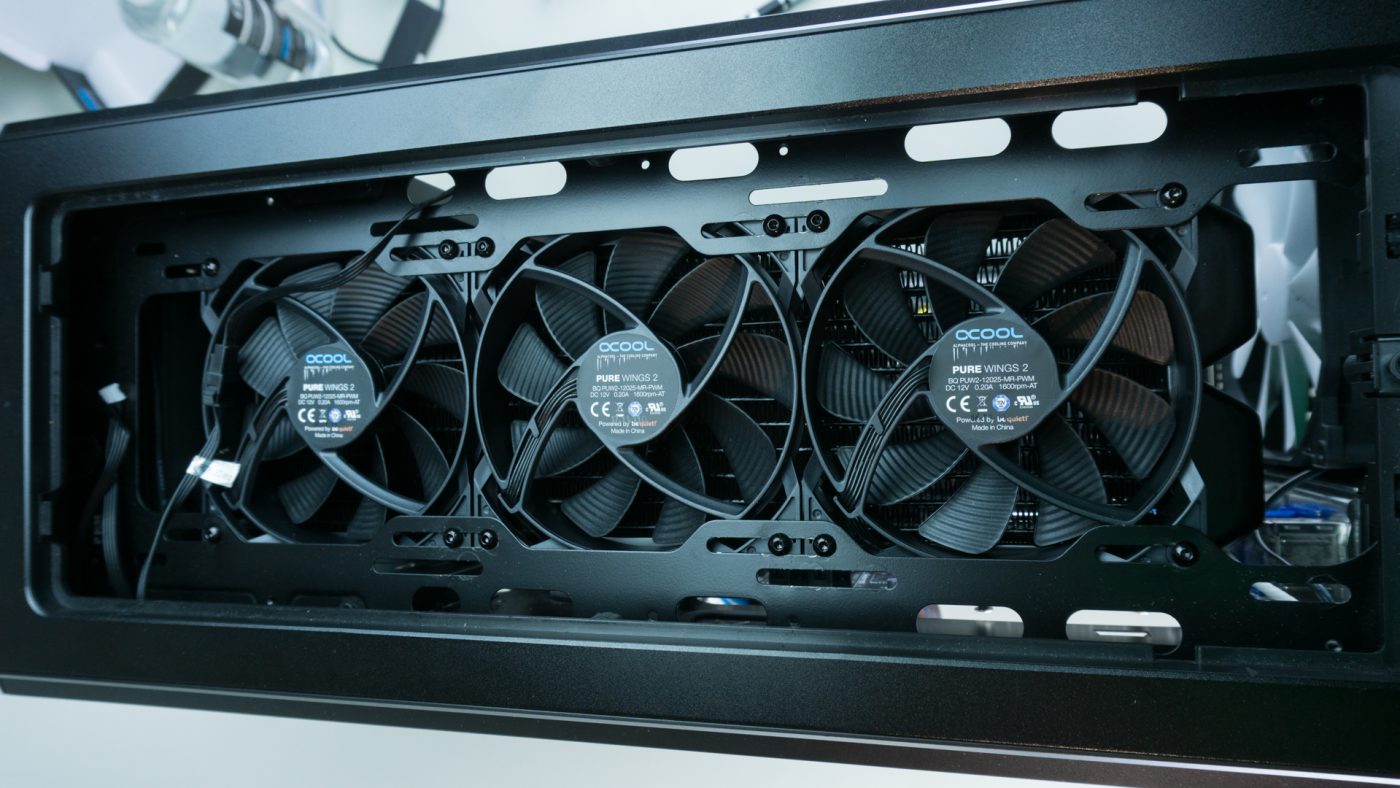
Next up is the radiator and before you install it you’ll want to clean it. This should really be done with all the components in your loop but especially the radiator as it can have leftover metal and paint bits from manufacturing. The cheaper the brand of radiator the higher the risk, but even with a high quality unit like this from Alphacool it’s better to be safe than sorry. We connect a couple pieces of tubing to the ports and simply run distilled water then vinegar followed by much more distilled water through the rad into the sink. Shake as much water as you can out of the rad, but replacing the blue plugs is still probably a good idea to prevent drips.
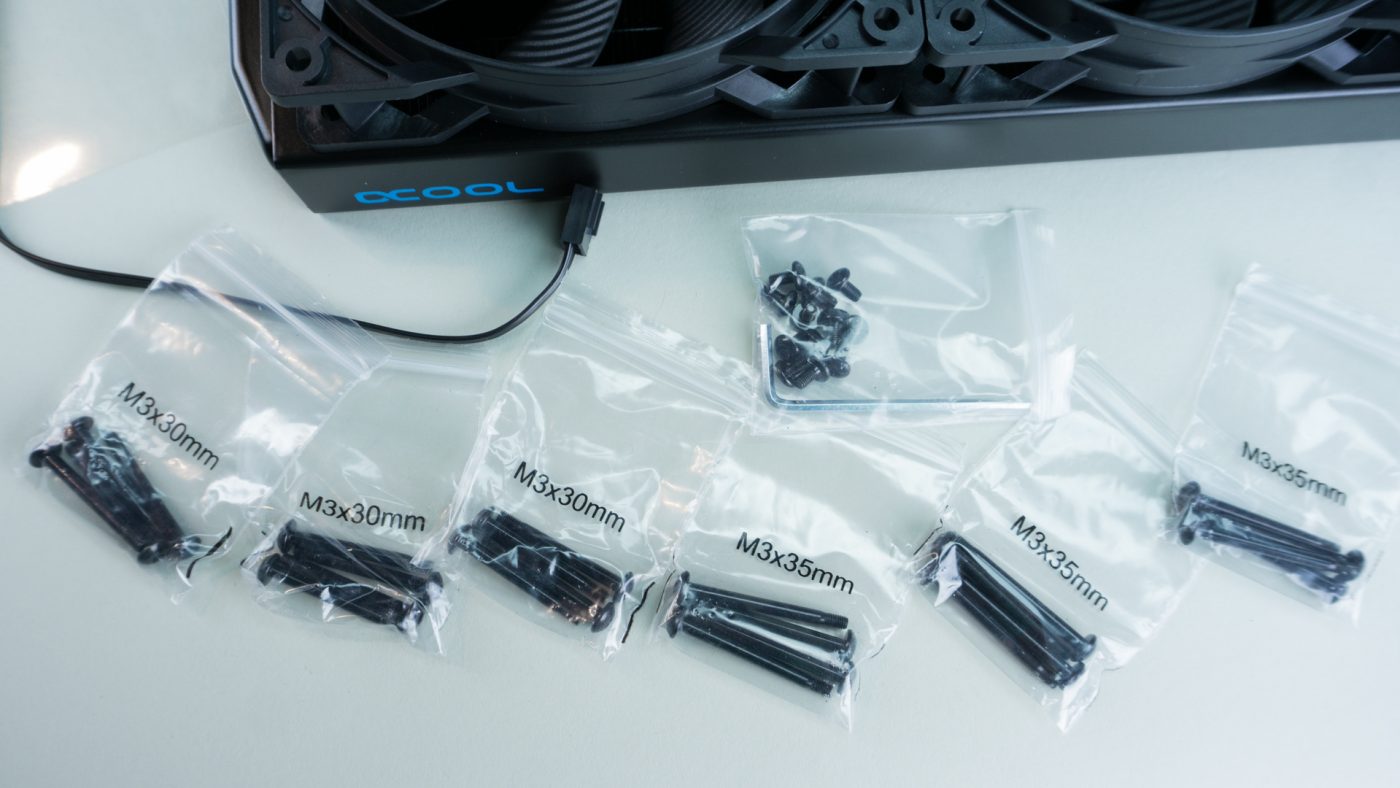
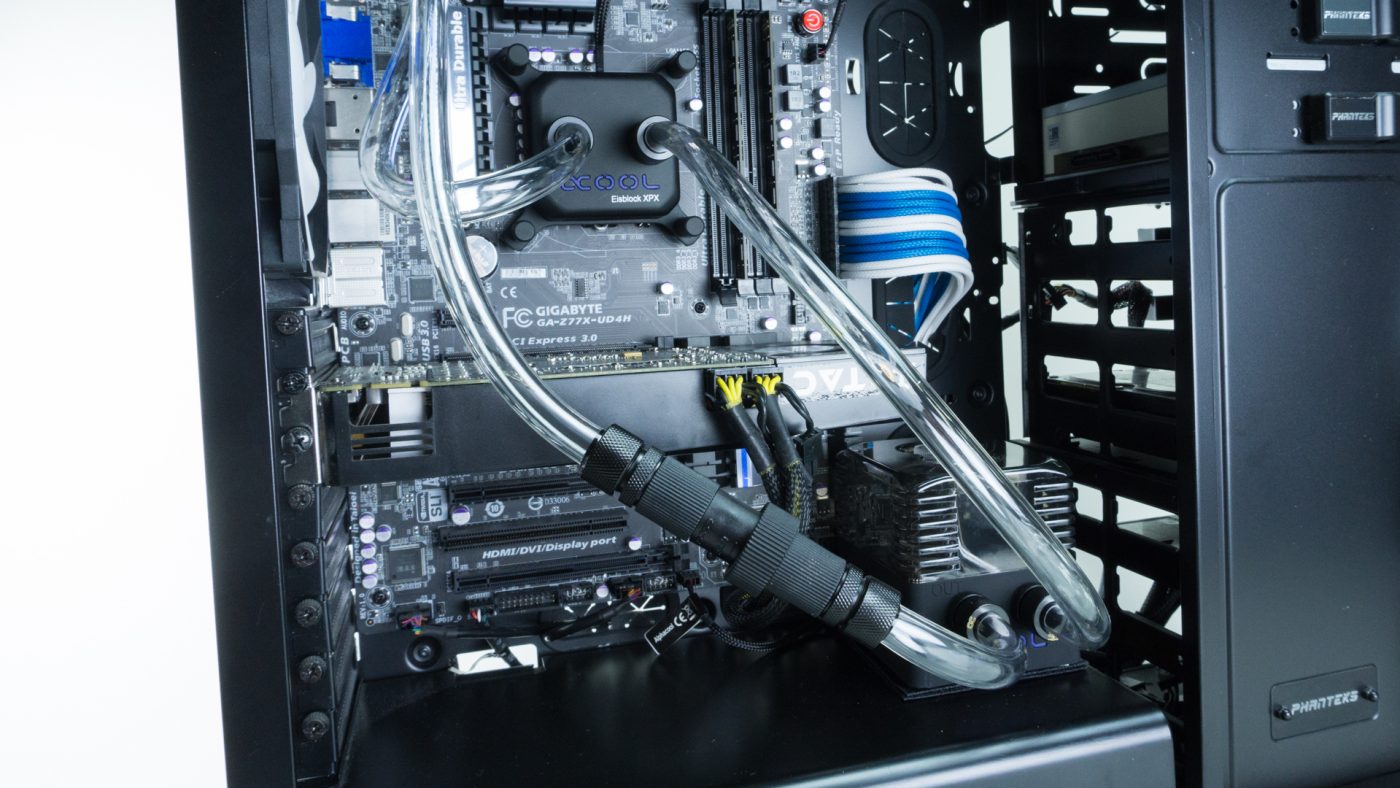
There are many options for installing your radiator and fans. You have enough included screws to do any configuration you like. We used the M3x30mm sets as the top of our case is not very thick. Since we already have a large intake fan in the front of our test case we opted to set the fans in exhaust/pull mode. This is one of the more difficult ways to set it up as you have to lay the fans on top of the radiator then secure the radiator to the case while trying not to move the unsecured fans around. It’s complex but delivers a nice clean look once installed. As with any radiator install make sure your fans are placed with the wires going to the back of the case.

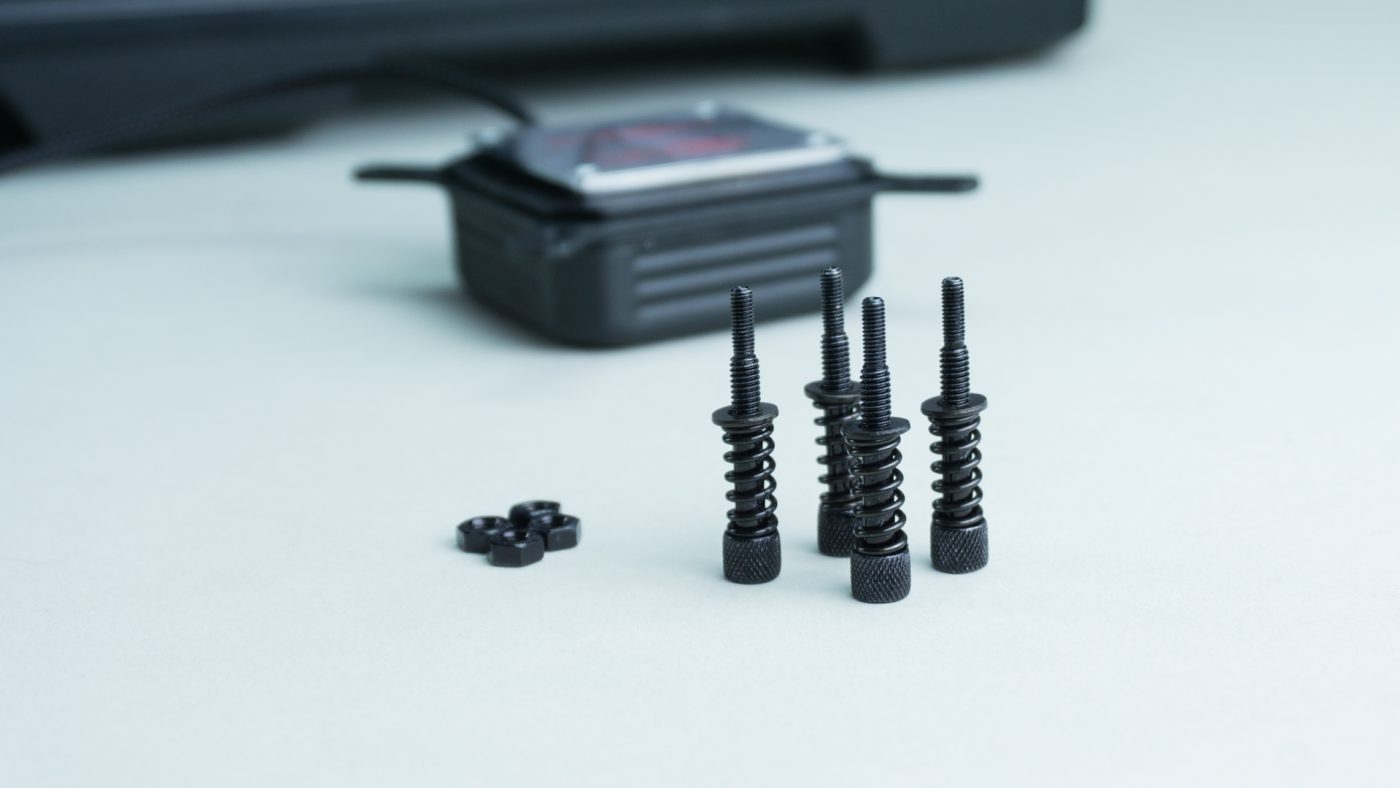
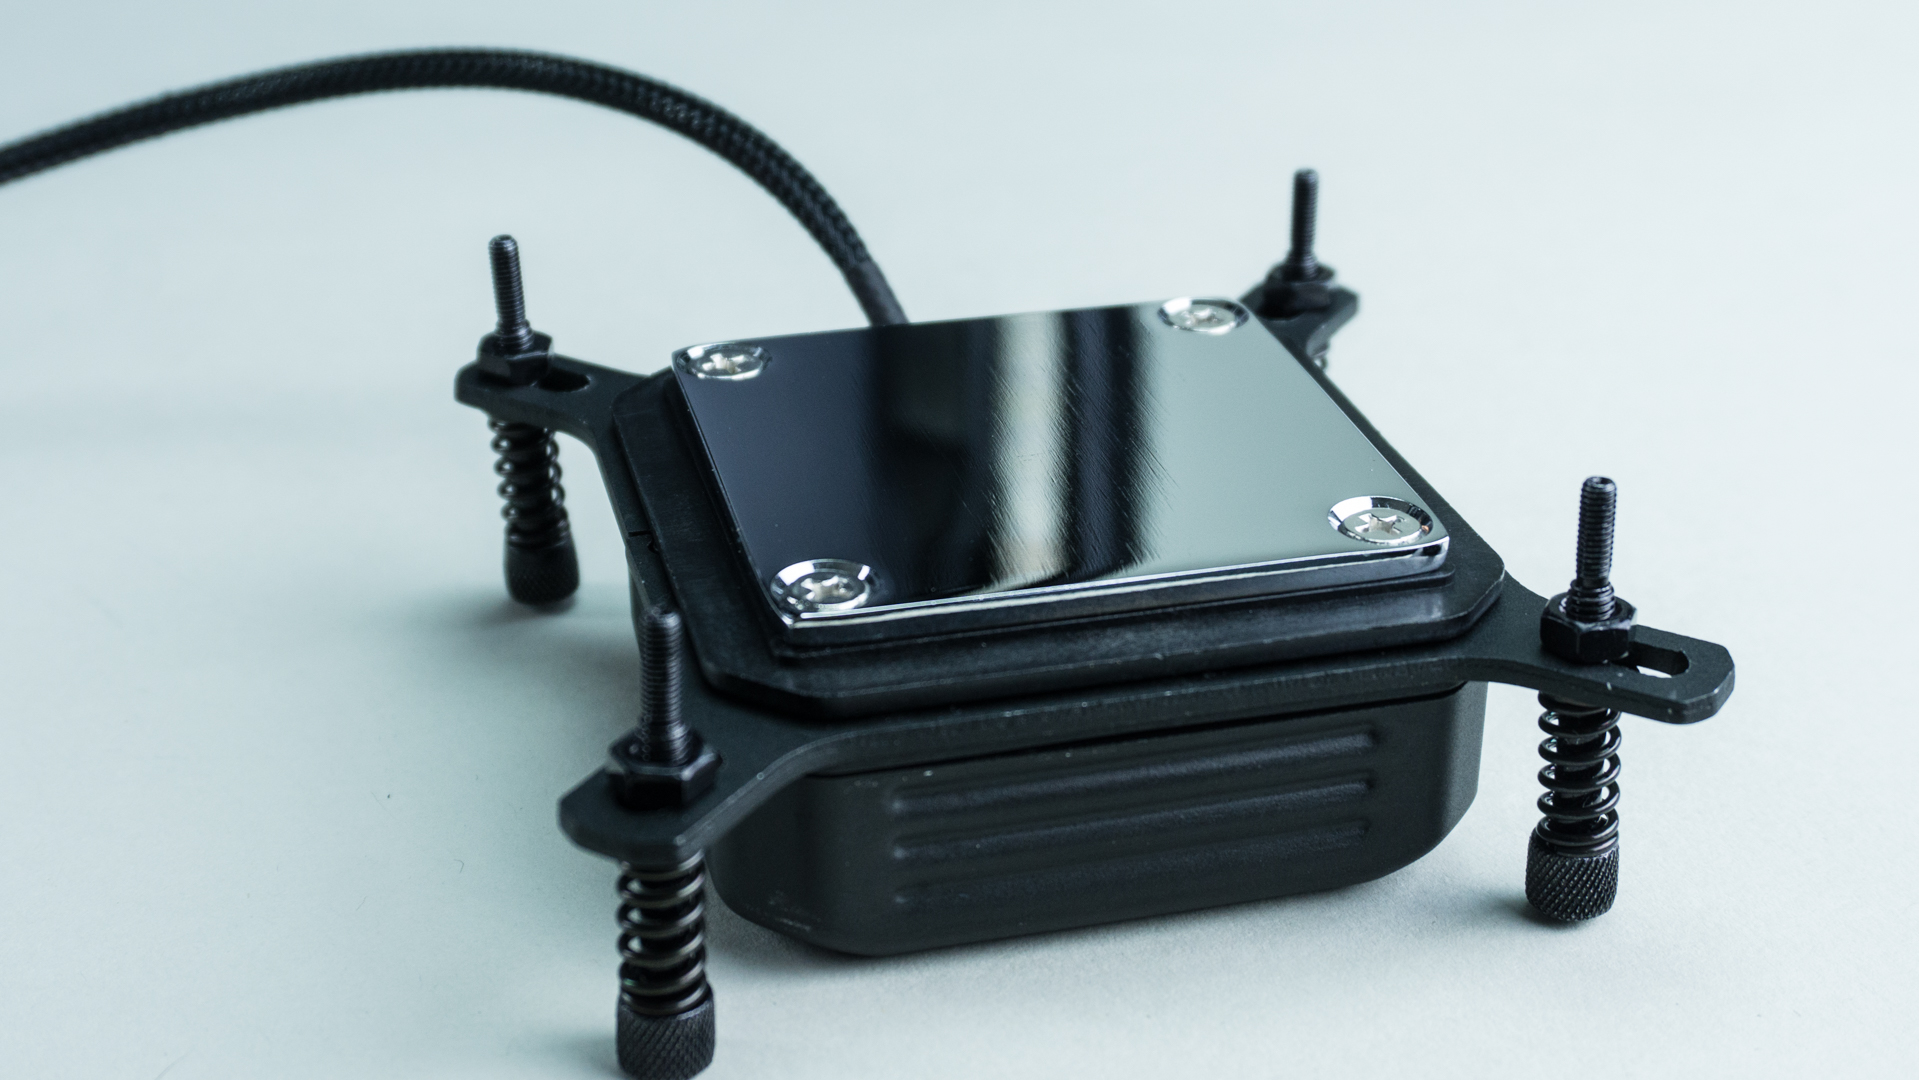
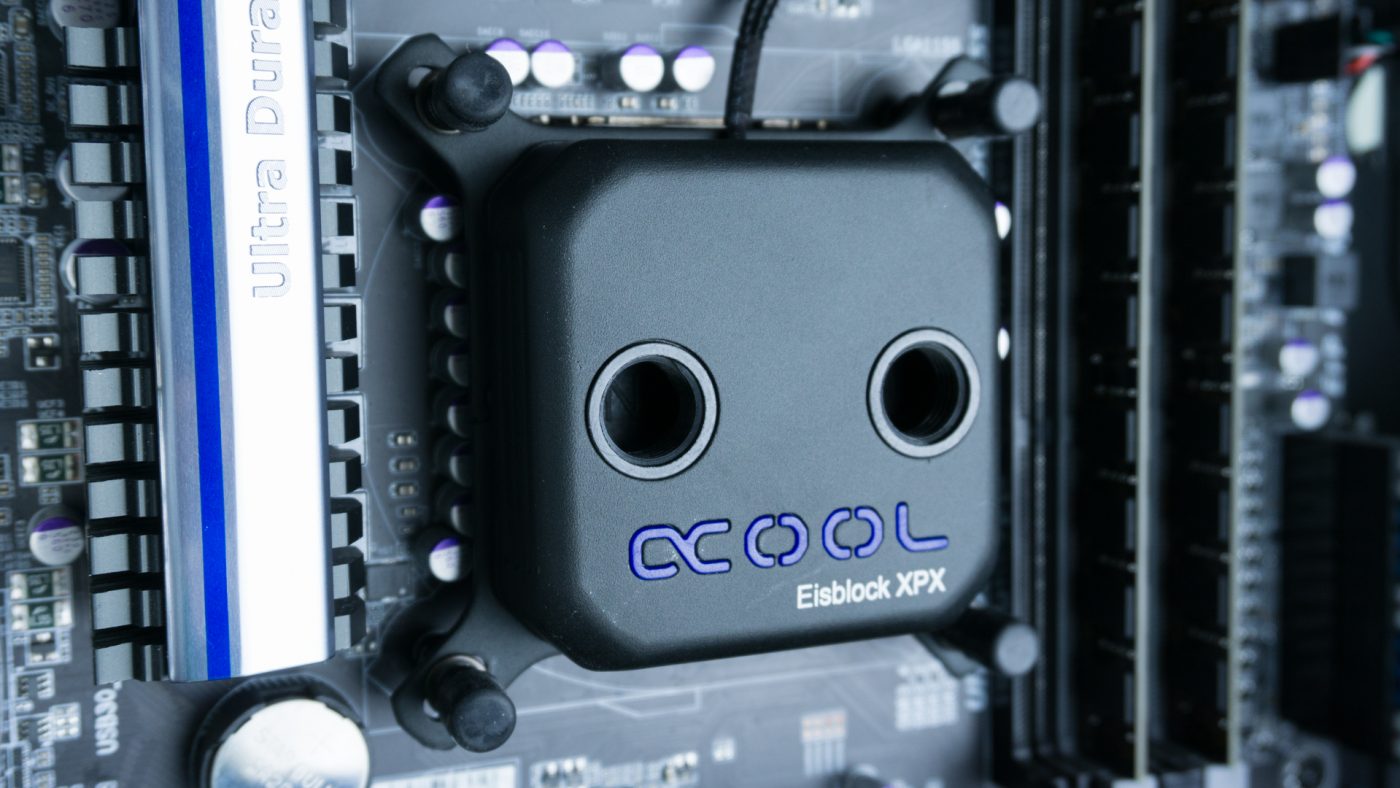
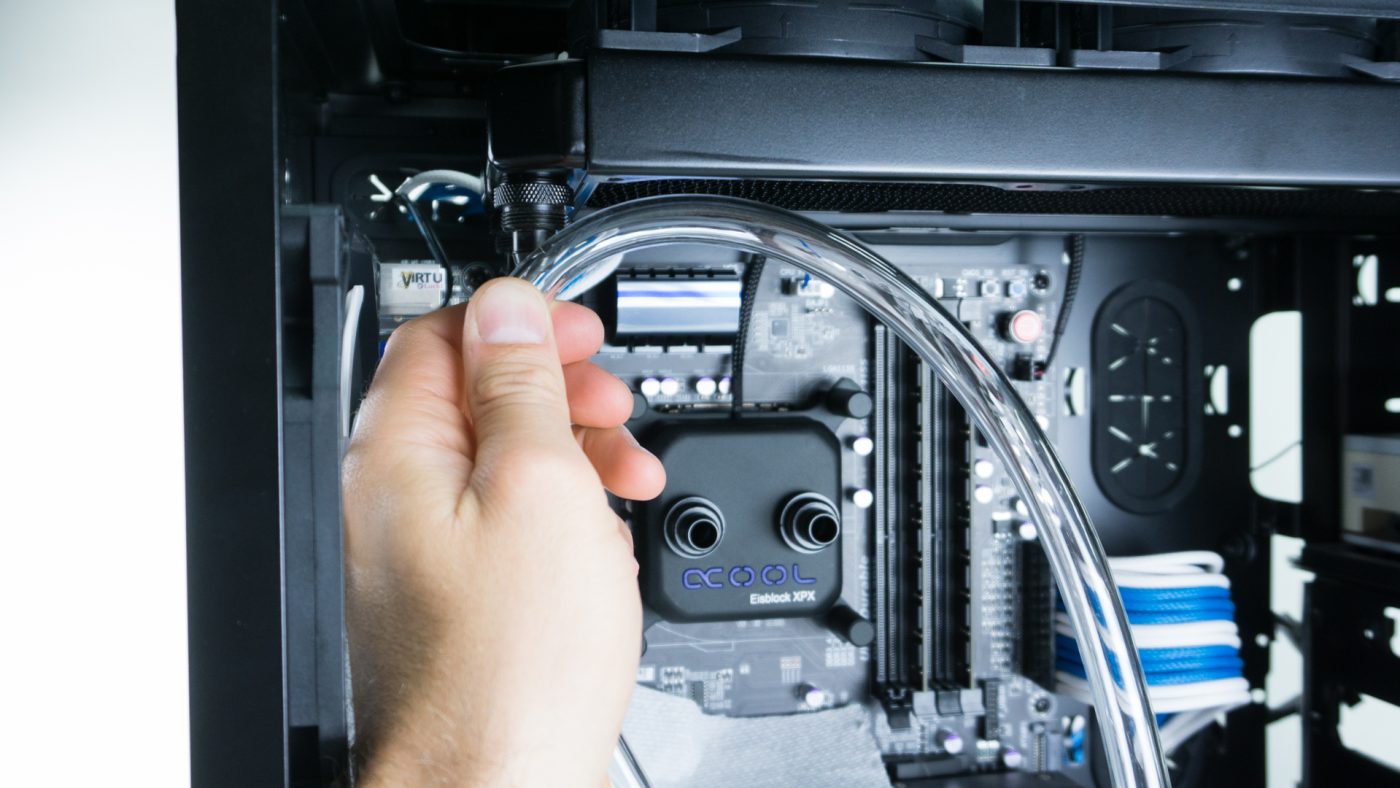
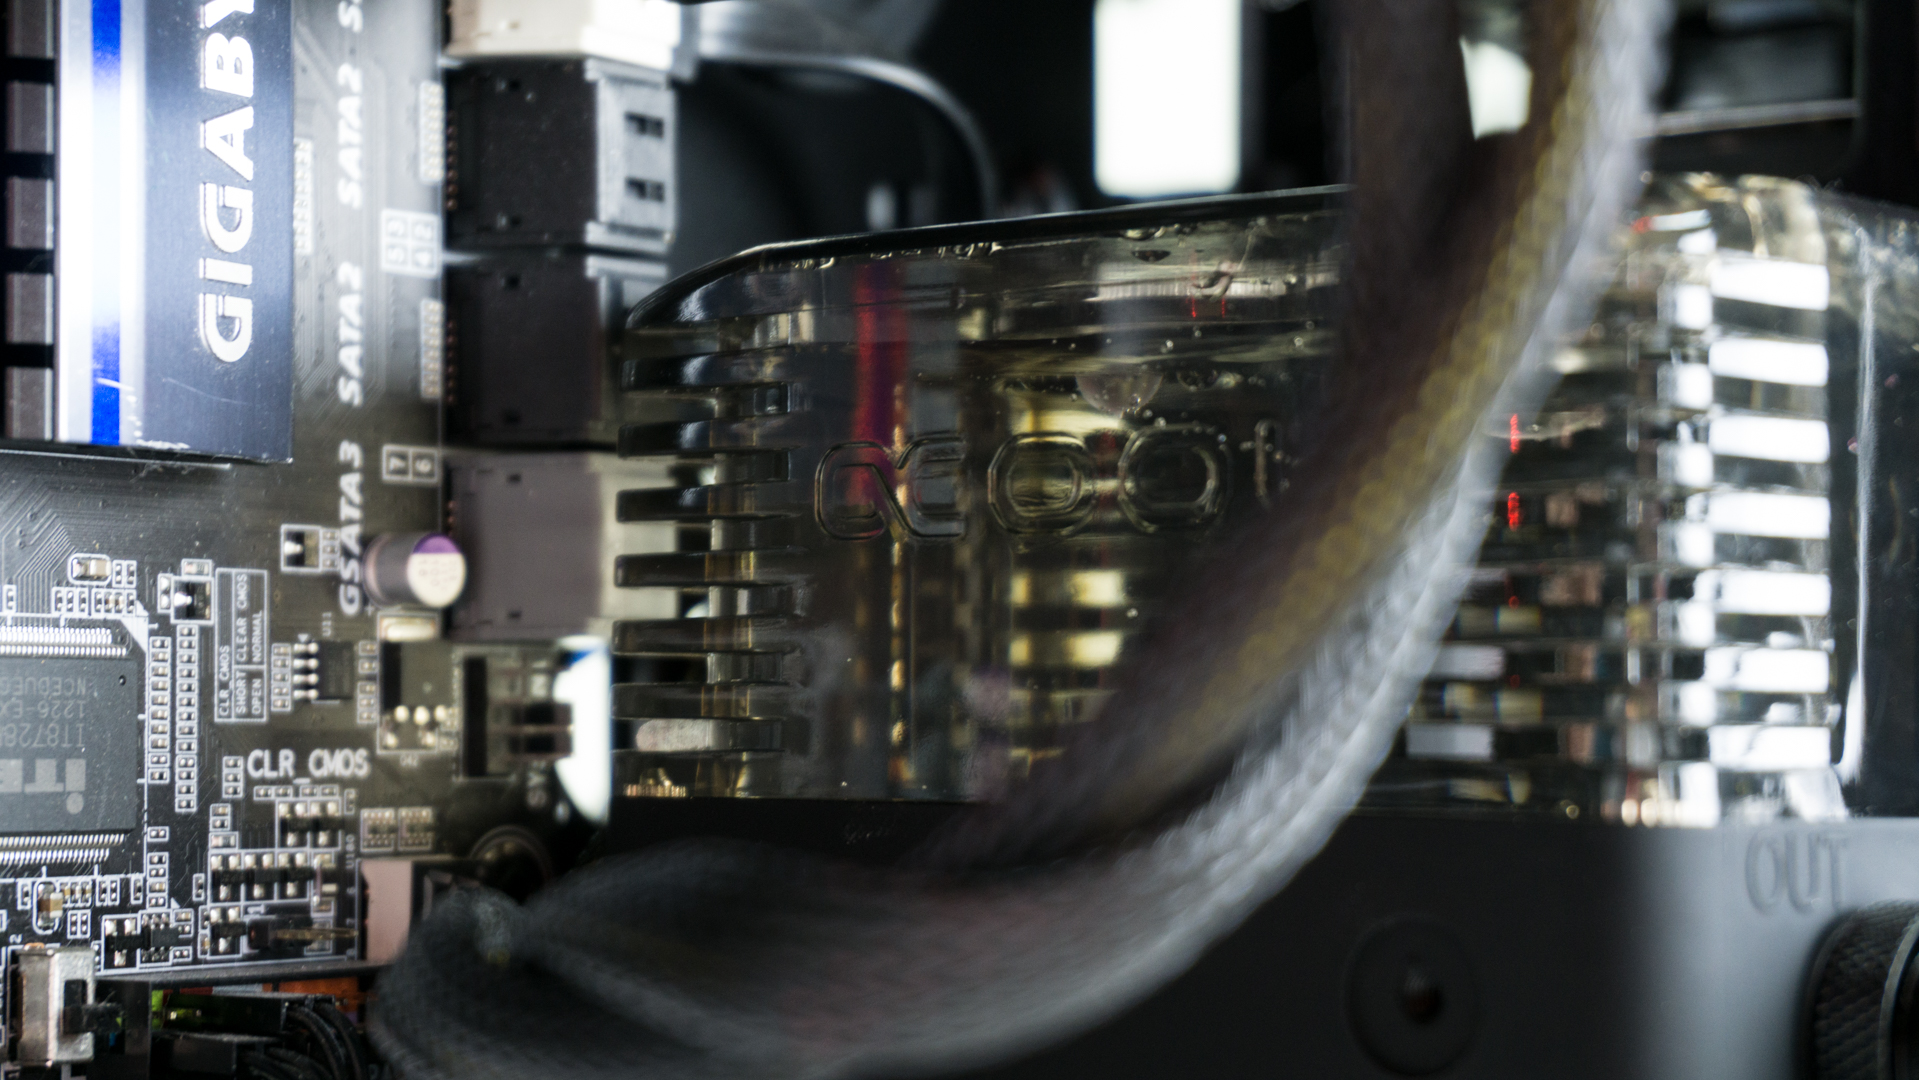
Res/Pump check, Radiator check, in this basic loop that just leaves the CPU block to be installed. Begin by reading the instructions to find out what bracket you need for your socket type. Ours is 115x so we go with the standard Intel bracket. Alphacool has a really neat tool-less bracket retention system. Simply slide each half into the slot on the block and click them into place. Next we want to apply the backplate to the backside of the motherboard. Remove the 3M tape and align the backplate with the holes in the motherboard. The tape should be enough to hold it in place while you maneuver the block into place. Back to the block we need to install the screws and springs to the bracket on the block. Each end gets a long two stage screw, a spring, and a washer. The small nuts secure the whole assembly to the bracket. All of this can/should be done by hand. While were here let’s go ahead and admire the mirror finish that Alphacool has completed this large block with. There are very slight machine marks dropping the grade to an A- but it really is a work of art.
We’re ready to install the block now, but first you need to apply the Gellid TIM. We are going to go ahead and suggest that you don’t follow the instructions here. Alphacool suggests spreading the paste evenly across the surface of your processor. Unfortunately that’s nearly impossible. This TIM is far too thick and paste like to be spread and instead clumps and pulls away from the surface of the processor. We had to really work it around quite a bit to get an even spread. Stick with the tried and true grain of rice size bit of paste in the middle and let the pressure from the block to it’s work.
Once the material is in place, install the block. Start each of the corners by hand then go around in a cross pattern and tighten until the spring is fully compressed.
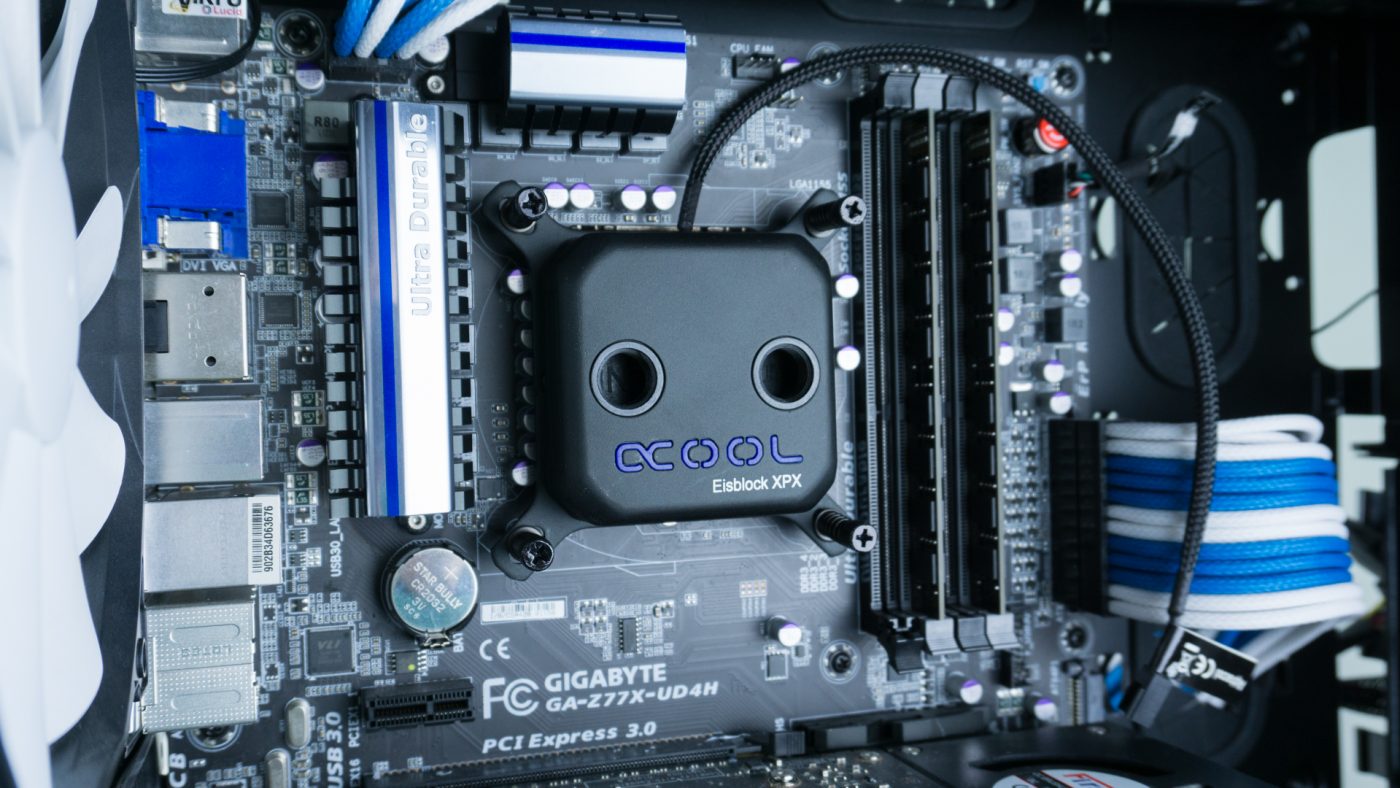
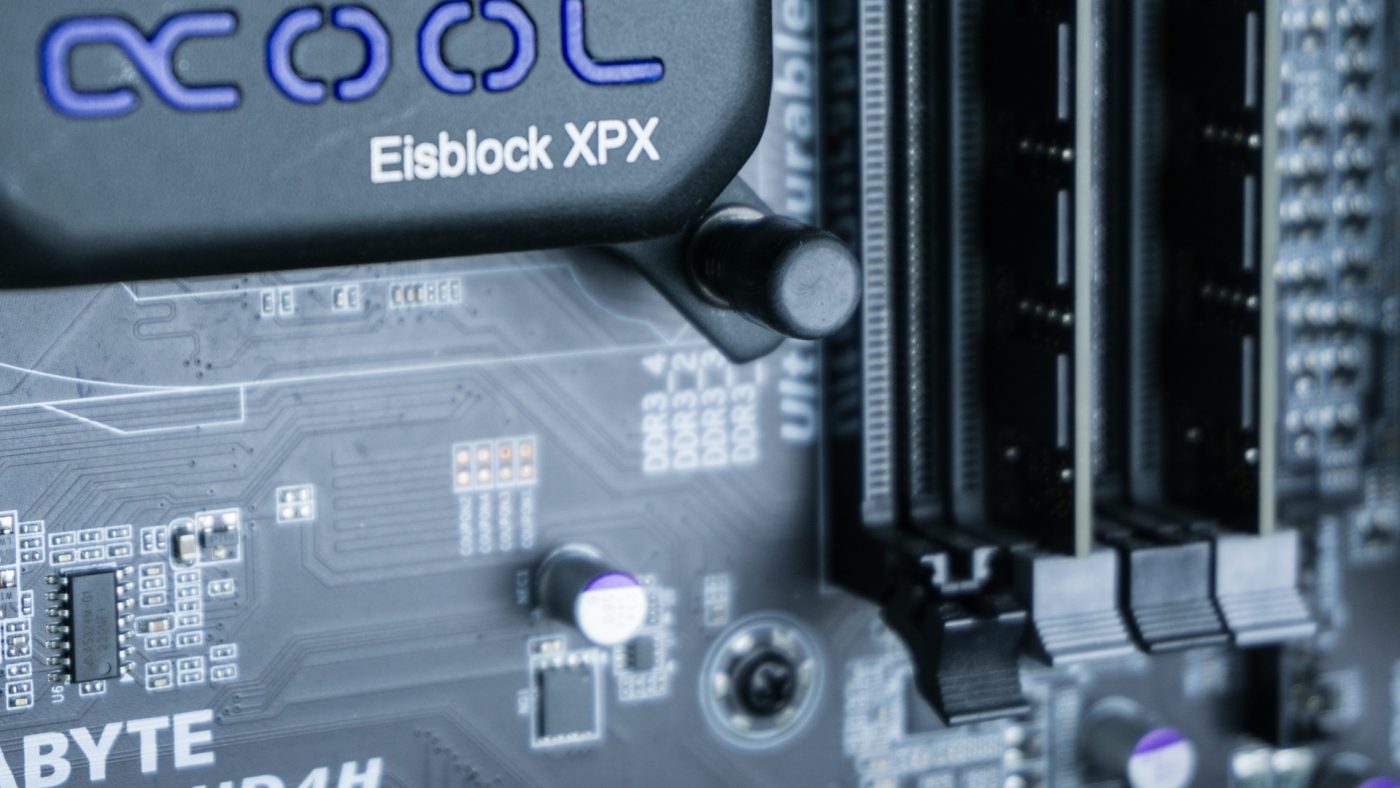
One unique feature of this block is the screw covers. There is a rubber end cap and plastic sleeve for each screw and they really do a great job of dressing up this part of your rig.

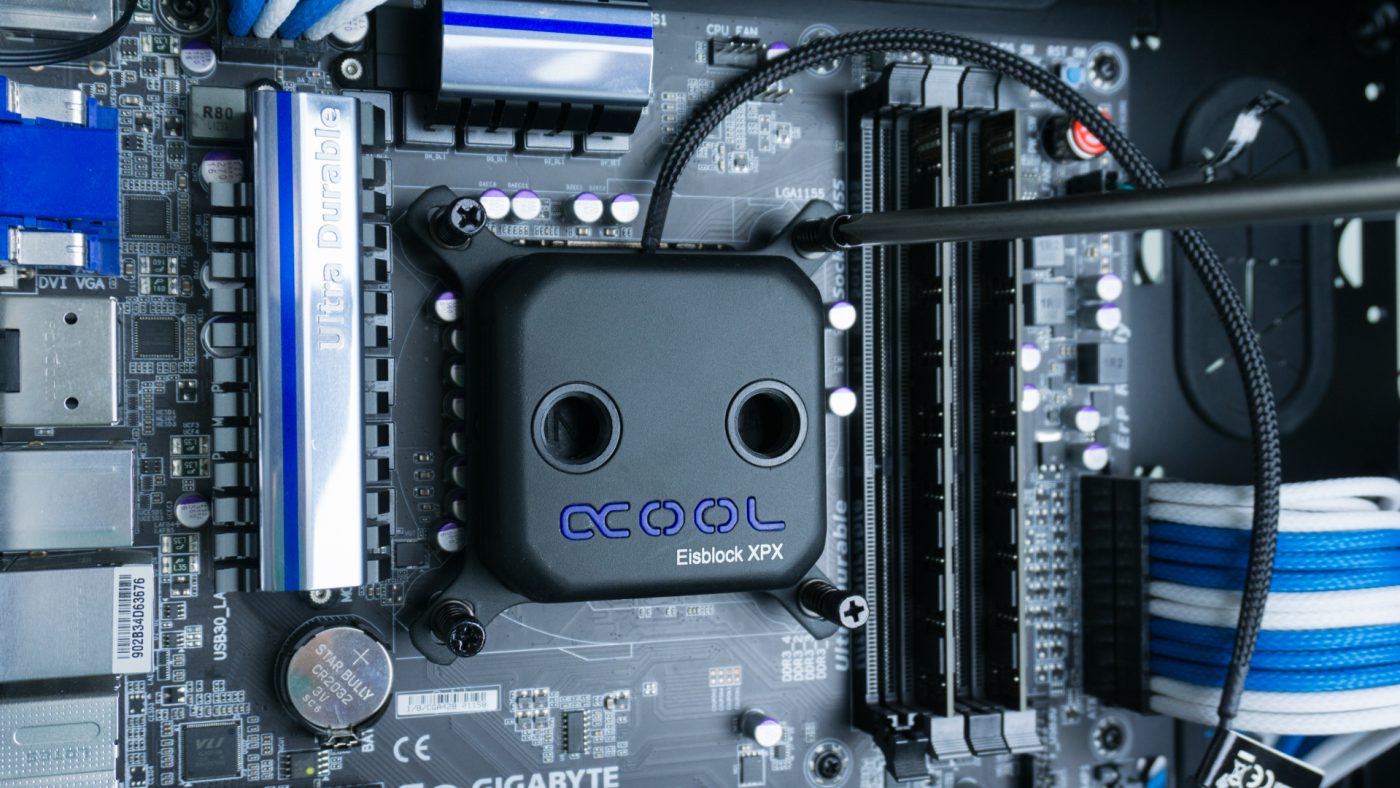
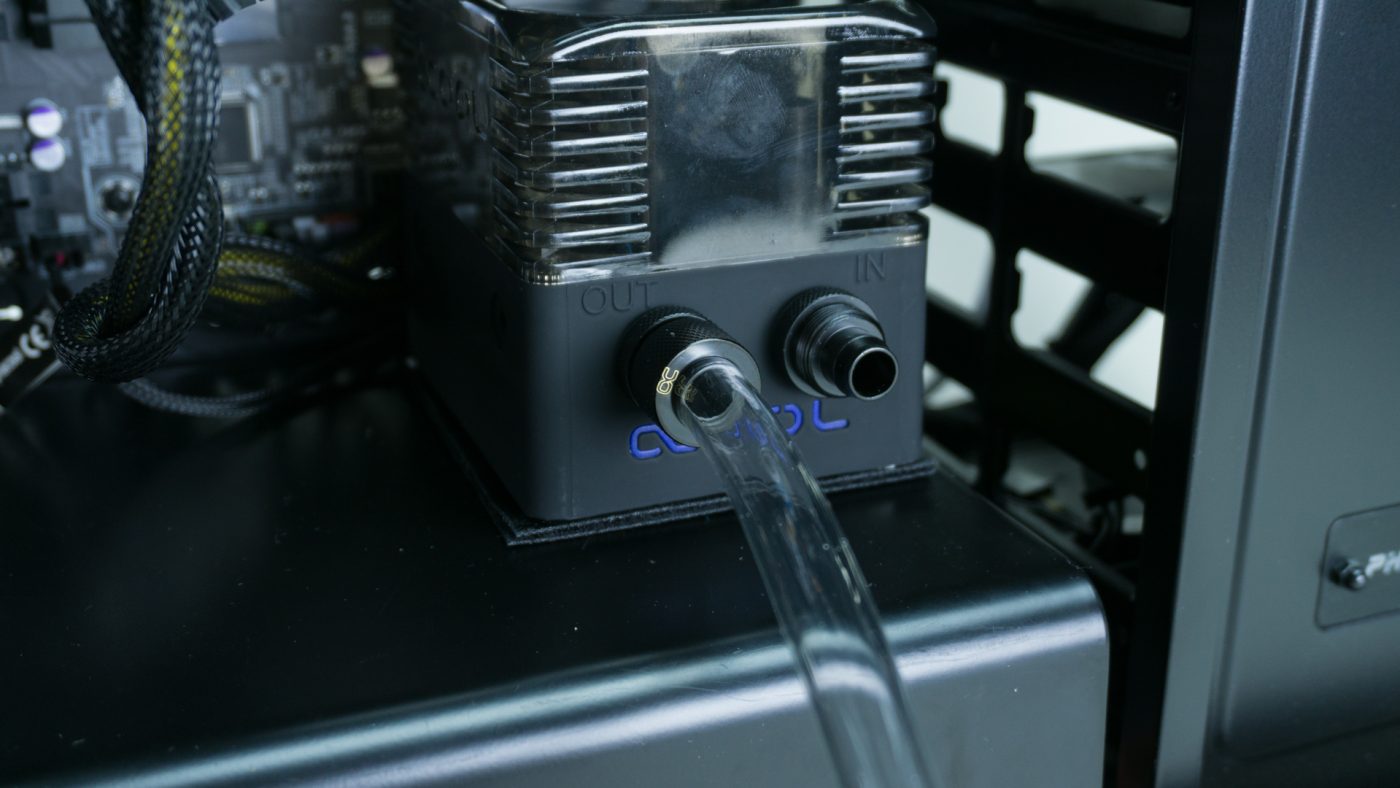
Just a few steps left and we’ll be adding water. Unscrew all the collars from the compression fittings. Install a base into all six of the ports in your new loop. Be careful with those radiator ports when you pull the blue plugs. You’ll want to have some paper towel handy to catch any drips. If you haven’t yet, now is the time to fully secure the reservoir in your case by attaching the last side of the velcro sheet.
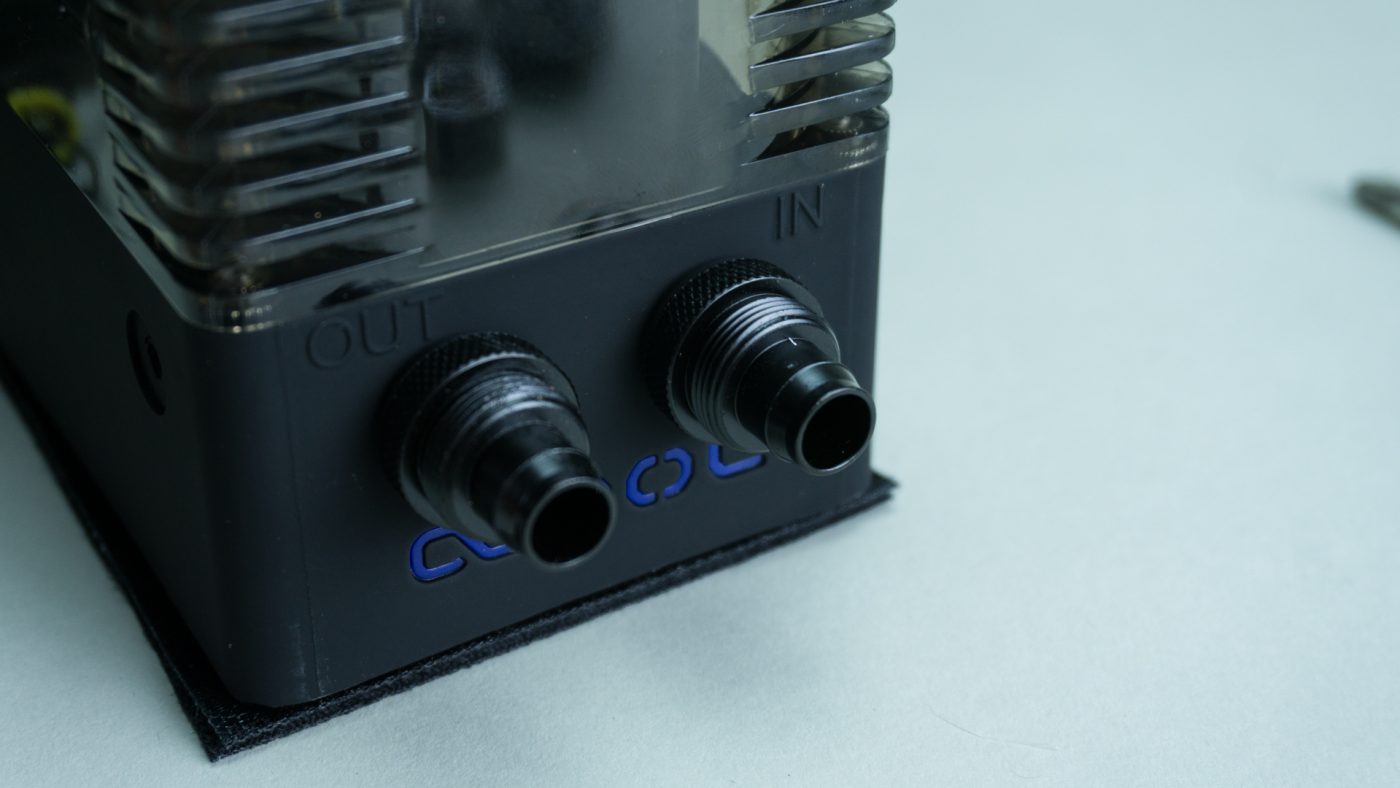

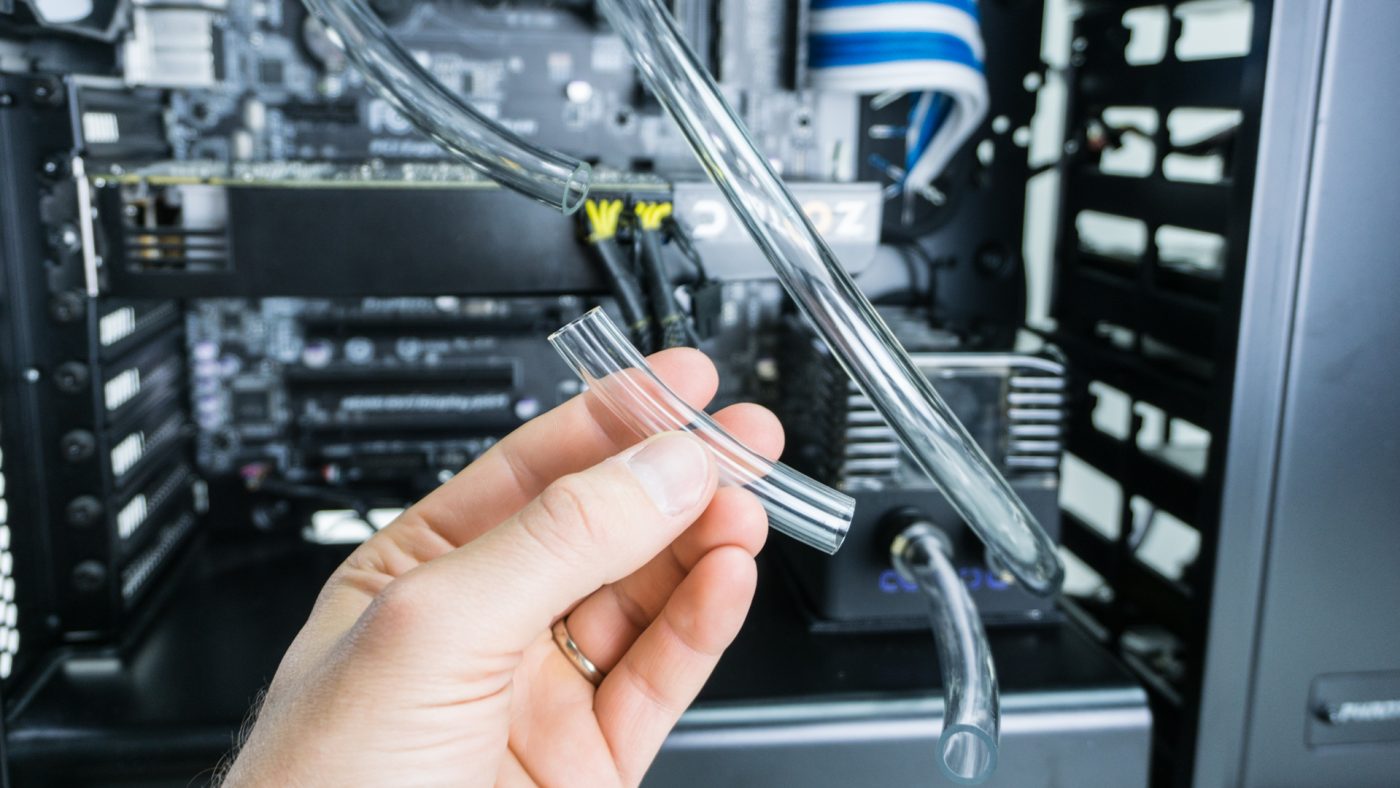
Tubing time! We start with one end of the whole roll of tubing. Slide a collar over the end and push it onto a fitting. You can start anywhere, we started with the res to radiator piece. Run the tubing to the next fitting and put a finger at the spot you need to cut. Remember better to cut too long than too short. Cut the tubing with a tube cutting scissor or good sharp pair of standard scissors. Place a second collar over the tubing and push it onto the fitting and secure it tightly. Repeat for the other three runs.


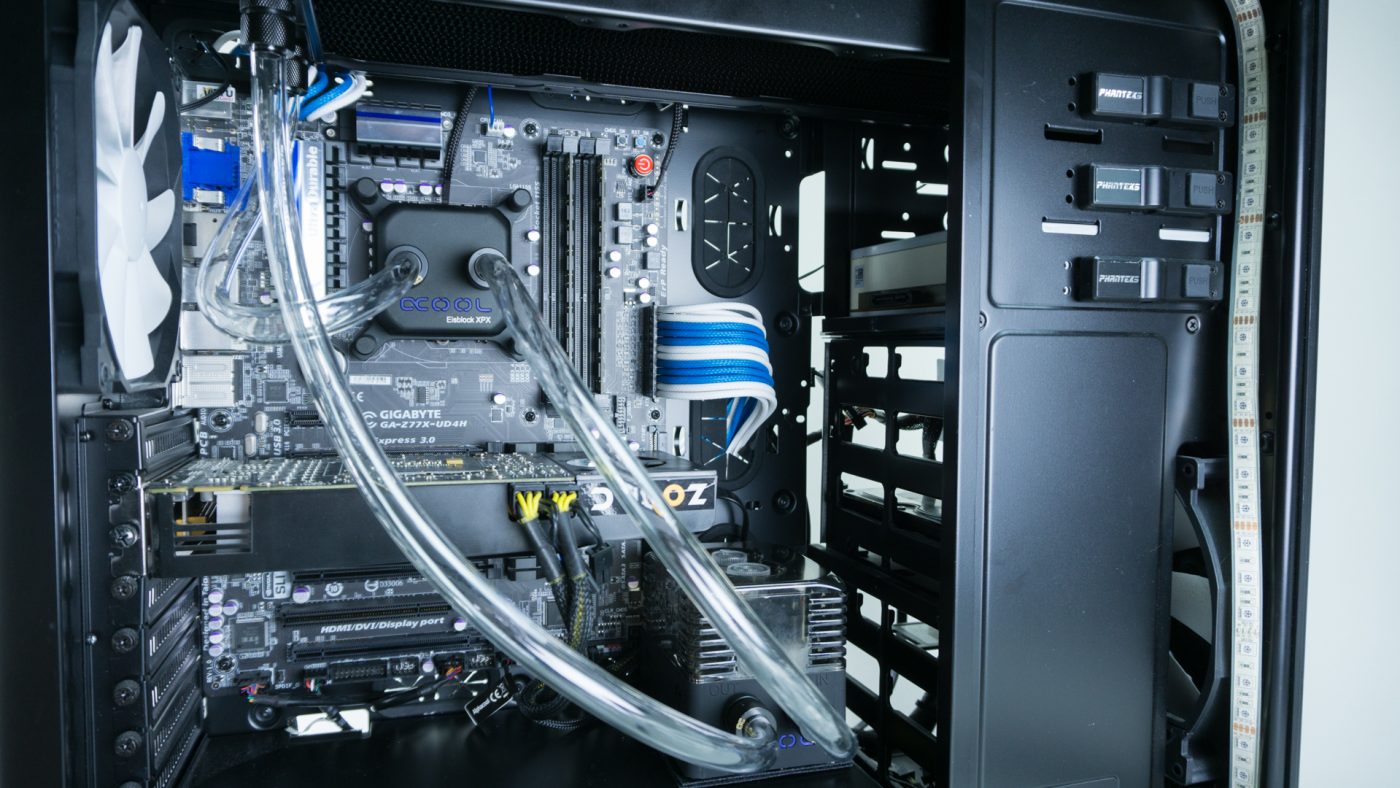
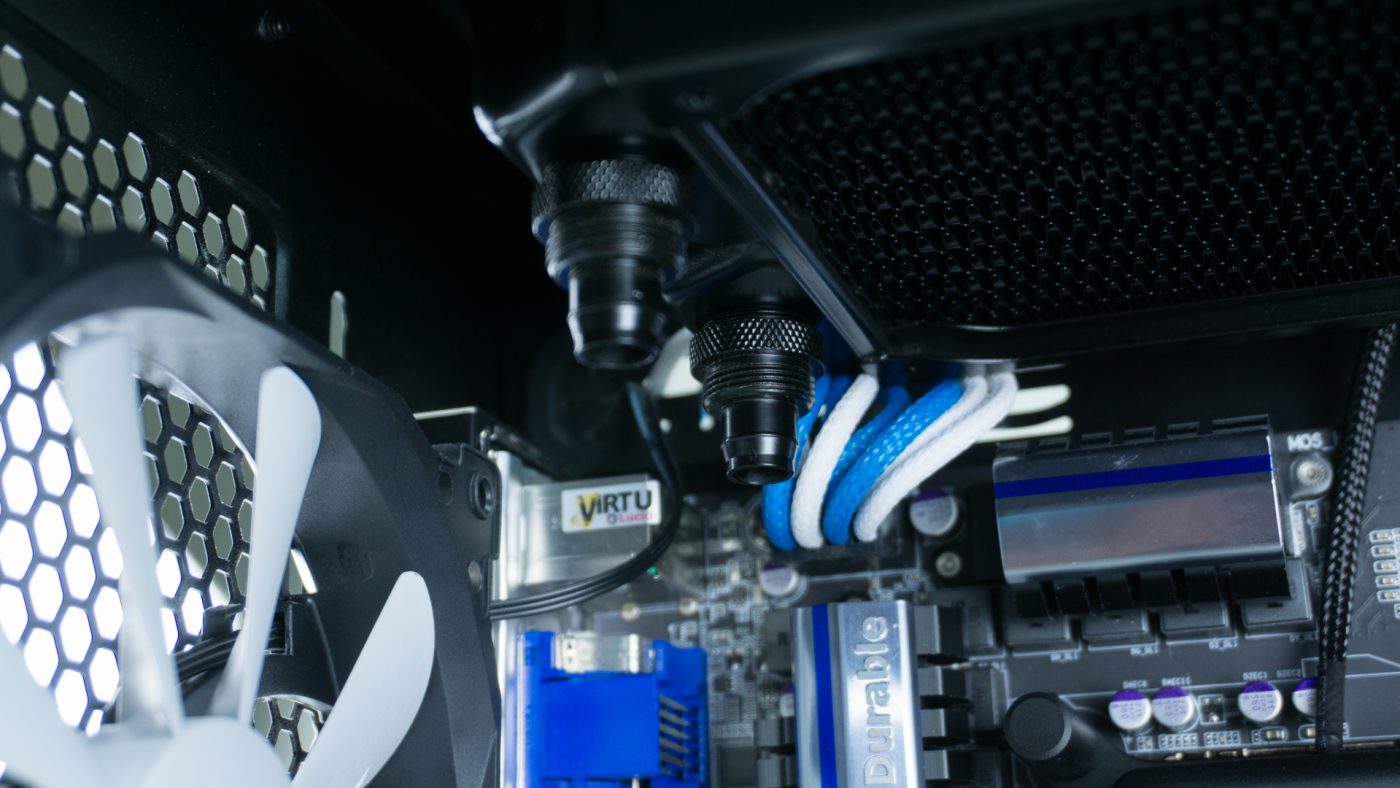
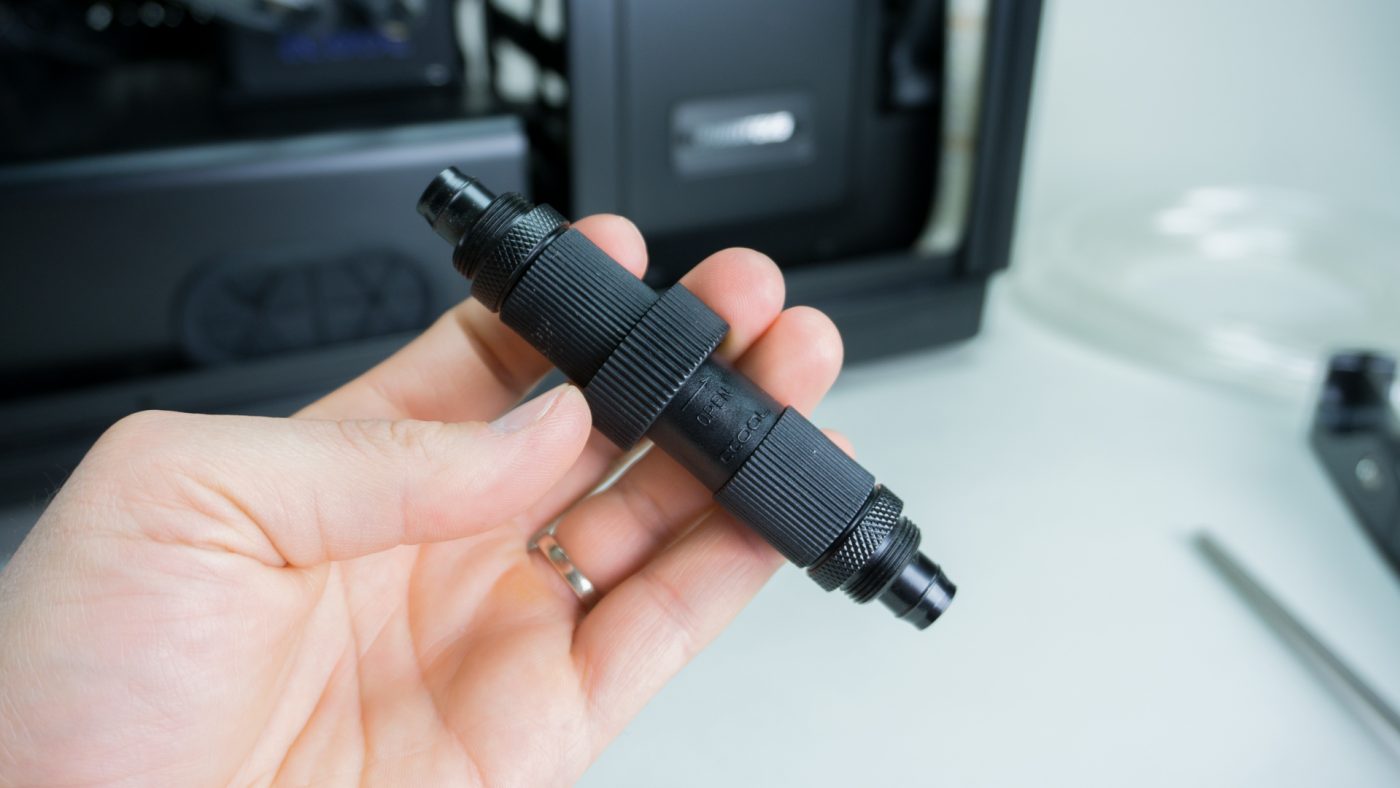
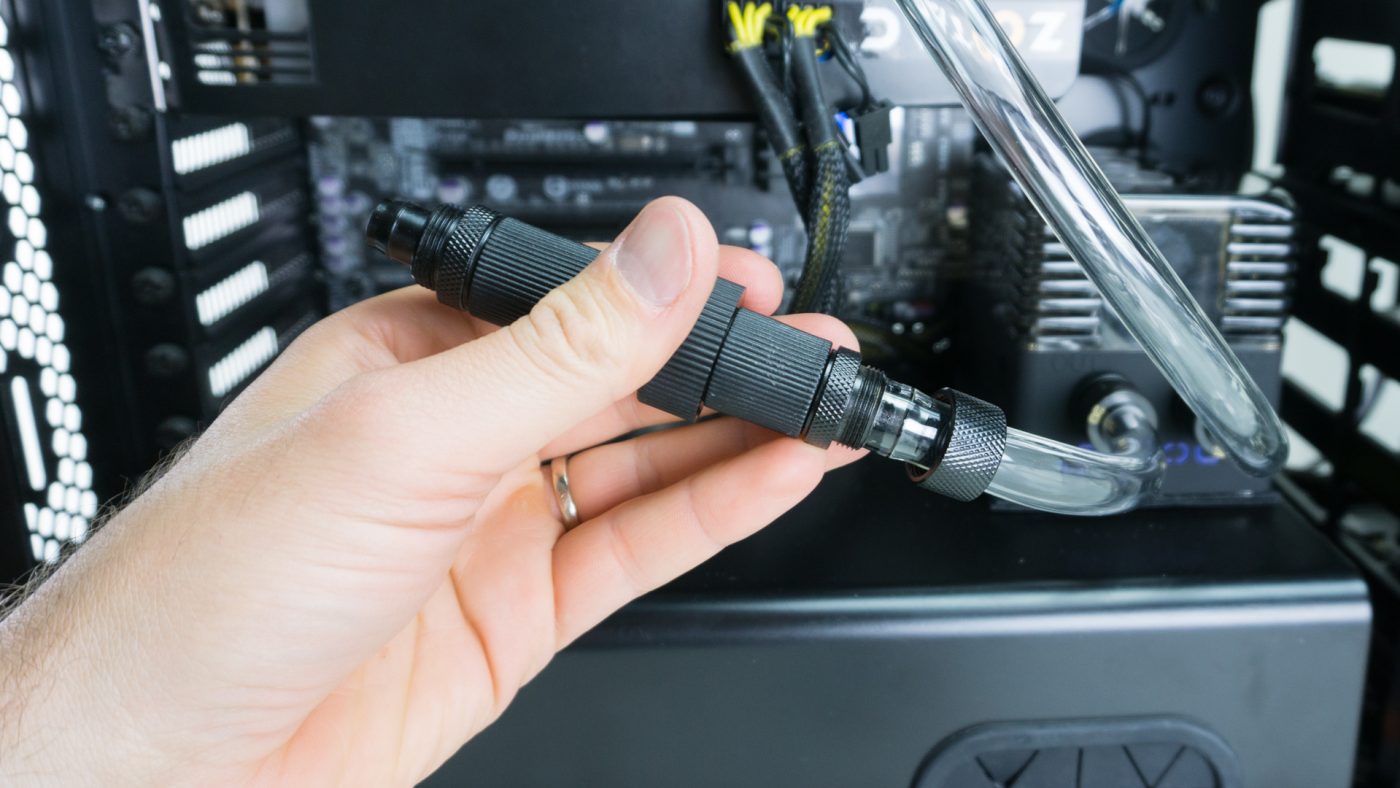
Connect your final two fittings to both ends of the quick disconnect. Now hold the QDC up to your front run of tubing. Using your scissors cut the tubing from both ends removing a chunk the length of the QDC. Place a collar on both sides and secure them the same as you did previously. You can now unscrew the middle ring on the QDC without losing much water allowing you to easily drain the loop or attach the ends to other QDCs to expand your loop. Not having to drain, fill, and bleed your loop over and over is a huge convenience.
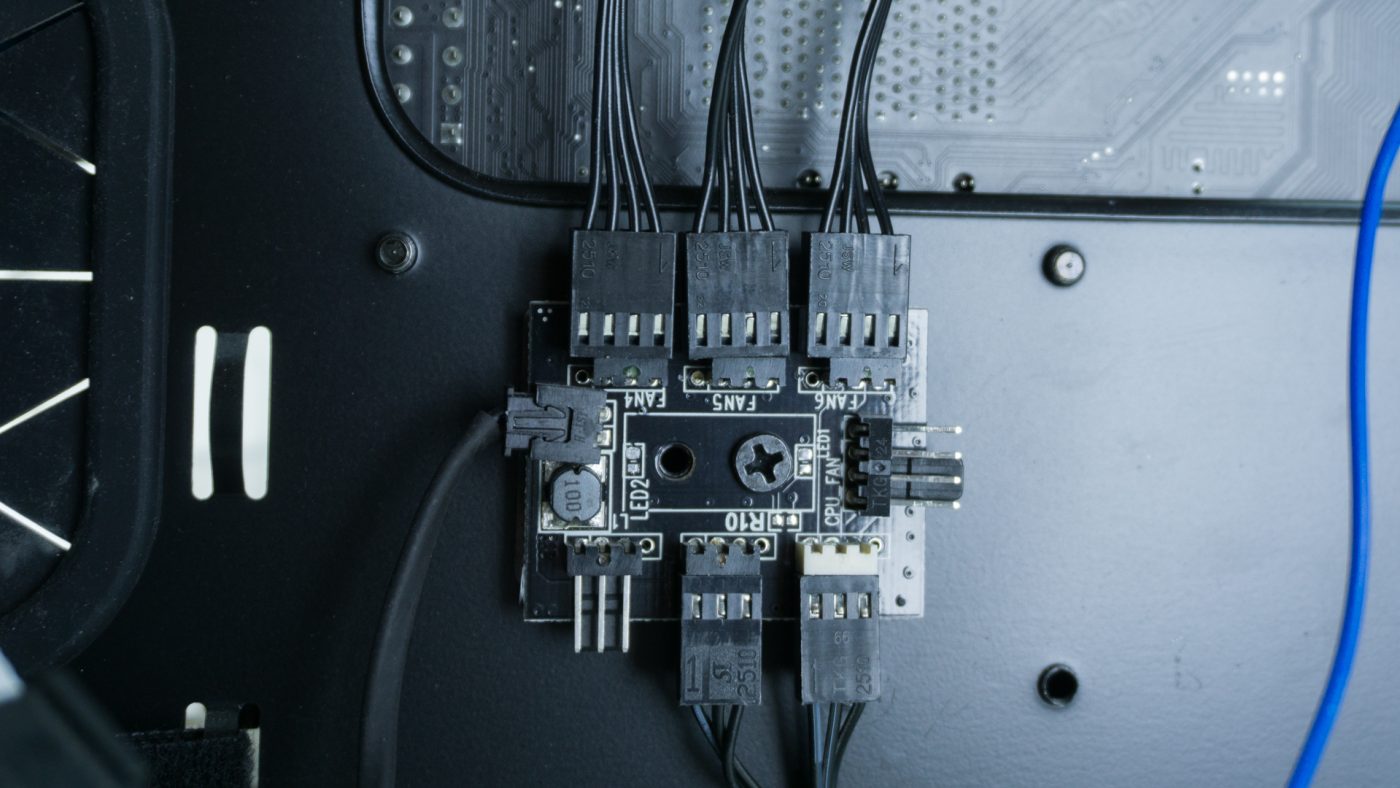
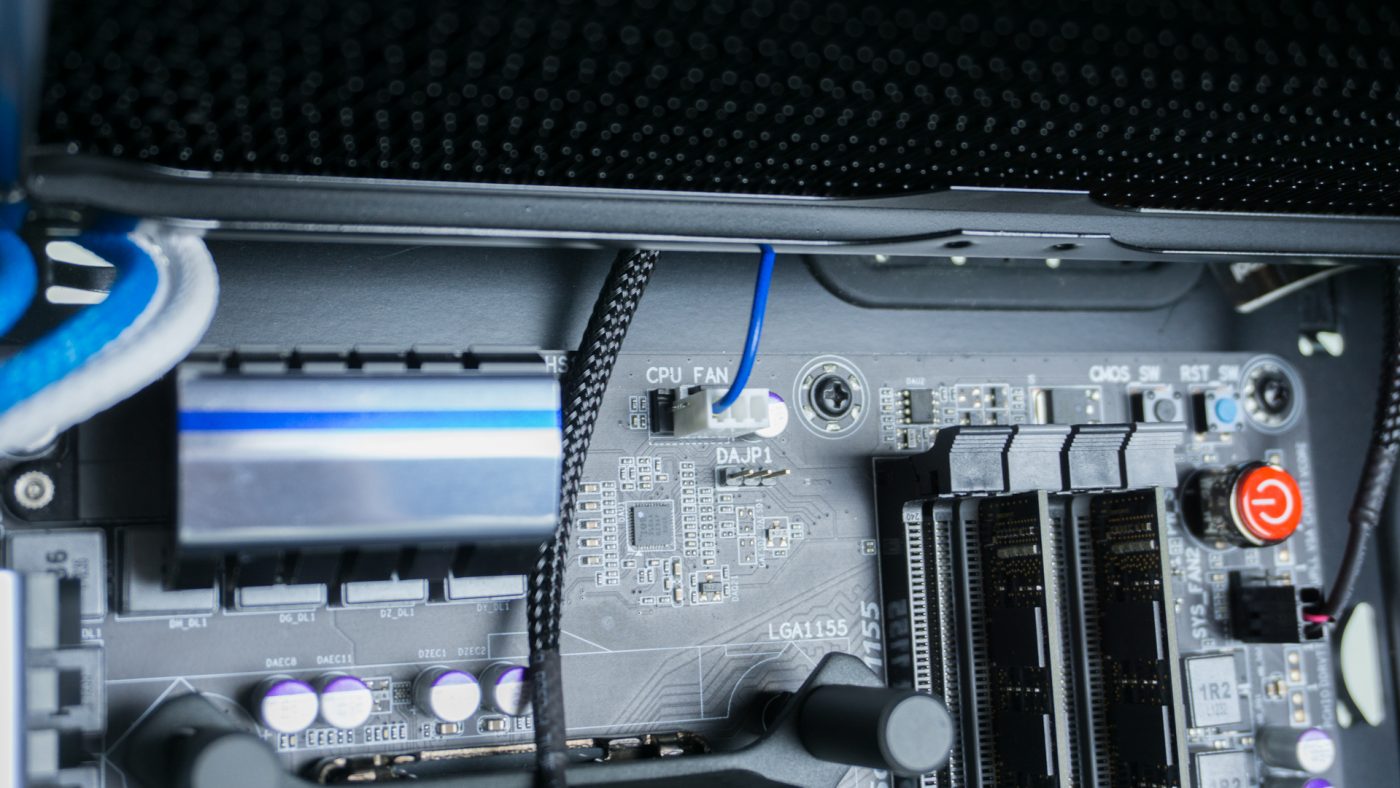
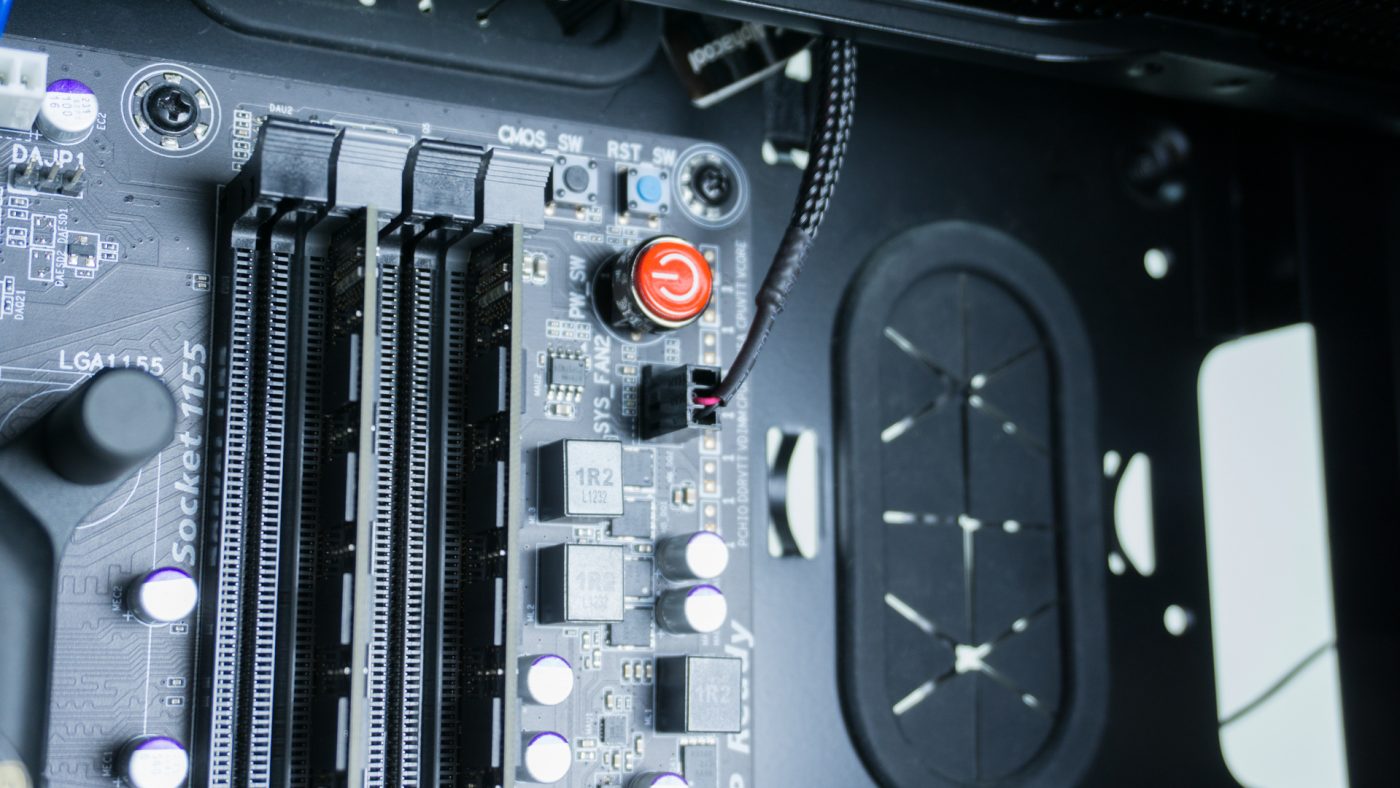
Lastly we have to prepare our rig electrically. Connect the molex connector from the pump to any open male connector from your PSU. The blue single wire from the pump should be run to the CPU_FAN header. Both two wire LED wires should be run to SYS_FANx headers. On the back of your case you should either plug the three fans into the three way splitter, or directly into a fan hub.
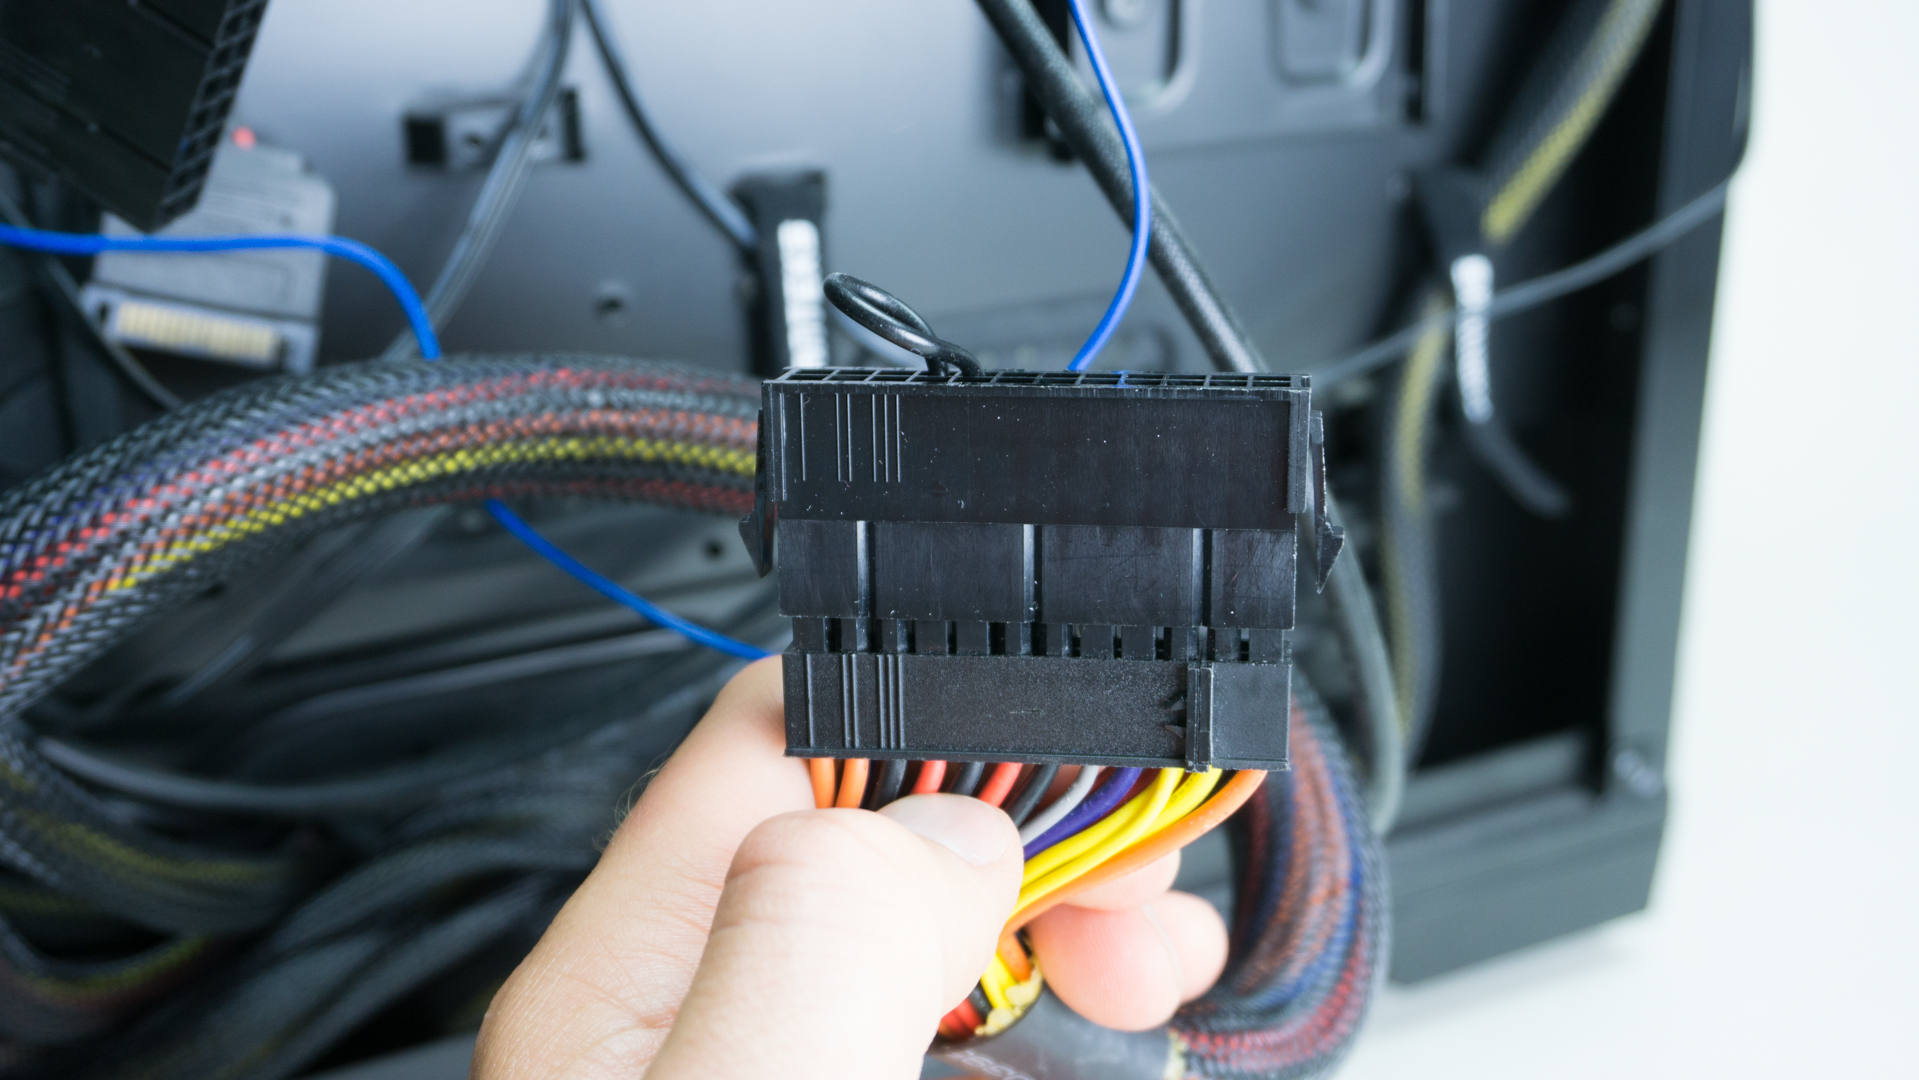
Finally you need to disconnect a few items. First and foremost unplug your 24pin and attach the jumper directly to the PSU plug. You also need to unplug any 8pin CPU power as well as anything connected to the PSU such as hard drives that you don’t want to start up repeatedly.

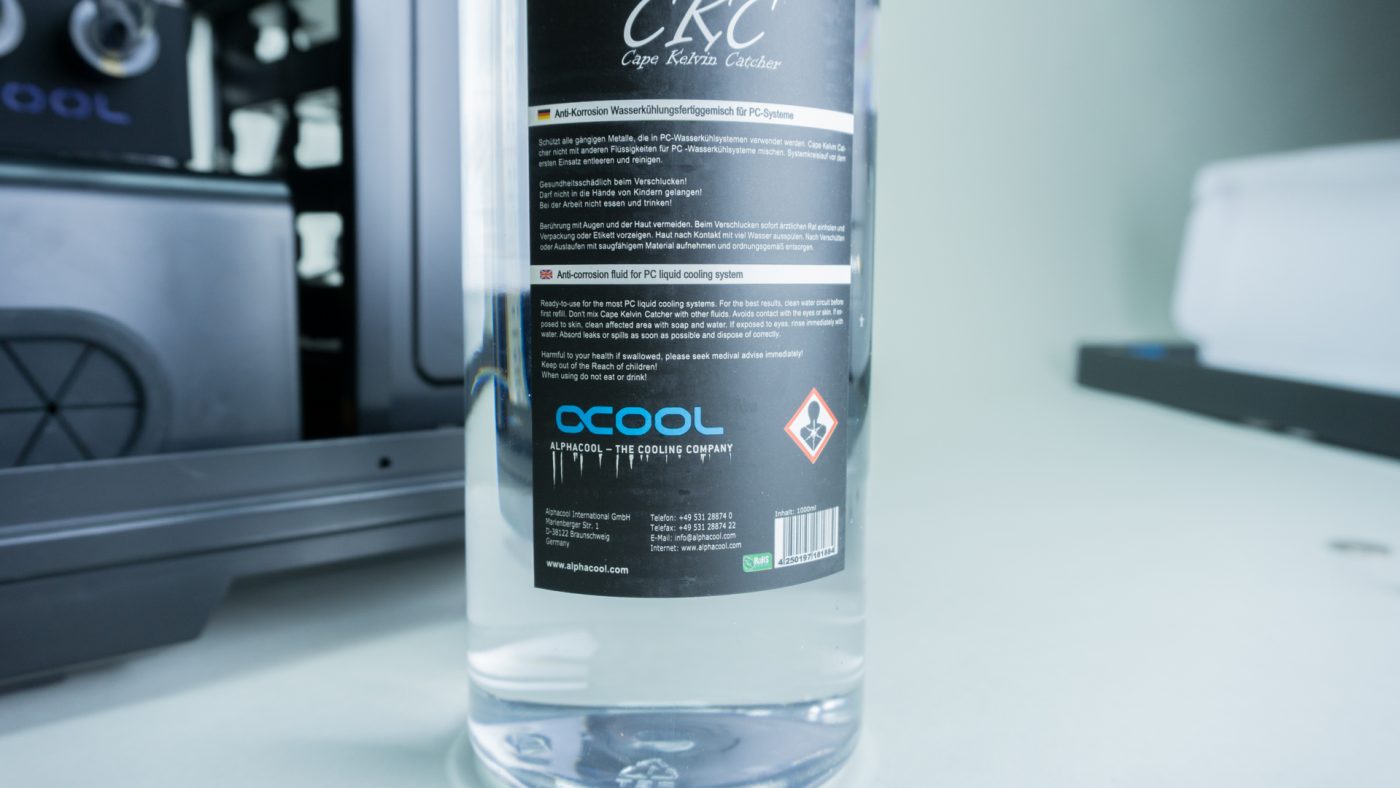
Place paper towel strategically around the case specifically under your fittings. You can now remove the ⅜ plug from the top of the reservoir and insert the funnel. Begin filling the reservoir with the included Cape Kelvin Catcher watercooling fluid until full, remove the funnel and screw the plug back in place until finger tight. Mind the warnings on the label of the CKC fluid, some of these fluids are fairly damaging to soft tissue.

Turn on your power supply and allow the pump to just start to fully drain the reservoir before turning it off and filling it again. Repeat until you no longer drain the reservoir when the pump is turned on being sure to replace the plug each time. Once you have a properly flowing loop fill the reservoir to the top, replace the plug and begin tilting and gently shaking the case in various directions to get trapped air out of the radiator.
Once you are confident you have gotten nearly all the air out of the loop you should leave the pump running overnight to ensure you don’t have any slow leaks that could potentially damage components. Make sure you leave the paper towel in place to identify any leaks.
With a leak tested loop you can now plug back in all your connectors and turn the rig on live. First thing to do once up and running, open a temp monitoring program to check that you don’t have any sort of anomaly going on.