Installation, Software & Lights
Compared to other AM4 motherboards that we’ve reviewed in the past installation of the ASRock X570 Phantom Gaming-ITX/TB3 is a little different. This board makes use of Intel mounting holes so you’ll need to use a cooler that is compatible with LGA115x. We had planned on using our Noctua NH-U12A, but it would not fit. The main reason is that the VRM and chipset heatsinks get in the way. ASRock does have a list of compatible CPU coolers, but it is definitely limited. Luckily most Corsair all-in-one units are supported so that is what we used. I would definitely suggest using a Corsair or similar AiO on this board as there is not much room around the CPU socket and most coolers will not fit.
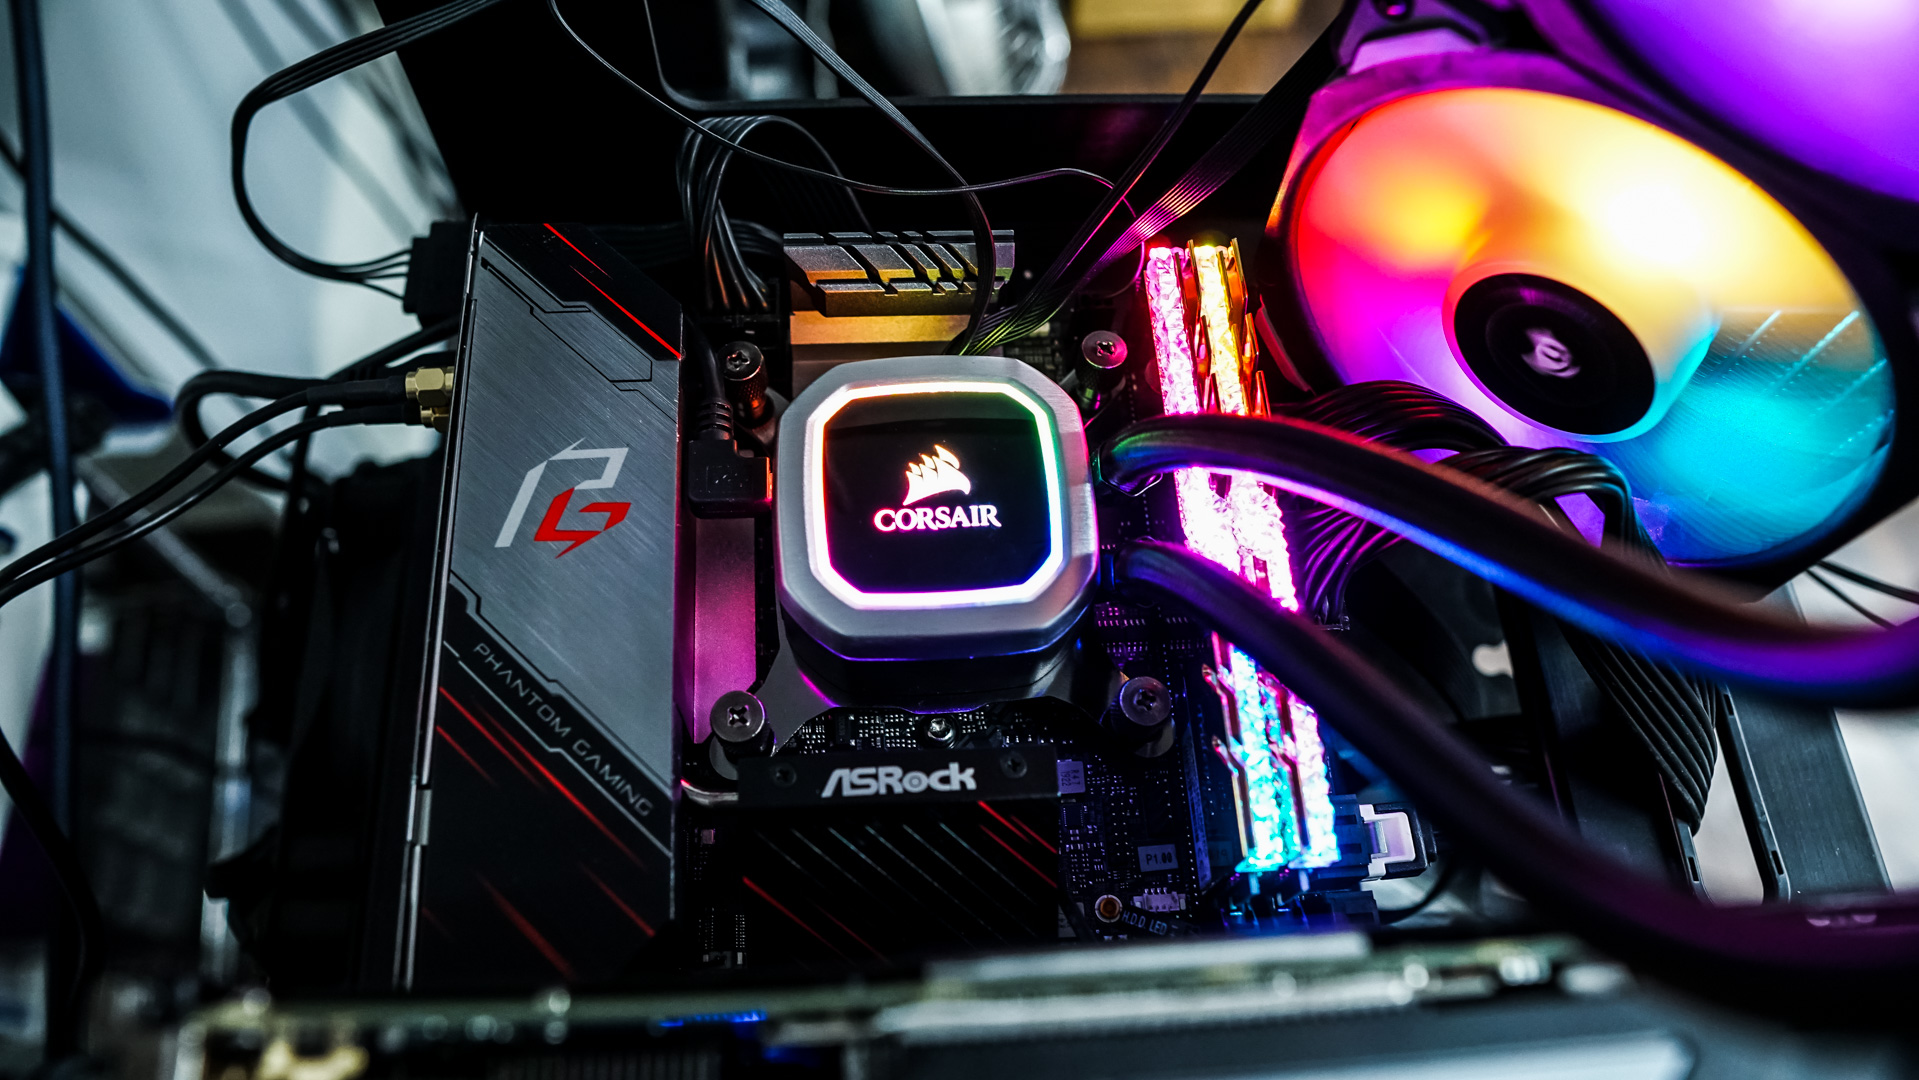
Because we had not planned to use an AiO on this build we sort of had to jerry-rig it on our test bench, but it all ended up working no problem.
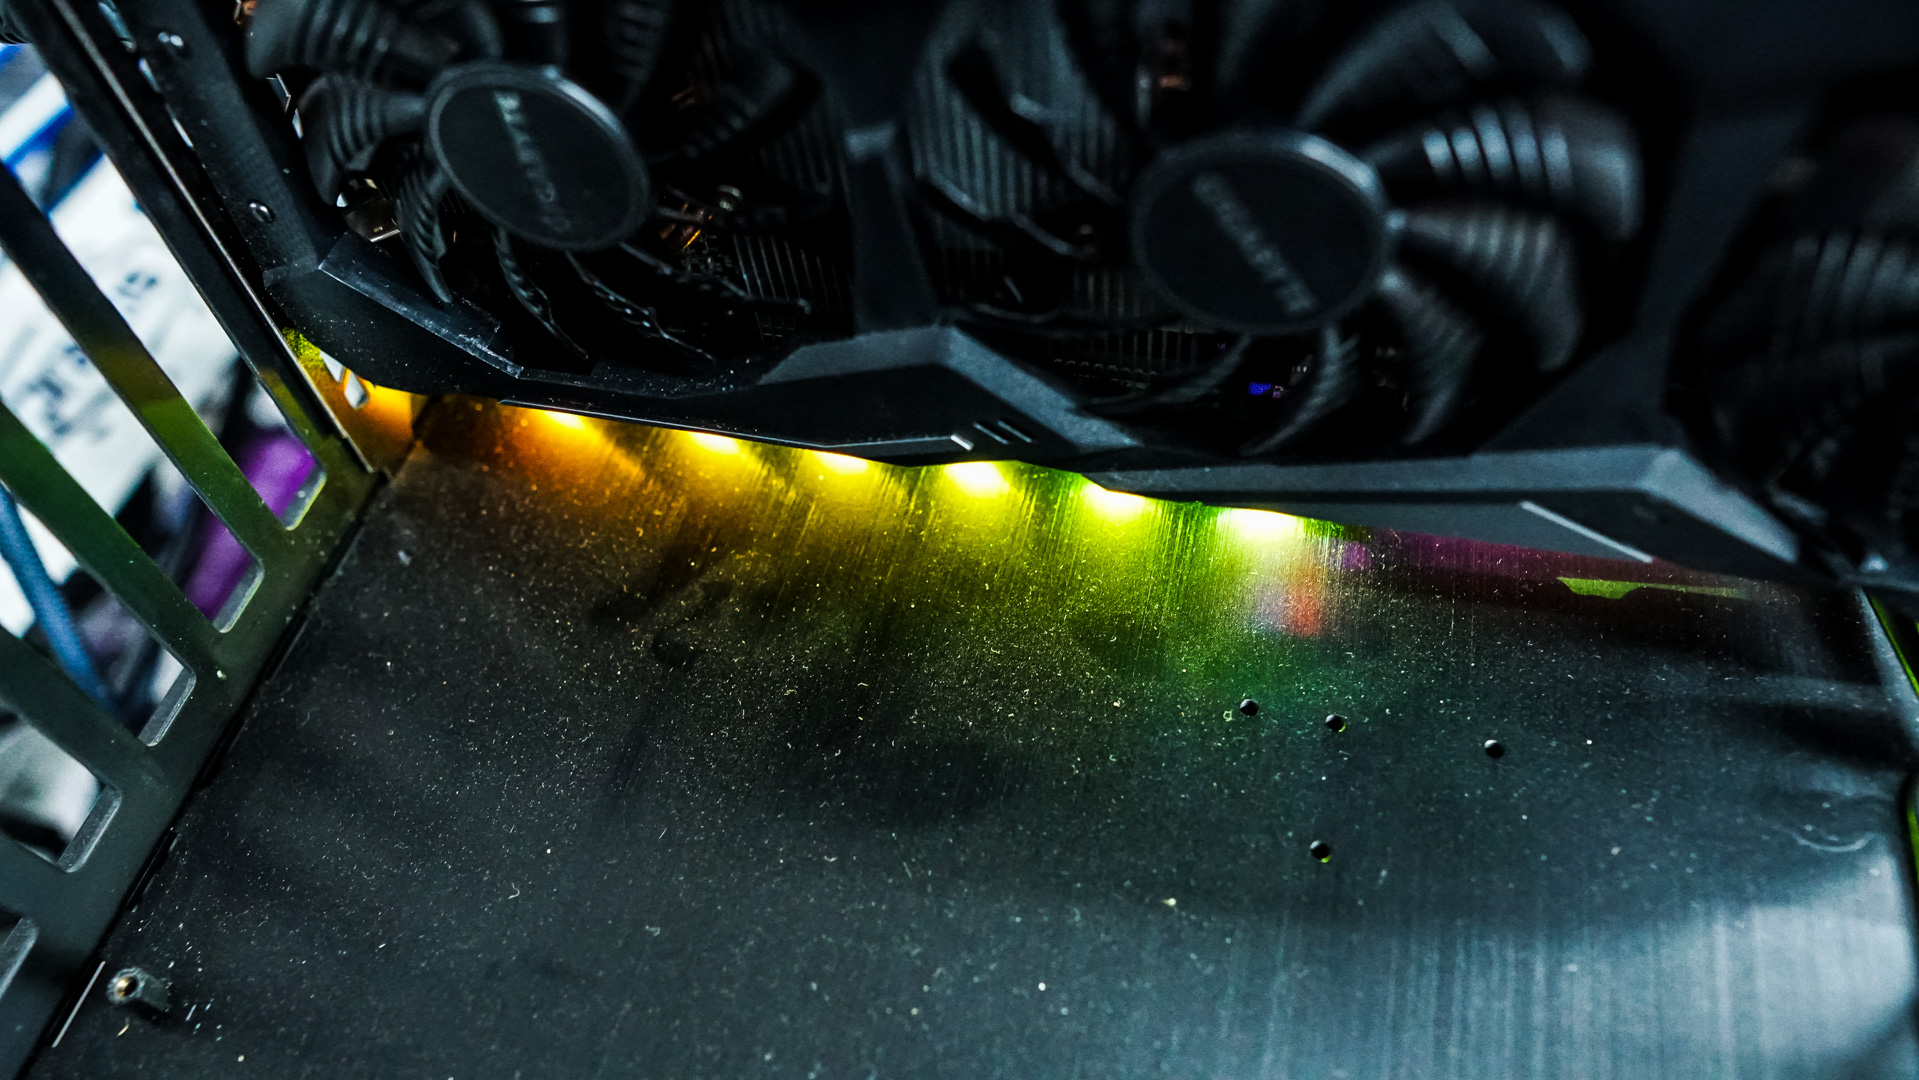
When you power your system on you will notice the RGB LEDs on the bottom edge of the board light up. This will provide a decent under-glow for your graphics card. These RGB LEDs can of course be controlled using ASRock’s Polychrome Sync software.
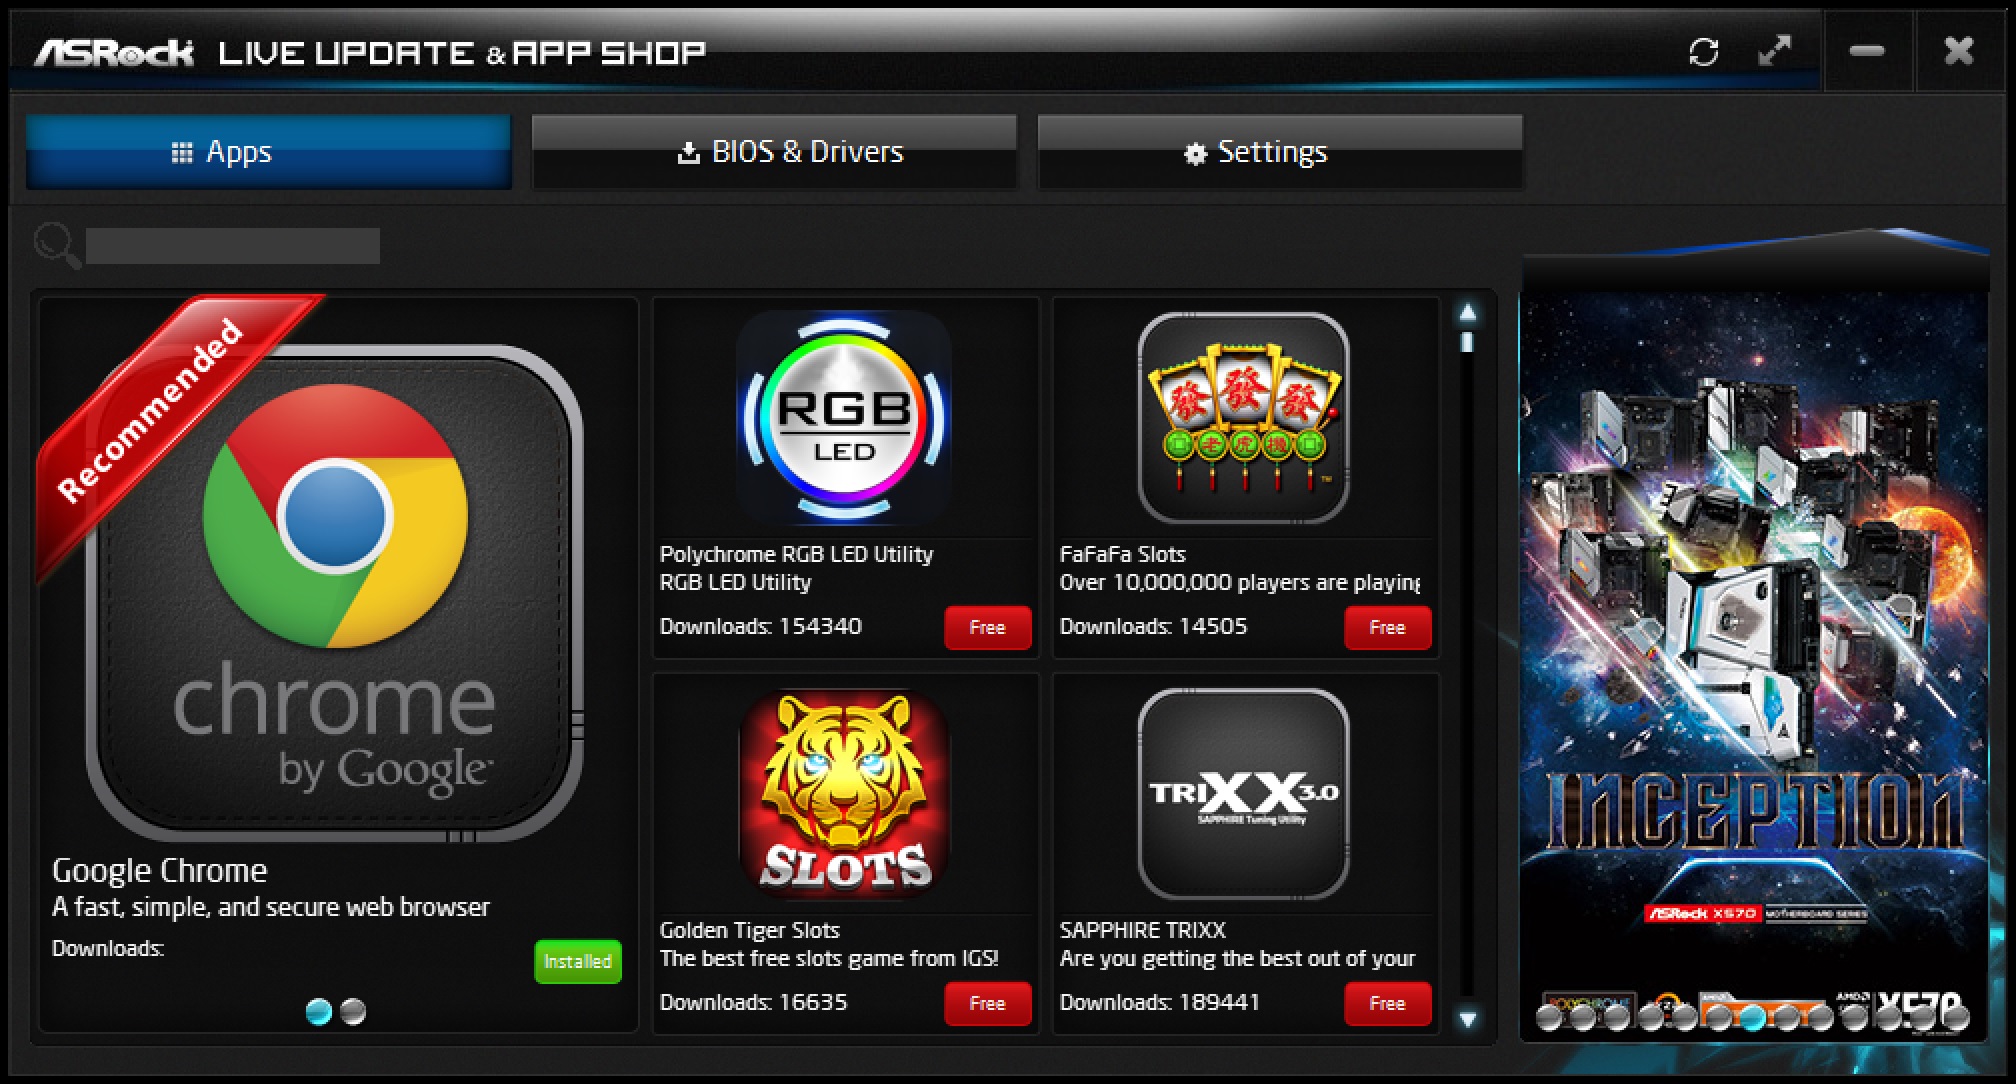
As far as motherboard companion software ASRock makes downloading apps and drivers very easy with their APP Shop. Through it you can download all of the drivers, software, and misc apps for your motherboard.
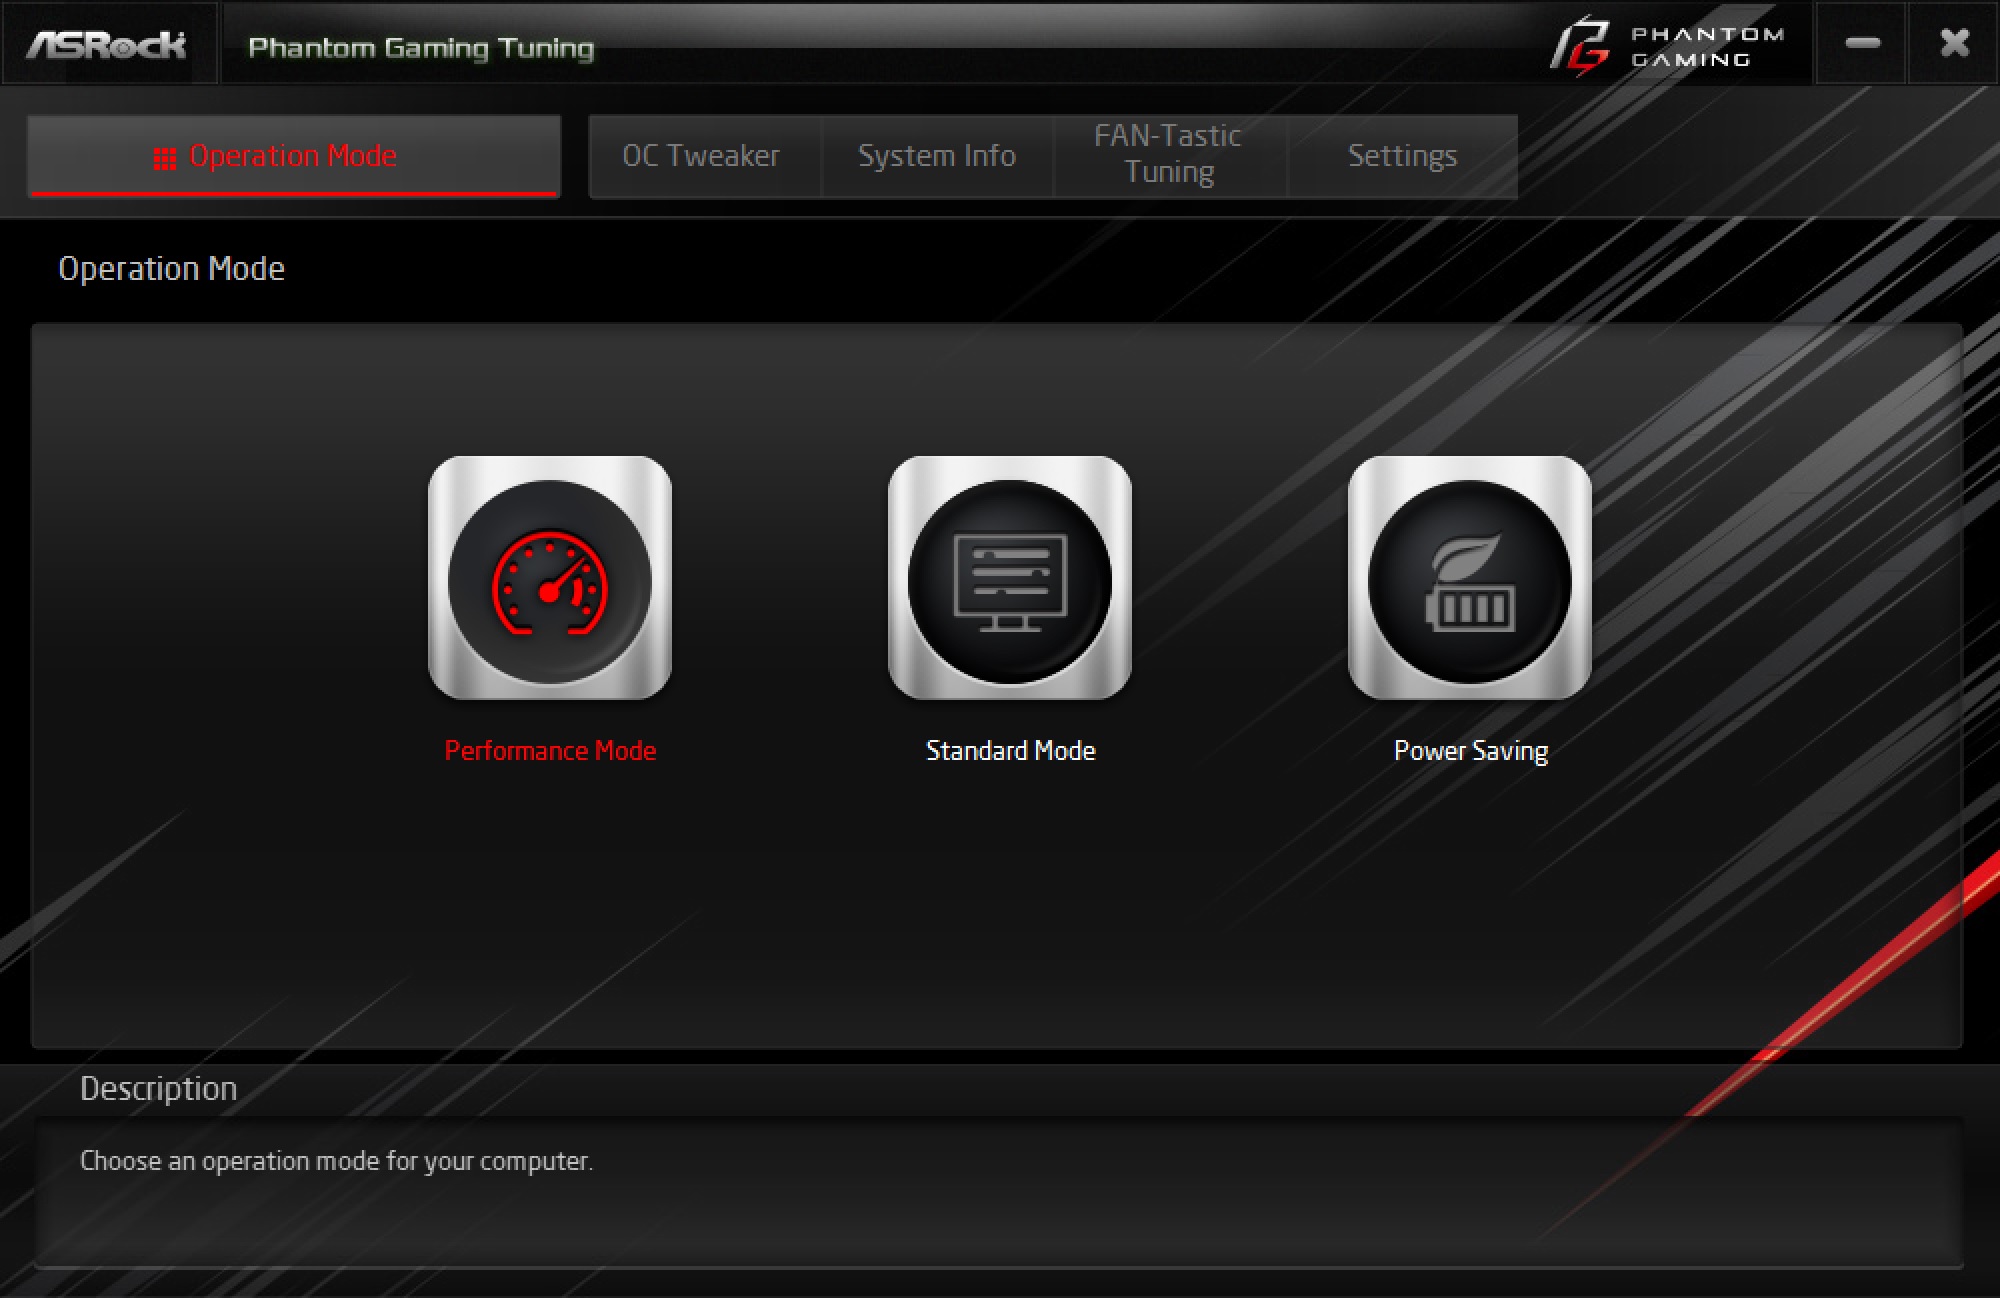
ASRock’s main motherboard companion software is A-Tuning, although when you download it on a Phantom board it will be called Phantom Gaming Turning. Here you can fully tune your system within Windows. On the main screen you have Operation Mode where you can select between Performance Mode, Standard Mode, or Power Saving Mode.
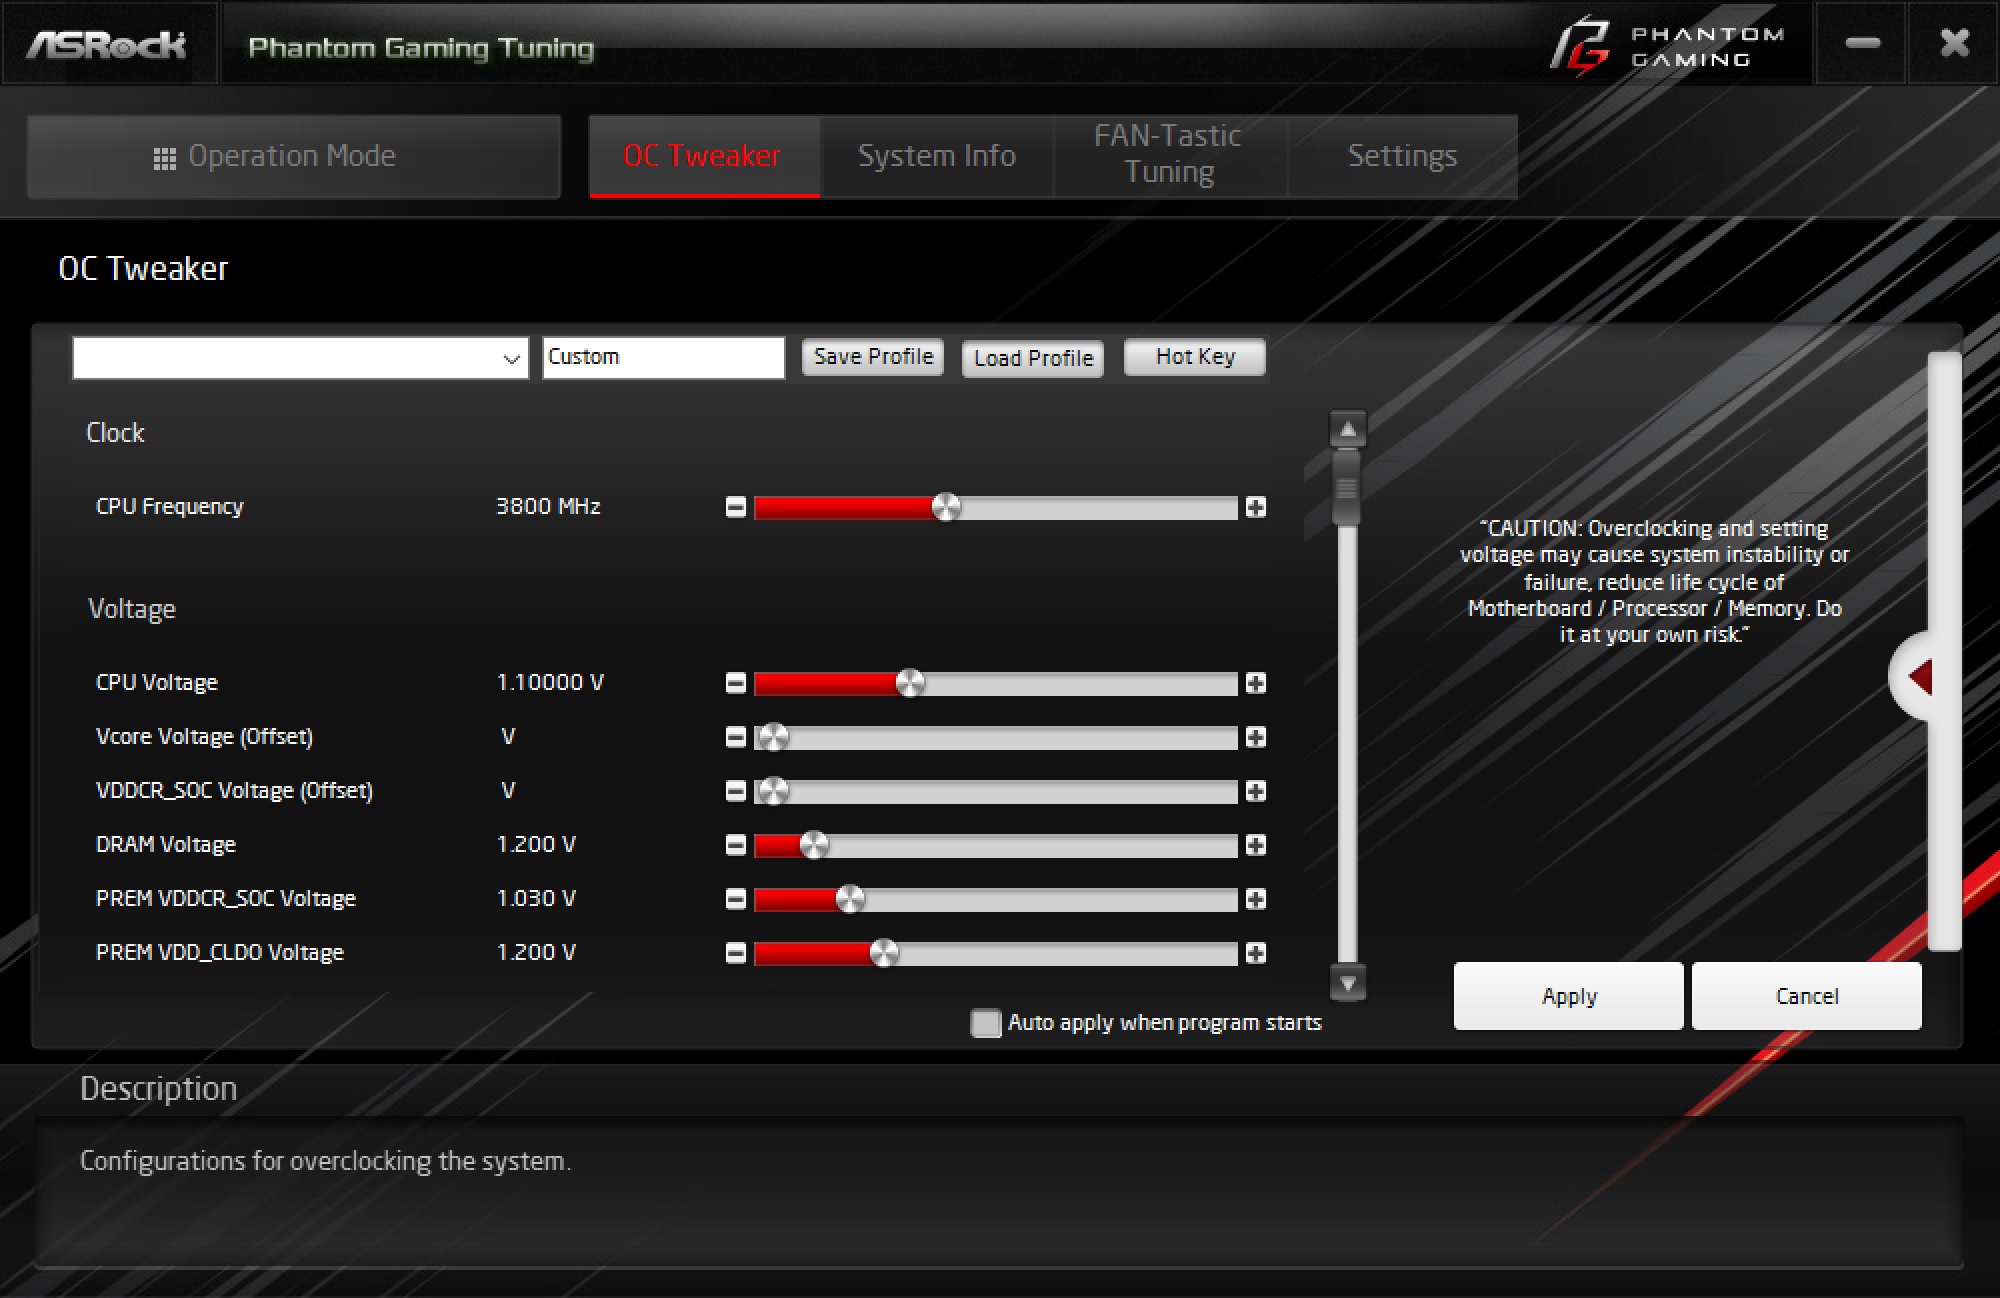
The next tab is OC Tweaker. Here you have sliders for all different types of settings that have to do with tuning your CPU and memory.
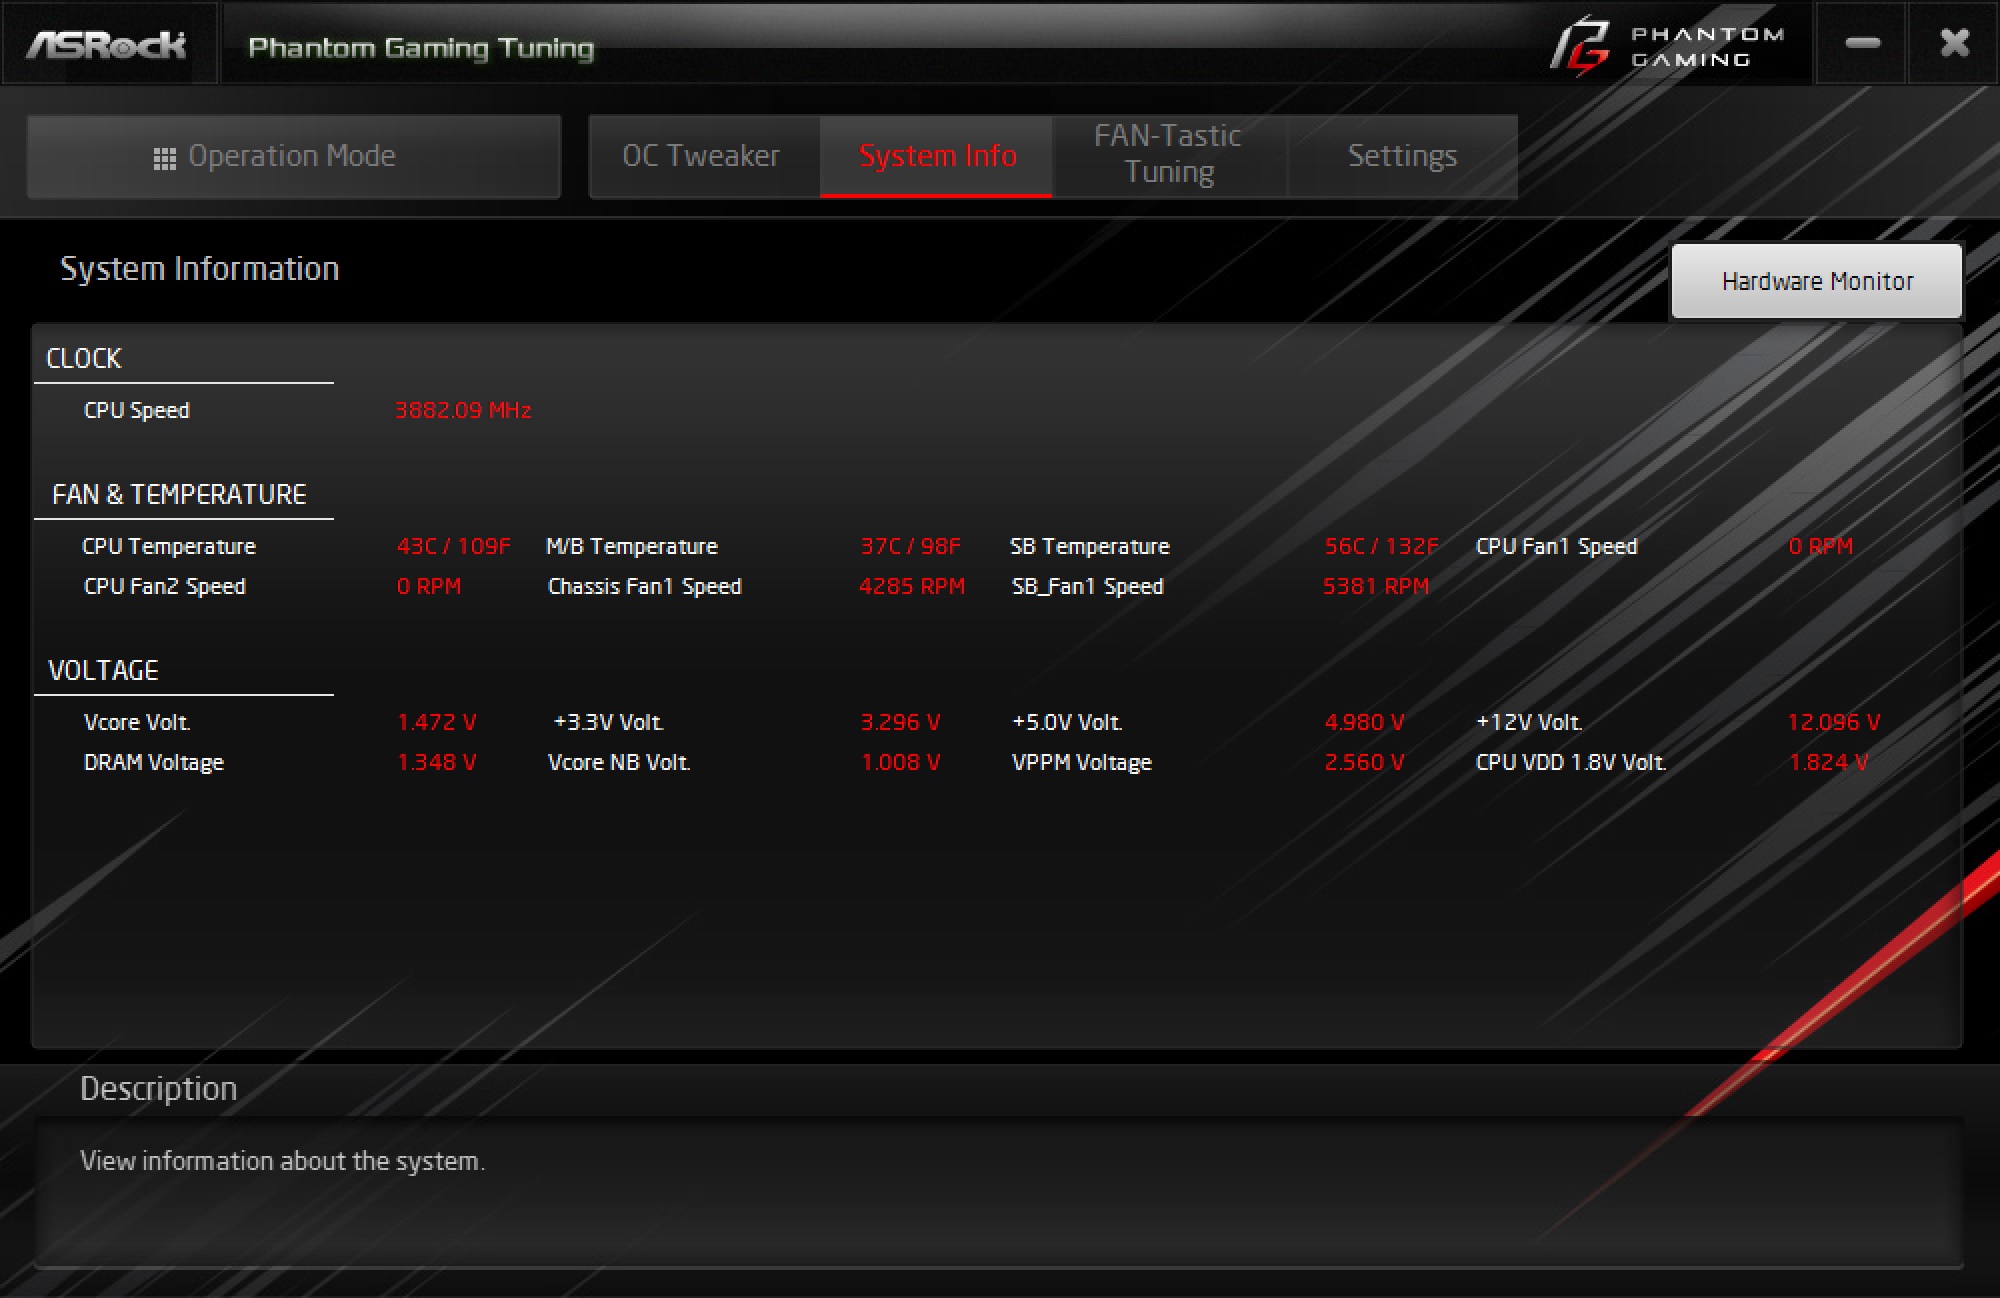
System Info will show you your clock speeds, fan speeds, temperatures, and voltages in real time.
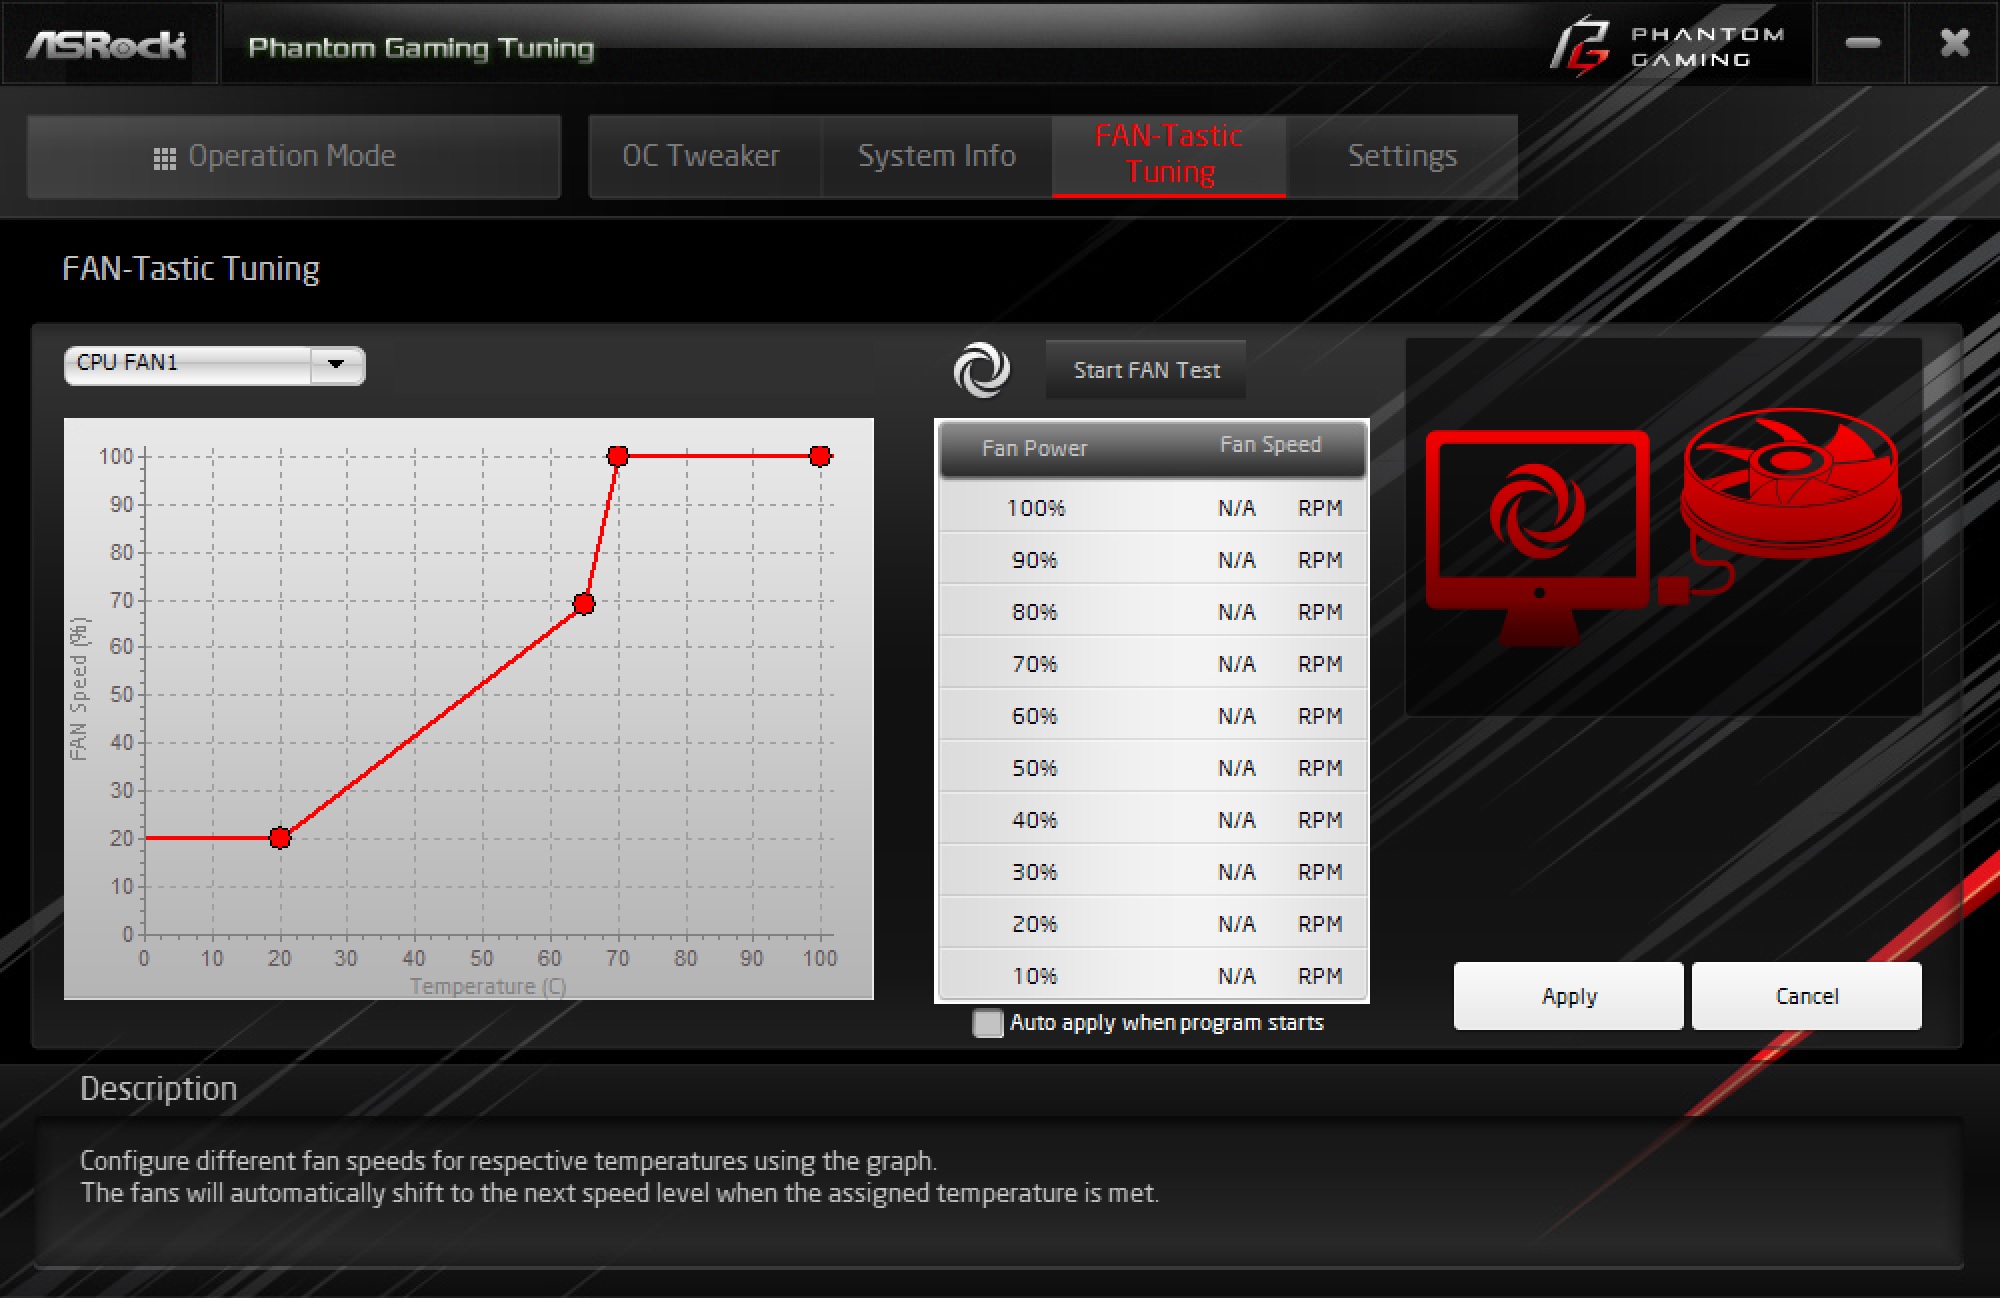
Finally you have FAN-Tastic Tuning, which allows you to set custom fan curves or even run a test to set a curve based on your setup.