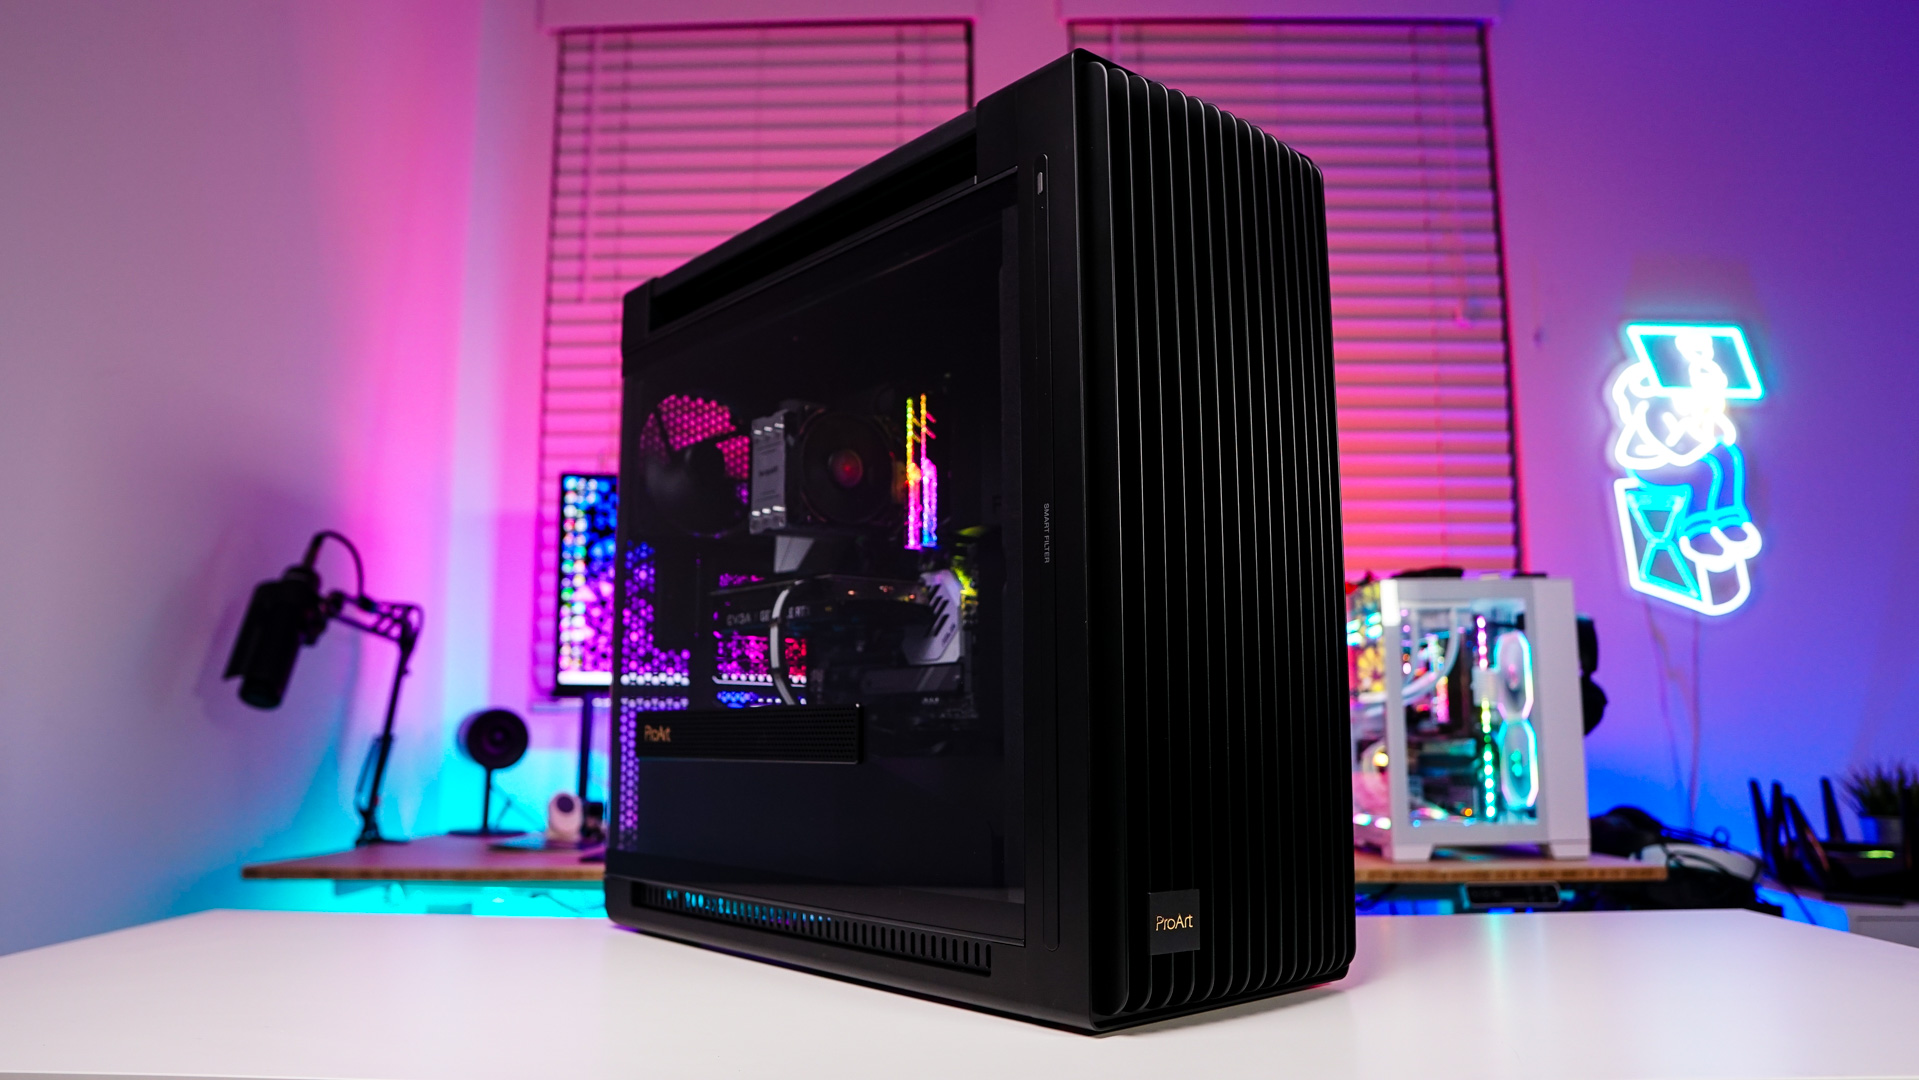
A Look Inside
Opening up either side of the case is quite easy. There are buttons on the back of the case that you just press in and they will unlock each panel. The panels will sort of sit there for you to remove them, so you don’t have to worry about them dropping and scratching up your desk.


Removing the main side panel we can see that the interior of the case is separated into two compartments separated by a full-coverage power supply cover. As far as what you can fit in the main compartment of the case there is support for motherboards up to E-ATX (12″x10.9″), graphics cards as long as 440mm, and CPU coolers as tall as 190mm. You’ll also notice what looks like cable covers, but these are deflectors to better direct the airflow coming from the two front 200mm fans.


There is also a graphics card support bracket towards the front of the case. This gets extended out if you plan to use it. The power supply cover actually has another air deflector built onto the front of it which guides air up to cool off your graphics cards. The rest of the power supply cover is metal and has one large opening for cable routing.


Moving to our I/O covers they are held into place with simple screws and we can see the tool-free graphics card clamp. Above that is the included 140mm cooling fan, this fan is thicker than most fans at 28mm thick.


Removing the opposite side panel we can see how the rest of the case is designed. The first thing that caught my attention were the three cable guides with their Velcro straps with the ProArt logo on them. These will make organizing all of your cables quite easy.


Positioned in the center of the case at the top is the included fan controller. All of the fans that come with the case are pre-wired to this controller you just have to plug it into power and into the PWM connection on your motherboard. The fan controller supports up to six fans, so you can easily add more fans to the case and connect them to the controller no problem. Right next to the controller is a little cover that helps route all of the cables coming from the front of the case.


Towards the front of the case are four removable 2.5-inch SSD mounts. These are all made of metal which is nice to see. Moving down we have two hard drive cages, the first a single removeable tray, while the second has two removeable trays. These trays will support either a 2.5-inch drive or 3.5-inch drive. Like most things in this case these trays are made of metal. Both hard drive cages can be removed from the case. Next to the hard drive cages is where you’ll mount your power supply. By default this case will support power supplies as long as 190mm, but if you remove the hard drive cages you’ll get more room.


On the backside of the motherboard tray you’ll find two removable storage trays. The larger one that sits behind your CPU will only support a 2.5-inch drive while the smaller one below it will only support a 3.5-inch drives. So out of the box this case will support up to up to nine hard drives.