Installation
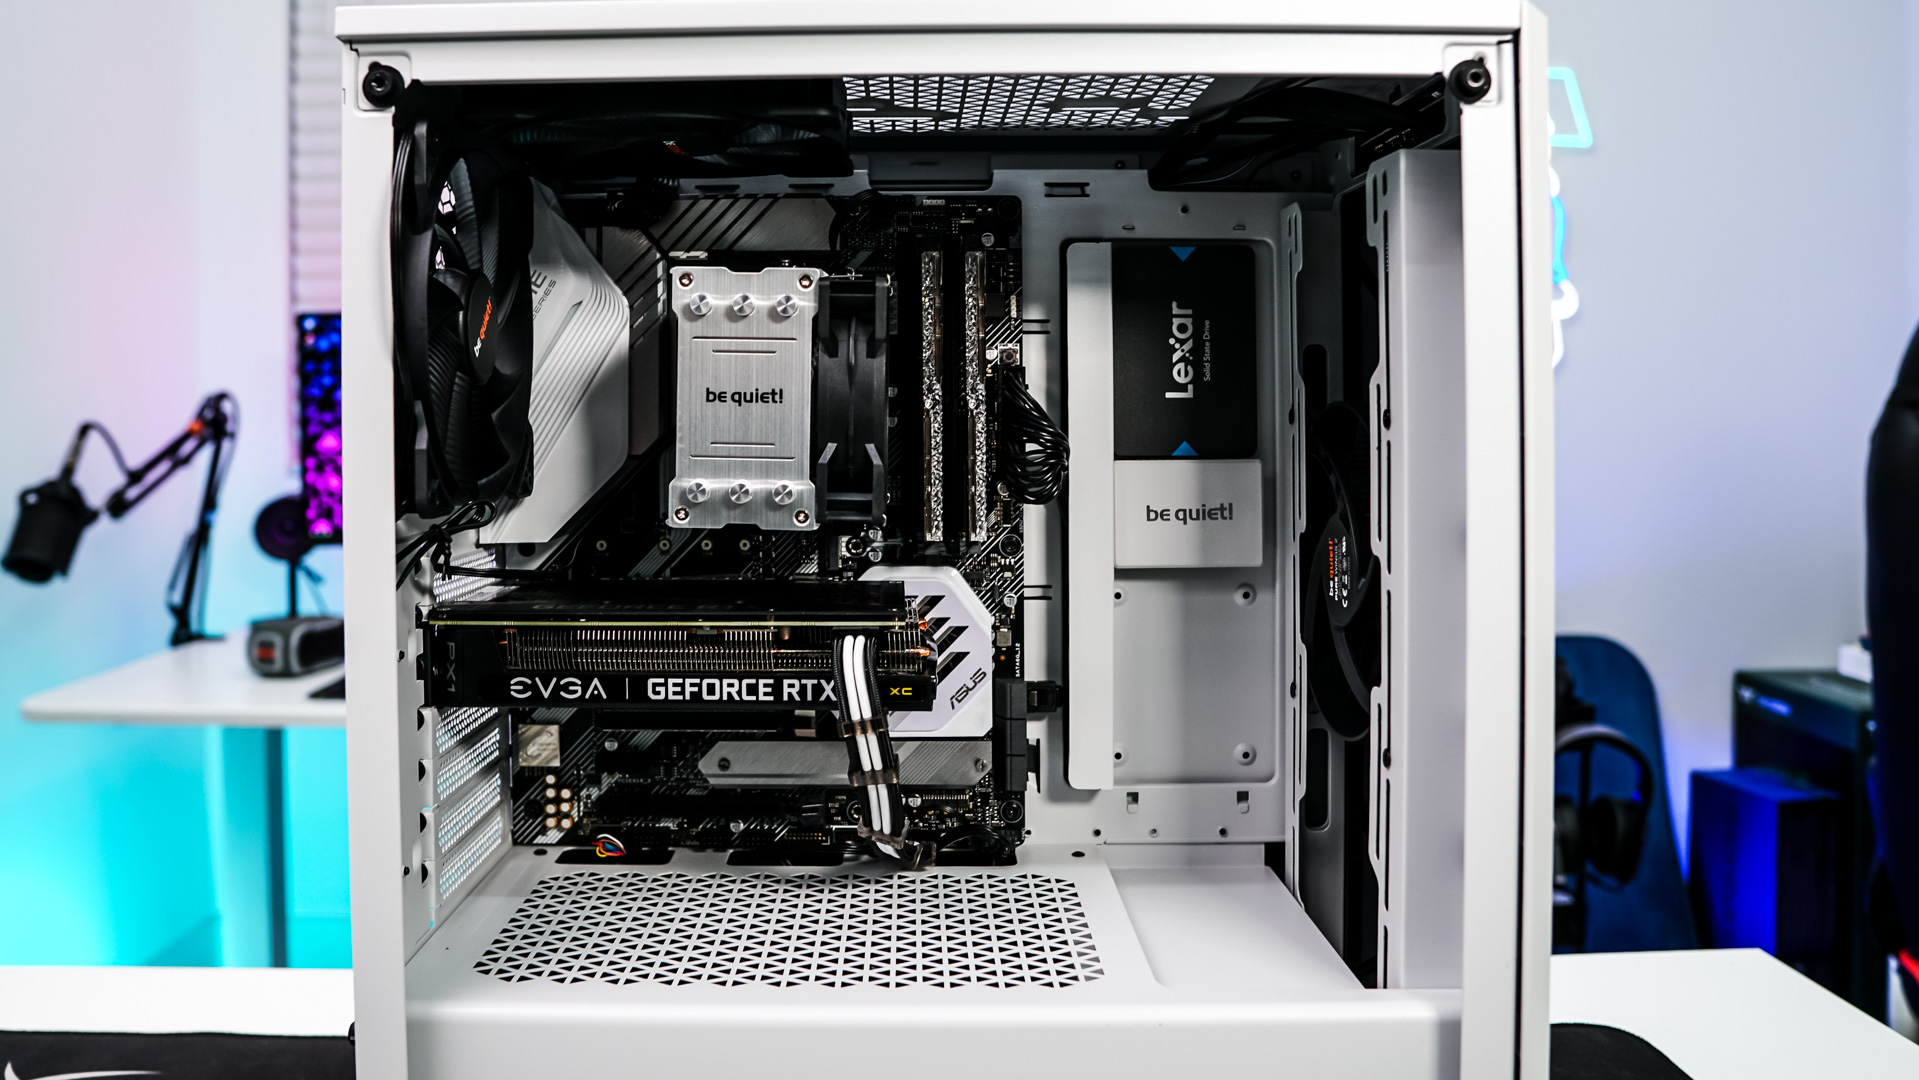
Getting your hardware installed in the Pure Base 500DX is pretty straight-forward. The first thing we are going to install is our motherboard. be quiet! has already installed the motherboard standoffs so we easily place our board and secure it with the included screws. Now we actually use the 500DX as the case for our CPU Cooler reviews, and with the motherboard we use for that case we actually have to remove the rear fan to get it installed, but with the board we are using here we did not have to.
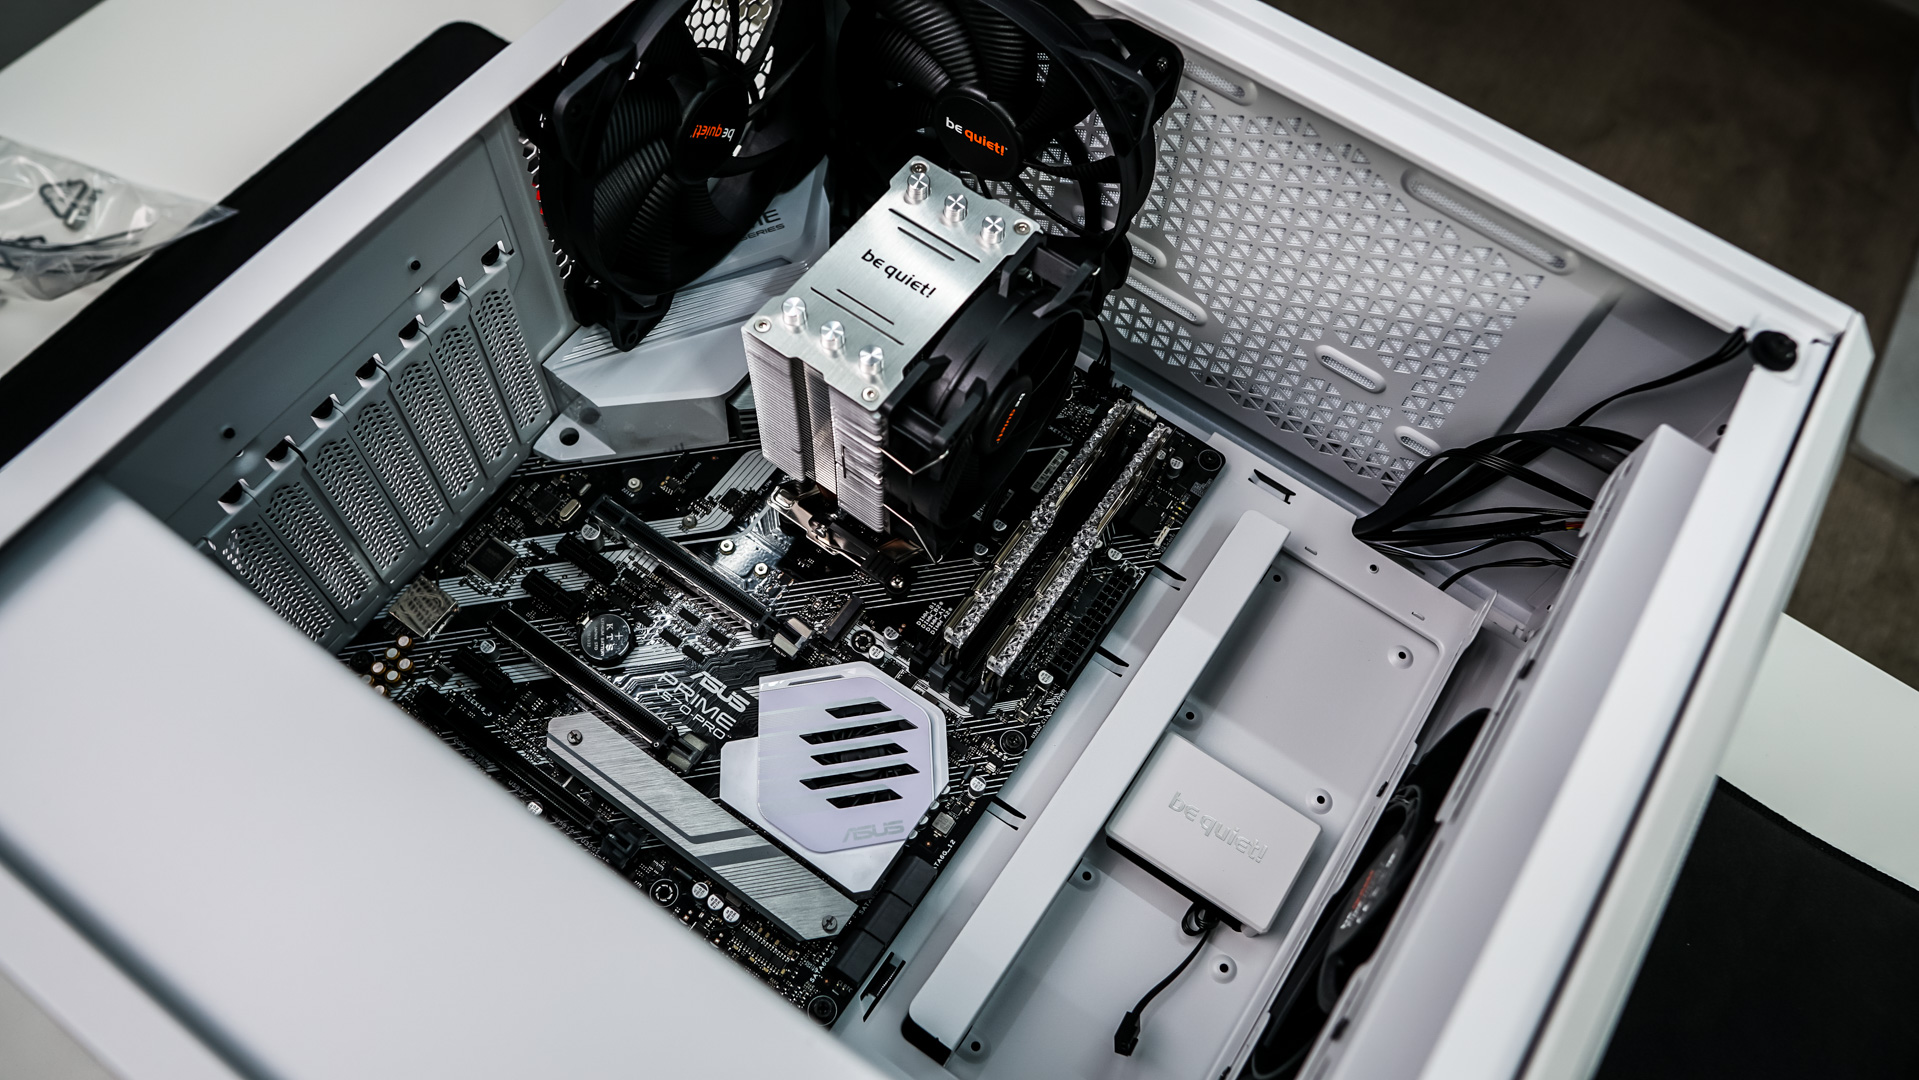
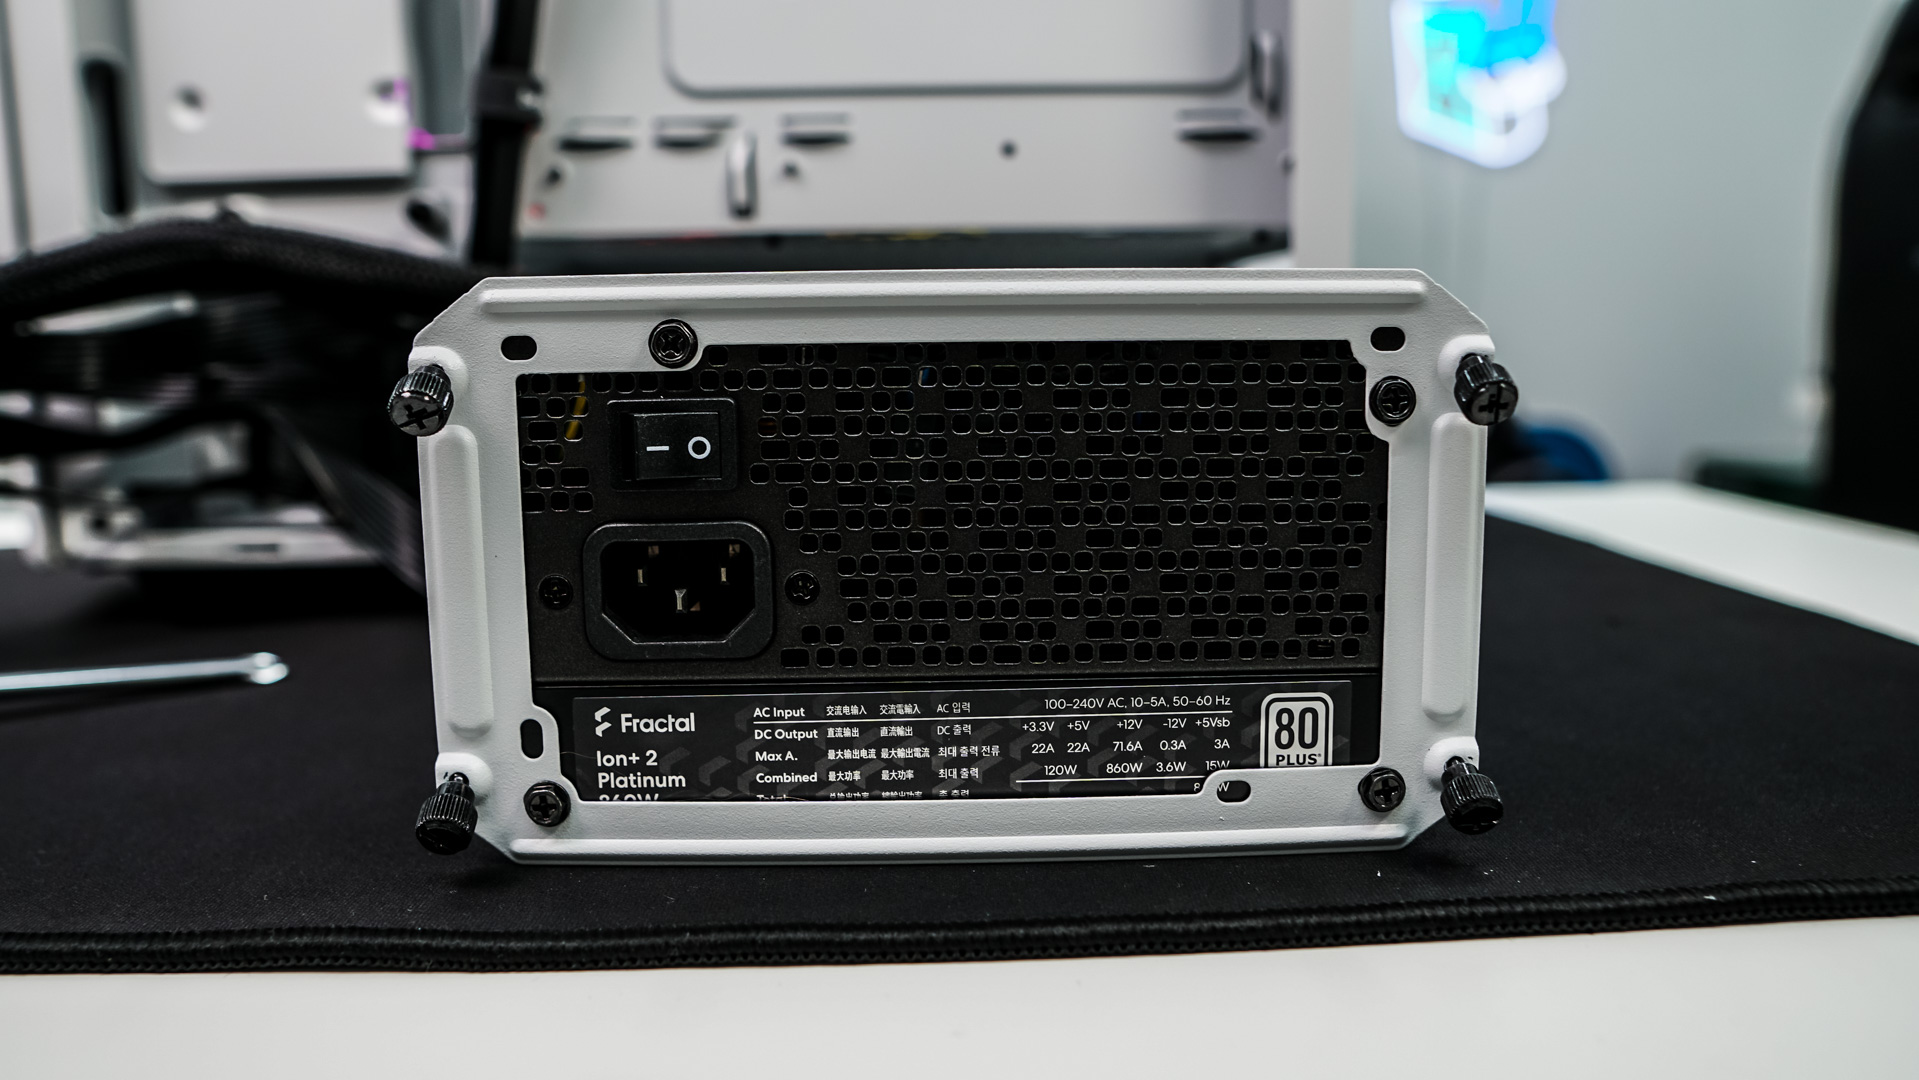
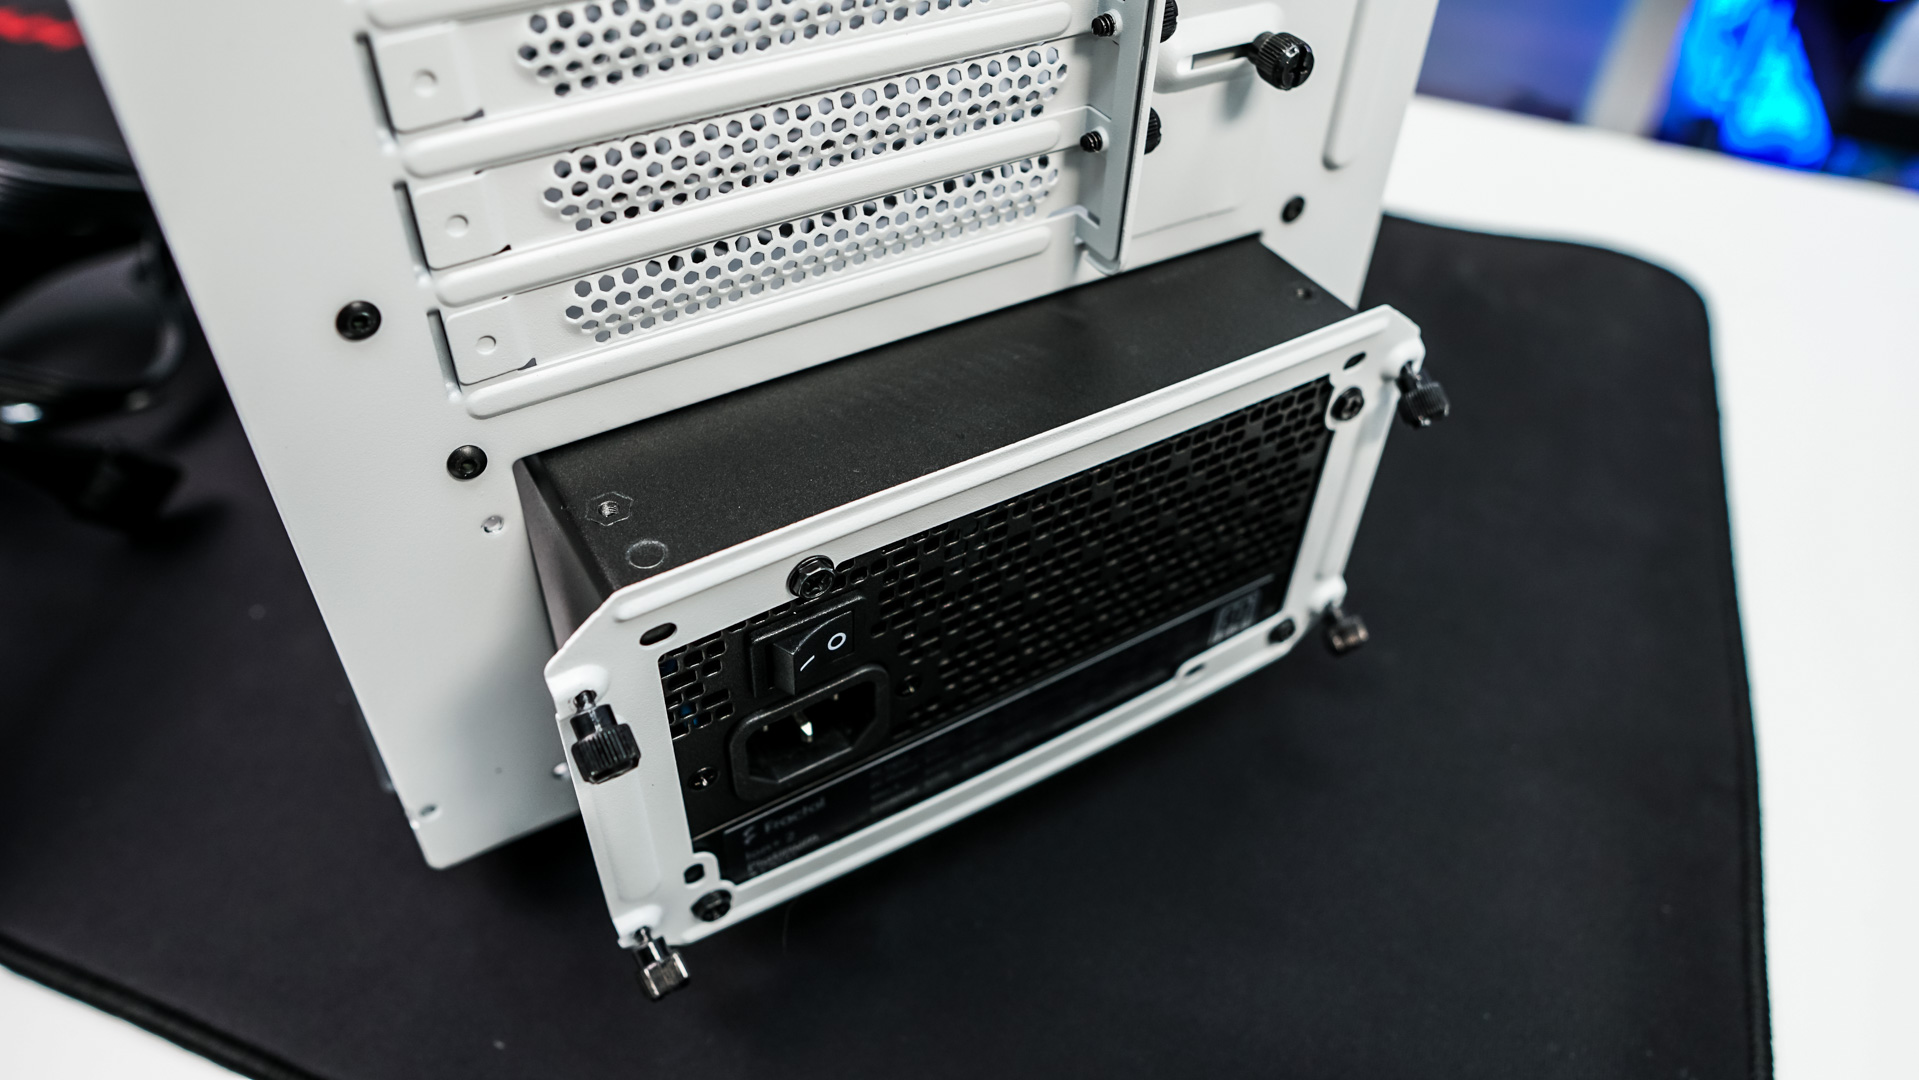
The next thing you are going to want to install is your power supply. Remove the power supply bracket from the rear of the case and screw it on to the back of your power supply. Then slide your power supply in from the back securing it with the thumbscrews on the power supply bracket.
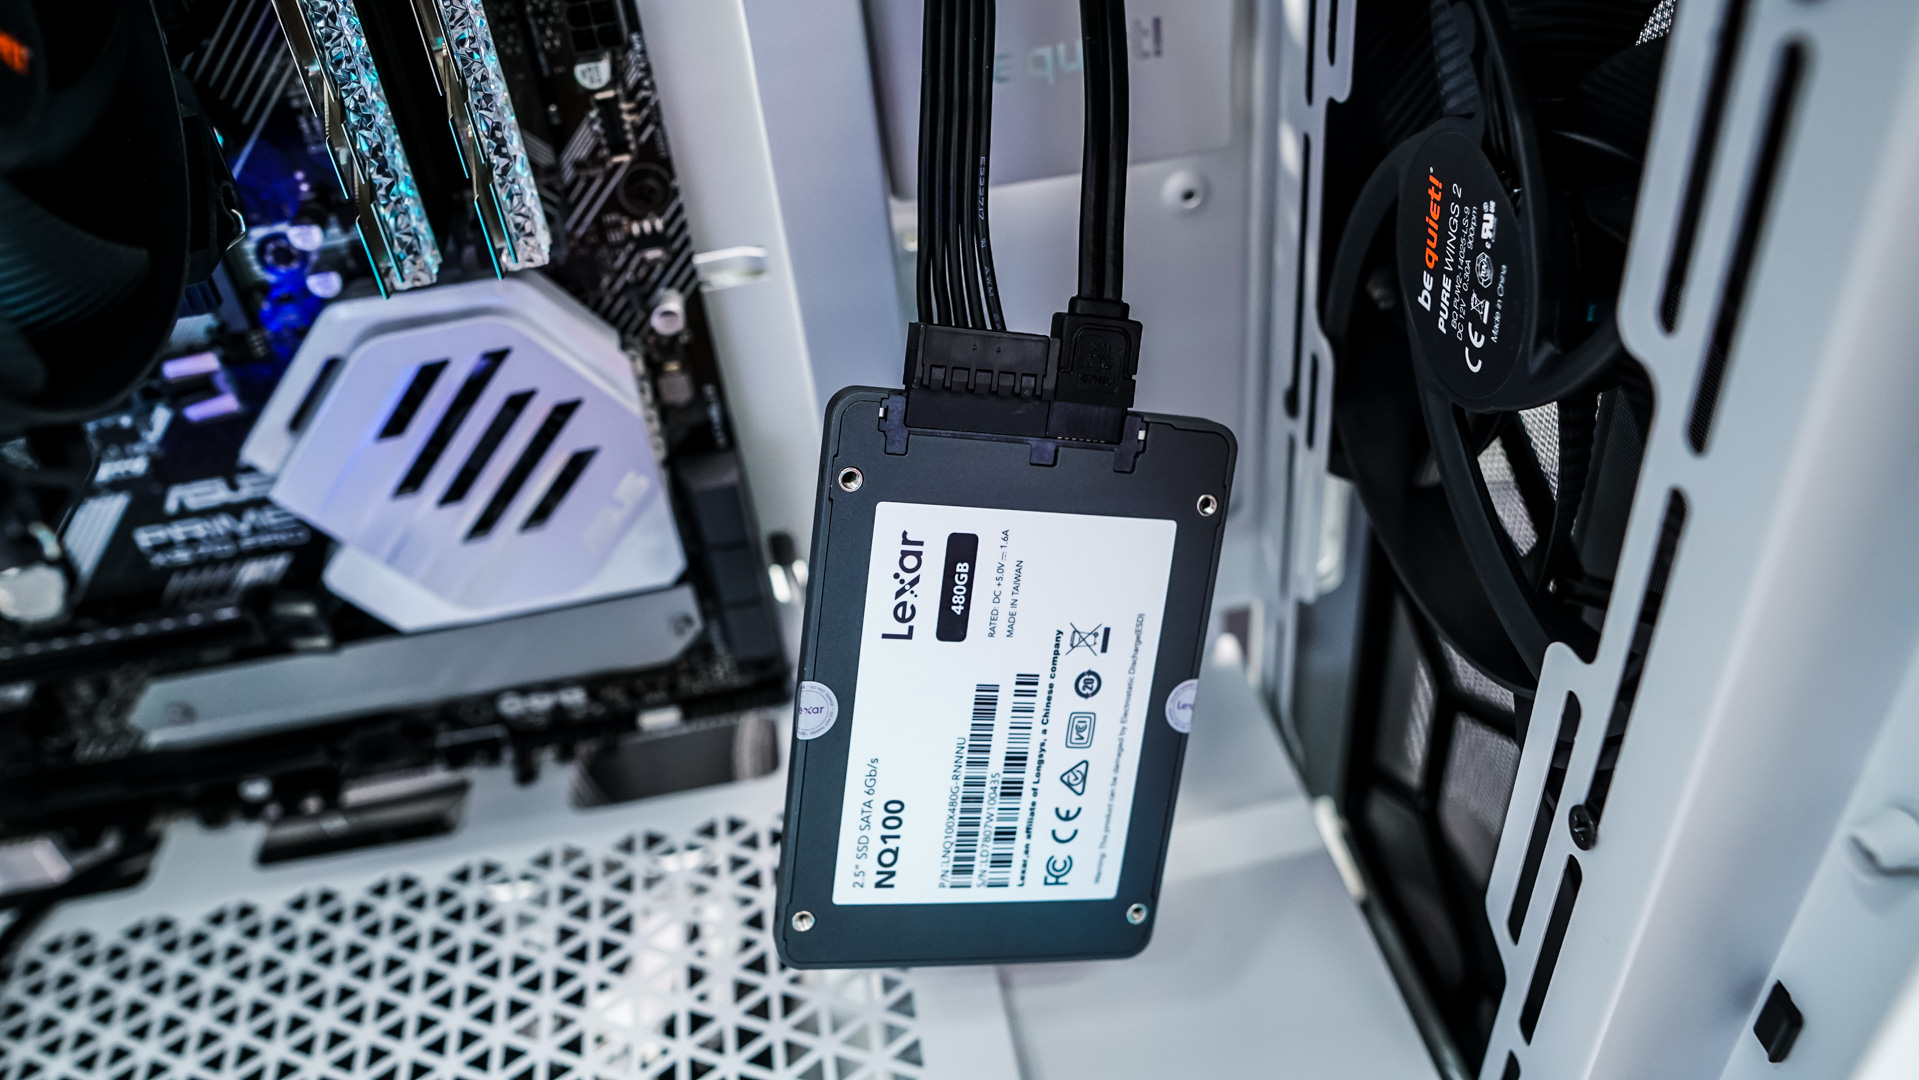
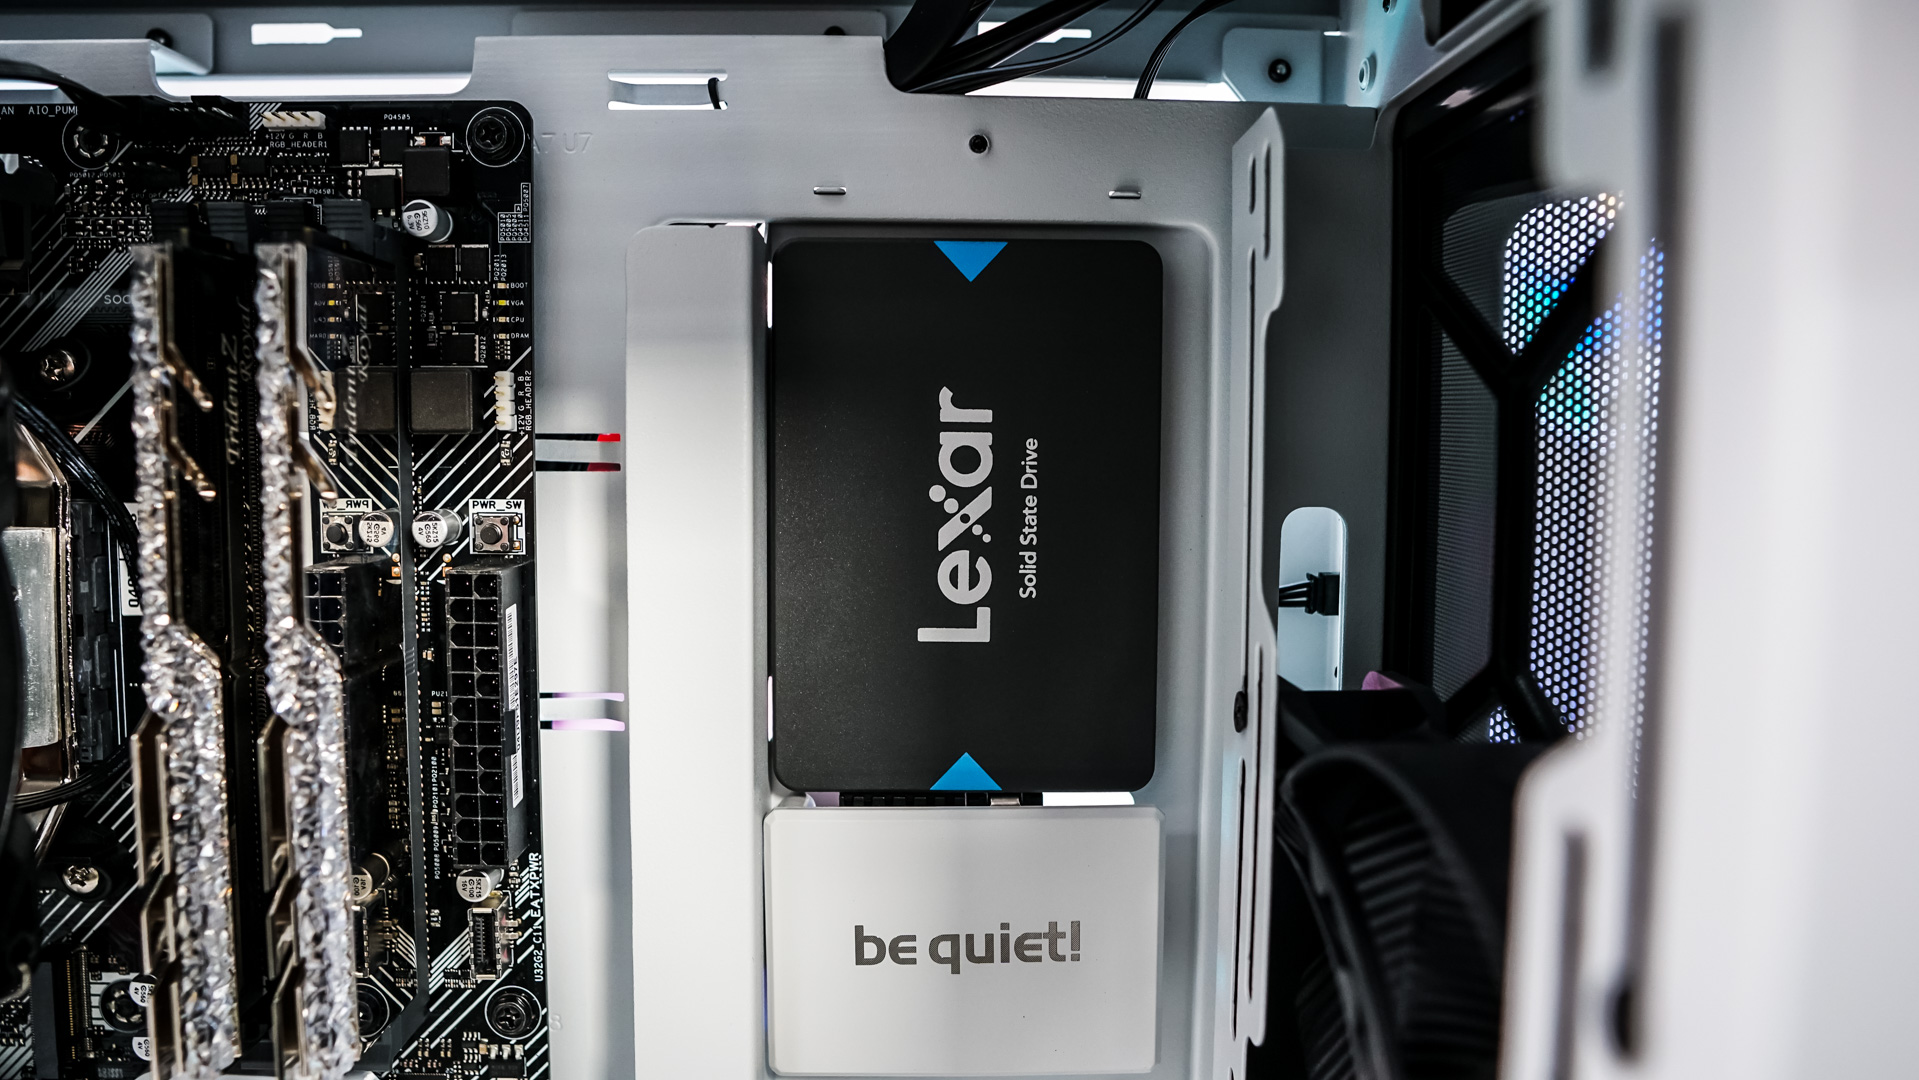
For my solid state drive I decided to install it on the main side of the case. I actually like these placements as I feel many times this part of the case feels empty. I would suggest connecting the cables to your drive before you install it. Install your drive is simple enough just line it up and secure it with four screws.
Our last piece of hardware is our graphics card which goes in no problem as there is more than enough room for it in this case. For those wondering you can install graphics cards all the way up to 369 mm.
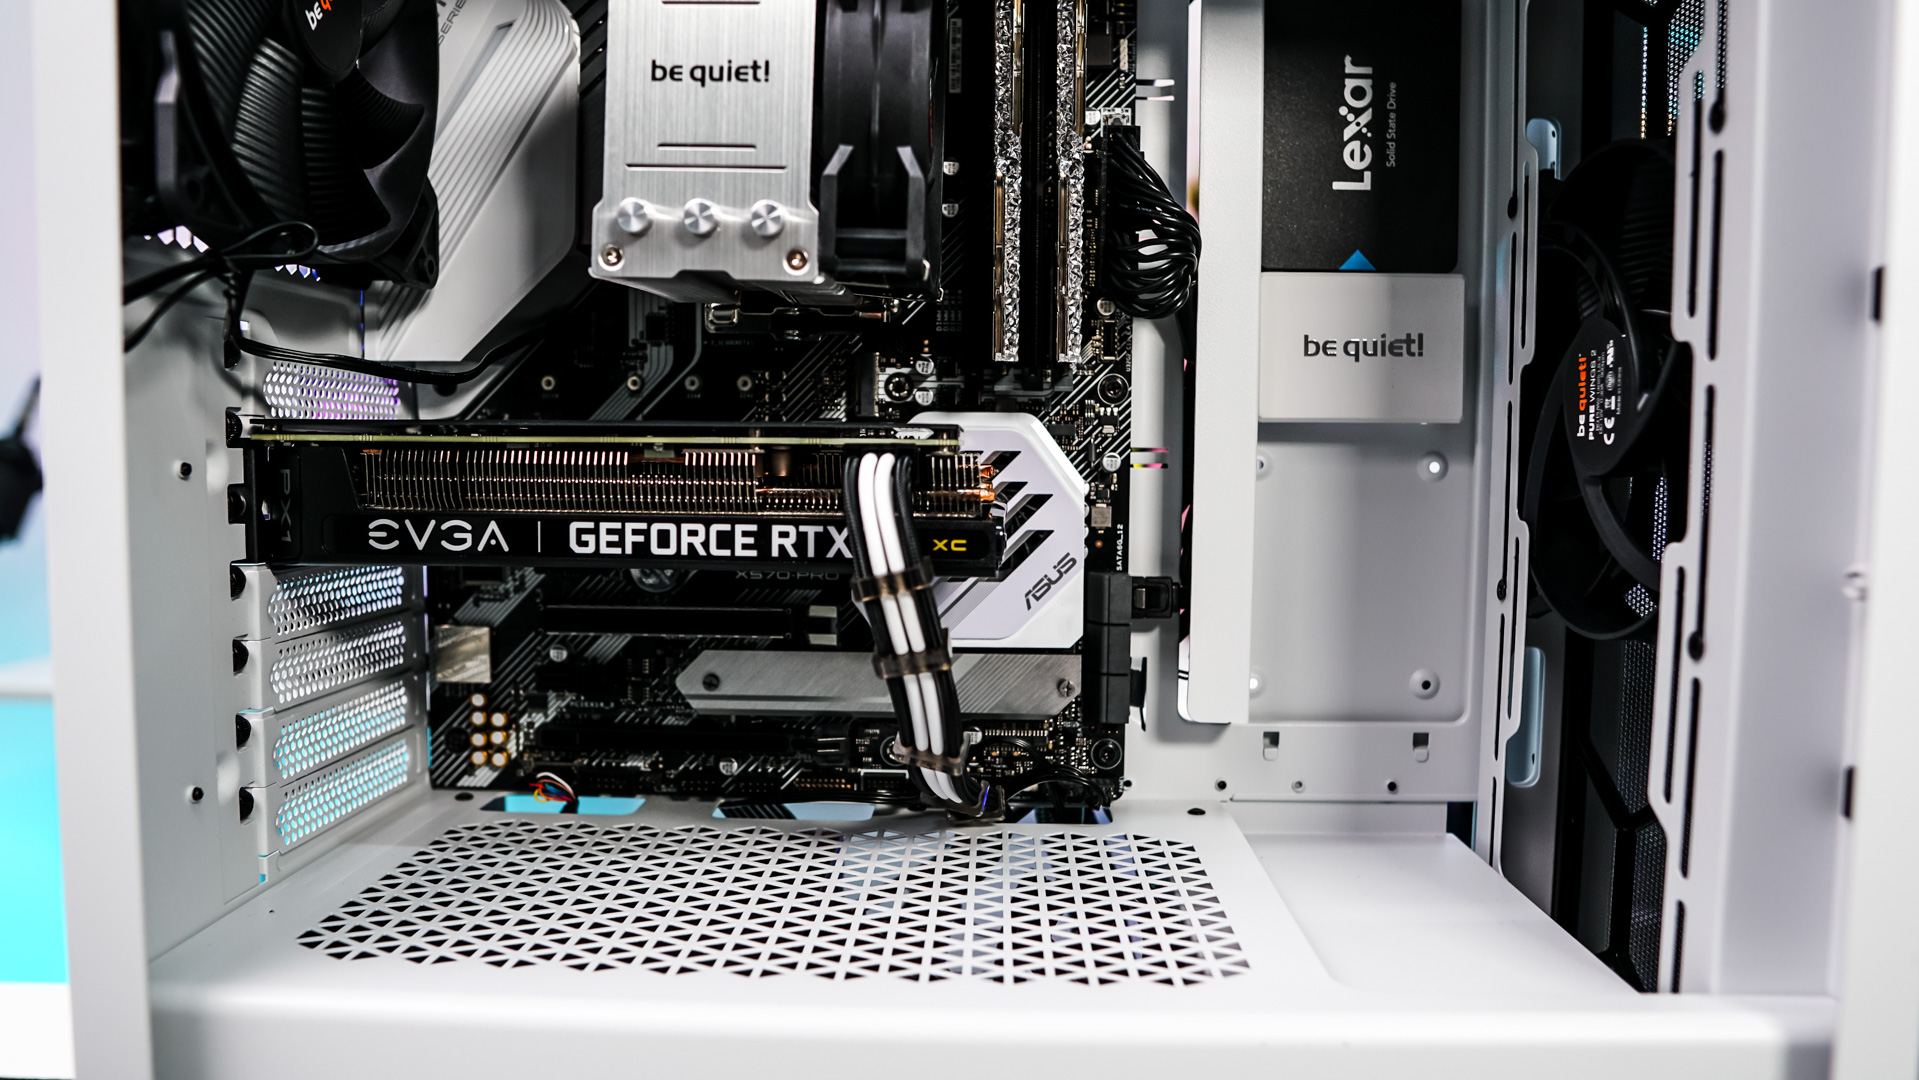
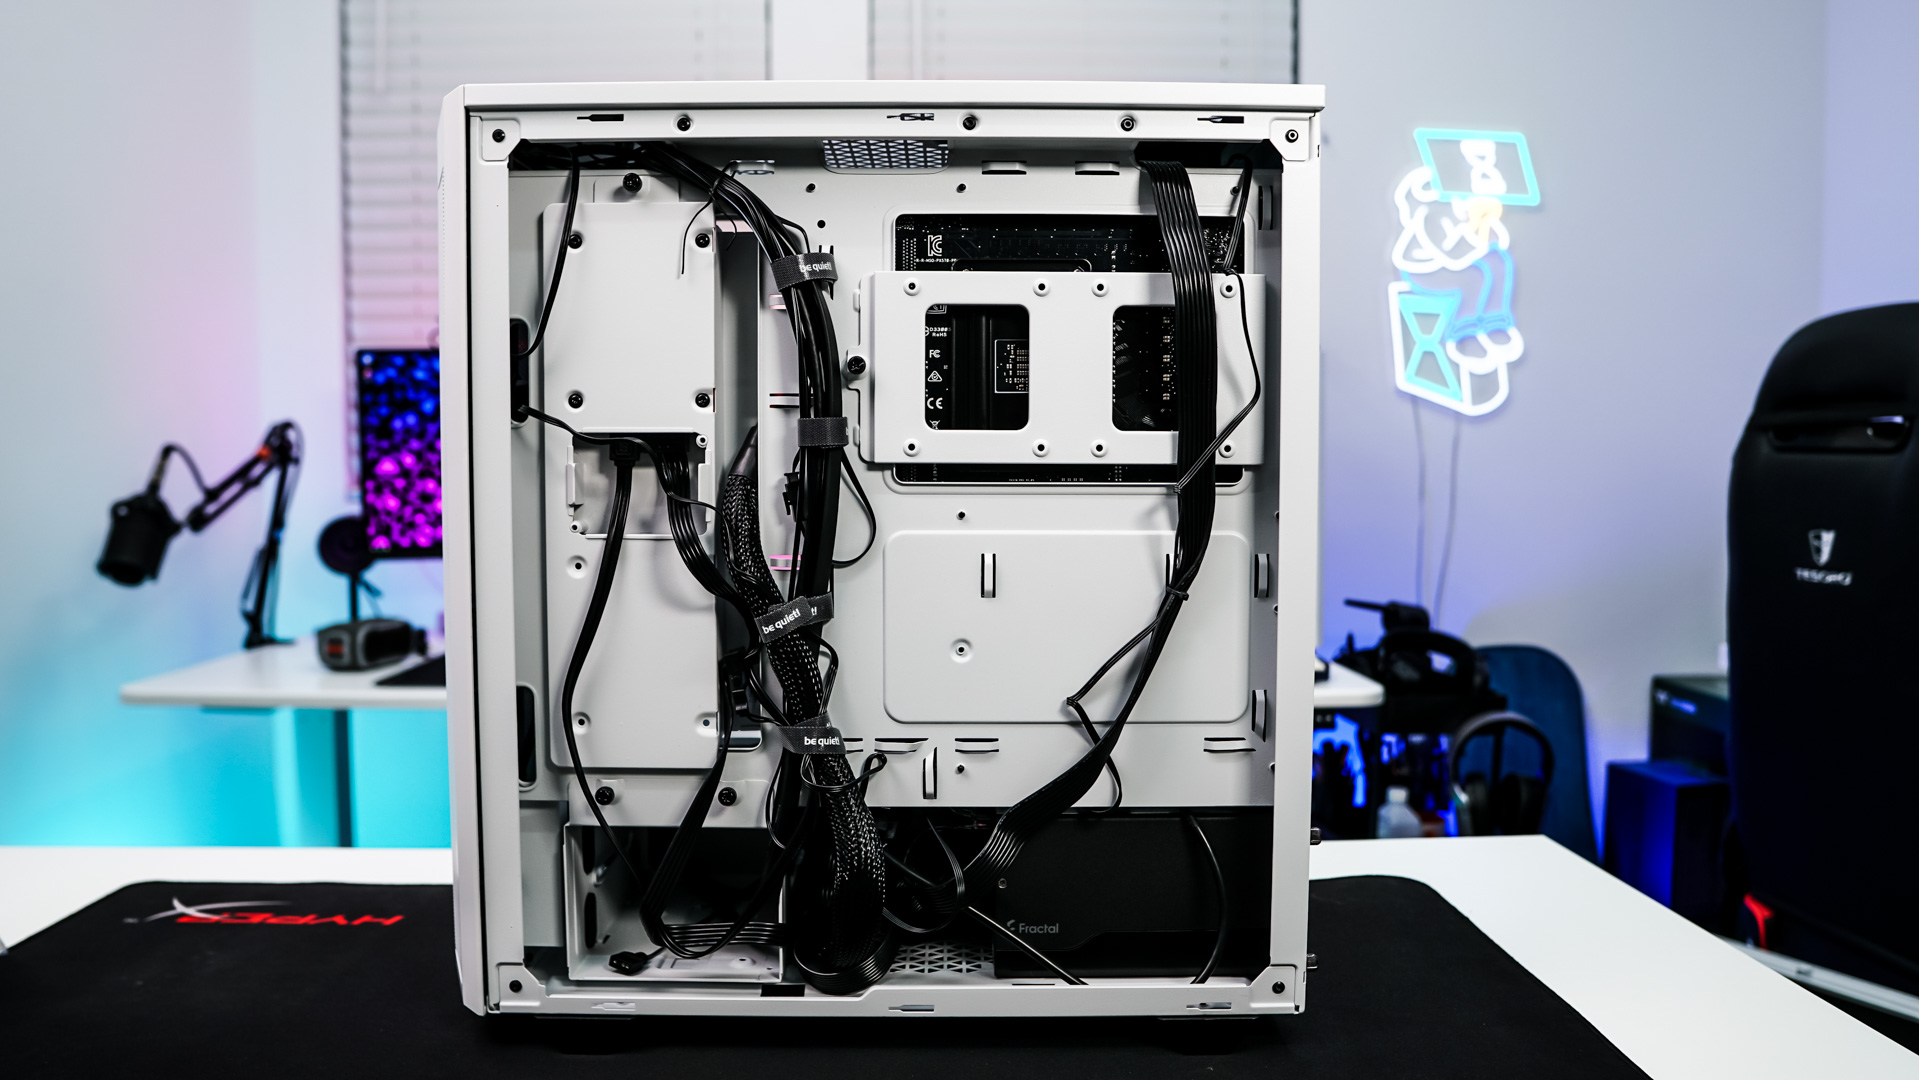
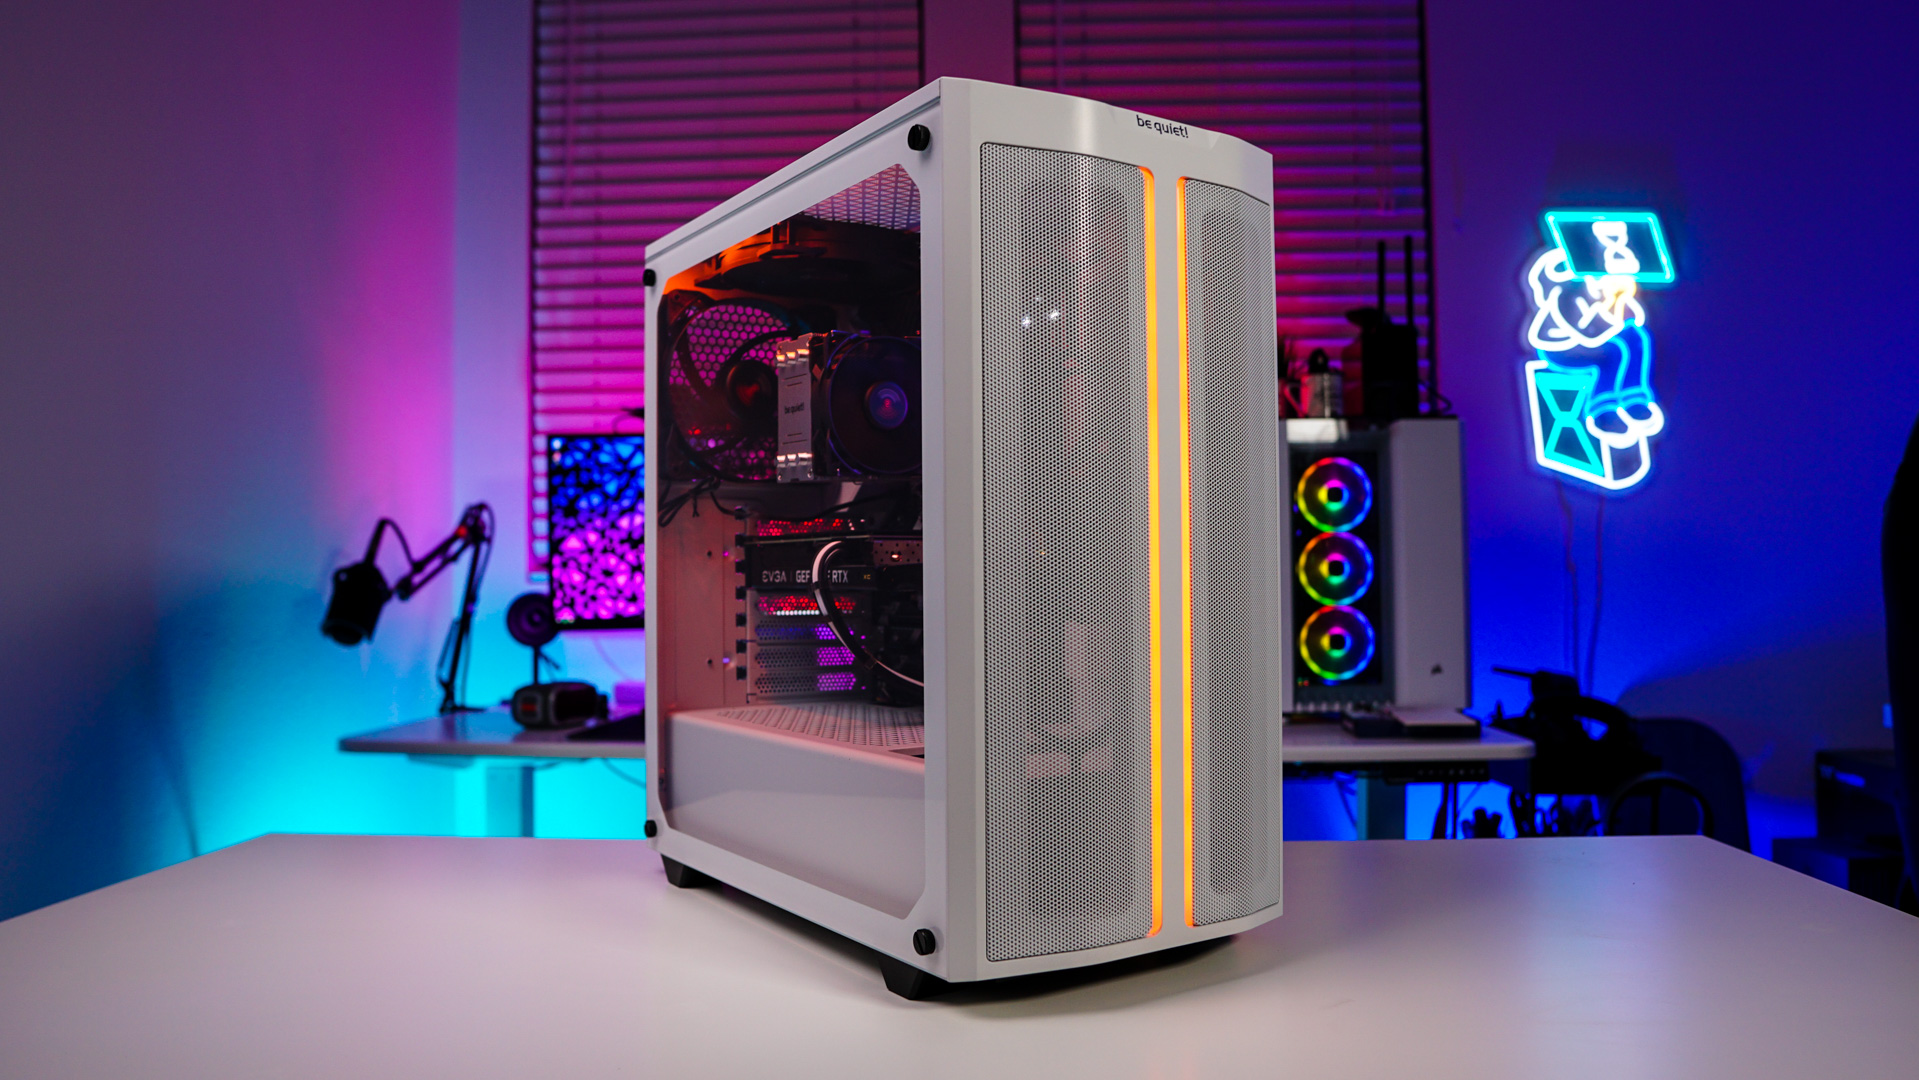
Finally it is time to run all of our cables which is really easy in this case. The included Velcro straps as well as the tie-down points make things very easy. In the end we have a very nice and clean build.