


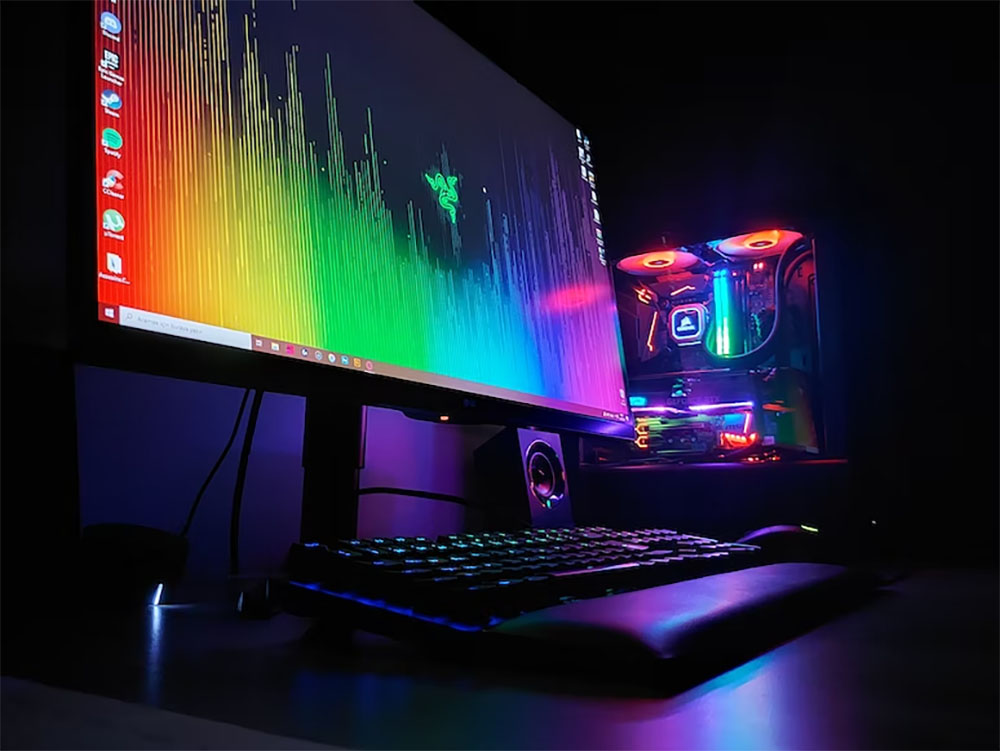
Graphics card artifacts are visual glitches that appear on your screen, including strange lines, dots, or distorted images. These artifacts indicate that something is wrong with your GPU (Graphics Processing Unit). If not addressed, GPU artifacts can worsen over time and affect your computer’s performance. In this article, we’ll explore the common causes of GPU artifacts and how to repair them effectively.
What Are GPU Artifacts?
GPU artifacts are unwanted visual anomalies that occur when a graphics card is malfunctioning. These can take various forms, such as:
- Screen Flickering
- Random Dots or Pixels (Dead Pixels)
- Strange Colors or Lines
- Distorted Images
- Screen Tearing
Artifacts can appear during gaming, video playback, or even general use. The root cause can vary, from hardware damage to software conflicts.
Common Causes of GPU Artifacts
Understanding what causes GPU artifacts is the first step toward fixing them. Here are the most common reasons:
1. Overheating
A GPU generates significant heat during intensive tasks. Poor airflow, clogged fans, or degraded thermal paste can cause overheating. Temporary artifacts may appear after long gaming sessions or during graphically demanding tasks.
2. Overclocking
Overclocking boosts GPU performance by increasing clock speeds and voltage. However, pushing the GPU beyond its safe limits can cause instability and artifacts. Artifacts often appear soon after increasing clock speeds.
3. Faulty VRAM (Video RAM)
VRAM stores textures and frame data. Damaged or defective VRAM can corrupt image rendering. Specific textures or areas of the screen may display incorrectly.
4. Driver Issues
Outdated or corrupted drivers can cause communication issues between the GPU and the system, leading to artifacts. Artifacts might occur after a driver update or during specific tasks like gaming.
5. Power Supply Problems
A GPU requires a stable power source. Faulty or underpowered PSUs (Power Supply Units) can cause voltage irregularities. Artifacts may appear during power-intensive tasks or when other components draw heavy power.
6. Physical Damage
Physical damage to the GPU, such as cracked solder joints or burnt components, can lead to malfunctioning. Persistent artifacts may occur regardless of system load.
7. Dust and Debris
Dust buildup can block ventilation and heat sinks, causing overheating. Artifacts often appear after prolonged use or when fans are visibly dirty.
8. Faulty Connections
Loose HDMI or DisplayPort connections can disrupt signal transmission, causing intermittent screen glitches or flickering.
How to Repair GPU Artifacts
Once you’ve identified the potential cause, here are the most effective repair solutions:
1. Clean the GPU and Case
Remove the GPU and gently clean it with compressed air. Ensure all fans and heat sinks are free from dust. Clean the PC case to improve airflow. Enhanced airflow helps keep the GPU cool, reducing artifact risks.
2. Reapply Thermal Paste
Remove the old thermal paste from the GPU chip and apply a fresh layer. Efficient heat transfer reduces overheating, a major cause of artifacts.
3. Reset Overclock Settings
If you’ve overclocked your GPU, reset it to factory settings using software like MSI Afterburner. Restoring default settings reduces instability and eliminates artifacts caused by excessive overclocking.
4. Update or Reinstall GPU Drivers
Use tools like DDU (Display Driver Uninstaller) to remove old drivers and install the latest version from the GPU manufacturer’s website. Updated drivers improve system stability and compatibility, reducing the chance of artifacts.
5. Check Power Supply Unit (PSU)
Ensure your PSU provides adequate power for your GPU. Replace it if it’s faulty or underpowered. A stable power supply reduces voltage fluctuations that can cause artifacts.
6. Test and Replace Faulty VRAM
Use stress-testing software like MemTestG80 to identify VRAM errors. If VRAM is damaged, professional GPU repair or GPU replacement may be required. Faulty VRAM corrupts image data, so identifying and resolving it eliminates artifacts.
7. Inspect Physical Damage
Look for burnt or broken components. Microsoldering might be necessary for serious damage. Professional services offer expert graphics card repair, restoring GPU functionality and stability.
8. Secure Connections
Ensure that HDMI, DisplayPort, and power cables are properly connected. Replace damaged cables if necessary. Secure connections eliminate signal disruptions that cause visual artifacts.
When to Seek Professional Help
If DIY repairs don’t solve the problem, or if you’re facing complex issues like soldering, professional repair services are the best option. At ZapFixers, we specialize in advanced graphics card repairs, including:
- Component Replacement: Fixing faulty capacitors, resistors, and HDMI ports repair.
- Thermal Management: Deep cleaning and reapplying thermal paste.
- Advanced Repairs: Microsoldering and VRAM replacement for severe issues.
Our technicians provide expert diagnostics and repairs, ensuring your GPU operates like new.
How to Prevent GPU Artifacts
Prevention is better than cure. Here’s how to avoid future GPU artifacts:
- Regular Cleaning: Clean your GPU and PC case every few months.
- Monitor Temperatures: Use software like HWMonitor to keep track of GPU temperatures.
- Stable Overclocking: If overclocking, increase speeds gradually and test for stability.
- Quality Power Supply: Invest in a reliable PSU that meets your GPU’s power requirements.
- Update Drivers Regularly: Keep drivers updated to avoid software conflicts.
- Good Ventilation: Ensure your PC case has sufficient airflow.
Final Thoughts
GPU artifacts are often a sign of underlying issues that require prompt attention. By understanding common causes and applying the right fixes, you can prolong the life of your graphics card and maintain optimal performance.


