Installation
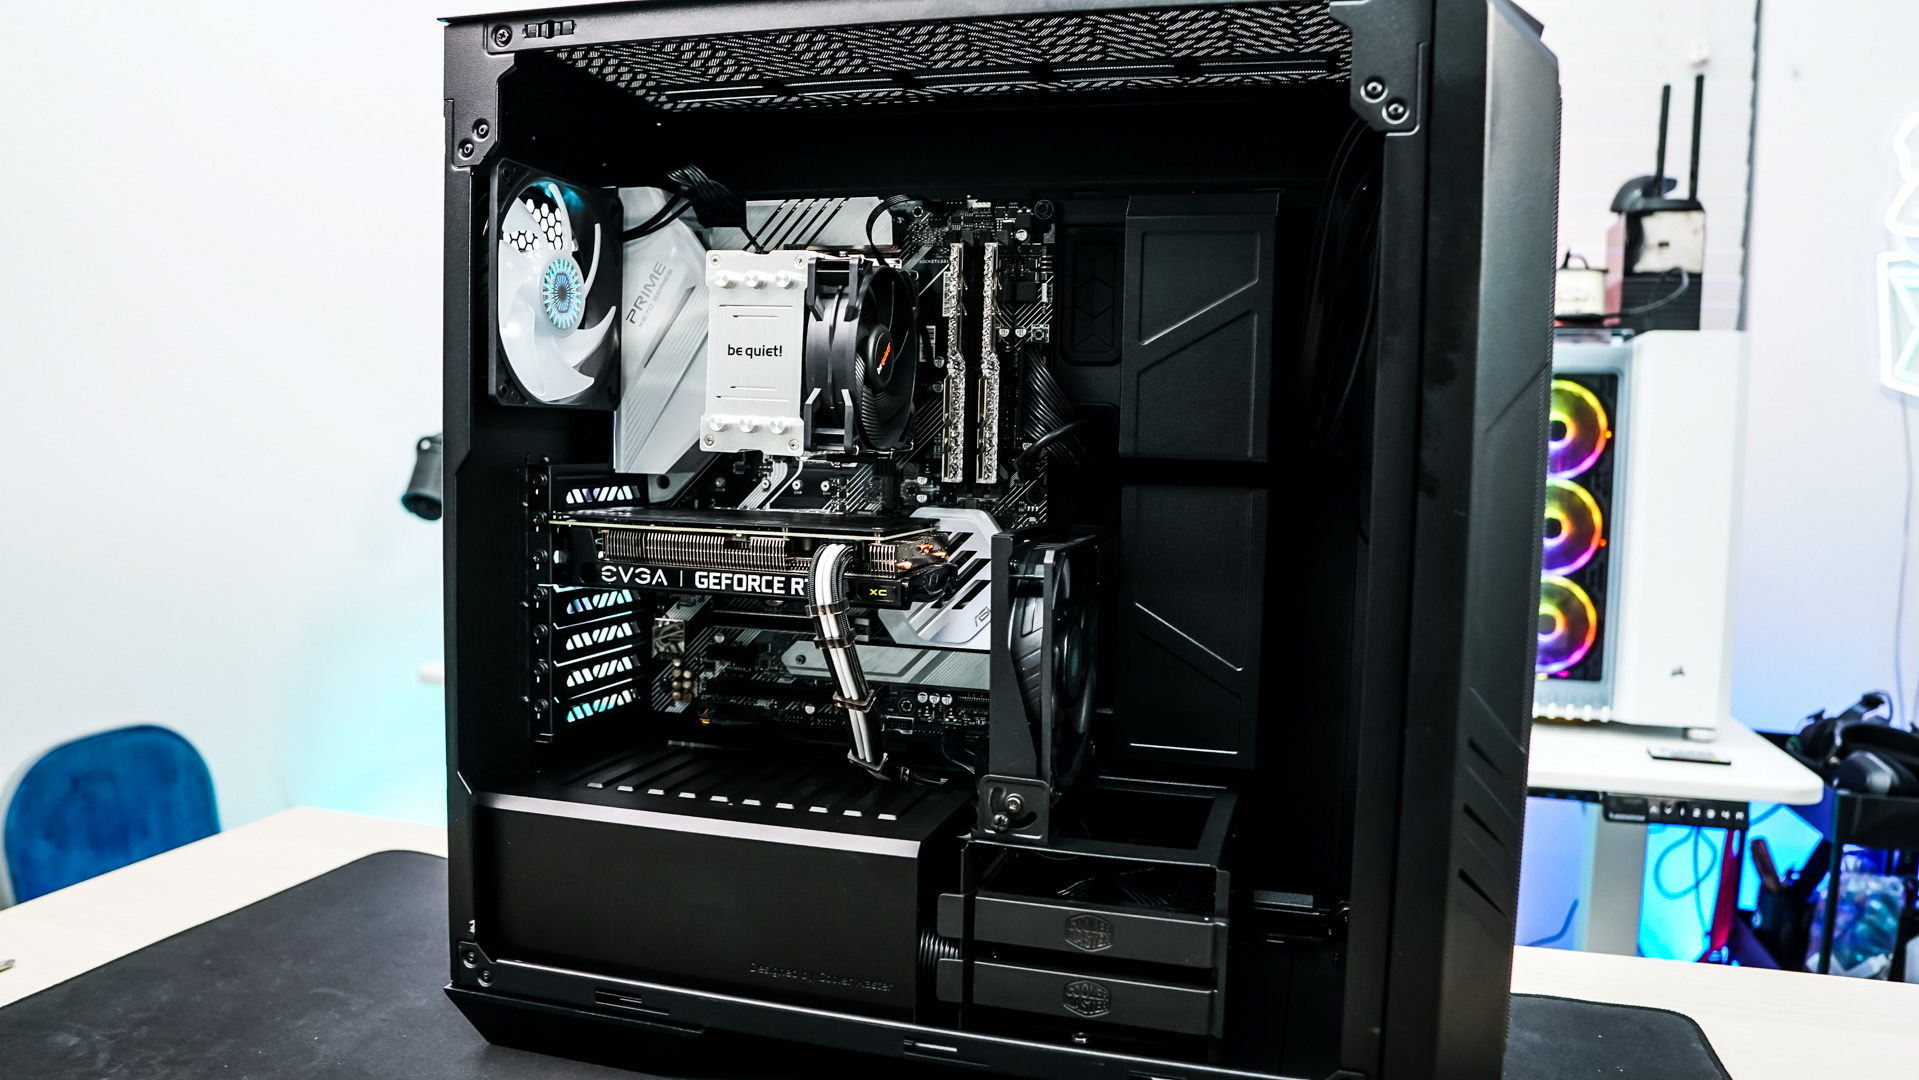
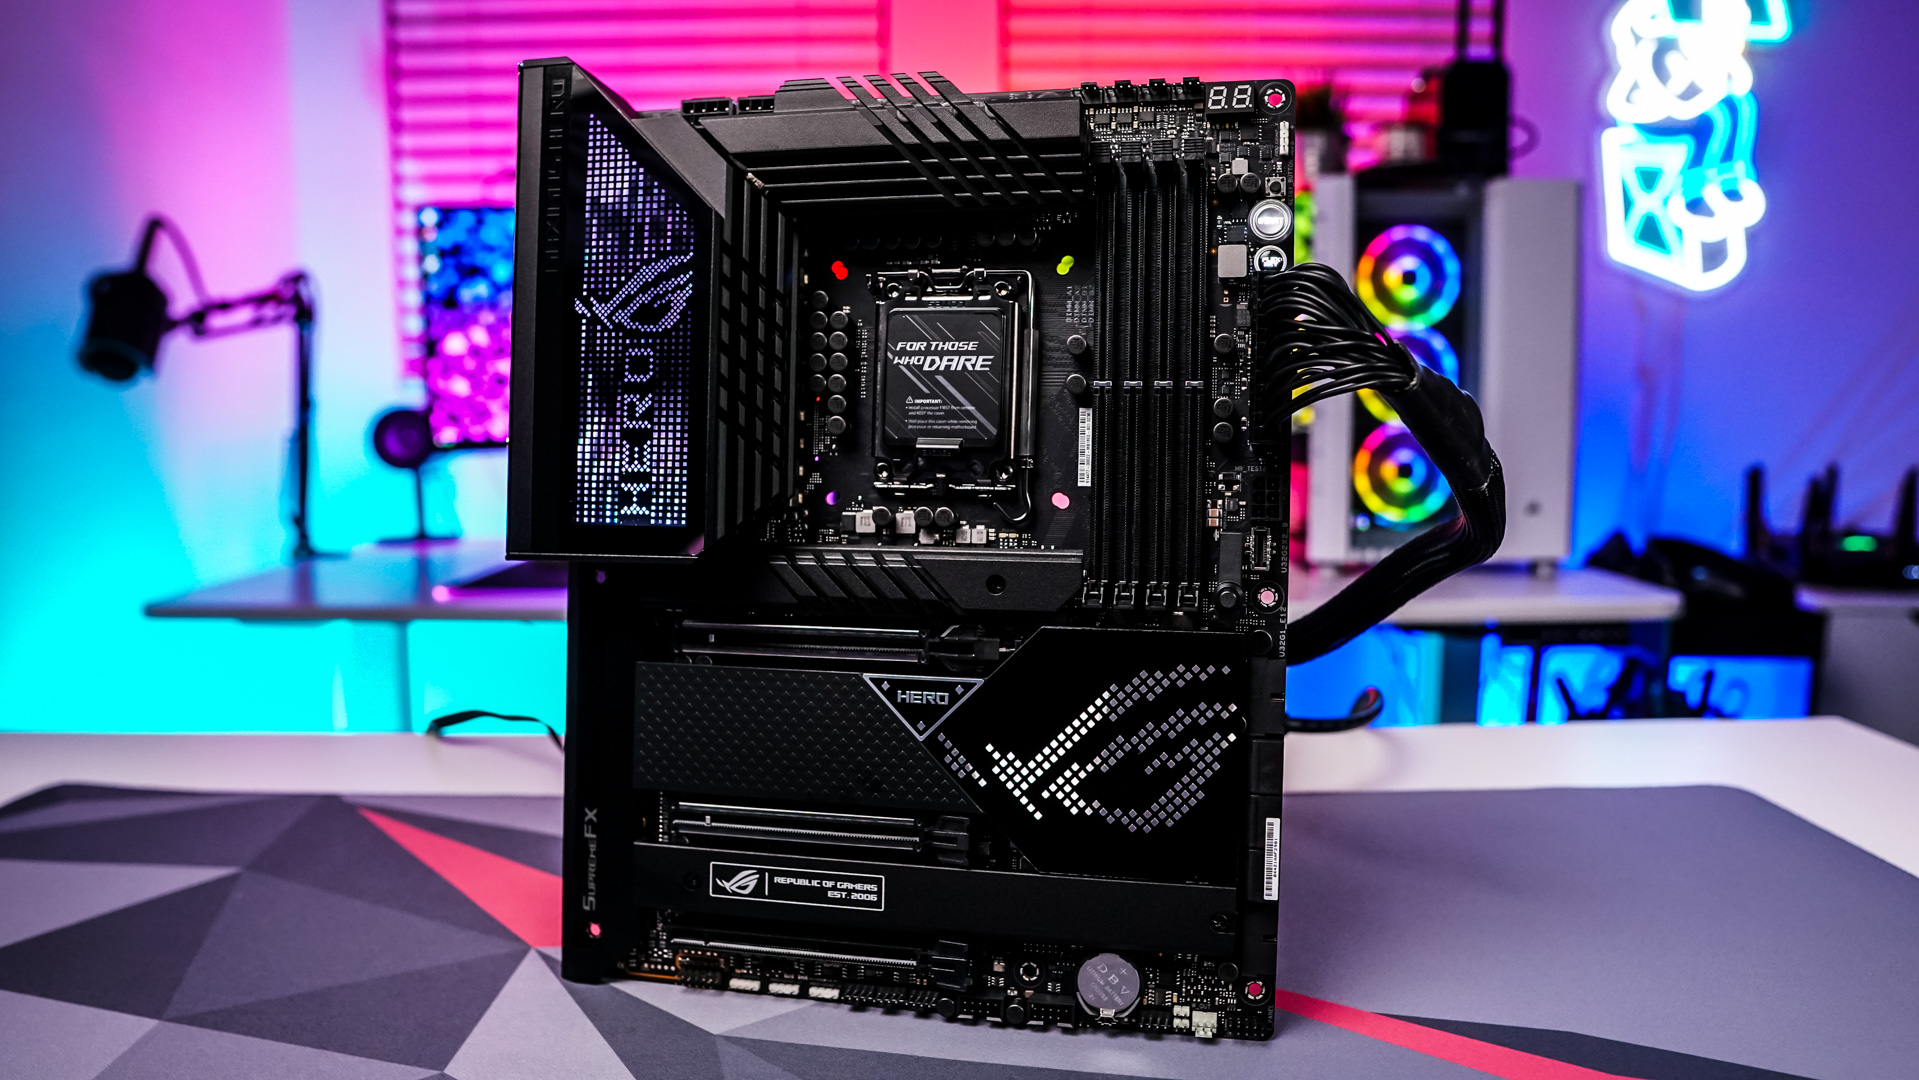
To start off with installation we will be installing our motherboard. With the standoffs pre-installed and lots of room to work with inside this case getting our motherboard installed was a breeze. I don’t think I mentioned it earlier but there is ample space between the top of your motherboard and the top of the case so installing thick radiators shouldn’t be a problem.

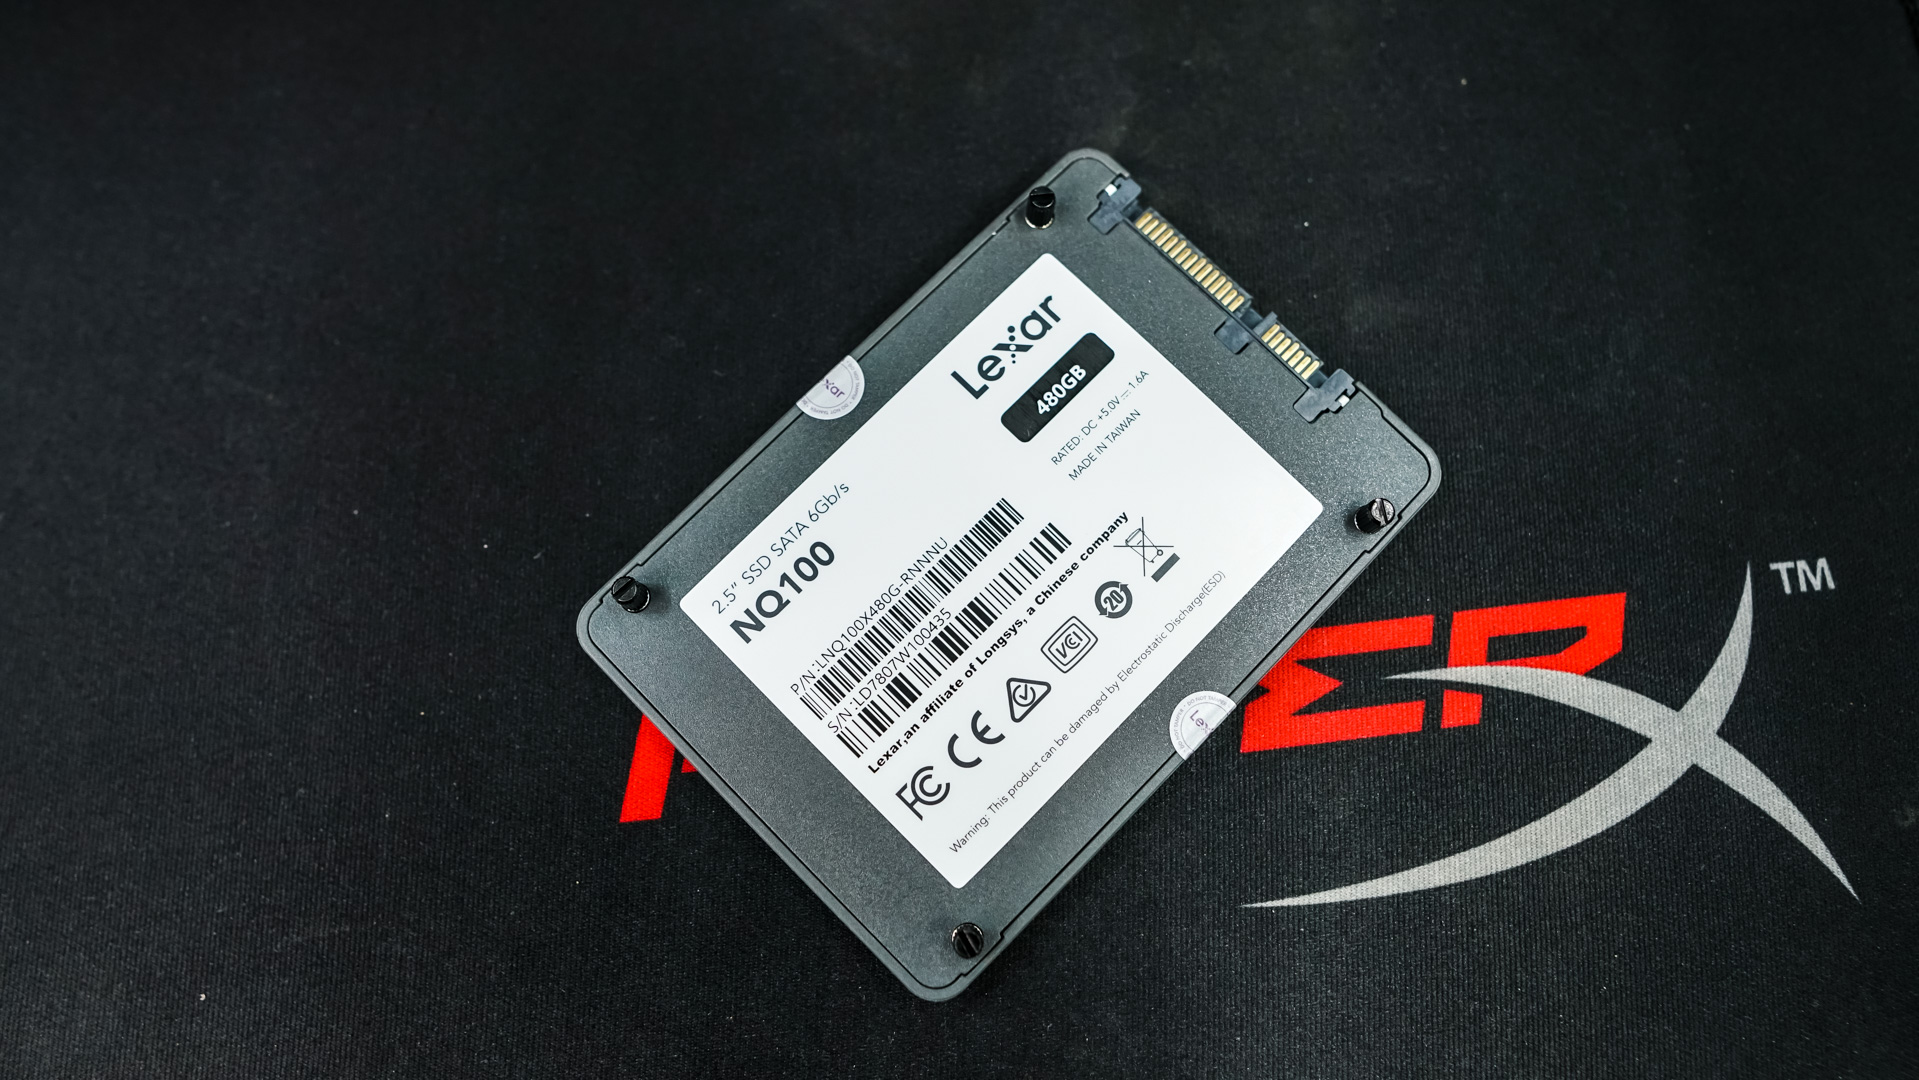
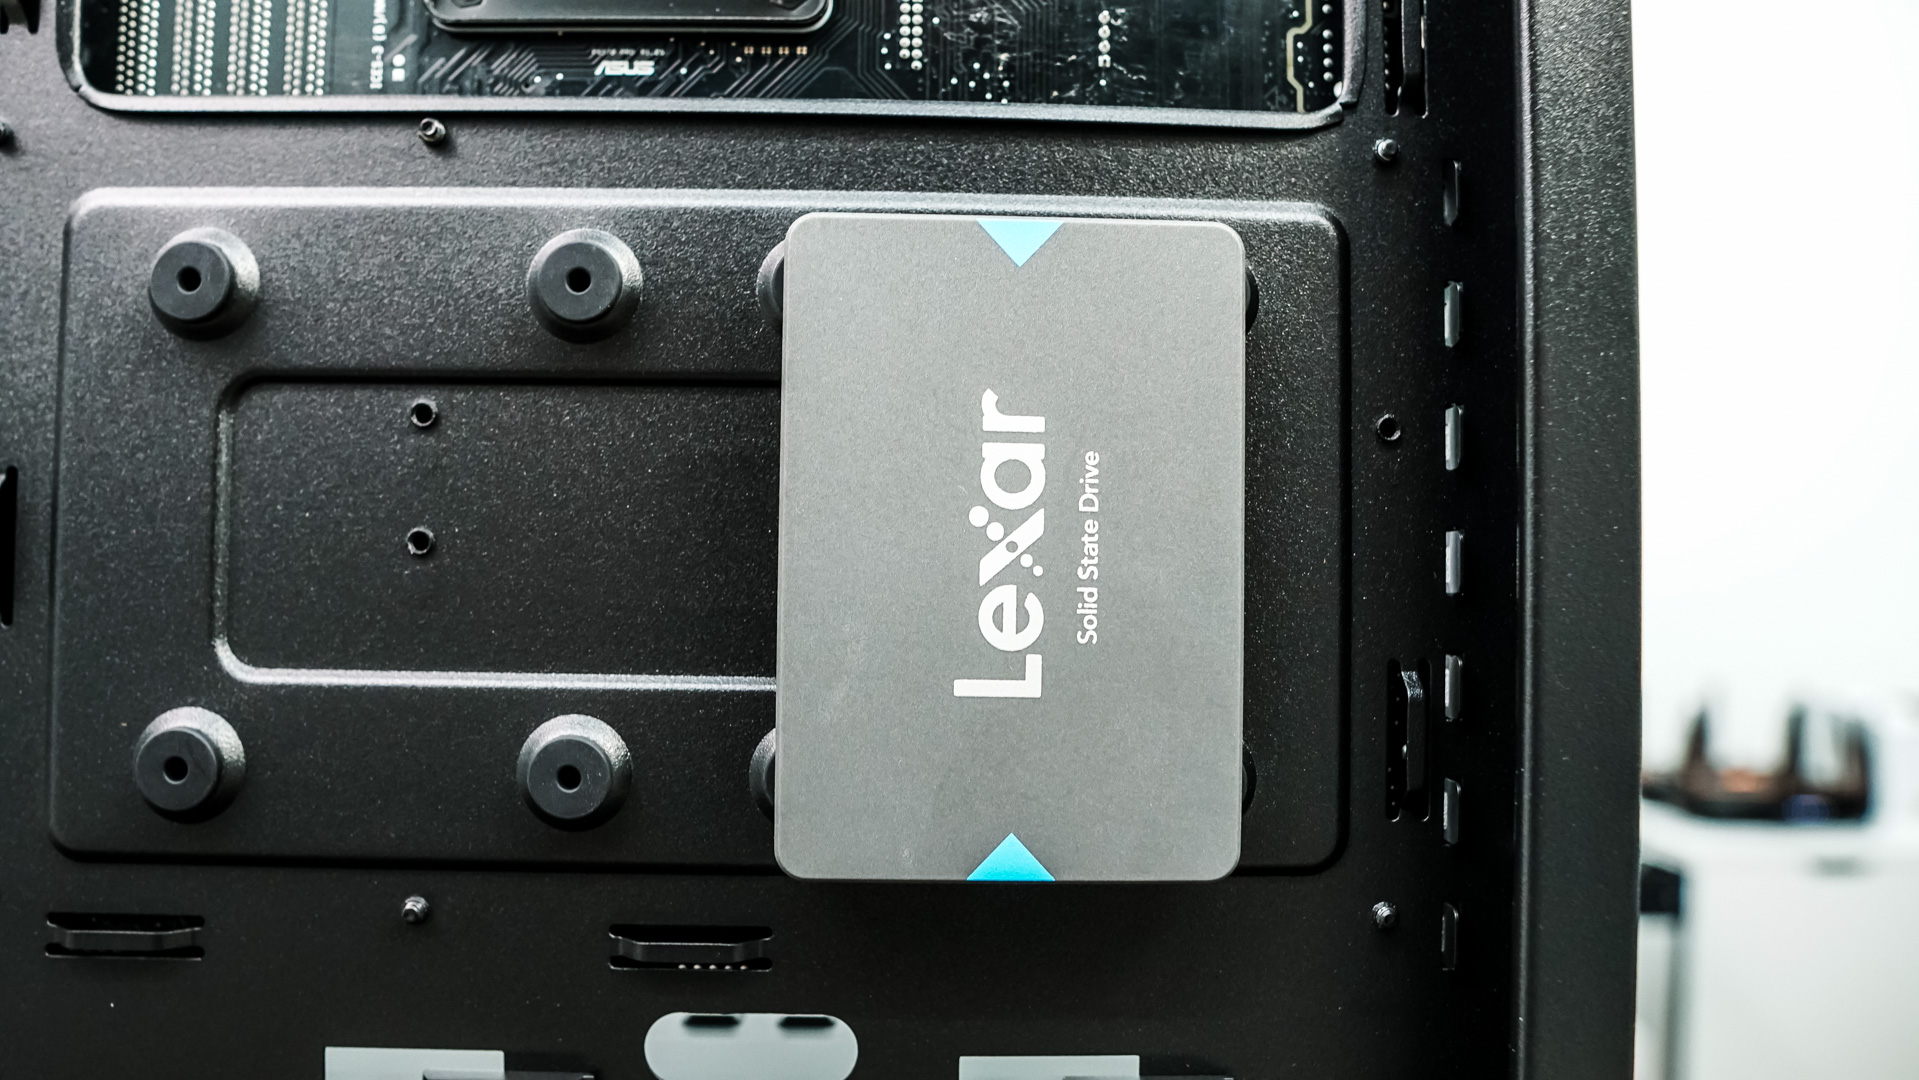
Next is our hard drive, which is just a normal 2.5-inch solid state drive. Cooler Master includes these little thumbscrew pegs that you screw into your drive for tool-less installation. Once screwed into your drive simply mount the drive by pressing it into the mounting holes on the backside of the motherboard tray.
For power supply installation you’ll need to remove the power supply cover. It is secured by a single thumbscrew and once that is removed it easily slides over and pulls out. Cooler Master sent us over their MWE Gold 750 V2 power supply, which went in no problem at all with plenty of room the spare. For those wondering you can install power supplies as long as 180mm.


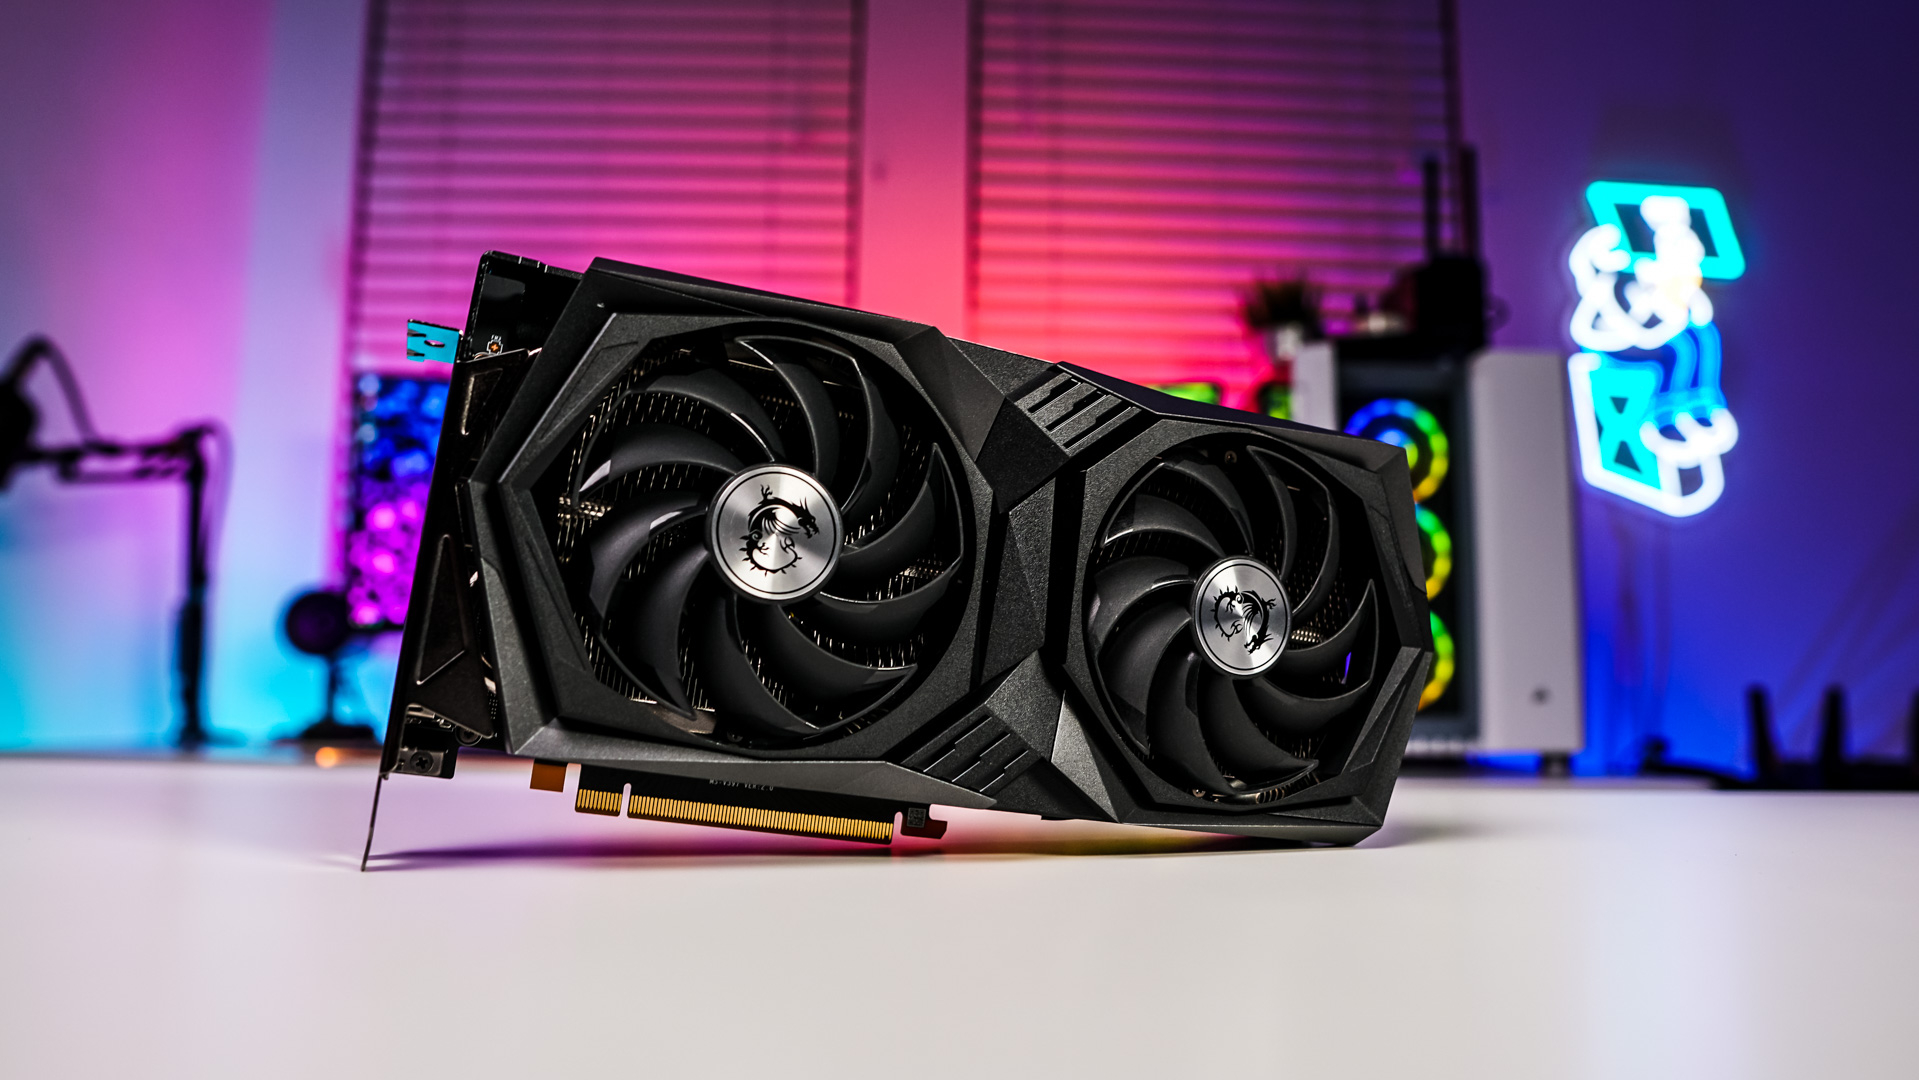
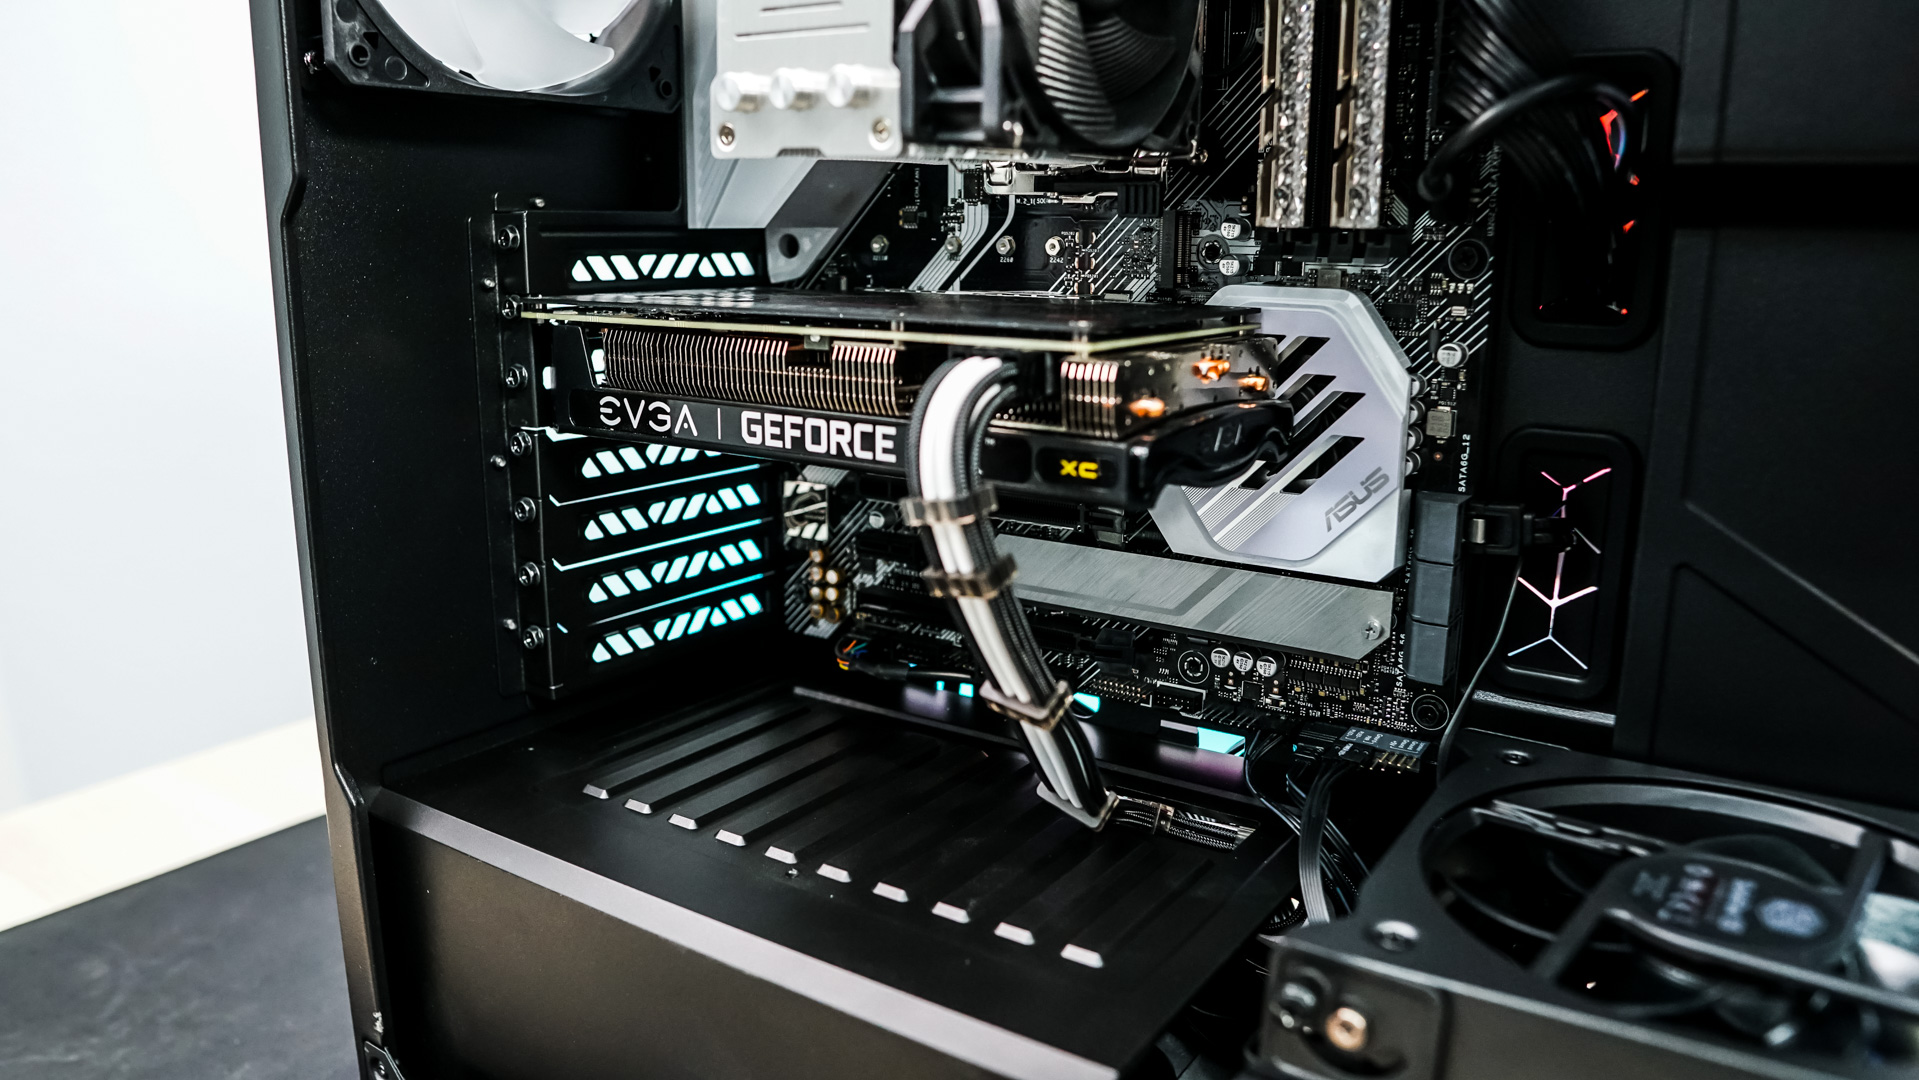
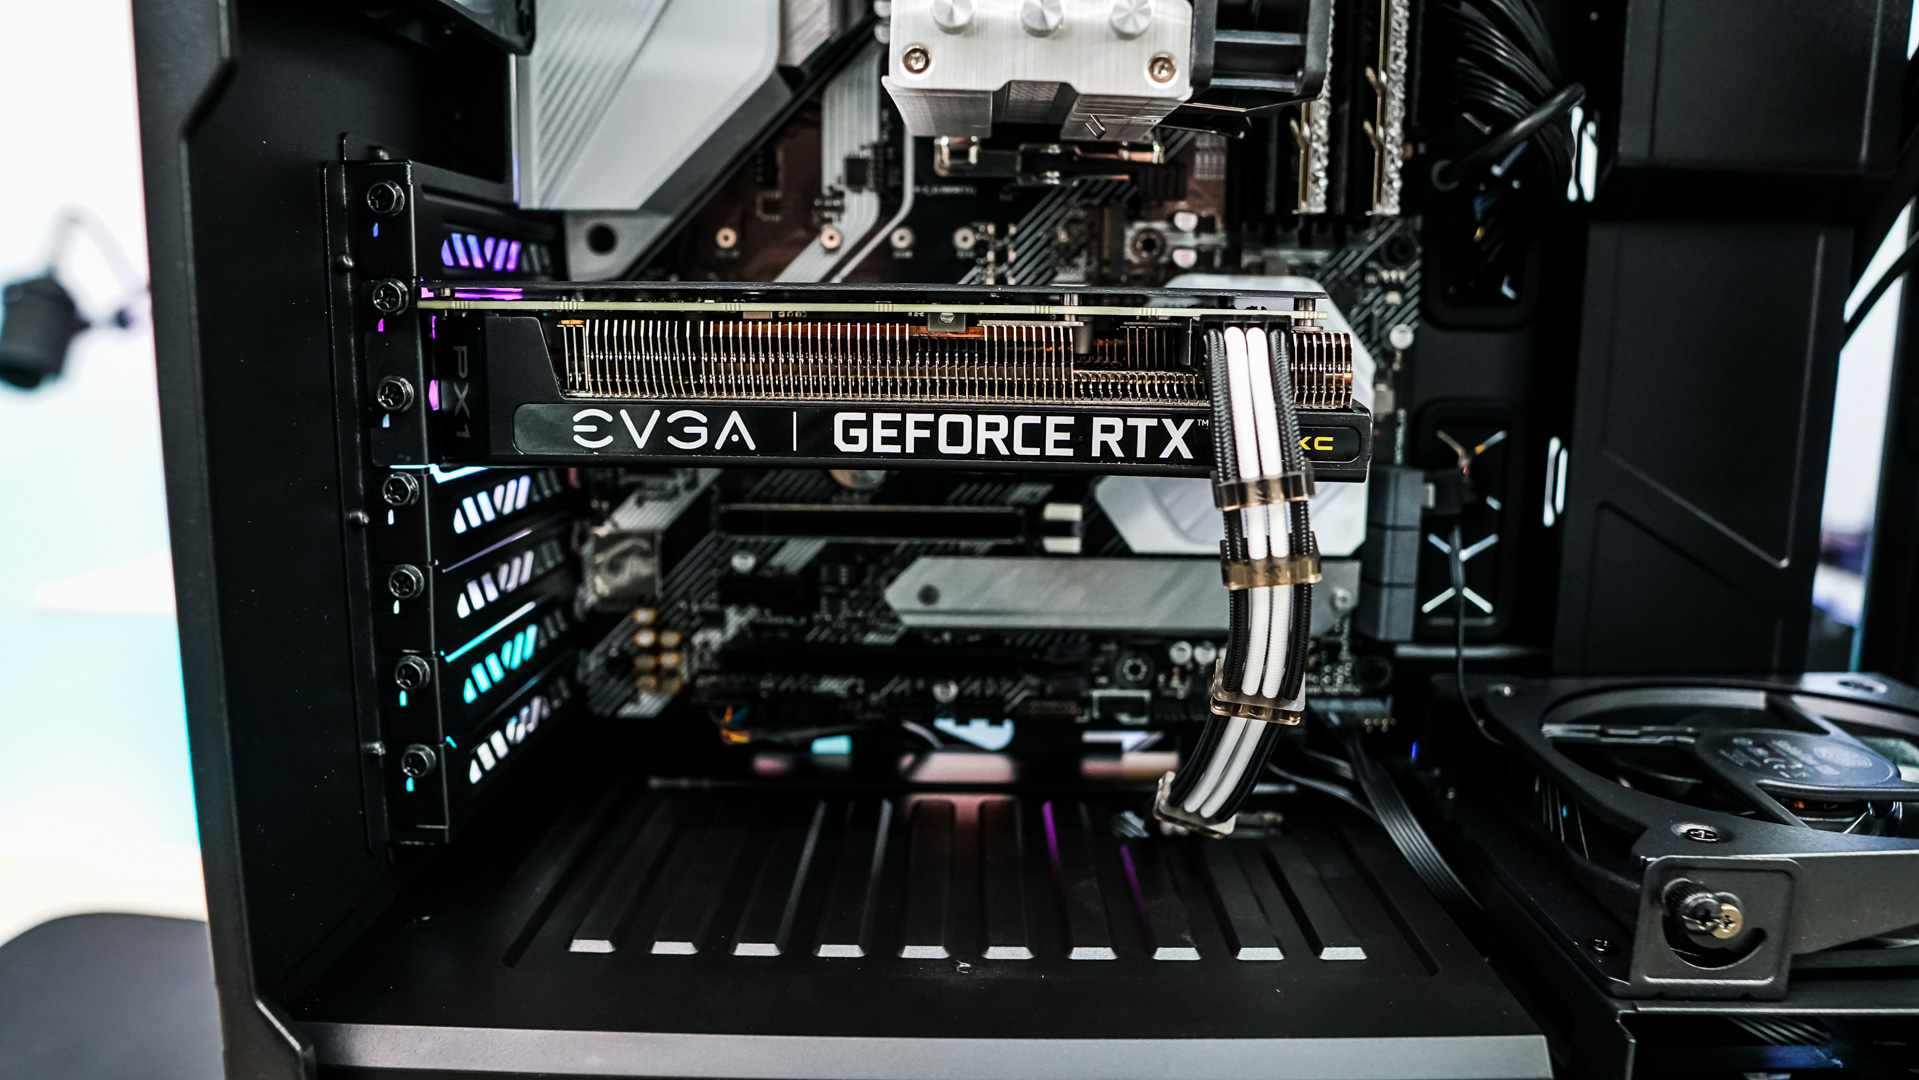
For our graphics card we installed a smaller card, but even if we had a larger card we would have no problem getting it installed as this case supports graphics cards all the way up to 410 mm!
Now it is time to wire everything up. There is ample room behind the motherboard tray to hide your cables and plenty of tie-down points for the included zip ties. With everything installed we have a very clean build, don’t forget to adjust the GPU fan before you close your system up!