Installation
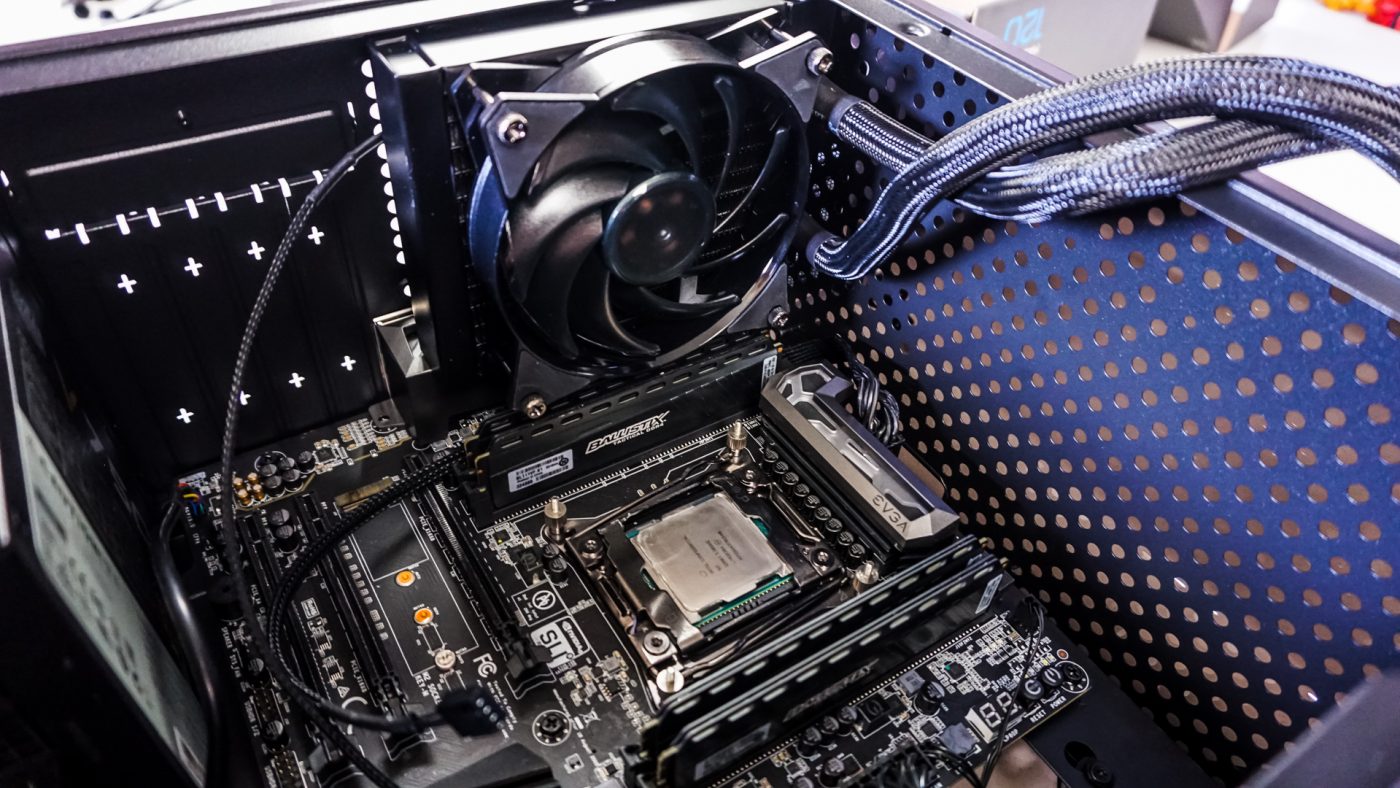
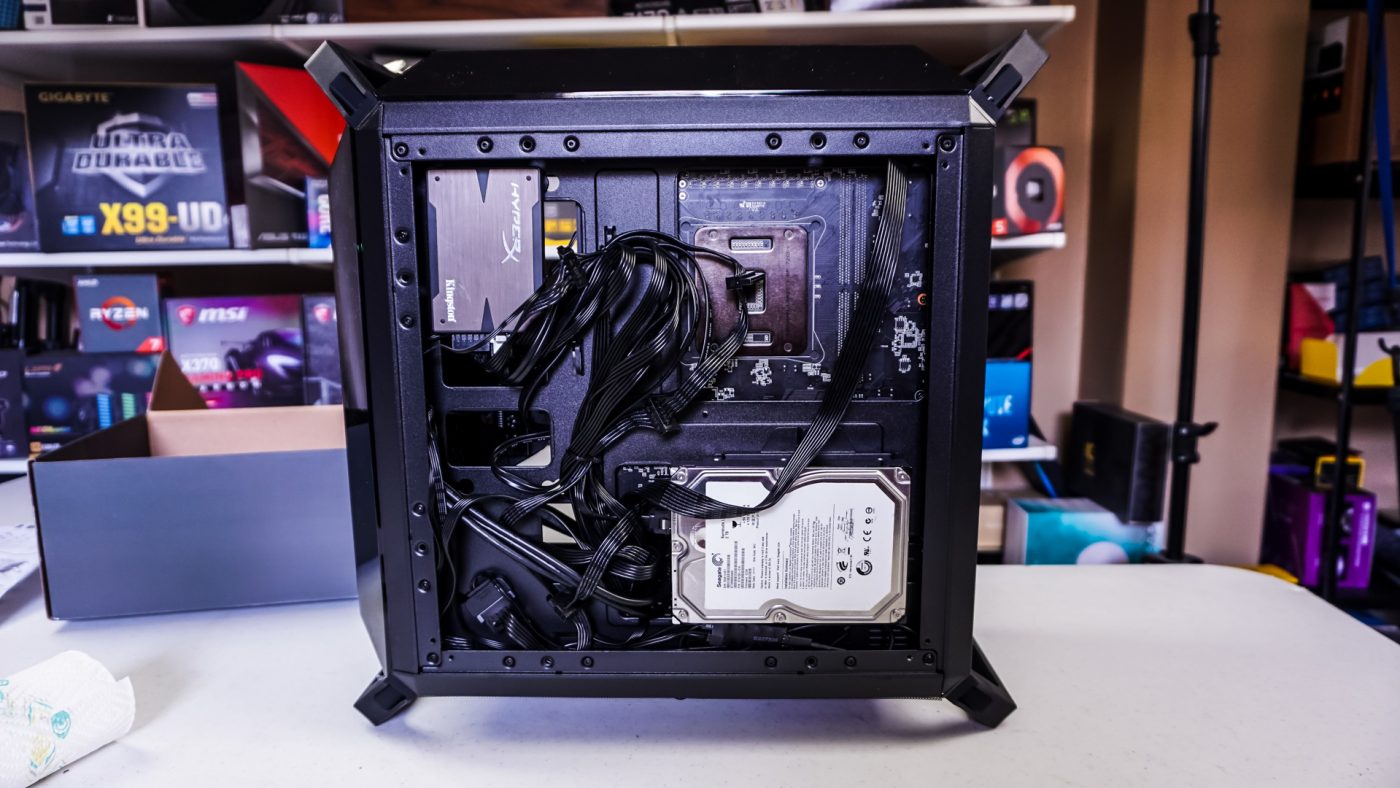
We are going to be doing our installation in the Q300P, but installation should be pretty much the same in the Q300L as the interior of the cases are identical. First we are going to start with motherboard installation. The standoffs are not pre-installed so you’ll have to do that first before you install your motherboard. We installed the EVGA X299 Micro no problem!
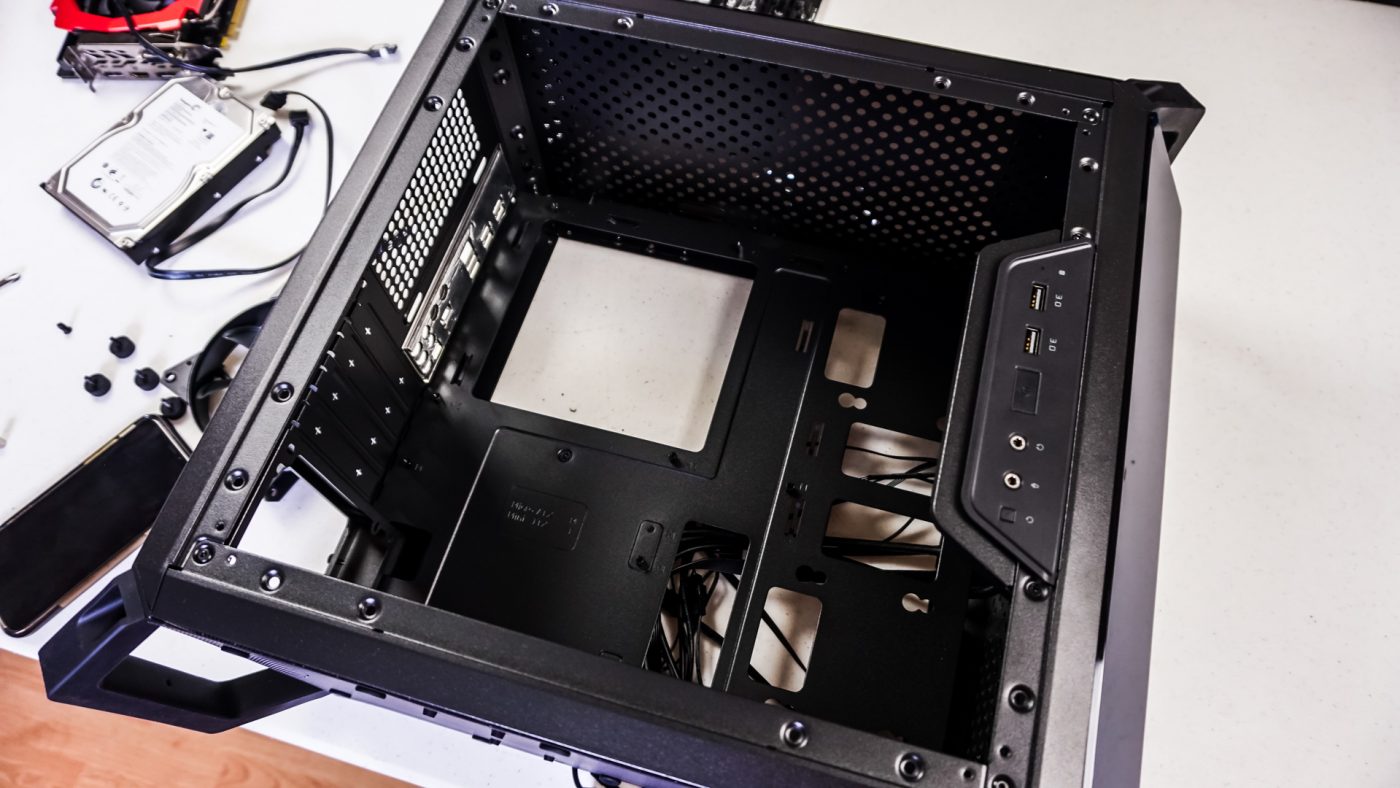

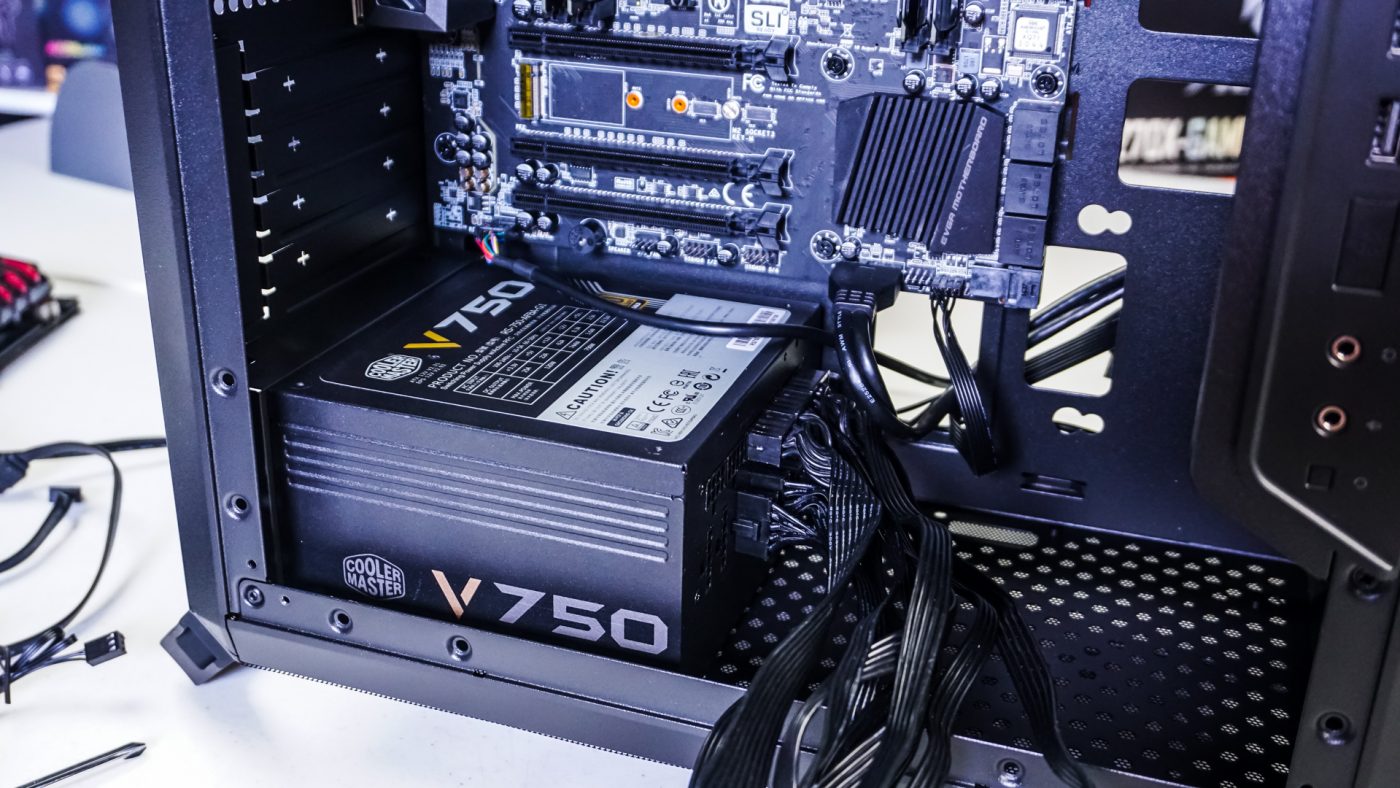
Next is power supply installation. The power supply mount comes off from inside of the case and you install it on the rear of your power supply. Then carefully place your power supply inside of your case lining up the holes on the mount with the holes in the back of the case. Use the supplied screws to secure your power supply.

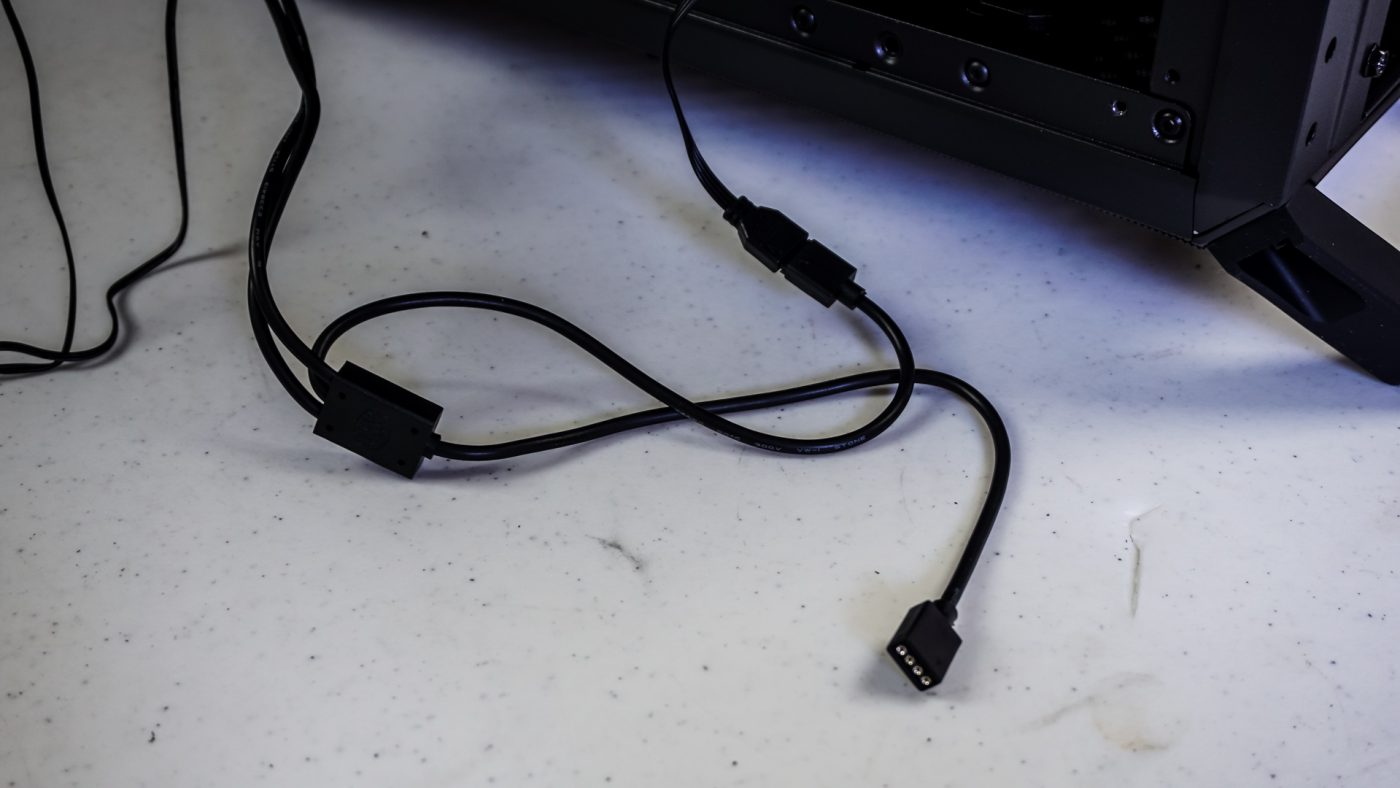
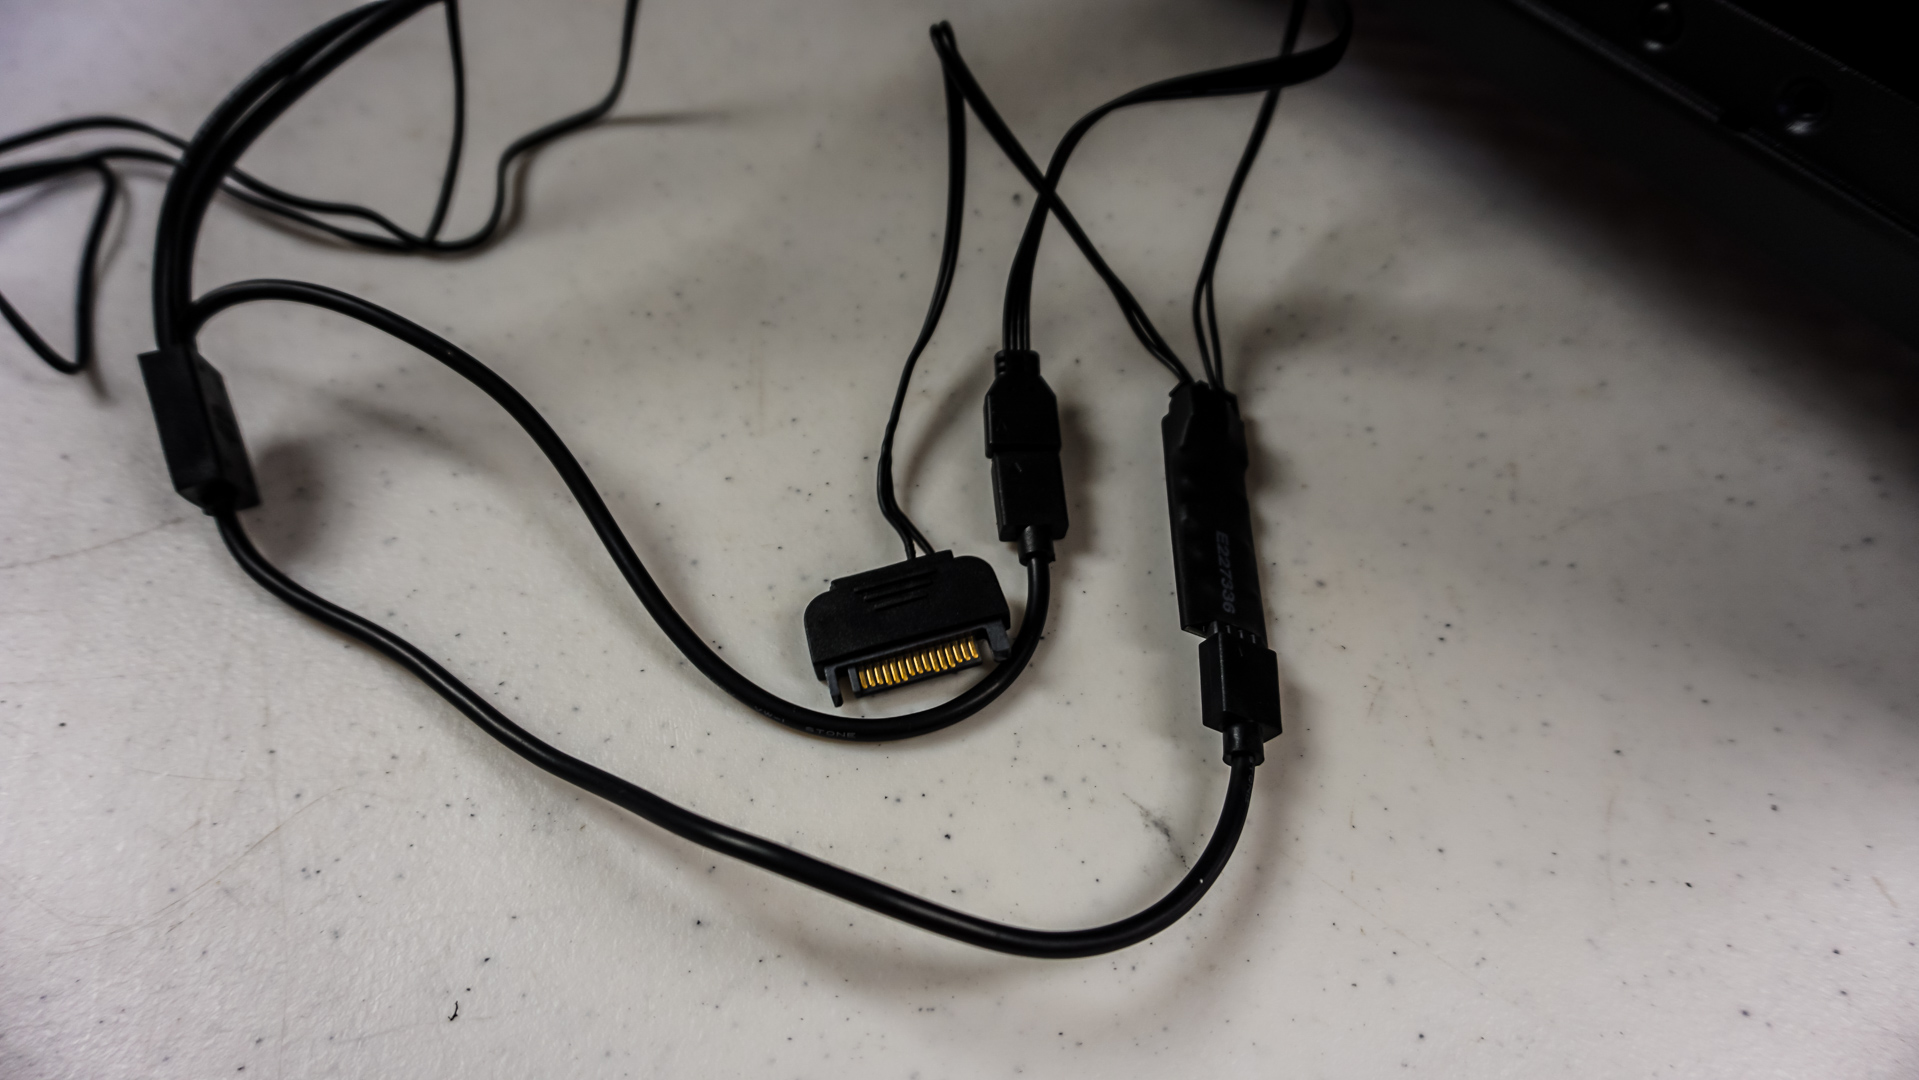
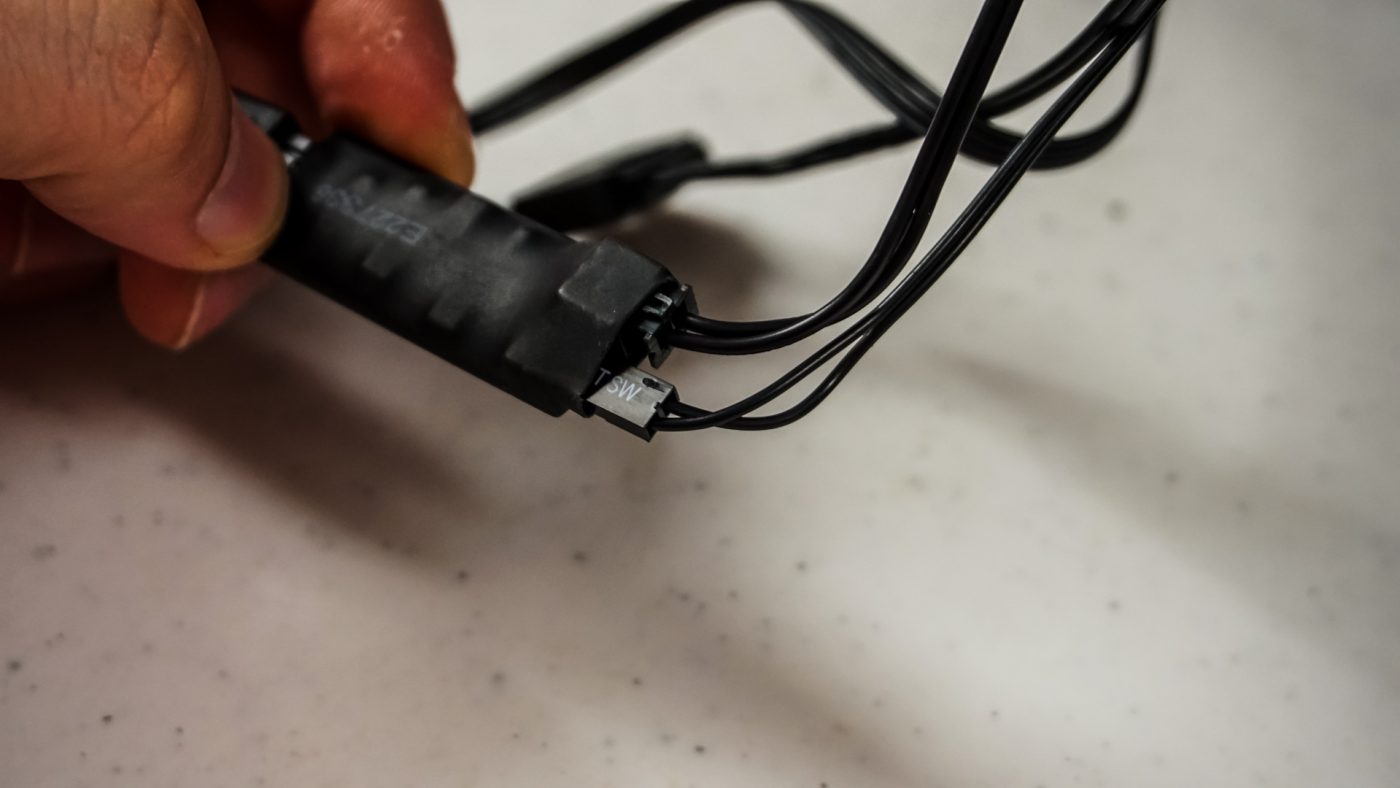
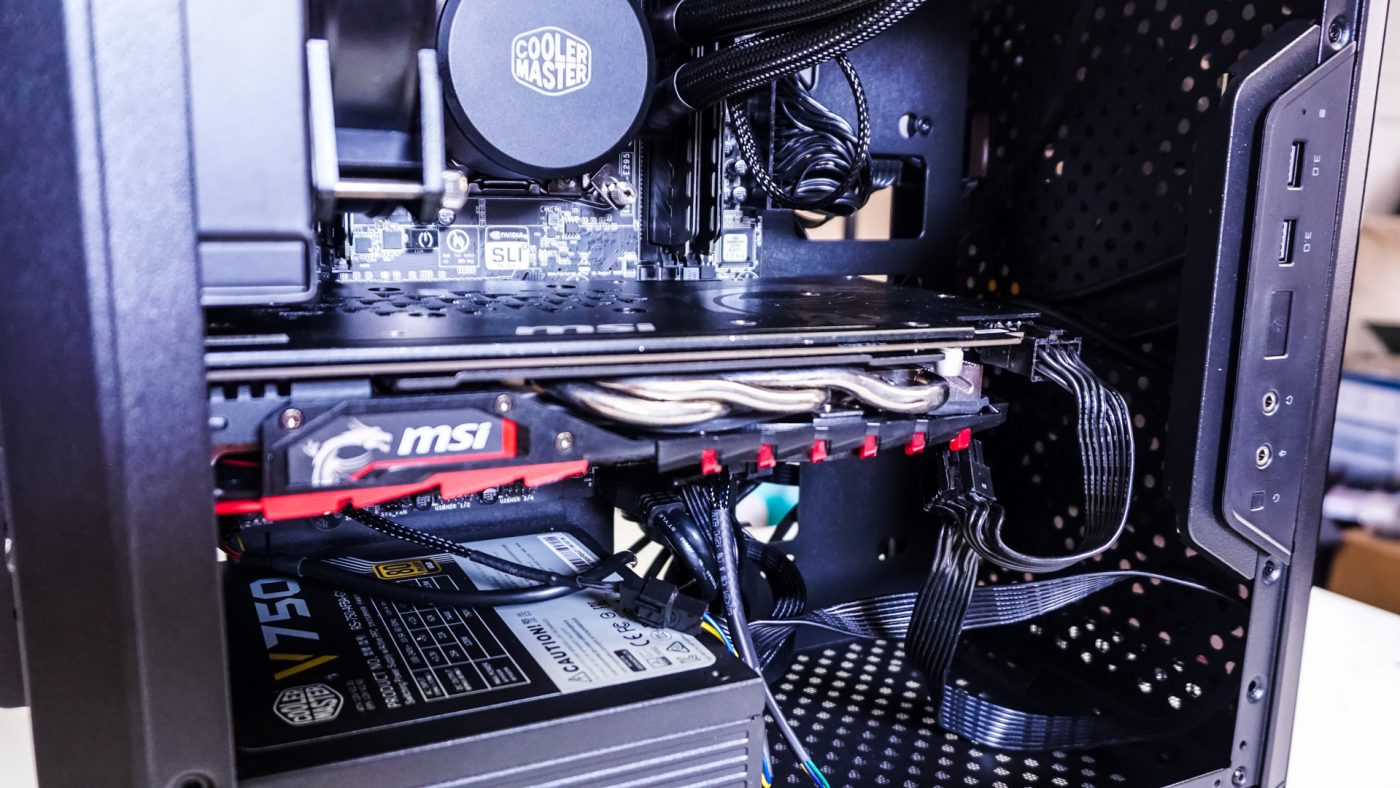
Before you install anything else you are definitely going to want to route most of your cables. One interesting cable that you will find with the Q300P is the RGB control cable, which has a standard 4-pin connection on it. You connect it to the supplied controller, which is powered by a SATA connector. Now you can either connect the controller to a 4-pin RGB header on your motherboard or connect it to a button or switch. So in our case I opted to connect it to the reset button on the case. There is a 2-pin connection which you’ll find on the end of the controller where you plug the reset button header into. Interestingly enough there is not one mention of the supplied RGB controller in the instructions, or how to use it.
Hard drive installation is quite easy. For 3.5-inch drives remove the tray and install your 3.5-inch drive on it with the supplied screws. For 2.5-inch drives you screw in the longer supplied screws with the rubber washers around them. Now just reinstall the 3.5-inch tray and place the 2.5-inch drive into the holes on the case and then slide it to lock it in place.


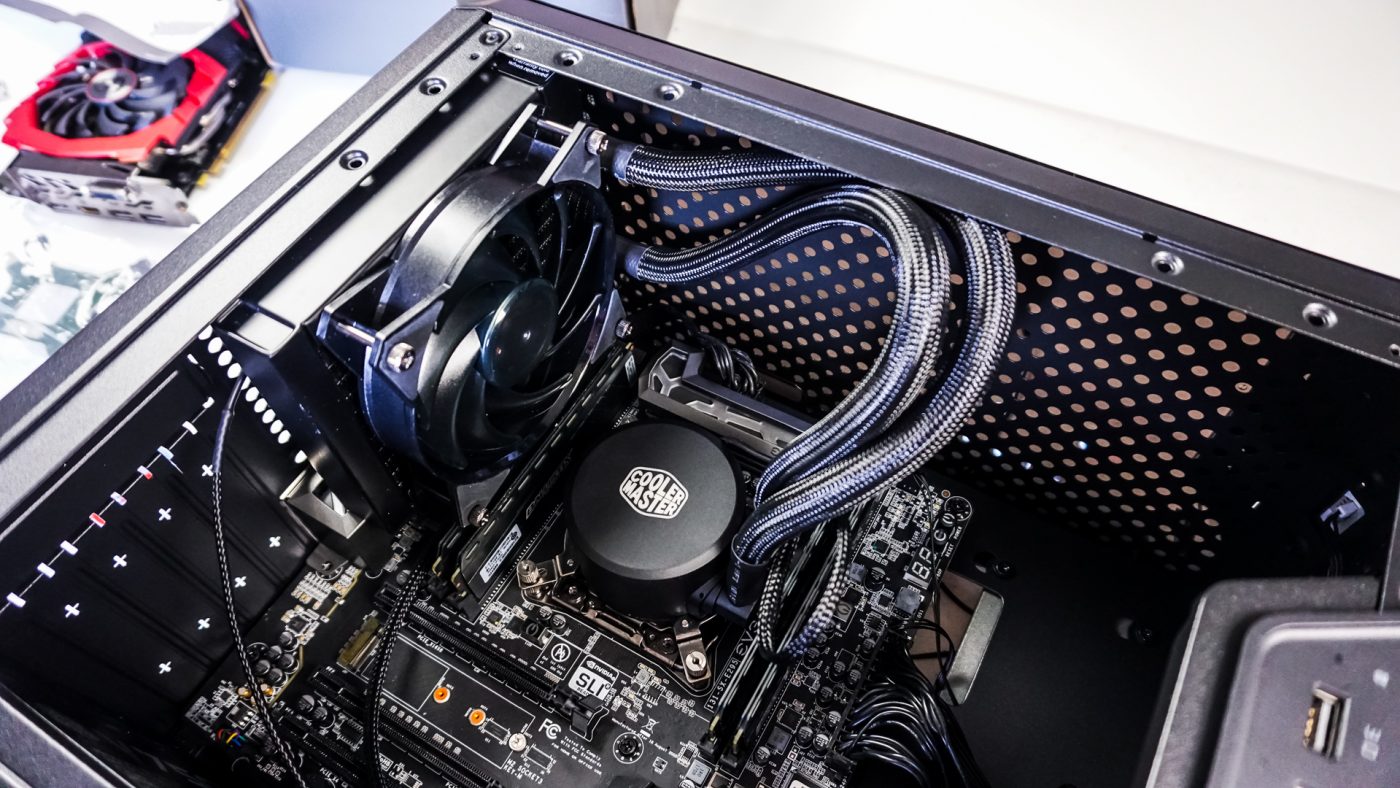
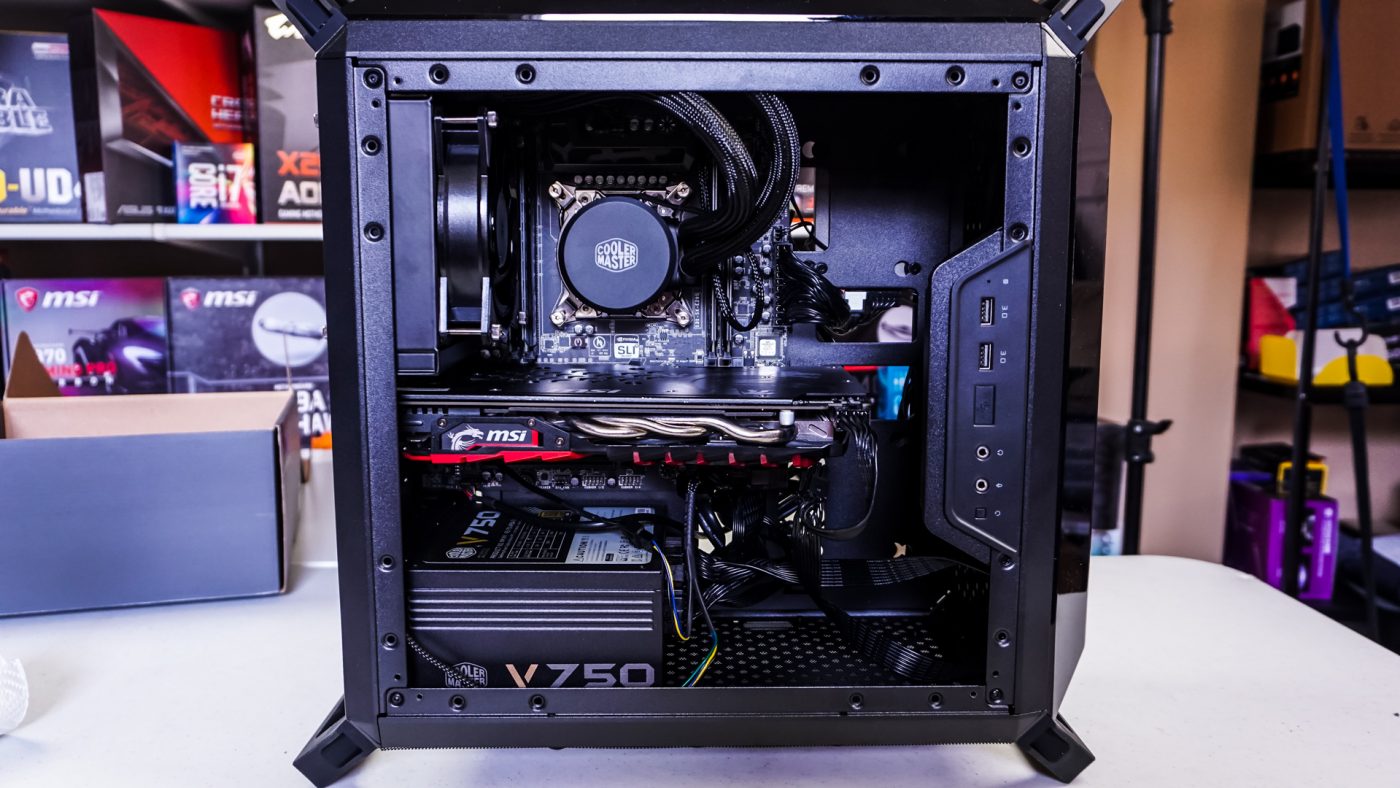
We’ve decided to install an AiO in this case. It does support a 240 mm radiator in the front and a 120 mm in the back. We are going with Cooler Master’s own MasterLiquid 120, so we will be installing it in the rear of the case. We had no problem getting it installed, but keep it mind most 120 mm AiO’s will sit right on the top of your memory.
The last piece of hardware to install is our graphics card, which is the MSI GeForce GTX 1060 3GB. With longer cards you might have to angle the card in because of the control panel on the side of the case. If it becomes a problem you can easily remove the control panel to install your graphics card. For those wondering this case supports graphics cards up to 360 mm.
With all of our hardware installed it is time to clean up the cables a little. On the backside of the case there is a few tie-downs where you can use the supplied zip ties. Overall I think we have a very clean build and there were not real issues during installation.
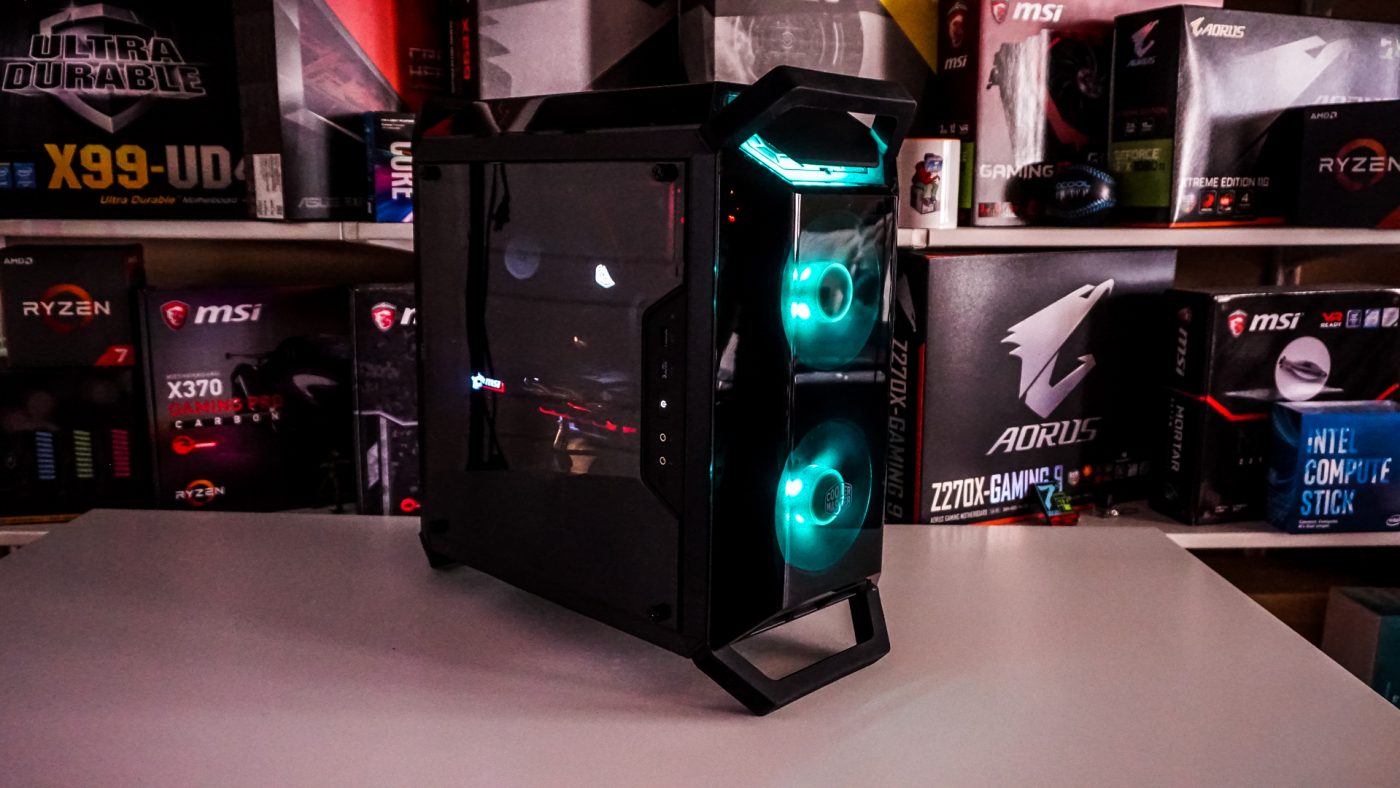
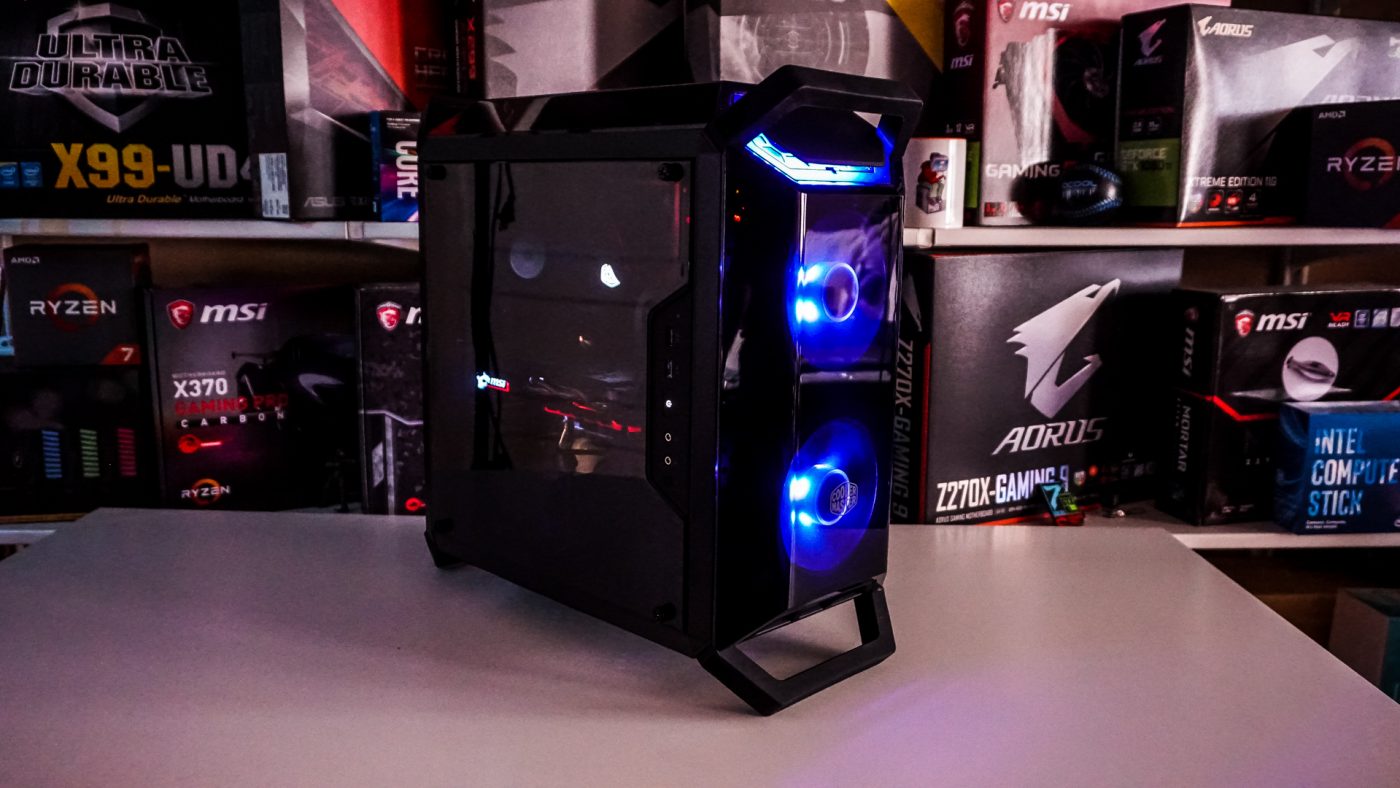
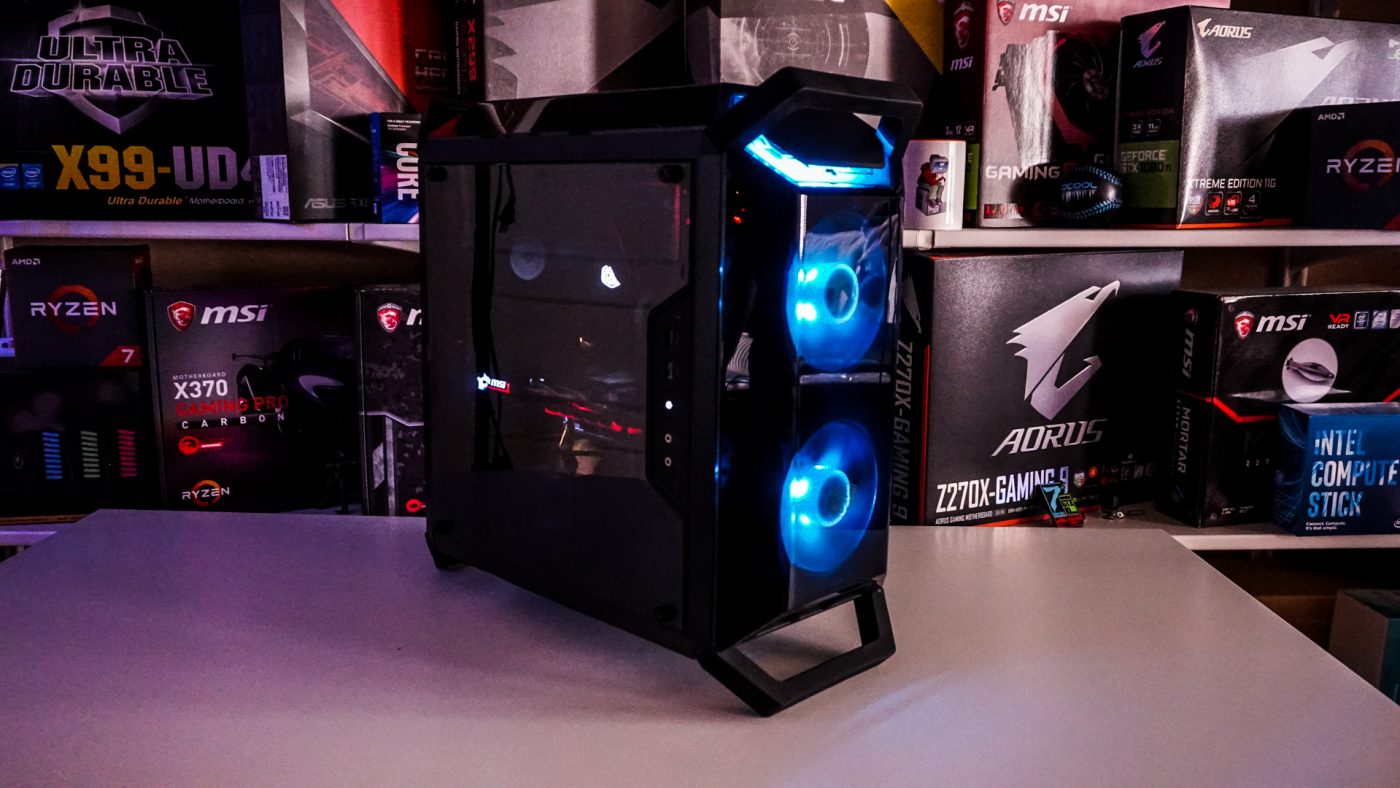
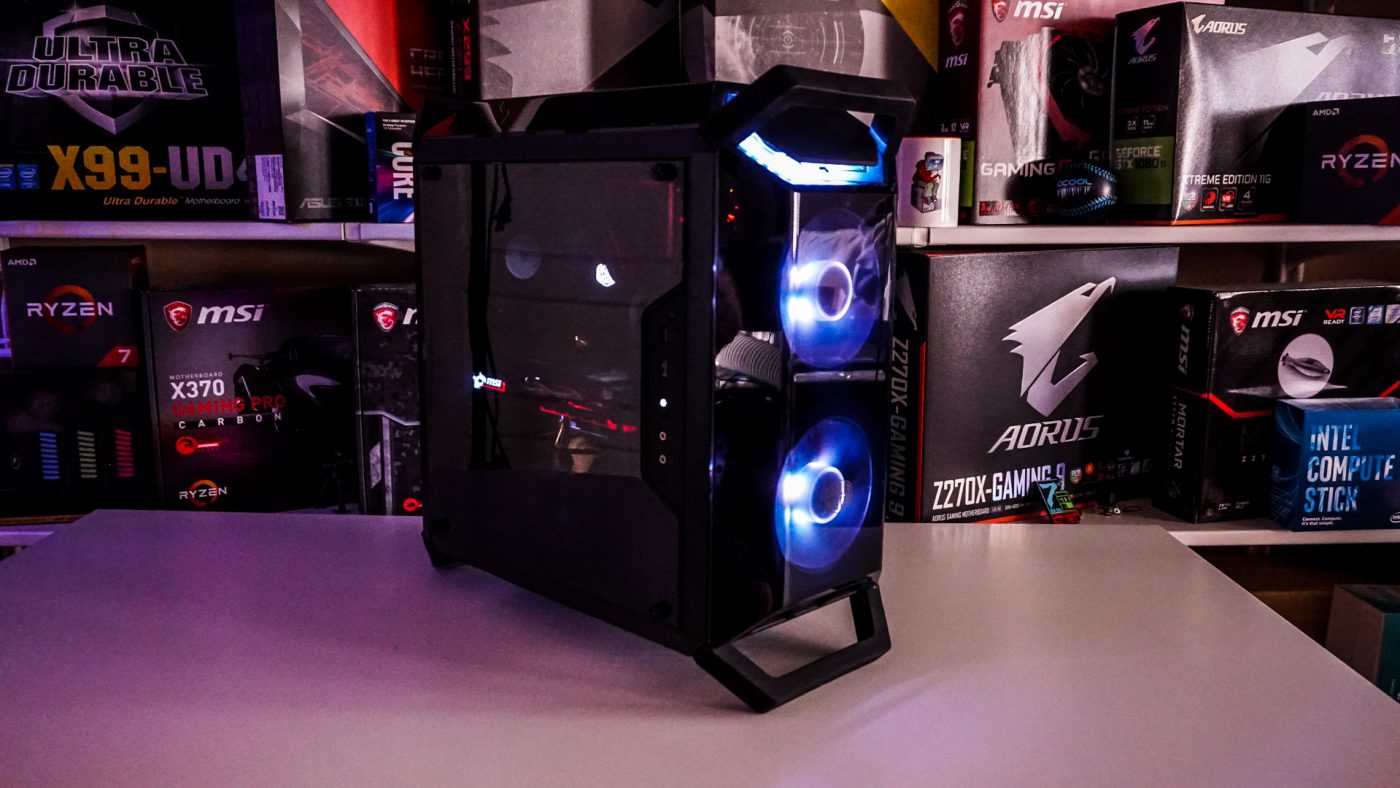
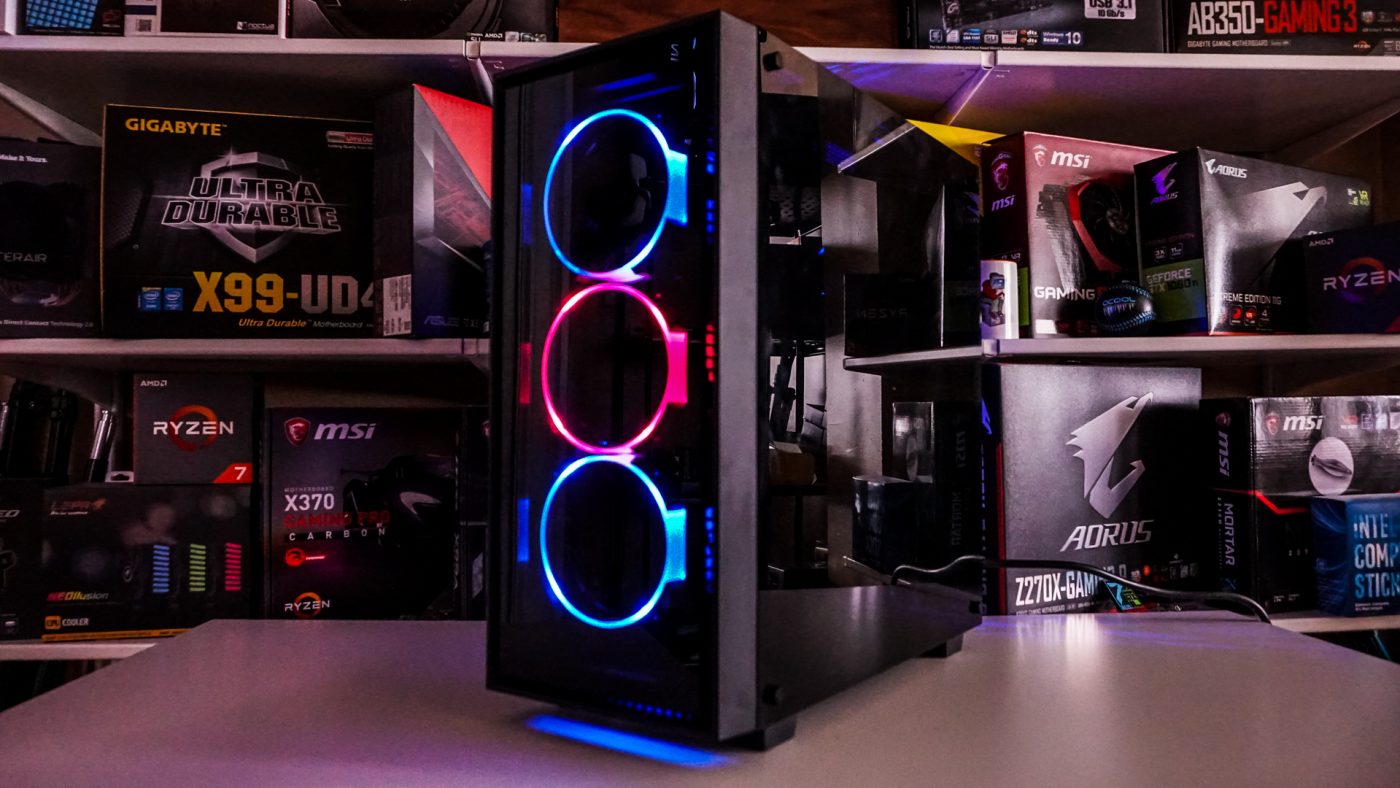
Now when you power your system on you’ll notice that the two fans on the front of the case light up as well as the section above them. Again the colors of these sections can be controlled using your motherboards software (if you connected the 4-pin RGB header) or if you say re-purposed the reset button like we did.
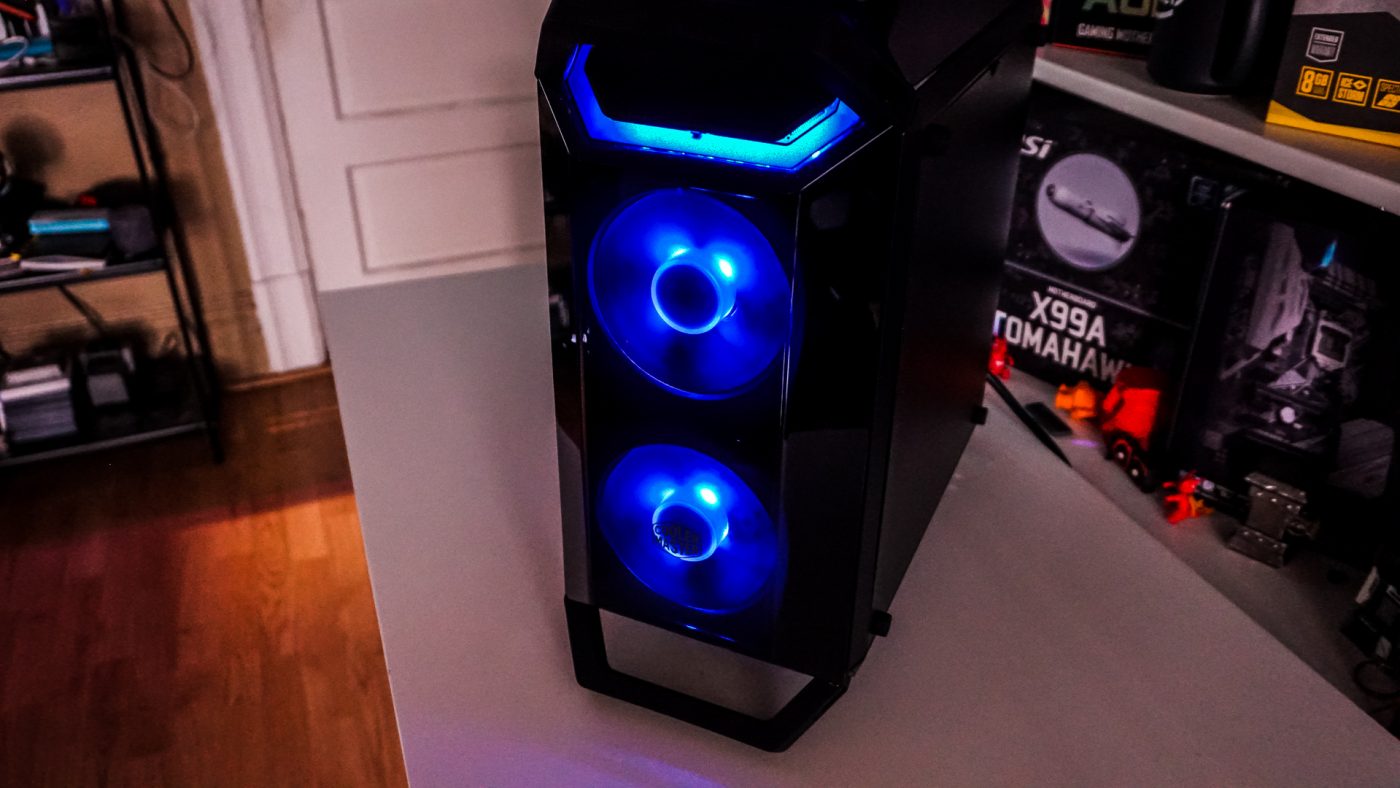

You have the ability to cycle through eight different colors and there are a few different effects like breathing, flashing, and color cycle.