Installation
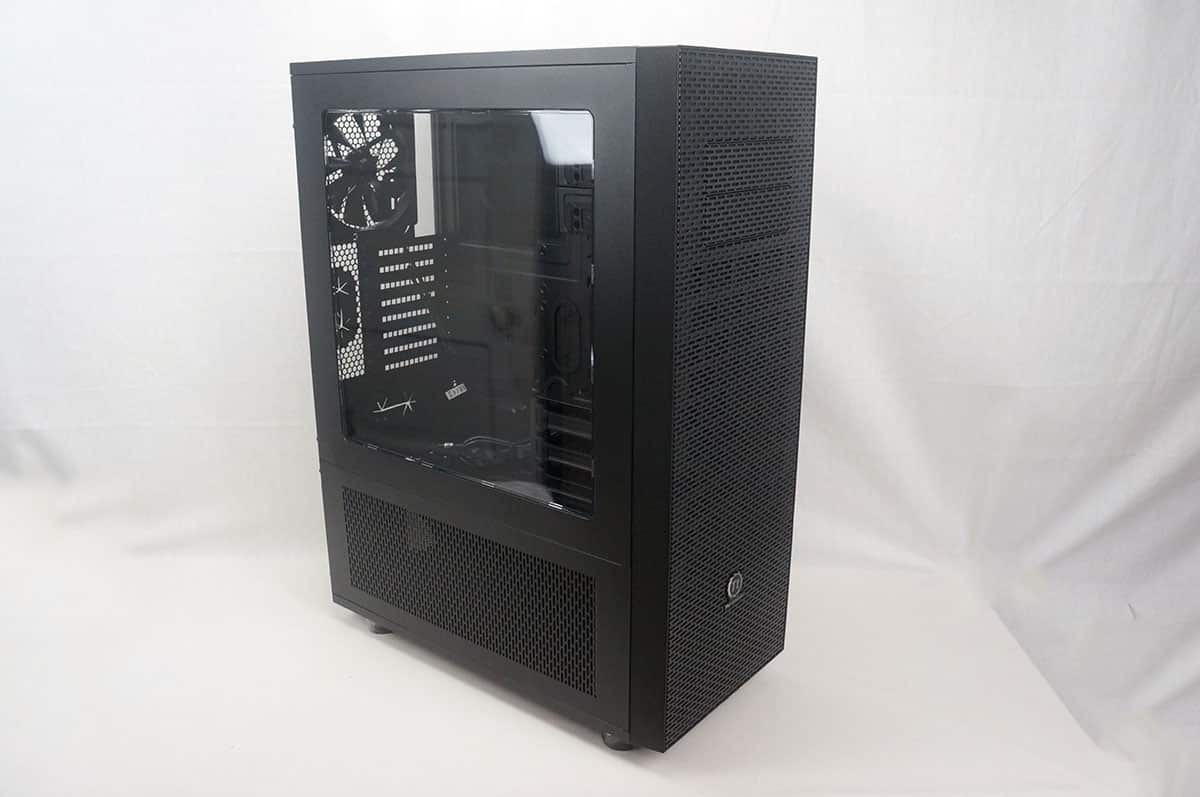
Hardware installation in this case should be pretty straight-forward as this is designed to be a builder’s case. The motherboard standoffs are not pre-installed so you will have to install them, but Cooler Master does provide a standoff tool.
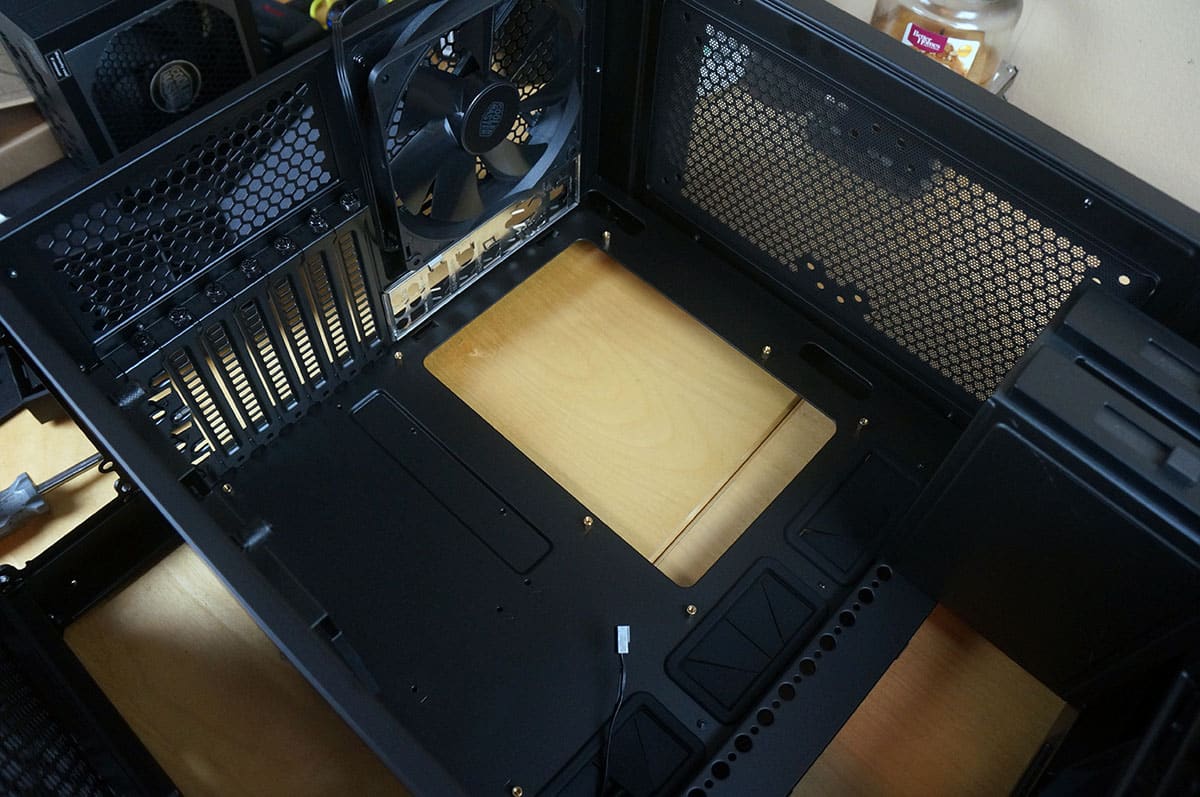
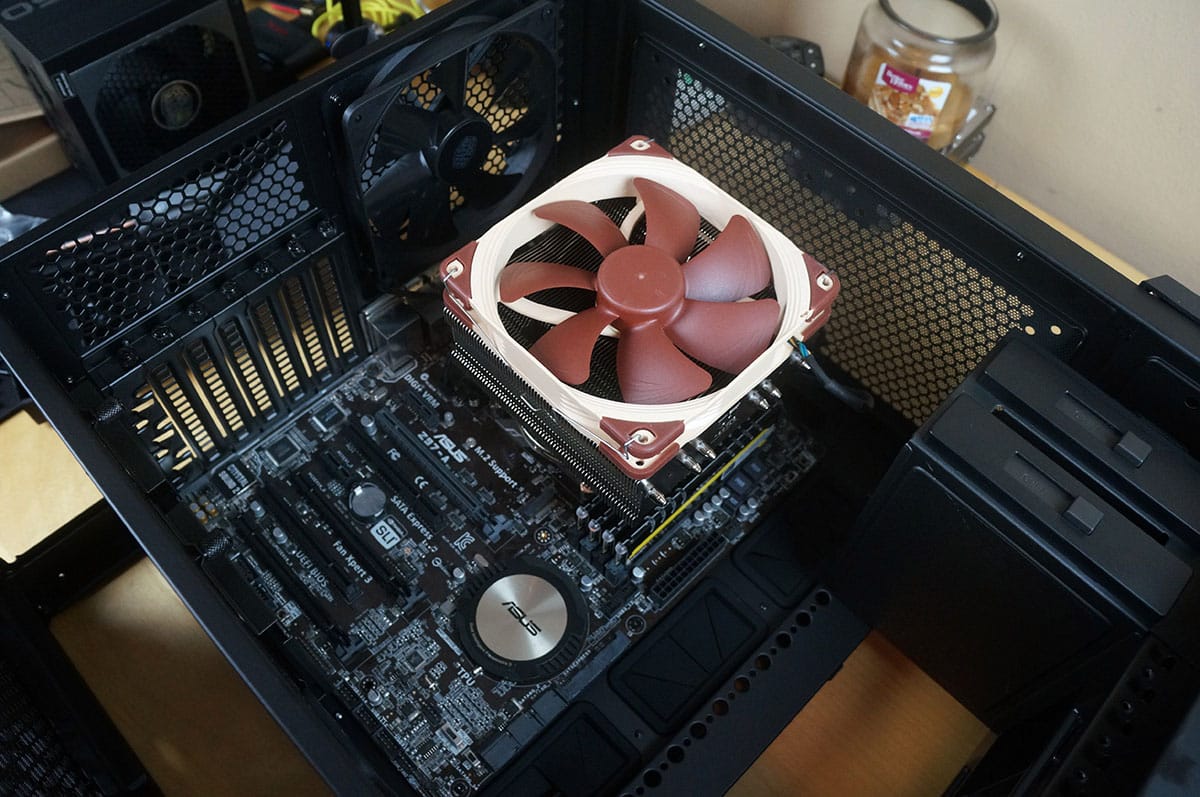
Getting our motherboard inside was quite easy, and there is a lot of room inside to work with.
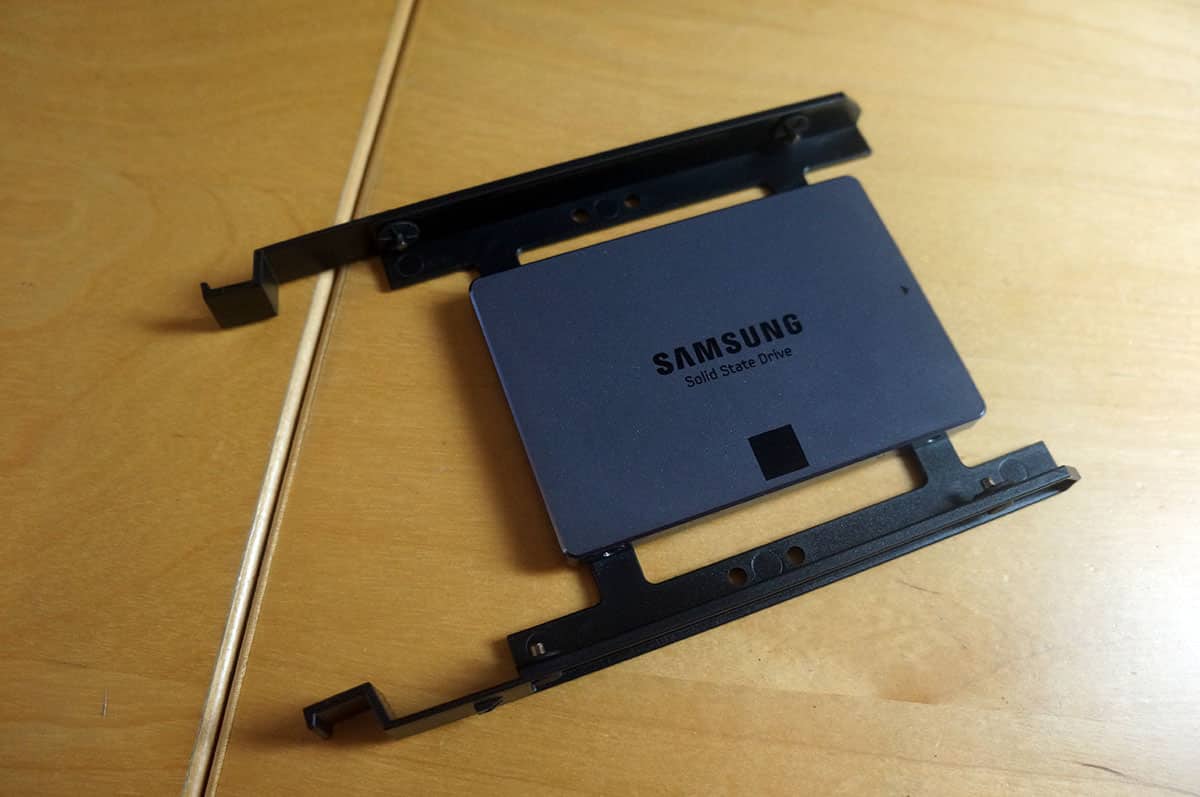
Next is our solid state drive, which I decided to install in one of the included hard drive trays. Just screw it into the tray.
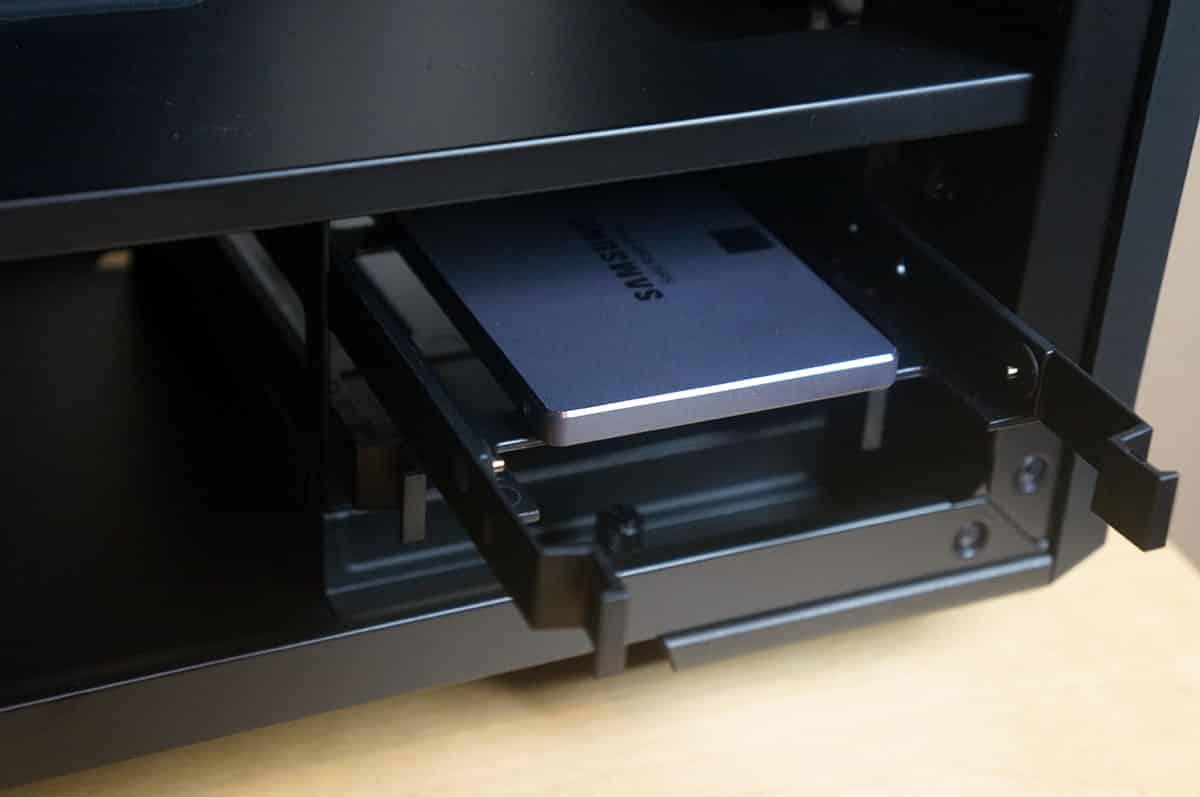
When you are ready to put it in the case, just slide it back into the hard drive cage.
Power supply installation is equally as easy. First take the power supply bracket off the back of the case and install it on your power supply.
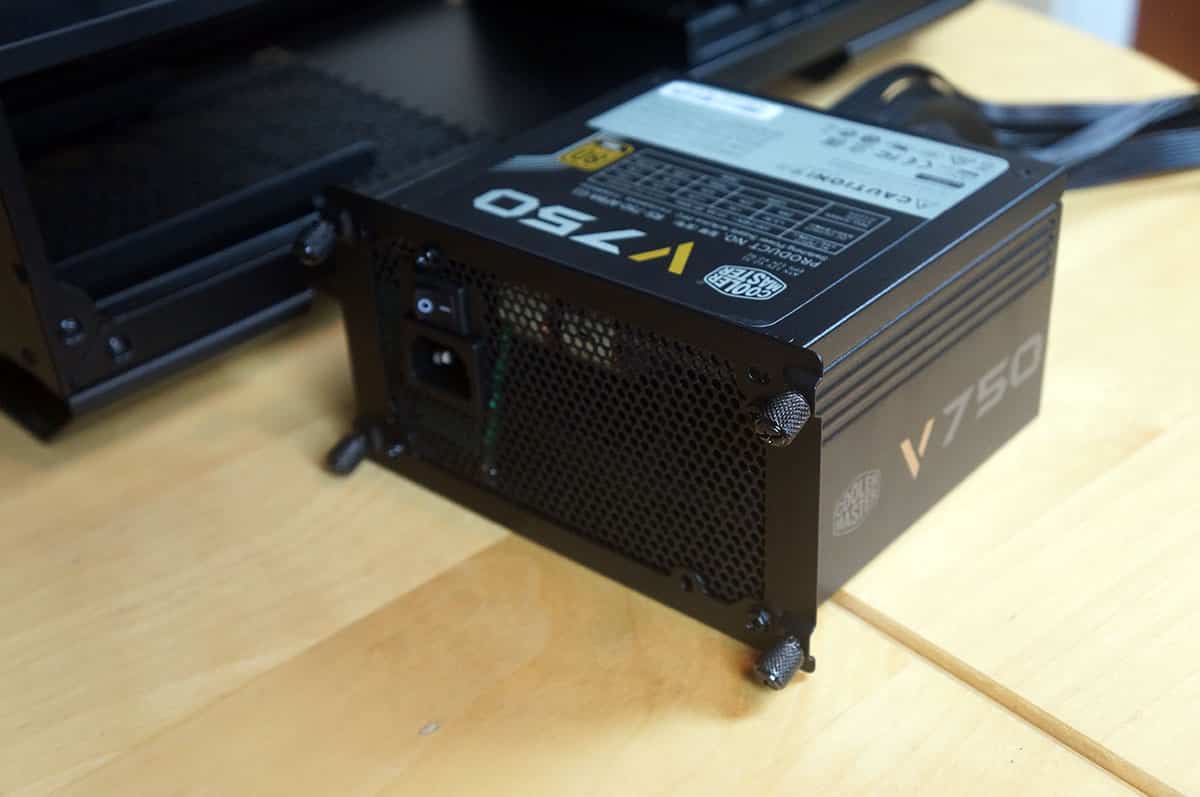
Next slide the power supply into the case from the back. Then all you have to do is secure it with the thumbscrews on the bracket and run all of your cables.

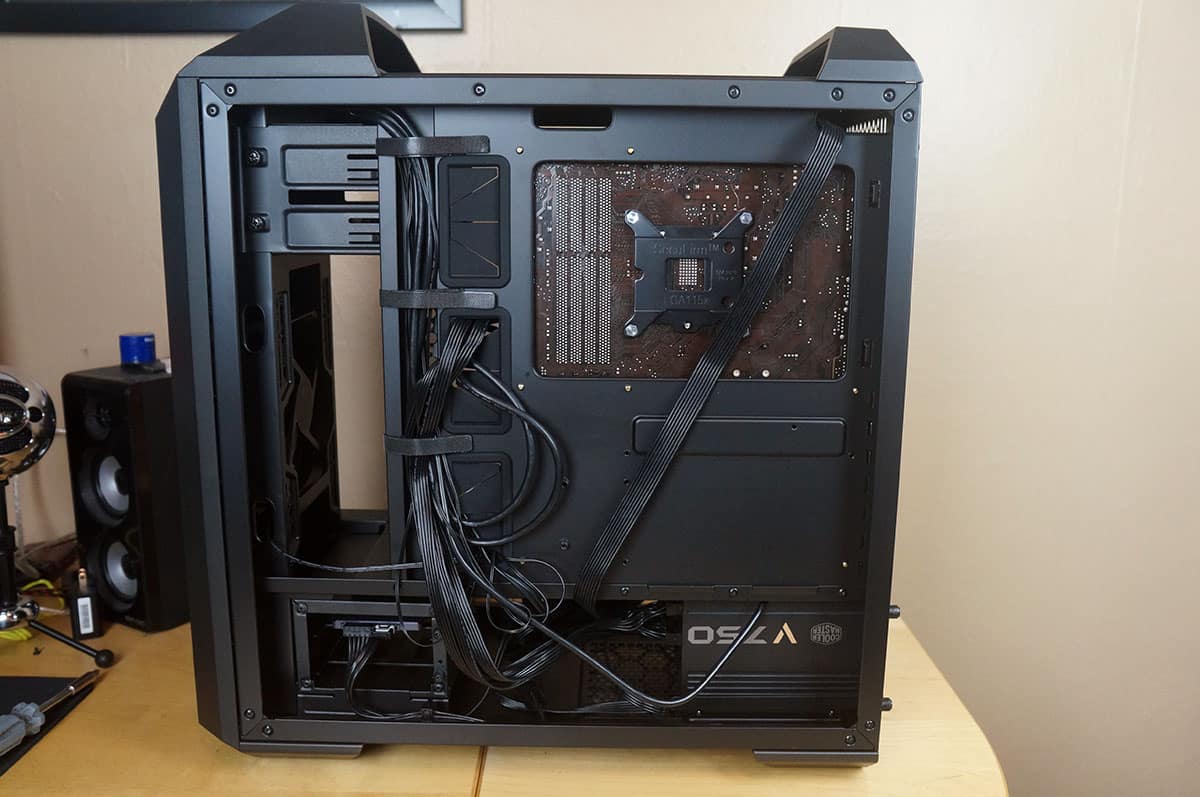
Running all of our cables was very easy. I really did not run into a single issue with installation at all. The velcro straps on the backside of the case really make it easy to organize all of your cables. Cooler Master does include cable ties, but they really are not needed here.
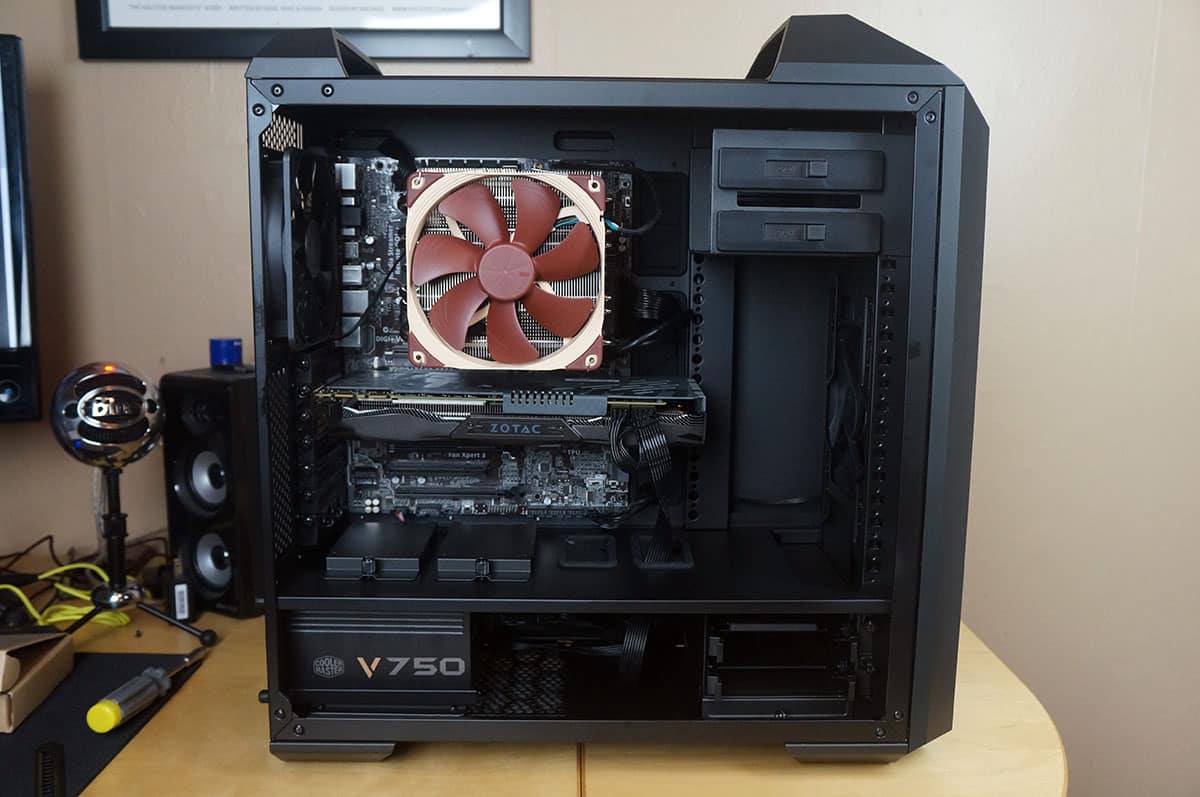
Our final thing to do is install our graphics card. It went in without any problems and since we moved the hard drive cage to the bottom of the case we do not have to worry about how long our card is.
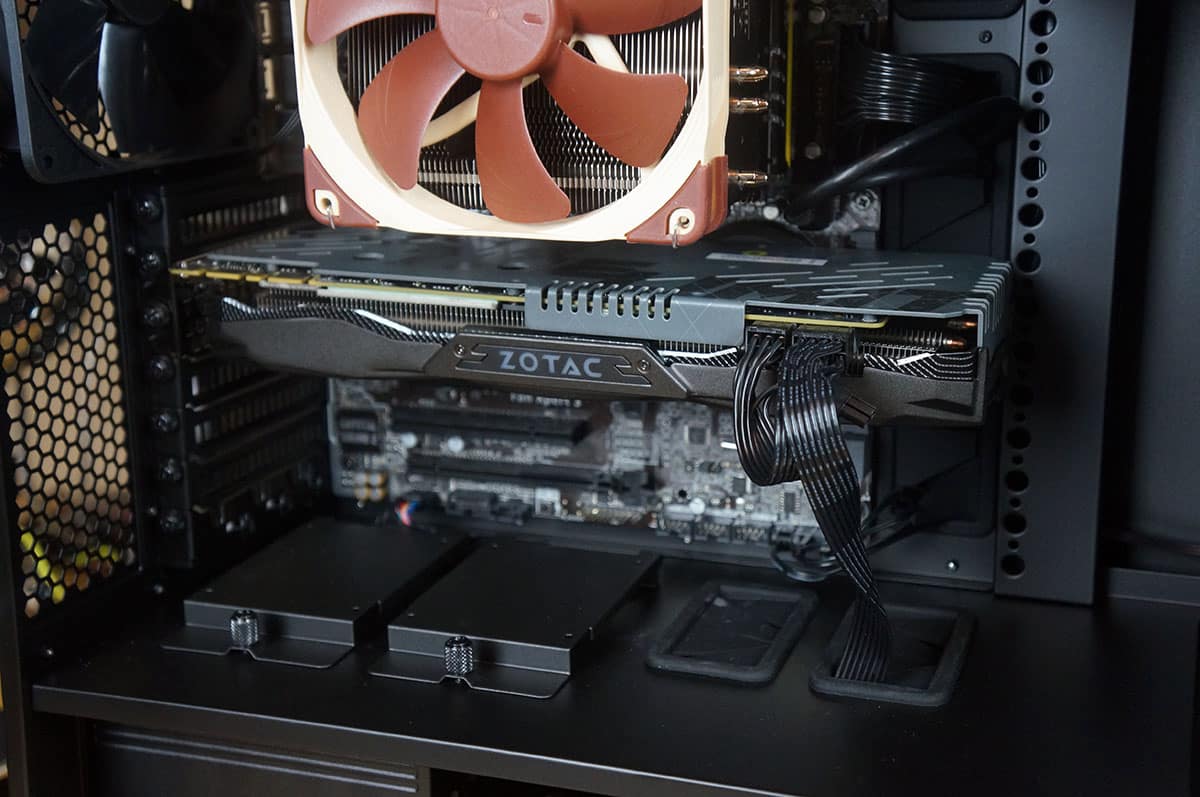
With all of our hardware installed we have an extremely clean build that will offer great airflow.