Installation
Taking a look at all of the different cables installation of this kit might seem a little daunting, but it is actually quite easy.
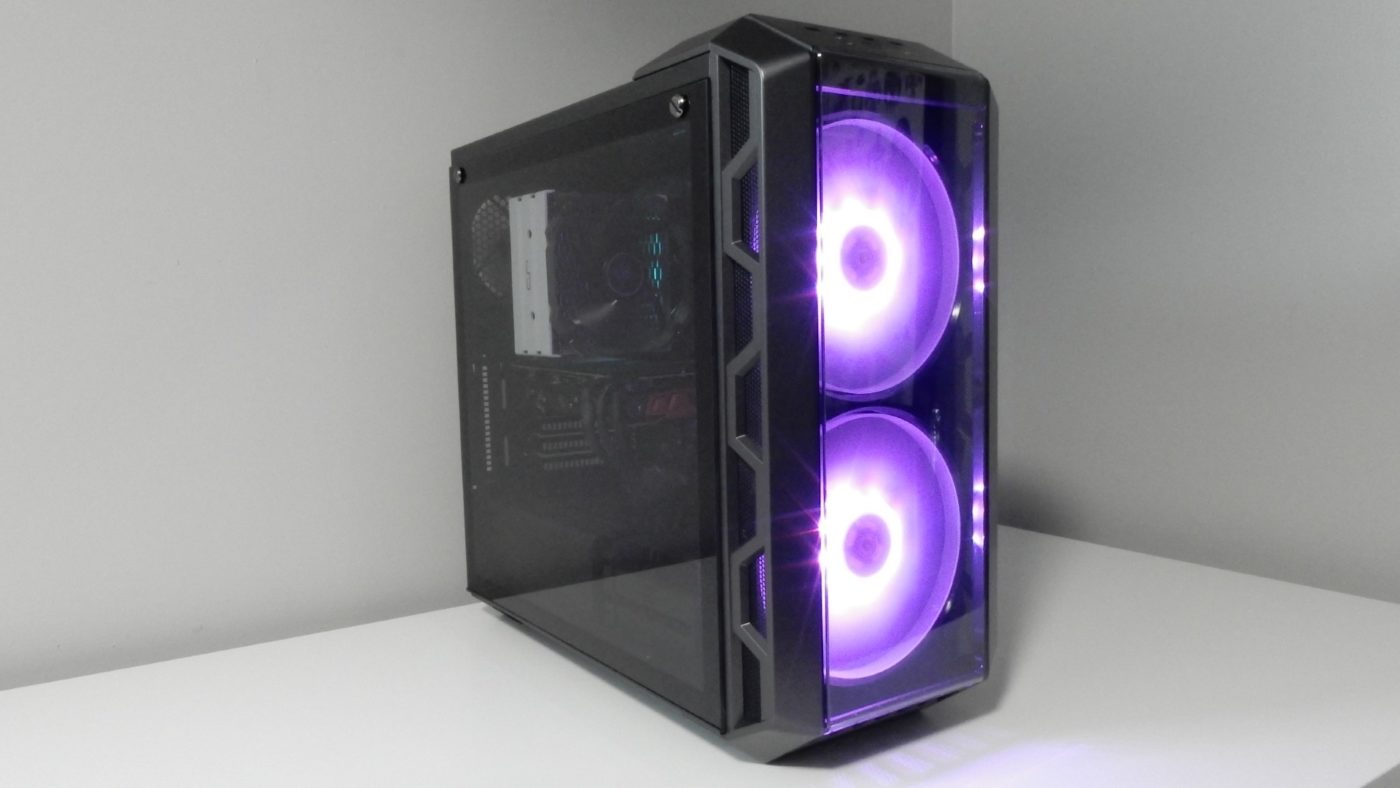
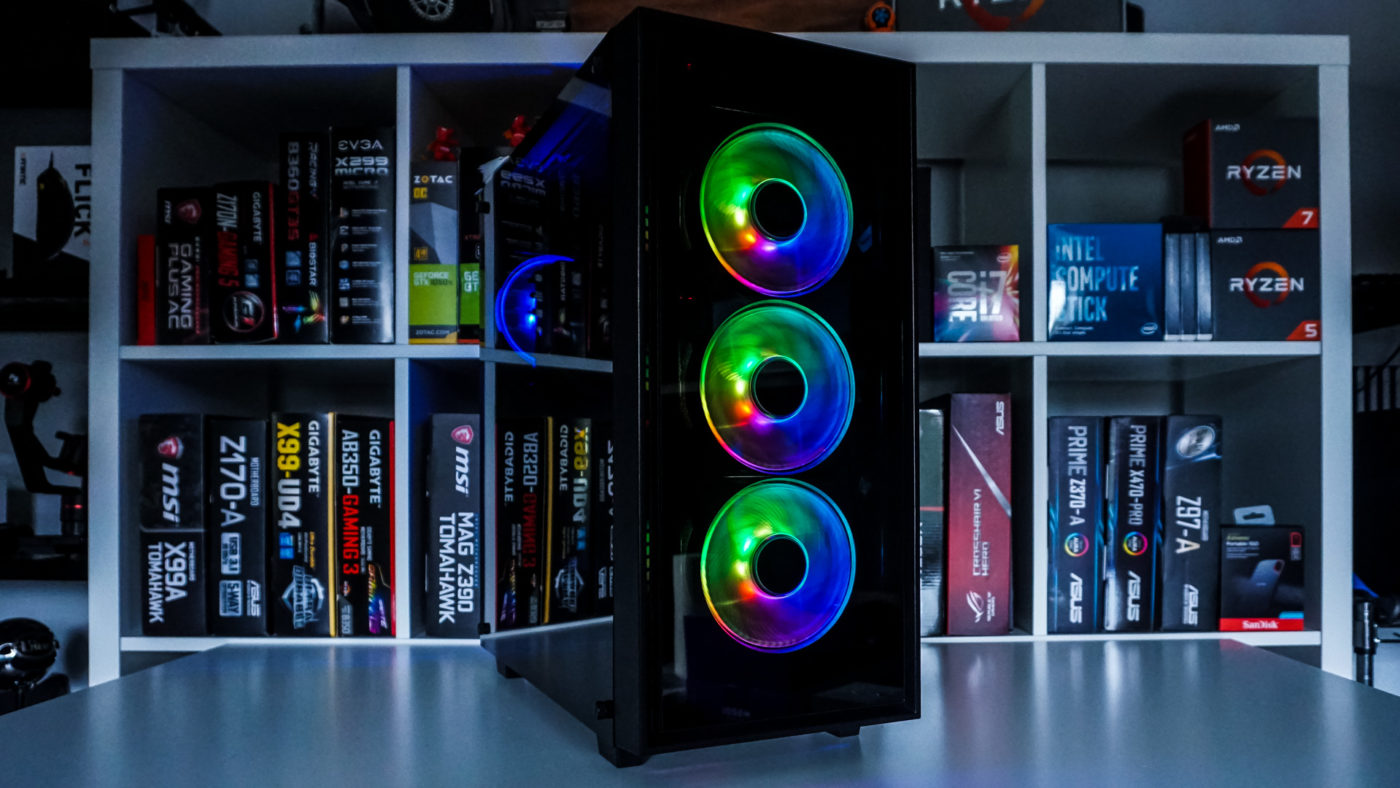
First you’ll need to mount your fans. Now you are going to want to mount them close together as the cabling coming off the fans is not that long and you’ll need to connect all three fans to the included 3-way splitter. We went ahead and mounted the fans to the front of our case.

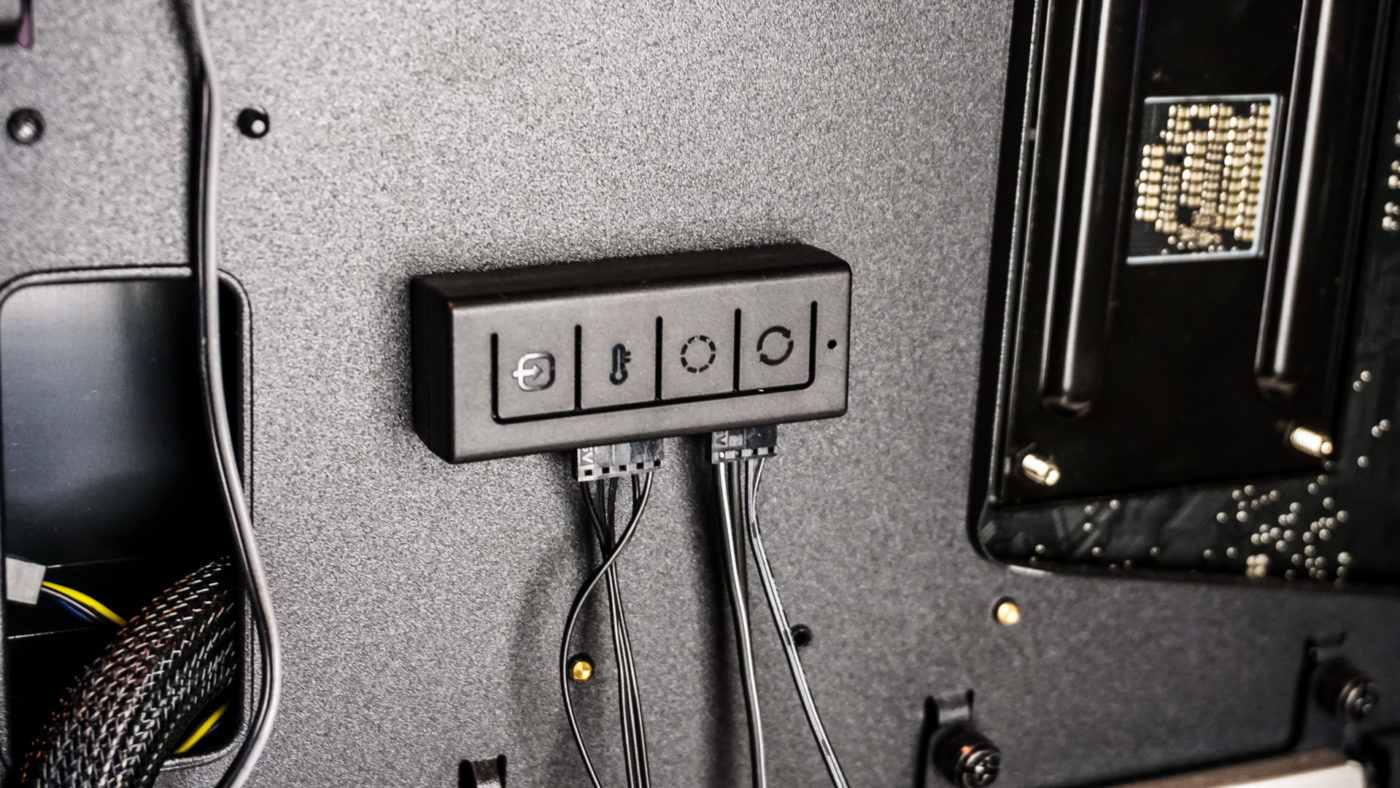
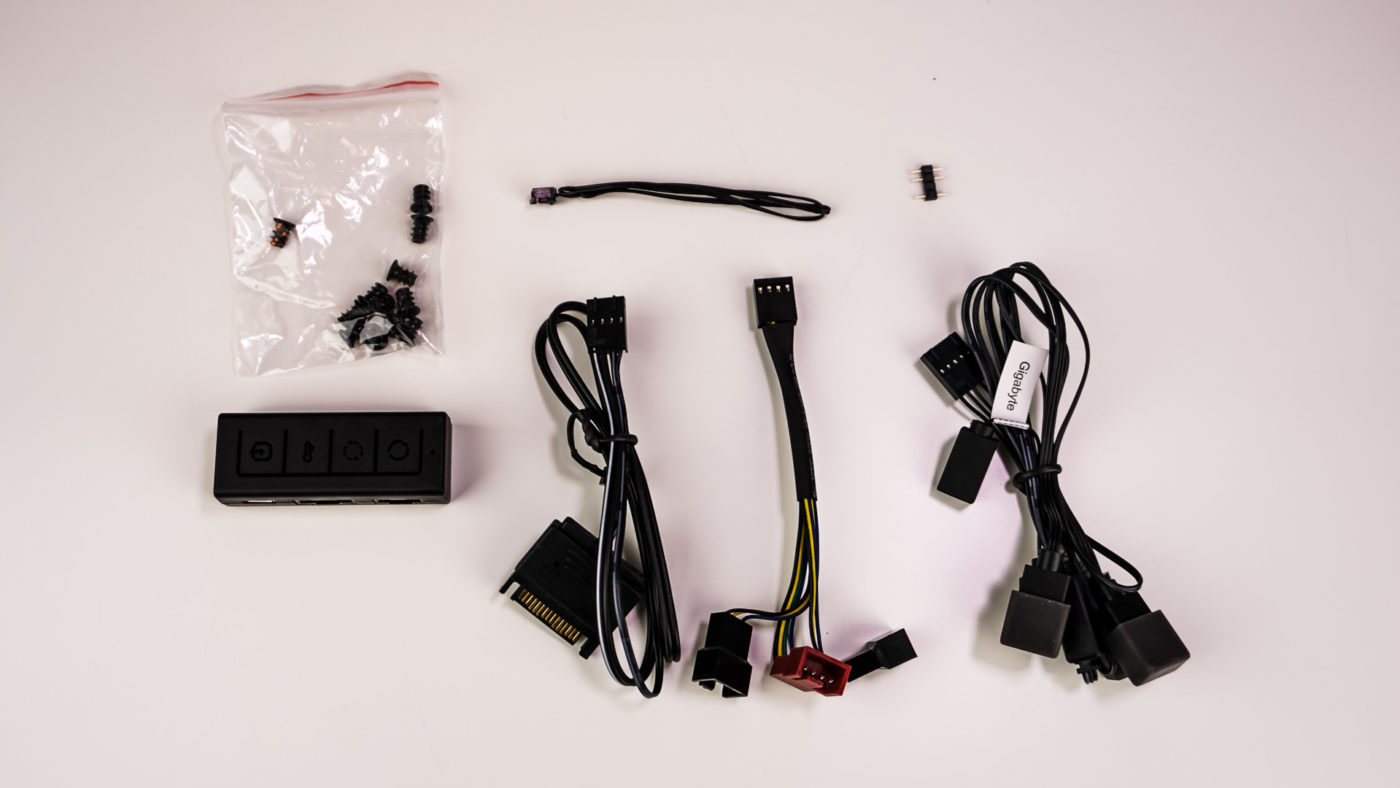
Now there are two 3-way splitters with this kit. As I mentioned the first is for your 4-pin power connections. The second is for your addressable RGB connections. When connecting these be sure to match up the arrows, this will ensure your RGB effects work correctly.

You’ll connect the 4-pin power header to either your motherboard or fan controller. I actually wanted to connect this connection to the fan controller in this case, but for some reason the fans would not power on, once I moved to a fan header on my motherboard they worked. Next connect the RGB cable to the controller, if your motherboard has an addressable RGB header you can then connect it to that header as well. If not just ignore the and hide the cabling on the RGB cable for this. Finally connect the power cable to a SATA power connection on your power supply and then to the controller. Optionally you can connect the thermal probe to the controller as well. The controller actually has a magnet built it, so you can mount it pretty much anywhere in your system. Keep in mind that if you are not connecting it to your motherboard you’ll need access to the controller to change effects, colors, etc.