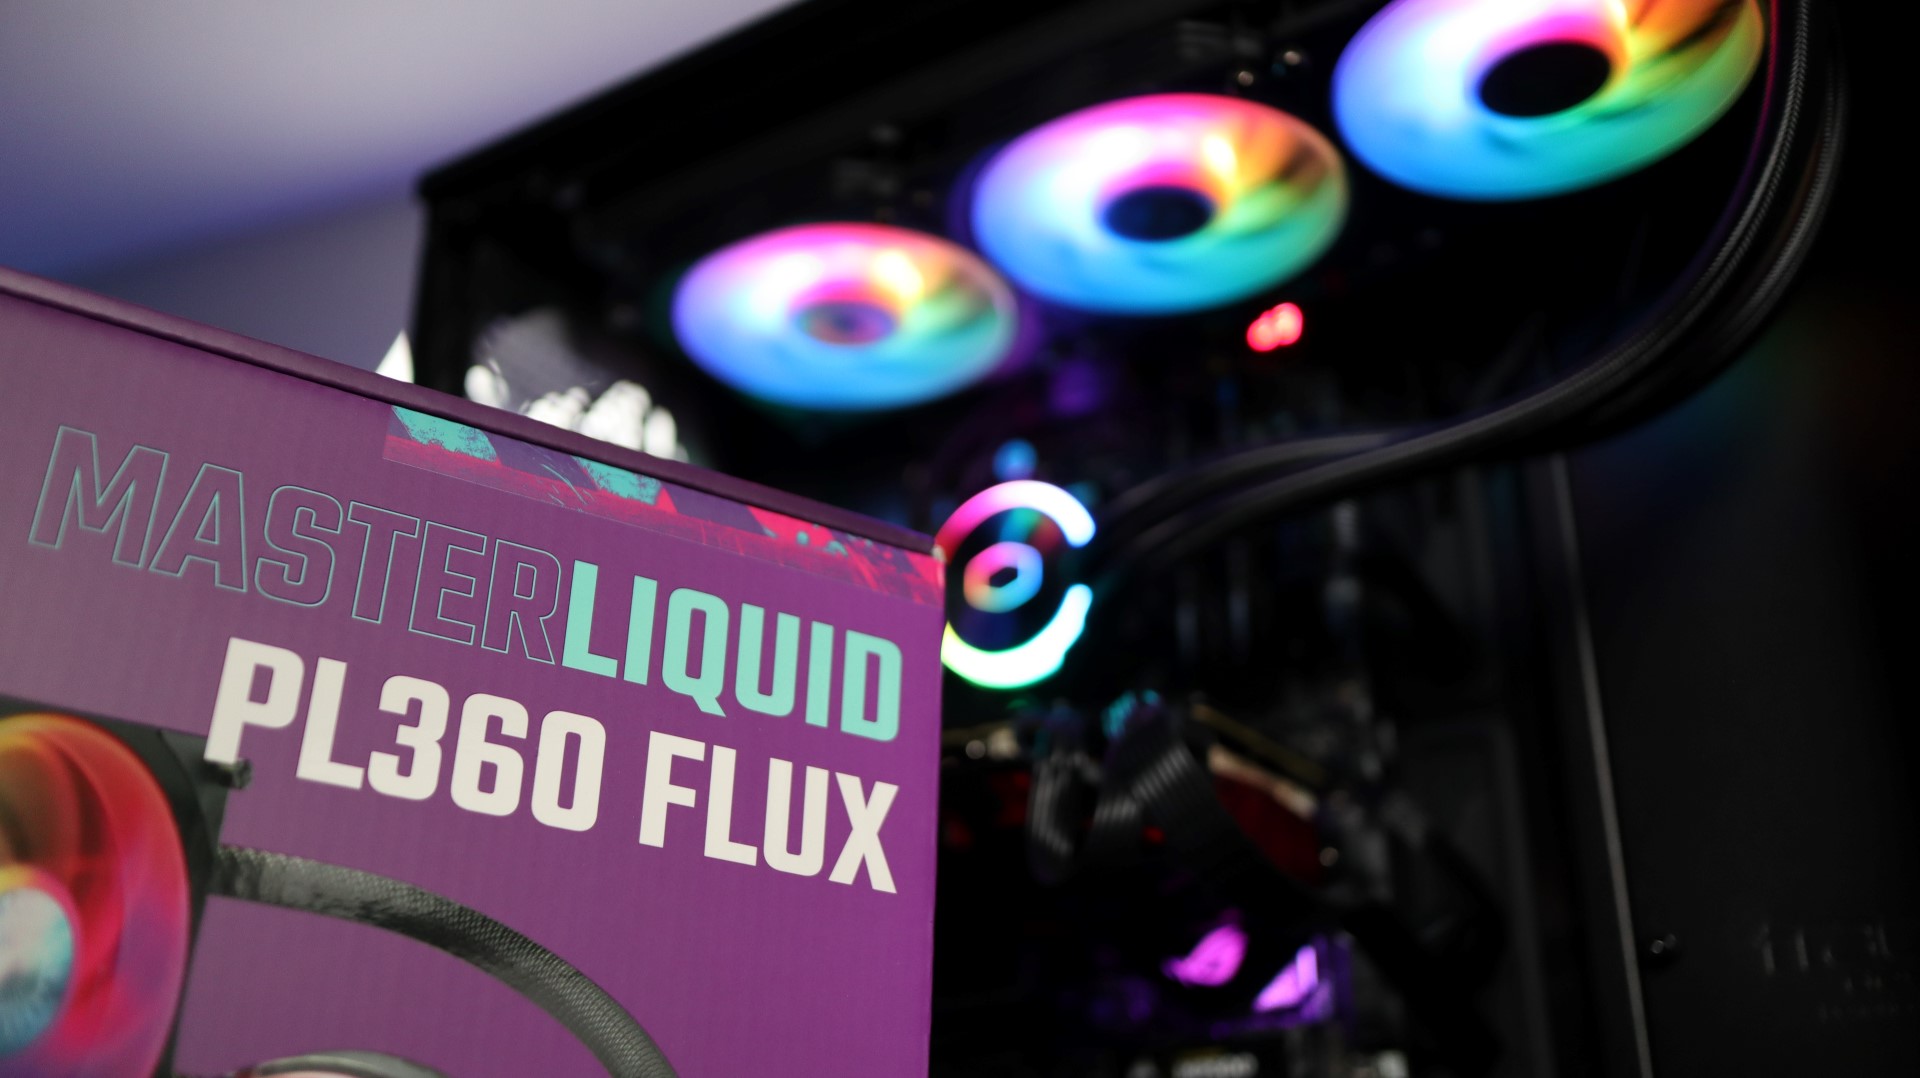
MasterLiquid PL360 Flux Overview
Out of the box, the MasterLiquid PL360 Flux is a pretty basic looking AIO. Without looking really closely, there isn’t really anything that stands out about this cooler. That’s not to say that this cooler doesn’t look good, it’s just that nothing really stuck out to me when taking a first look. As the name implies, the PL360 Flux is a 360mm AIO cooler, pairing three of Cooler Master’s new 120mm PL Flux fans with a 27.2mm thick 3600mm radiator. This AIO has very similar looks to some of Cooler Master’s previous AIO units, so lets take a look at some of the individual components of this kit.
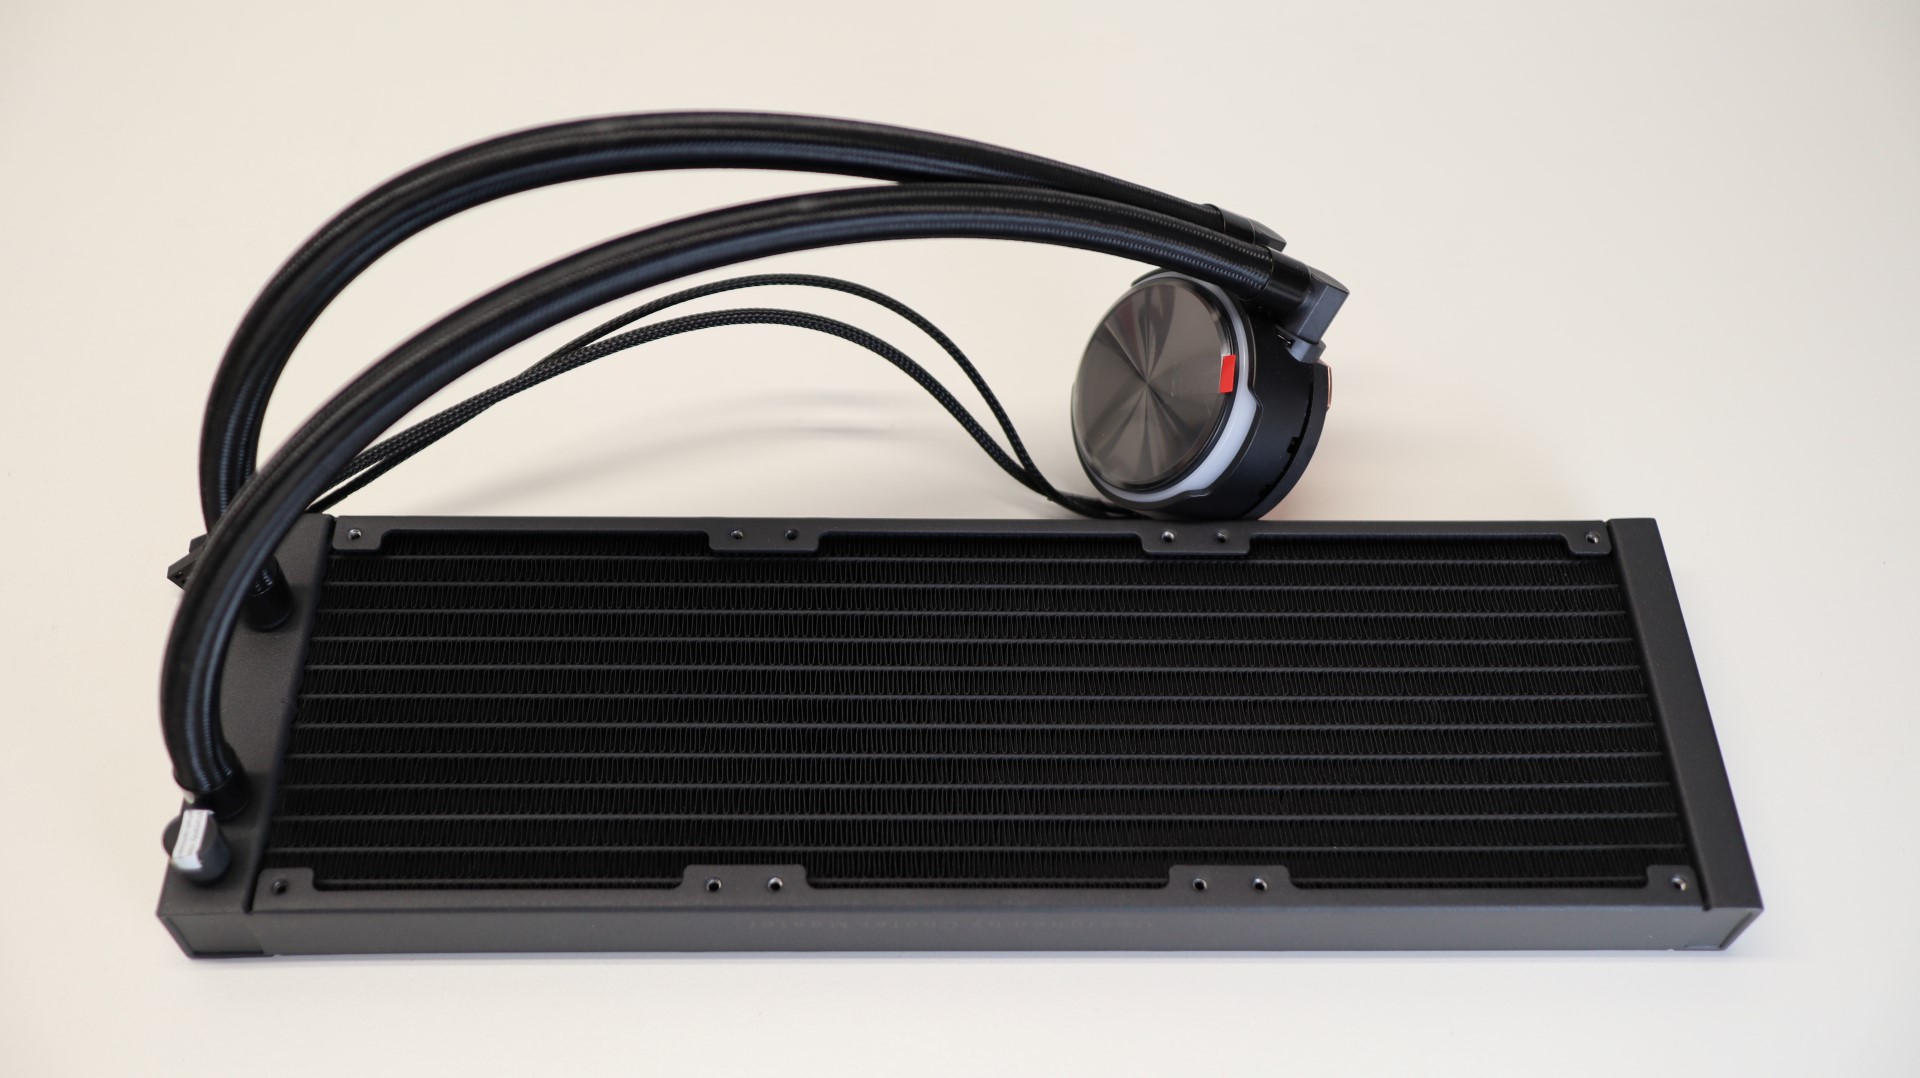
First up we have the aforementioned 360mm aluminum radiator. This radiator is most likely the same design we saw with the ML280 Mirror, as all of the specifications match up. We will say that 27.2mm thickness is on the thin side of what we have seen from other manufacturers, though Cooler Master touts superior fin density, which typically translates to better cooling, when paired with matching fans. With 20 fins-per-inch, the tight fin density is able to provide adequate surface area while still confined to a 27.2mm thickness. The 120mm PL Flux fans included with this AIO have a static pressure rating of 2.96mm-H2O, which is a significant improvement of the 140mm fans found on the ML280 Mirror we previously reviewed, and should provide improved pressure levels to get that air flowing through the radiator.
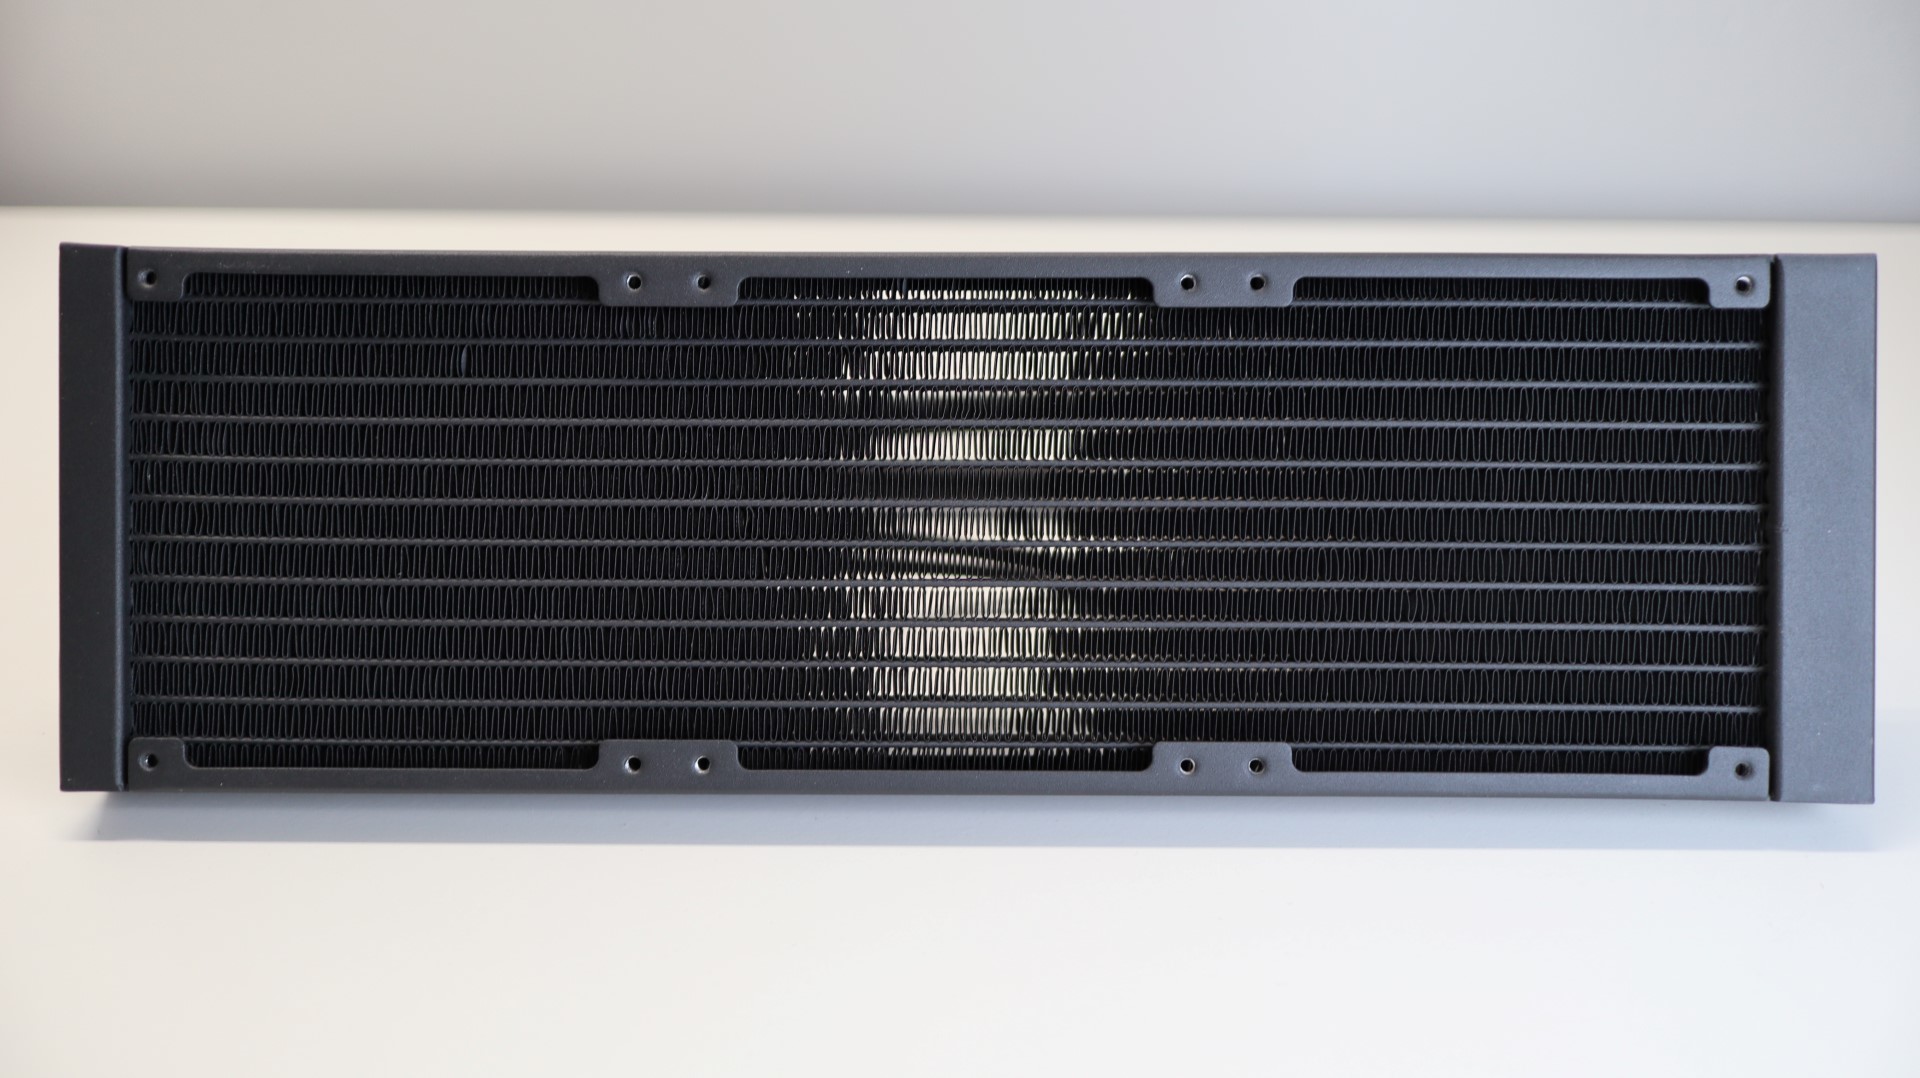
The entire radiator exterior is outfitted with a slightly rough black paint job, and centered along each of the long sides of the radiator is a stealthy “Designed by Cooler Master” label.

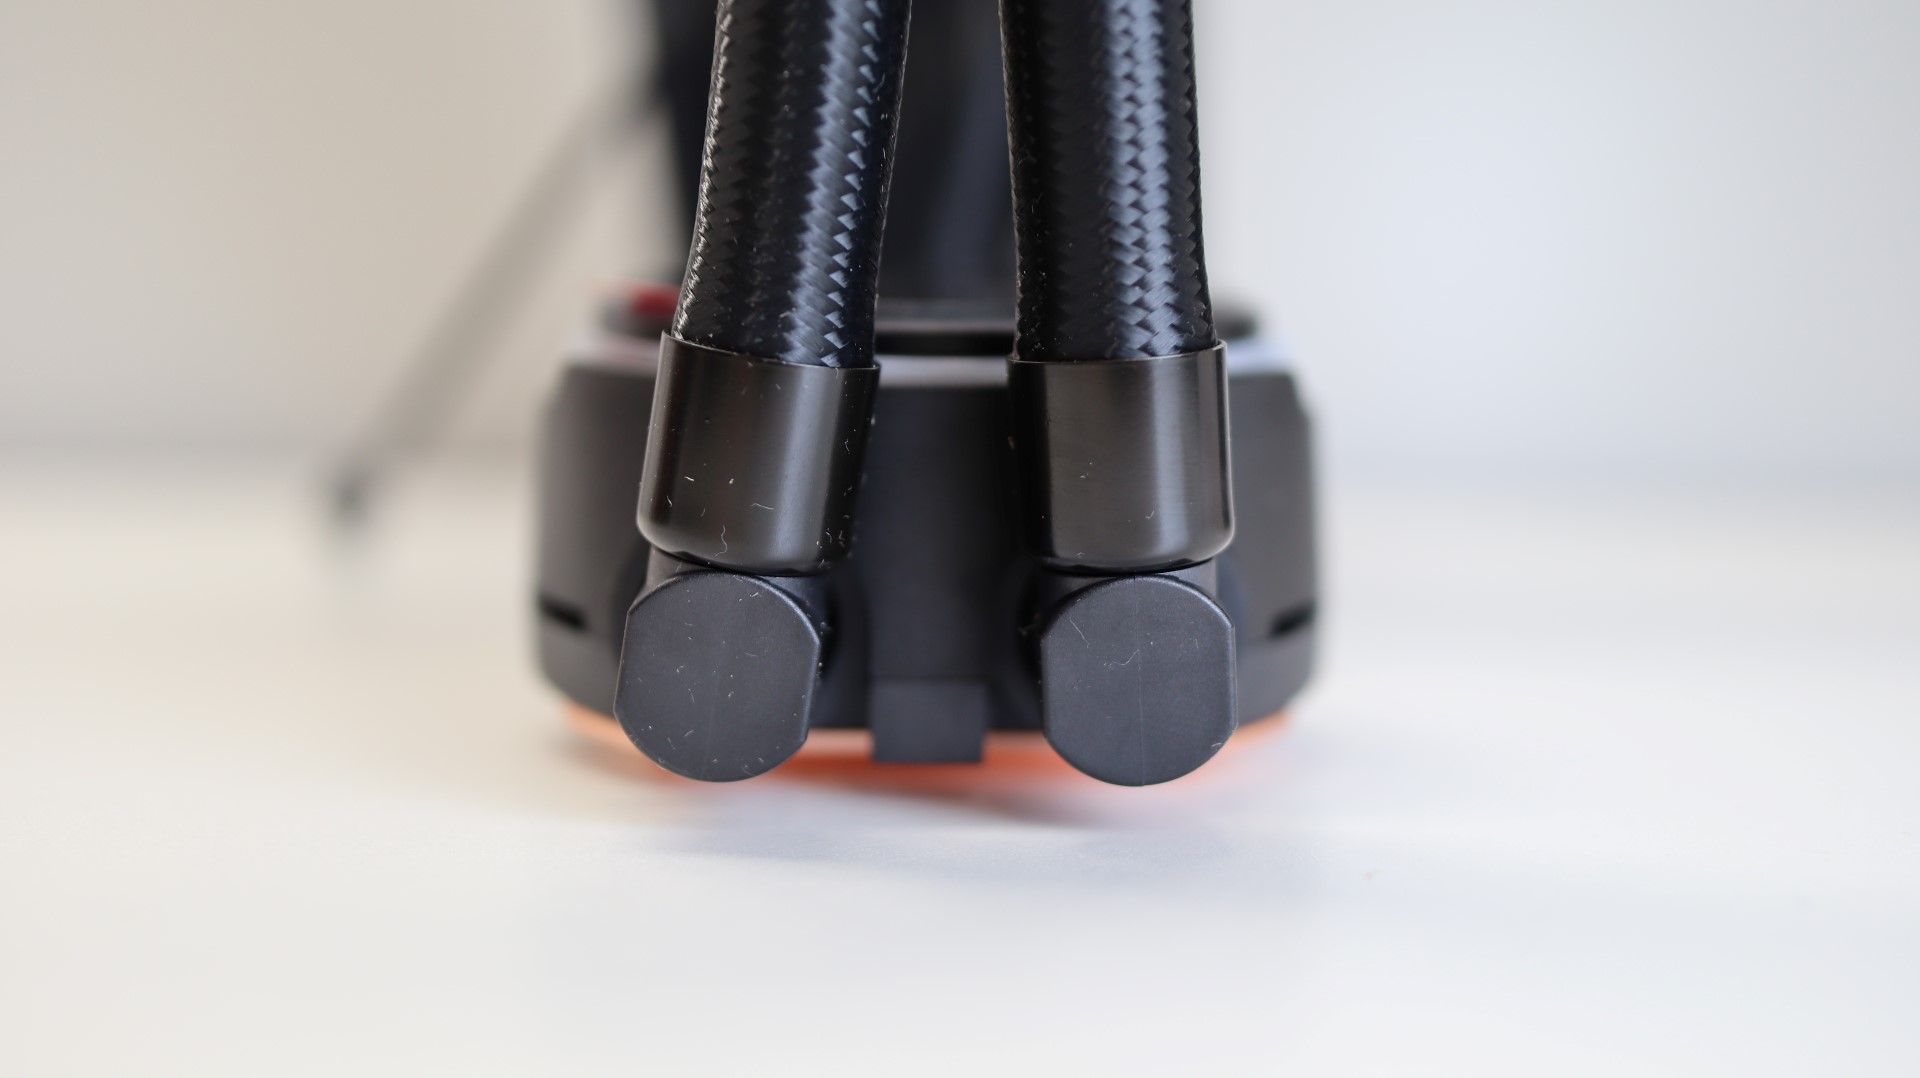
Each braided cooling line exits from one end of the radiator’s end cap, and these lines are connected to the radiator via crimped connectors. We found the cooling lines to be quite flexible during installation, though their length seemed a bit short to us during installation.

Taking a look at the CPU water block and pump combination unit, we can see that is has taken on an updated look compared to past MasterLiquid AIOs. And while it isn’t really obvious at first glance, once up and running, this pump does feature two ARGB LED lighting zones. Cooler Master has always touted their dual chamber design, and it seems to be working well for them, as they continue to revise it with improvements along the way. Making contact with the CPU heat spreader is a copper base with plenty of surface area to make contact with large CPUs. Sitting on top of that CPU block is a low-noise pump that is designed to run at a max of 15 dBA, which is a bit higher than previous MasterLiquid units we have tested. Its 160,000 hour life expectancy translates to just over eighteen years of continuous operation, and while the AIO’s warranty is five years long, the pump should continue on long after that.
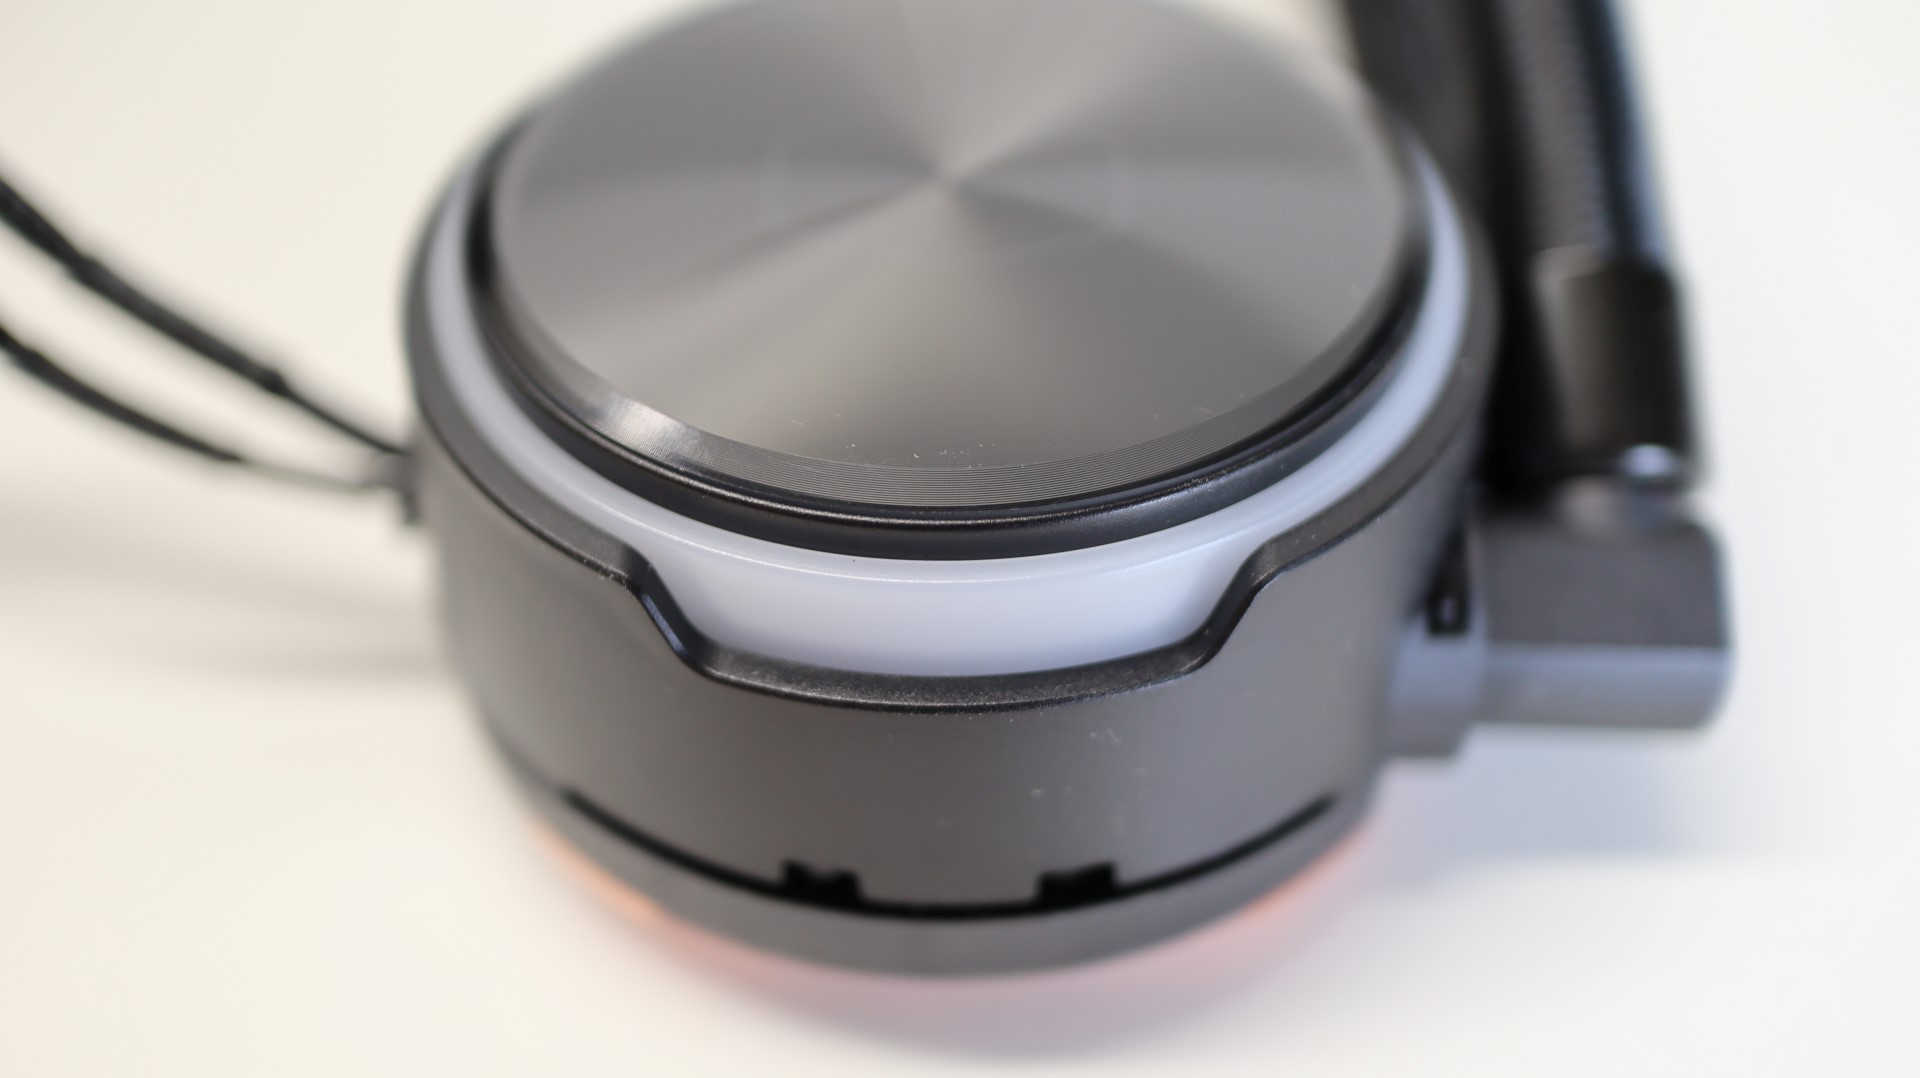
Taking a look from the top down, we see a circular design with a semi-mirrored top plate that has a barely-visible Cooler Master logo in the center, which features ARGB lighting via six LEDs. Surrounding the inner mirror-like section is a semi-transparent lighting ring with 12 ARGB LEDs, which we will focus on a bit later. The material surrounding the pump housing is a satin black plastic that provides a sleek, understated look to the unit. Both ARGB LED lighting arrays can be controlled via the kit’s included controller, or by a compatible motherboard and software.
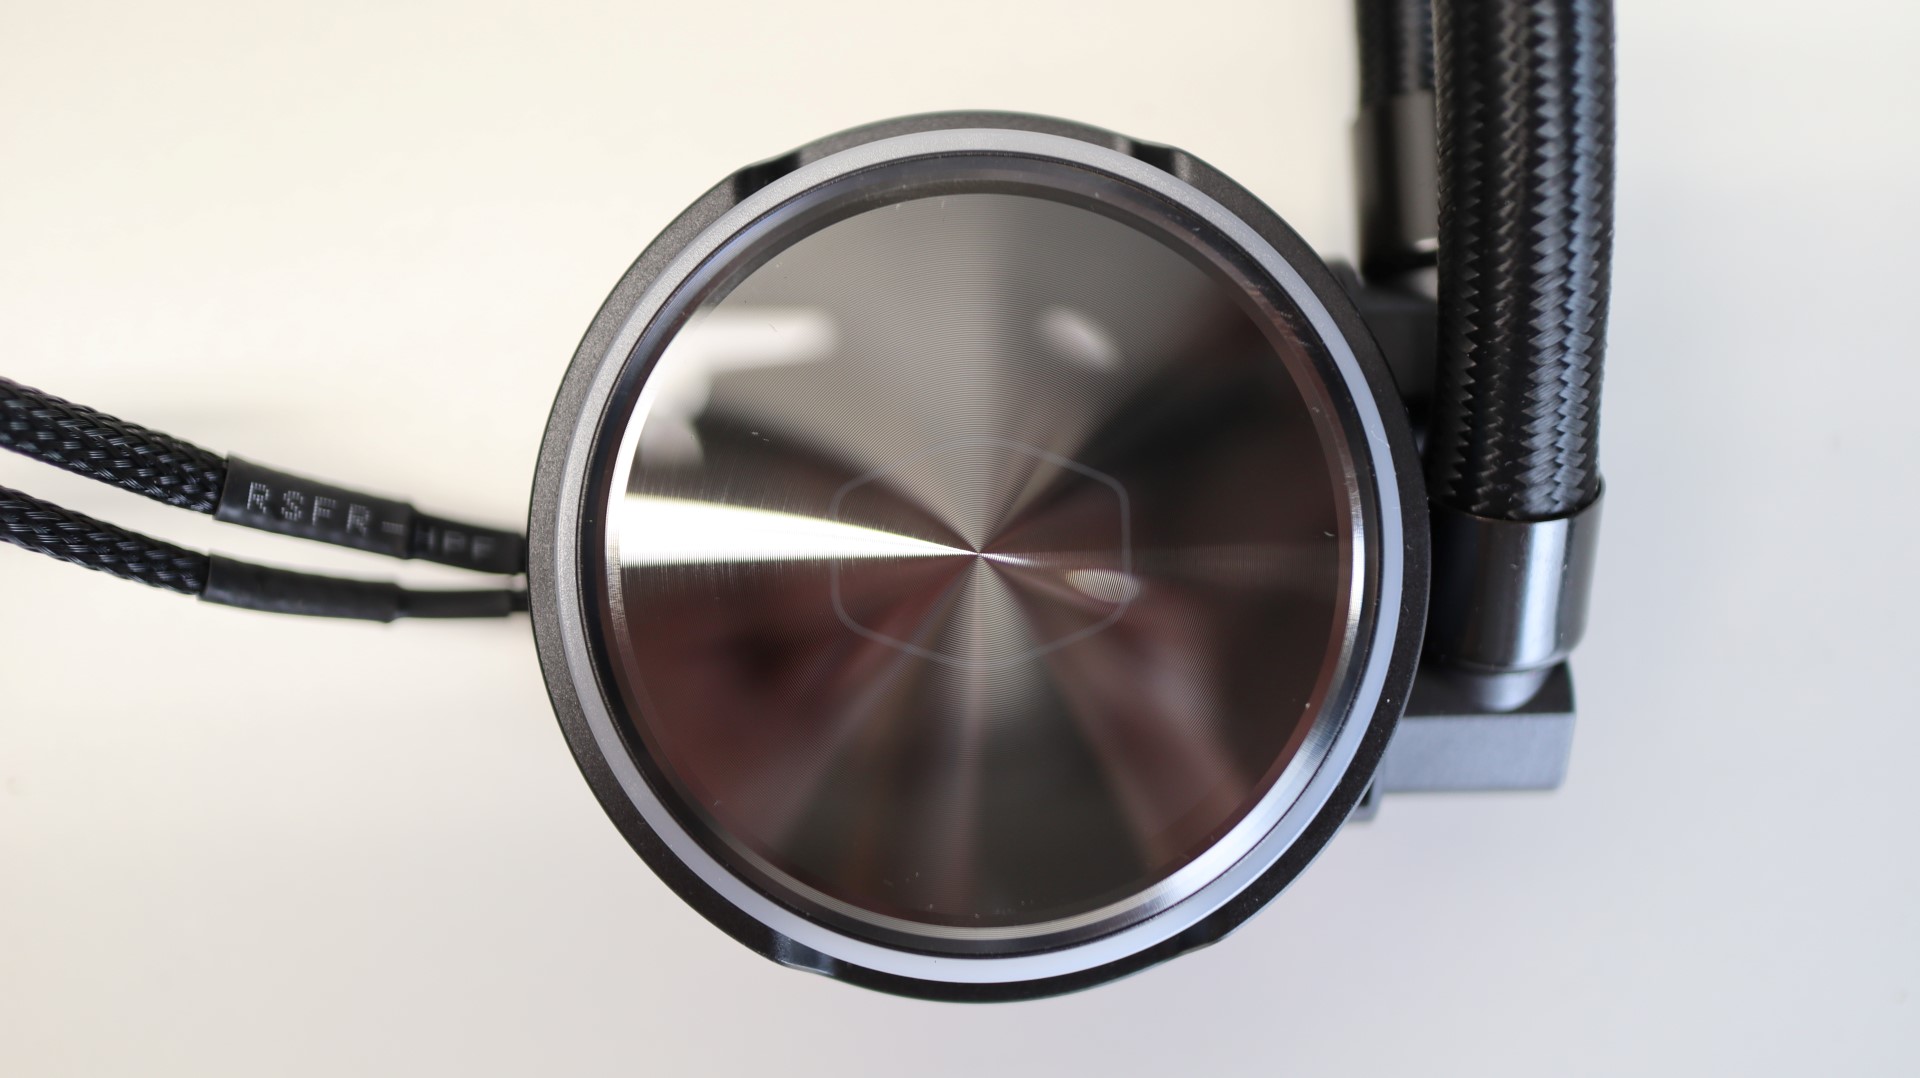
Making our way around the cooler, exiting from the right side we have the two cooling lines. Each line is paired up with a swiveling fitting to make installation and fitment much easier than with fixed connections. The dual-chamber design of this pump isn’t as obvious as previous MasterLiquid coolers, though Cooler Master still makes use of the dual-chamber layout to separate the incoming cooler liquid from the warmer liquid exiting the unit.
The left side of the pump housing is where the braided 3-pin ARGB cable and 4-pin pump power cable exit.

Taking a look at the underside of the cooler, we see a copper cold plate, secured to the pump via 14 screws. While there is a bit of machining visible on the surface of the water block, these lines were not noticeable to the touch.
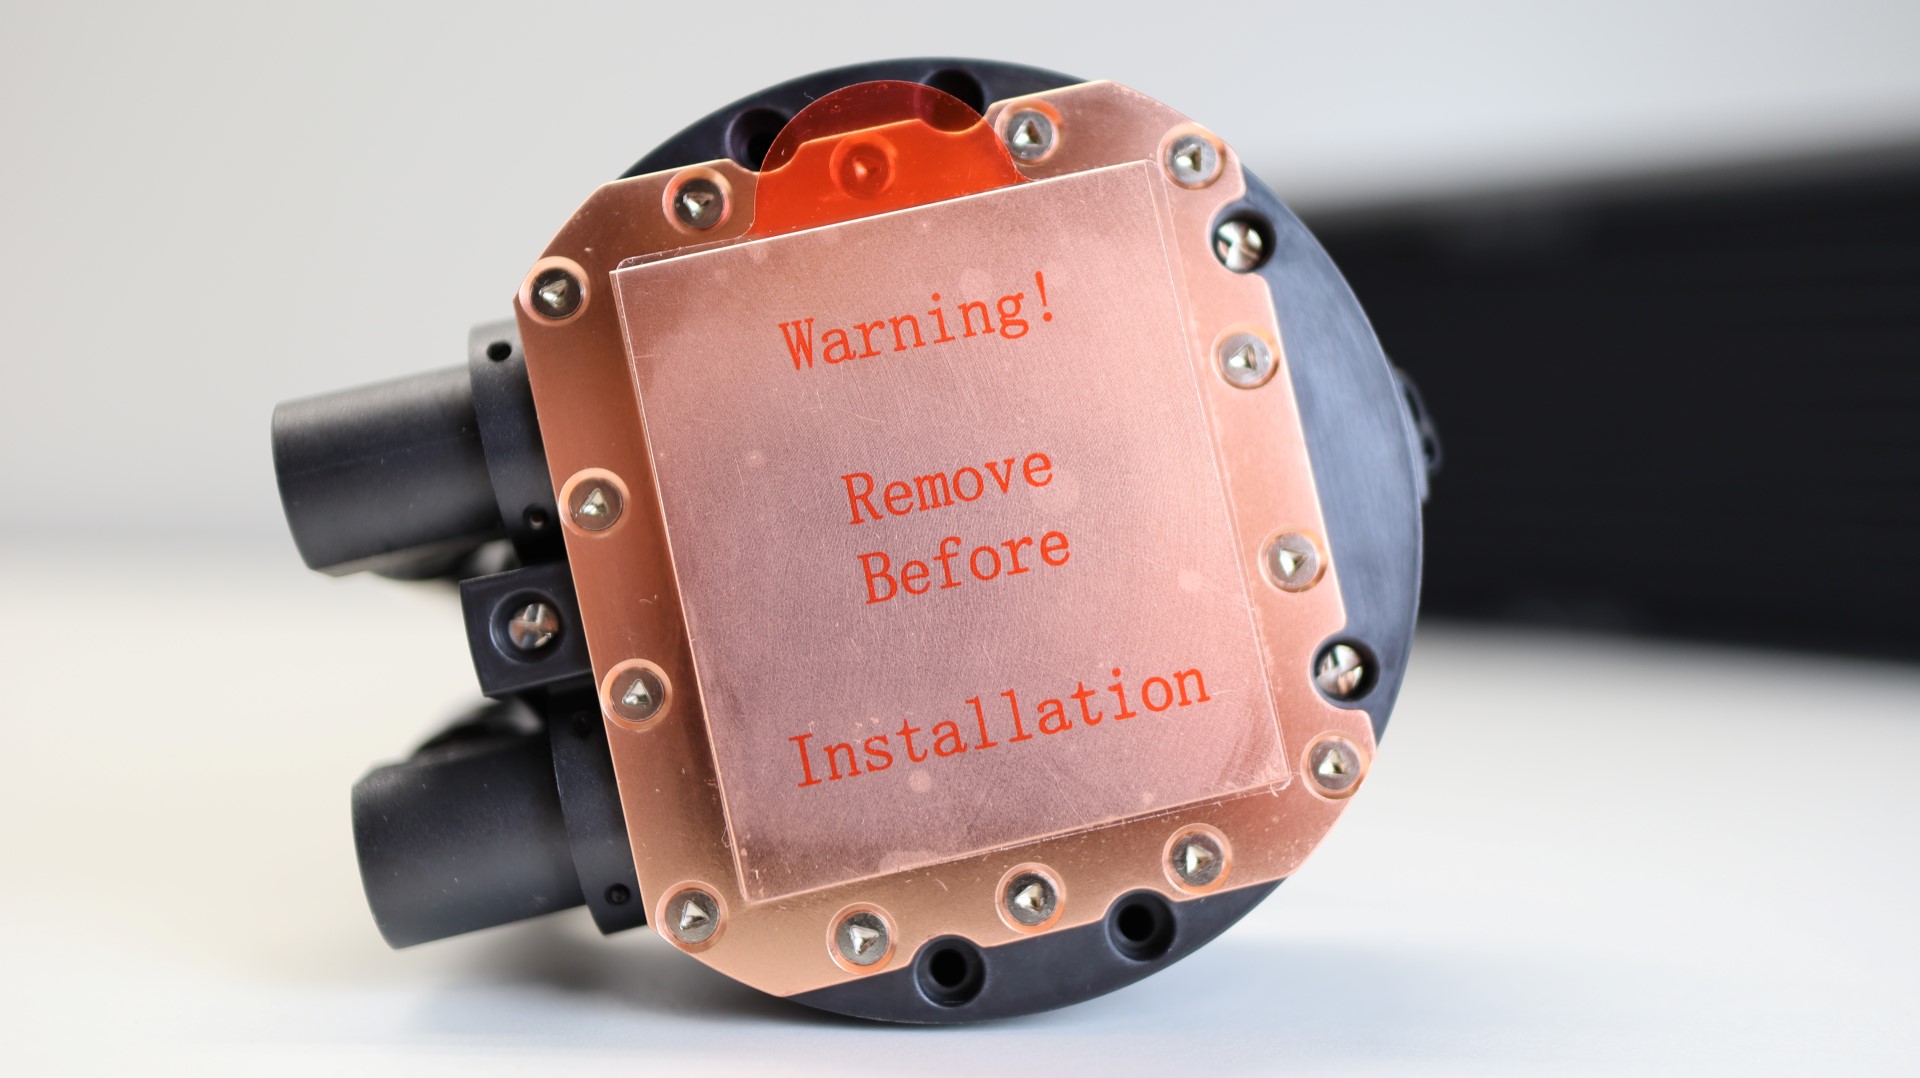
Cooler Master has chosen not to pre-apply thermal interface material to the cooler, but has chosen to include a small tube of their own MasterGel Pro material. While we do appreciate the ease of use with pre-applied material, we also appreciate the ability to re-install the cooler on multiple systems and not have to worry about finding thermal paste.
PL Flux Fans
Included with the MasterLiquid PL360 Flux, though not attached, are three of Cooler Master’s 120mm PL Flux fans. These PL Flux fans have connected fin blades that bring additional stability at higher speeds. This translates into more consistent airflow levels at all fan speeds. Cooler Master leaves these fans off of the radiator so that you can choose whether to use a push or pull fan configuration. Of course, all of the necessary hardware is included to mount the fans to the radiator, and their installation is made very easy, thanks to the inclusion of some great thumb screws.

A far as specifications go, these seven-blade fans have an operating range of 0-2300 RPM, and are capable of pushing up to 72.37 CFM of airflow.
Speaking of the fan blades, each PL Flux fan has eight addressable RGB LEDs in the center of the fan hub to provide adequate, custom lighting to your rig. These PWM fans are also outfitted with rubber dampening pads at each corner, so they are ready to go to work in either a push or pull configuration.

ARGB Controller
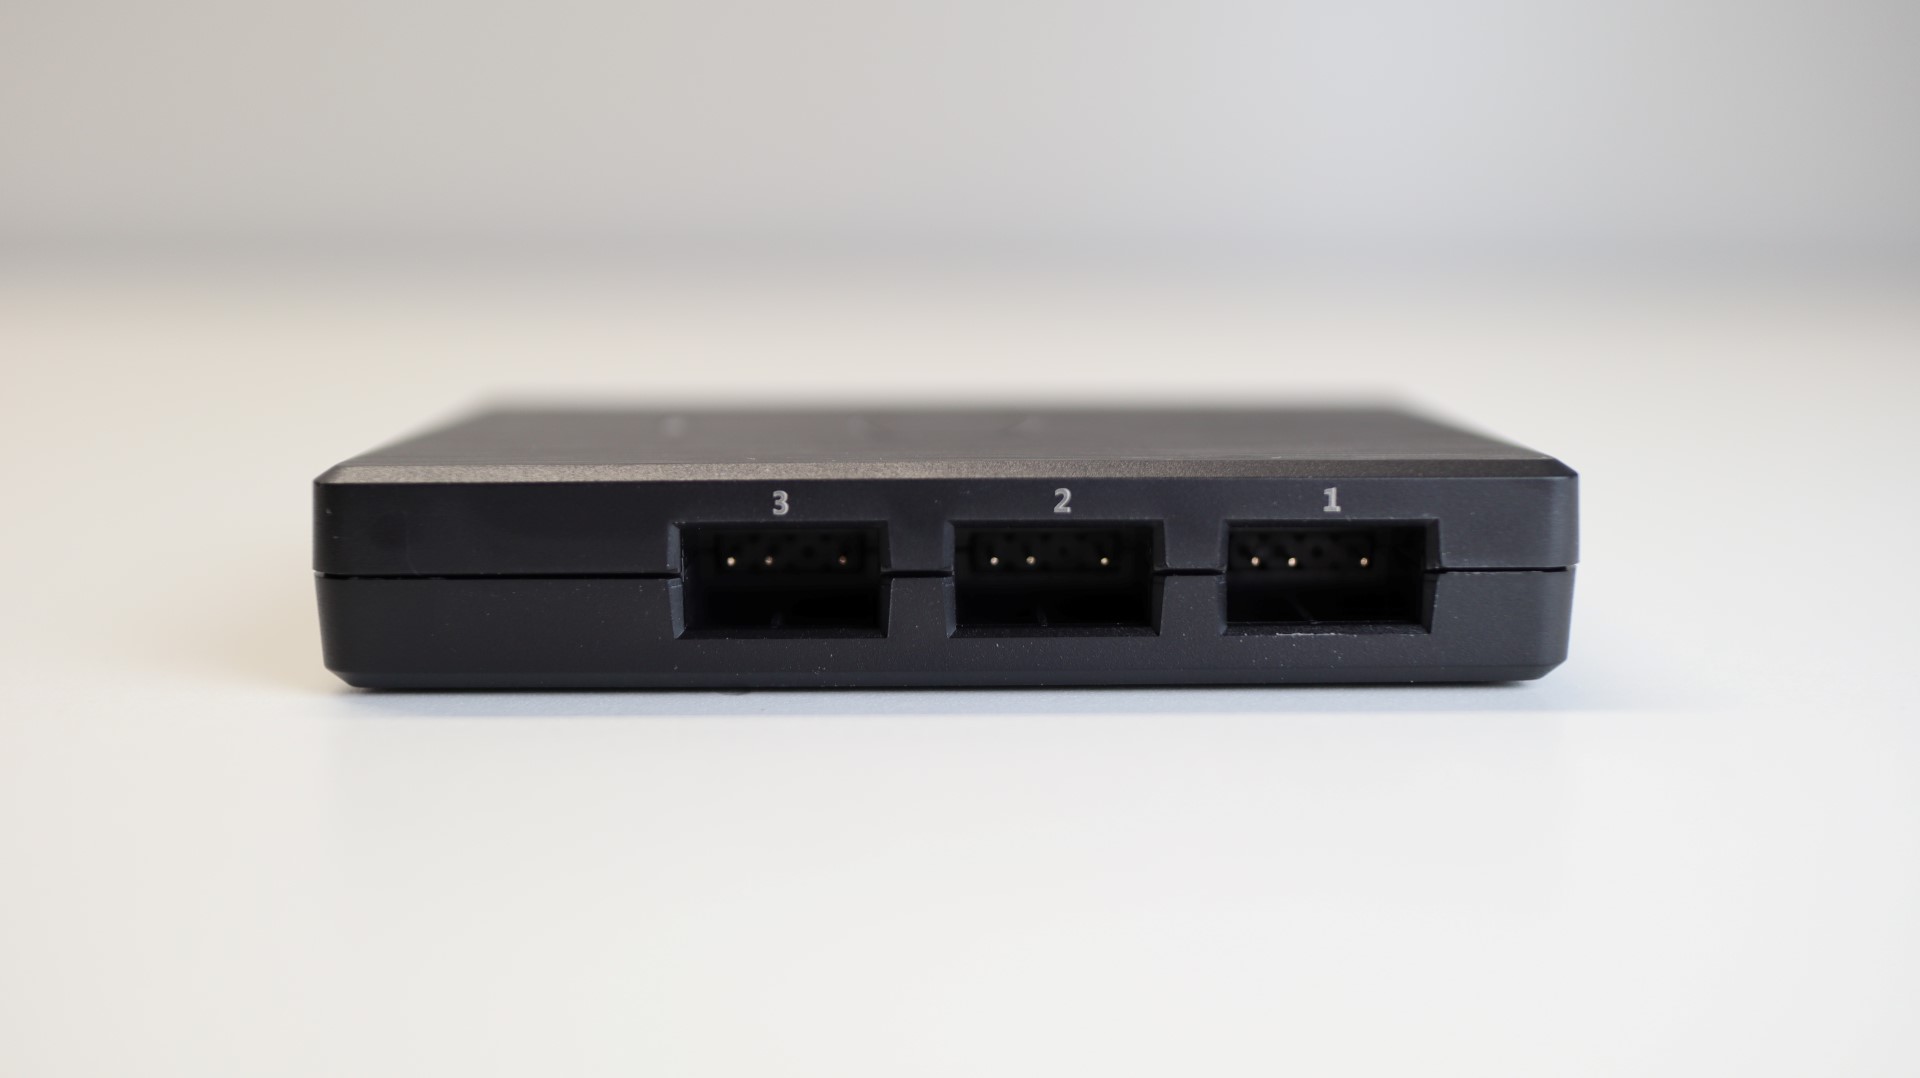
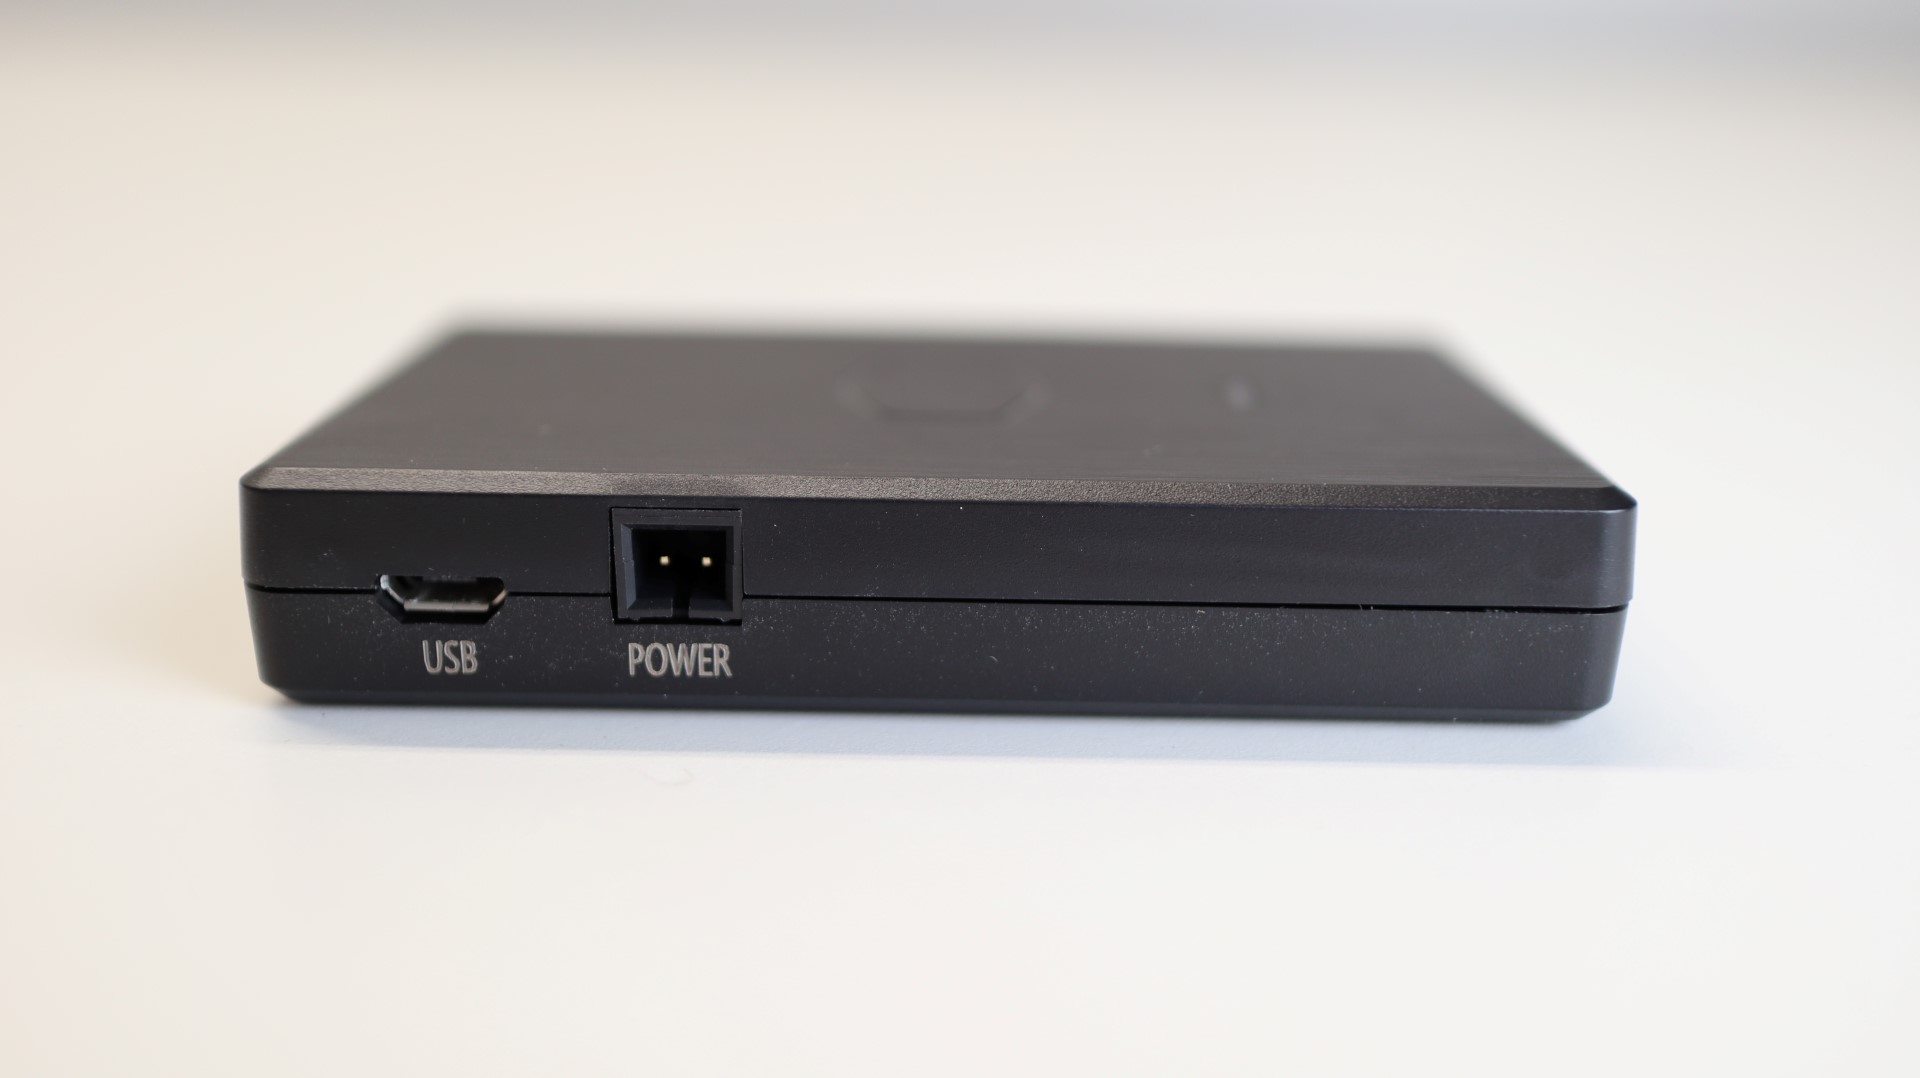
In order to control the lighting found on the pump housing, Cooler Master has included a small ARGB controller that connects to your system via on on-board USB 2.0 header, and is then controlled via Cooler Master MasterPlus+ software.
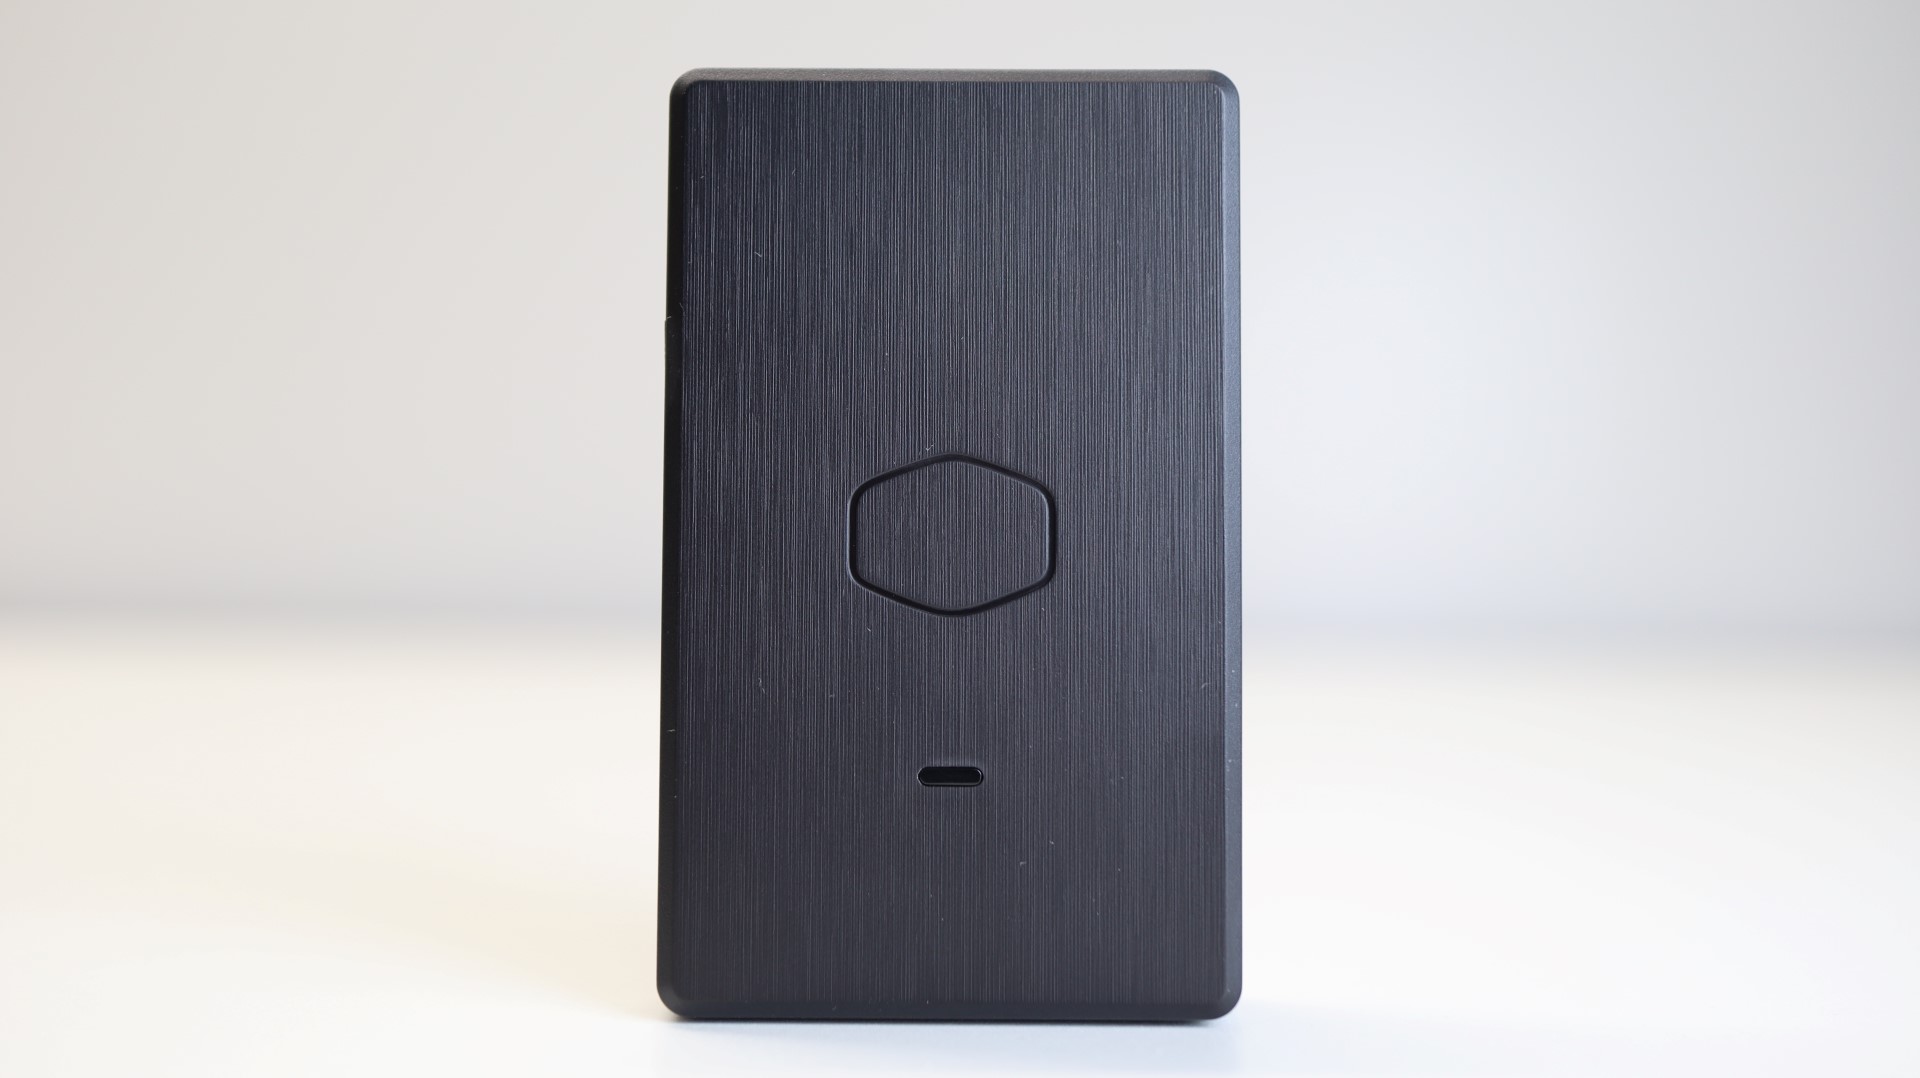
Installing the controller is as easy as plugging in the three fans and pump housing to the three available 3-pin ARGB headers, and Cooler Master has even included a pigtail connector so that you have plenty of room for all of your ARGB devices. A SATA power connector is also included to power the controller. And thanks to the internal magnets, the controller can be quickly attached to nearly any flat are inside your case.