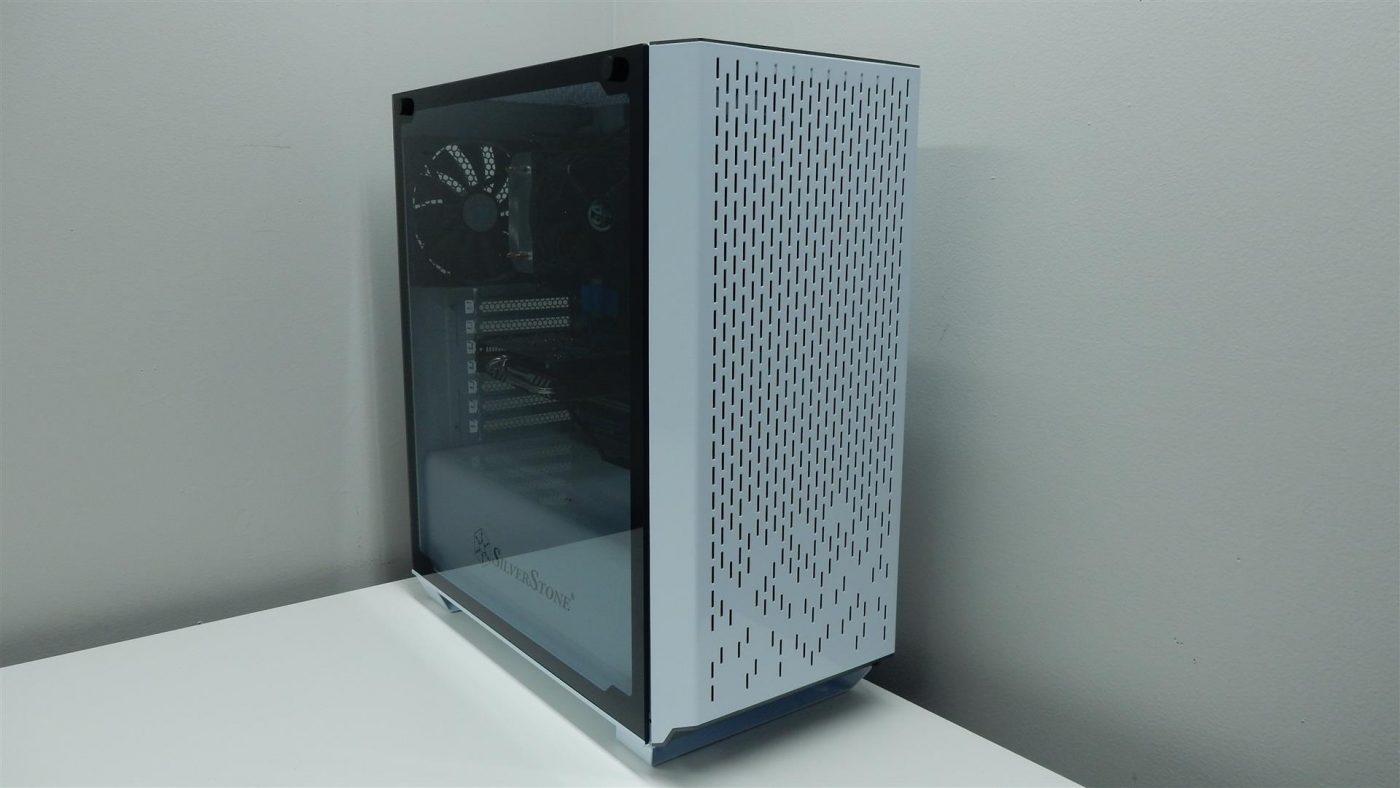
A Look Inside
After removing the four low-profile screws that keep the side panel in place, we gain an unobstructed view of the SPEC-OMEGA’s internals. One thing we noticed when removing the glass panel is that there is nothing keeping the panel in place once the screws are removed. While many cases have mounting studs built into the side of the case that help keep the panel in place, the SPEC-OMEGA’s design only provides a threaded hole for the screws to thread into. When working with a tempered glass side panel it is always good to proceed with caution, but we found ourselves needing to be a bit more careful with this case. And while we do appreciate the seven holes in the rear frame of the case that allow you to use a screwdriver on the expansion card thumb screws, we would have liked to see a little foam padding surrounding the frame portions that make contact with the tempered glass panel. This not only provides a bit of a softer surface for the panel, but cuts down on gaps that allow for errant airflow.
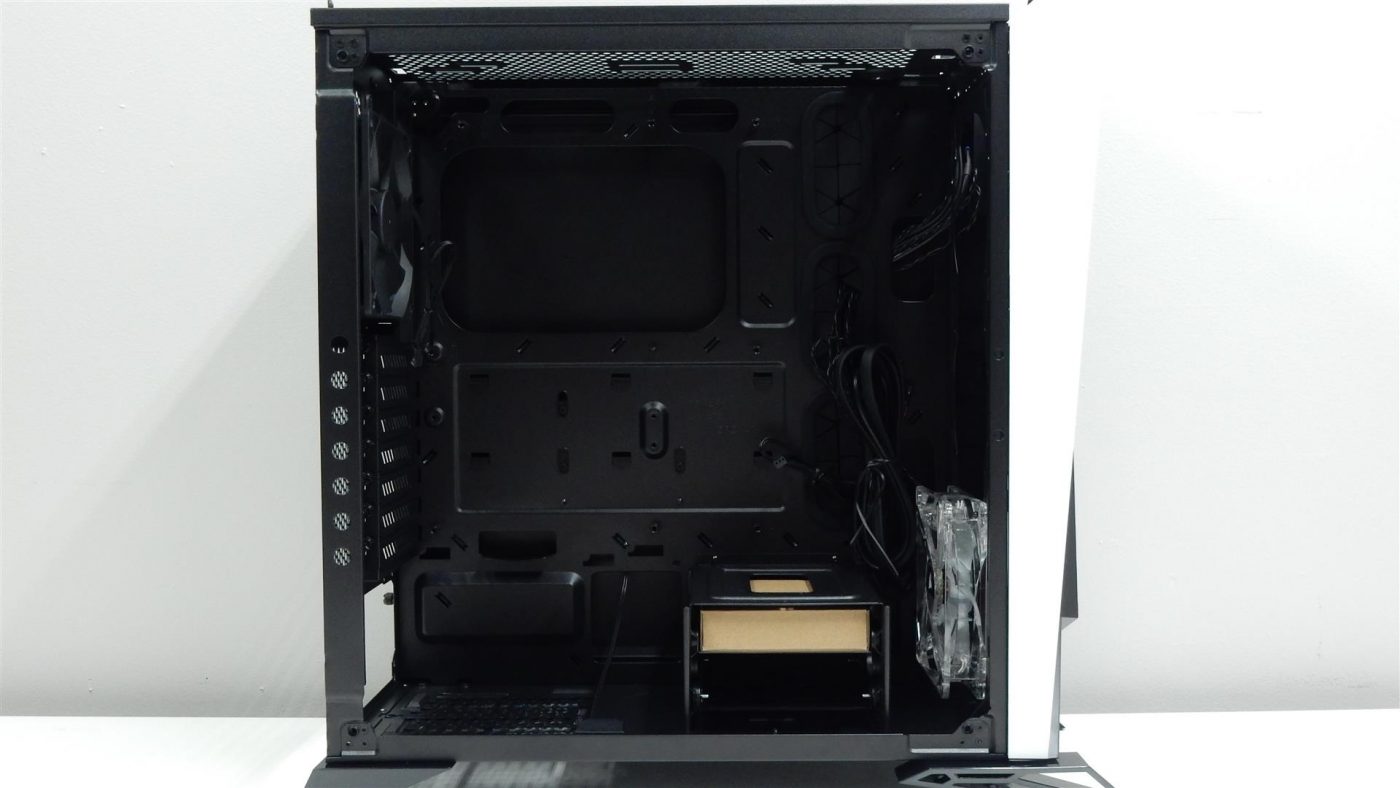
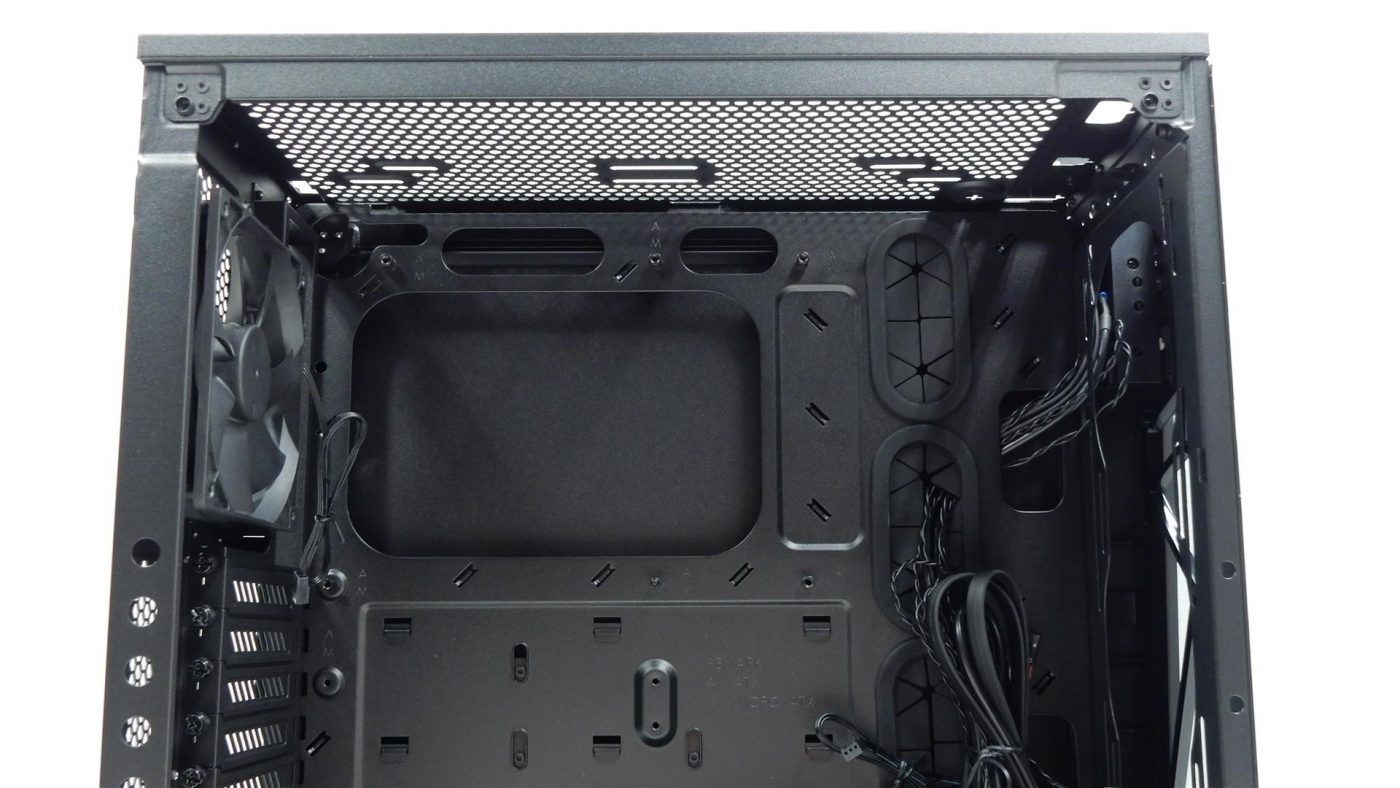
From this side we can see a large opening in the motherboard panel that should accommodate the installation and removal of CPU coolers without having to remove the motherboard from the case. Surrounding the motherboard mounting area are several cutouts for cable management, some with rubber grommets, and some without. The cutouts above and below the motherboard do not come with rubber grommets, while three openings to the right of the motherboard do. Two additional openings to the right of the motherboard area are also without grommets.
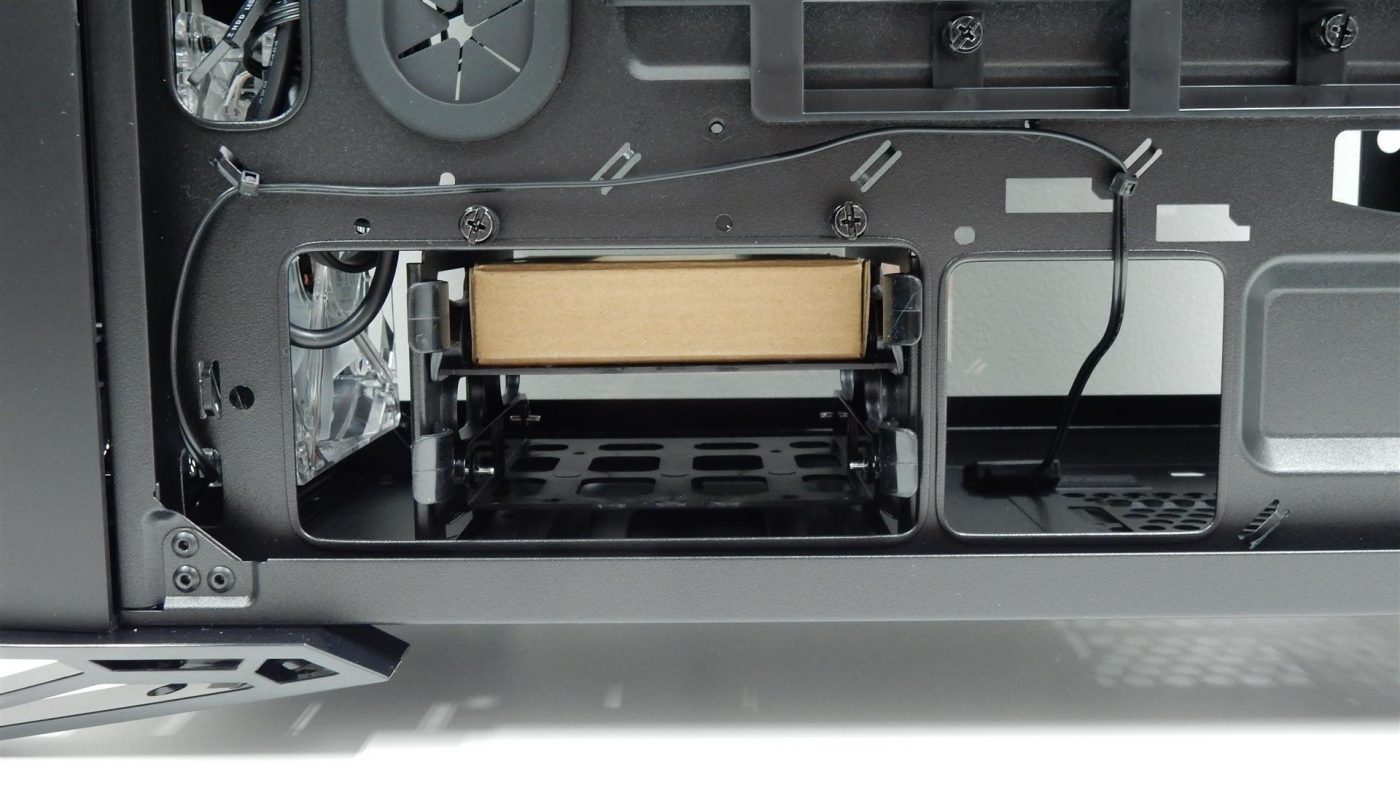
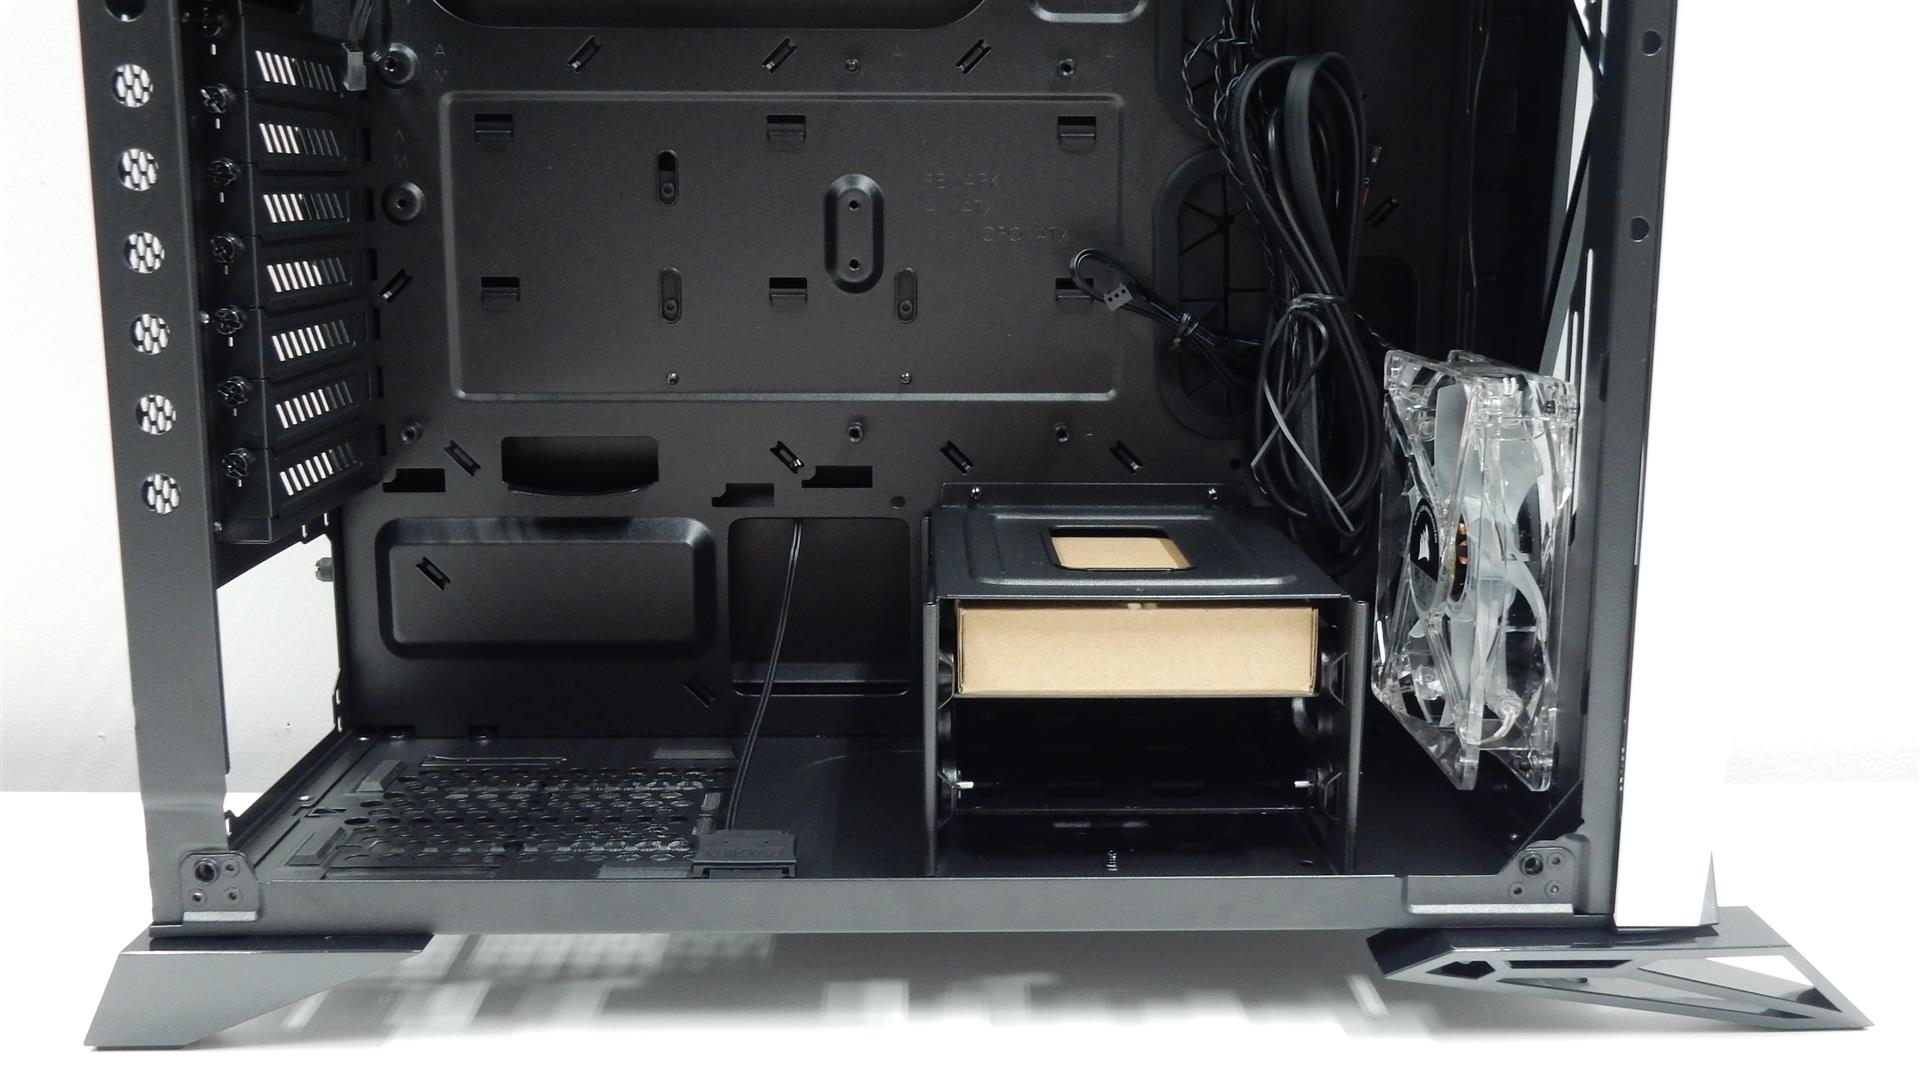
The bottom portion of the SPEC-OMEGA’s interior is home to the power supply mounting position and the 3.5″ drive bay which supports up to two drives. What we don’t find here is a power supply shroud, which we think would really improve the looks of this case, especially with a tempered glass panel giving viewers an unobstructed view into the case. While this would obviously increase the production costs of the case, we think most buyers would be willing to spend another $5-10 to have their power supply and 3.5″ drives hidden. The 3.5″ drive cage can be removed with a few thumb screws, which is a great option, as things can get a little tight depending on the model of powers supply installed in the case.
With the other side panel removed, we get a look at the back side of the motherboard panel, which serves many purposes, the first being cable management. Unfortunately there is not much room between the motherboard panel and side panel, so getting all of your extra power and SATA cables to hide back here will definitely take some work. However, without any front mounted USB 2.0 ports, that is one less cable to worry about routing and tidying up. There is also a small two-wire cable with a SATA power connector that is used to provide power to the front panel’s built-in LED light strip.
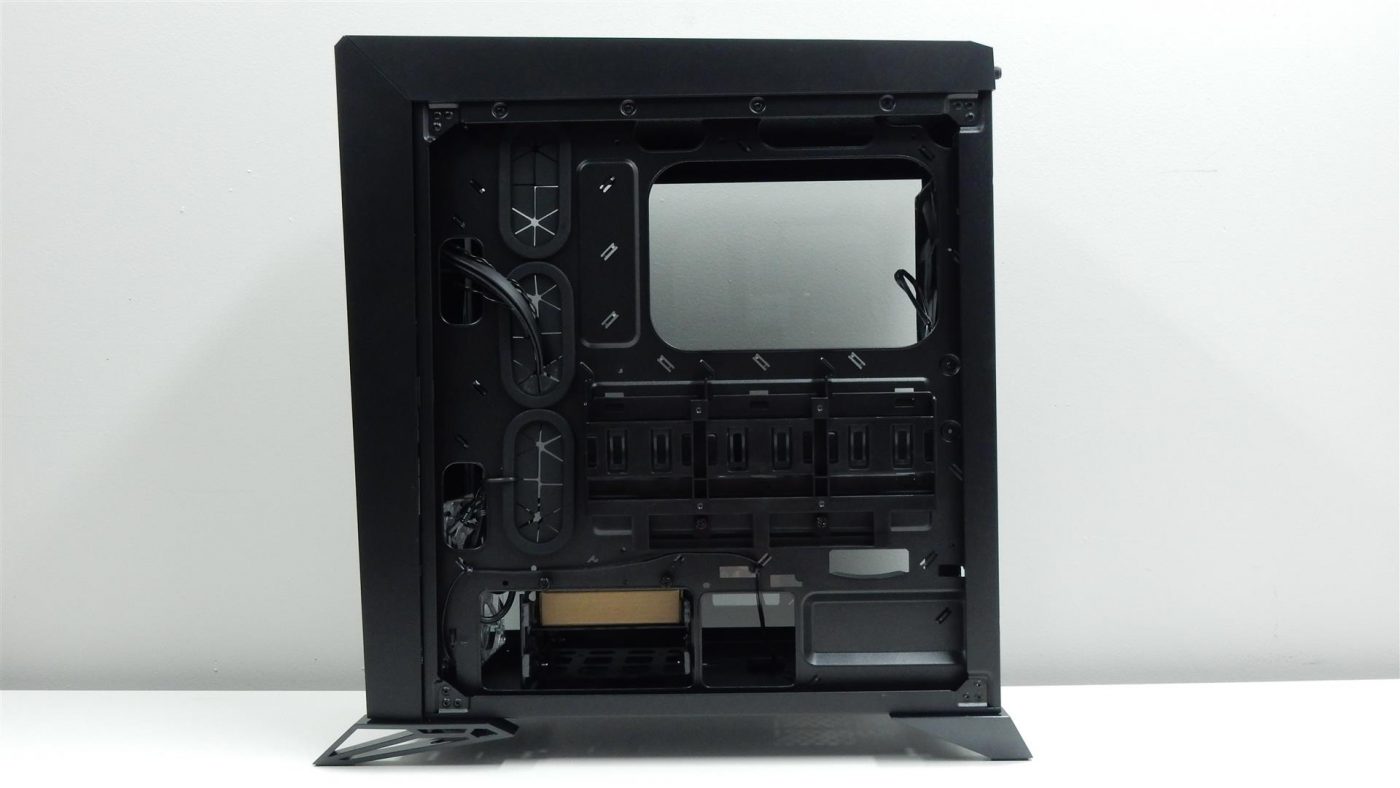
The second is being home to the three 2.5″ drive bays. Corsair has implemented a tool-less approach with regard to these drives, as you can simply slide a drive down into place and a plastic tab will keep it in place. Just move the tab to the side, and a small spring will push the drive back out for easy removal. This three-bay cage can also be removed from the case with a few thumb screws, and will free up a good amount of space that can be used for cable management.
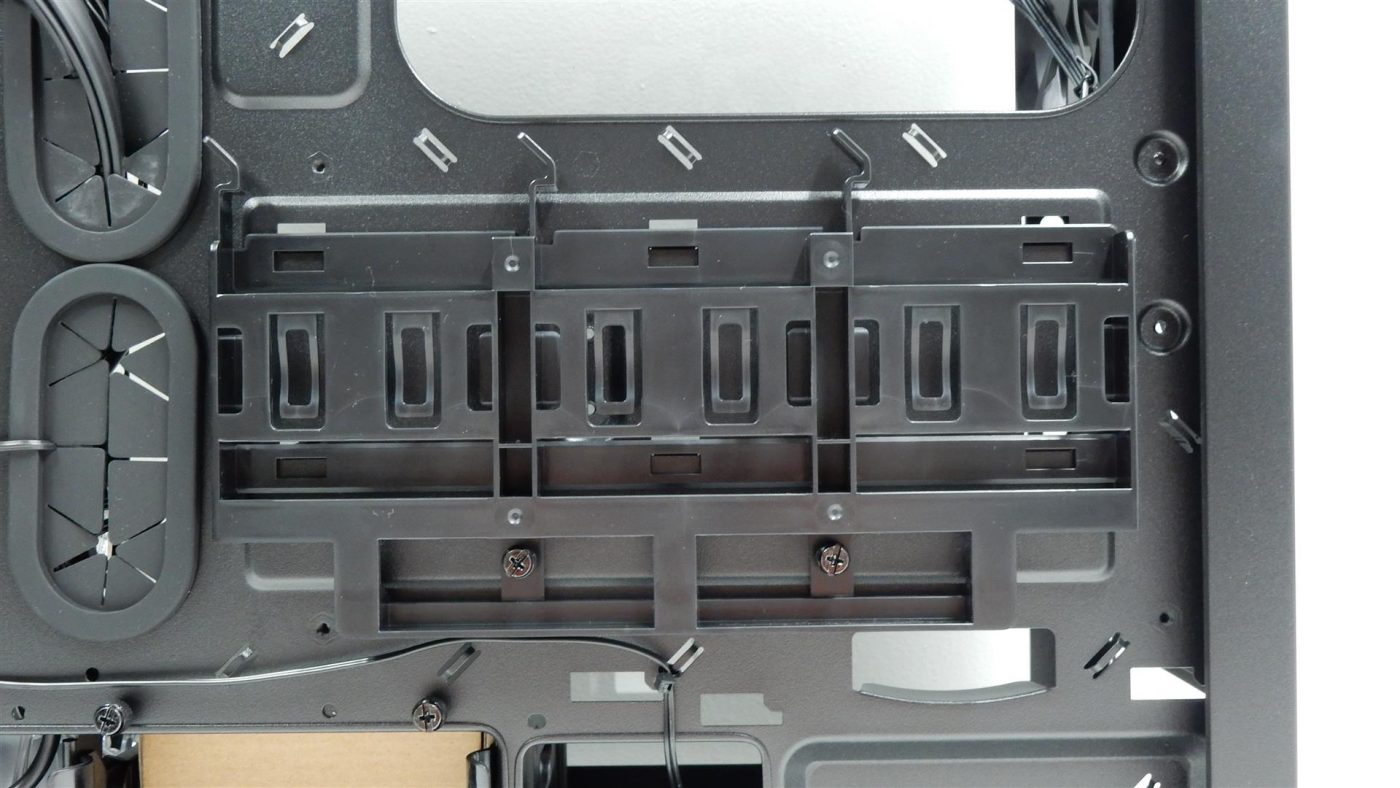
Third is providing access to the two 3.5″ drives via their plastic drive trays. A quick squeeze of the drive tray tabs will allow them to slide out, and their tool-less design makes installing a 3.5″ drive a breeze. There are also mounting holes for 2.5″ drives, which brings their total mounting location options up to five.