Installation
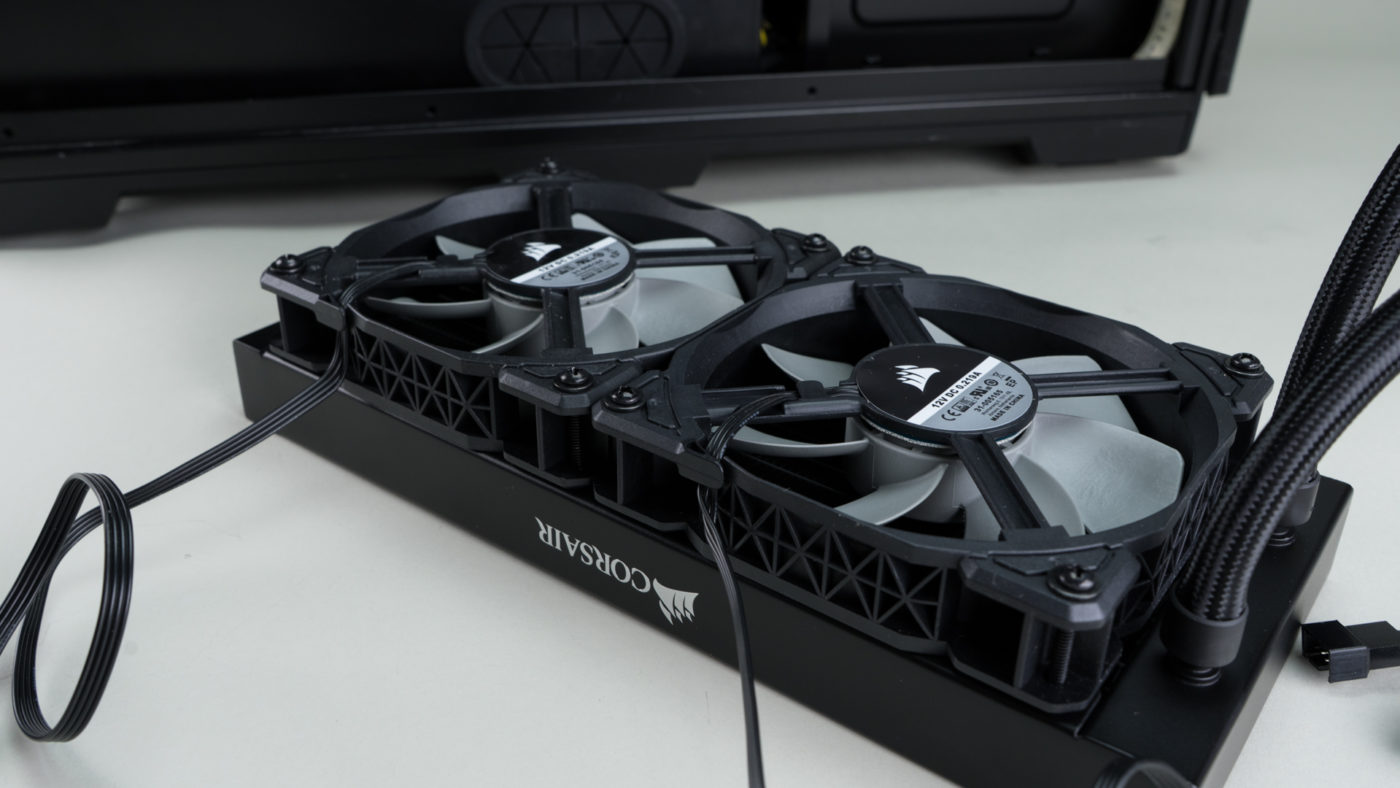
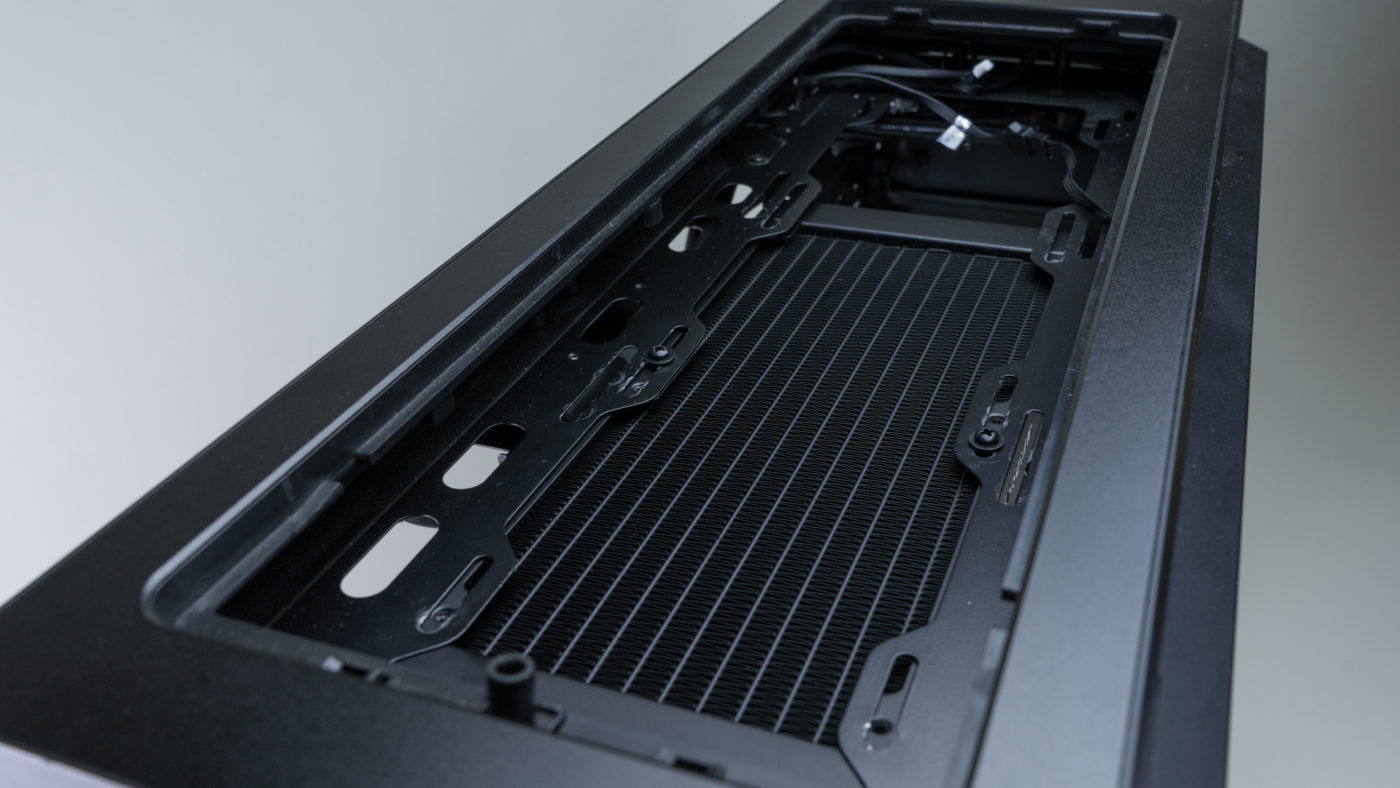
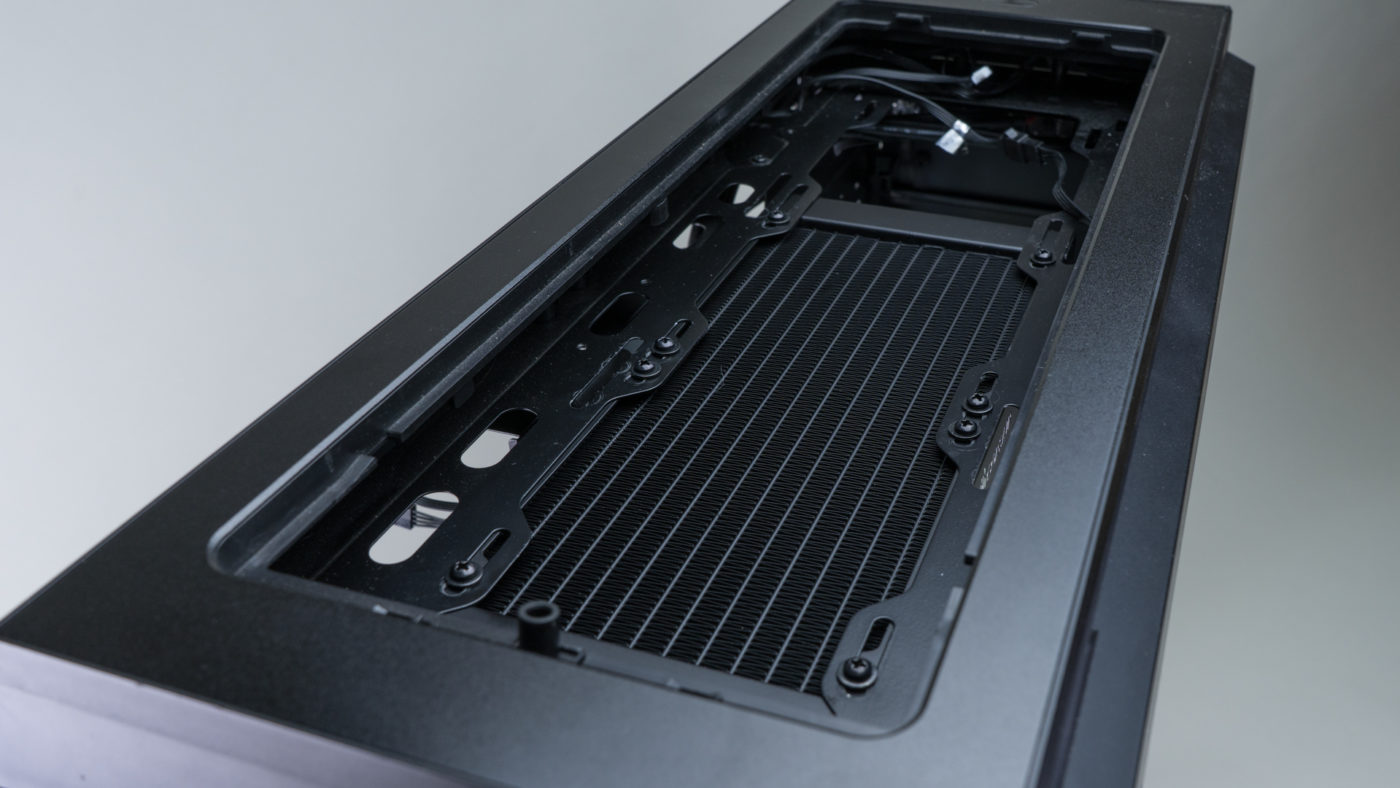
Begin the installation by attaching the fans to the radiator. Corsair suggests they be placed in pull configuration. After deciding the direction you want to install the radiator, attach the fans with the wires leading towards the back of your case. Do this with eight of the long screws and a washer on each.
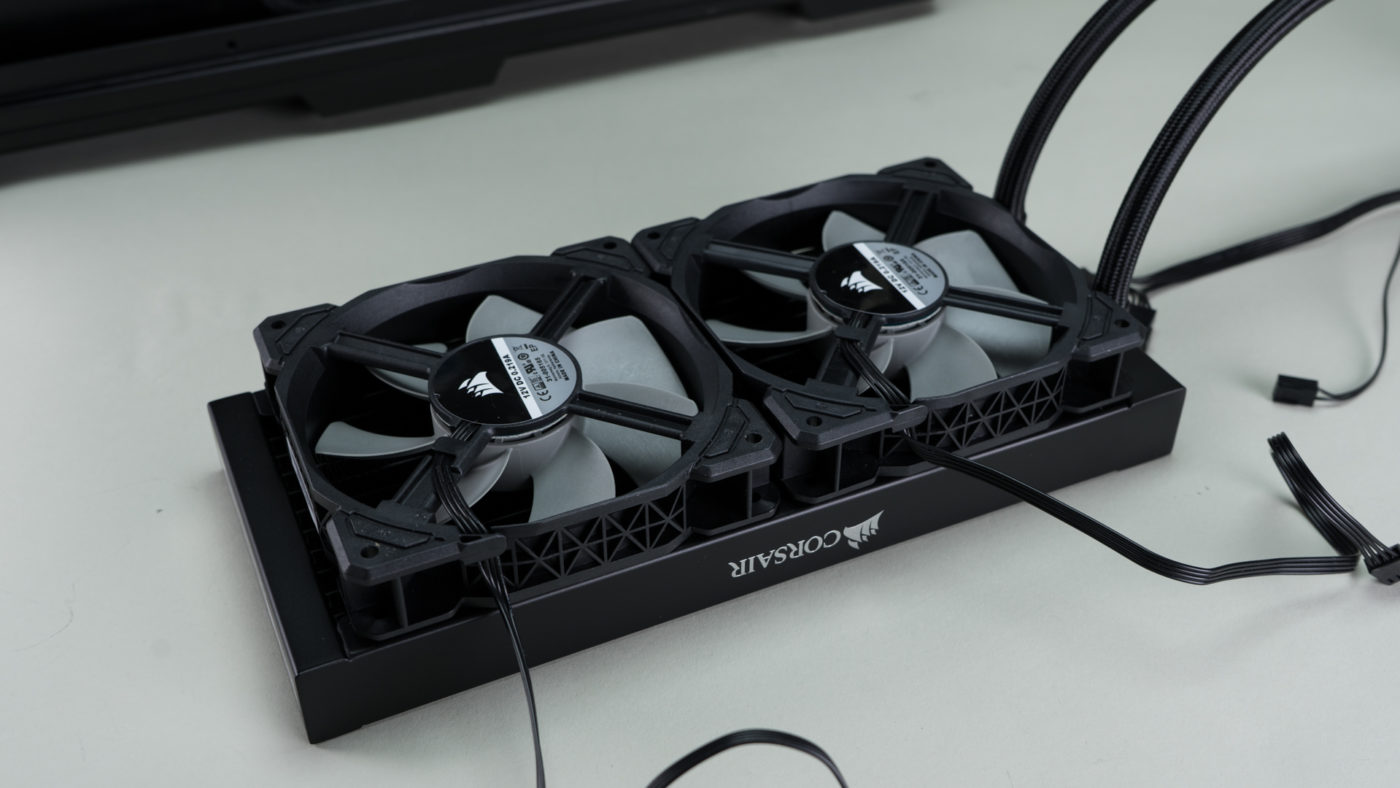
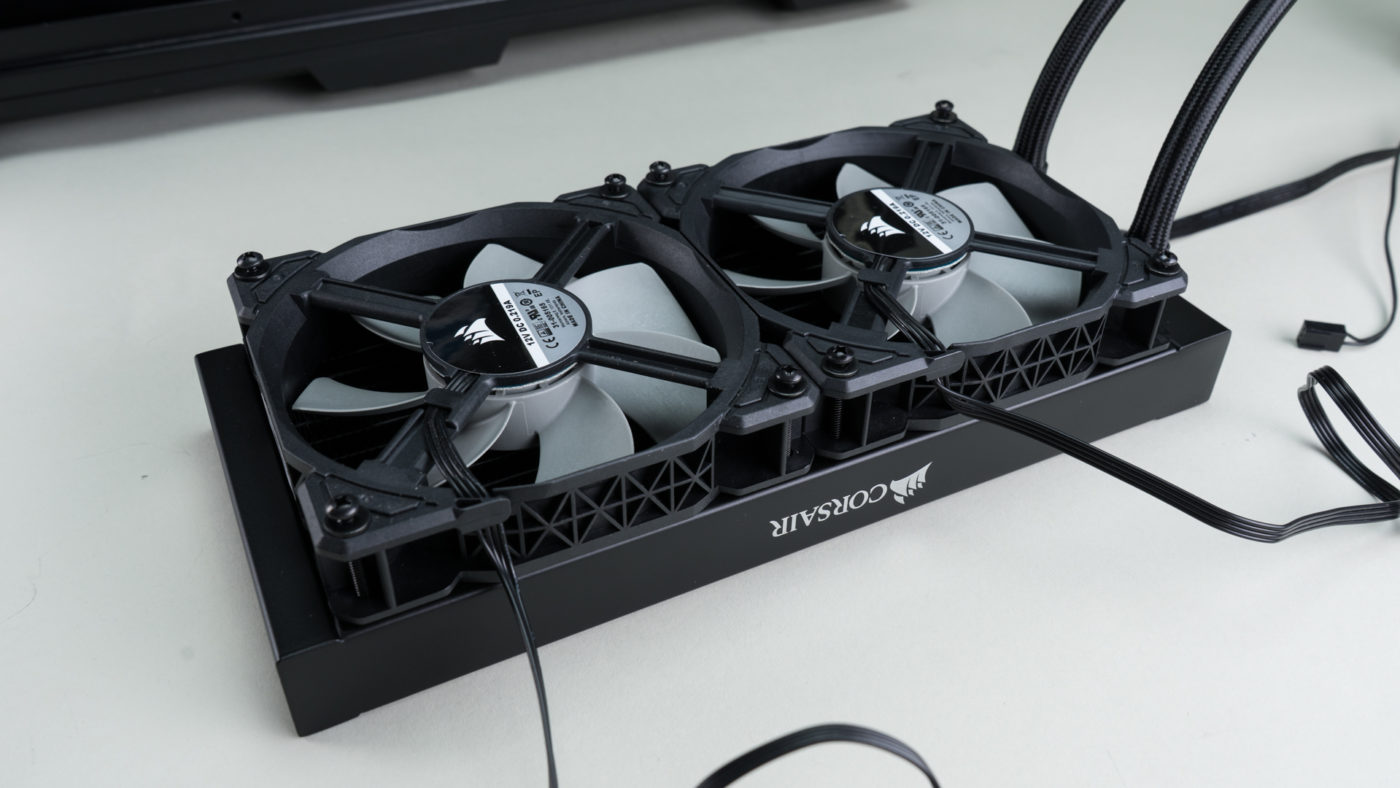
Hold the radiator in place with one hand and hand thread a couple of the short screws with a washer into a pair of opposite holes towards the center of the radiator. Once semi-secure, you can properly align and position the radiator and finish the remaining six screws.
Next up is installing the pump and to do so, we start with the backplate. Simply slide the posts to the correct position and slip them through the holes in the motherboard. There is nothing to hold this plate in, but being gentle when moving the case you shouldn’t have any issues with it falling out.
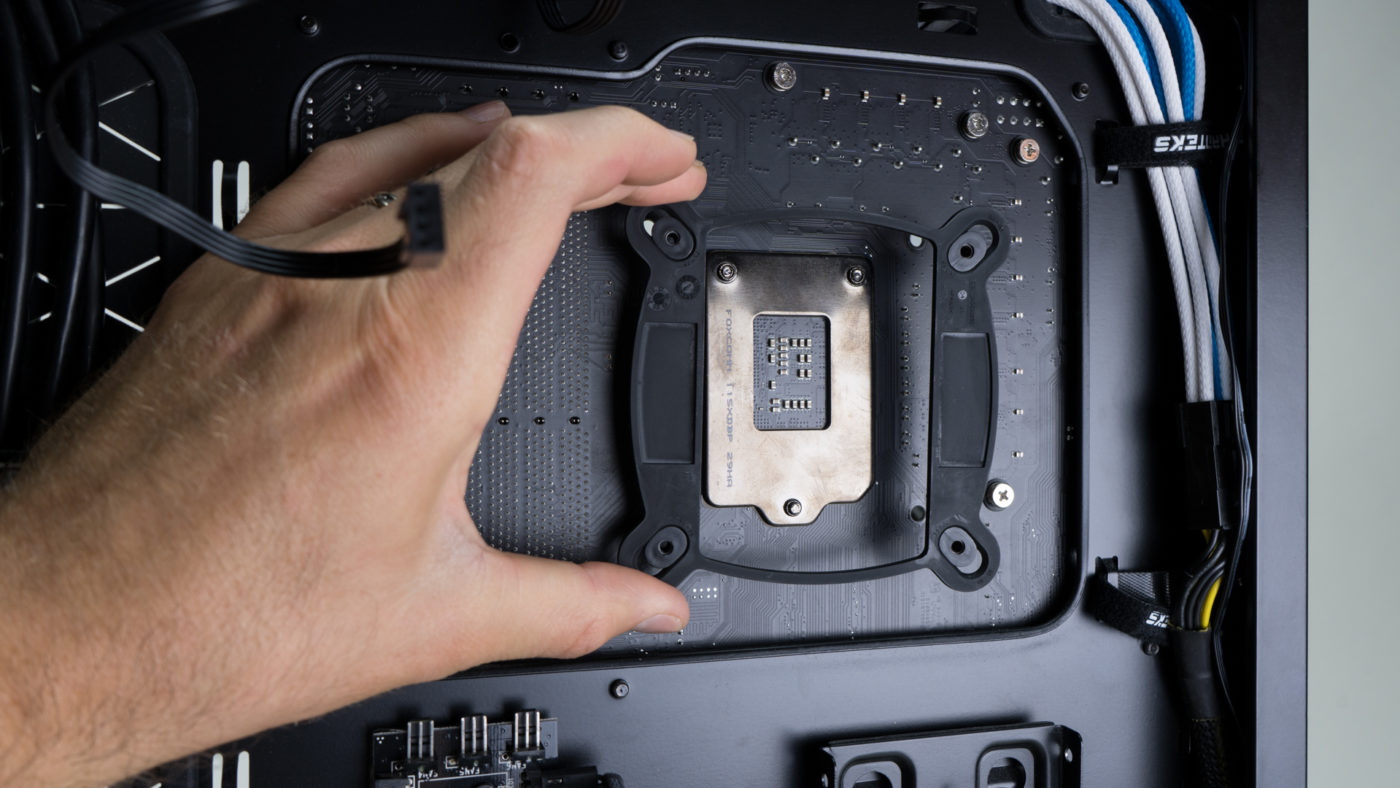
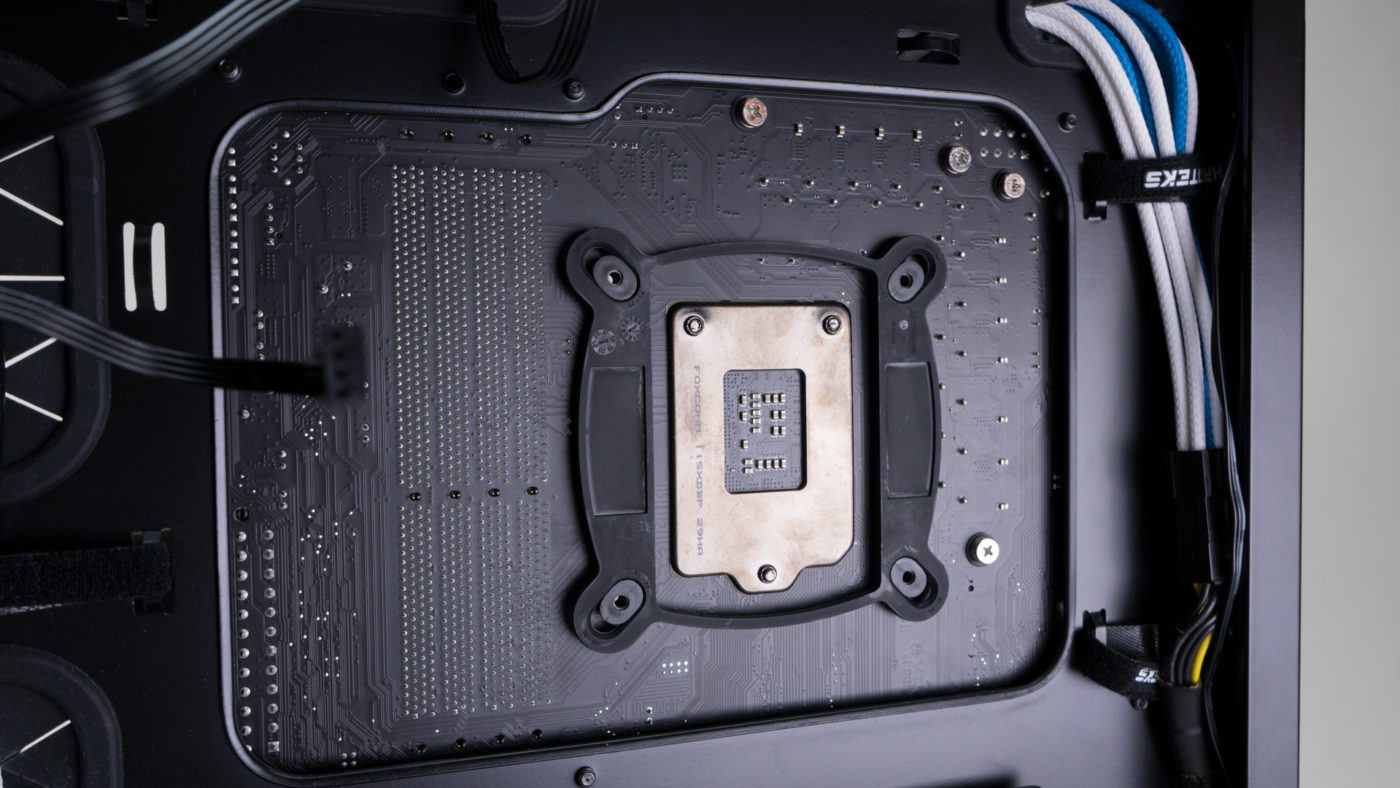
Hand thread and tighten the stand-offs onto the posts from the backplate. Even tightened all the way, there will be a good amount of play, this is a design feature.
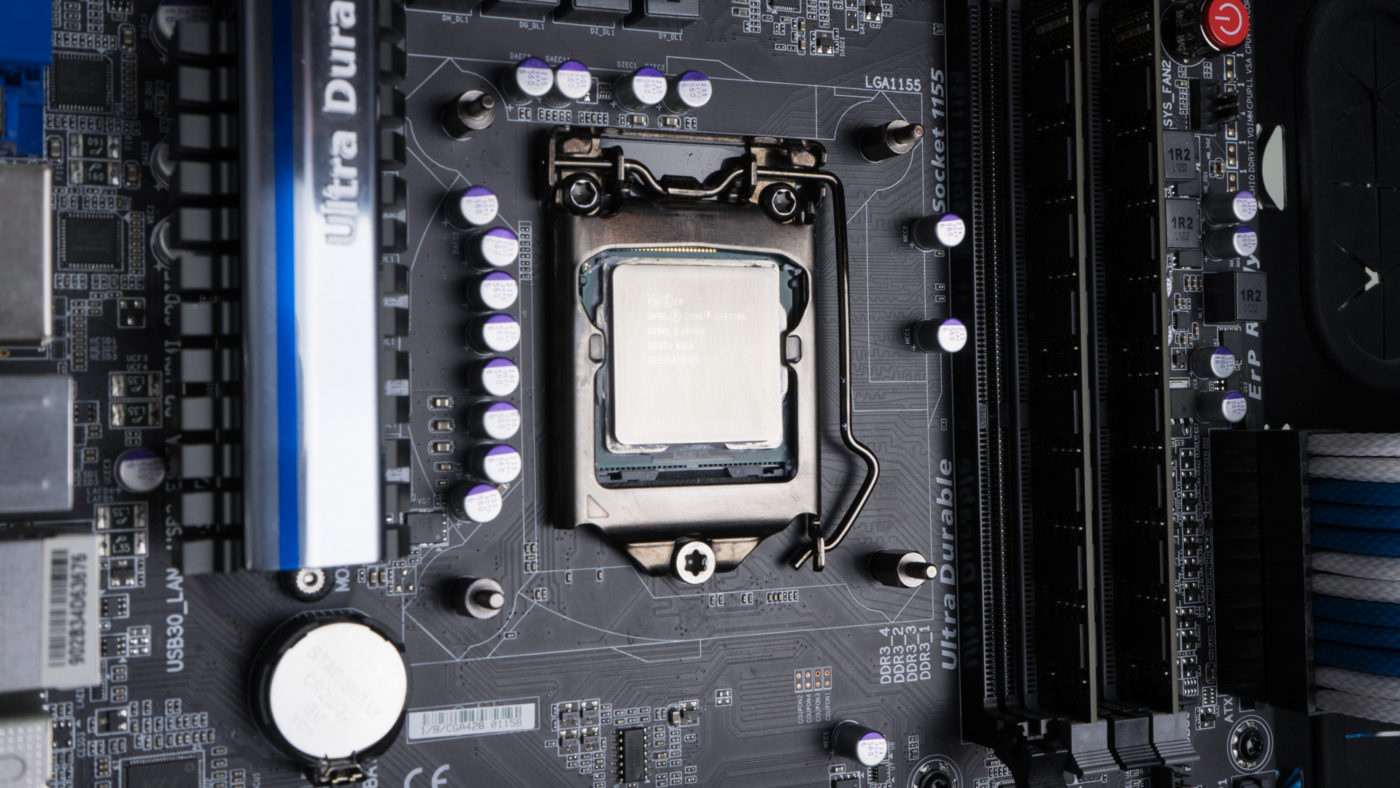
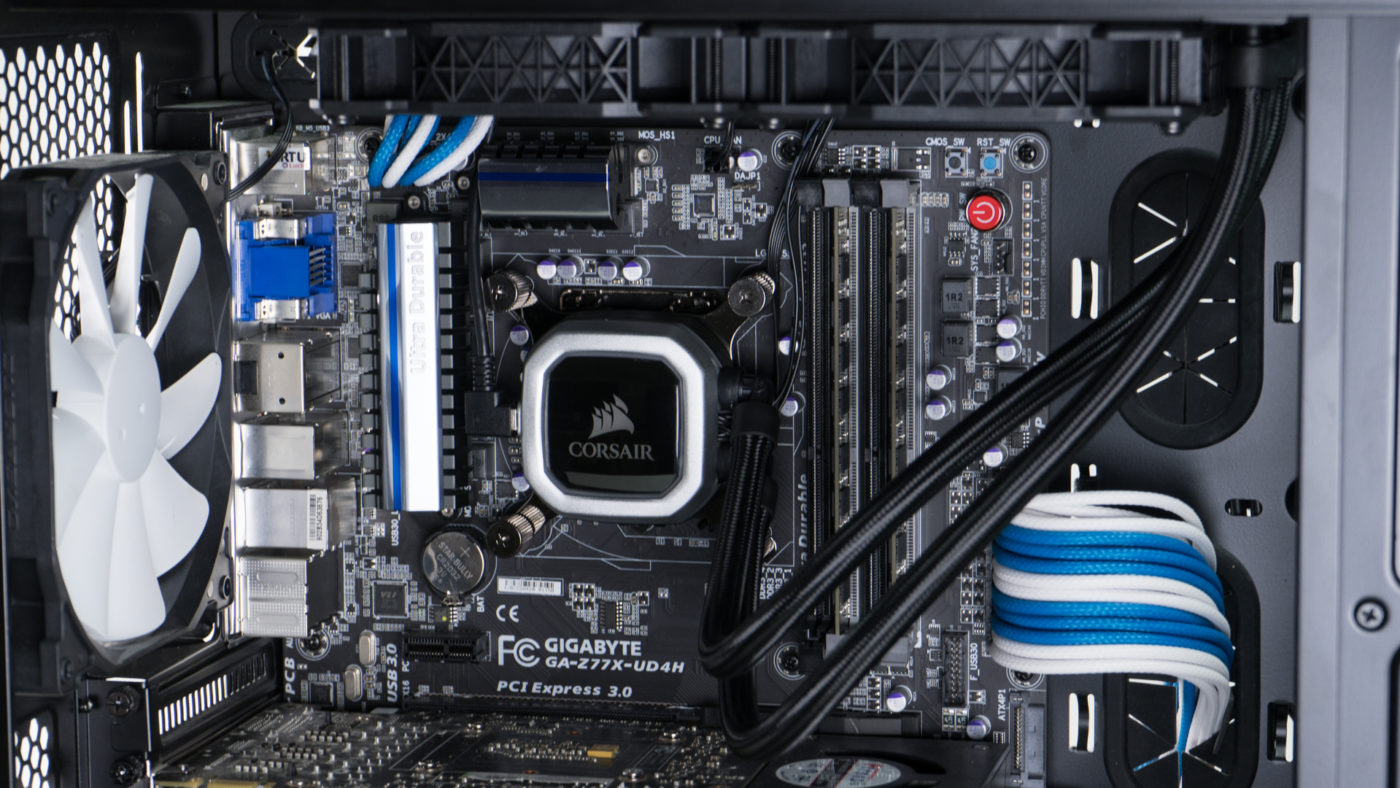
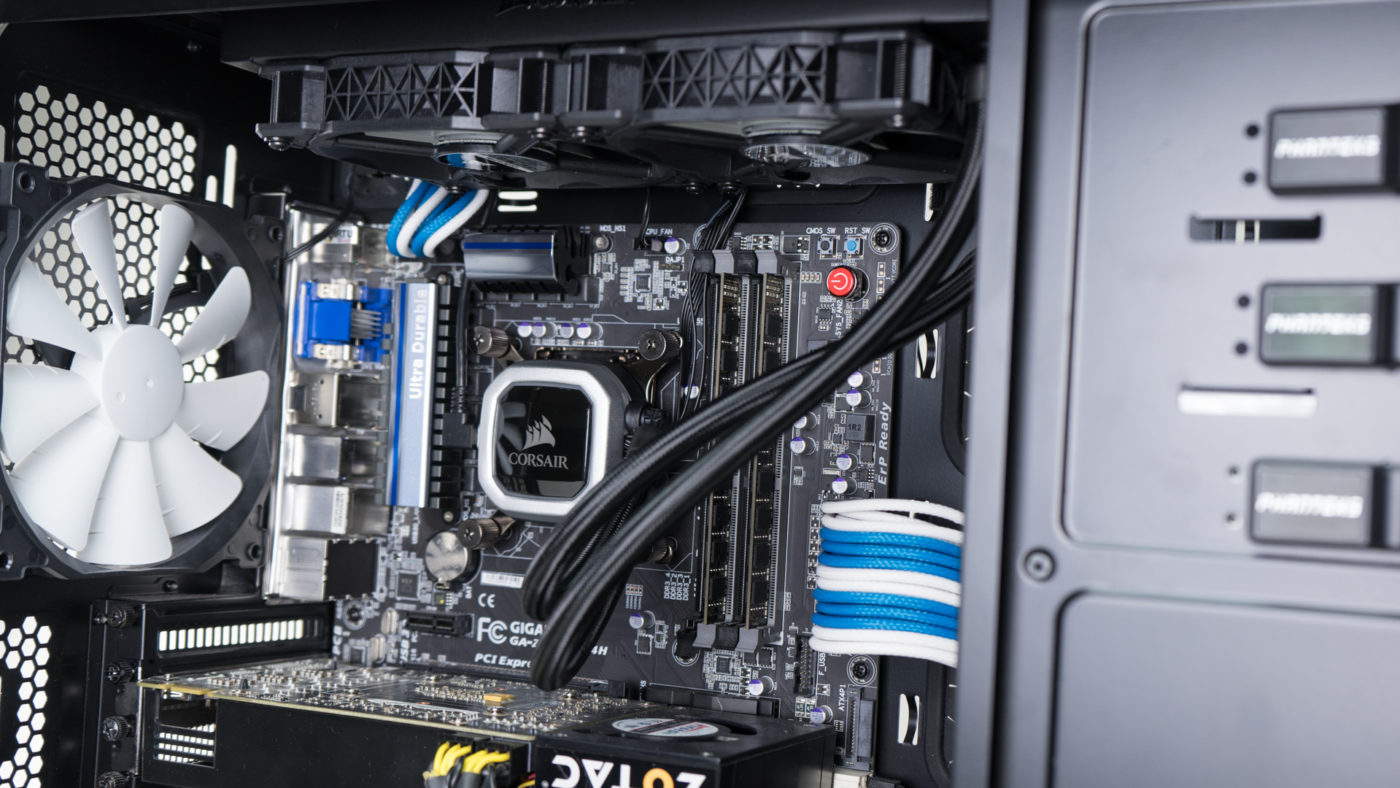
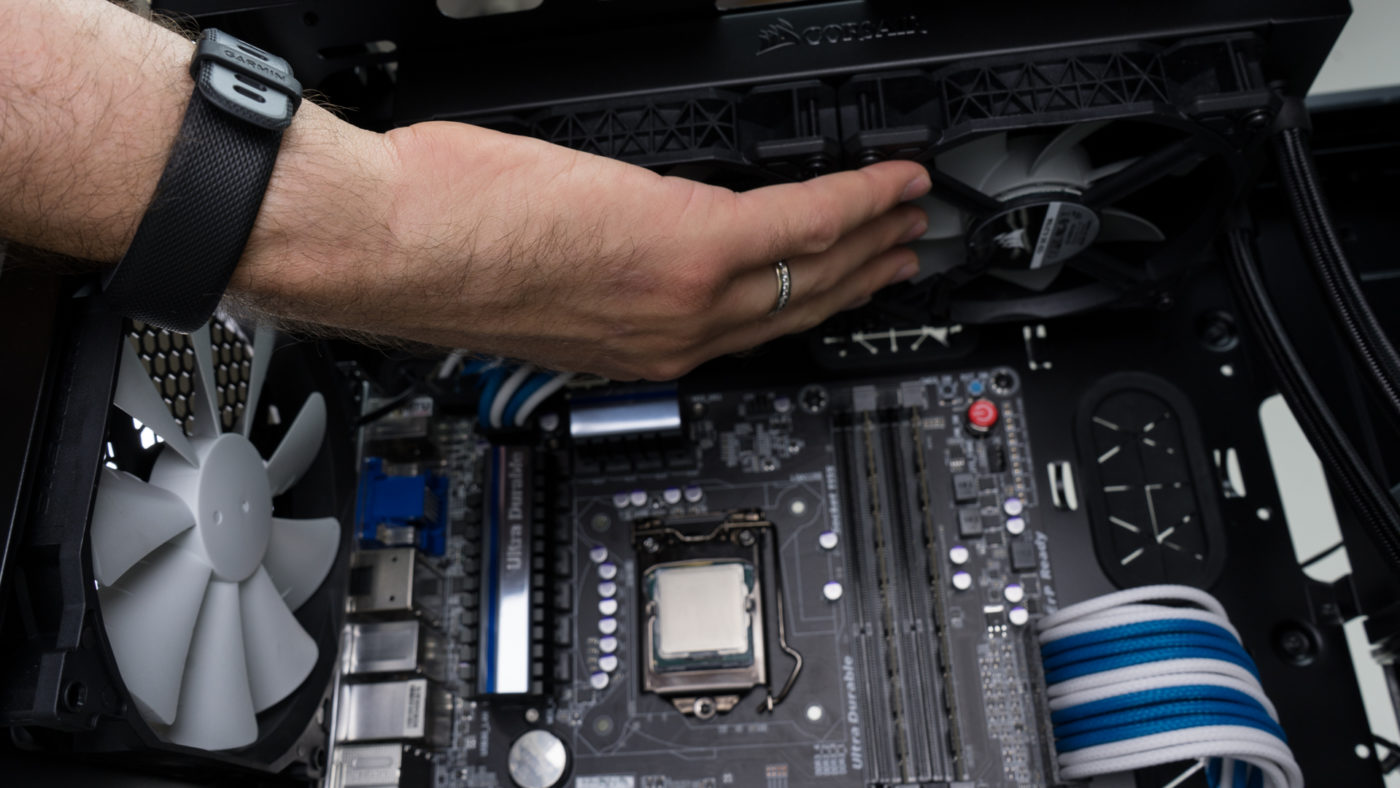
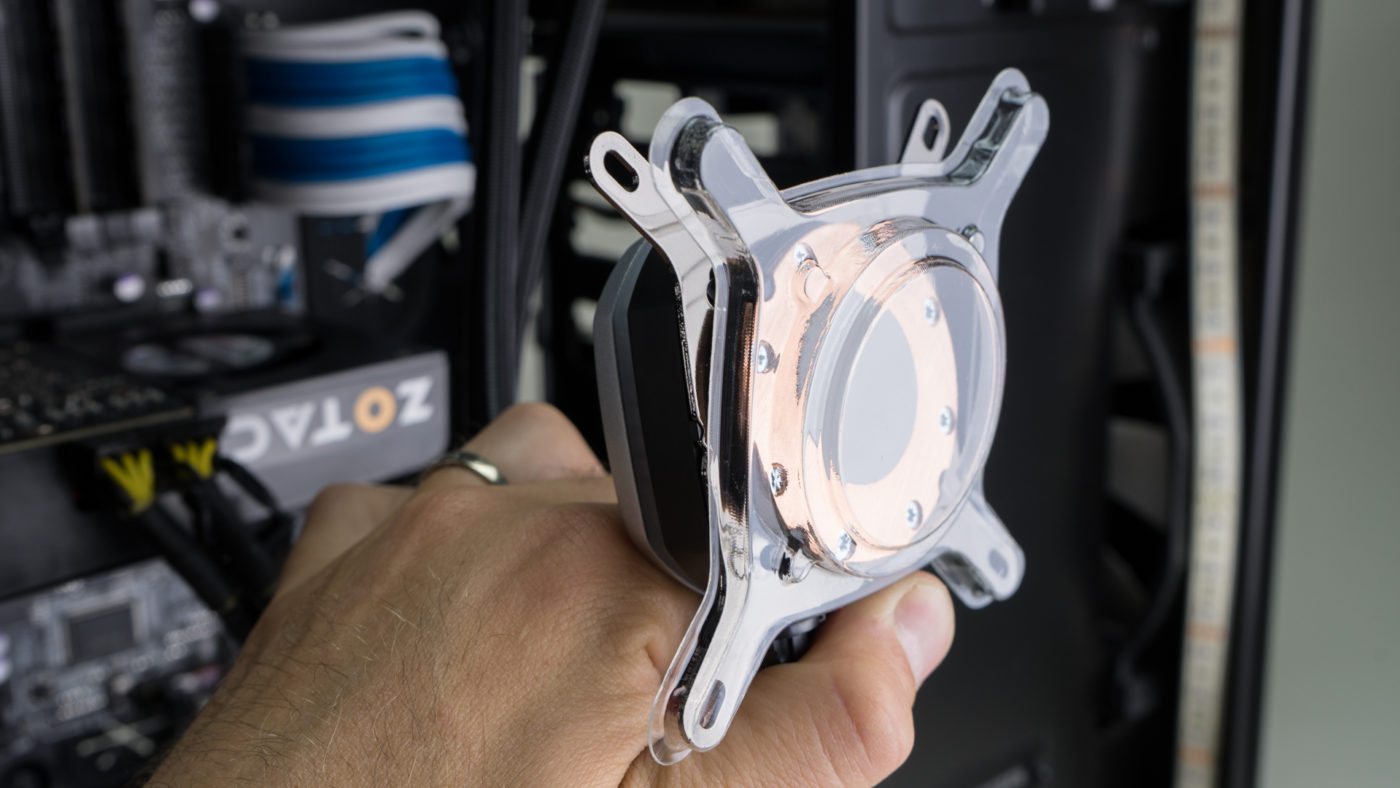
You’re now ready to attach the pump to the CPU. Pop off the protective plastic cup from the bottom of the pump. Align the pump with the four stand-off’s pressing firmly and evenly onto the surface of the CPU. Continue to hold the pump in place while you secure it with the four large thumbscrews.

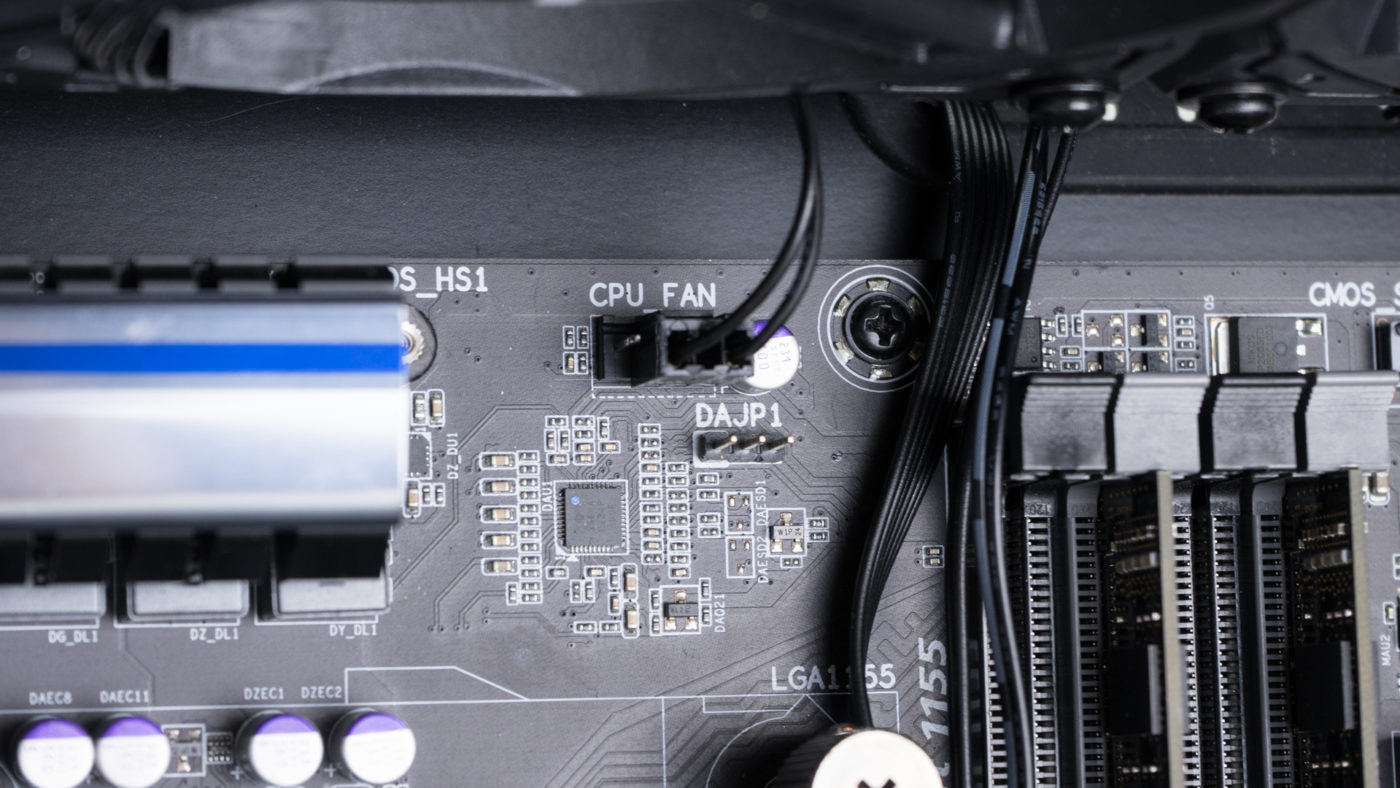
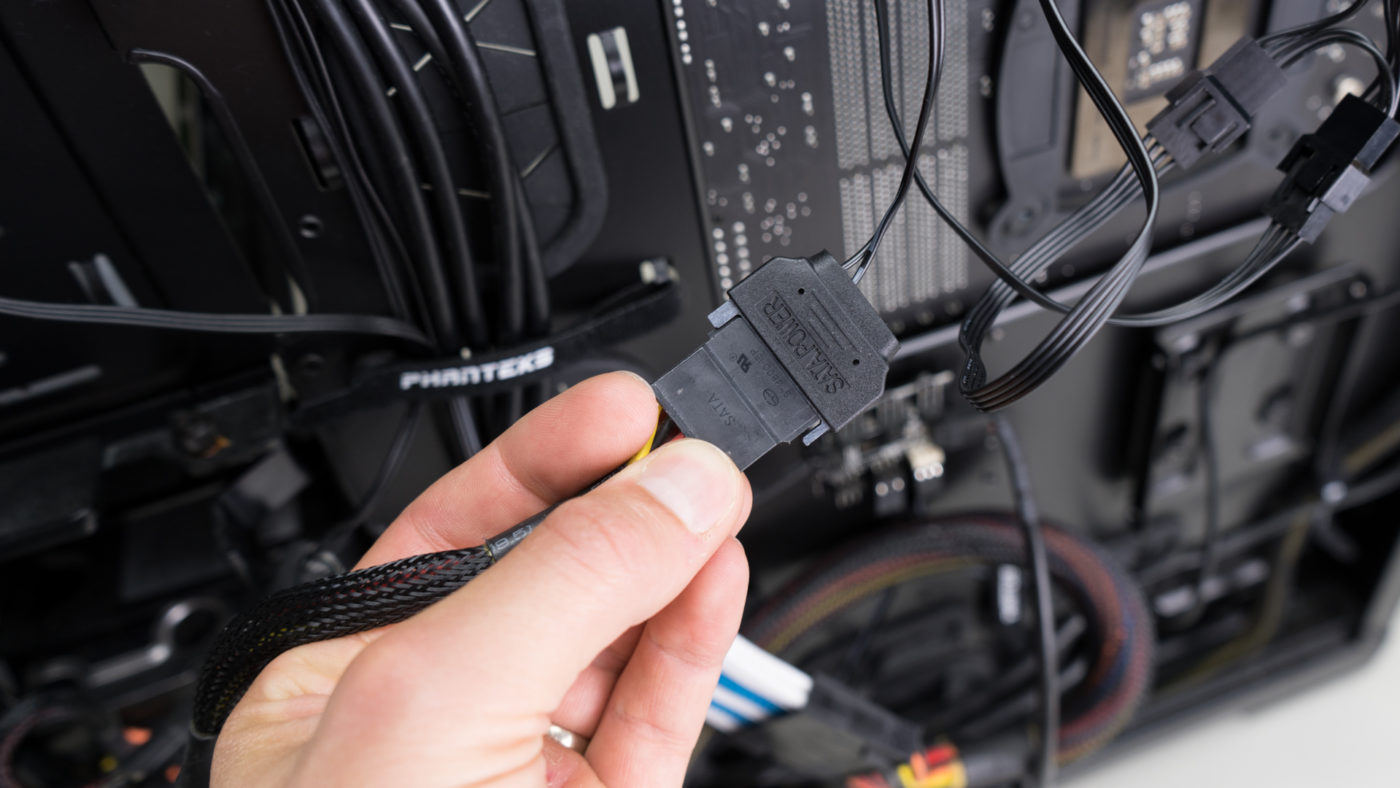
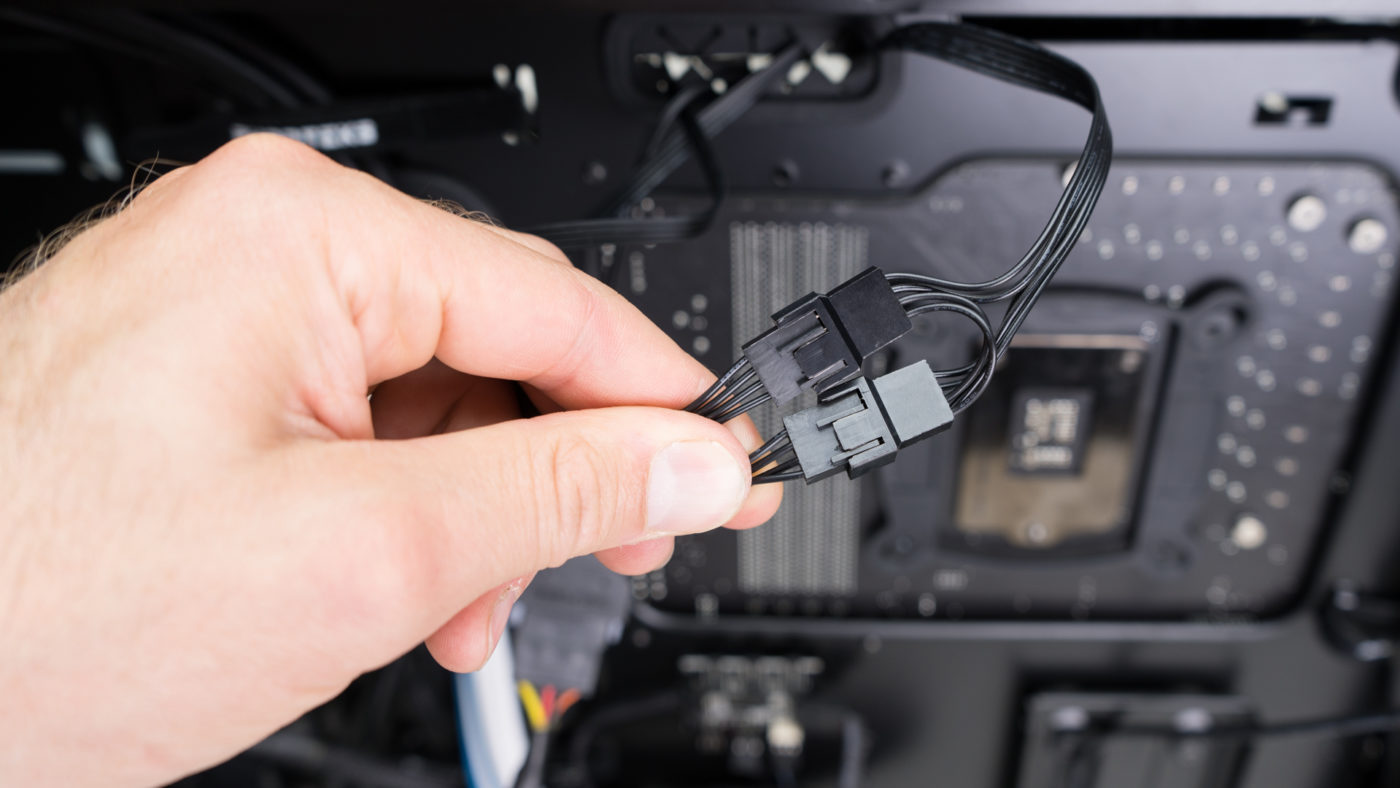
All the hardware is now installed and you can proceed to make the electrical connections. Begin with the CPU_FAN header where you will attach the 3-pin connector. Run the SATA and fan connectors to the back side of the case and attach them to both the fans as well as an available SATA connector from your PSU.
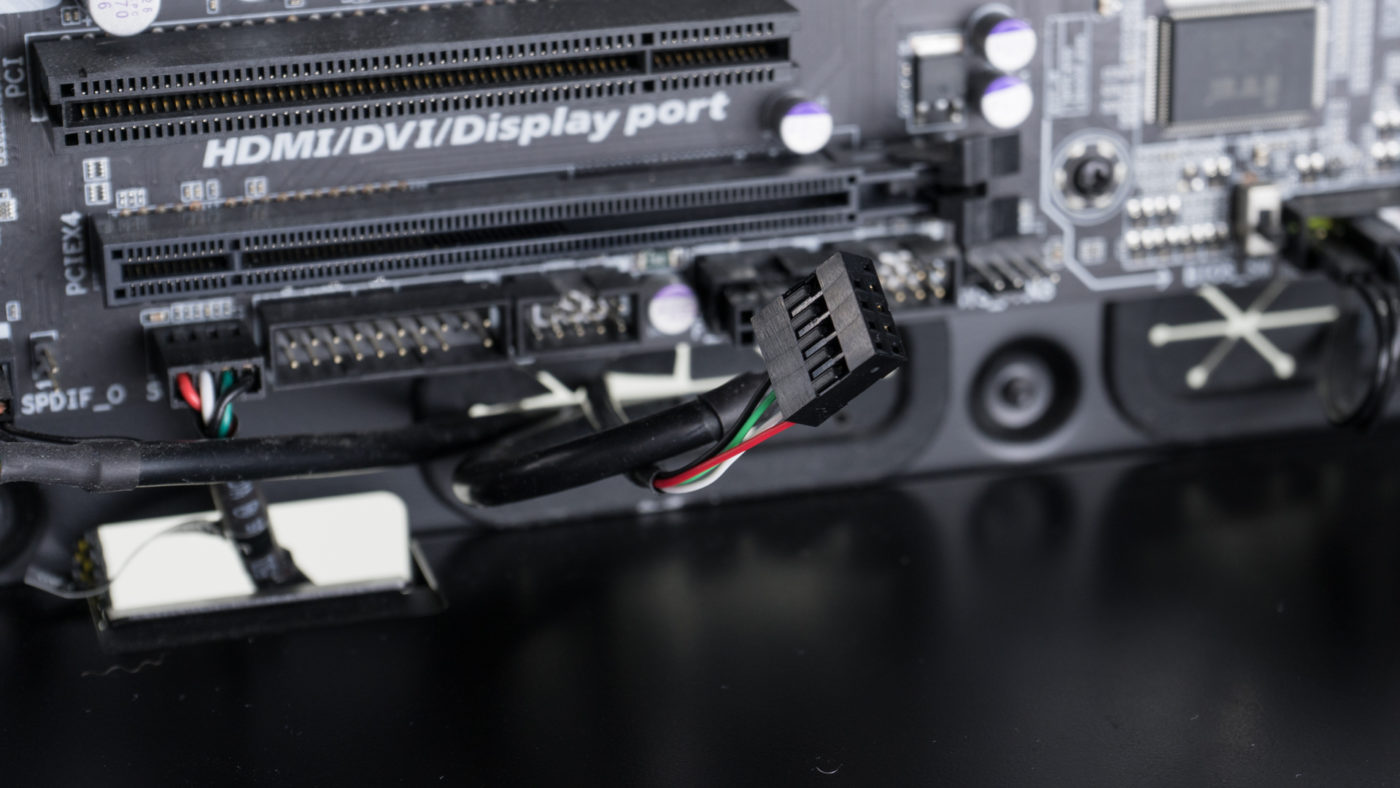
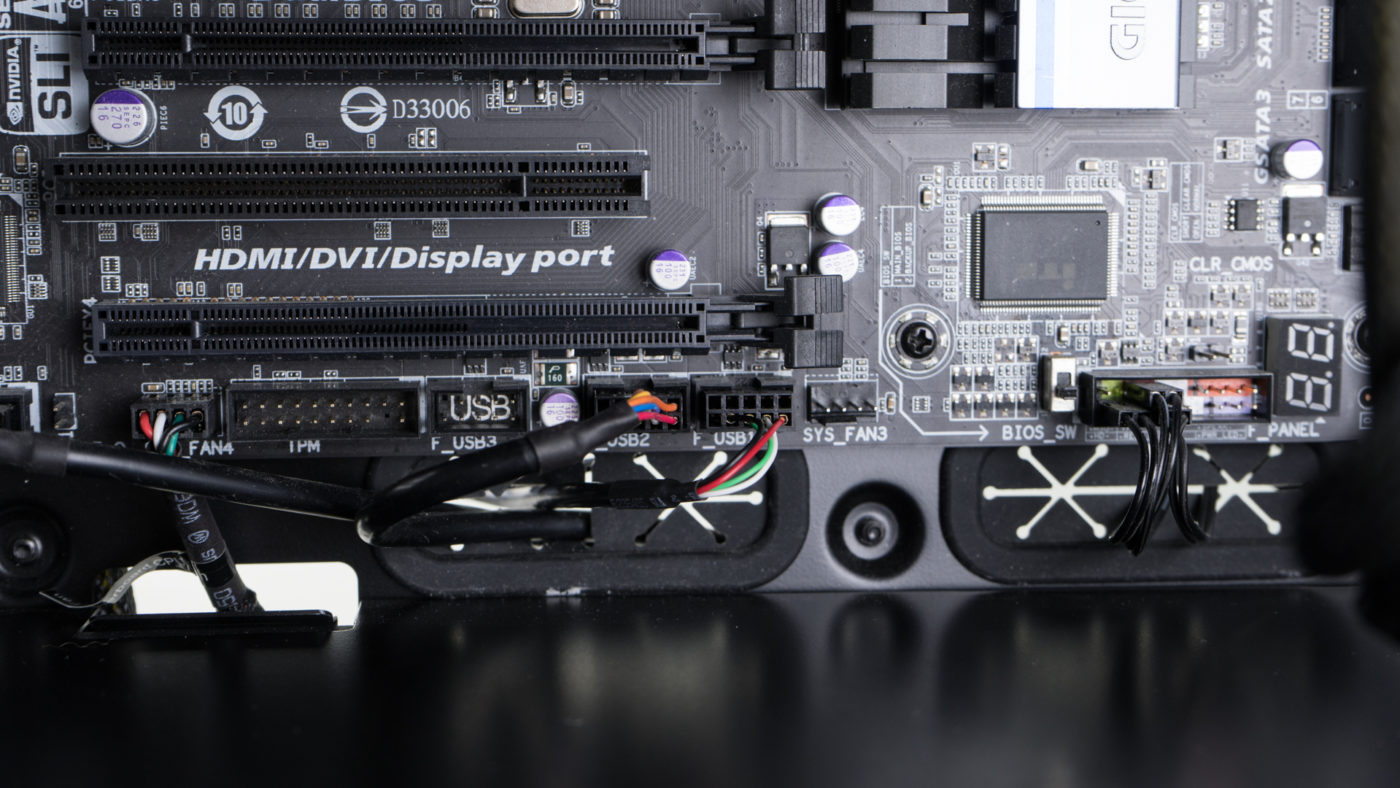
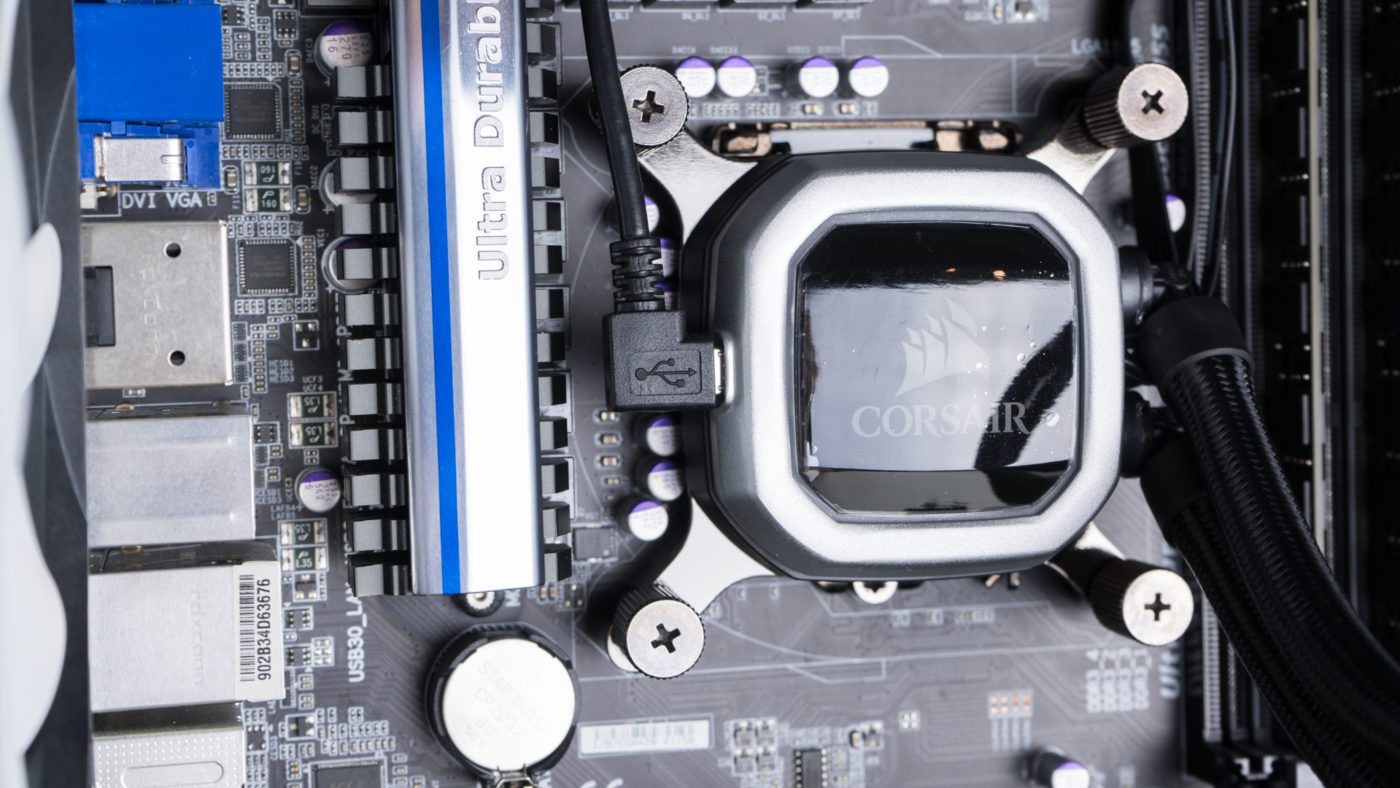
Next plug the USB cable into an open header at the base of your motherboard. Route the cable behind the motherboard and plug this into the port on the left hand side of the pump.
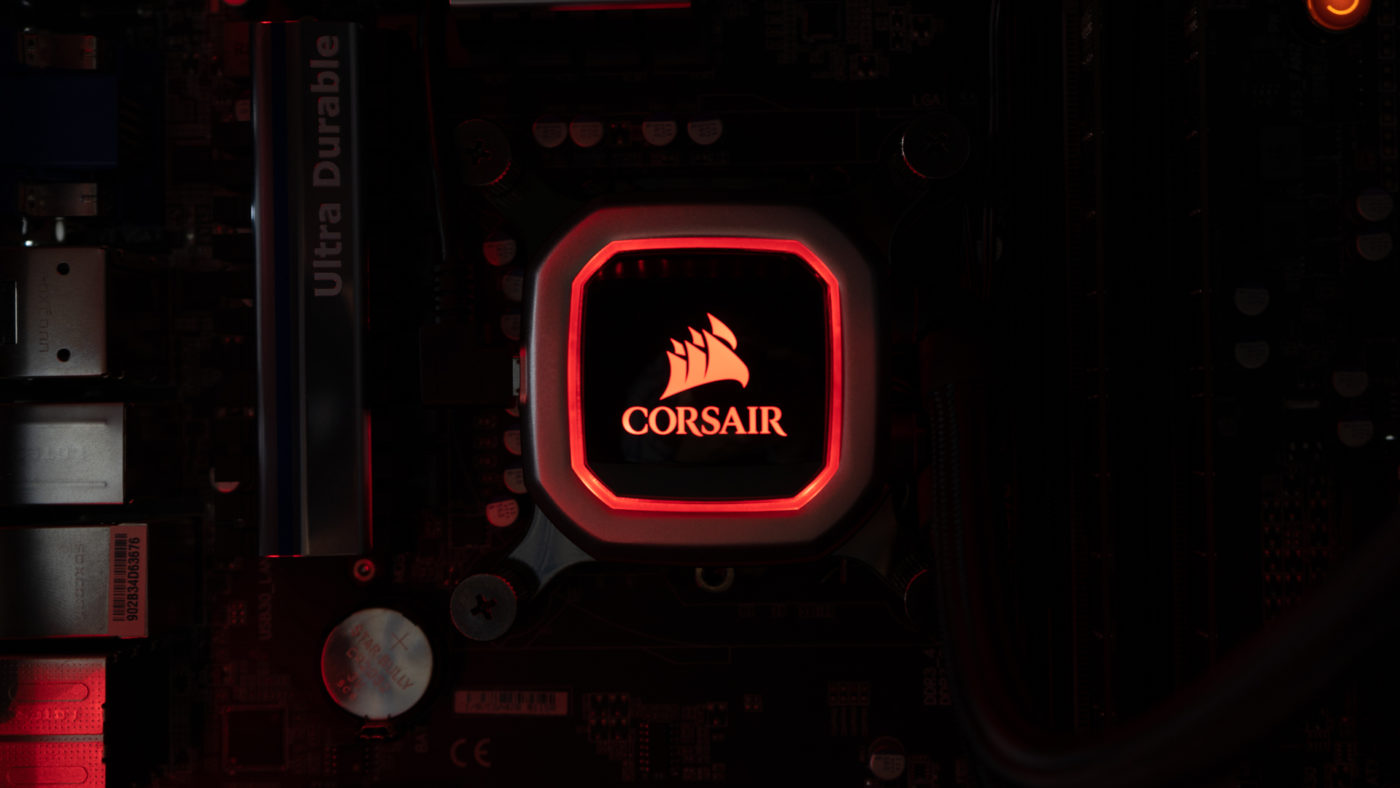
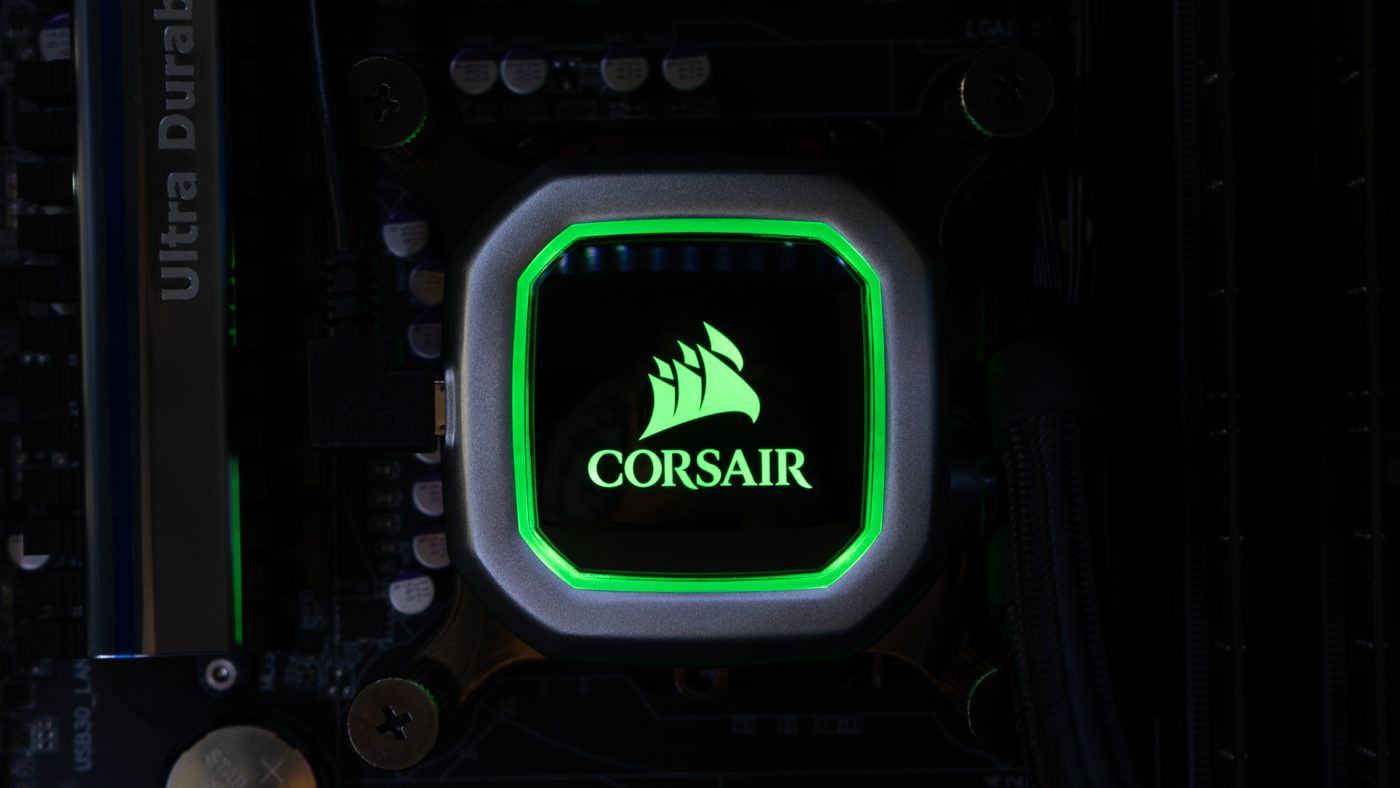
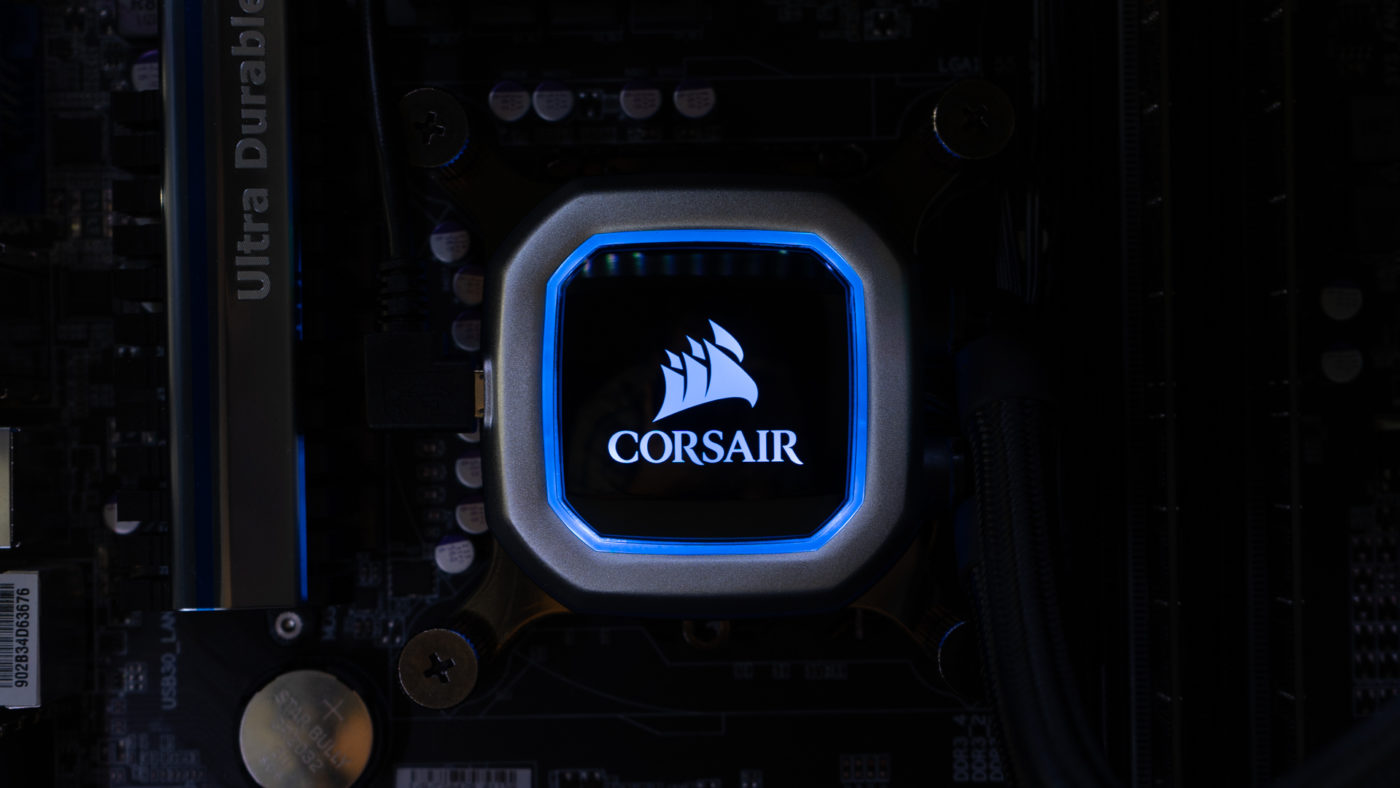
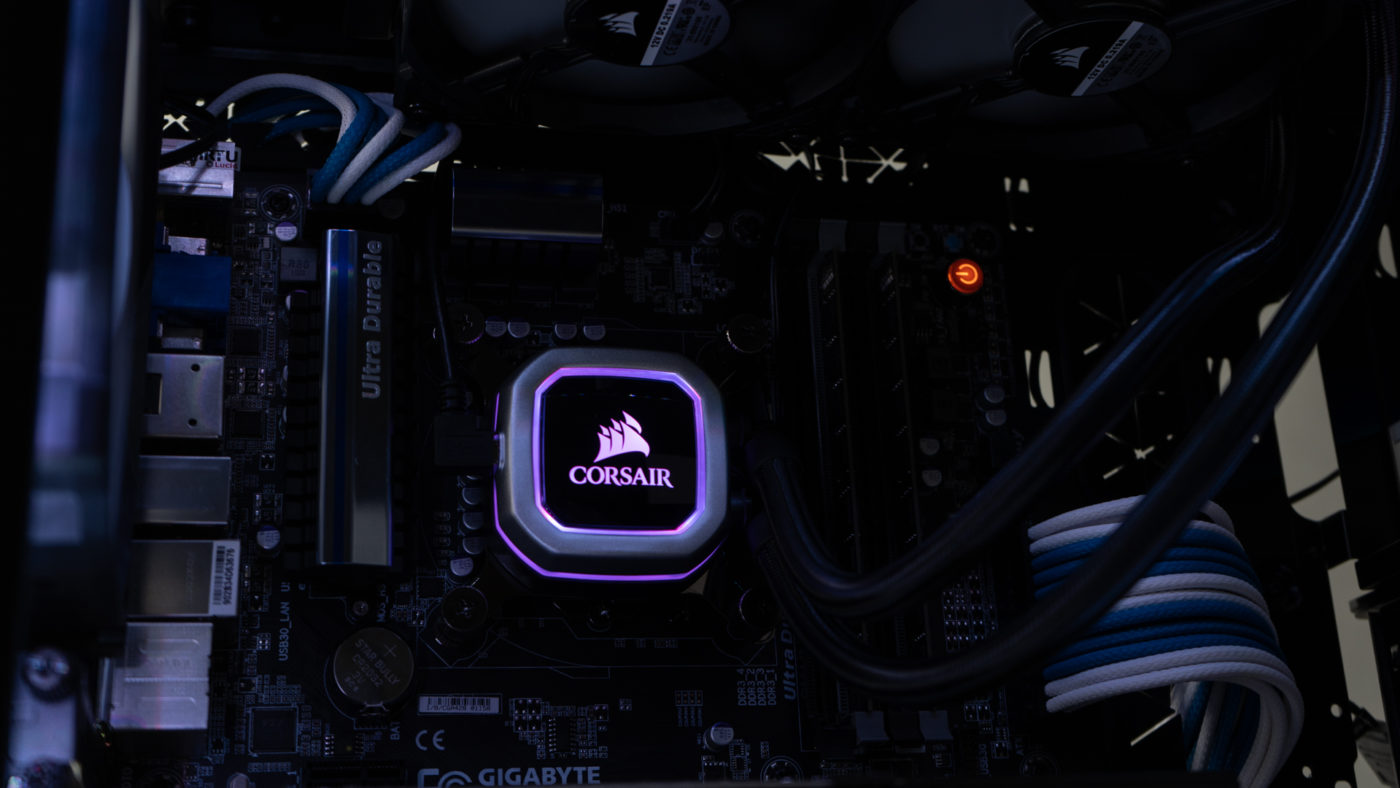
Installation of the H100i Pro RGB is now complete. Fire up your rig listening to make sure the pump and fans are running correctly. You should also have RGB lights running automatically as soon as you start your system.