Software & Lighting
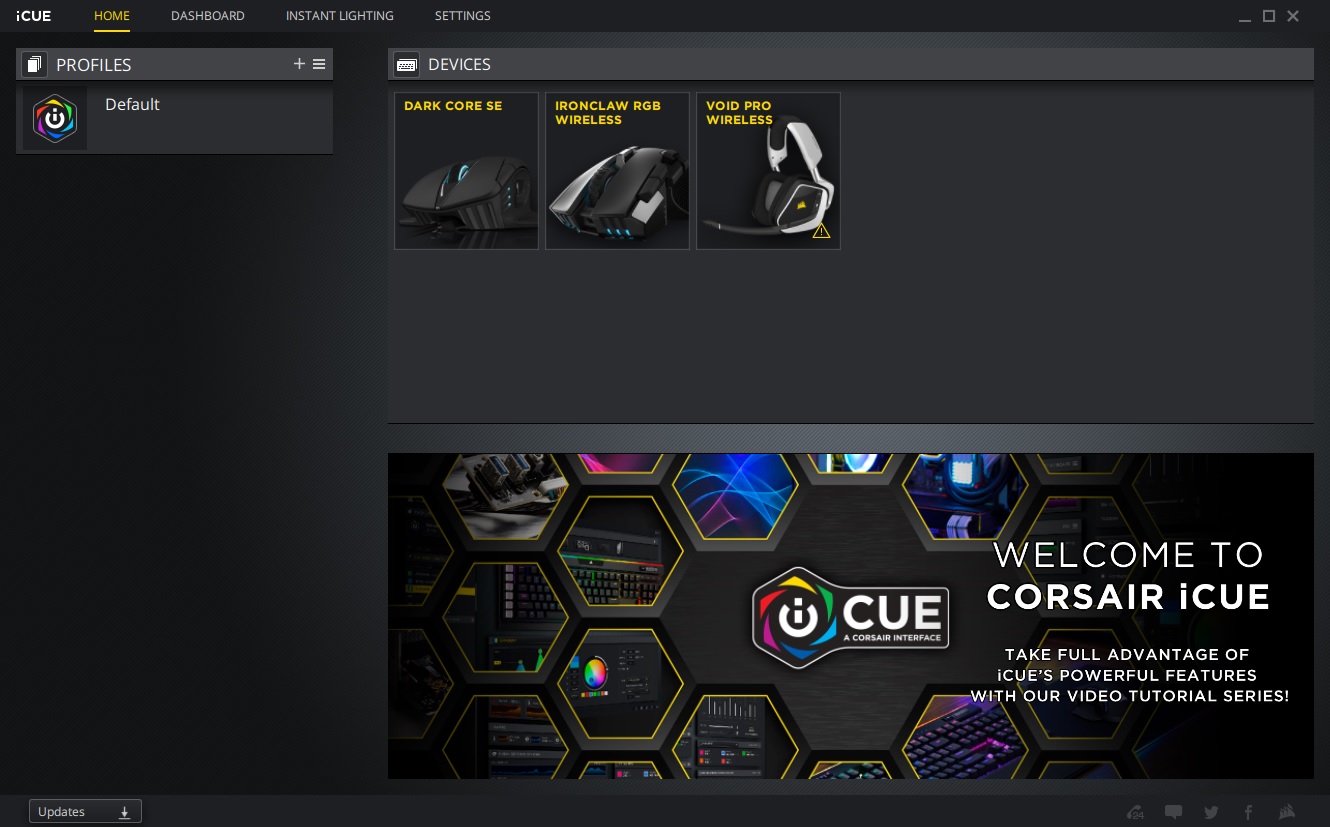
You can actually use the Ironclaw RGB Wireless out of the box without software. It will work in all modes without you really doing anything besides making sure it is charged and plugging in the dongle. If you do plan on customizing the mouse you’ll need to download Corsair’s iCUE software. When you open up iCUE you’ll see all of your Corsair devices listed, you should see the Ironclaw RGB wireless.
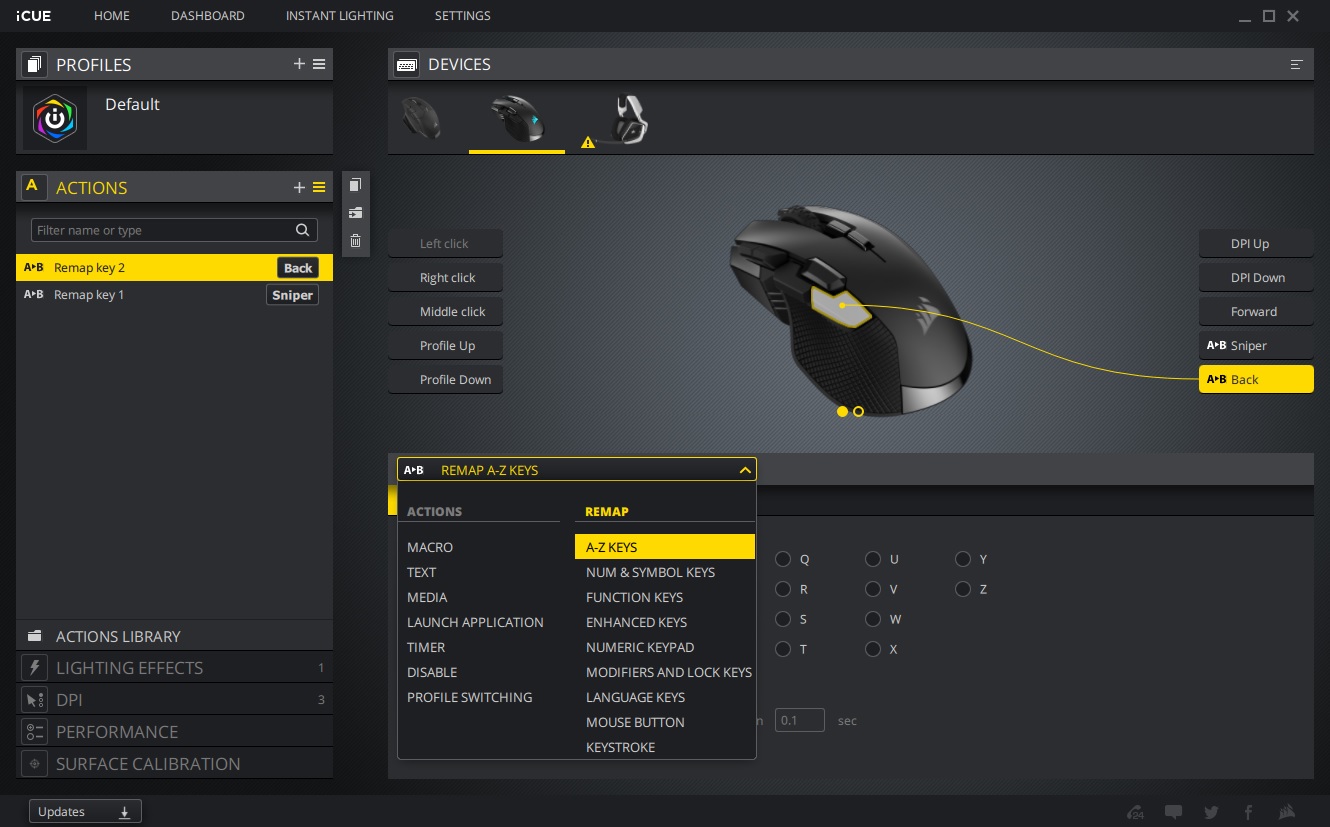
Clicking on the Ironclaw RGB wireless tile will let you configure it. The first tab you’ll want to go into is “Actions”. Here you can reprogram all 10 of the buttons on the mouse. Corsair really gives you a lot of flexibility here too, you can create a macro, launch an application, remap to a keyboard key, set to a multimedia control and much more.
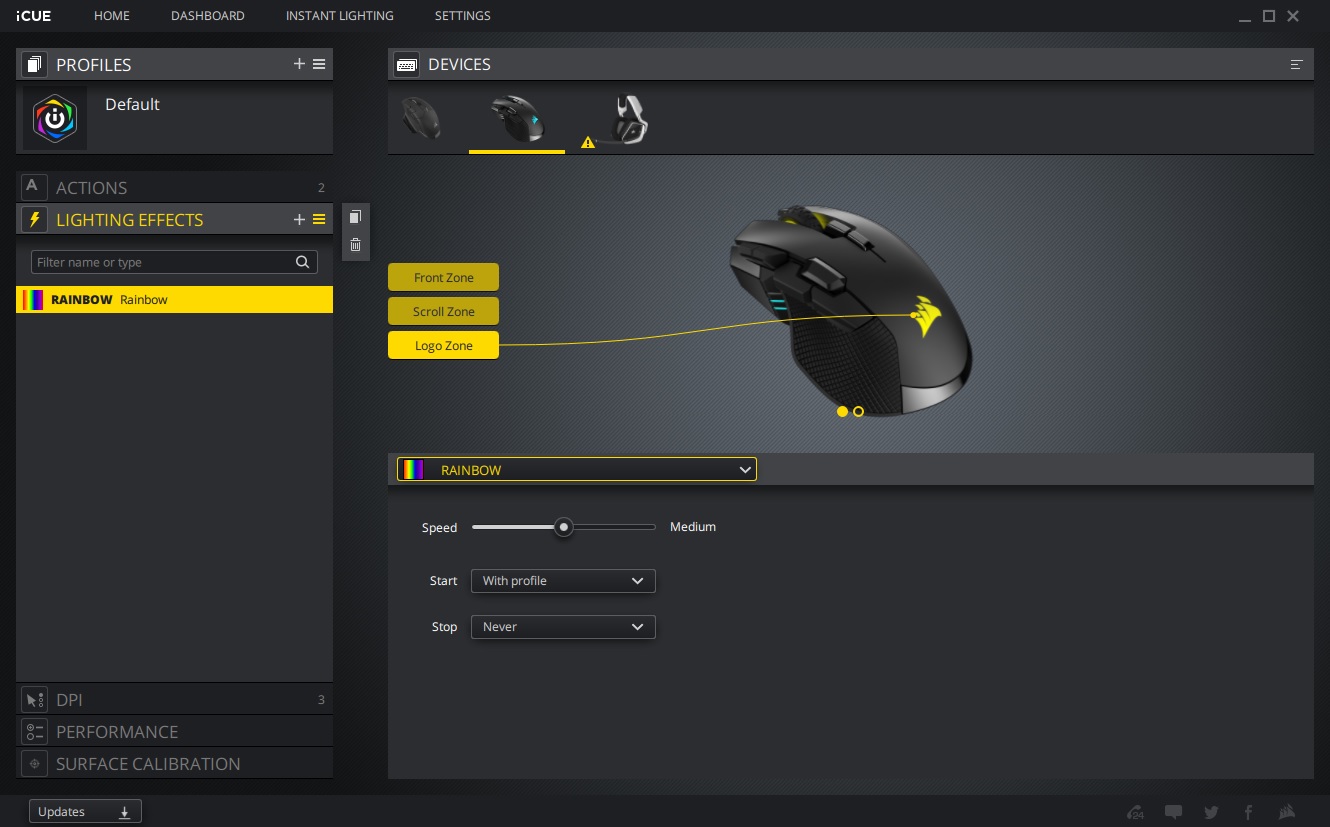
The next tab is “Lighting Effects”. Here you can configure the three different lighting zones on the keyboard, which include the logo zone, scroll zone, and front zone. There are a handful of effects to choose from.
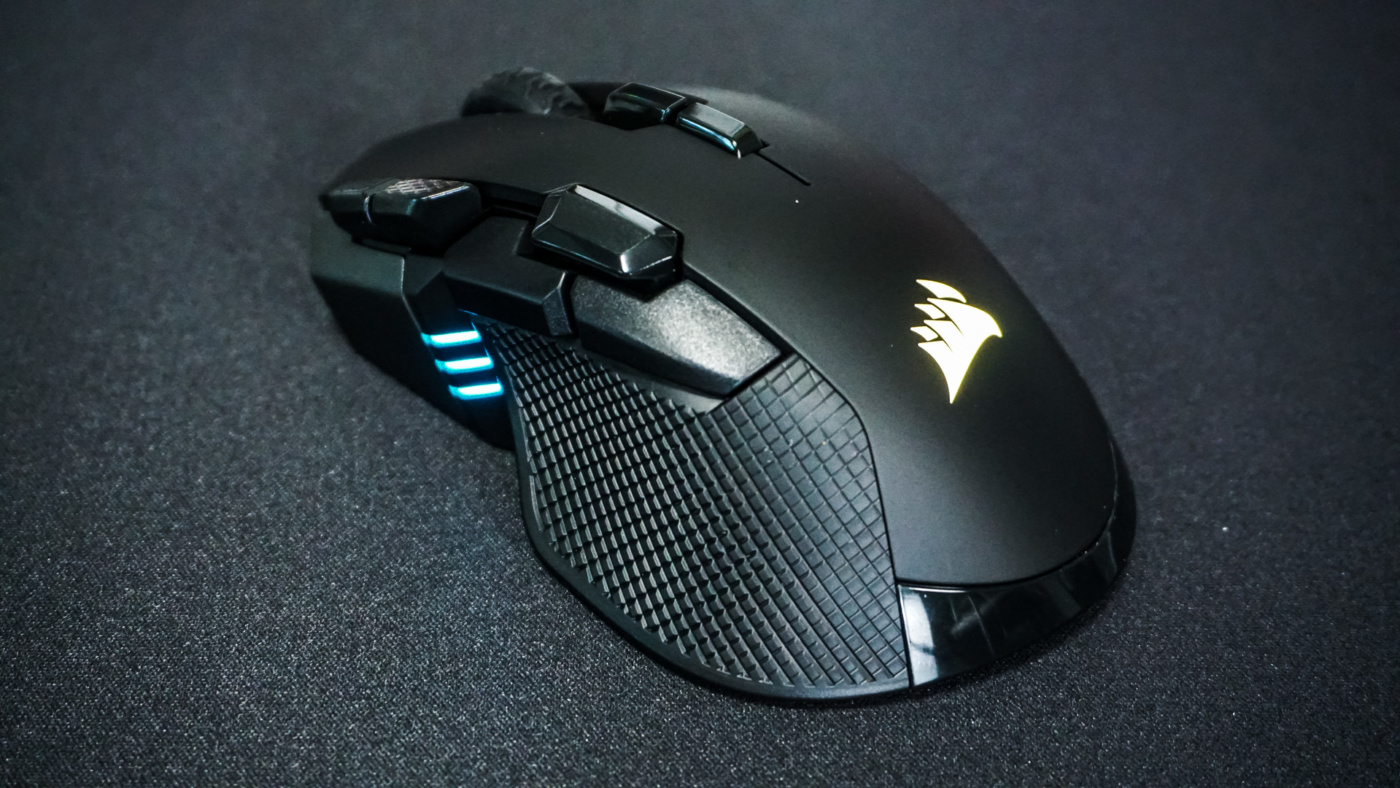
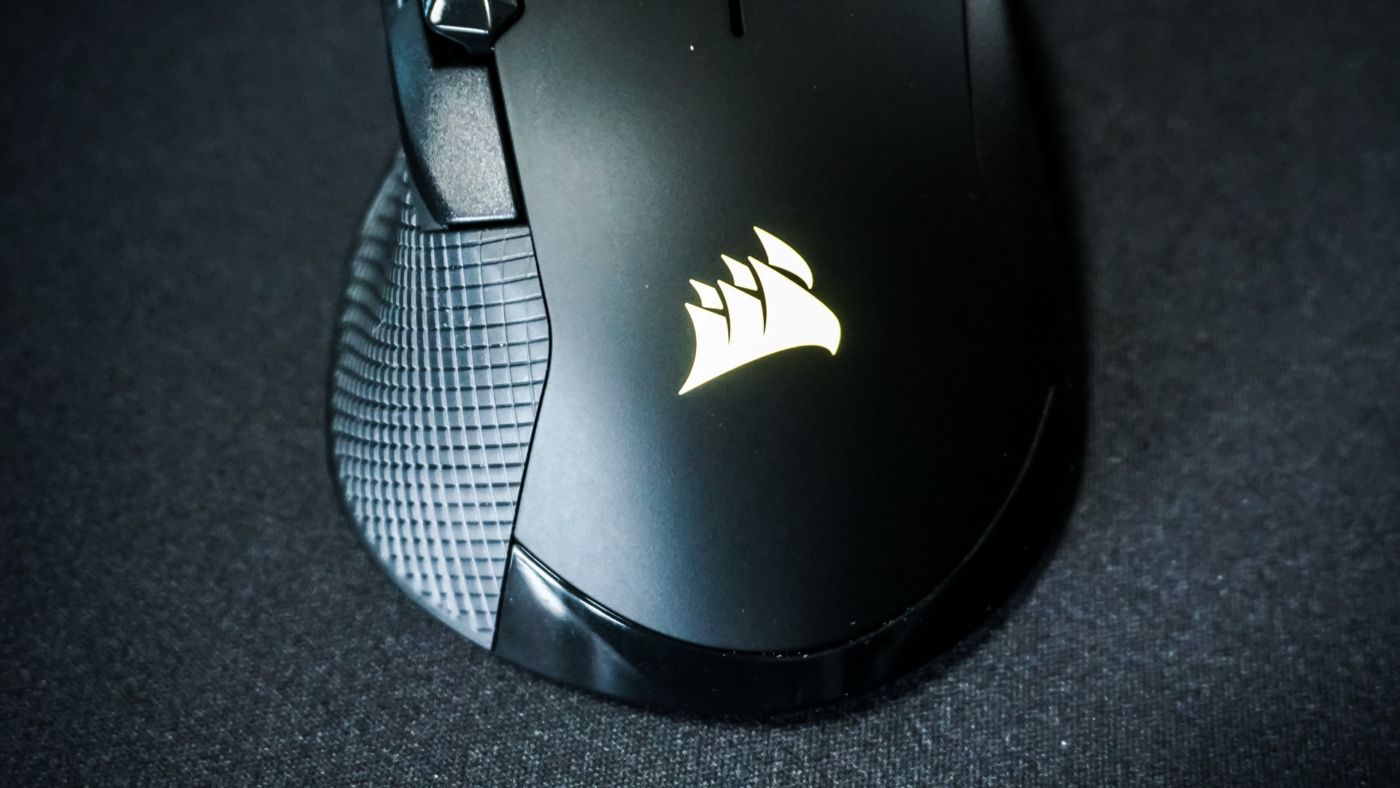
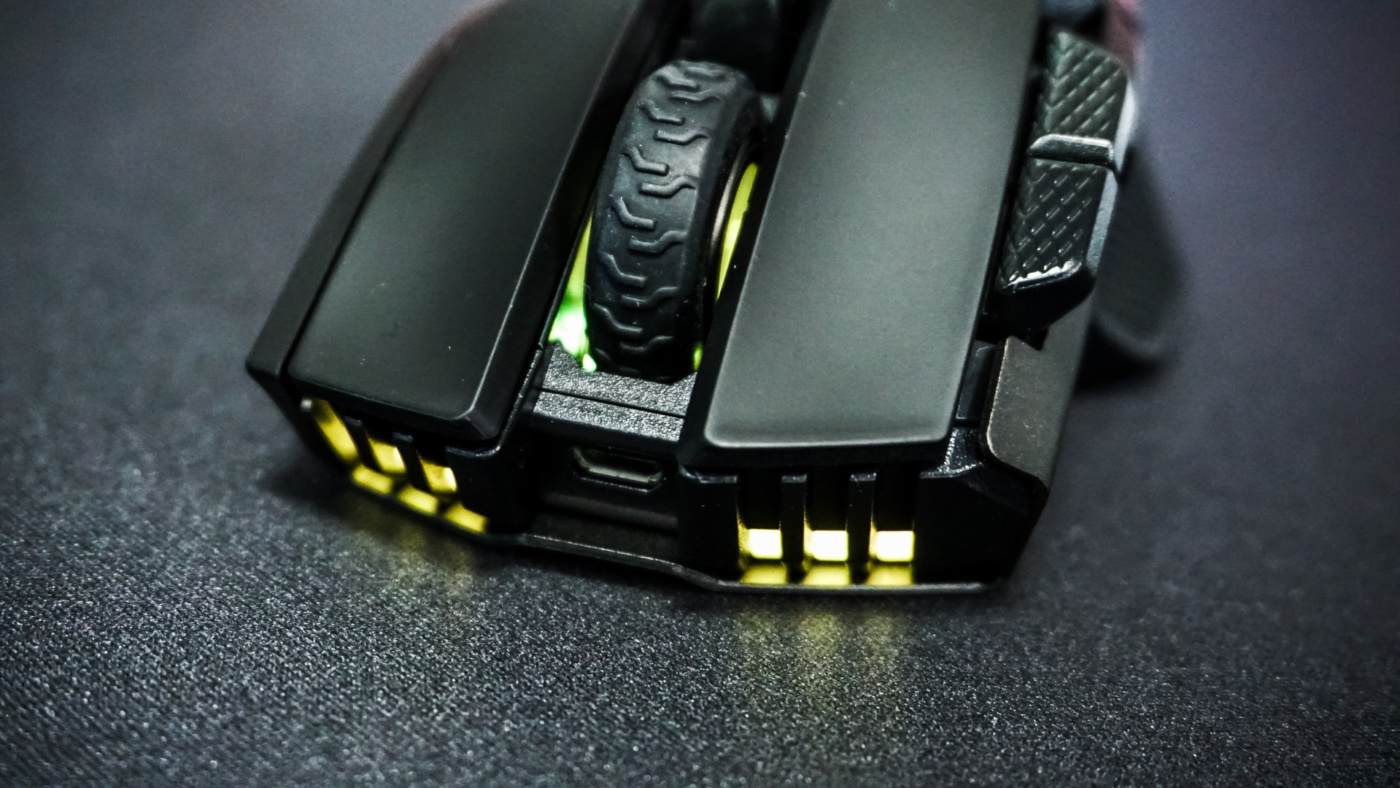
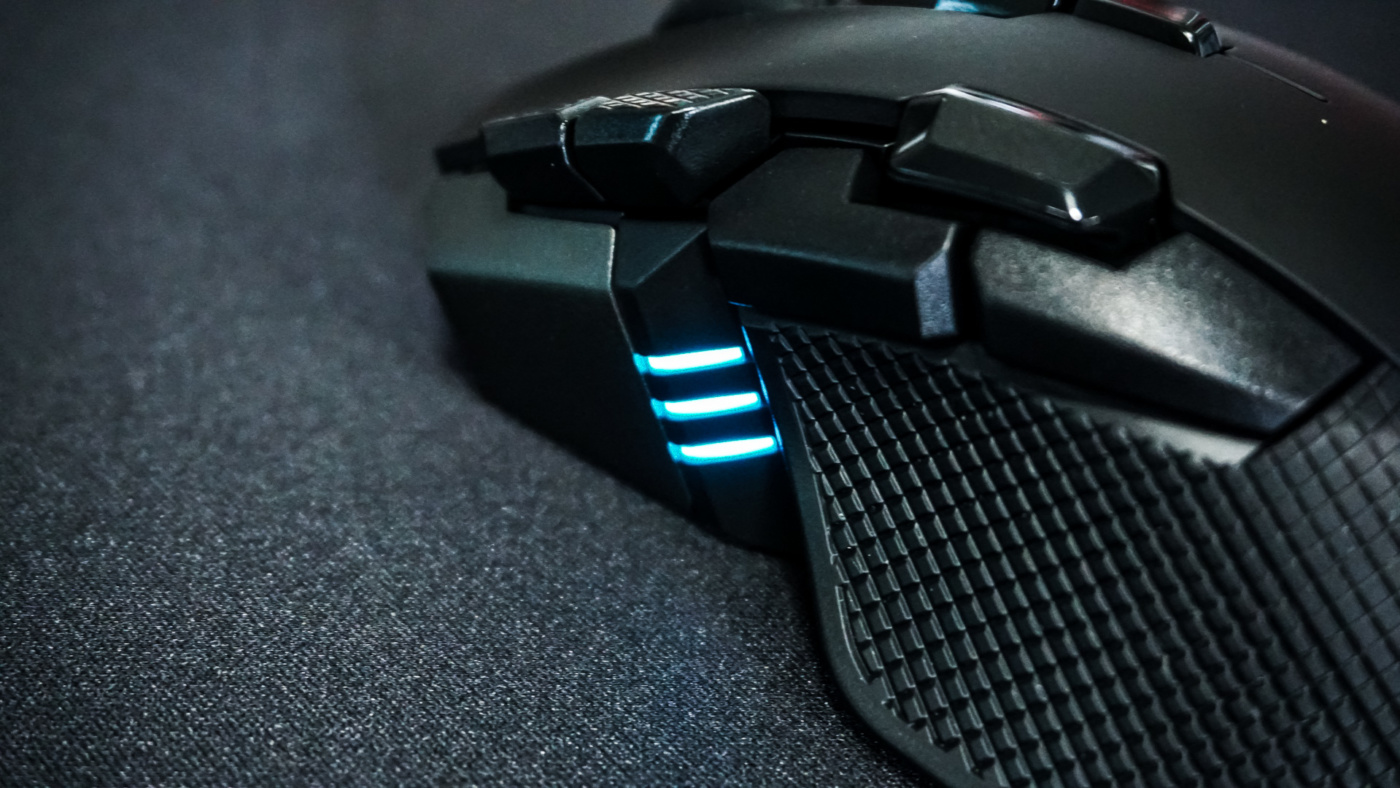
The lighting on the mouse looks pretty good, you have RGB lighting on the Corsair logo on the back of the mouse, on the scroll wheel, front of the mouse, and don’t forget about the three indication LEDs on the left side of the mouse.
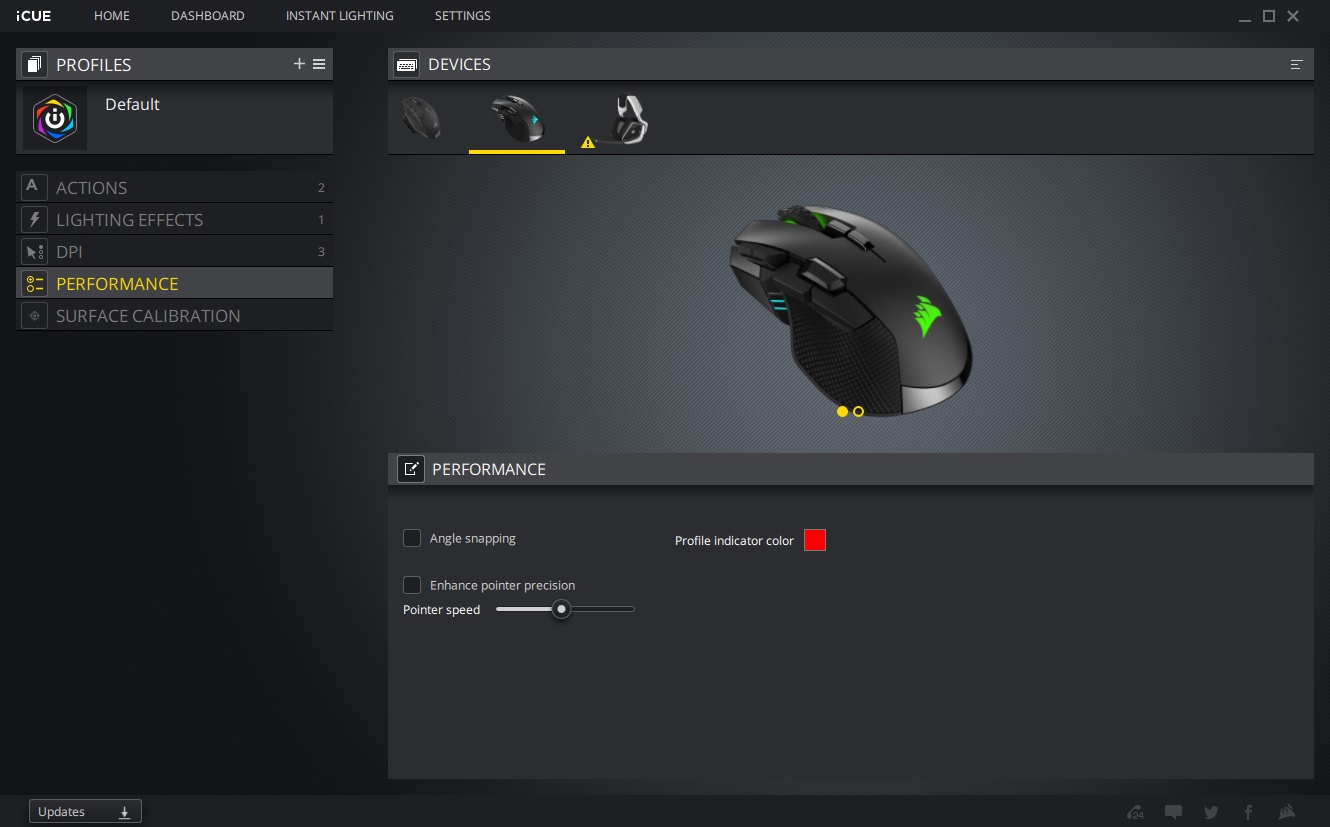
Under the “Performance” tab you can turn angle snapping and enhanced pointer precision on or off as well as set the pointer speed.
The last tab is “Surface Calibration”, which allows you to calibrate the sensor to your mousing surface. Note that you’ll need to have the mouse connected via USB to use this feature.

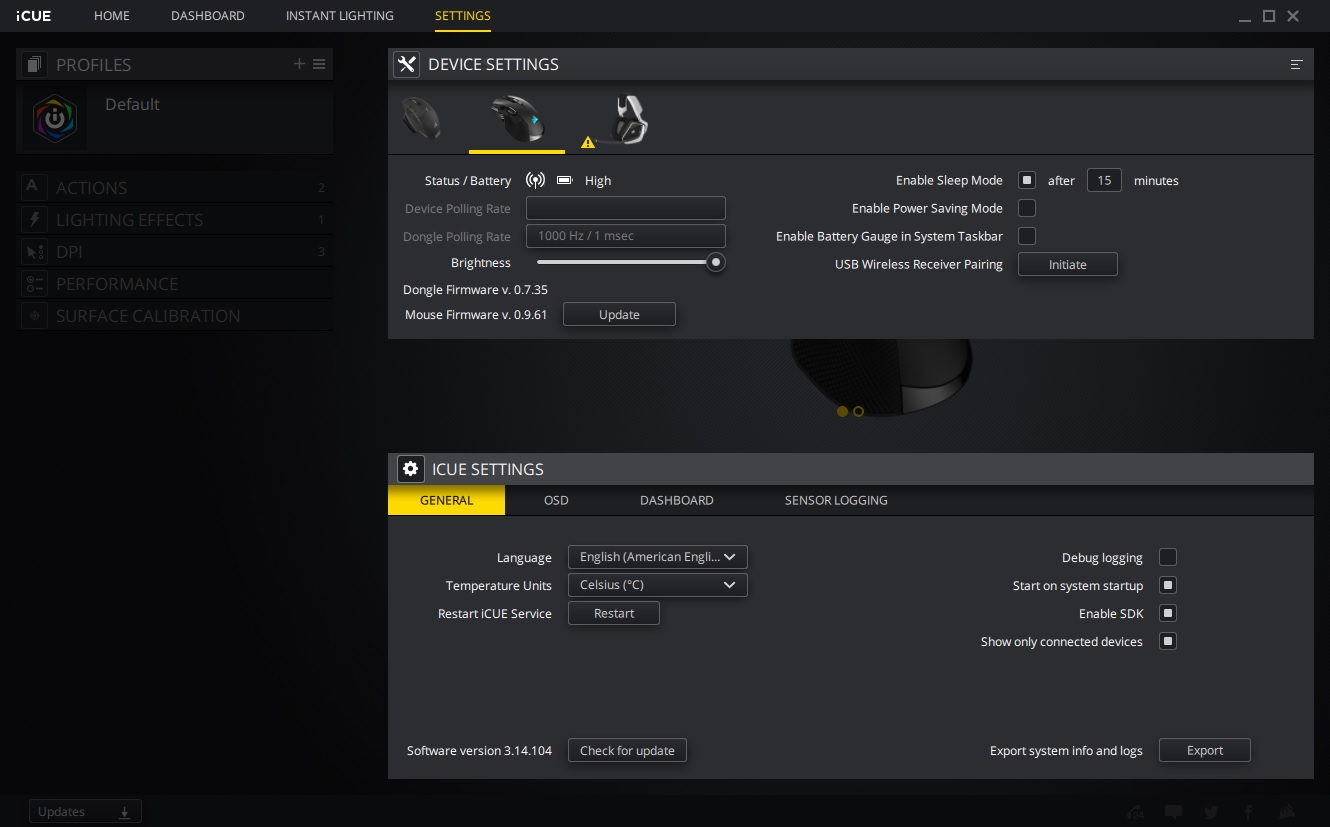
Going into the “Settings” at the top of iCUE and selecting the Ironclaw RGB wireless we can see our battery level, the polling rate, set the brightness of the RGB LEDs, set a timer for sleep mode, and much more.