Installation
We will be installing the H5 Universal in our Intel X79 system which uses the LGA2011 socket. So the first thing we need to do is install the four screw pillars on the LGA2011 socket as shown in the photo below.
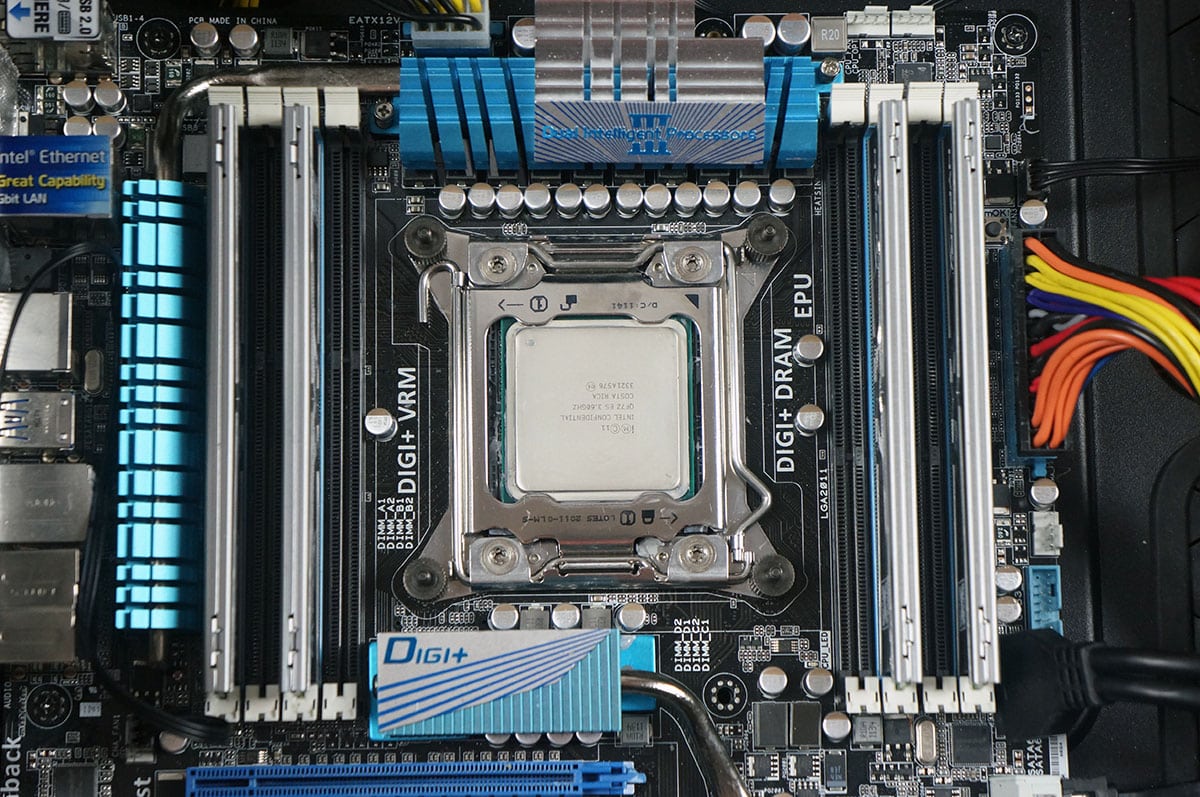
Now it is time to install the Intel mounting bars. You can install them in two different orientations depending on how you want the cooler to sit inside your case. The orientation shown below will have the cooler sitting inside your case so it exhausts out of the rear. The mounting bars line up with the screw pillars and you use the topping screws to secure the mounting bars.

Apply the included thermal paste, as always we suggest you put in on your CPU not the CPU cooler base. Now very carefully place the cooler on your CPU lining up the mounting screws on the cooler with the holes in the intel mounting bars. With the supplied long screwdriver secure the screws on each side by using the openings in the top of the heatsink. I am really glad that CRYORIG supplied the screwdriver because many screwdrivers would be too thick and not long enough to fit down the hole.

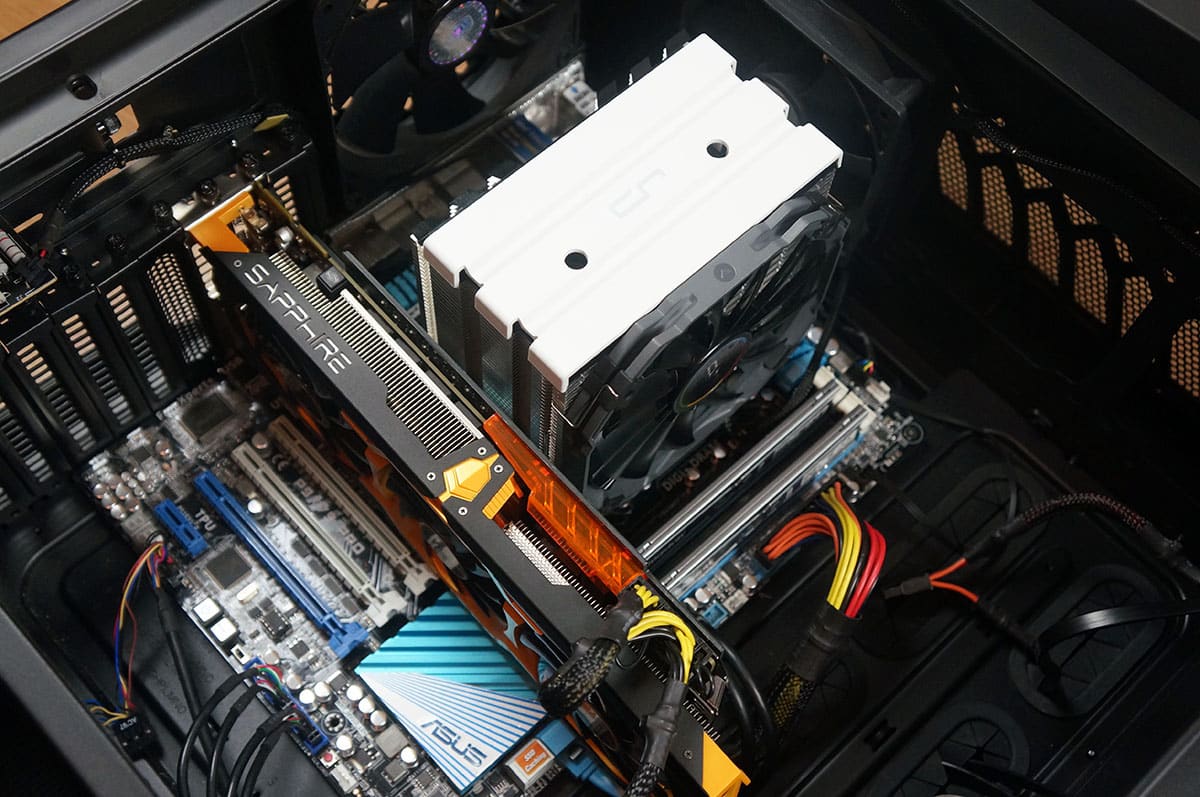
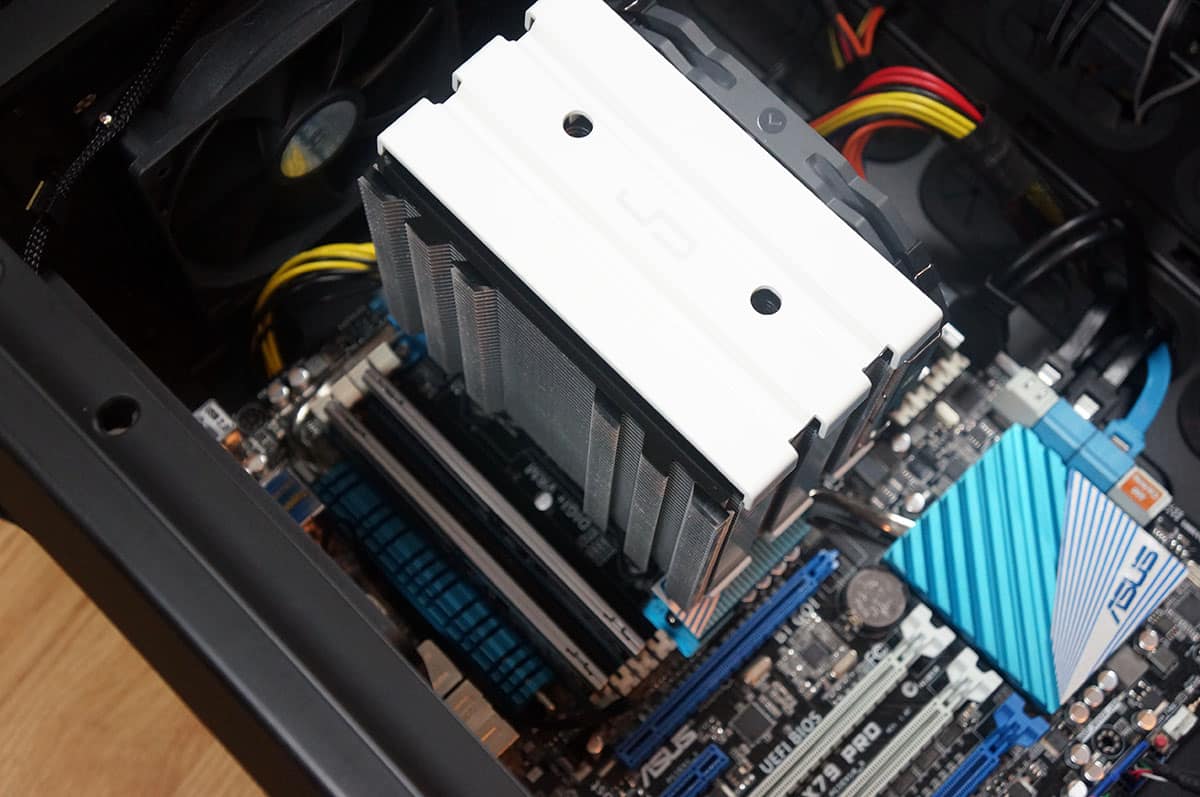
With the cooler installed you can see we have more than enough room on each side of the cooler for our memory. I took out the video card from the system to make installation easier, but you really don’t have to if you don’t want to.
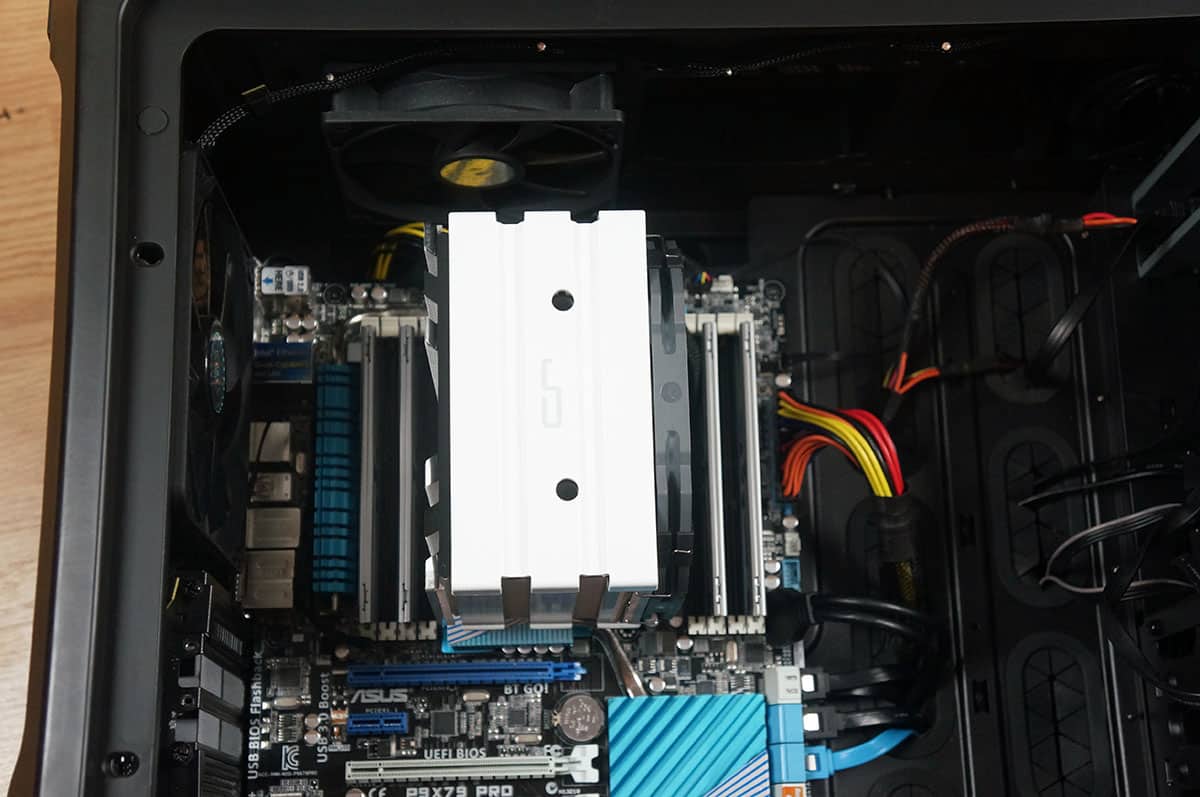
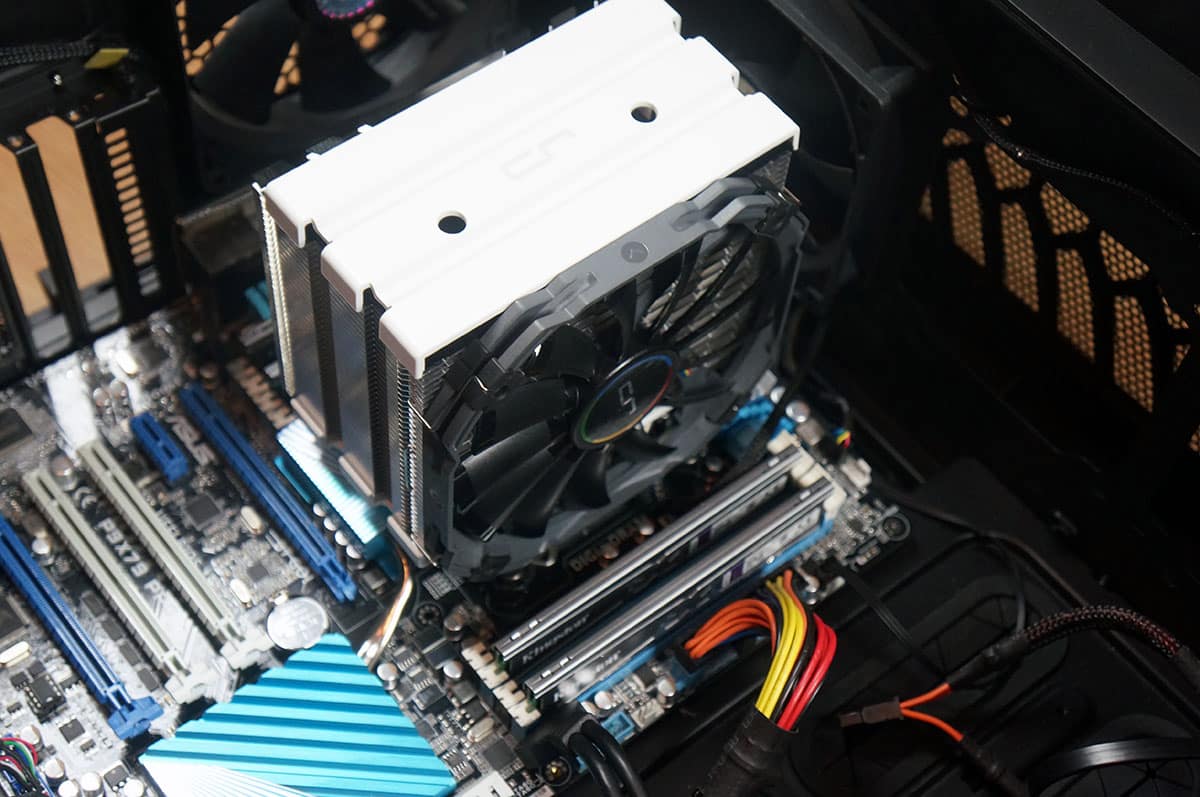
So the final thing to do would be to reinstall our video card and connect the fan to the CPU fan header on our motherboard.