
Hooking up the Kit
These are the Computer Accessories that I used to complete the full build. I will go over them step by step to let you see how I did mine.
Parts that we needed to complete the kit and working build.
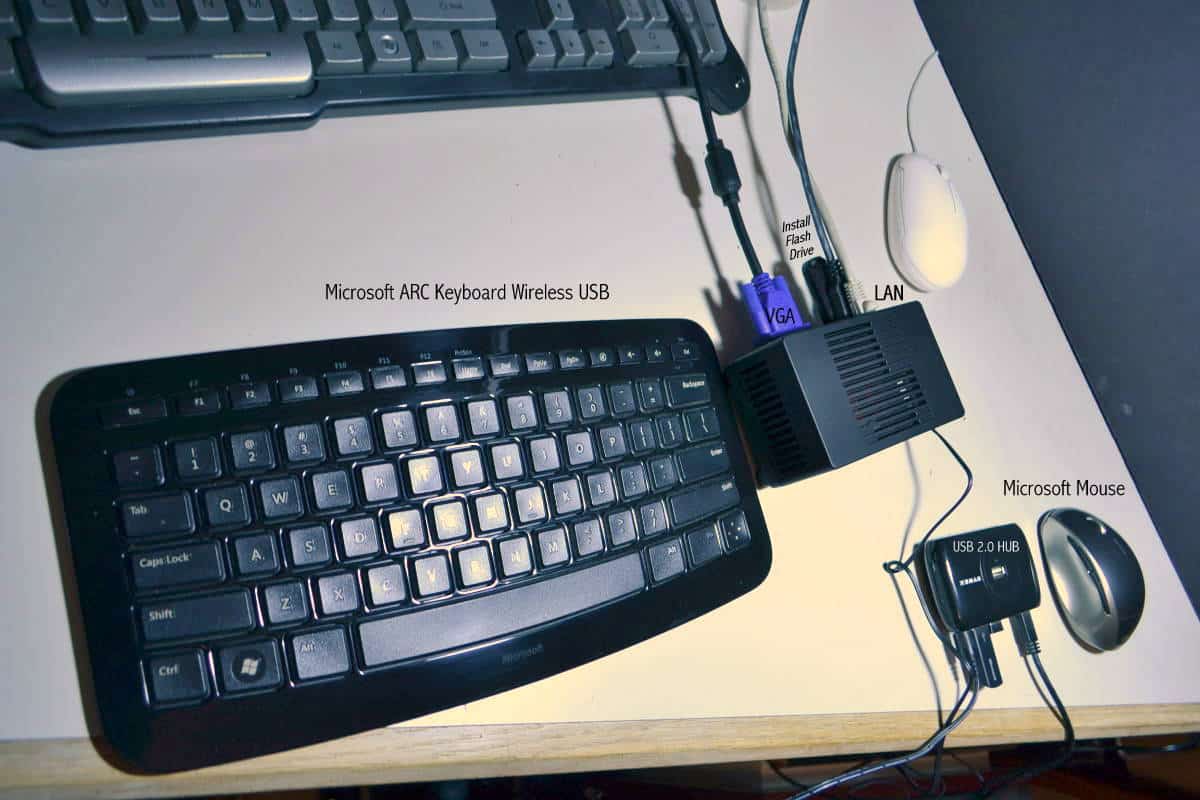
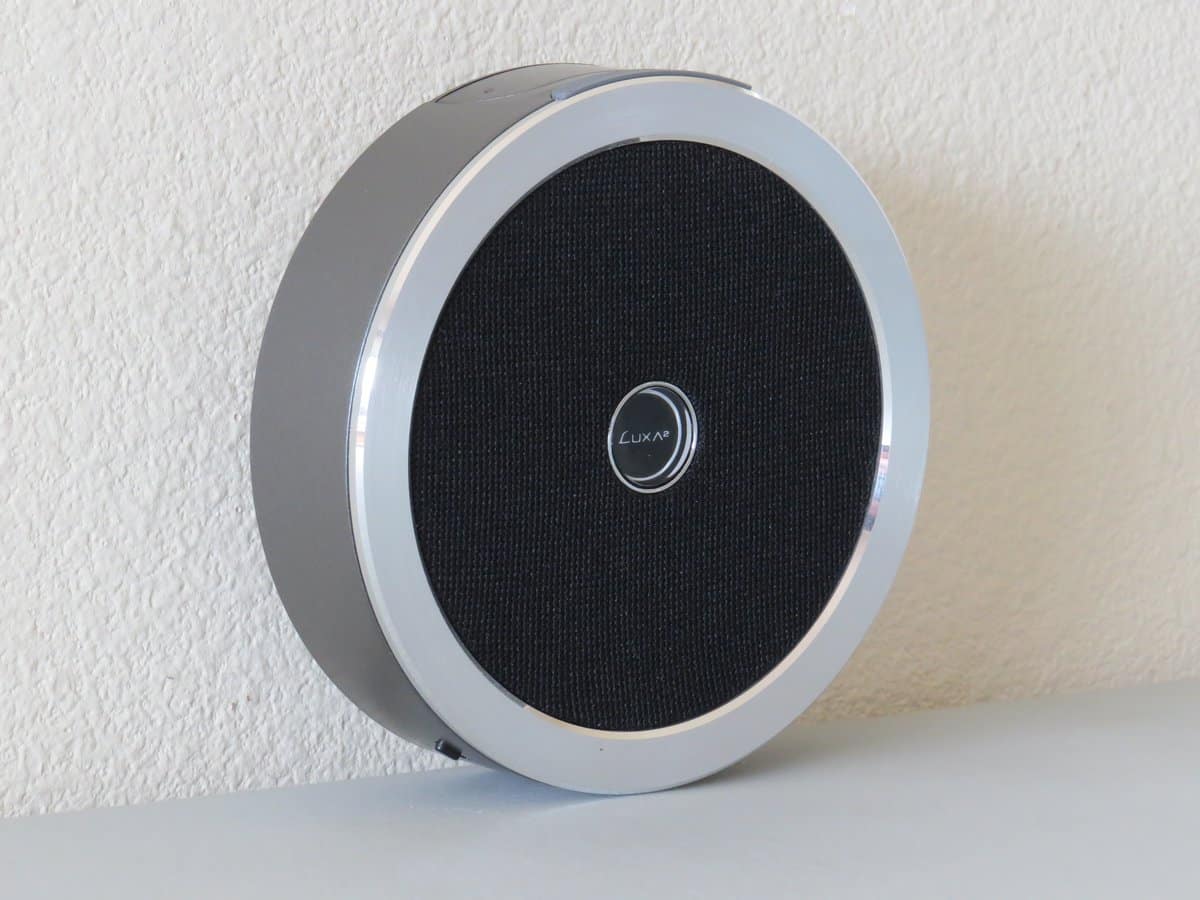
First I used a cheap DYNEX USB 2.0 hub. You need to transfer your copy of Windows 8.1 onto a flash drive. I used this free software tool directly from Microsoft to do that. For my USB drive I used the ADATA UV150 / 32 GB Flash Drive. You will need to plug in a keyboard and mouse too, you can see why I had to use the USB 2.0 hub. for sound, I plugged in My JBL/Harmon Kardon 2.0 portable computer speakers I had from an old Compaq computer I had. Last but not least I hooked up my Samsung SA300 21 inch Monitor using the VGA connection.
The final Set up looked like this. I did not attempt to hide anything for obvious reasons but left it all out to see the set up.

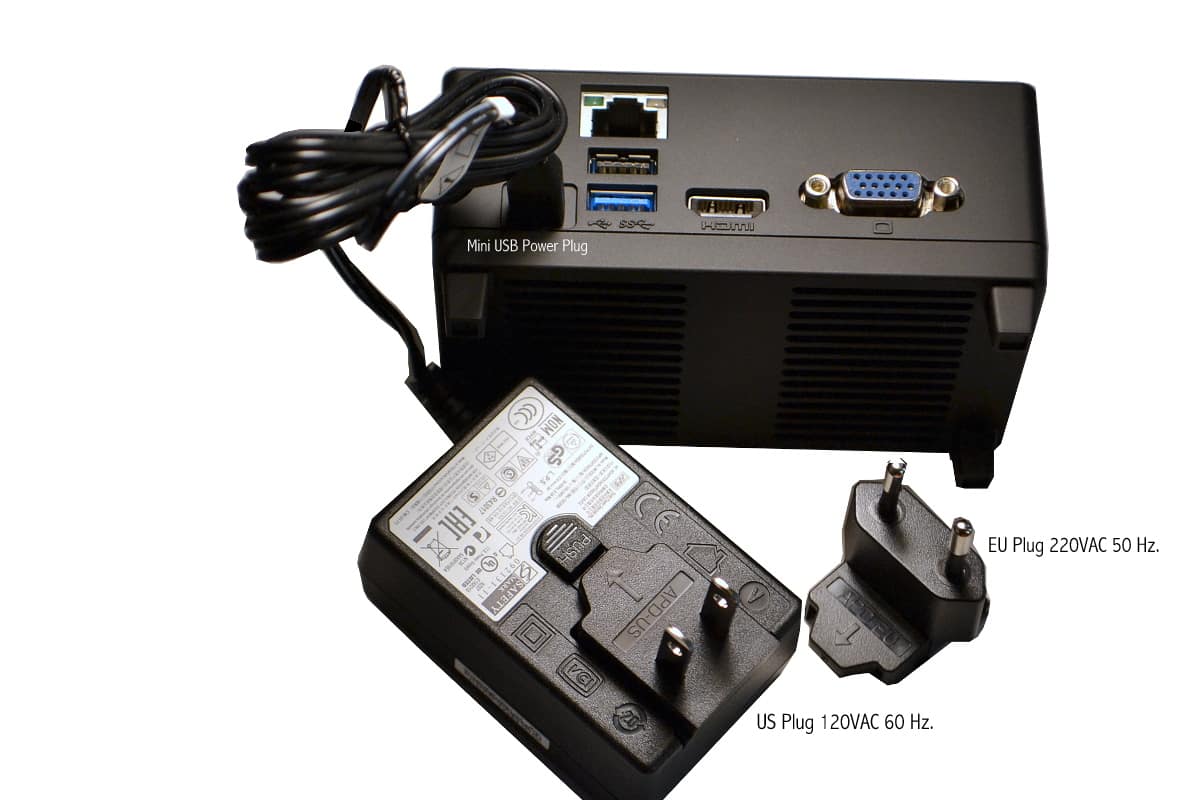
Now you should be at this phase of the build. First make sure you have everything plugged in right including the Power supply tablet mini USB plug.
Plug the rest of your support accessories in before powering up including your Windows install Flash drive into the USB 3.0 port.
Now is the time to press the power button. This is the Screen you should see first.

This will be the way that The LIVA MINI PC partitions the eMMC SanDisk 32/64 GB during install.

Now just let the LIVA Mini PC install the Window 8.1 OS at its paces and it will find the drivers for most of the devices hooked into the computer.
After Install you want to go online and install the latest drivers from the ECS website. Once all the updates and drivers have been installed you will be amazed at what you got for your money.

Will it playback dvd and blu-ray quality films from local storage without problem?
Mini PC’s how many more do we need serious though, with Zotac, Gigabyte Brick and Steam machines I don’t think we need anymore. If it was anyone that started this Mini PC war, was AsRock and VIA, oh and not to mention Intel’s so called NCU.
PhoneyVirus
https://twitter.com/PhoneyVirus
https://phoneyvirus.wordpress.com/
Model & No. Part – AC Adapter, please…