While Apple devices are significantly known for their advanced security features, you might often encounter situations that demand to wipe crucial bits of data from your iPhone. This article aims to provide you details insight into how to clear history on iPhone so that you can have peace of mind. Erasing private data is considerably handy when you either need to hand over your device to a buyer or require some memory to get freed.
Dr.Fone toolkit offers you a seamless way of selecting the type of data you want to wipe; be it your browser bookmarks, or chat history. This guide will also let you know how to delete messages on iPhone with the help of convenient functionality delivered by this software.
Deleting private data from your iPhone
Leaving your private data unprotected might take a toll on your digital privacy if you are to pass on your device it gets stolen. In such a case you can either delete these private files all by yourself or trust a reliable tool to scan your iPhone and let you decide what all needs to be removed.
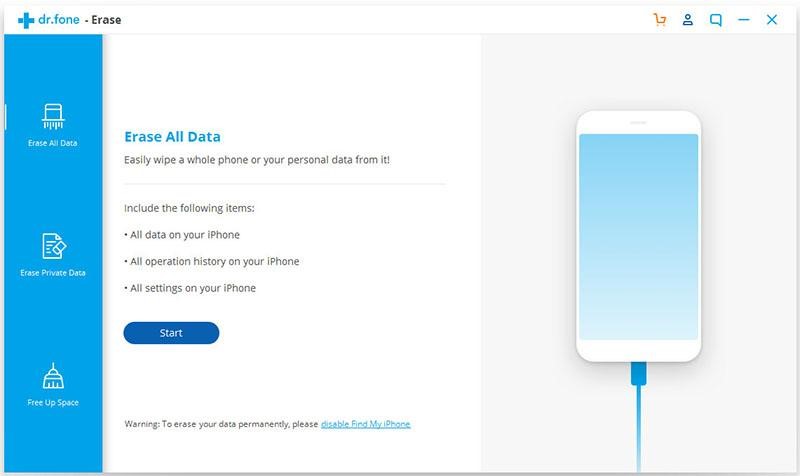
Step 1: Connecting your iPhone to the computer
You need to begin with simply connecting your device to the laptop in order to delete any desired bits of private data. Once you’ve connected your iPhone, make sure to select Erase All Data out of three options you can see on your screen.

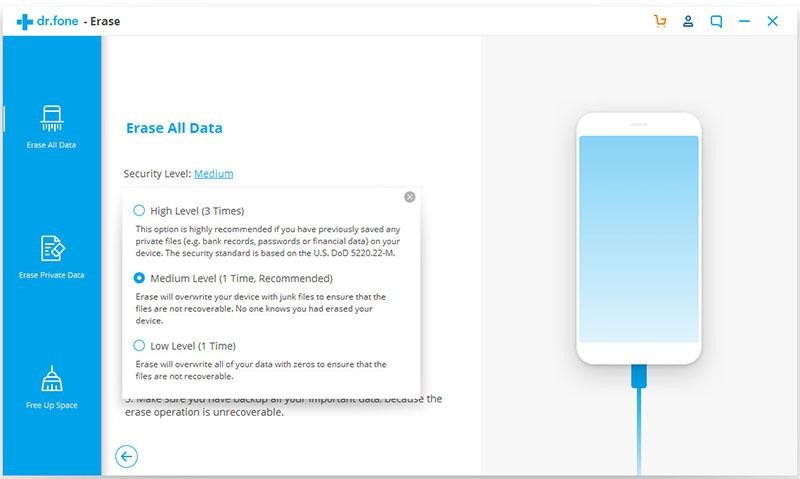
Step 2: Starting wiping private data on your iPhone entirely
When you have established a robust connection, take your time to determine which security level to go for before initiating the deletion process. It’s evident that extended time will enable Dr.fone software to leave no way to let any software recover these deleted files.
There is a vast category of the type of data you seek to delete with this tool. In case you’re going to find a new user of your phone, regardless it’s a family member or outsider, it becomes crucial to erase your hidden data completely. Finally, enter “000000” in order to ensure Dr.fone deletes the desired user data while making it practically unrecoverable for any tool.
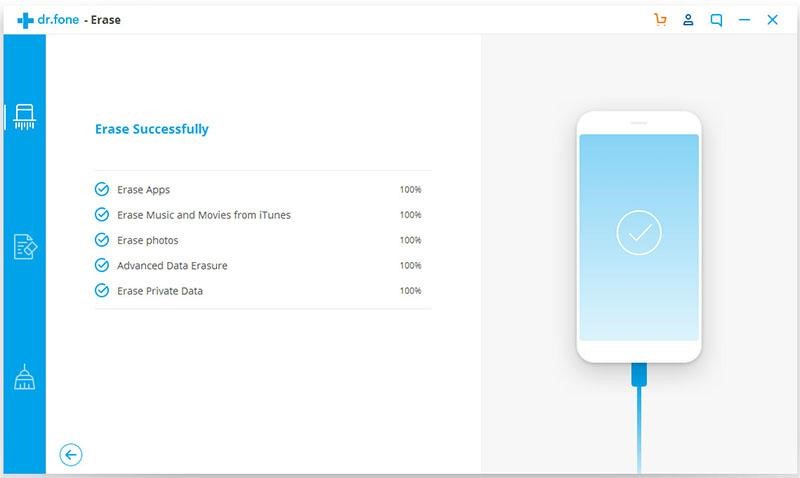
Step 3: Wait as Dr.fone deletes data on your iPhone
You might need to wait for some time while the software removes data from the system. If you’re going to delete entire data on your iPhone, chances are that it might fix the overtime delaying of the device. A lot of files and documents get piled up over time and while they might seem harmless, your iPhone is bound to get relatively slowed down.
It’s not only better to delete such ignored junk files but also vital as this way you will also get rid of any sensitive data you might have kept stored in any hidden vaults. After these steps, your iPhone will be as clean as it was while being dispatched to you; now it’s your call whether you sell it or give it to your grandpa. You will have assurance when it comes to handing over the device with no content in it, be it useful or not. If you are to essentially gifting this device, erasing the entire data is the only way to make your present look less like a “second-hand” device.
Dr.Fone needs to come into the picture because natively deleting these files from your iPhone leaves them vulnerable to numerous software that might let an unreliable person extract these. Erasing your entire history data also gets easy with this software as you get a dedicated option for deleting your history.
For instance, you will find a dedicated option for deleting browser history and a separate one for your messages and calls. This software gives you a handy choice of deciding whether you want to delete a specific section of your history or get all the history data removed with one single click.
Make sure to have a clear idea of what you want to delete and then invest in a trusted solution like this. You also need to consider taking cloud backup in case there is any data that you might not want to lose after all.