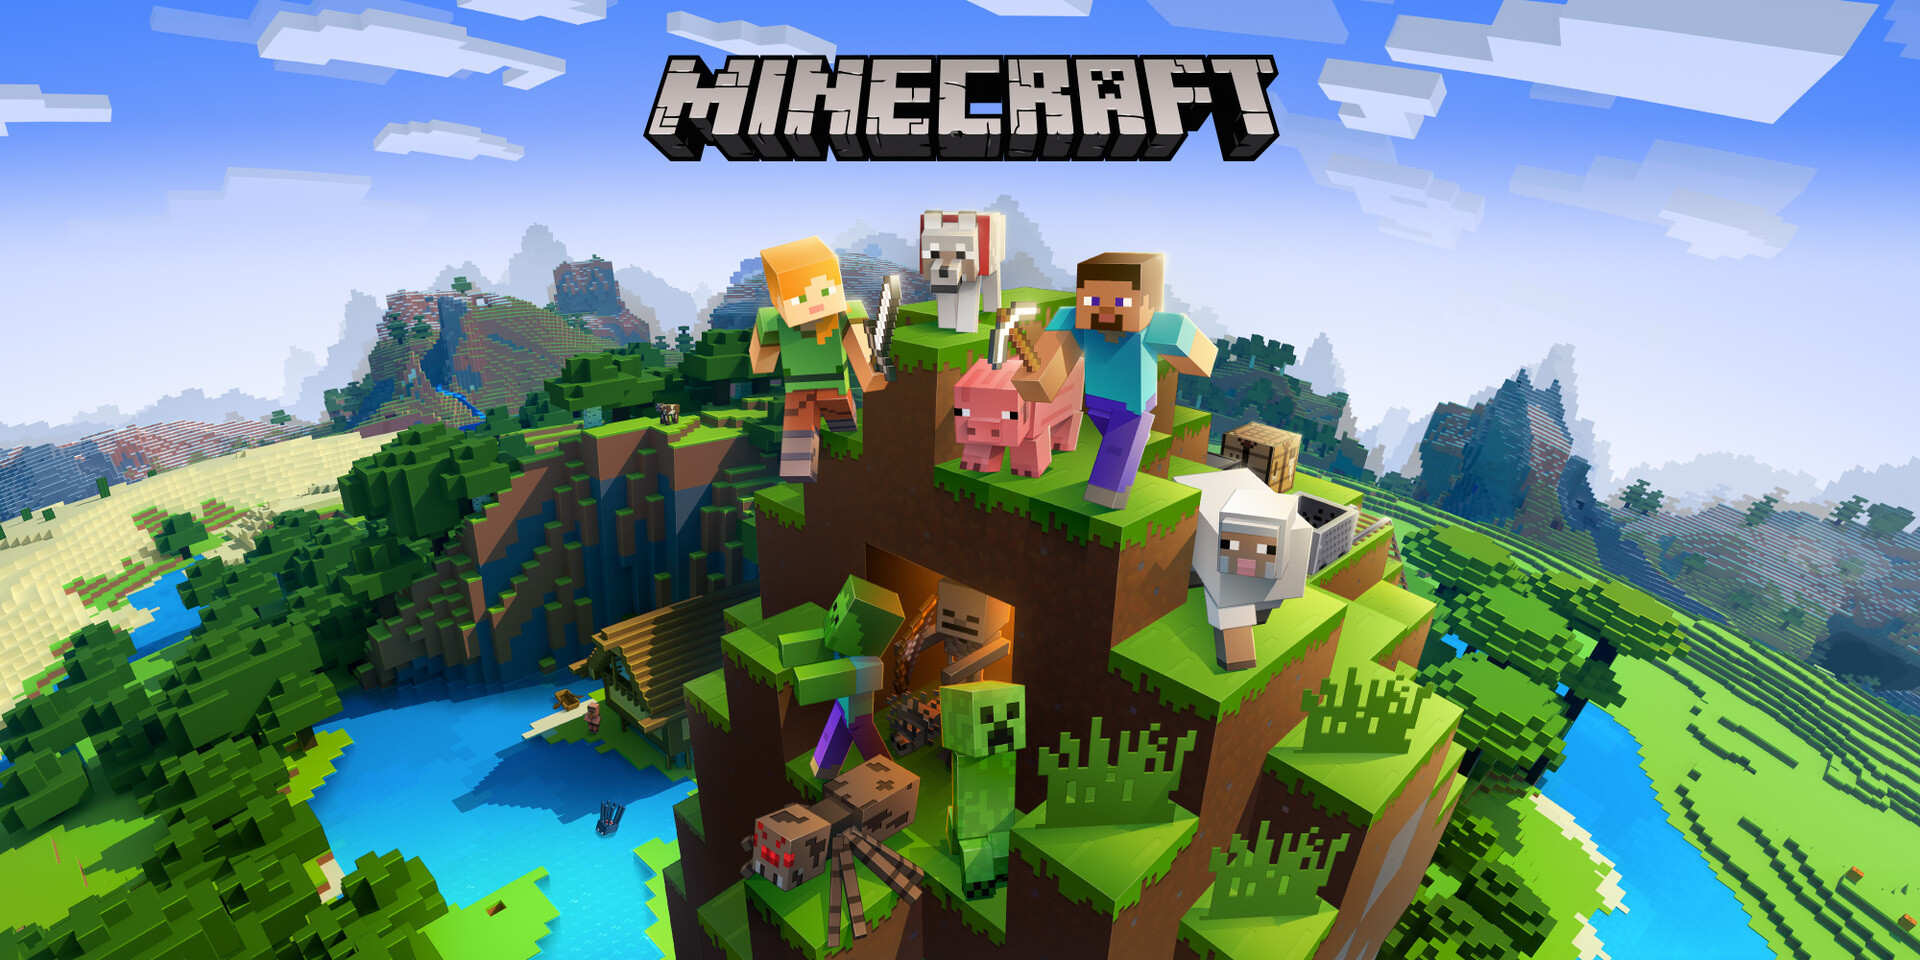
Minecraft is a sandbox video game where you can’t really win, and you can do whatever you want. It’s not for everyone, but it really is a blast to play with other people and watch other people build castles and live-in human-sized hamster balls. The problem is that if you want to play Minecraft multiplayer, then the only real way to do so is online, as there isn’t an offline mode that allows multiple players at once. As a result, most people play it online with other people that they know.
Minecraft was originally a PC game and later came out on the Xbox 360 and the PlayStation 3 systems. It has since been released for mobile devices, but it isn’t as popular as it once was. If you have a PC or a Mac, then you can play Minecraft by downloading it from the official website. Minecraft is completely free, so you don’t have to pay any money to get started. However, if you want to get it for your phone, you will have to pay some money. There are a few different versions of Minecraft available for different devices, and the price varies from device to device.
Minecraft is a cool concept, and it is a lot of fun to play. Unfortunately, you can’t play it with anybody because you need to have a server that only the people you want to play with have access to. The problem is that it used to be pretty expensive to have your own server. You could get one for about $10 per month or less if you buy them for longer periods. Some people took advantage of this situation and started buying up Minecraft servers to profit from connecting people to them. These people would then sell the server for different prices depending on where you wanted to play.
The problem is that this kind of servers take a lot of time to set up, so if you buy one now, then there is no chance that you will be using it this year or next year.
How to make a Minecraft server?
The solution to this is to set up your own Minecraft server instead. This will allow you to control how people play the game, and you won’t be bothered by other people buying and selling Minecraft servers. You can either host your server using a Linux computer, a Windows computer, or a Mac. They all work similarly, and it is really easy to set one up if you know what you are doing. You can learn what all of the different steps are by reading this article.
1. Download the best Minecraft server
The first thing that you will need to do is download a copy of Spigot, which is the best Minecraft server software. They call it the best because it has all kinds of cool features that you won’t find in other servers, including support for plugins that can give you an online store to sell items or chat commands that allow you to fly around. However, the rarest feature of all is the fact that you can make a private server. You can make one for your friends or for people you know, and only they will be able to connect to it using their own Minecraft accounts.
2. Install Spigot on your server
You will need to install Spigot on your computer. This is a very simple process, and you should be done in about 10 minutes or less if you know what you’re doing.
3. Configure Spigot
You will have to configure some settings on Spigot so that it works exactly how you want it. Unfortunately, the Spigot website does not have any documentation for this part of the process, so you will have to figure out what needs to be adjusted on your own. Fortunately, there are plenty of forums out there where other people ask the same questions you are asking. There is even an IRC channel on Freenode where people can get real-time help with problems like this one.
4. Start your server
You will now need to start the Spigot Minecraft server so that you can connect to it and play it with other people. You can figure out how to do this for yourself by reading the documentation on your operating system.
5. Connect your server
Now that you have a Minecraft server running, you need to connect to it using an account with the name and password you chose when you first created it. This will allow you to play the game with other people that you know. You can also invite strangers to join your server, but you shouldn’t do that until you know that it is safe enough to do so. Having strangers on your server can be dangerous because they might try to destroy everything that everybody worked so hard on.
6. Connect friends using their Minecraft usernames
If you want to connect friends or family using their Minecraft usernames, then this shouldn’t be too difficult for most people. However, if you absolutely can’t figure it out, then you can ask for help from a Linux or Windows guru.
7. Connect friends using their Mojang accounts
If you want to connect friends or family using their username from Mojang, this can be more difficult. This is because those usernames aren’t the same as the Minecraft usernames that you used above. You will have to use a program that automates the login process so that the computer knows what to type into the login screen. An alternative to this process is to use a bot. One of the best bots for this purpose is Mumble. This will allow you to connect with your friends and family without any manual work on your part.
8. Set up a server
Now that you have started a server, you can set up a world or worlds for other people to play in. These worlds will be public by default, but you can make them private if you wish. The world that you play in is automatically private, which means that only you can see it.
9. Get plugins
There are many cool plugins that you can install on top of Spigot to make your server even better. The best plugin that you can get is one that lets players buy and sell items using commands. This lets players buy and sell whatever they want without using the game menu, which will drastically speed up the game for everybody involved.
10. Set up an online store for selling items
If you want people on your server to buy and sell stuff using commands, you will need to get an online store plugin. This plugin is called Vault, and it will allow players on your server to set up stores where they can sell items. They can put whatever they want in their stores, including whole Minecraft accounts if they are clever about it. So, what are you waiting for? Go make a server today!
Make a Minecraft server on your Windows PC or Linux device.
It’s easy to make a Minecraft server on your Windows or Linux computer. Here’s how you do it.
1. Download Spigot
The first thing that you need to do is download the latest version of Spigot. This is the software that powers most Minecraft servers, including Bukkit, which is one of the most popular Minecraft server platforms. There are a lot of different versions of Spigot, but most people use the latest beta release. Some people don’t have a Windows computer, so you can also download the source for Spigot and compile it on your Linux or Mac machine. If you choose to compile it yourself, then expect to take a while because it is a big job that takes a lot of time and effort.
2. Install Spigot
It would be best if you put Spigot in its own folder so that it doesn’t get confused with other versions of Bukkit. Then you will be able to run multiple versions of Bukkit if you wish to.
3. Configure Spigot
You should configure some plugins and settings on your copy of Spigot so that it works just how you want it. There is a wide variety of different things that you can configure, but the documentation for this process is not very clear. Fortunately, there are plenty of forums out there where other people ask the same questions you are asking. There is even an IRC channel on Freenode where people can get real-time help with problems like this one.
4. Start your server
Now that you have a Minecraft server running, you need to start it so that other people can connect to it using their different accounts. You can figure out how to do this for yourself by reading the documentation that is included with Spigot.
5. Connect your server
Once you have started up a server, you will need to connect to it using an account that you created for this purpose. This will allow you to play the game with other people that you know. You can also invite strangers to join your server, but I wouldn’t do that until it is safe enough. Having strangers on your server can be dangerous because they might try to destroy everything that everybody worked so hard on.
6. Connect friends using their Minecraft usernames
If you want to connect friends or family using their Minecraft usernames, then this shouldn’t be too difficult for most people. However, if you absolutely can’t figure it out, then you can ask for help from a Linux or Windows guru.
7. Connect friends using their Mojang accounts
If you want to connect friends or family using their username from Mojang, this can be more difficult.
How to choose hosting for Minecraft server
The most important factor in choosing or moving to a new web host is that they have a solid reputation for uptime, speed, and support. A good host must be able to keep your websites up and running all the time.
When you are looking for hosting services, make sure that you check out these three things closely:
Uptime – Your site should always be available. However, if you are concerned about uptime, consider using tools like Netcraft to monitor your hosting provider’s uptime.
Speed – The faster your site loads, the happier you will be. You can check how fast your site loads by using tools like Pingdom.
Support – Even if you can’t find any errors with your site, it is still important to know who to talk to so that you can ask for help. This way, you will know where to find customer support if something does happen.
8 things you need to know about hosting for Minecraft servers
- A Minecraft server is like a game server, which is like running your own game world where you can run your own rules. A Minecraft server host offers an environment where you can be the creator. You can make custom games with your friends without having to worry about other network users disturbing you (assuming that they are on different servers).
- Choosing a Minecraft server host is not the same as choosing a domain name registrar or a web hosting company. You can, in fact, pick any web hosting company you wish, and they will be able to host your Minecraft server.
- A Minecraft server host offers support for plugins that allow you to customize the server to suit the needs of your community.
- Choosing a good Minecraft server host is all about learning how to use the tools they offer. You can even learn to do some basic WordPress editing if you are so inclined.
- Minecraft servers are useful for any web hosting company. If you have a WordPress blog, then you should be able to find a WordPress hosting company that offers an MCPE server for you to play on.
- A Minecraft server can have multiple players on it at one time. Some online hosting companies allow for multiple accounts on the same server.
- When you think about it, hosting a Minecraft server is really just like putting up a billboard where people can reach you. Some people love this, and others never do.
- A Minecraft server is a good way to promote your website. It will help you market your site to thousands of people at one time.
- Minecraft server locations
The good news is that there are way more than 100,000 Minecraft servers out there. The bad news is that they can be all over the place, and they aren’t all the same. There are so many different types of servers that it would be impossible for me to list them all here.
Choose Namecheap Hosting on Black Friday sale.
You should be able to find your perfect Minecraft server host with ease. You just need to know where to look and which factors to consider when looking for the best Minecraft hosting company. Choose Namecheap Hosting on Black Friday sale. We hope that we were able to help you troubleshoot your problem and set up a server. If you want more help, feel free to ask us any questions in the comments below, and we will try and help.