The user interface and warnings of OS X do everything possible to warn you before you make a mistake, but sometimes that can’t be avoided: accidentally, we delete certain content we don’t want to delete and then we panic. Is there a way to restore that content? Before continuing, it’s recommended to click here. You’ll get some recommendations about best software to recover deleted files on Mac.
Well the answer, as in many other things, depends. It depends on the file you have deleted, it depends on the application you have used to do it, and that depends on whether you are wise when configuring your system. Let’s look at the possibilities we have for recovering deleted data. You can also recover emptied trash on Mac free.
1. Accessing “Recently Deleted”
You might not know it, but when you delete photos and videos in Photos for Mac, this doesn’t disappear for sure until after one month. During that time period they were in a directory called “Recently Deleted”, which appeared in the application’s sidebar. If we don’t see the sidebar, we can access it via the Display menu – Show Sidebar (CMD + ALT + S). This section will never occupy too much space because it definitely removes everything that takes more than a month there. You can recover trash on Mac by accessing “Recently Deleted”.
The grace of this directory is that, unlike the garbage we have in iPhoto, it will never grow too large because everything we delete and that takes more than a month will be lost forever. But during that month we had a lot of time to realize that we had accidentally deleted something and took it easily.
And precisely because of its usefulness, Apple has decided to take the same part with the same operation for the Notes application on OS X El Capitan. There we will have all the records we delete for a month of grace period, each time we use iCloud to synchronize them. The first button on the toolbar will show the sidebar where we can find that section.
- Use Time Machine
To avoid the loss of data and recover files from trash on Mac, from the authorized technical service of Apple, we recommend using Time Machine, a program that makes a backup even in Mac trash recovery. Time Machine makes a partition on the disc itself or another external one and copies all the contents of the computer, the first time completely and then automatically, incrementally”. If your computer is stolen or you lose it, you only need to connect it to another machine to restore it and leave it exactly the same as the one you had with the last copy. To use it with the internal hard disk you just have to go to Spotlight, search for ‘Disk Utility’ and once there select the internal disk of the machine. In the submenu, it is required to select ‘Partitions’ and then add one if possible of 50% of the disk space. Finally, it is necessary to assign a name you want and apply the changes. Once this is done, you have to go to ‘Applications’, look for Time Machine and open the application. Then, you need to click on the ‘Activate Time Machine’ button and then select the disc with the name that you have placed. It is recommended that the machine have around 20% free space. Many Mac users think that Time Machine is the best data recovery software for Mac.
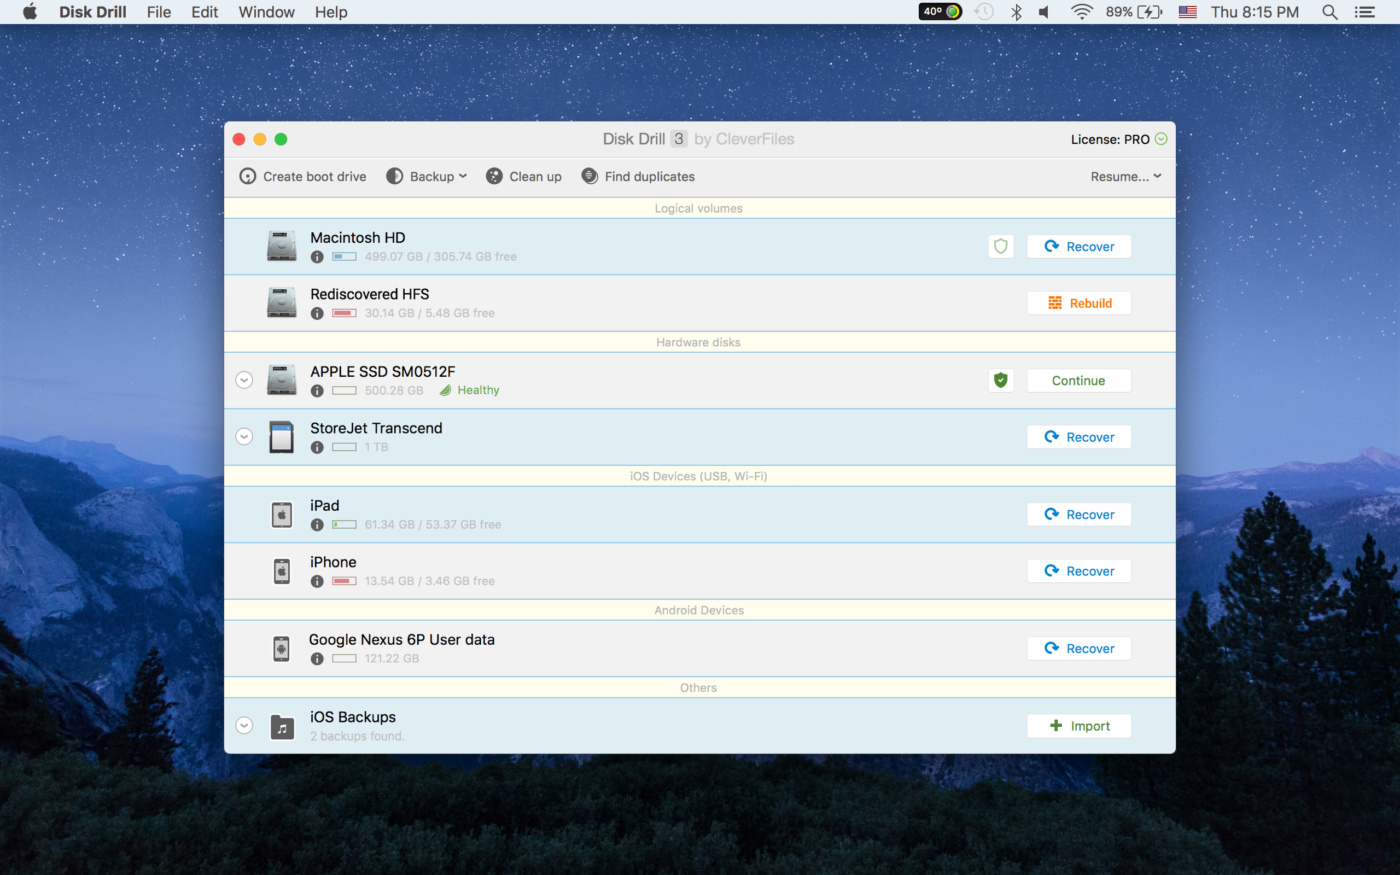
- Use Disk Drill
To easily restore files from the trash can on Mac, you need the help of Disk Drill. This program can undo the emptied trash can safely and quickly and recover images, videos, audios, emails, deleted documents and more in the emptied trash. Even more, Disk Drill may also be your best option to find deleted or lost data during a system restore, factory reset or system update. The software can recover any files from any mountable media. For us, it’s the complete solution.
Hopefully the information in this article is useful for you.