Software
HyperX has created NGenuity, an easy-to-use application that lets you personalize your compatible HyperX devices. With regards to the Pulsefire FPS Pro, NGenuity lets you adjust lighting, create macros, and dial in the performance aspects of the mouse. Lets take a quick look at some of the features found in NGenuity.
Main
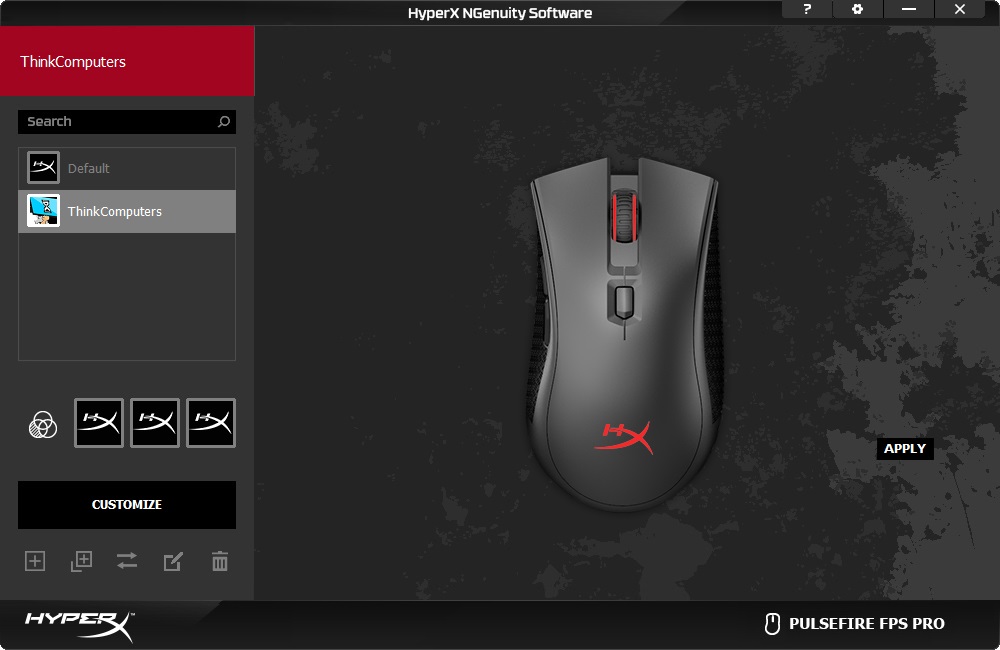
When you launch the HyperX NGenuity application, you are first presented with a very basic window that lets you adjust some very basic lighting settings via a few HyperX buttons. You can also preview the look of the mouse on the right side of the window. In order to really configure the FPS Pro to your liking, you can either adjust the Default profile, or create a new one via the menu buttons in the bottom left of the window.
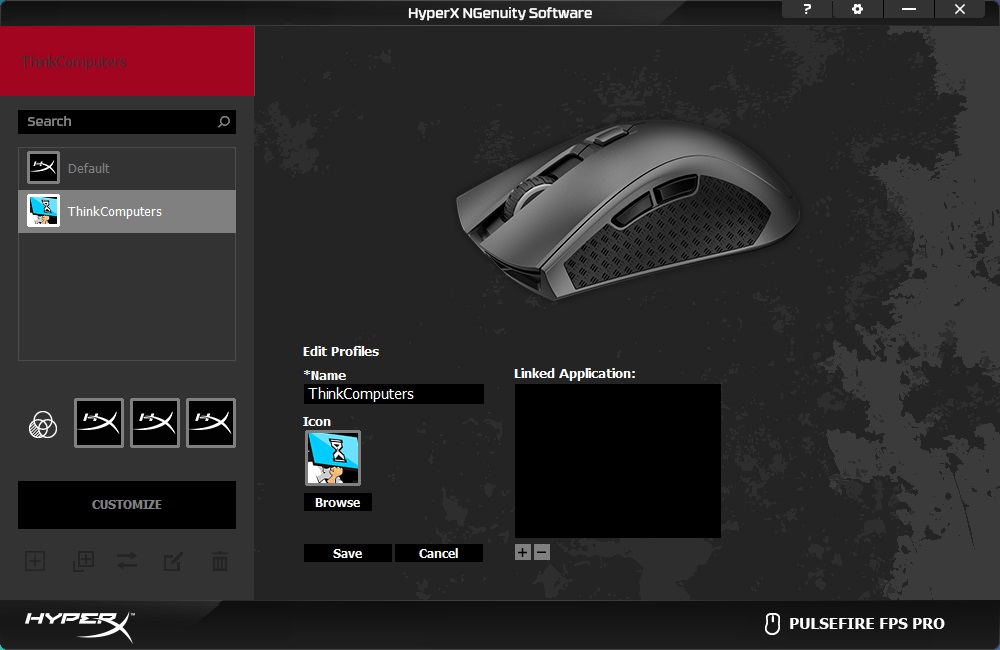
We chose to create a new profile, which allows us to give it a custom name and icon image. You can also link an application to the profile so that it changes your mouse setting upon launching that application. With our profile created, we can then choose to customize it with the “Customize” button.
Lighting
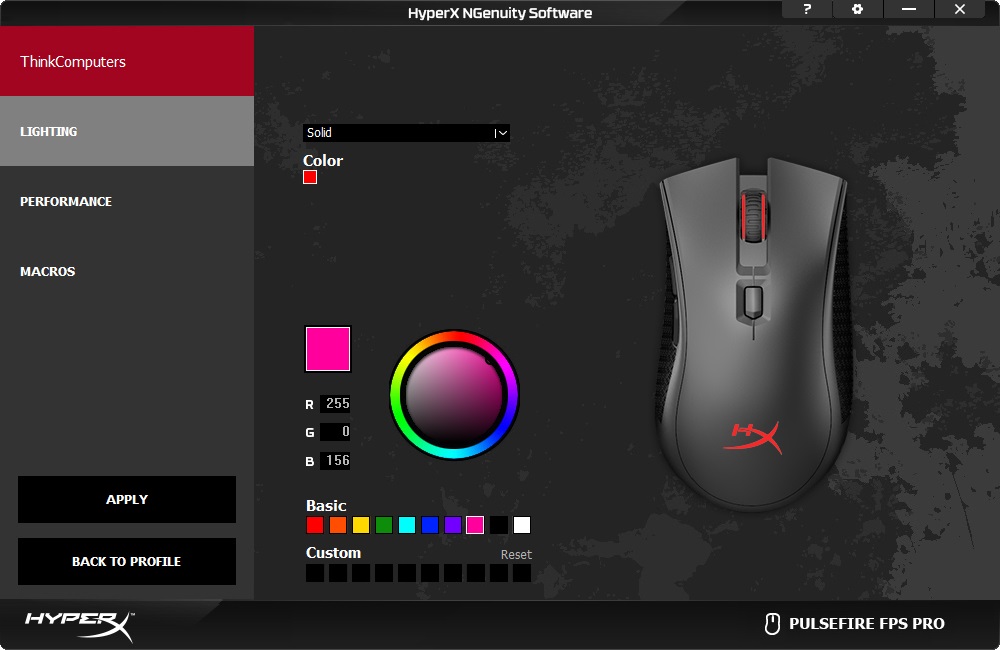
The first option on the left is Lighting. Here we have access to basic lighting effects like Solid, Color Cycle, Breathing, Trigger, or none. Each of these options has a few levels of customization available related to both color and speed. Unfortunately, the FPS Pro only allows for adjustment of both lighting zones at the same time. We would have liked to see the ability to adjust the two lighting zones independently, especially after being able to address each of the 32 individual RGB LEDS on the Pulsefire Surge.
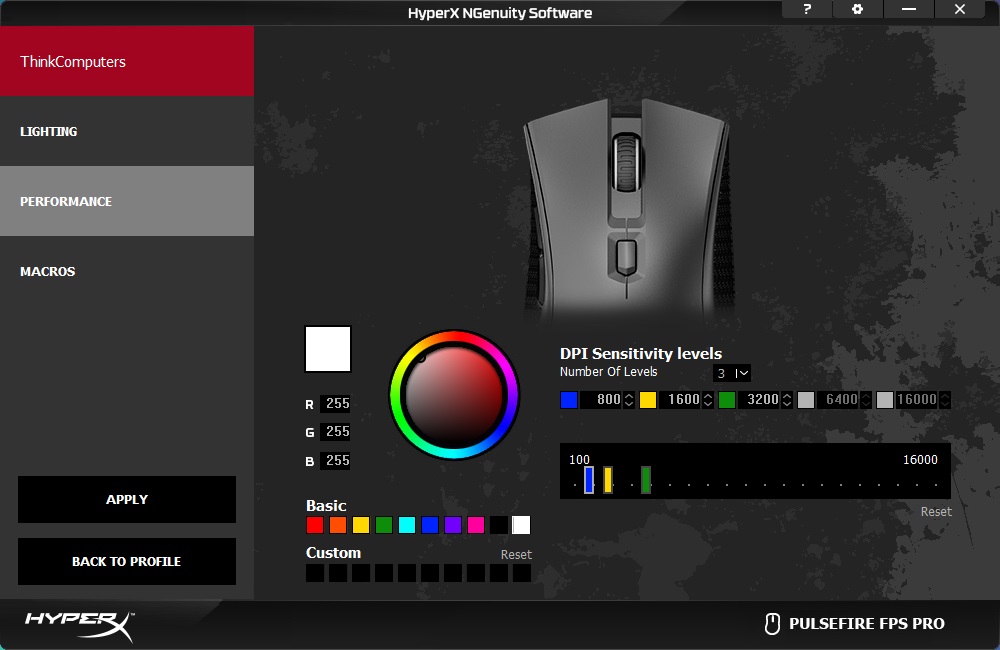
Performance
The Performance section of NGenuity offers the ability to configure up to five DPI settings, ranging from 100 to 16,000 DPI. Each DPI setting has a corresponding color in the application, and when the DPI button is pressed on the mouse, the light ring will glow that DPI setting’s color for a few seconds. This visual indicator is nice to have, and is in addition to a small on-screen indicator that shows your DPI setting for the same amount of time.
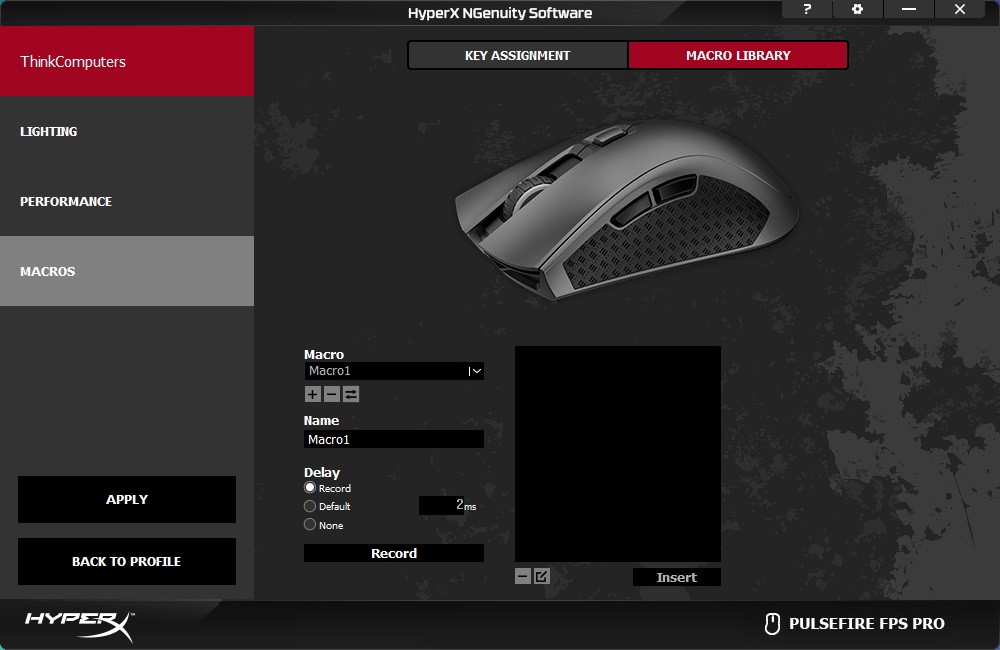
Macros
The Macros section is where you can adjust the following buttons: left-click, right-click, scroll wheel button, DPI, forward, and backward. Depending on whether you have the mouse configured to be left or right-handed determines which of the two corresponding buttons can be adjusted.
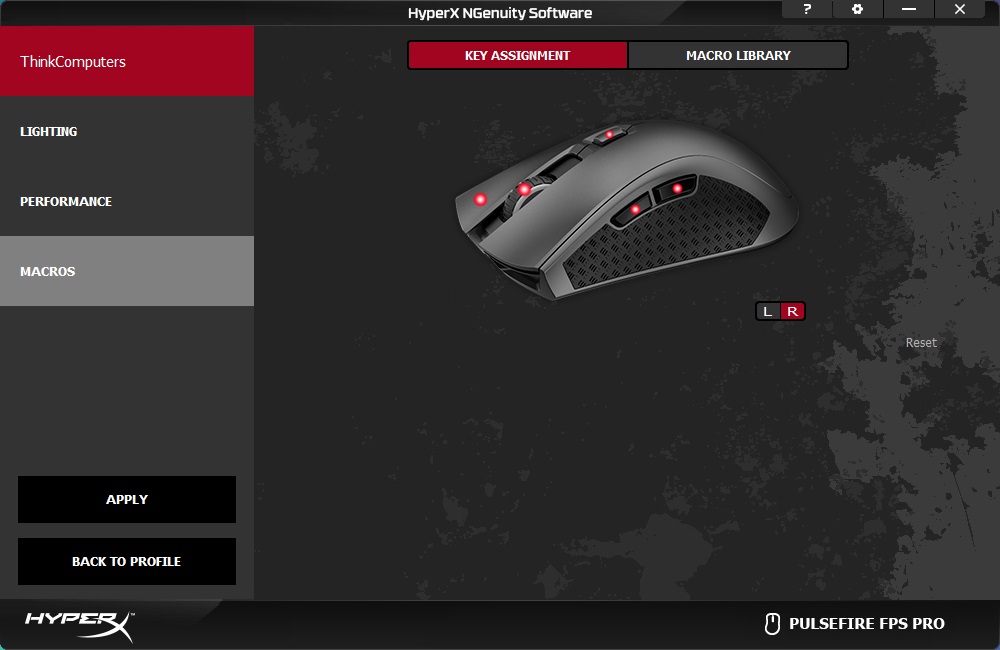
After selecting a button to adjust, you are presented with a drop-down menu with options ranging from Keyboard Function and DPI Change, to Multimedia and Windows function. Each selection then offers a sub-menu of additional choices, which really adds a ton of versatility to the Pulsefire FPS Pro. The Macros section also allows you to create custom macros, which can then be assigned to the five customizable buttons if you choose.