Usage
Getting the HyperX x Ducky One 2 Mini setup is extremely easy, just plug it into any open USB port in your computer. It will start working right away with no extra drivers or software installed.
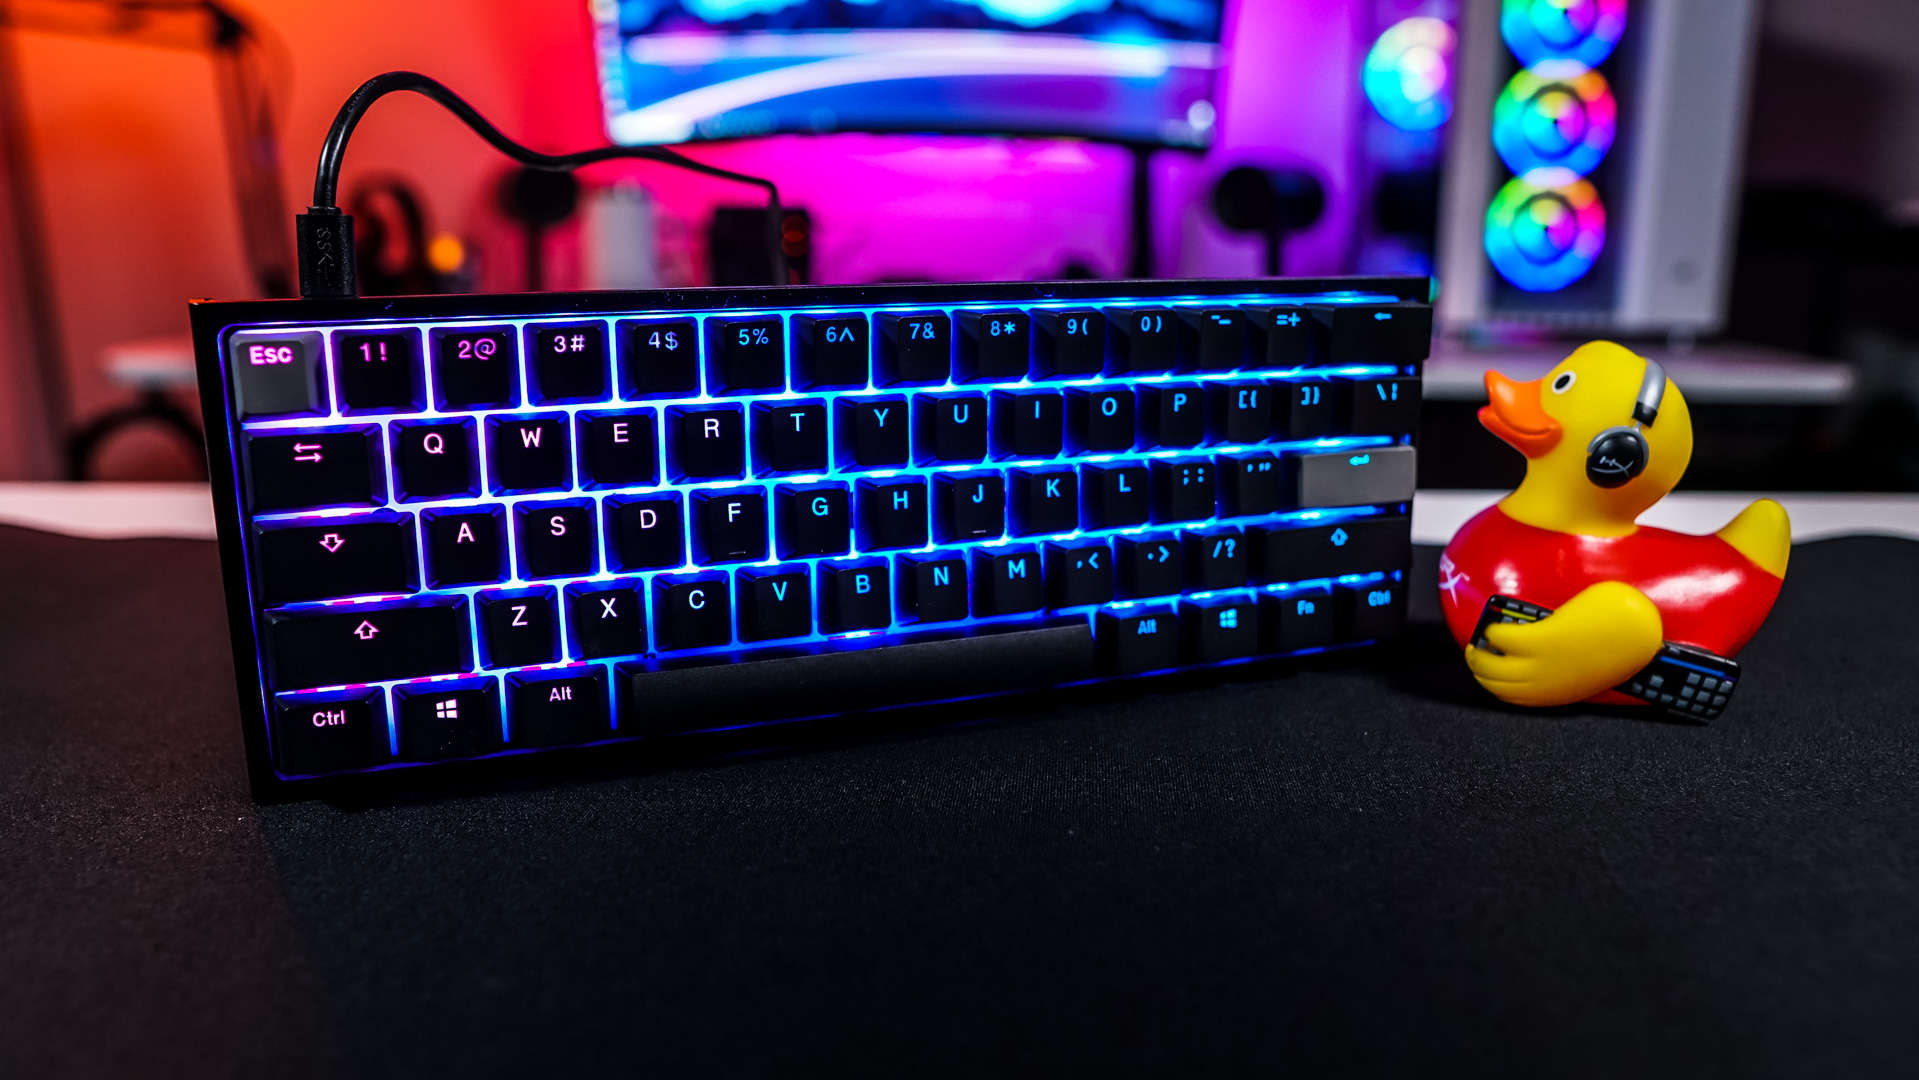
Right off the bat I noticed how solid the keyboard felt. One of the big reasons for this was the PBT keycaps, they making your typing / gaming experience so much better. On top of that the chassis of the keyboard felt very solid. Even though it is made of plastic it really did not have any flex to it and it is quite heavy. Using the HyperX red linear mechanical key switches was a very good experience. If you are familiar with Cherry MX reds you’ll definitely enjoy these, especially since they have a shorter actuation point and travel distance.
Since this is a 60% keyboard you are going to have to give a few things up, although you can get them back with alternate functions. The big things I noticed right off the bat was a number pad, print screen button, and dedicated arrow keys. Missing some keys and using alternate functions will take a little bit of time to get used to, but the 60% form factor itself really did not take much time at all to get used to. Mainly because you are eliminating keys, not the actual size of the keycaps.
For those thinking you would be able to use HyperX’s NGENUITY software to program the RGB lighting on the keyboard as well as set macros etc, you cannot. All of the lighting effects, macros, etc has to be programmed on the keyboard itself. Here are some quick keyboard combinations…
Fn + Alt + T: Cycle between RGB backlight modes
Fn + Alt + J: Decrease RGB effect speed
Fn + Alt + L: Increase RGB effect speed
Fn + Alt + 1-6: Cycle between profiles
Fn + Alt + Tab (3s): Start recording macro
Fn + Alt + Tab (1s): Stop recording macro
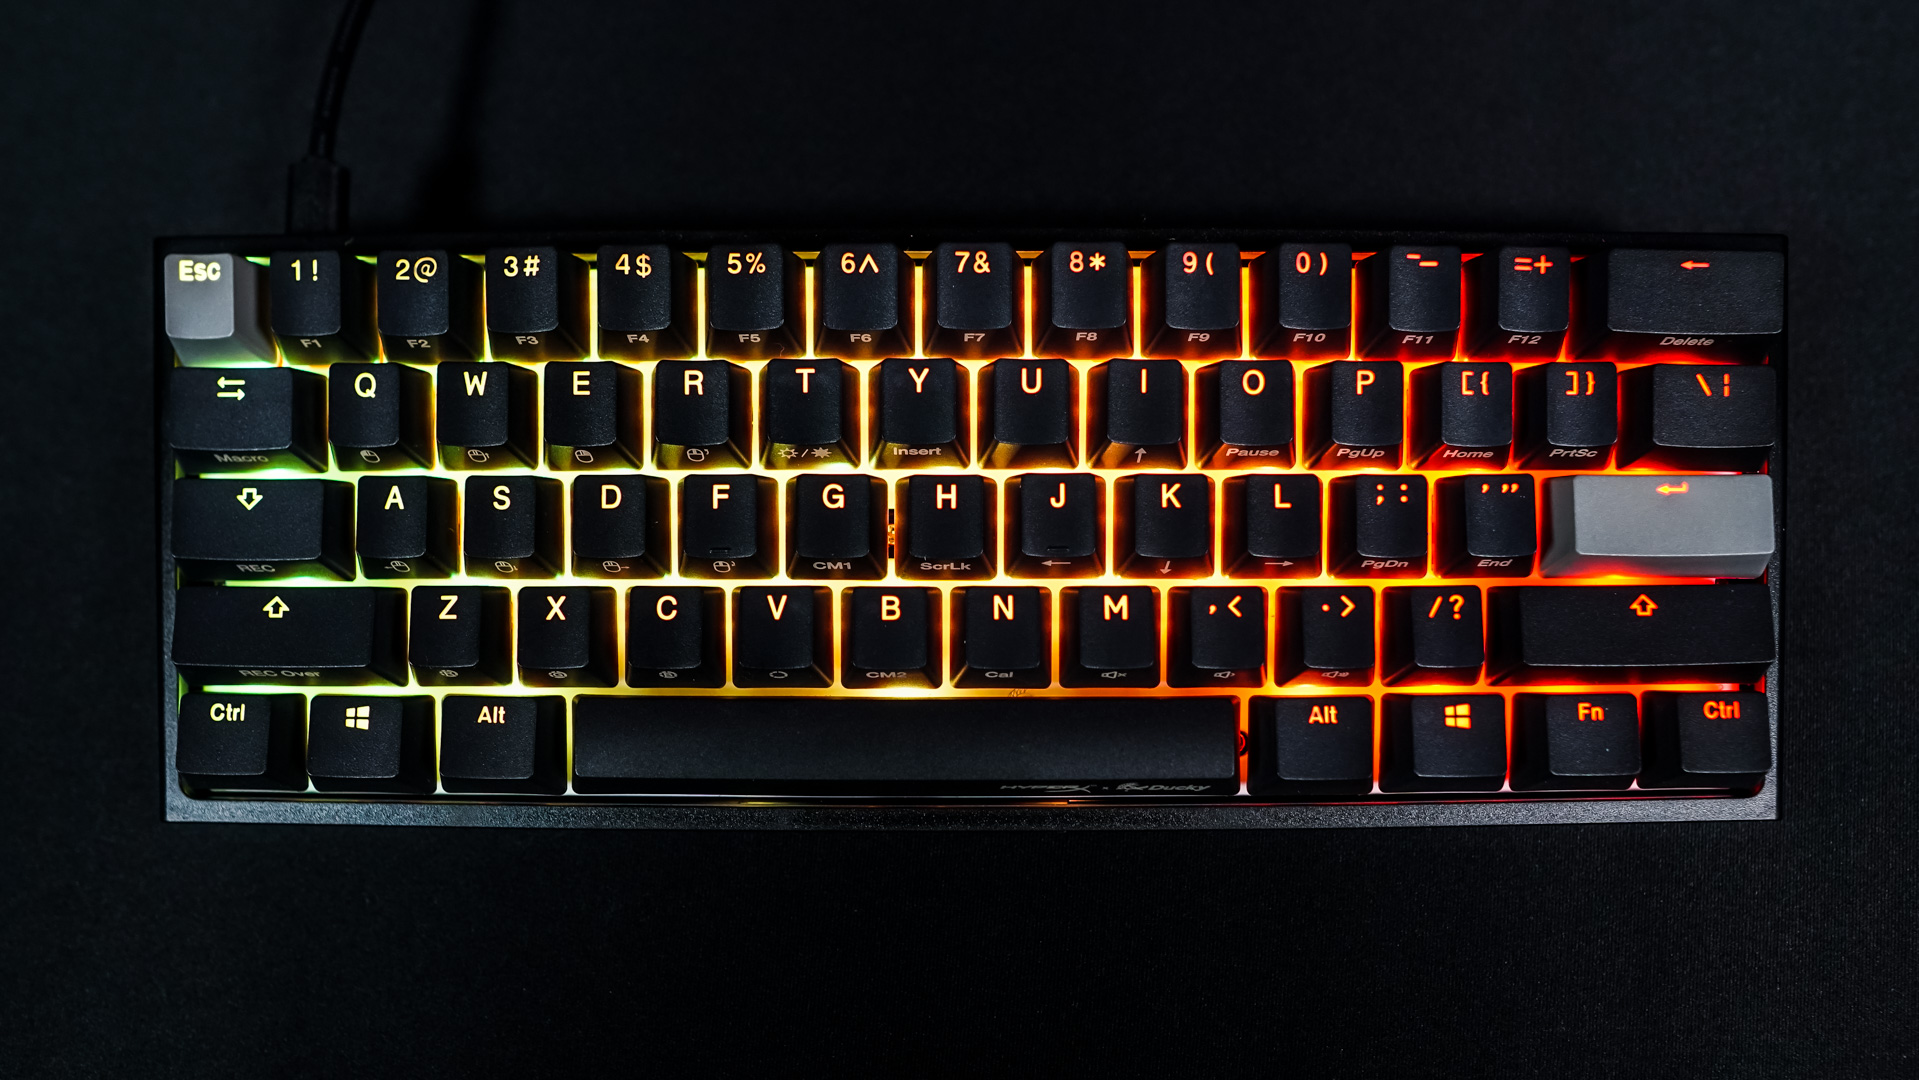
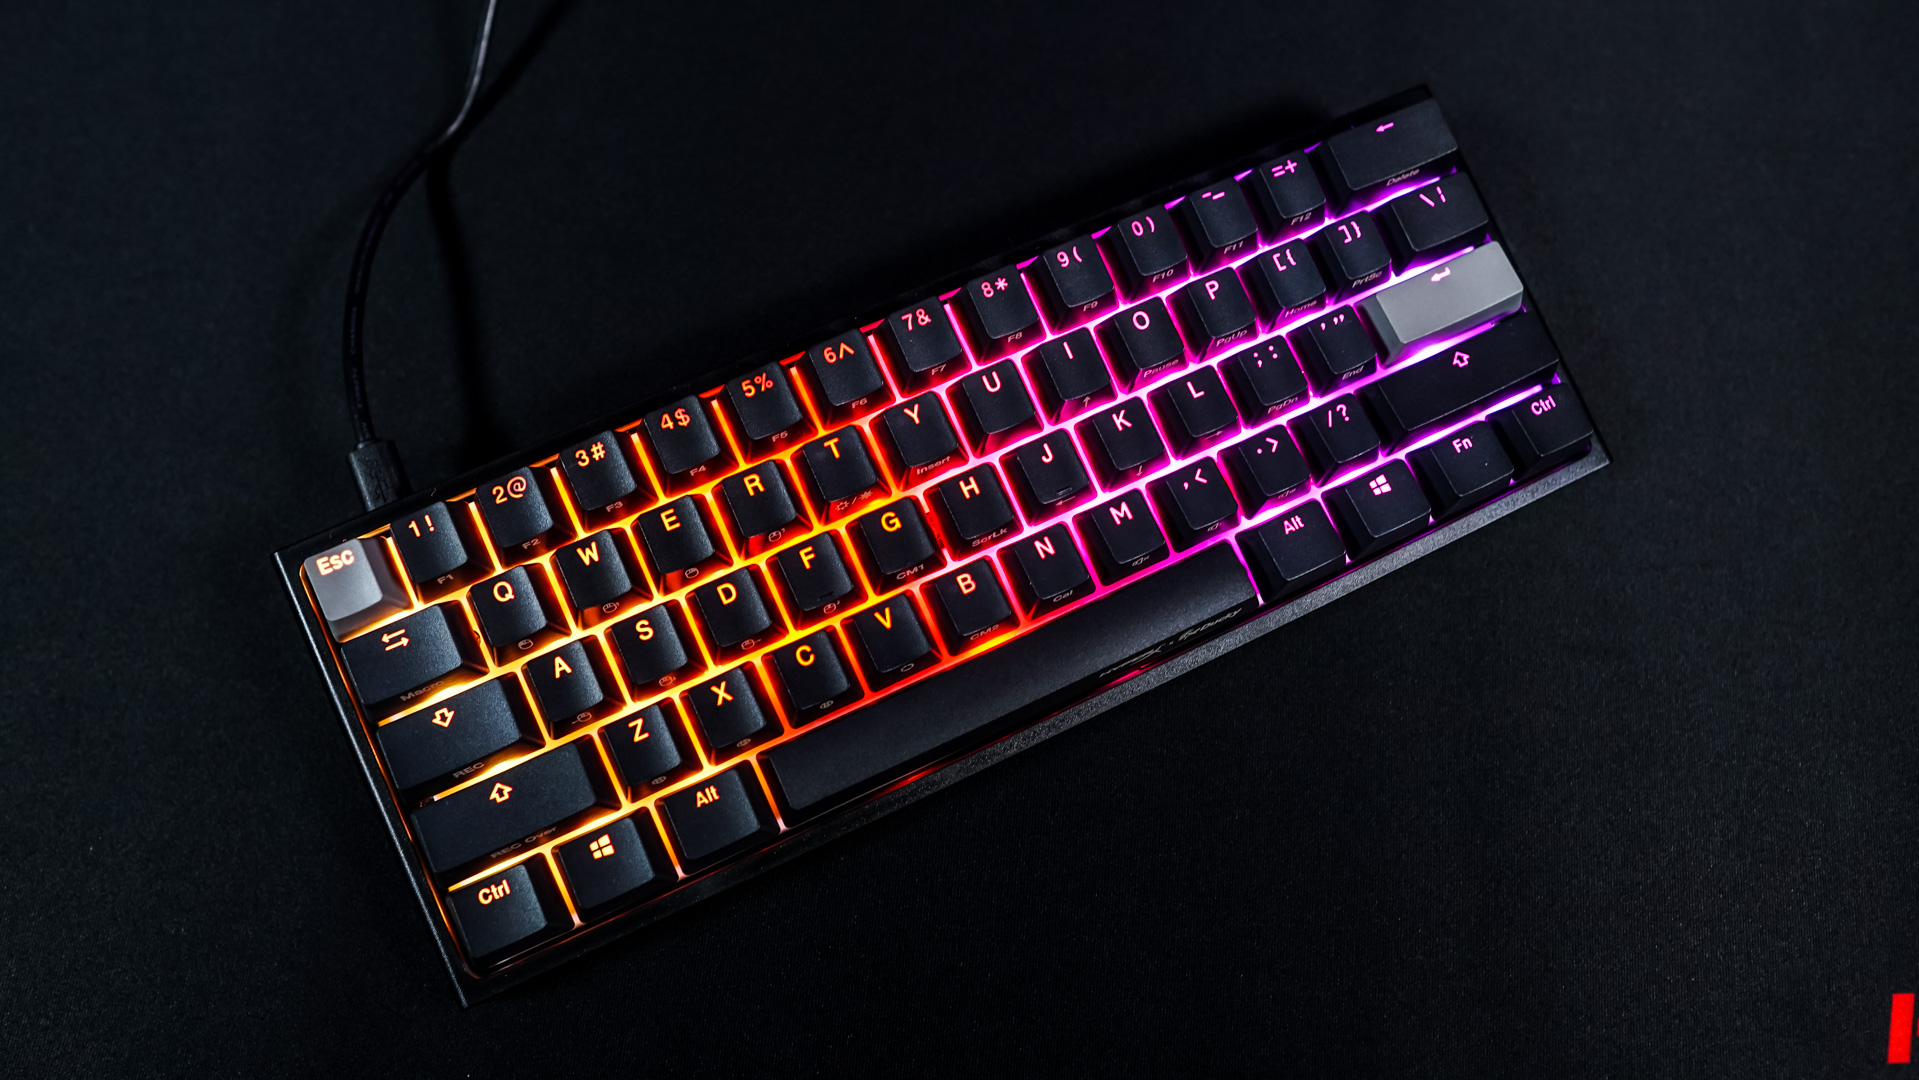
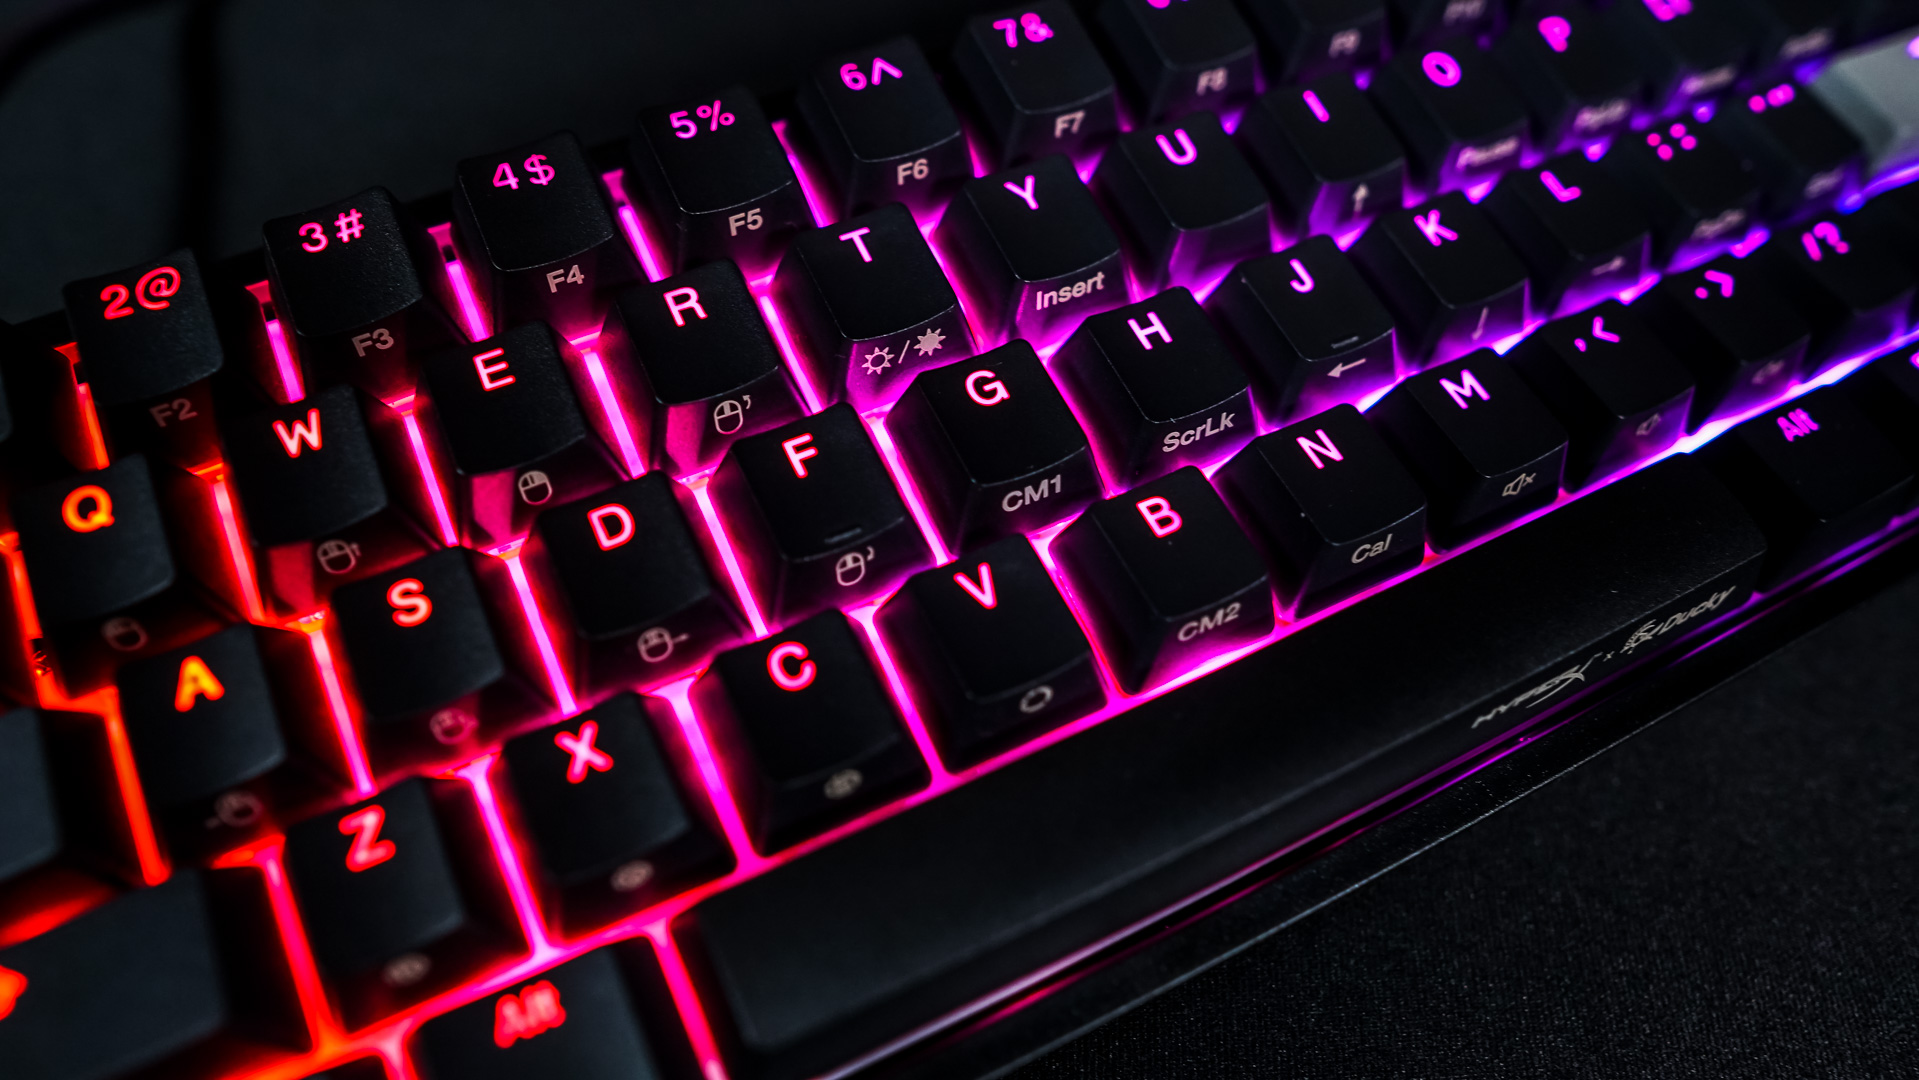
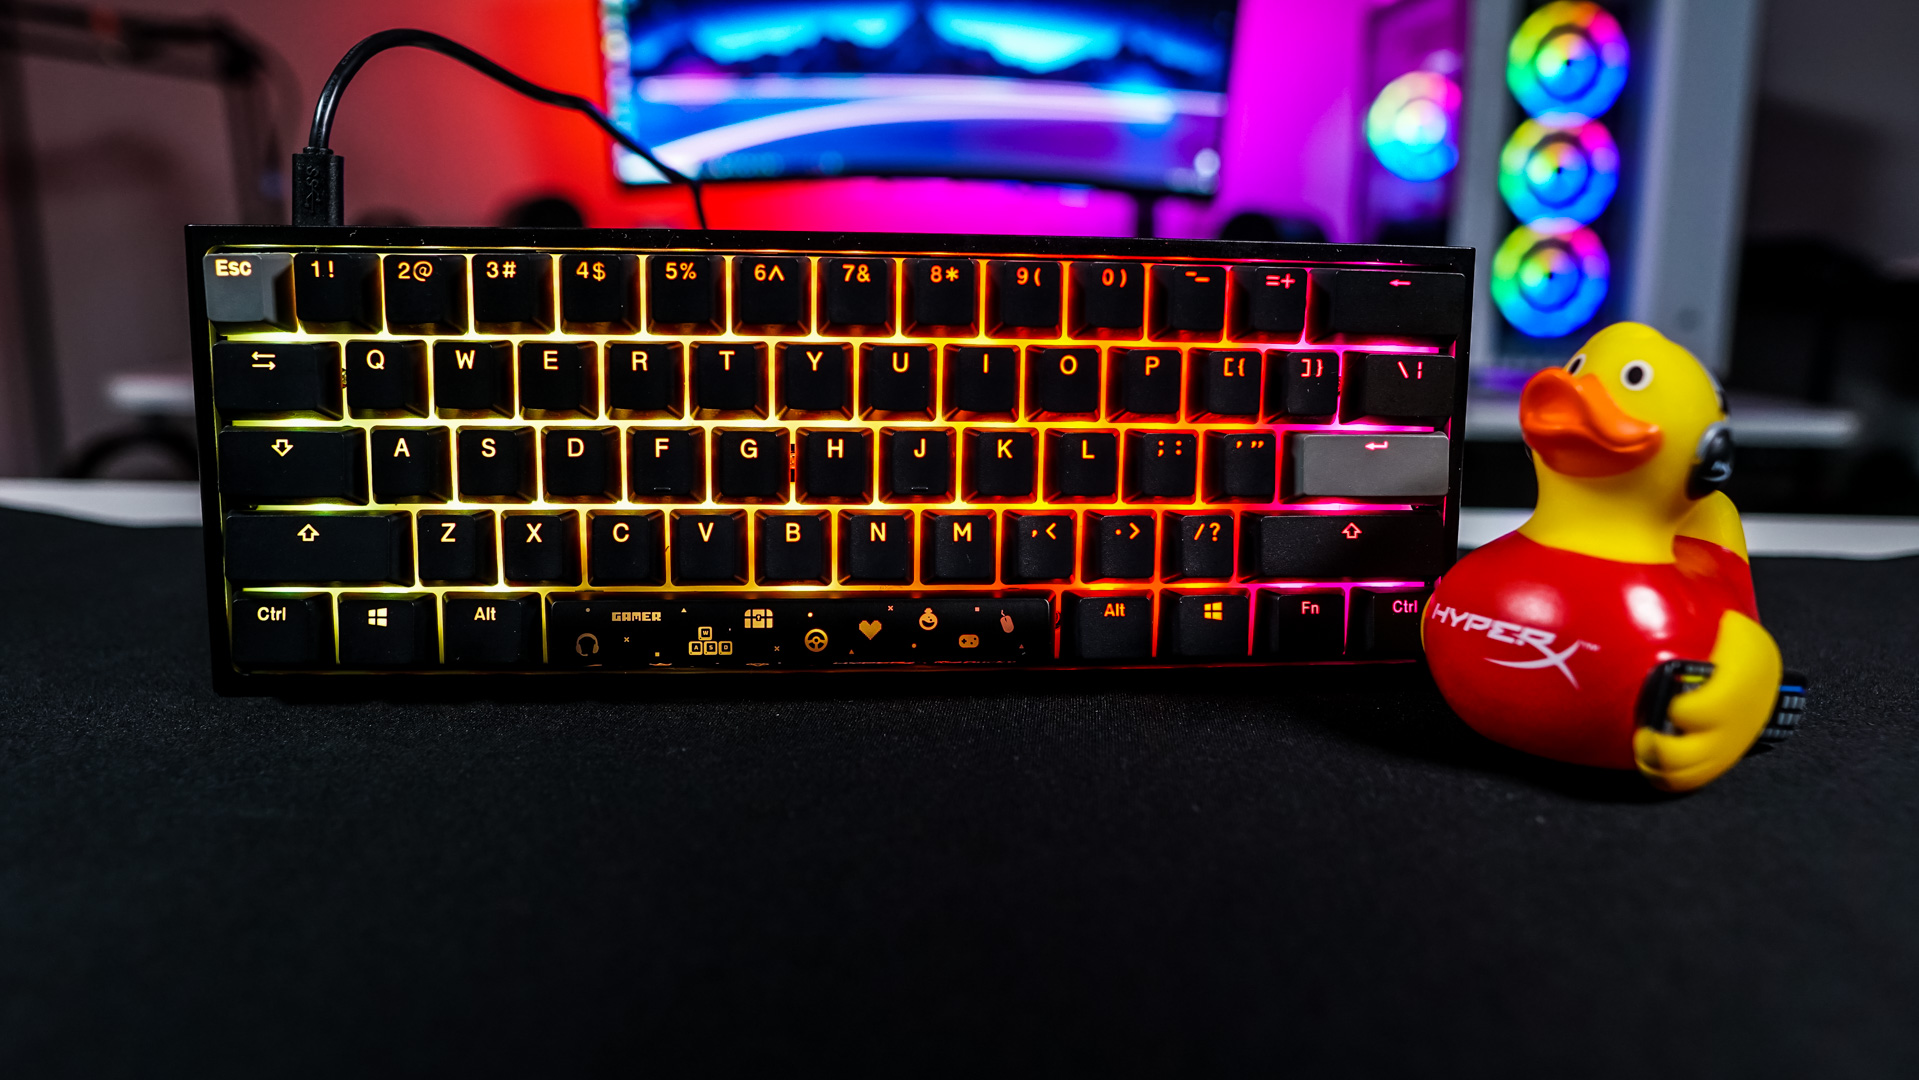
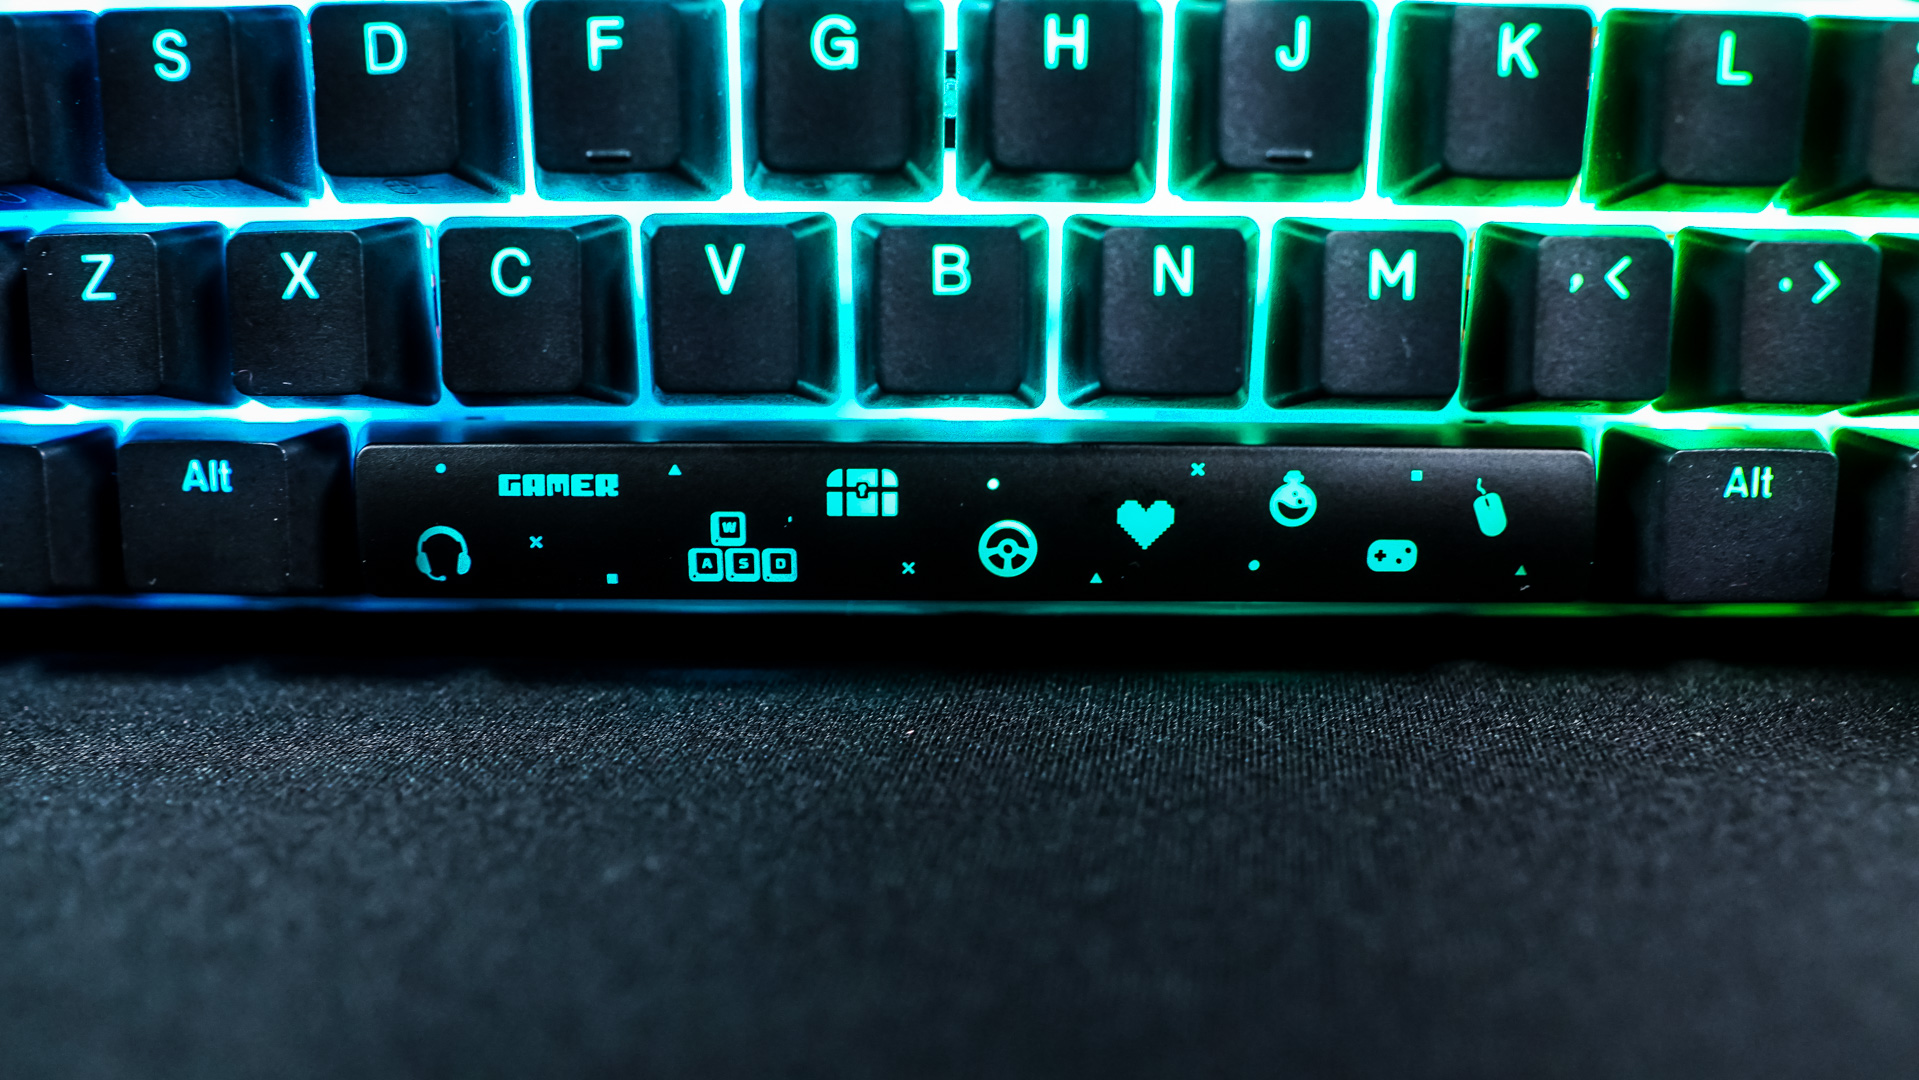
Lighting
The RGB lighting on this keyboard looks very good. The white top-plate under the keycaps really helps with the diffusion of the lighting. Here are some shots of the RGB lighting.