Setup & Usage
Before you do anything you want to make sure the Wi-Drive is charged up. It uses the mini USB connection and included AC adapter to charge. Once you have it charged you are going to want to put media on it. Just connect it to your PC via the USB cable. In Windows it opens the drive right up like any other USB drive and you can drag media on to the drive, create folders etc.
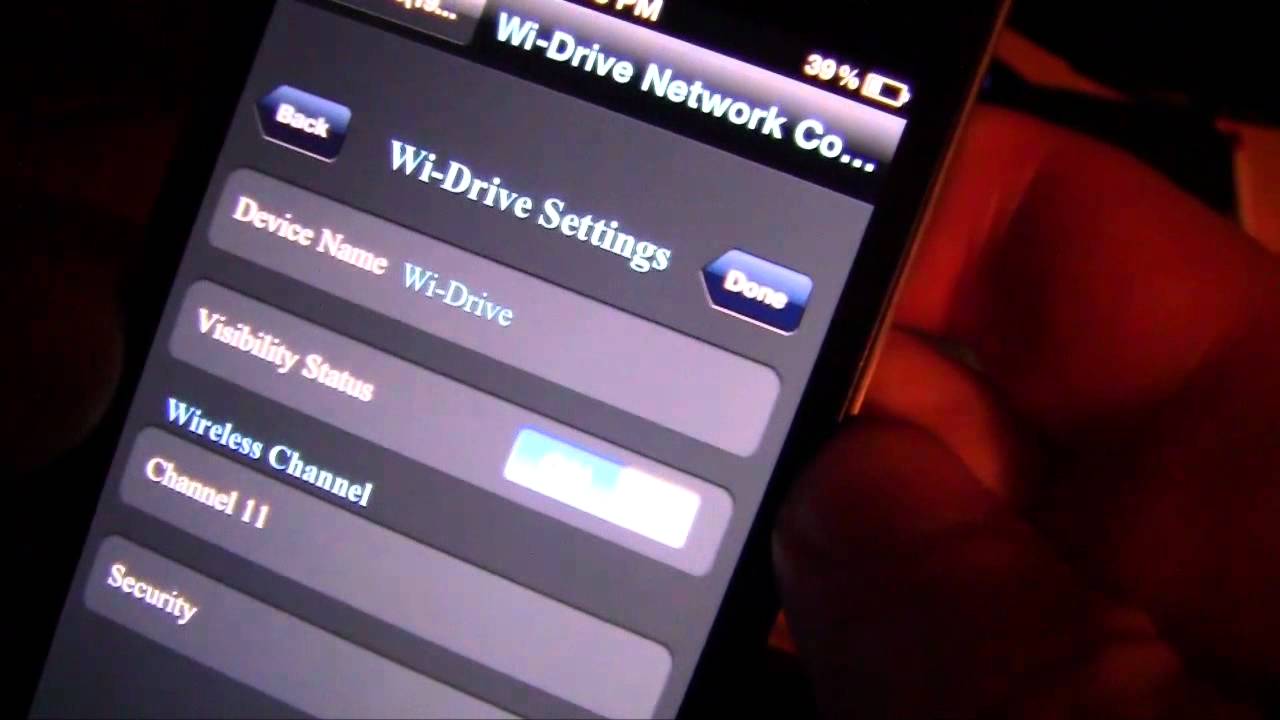
Check out the video below to see how easy it is to access your media on the Wi-Drive with an iPhone.
So as you can see the Wi-Drive is incredibly easy to use. When you actually connect the Wi-Drive to your network it is available for anyone that is connected to that network so you want to make sure you do not have sensitive data on it. Remember you can always set a password if you are using the Wi-Drive as a standalone access point.
When I had the drive connected to my network I was able to access it by its IP in Windows Explorer, but none of the media was accessible. I was also unable to transfer any media to the device wirelessly. I could access the drive using it’s IP in any web browser. It brought up a nice little web interface that made the media on the drive accessible. You could also go into the config folder and it would bring up the options on the drive like you were using the actual iPhone App.
Seagate offers a 500GB wireless hard drive solution for the IPAD/IPHONE. It also has an application on the itunes store and operation similarly. Note: the Kingston device is formatted in fat-32… meaning max 4GB files. The Seagate device is formatted in NTFS and Apple devices can read from that format. I like the Kingston drive but Seagate had theirs out last year in the summer. The Seagate device recently had a firmware update that addressed several usage and stability issues.