Setup
In order to get the Makalu Max setup and running all you have to do is plug in the 2.4 GHz receiver into your computer. Now you can use the included USB cable and receiver adapter to get the receiver as close to your mouse surface as possible. Once plugged in just flip the switch on the bottom of the mouse and you’ll be good to go. There are no drivers or software to install to get the mouse up and running.
Software
Now if you want to do any customization with this mouse you’ll need to download Mountain’s software, which is called Base Camp. This software is used for their other products as well. When you open up Base Camp you will see a list of Mountain devices you have connected to your PC.
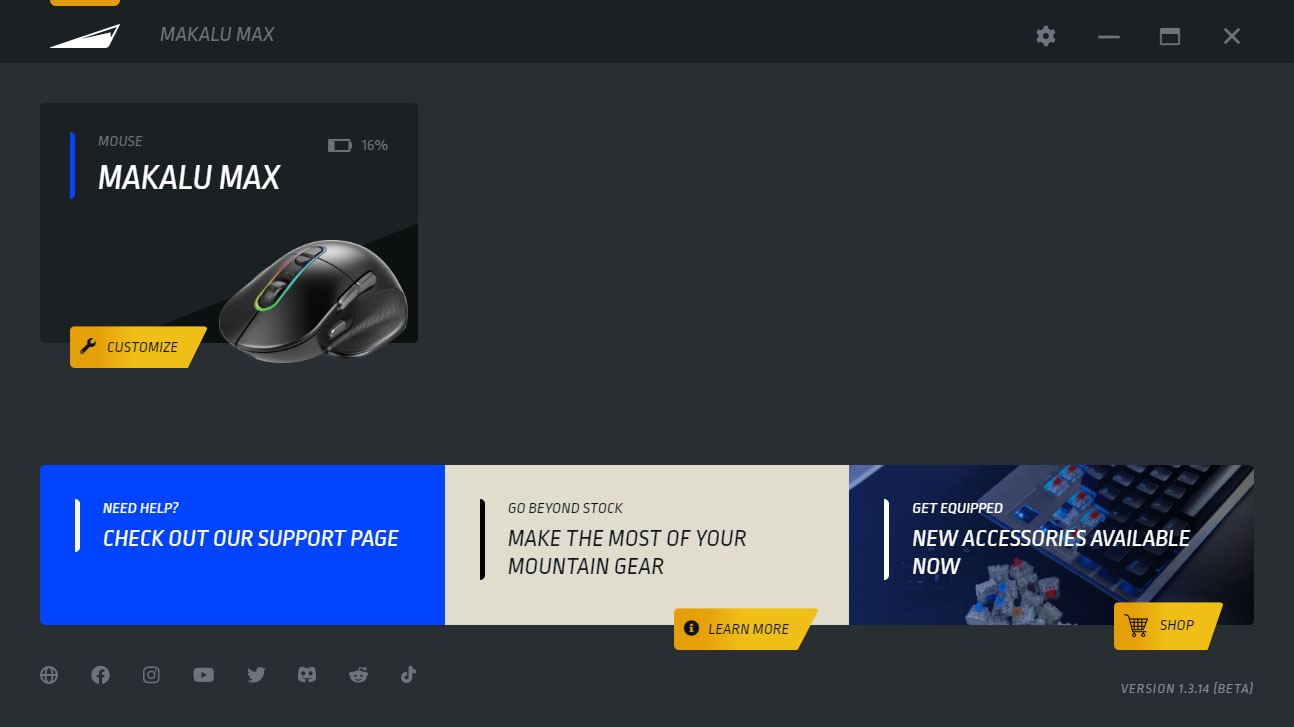
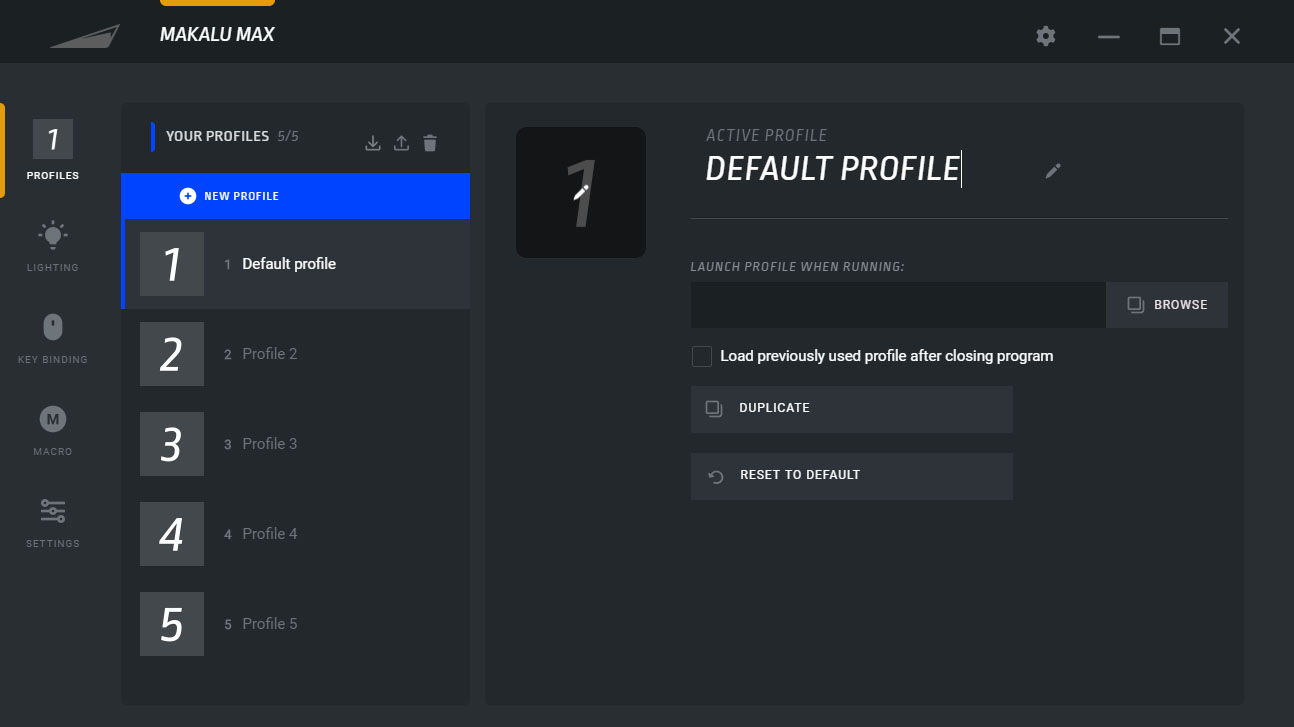
The Makalu Max should show up here and you can click on the customize button below it to go into its settings. The first tab you are dropped into is “Profiles”. Here you can create, import, duplicate, and export different profiles.
Next we have Lighting. Here we can set the effect for the lighting on the mouse. As far as effects go you have Static, Color Wave, Breathing, and Reactive. There is also a custom mode where you can set the color of each of the eight individual LEDs in the mouse.

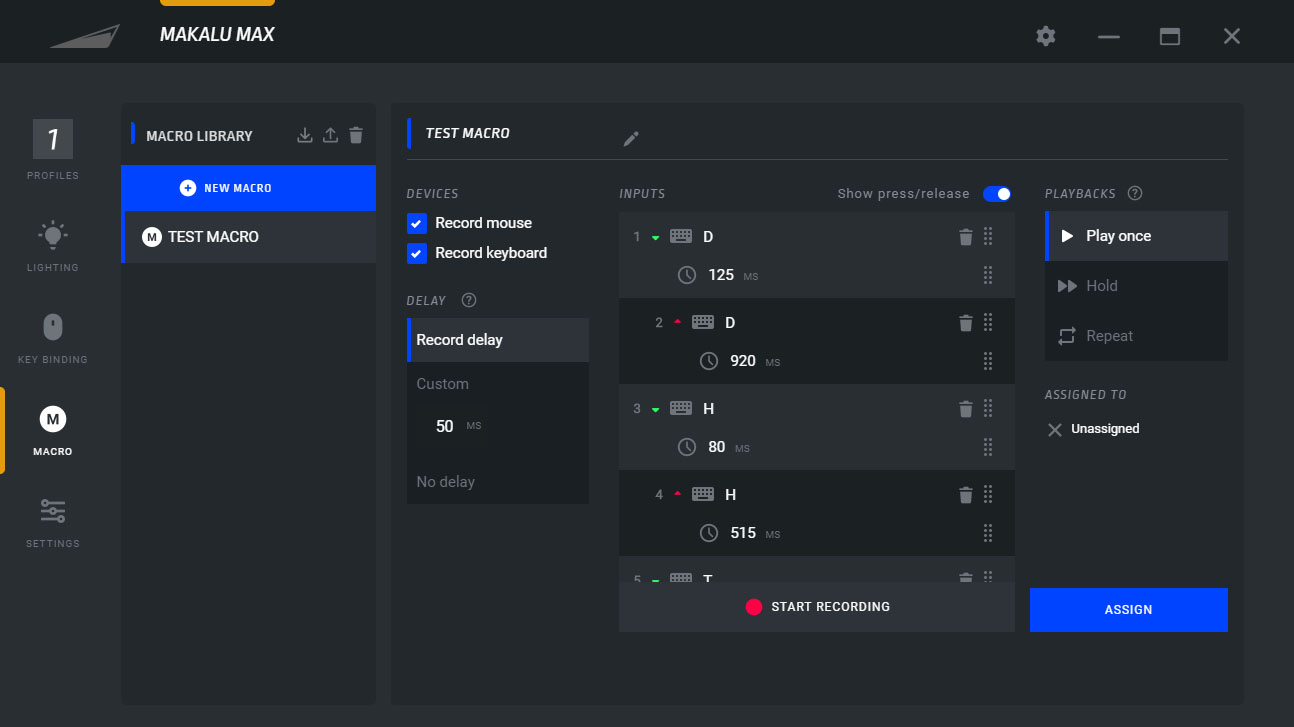
After that we have bindings where we can reprogram the six different buttons on the mouse. Each button can be fully reprogrammed as a mouse command, OS command, run a macro, run a program, multimedia command, a keyboard shortcut, or can be fully disabled. There is a full macro tab that makes it extremely easy to create and save macros.

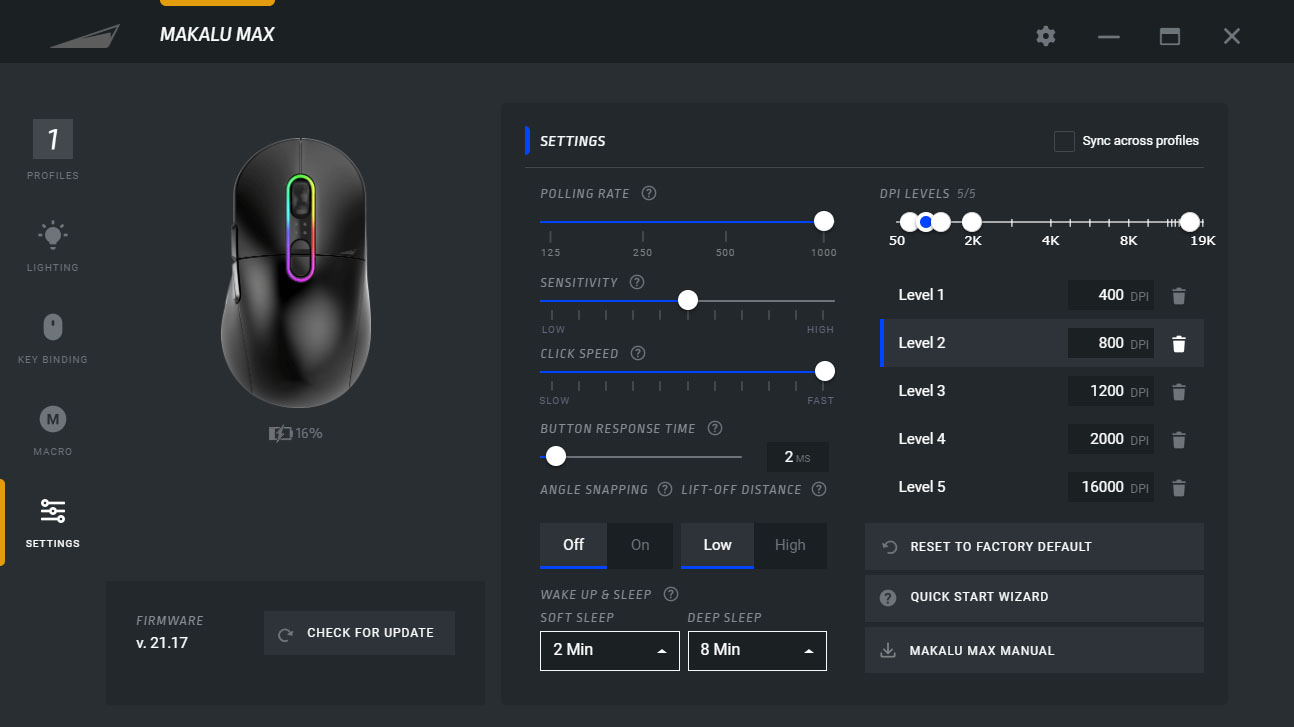
The last tab is Settings. Here you can set the five different DPI levels, polling rate, sensitivity, click speed, button response time, angle snapping, light off distance, set the sleep modes, and check for a firmware update.
Lighting
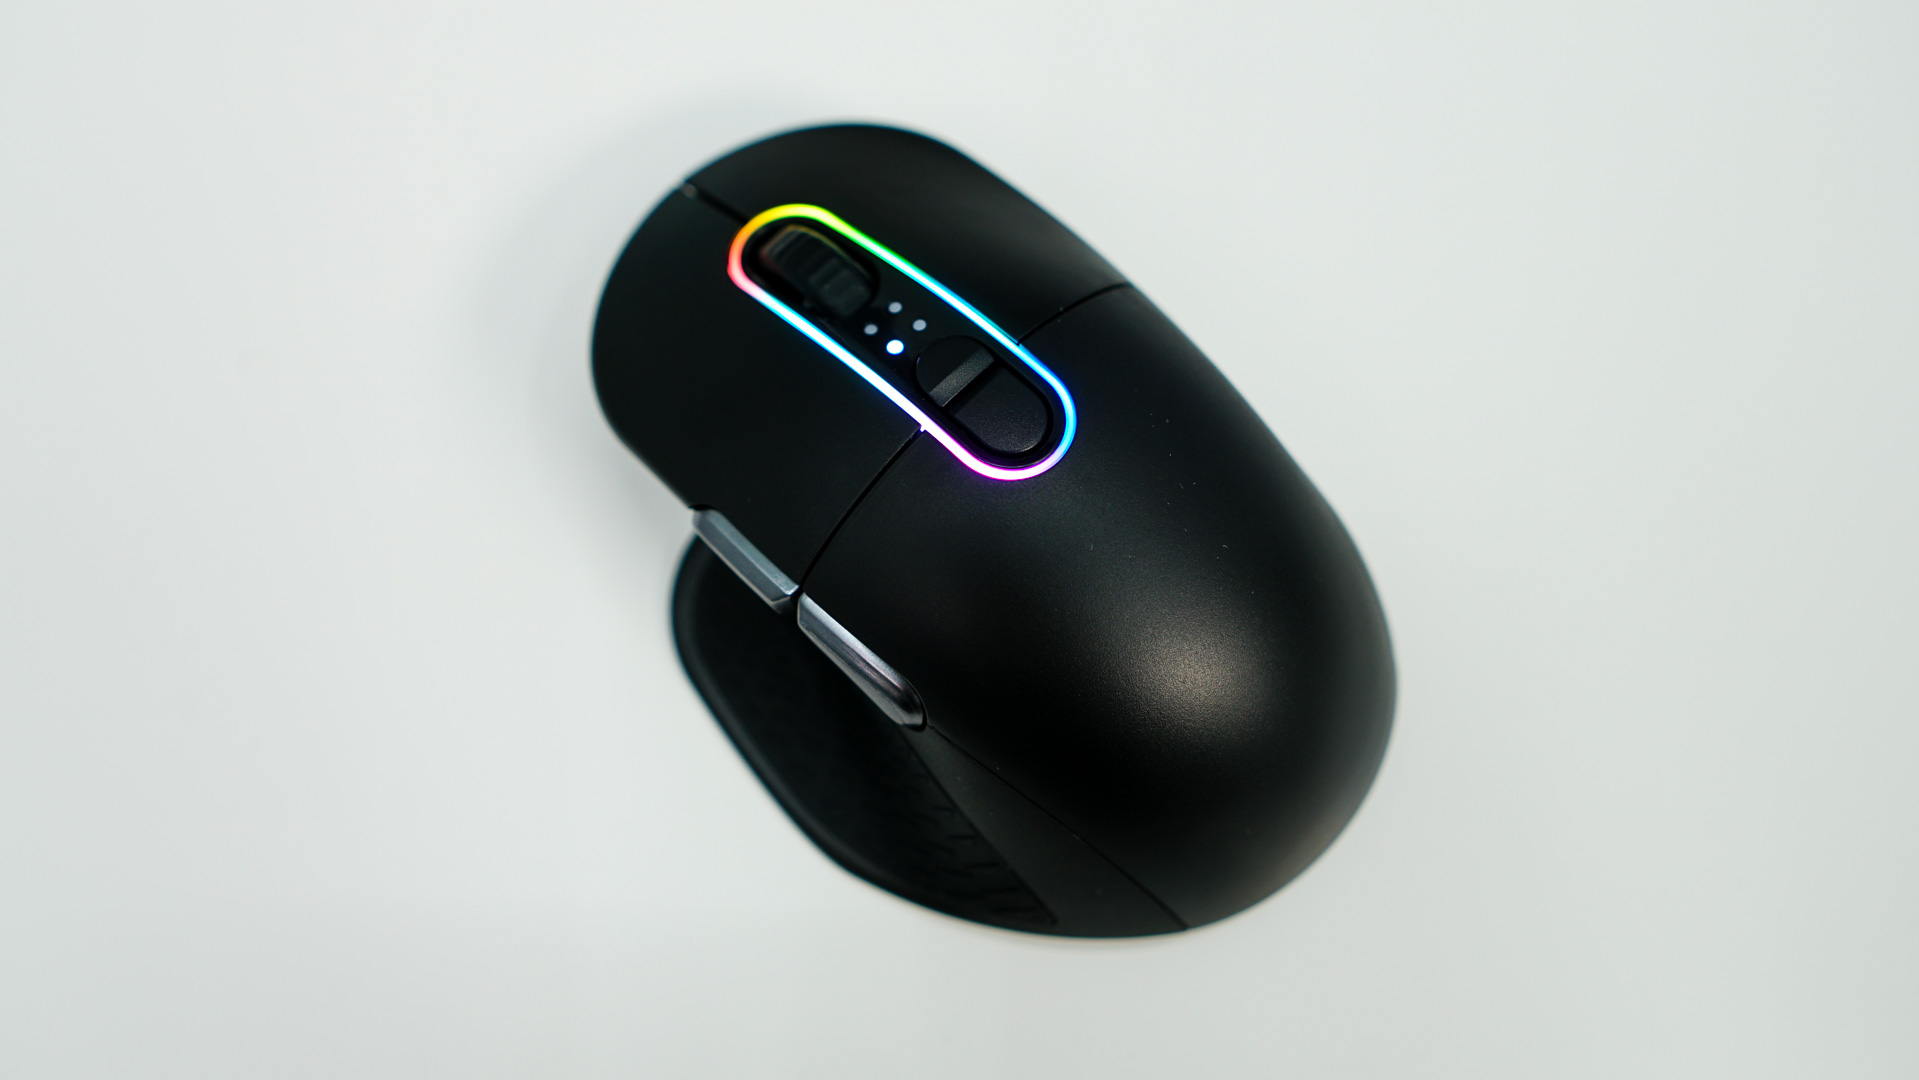
The RGB lighting on the Makalu Max is comprised of eight RGB LEDs which are around the scroll wheel and DPI switch button. While each of the LEDs can be set a specific static color all of the effects can only be set in a single zone.