Installation
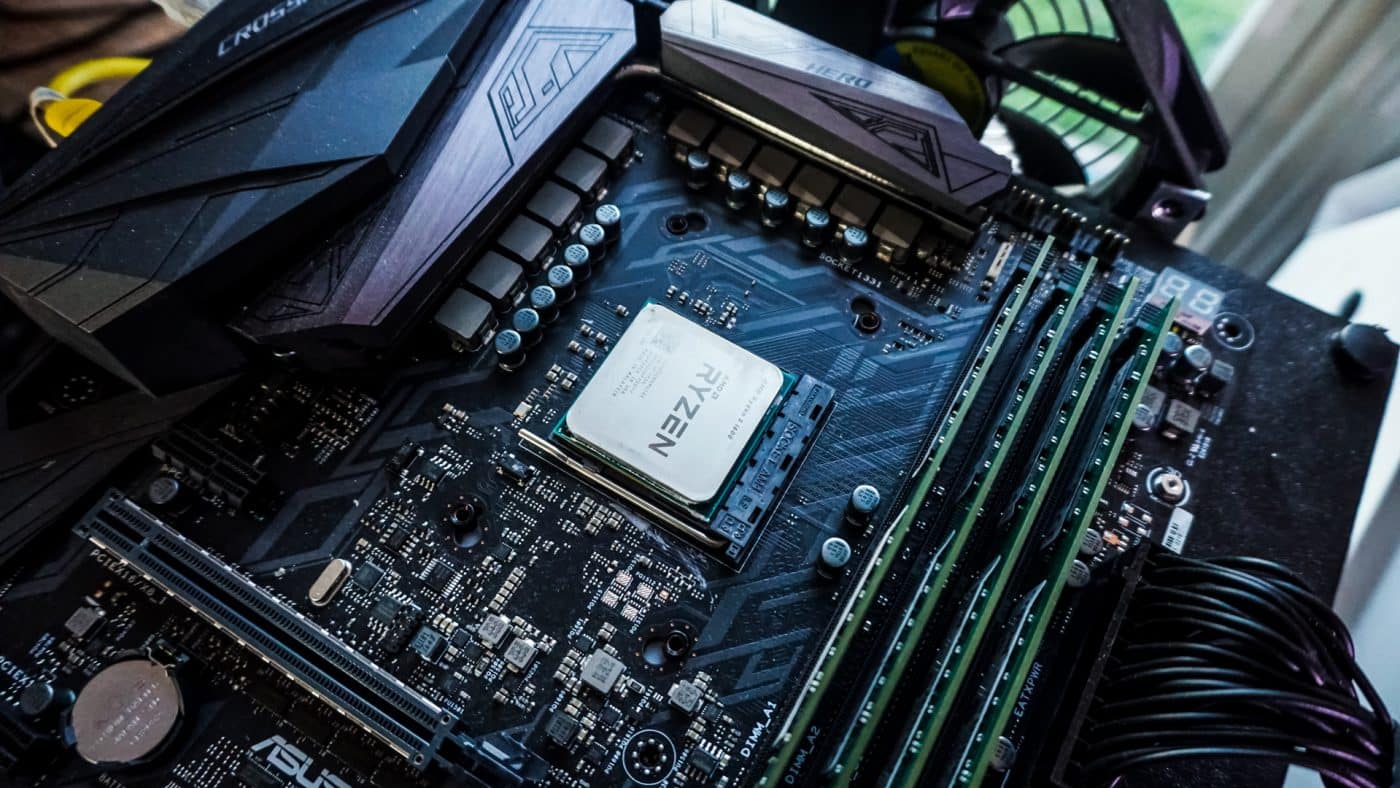
Getting this cooler installed on your AM4 motherboard is actually really easy and you should be able to do it completely inside of your case. The first thing you are going to want to do is remove the AM4 mounting bracket on your motherboard. Be sure to keep the back-plate on your board though, your setup should look something like the photo below.
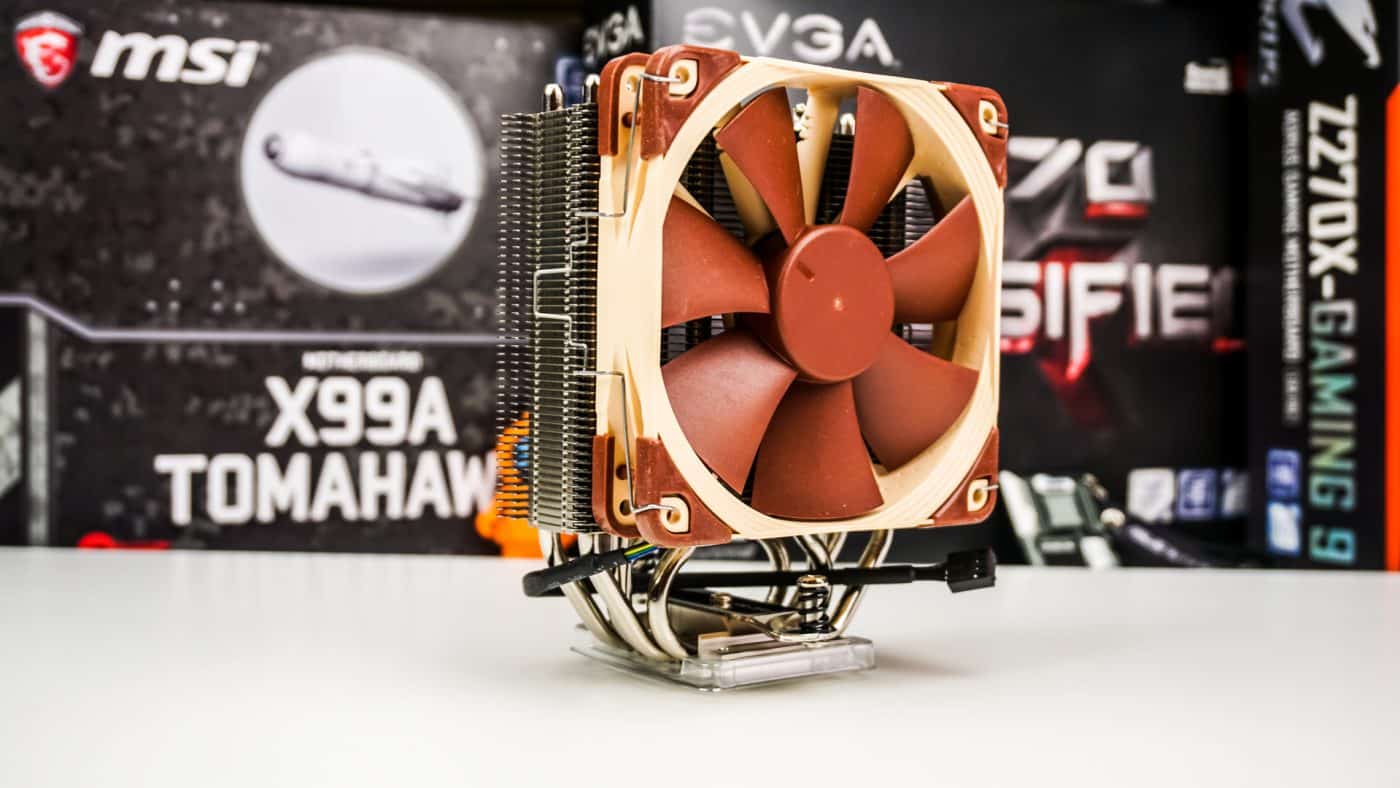
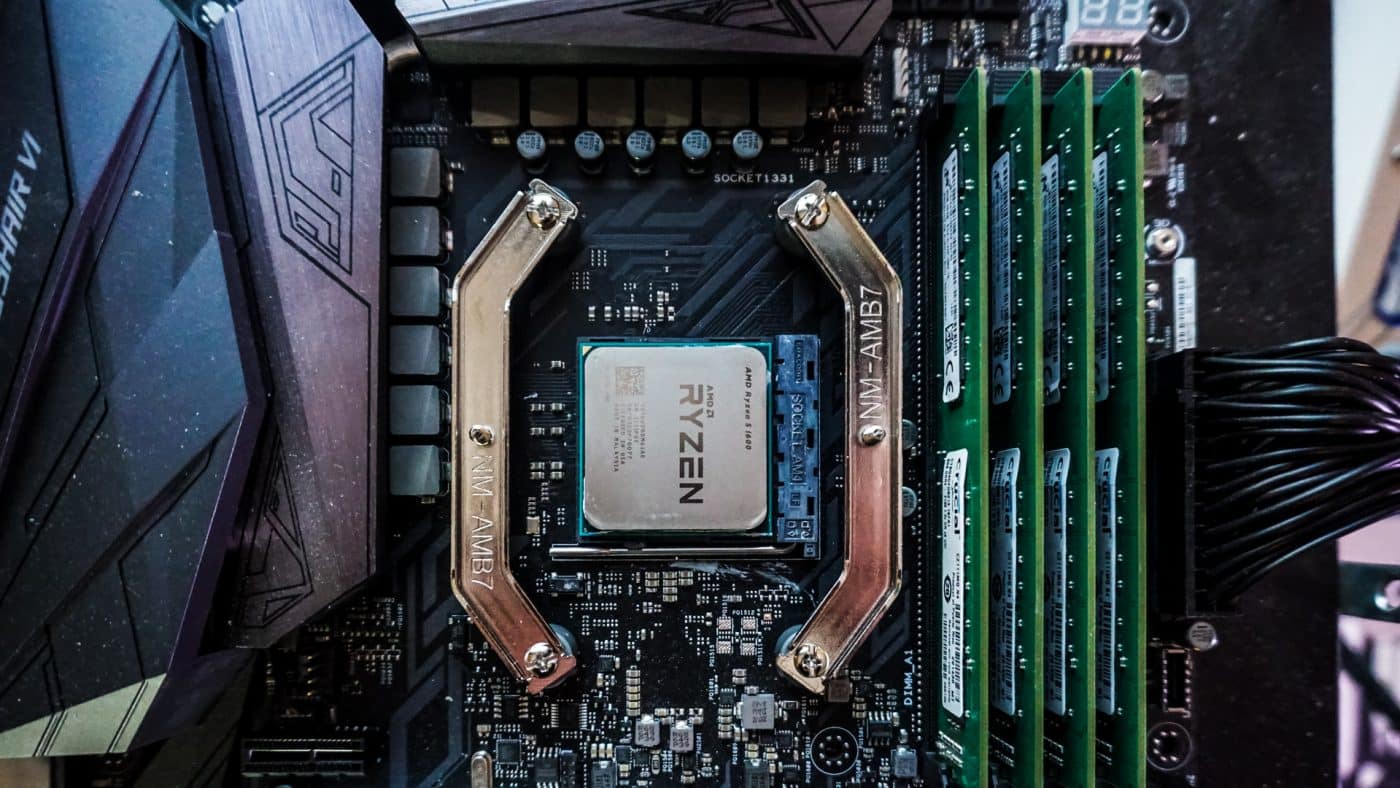
Now Noctua includes two different types of mounting bars with the NH-U12 SE-AM4. The longer ones are for having the cooler vertical with the fan blowing air out the back of your system. The smaller two are if you want to have the cooler horizontal blowing air out of the top of your system. We are going for the vertical position so we need to install the longer mounting bars. Using the spacers and included screws you install them like you see below.
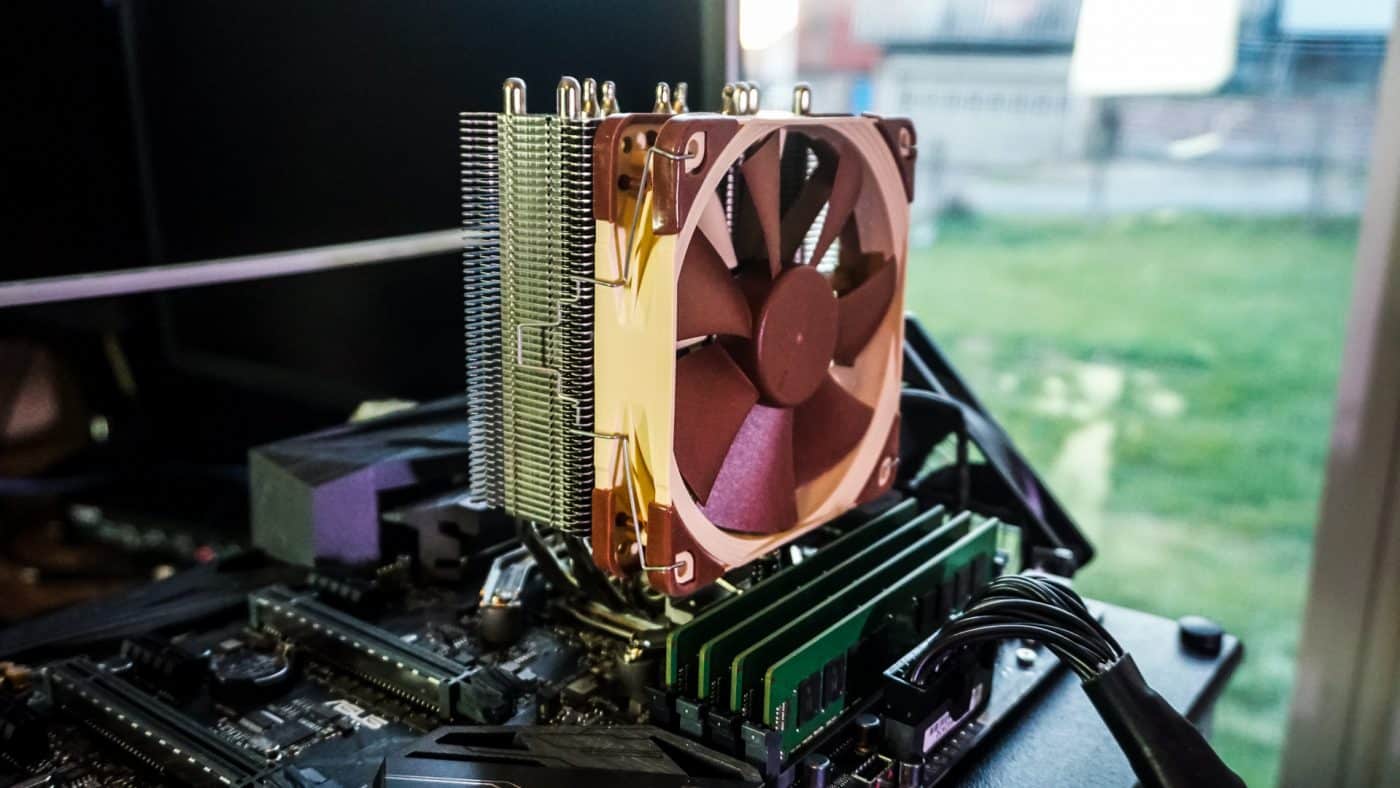
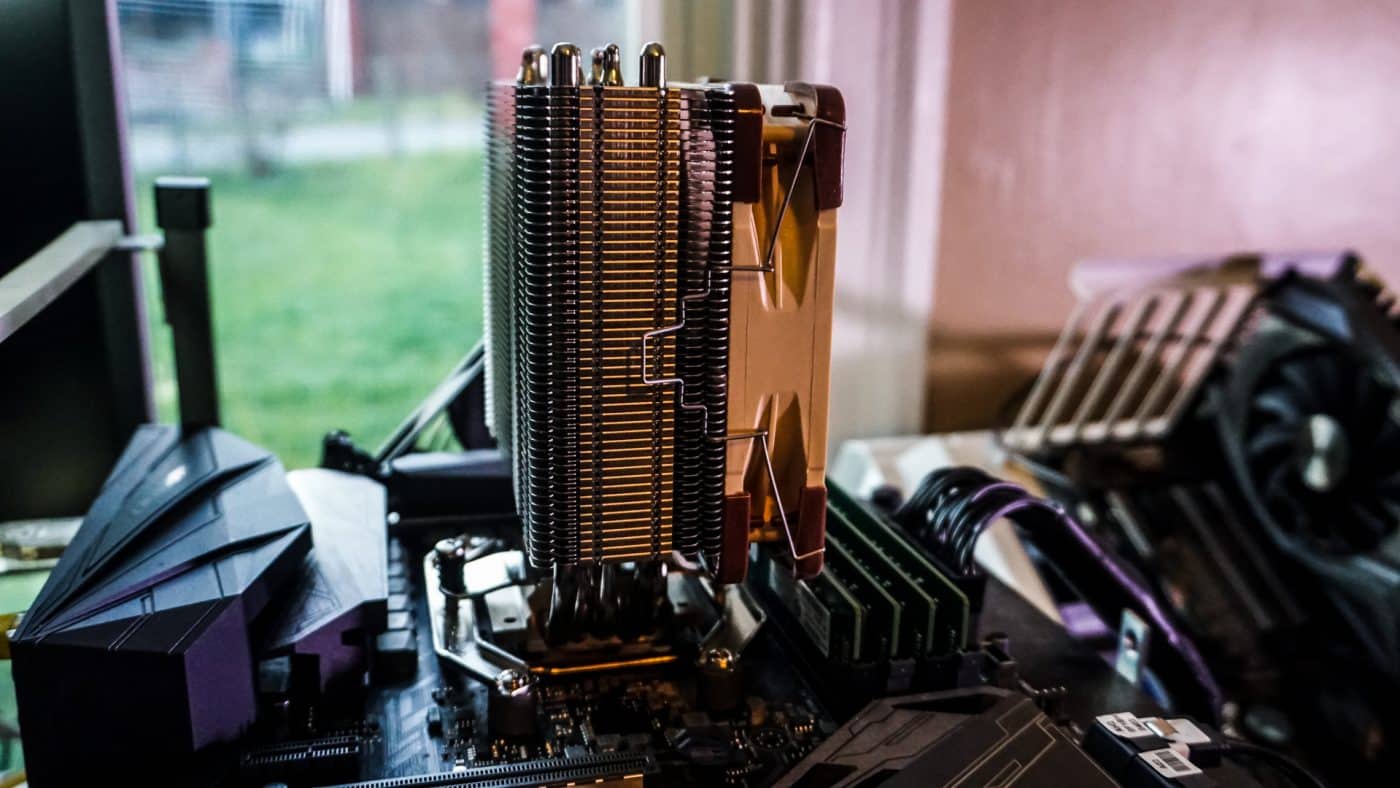
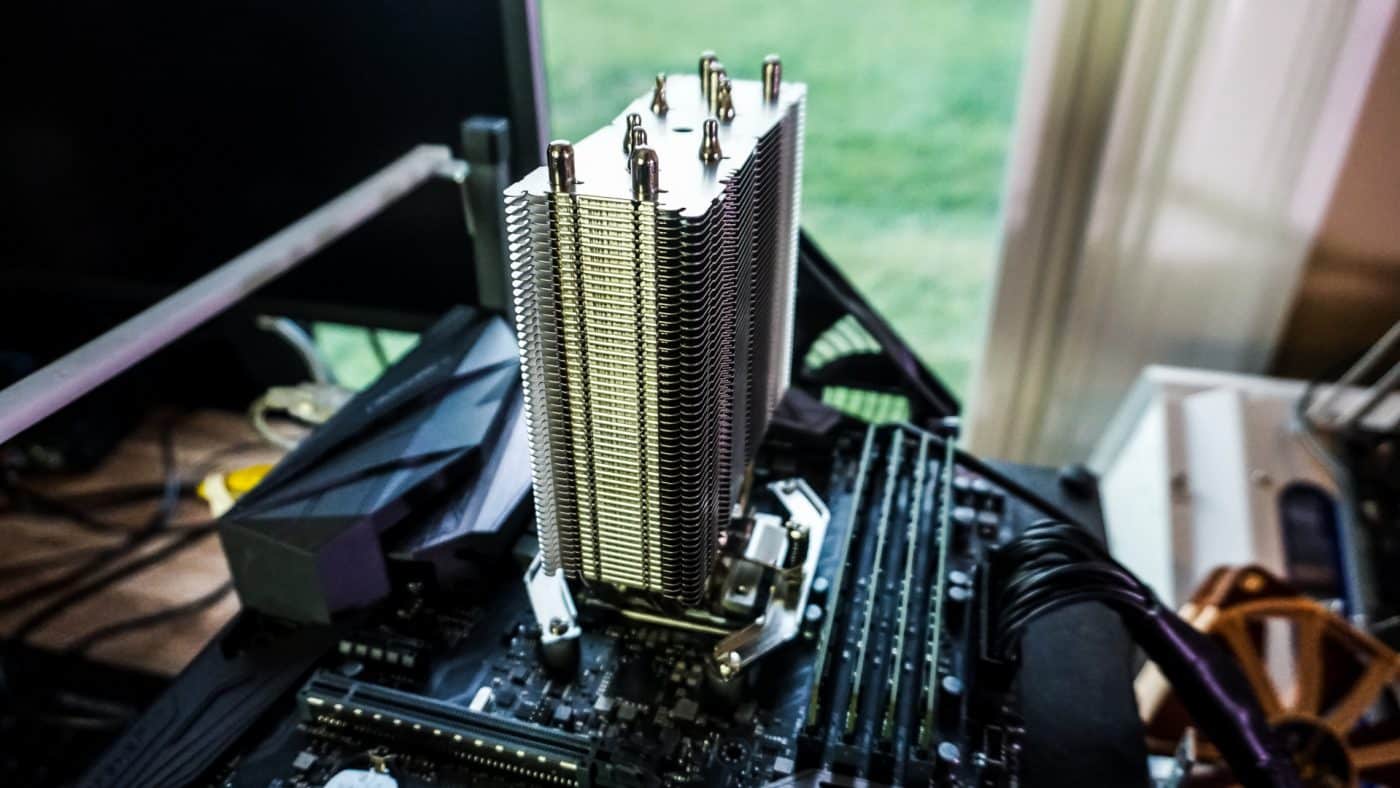
Apply the included thermal paste. Take the heatsink and remove the fan, you’ll be able to reinstall it in just a second. Carefully place the heatsink on top of your CPU lining up the two screws on each side with the mounts on the mounting bars. Now simply screw the screws on each side to secure the heatsink.
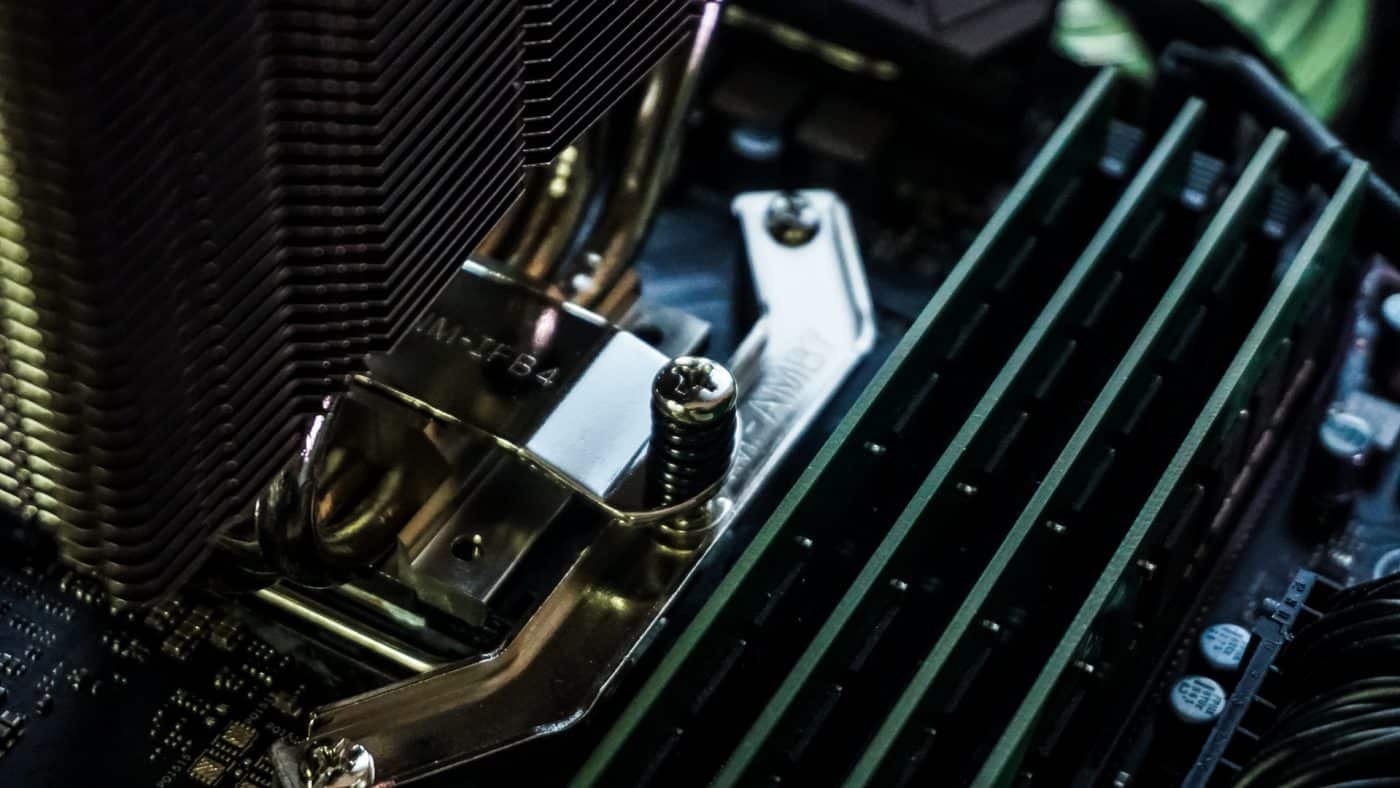
Now finally reinstall your fan and plug it in to the CPU fan header on your motherboard. Even with the fan installed it does not over-reach our memory so you can be sure it will not interfere with memory that has larger heatspreaders.