Installation
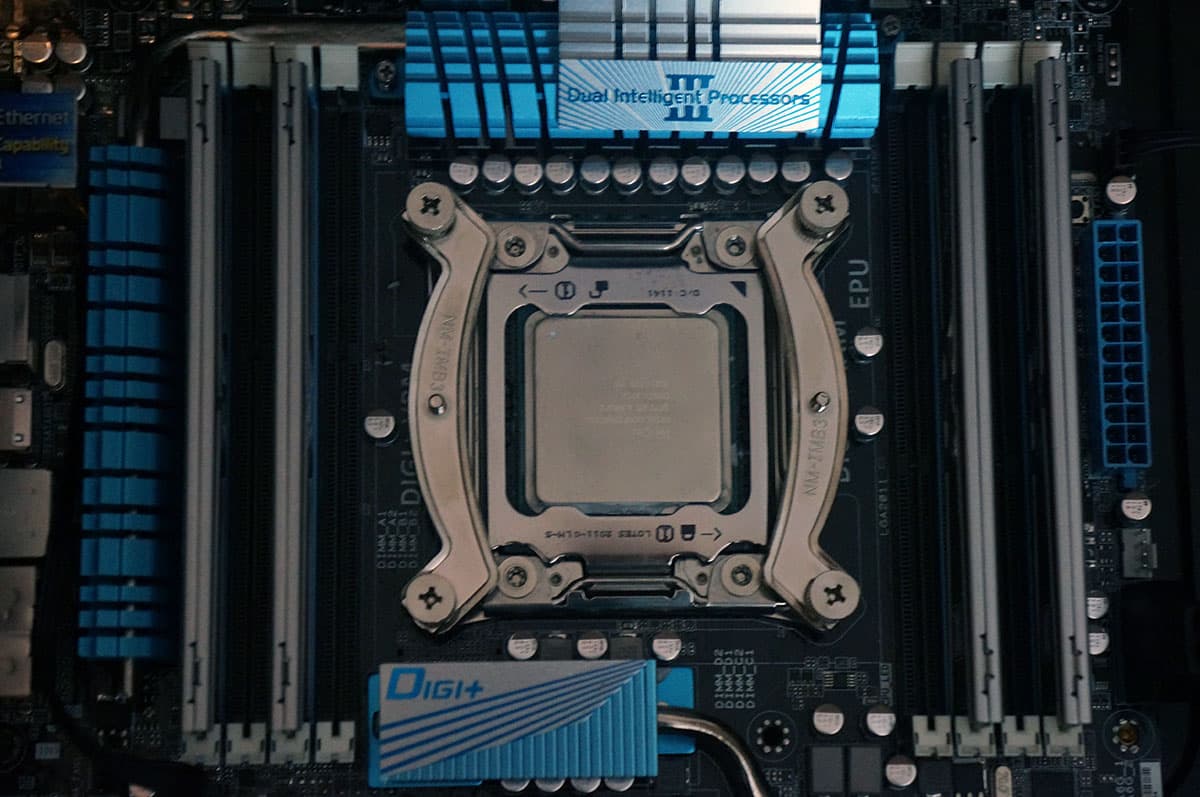
Getting the NH-U9S installed is extremely simple and you should be able to install this cooler inside of your case. We will be installing on the Intel LGA2011 platform. The first thing we need to do is install the socket 2011 bolts into their holes on the 2011 socket.

The next thing you are going to want to do is install the mounting bars onto these bolts. They are installed as you see below with the curved sides pointing out. Also use the furthest hole away from the CPU socket on the mounting bars. When you are done your socket should look something like you see below.
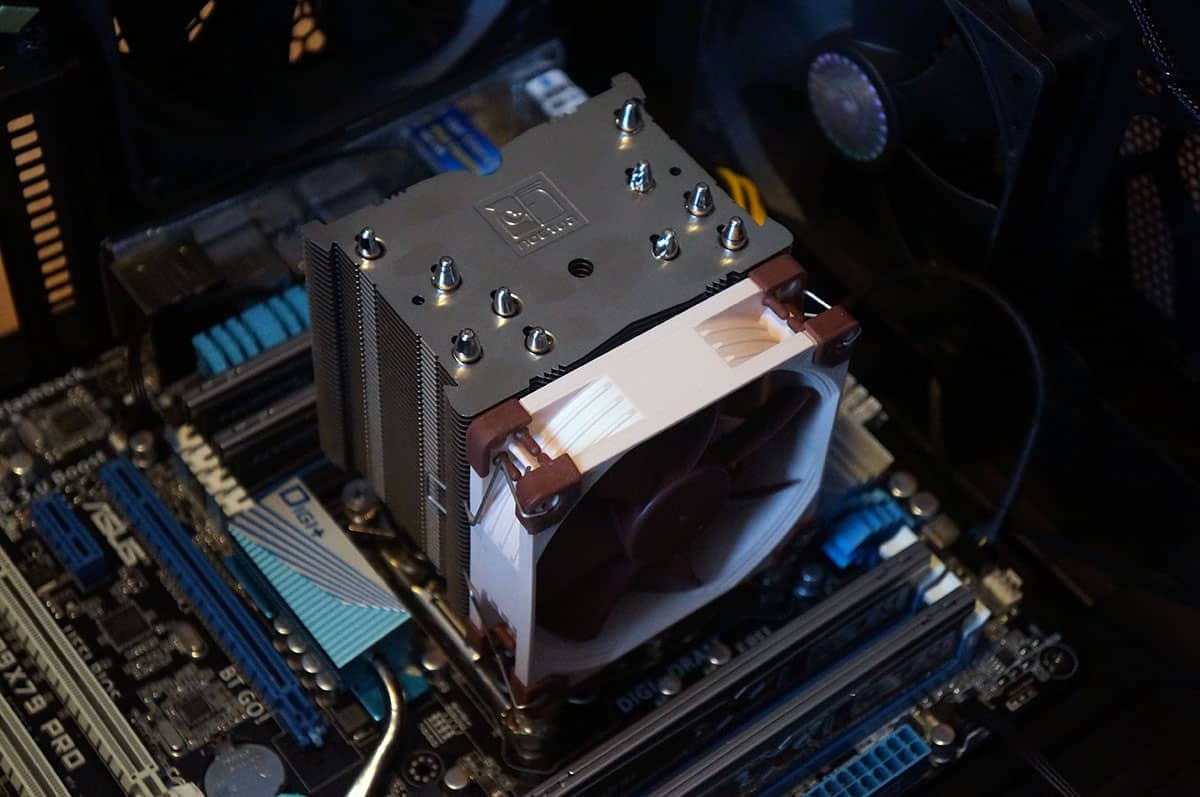
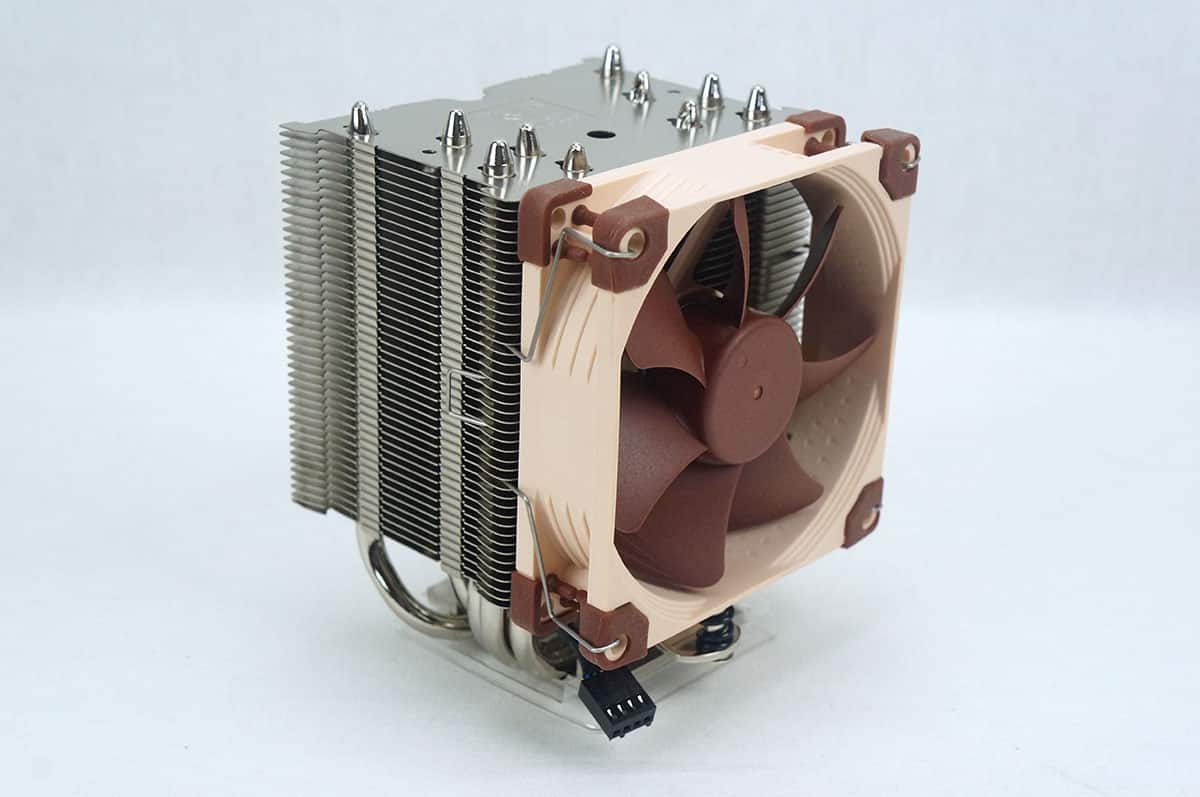
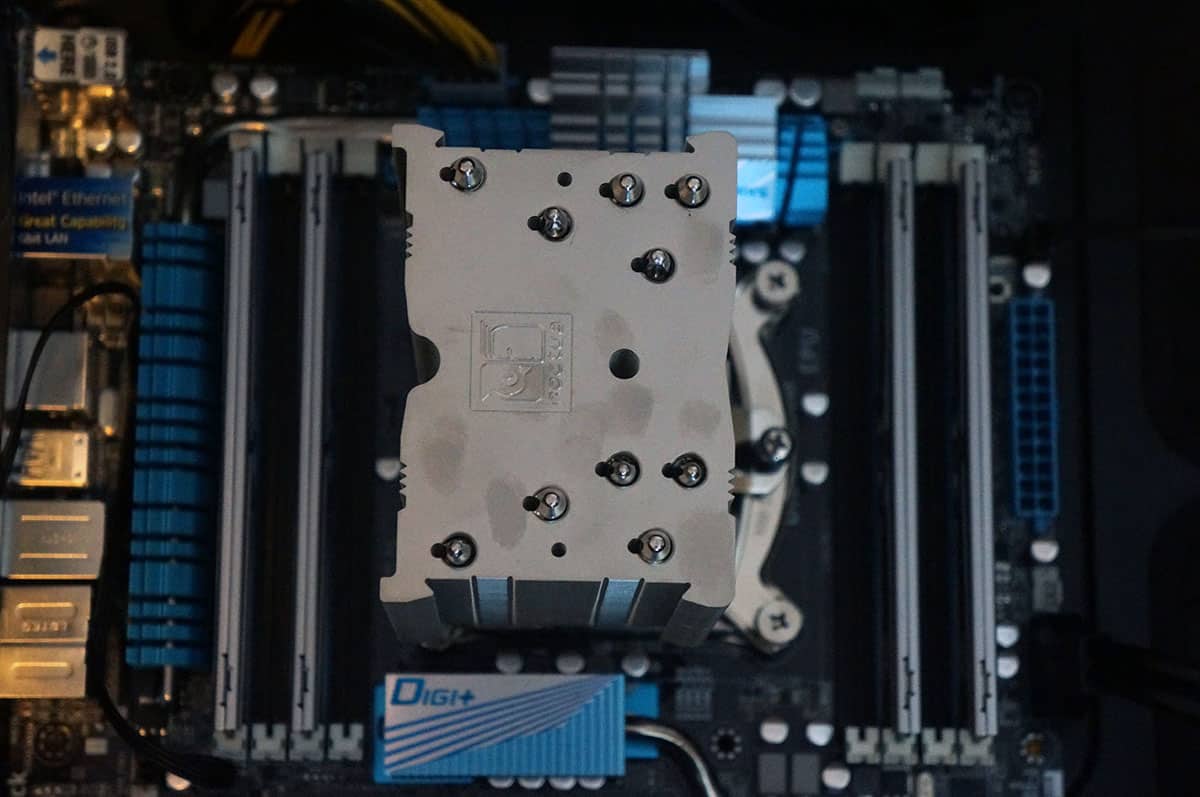
The next thing you are going to want to do is install the heatsink with the fan removed. Don’t forget to apply the included thermal paste. The easiest way to get the heatsink installed is to place it on top of your CPU lining up the attachment screws with the screw threads on the mounting bars. Secure each side a little bit at a time until you have the heatsink properly fastened to the socket. There is quite a lot of room on the front part of the cooler so you don’t have to worry there. Things are a little crunched on the back but Noctua has designed the heatsink fins so you can fit a screwdriver down the back for easy access to the attachment screw.
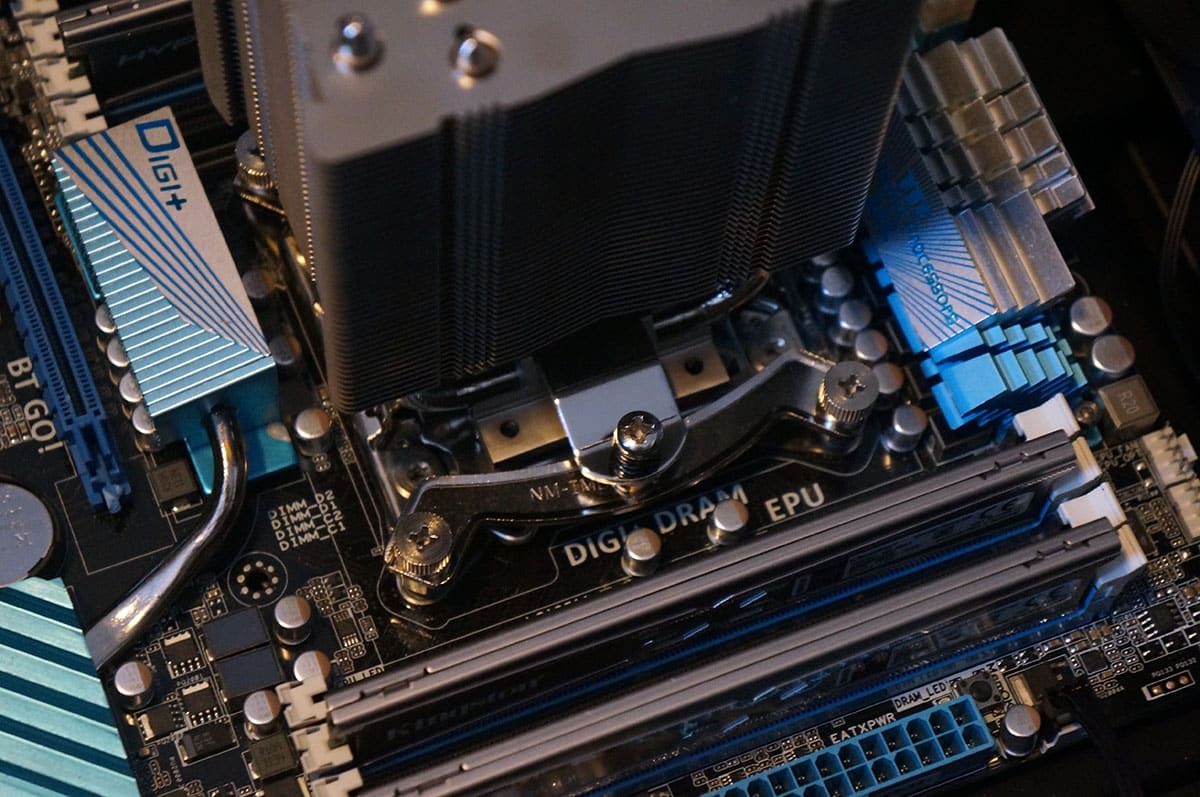
Once the heatsink has been secured the last thing you need to do is attach the fan. Just line it up with the front and use the fan clips to lock it in and you are good to go. Even with the fan installed you can see we still have quite a lot of clearance between the end of the fan and our memory modules.