Taking a Look Inside
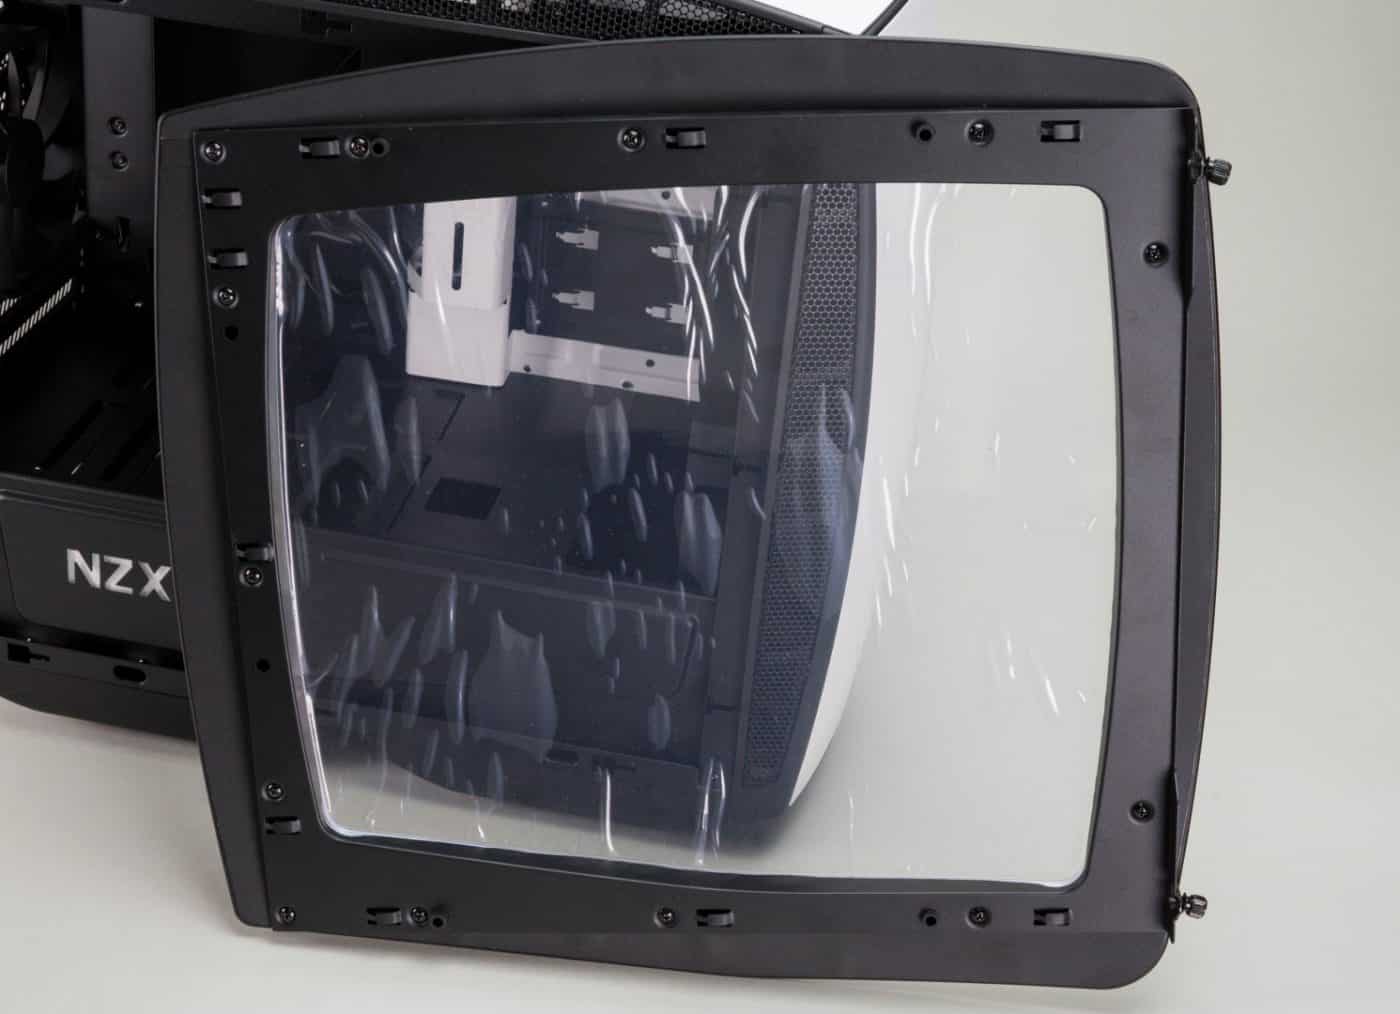
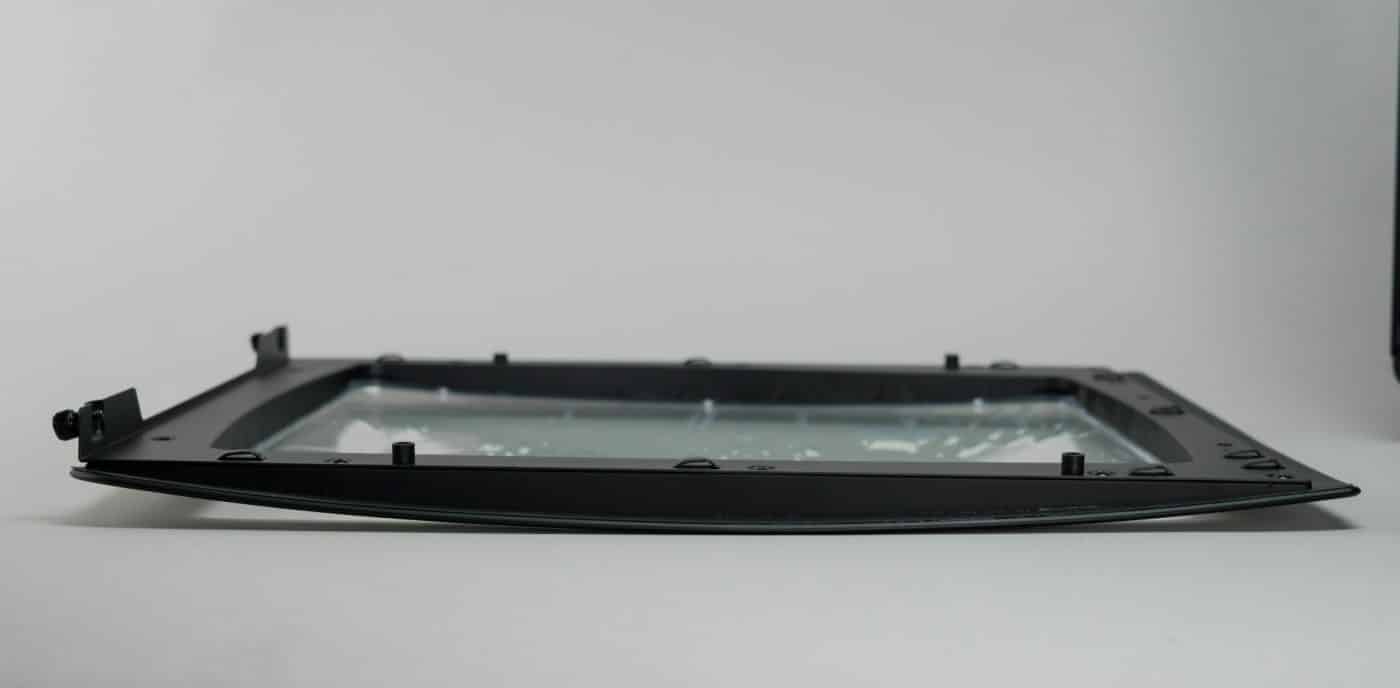
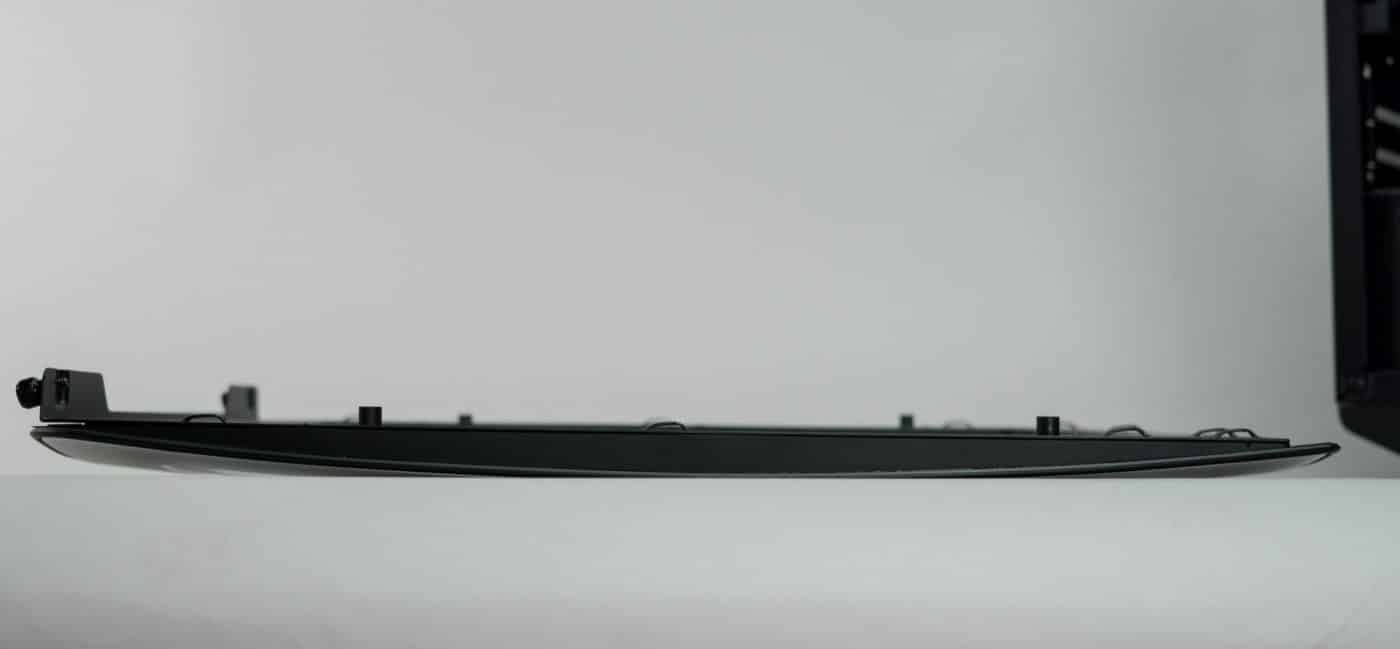
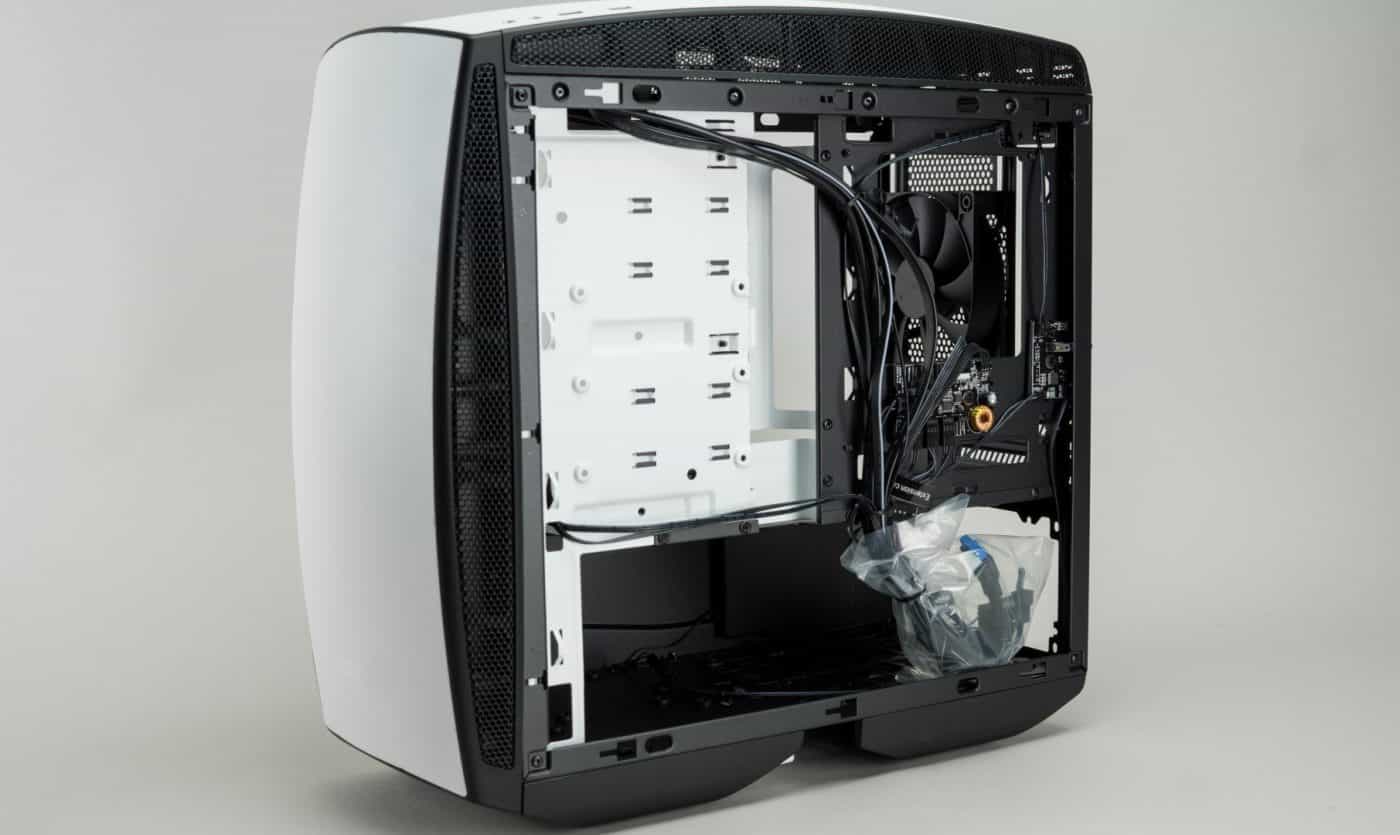
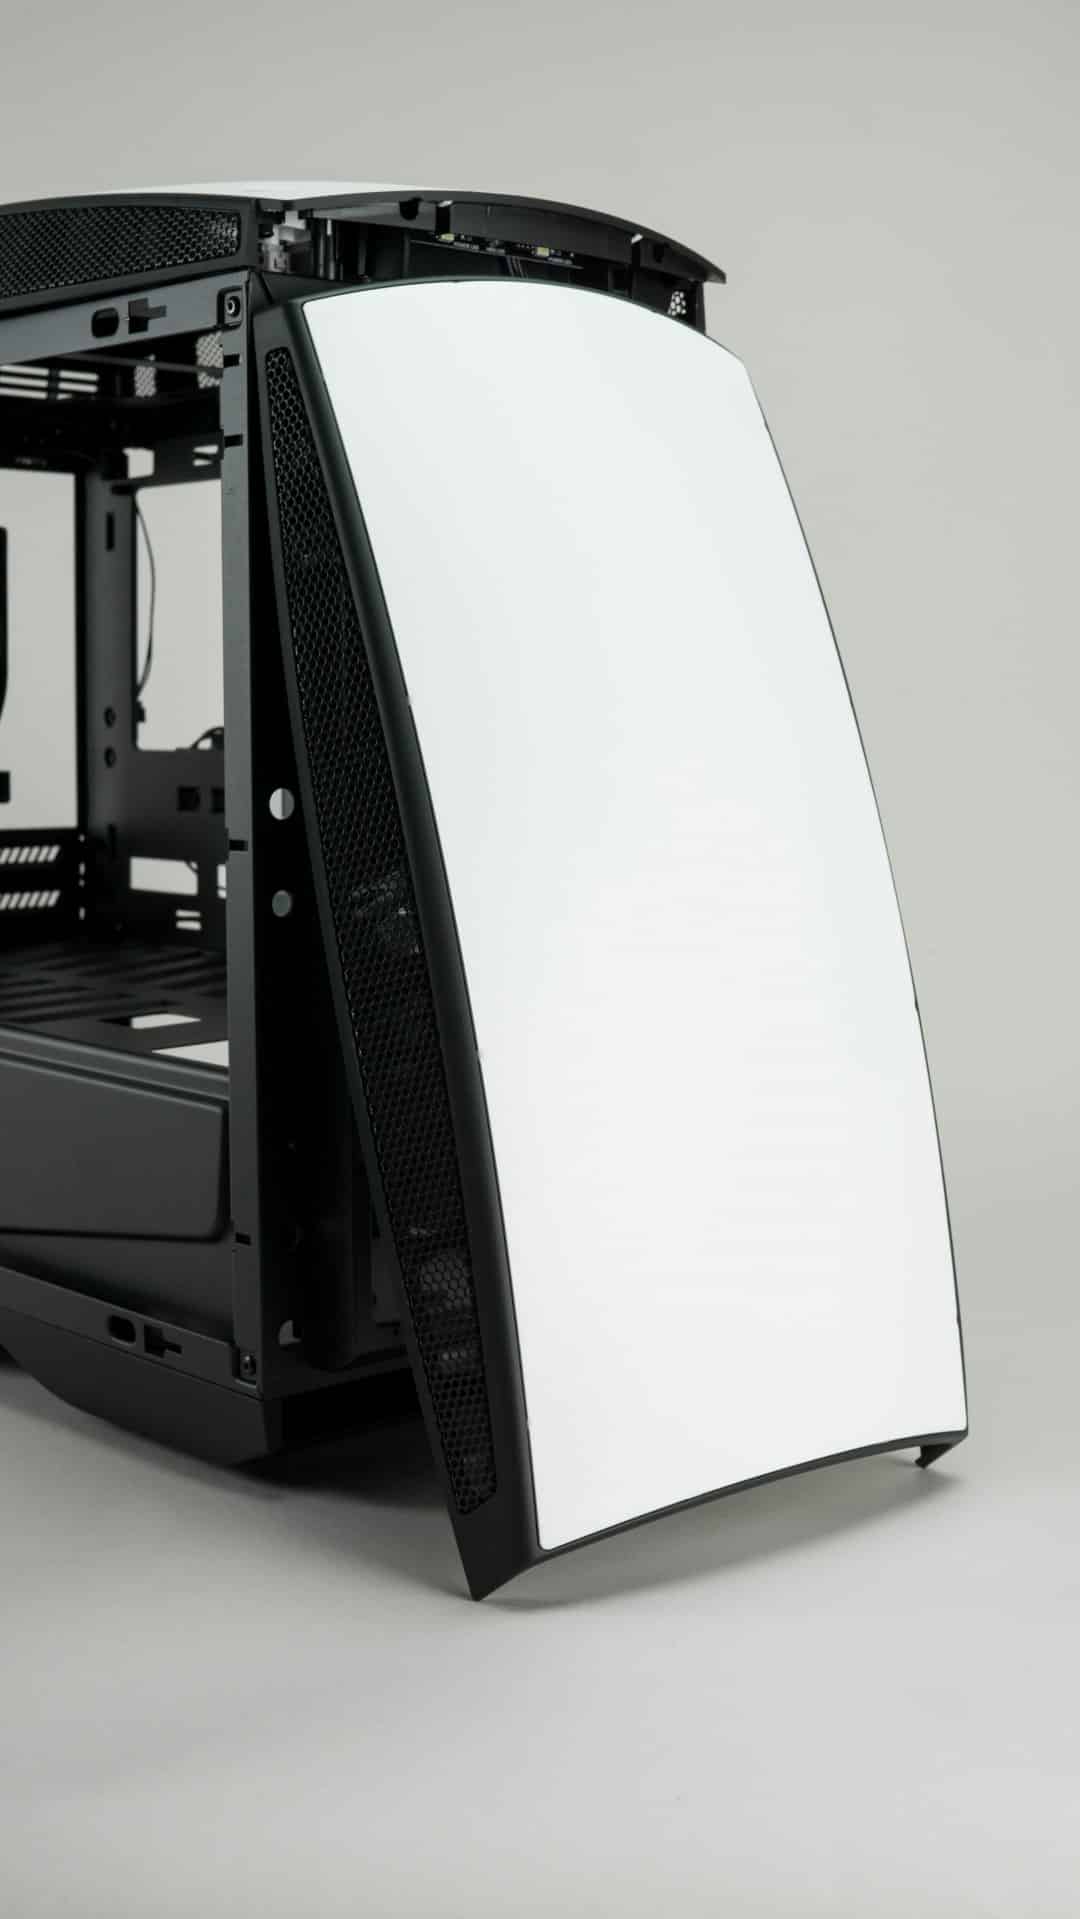
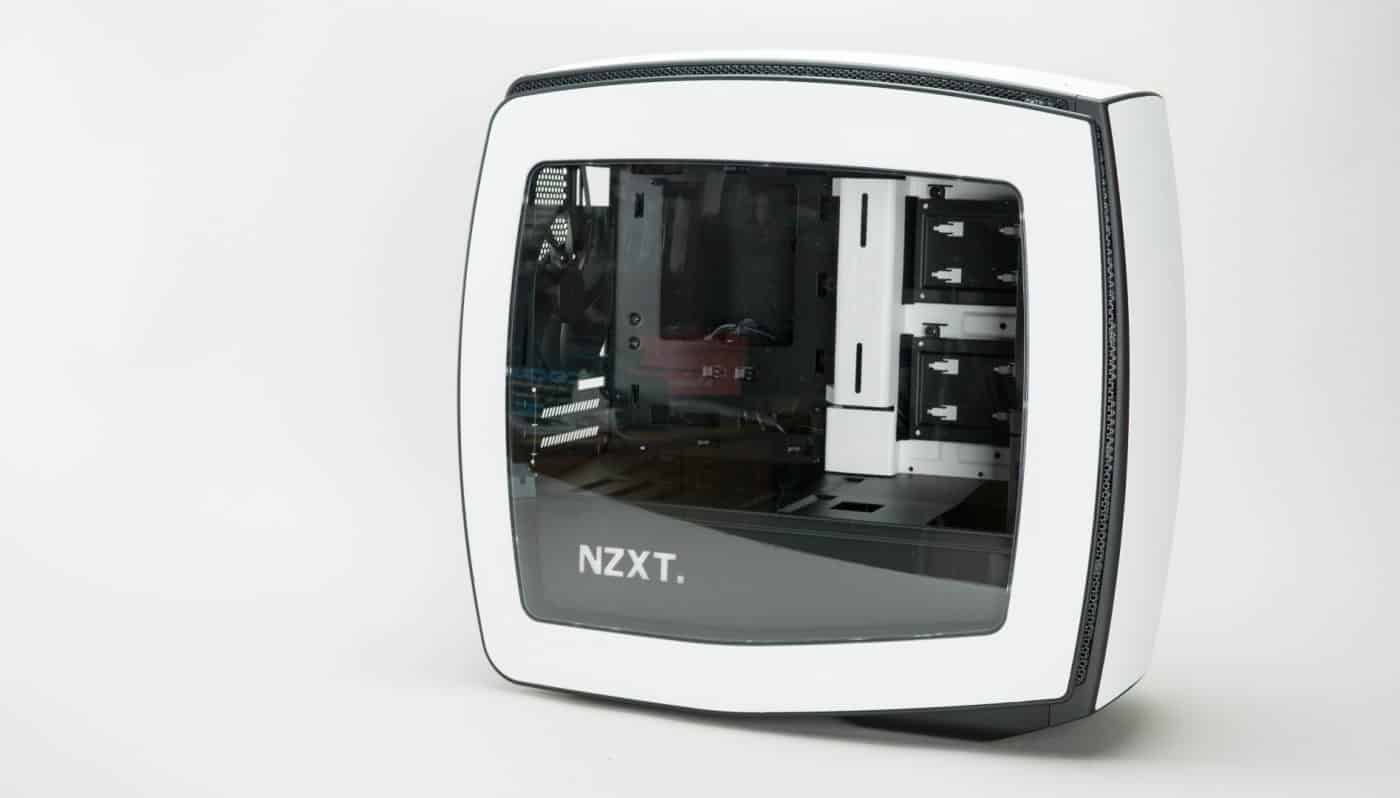
Popping off that windowed side panel we find that the unique curved shape is supported by a thick plastic interior frame. This allows the skeleton of the case to be a standard rectangular shape while the panels are curved. The plastic has round posts that line up with cutouts in the frame to help you line the panel up correctly and secure it with the simple sliding alligator clips we’ve known for years. The panels secure on the back panel with thumbscrews that are conveniently retained for you by the panel itself.
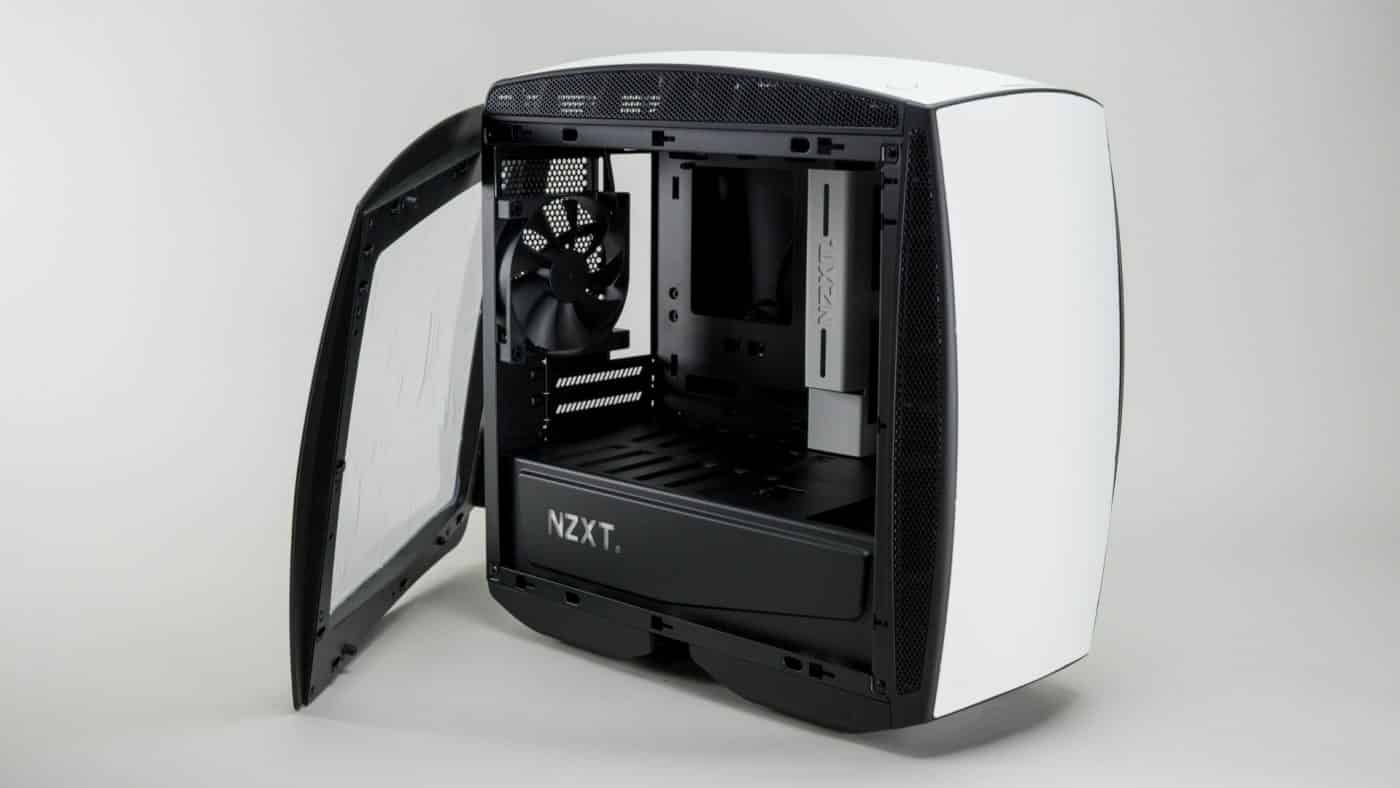
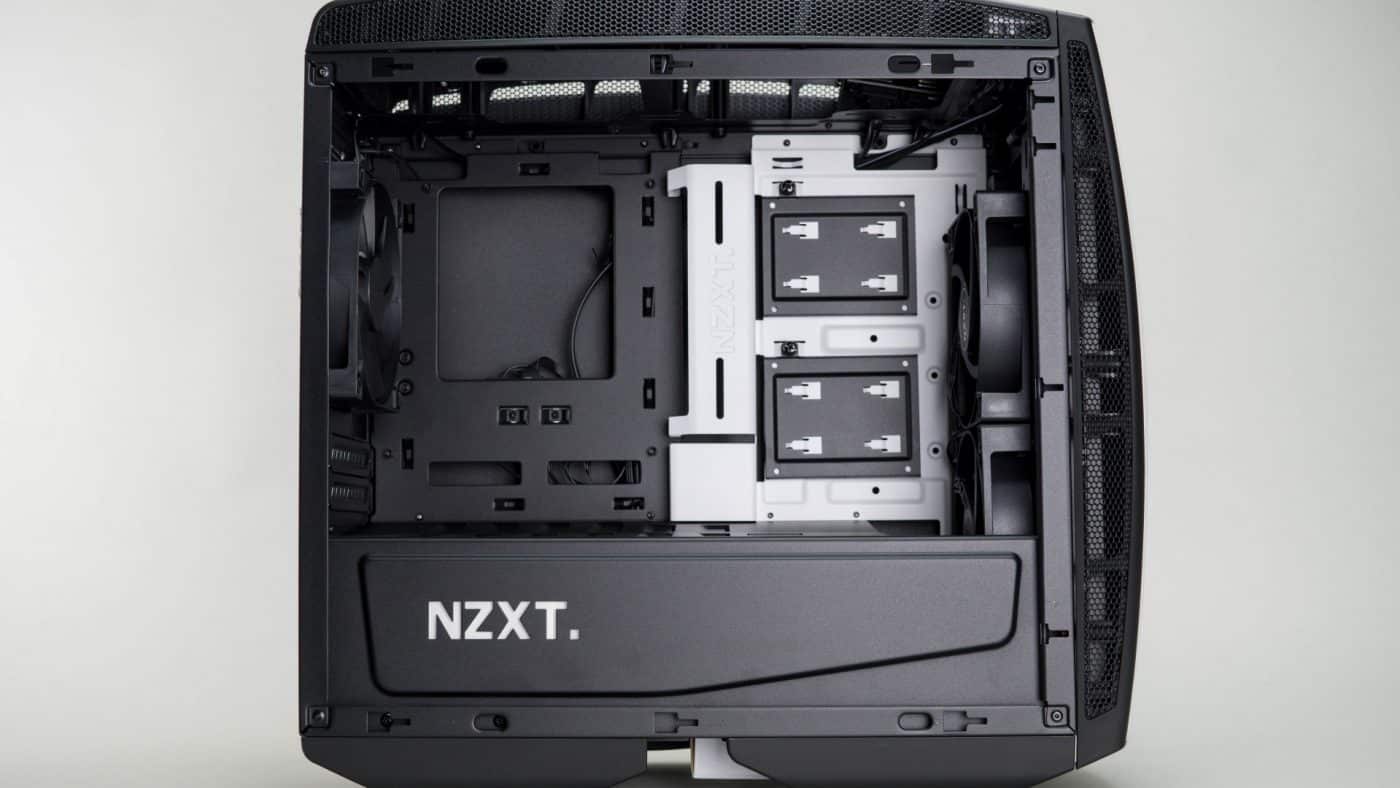
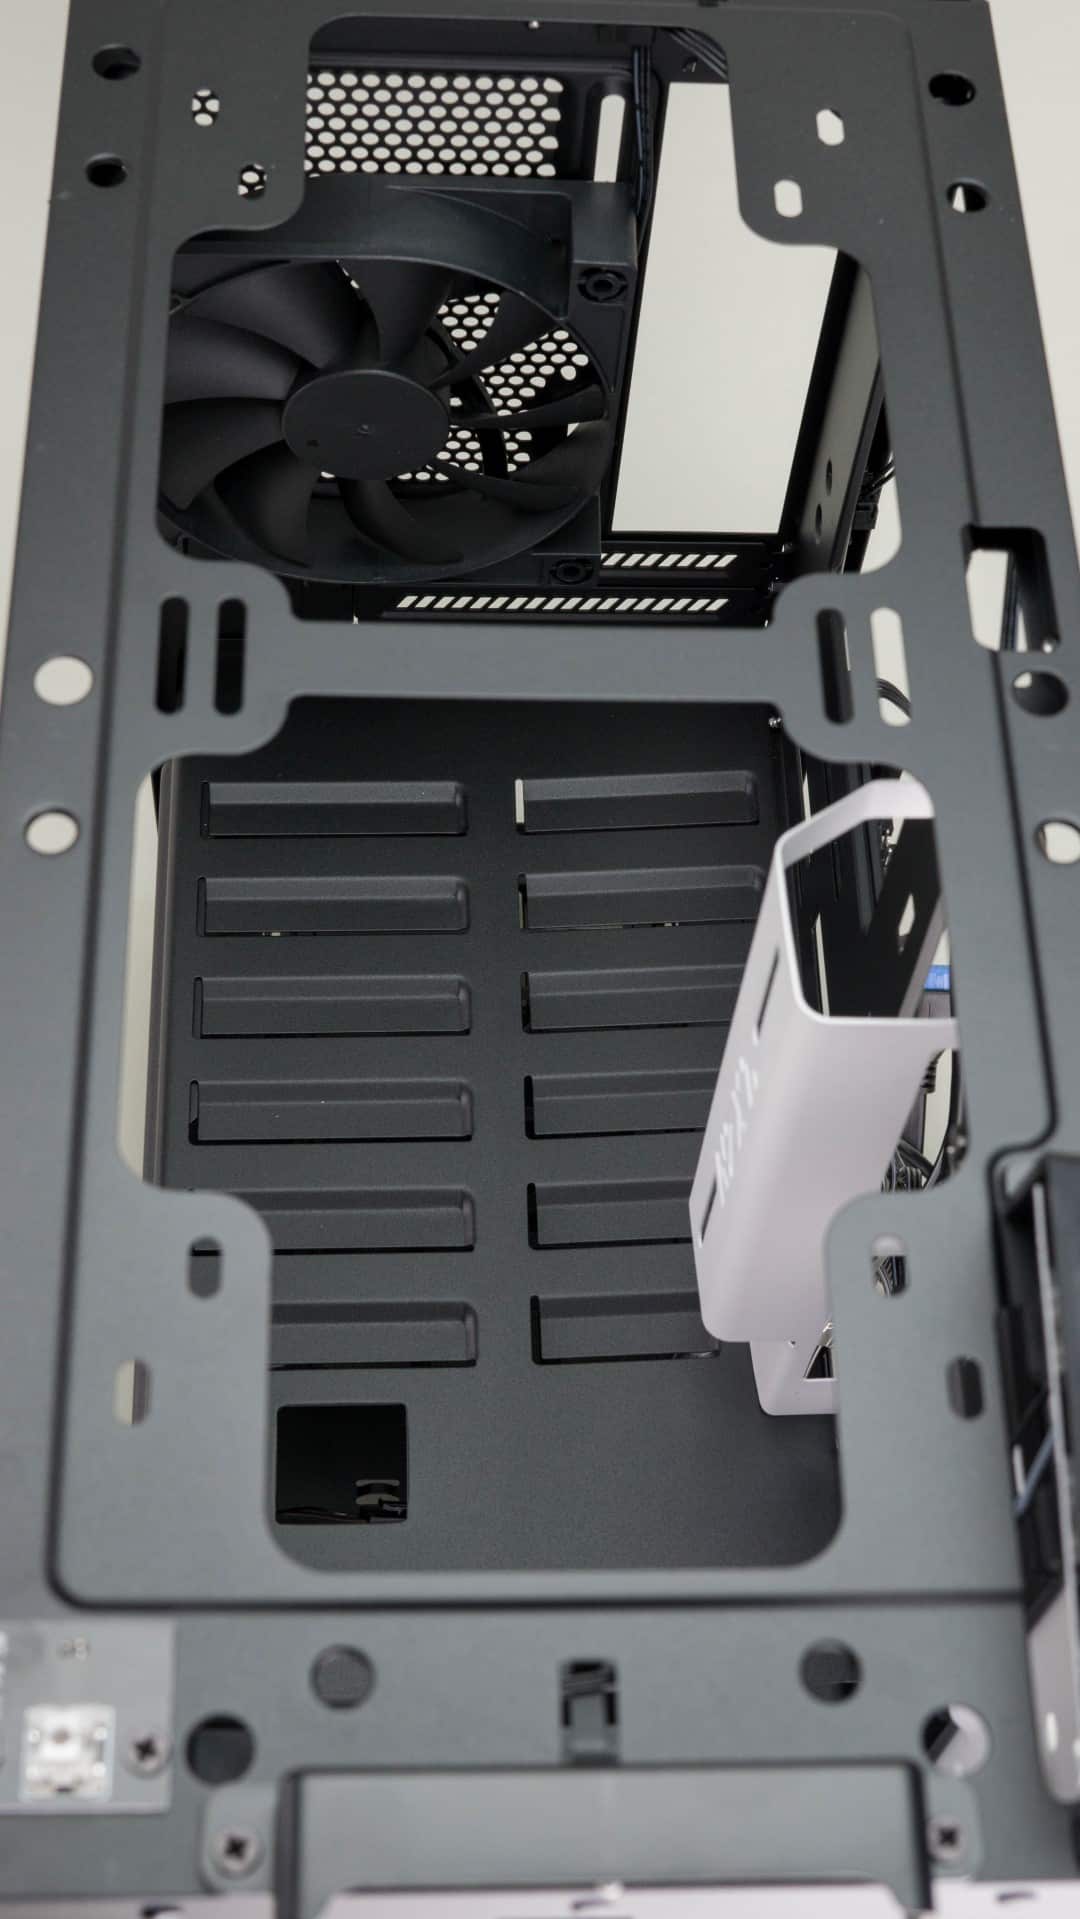
Catching our first glimpse of the interior, (which we weren’t even shown at CES when it was unveiled) my first thought is wow this looks like a fully equipped mid tower interior in a SFF chassis. You have a full length PSU shroud, which really makes it a mid plate, separating the case into two sections. Inlaid in the front side of this cover you will find a backlit NZXT logo. Additionally the top of the cover has channels cut into it to provide additional airflow to the GPU area which will be mounted in extremely tight proximity to the shroud.
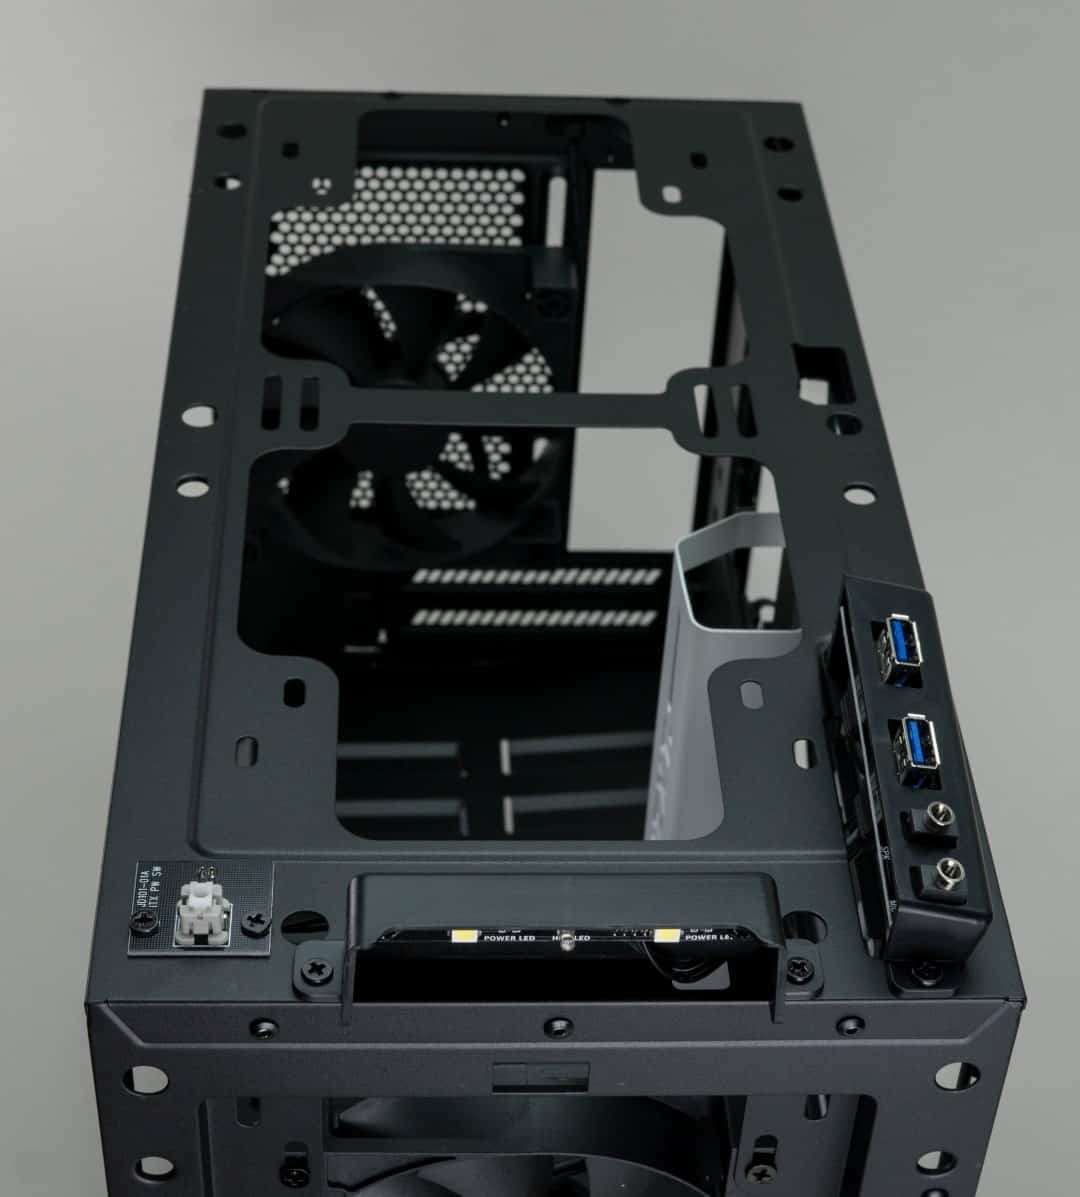
Looking up you will discover mounting space for up to 280mm radiators or 2x fans either 120mm or 140mm. You are limited in the top mounting area to fans or radiators of 35mm or less in thickness due to the white channel cover below. You can however mount fans in the top of the case under the top panel while the radiator is mounted below.
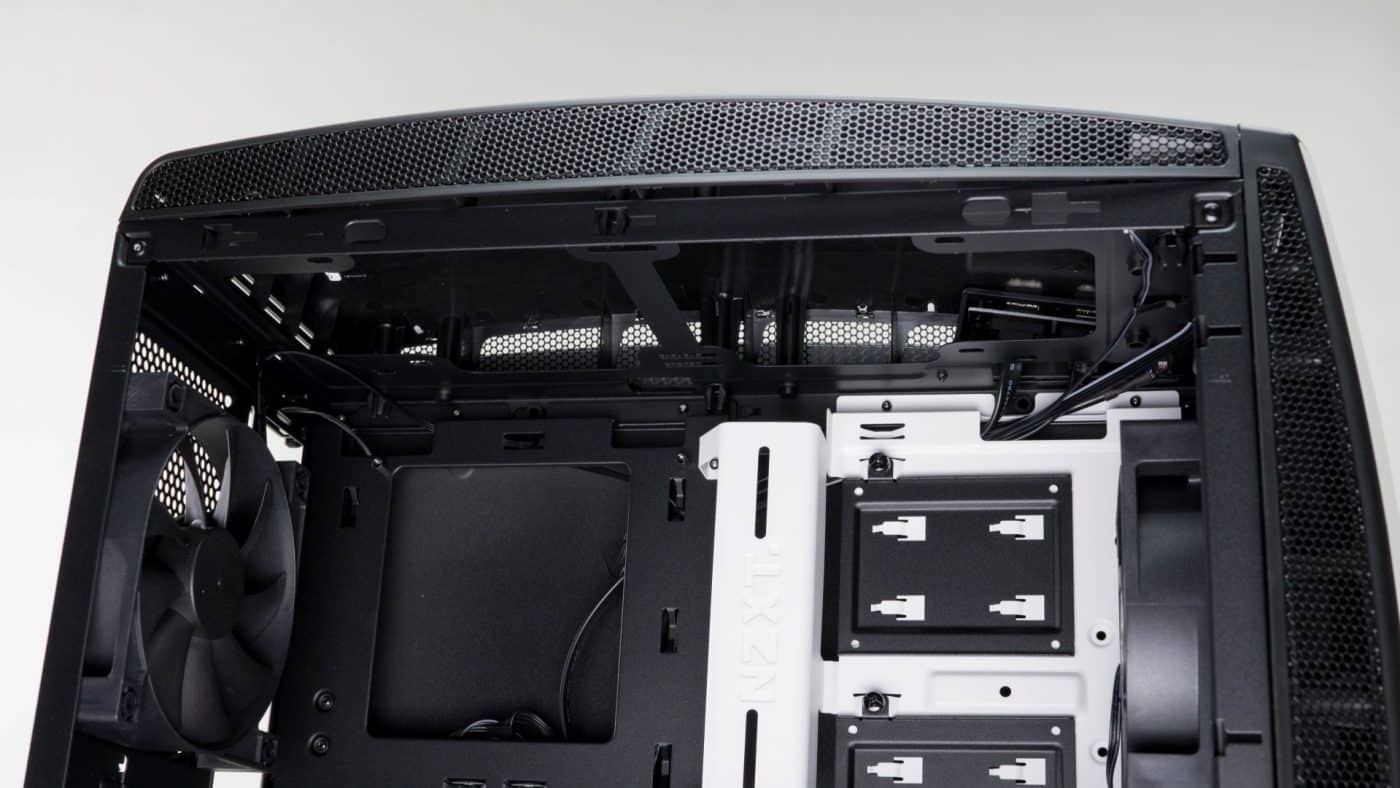
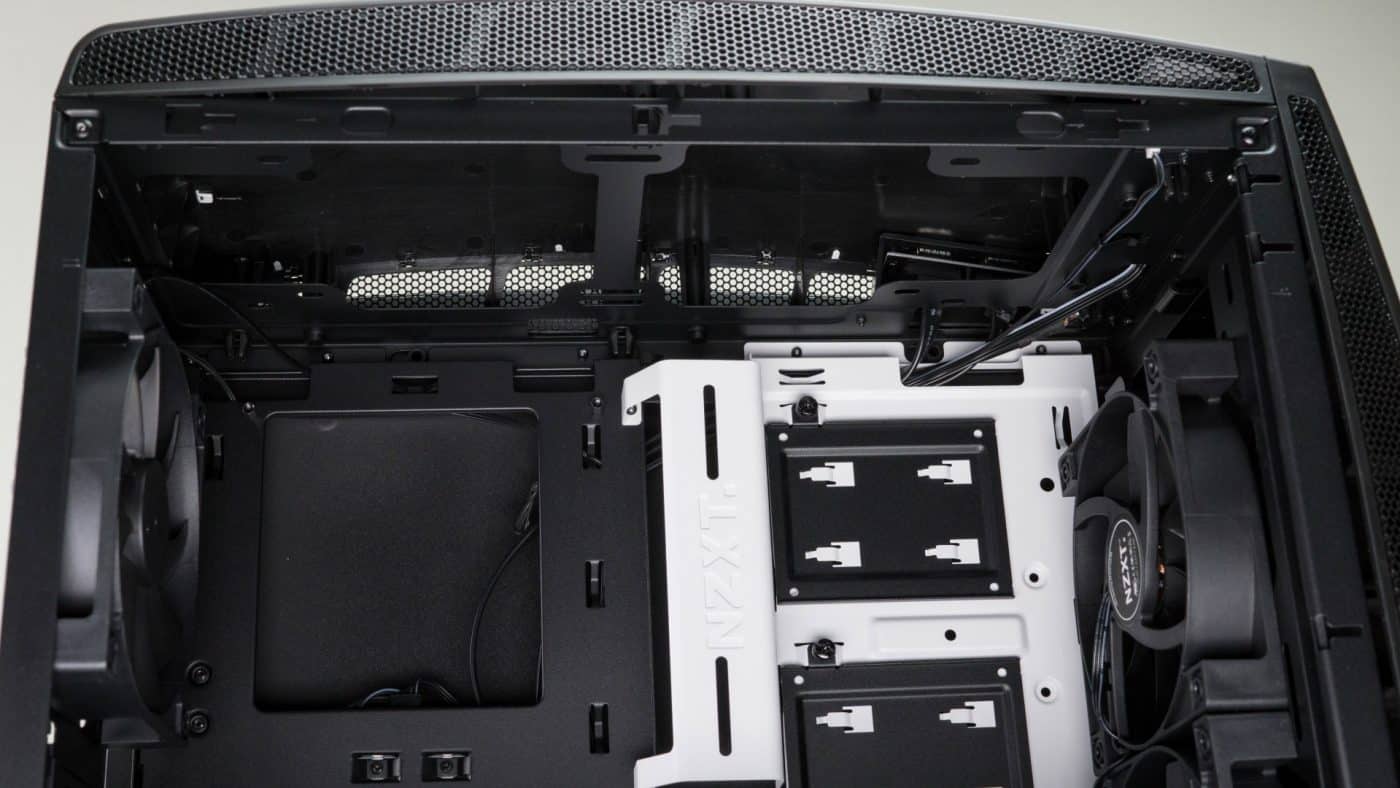
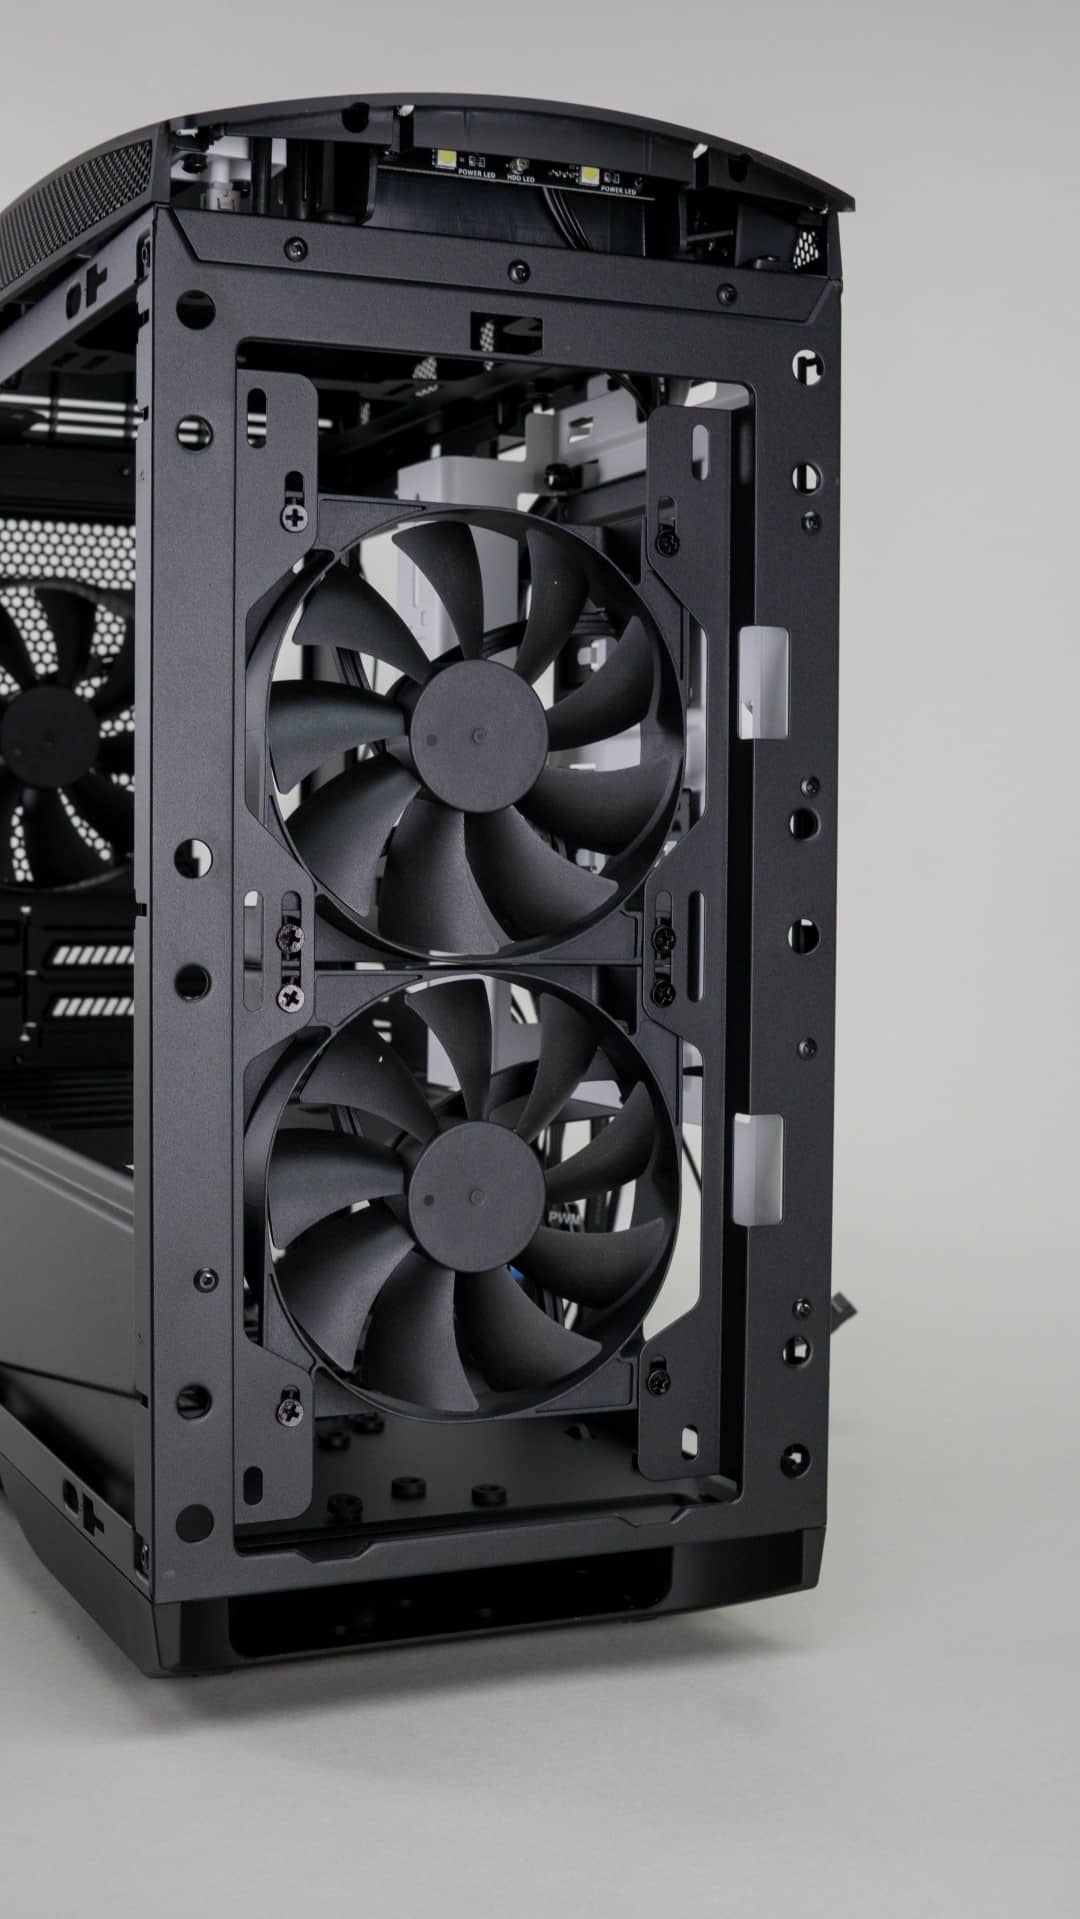
The front of the case also easily used for radiators or fans. There are two 120mm fans pre-installed, but up to 140mm fans can be used or up to a 280mm radiator. There is also additional space cut out into the mid plate to allow for the mounting of some extremely thick radiators.
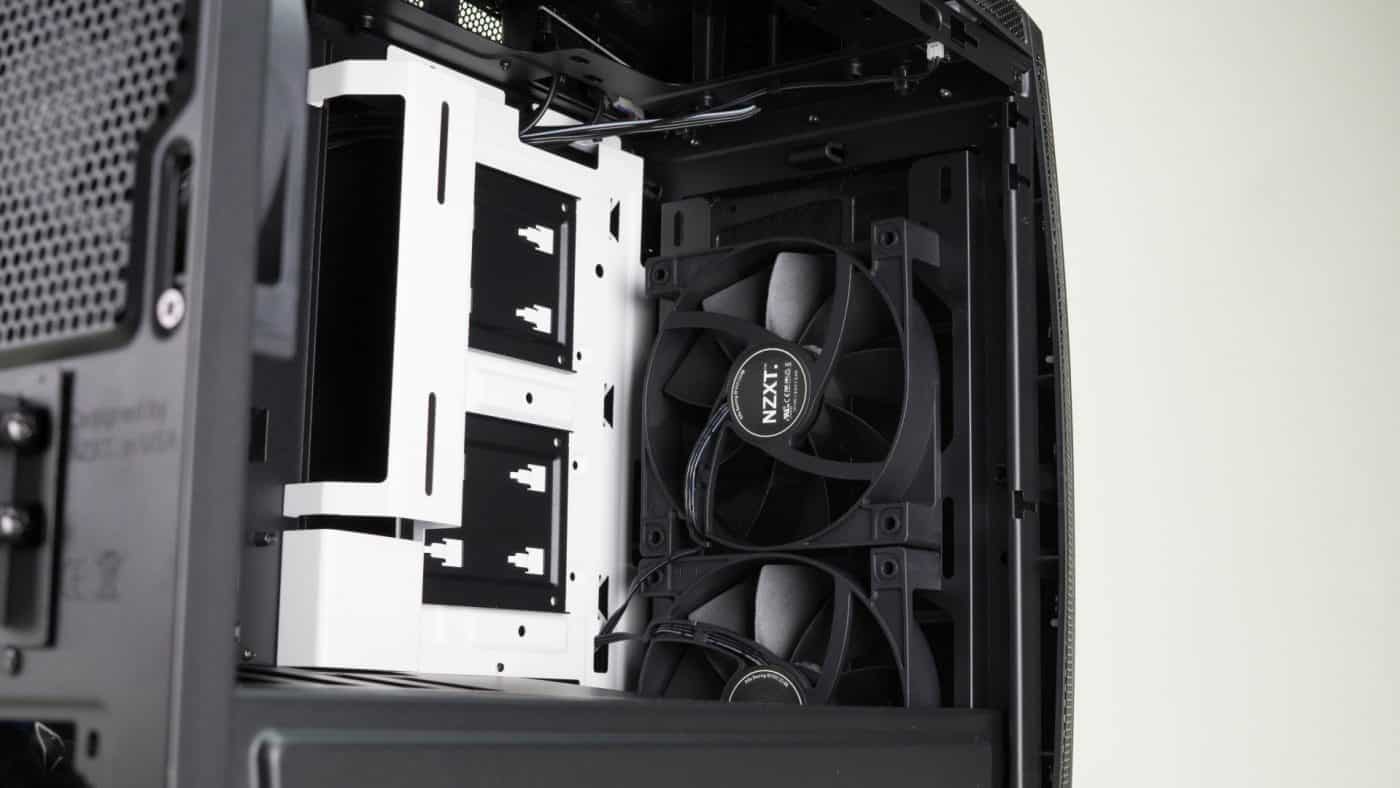
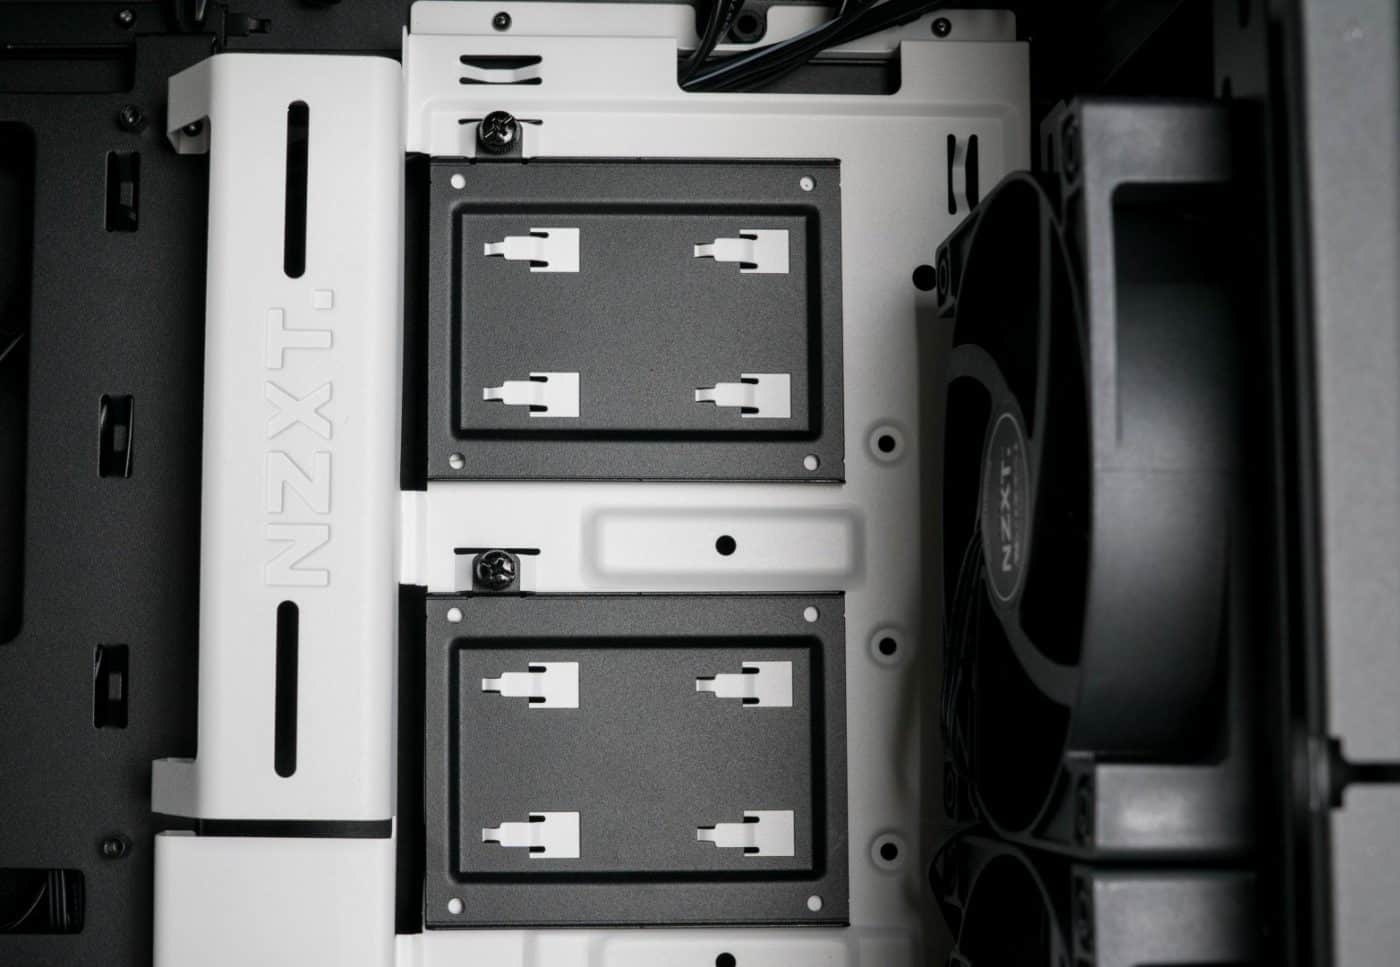
In the main compartment you will find a small cutout on the motherboard tray ringed by pass through slots, unfortunately you won’t find grommets on any of the pass throughs on the Manta, but the edges are all pretty well smoothed out and shouldn’t bite into your cables. Next to the tray is a channel cover where the 24pin and sata connectors will be passed through. You will notice two slots on this stamped cover, these are intended for mounting a water cooling tube reservoir and pump combo. Immediately to the right of that cover is a pair of quick mount 2.25” trays secured with thumbscrews.
As was mentioned the rear side panel is identical to the front side panel sans the window. It is quite thick and should provide pretty good sound dampening.
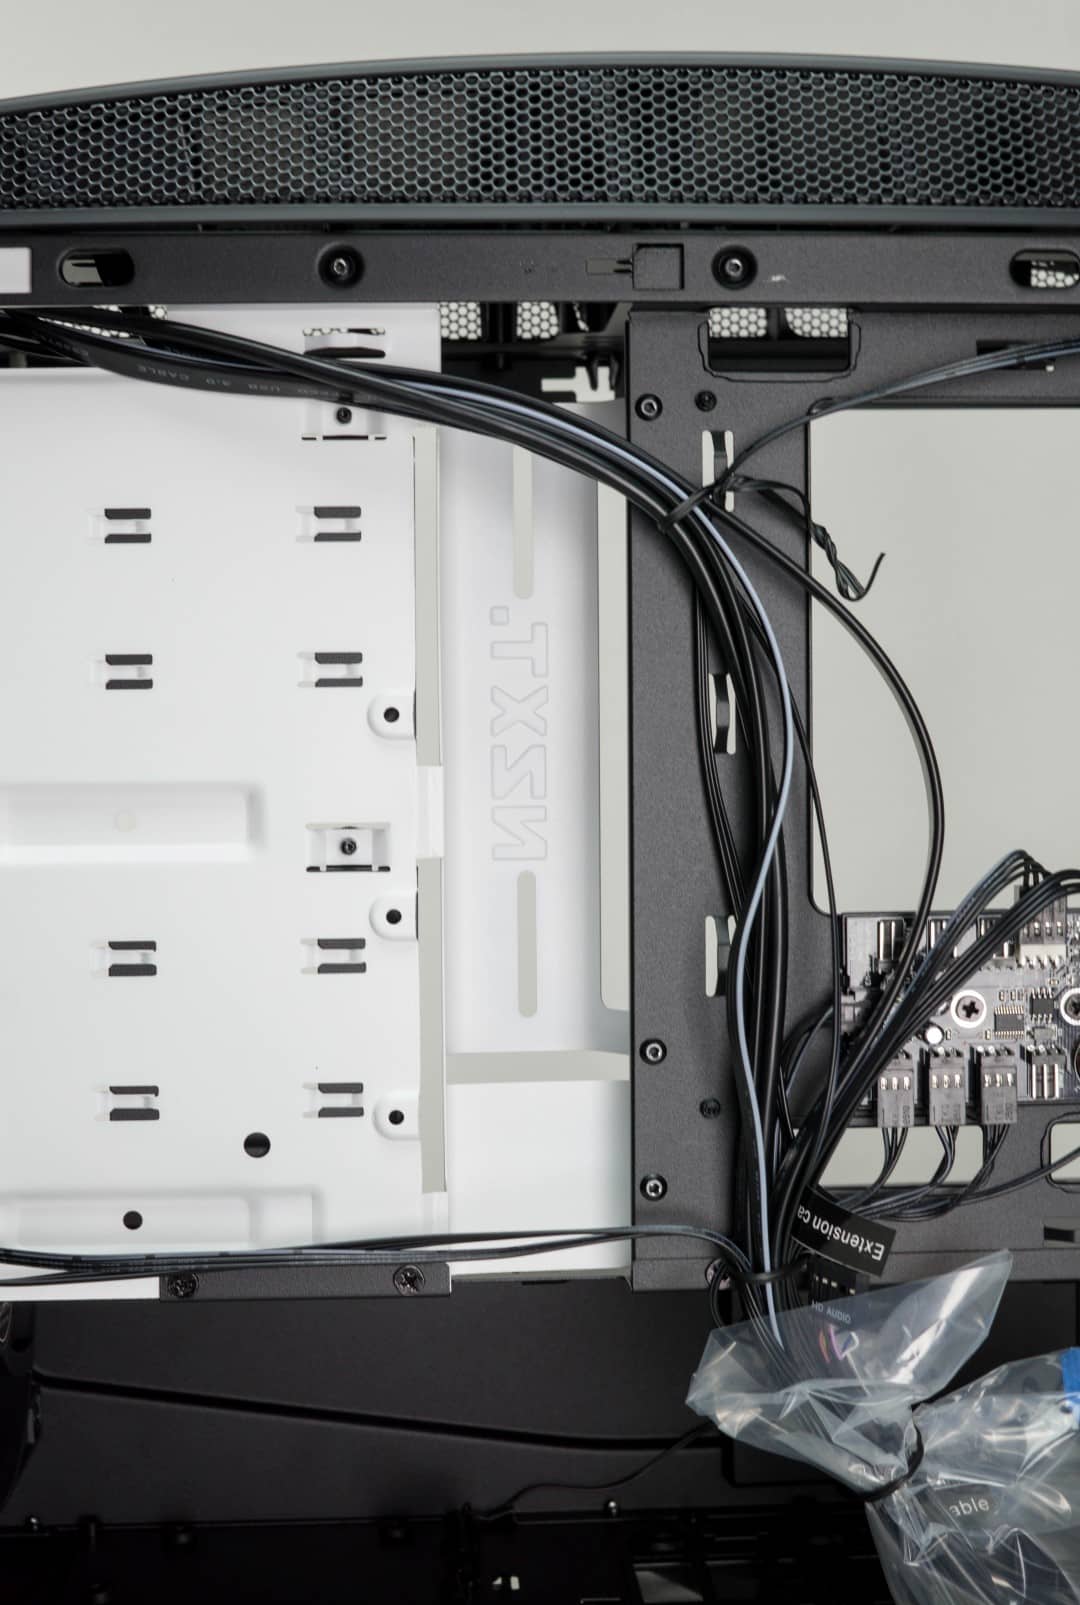
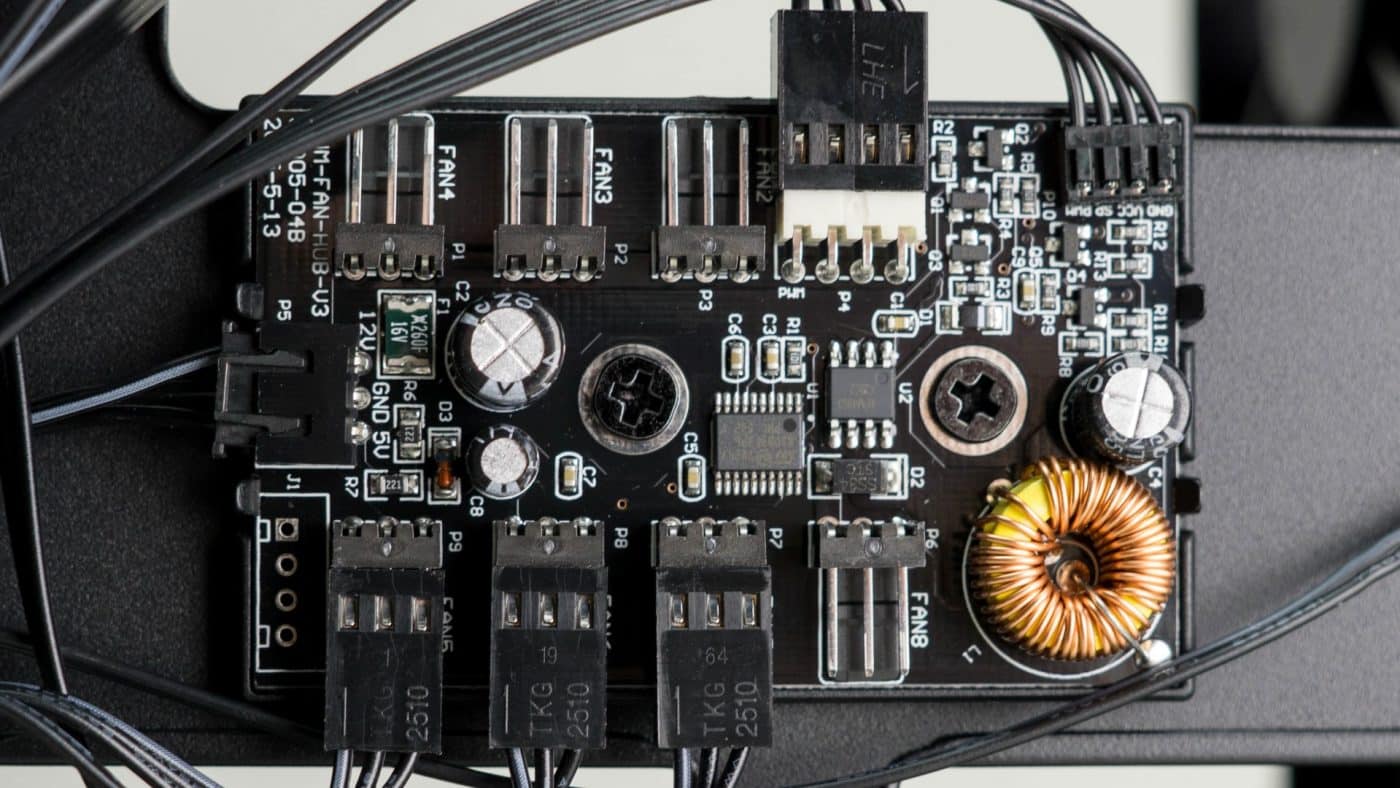
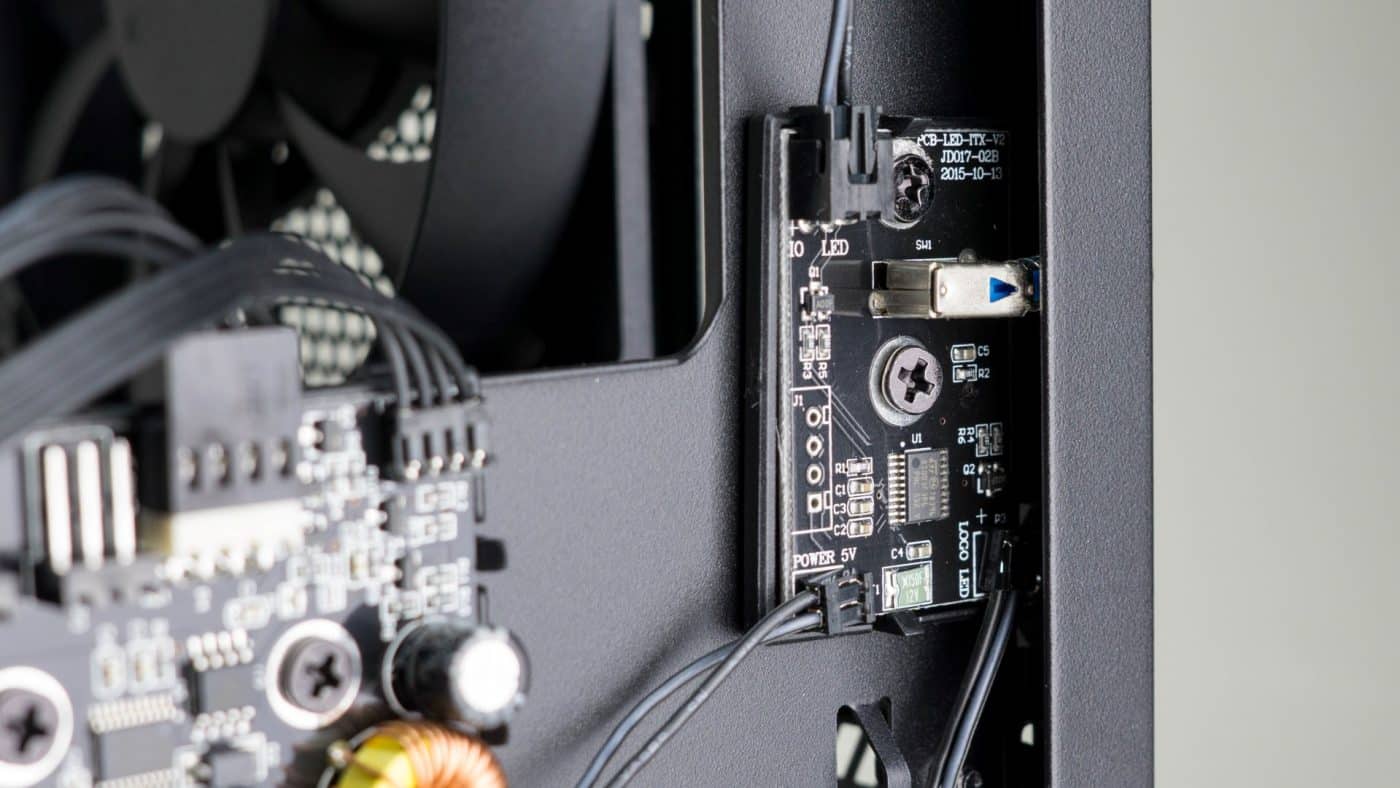
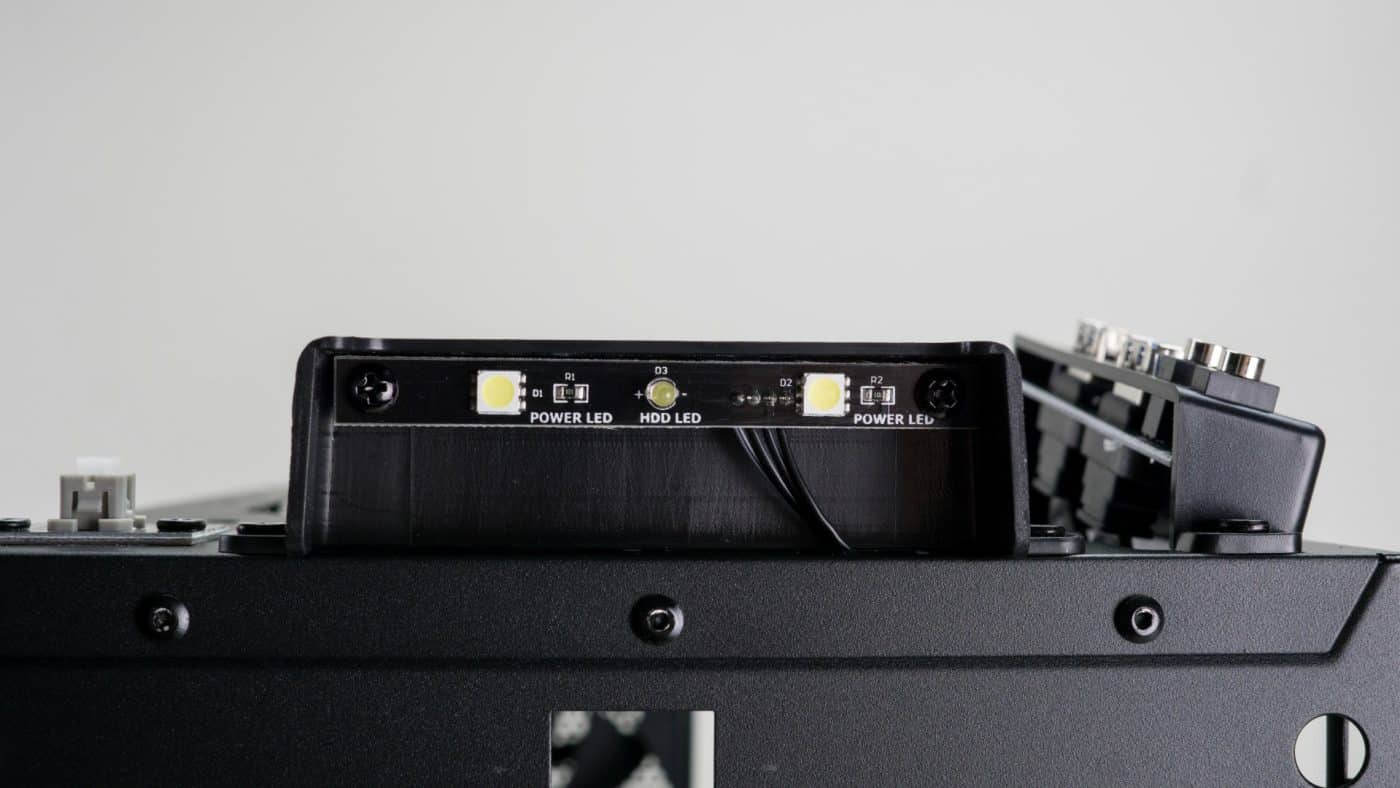
Behind the motherboard tray we find a ton of space as well as additional space not found in other cases thanks to the curved rear panel. On the left white painted side we find mounting points for a traditional 3.5” HDD and cable tie points on the far left. The channel we mentioned is right in the middle and the cover will easily block out lines of sight into the back of the case. To the right of the channel NZXT has mounted an eight way PWM fan hub. This is great because there really isn’t anywhere that a fan controller can be installed and the eight channels should support most all of your needs. The hub is powered by a single molex adapter. Moving right, all the way to the edge of the panel we find a small circuit board that provides power and control for the LEDs.
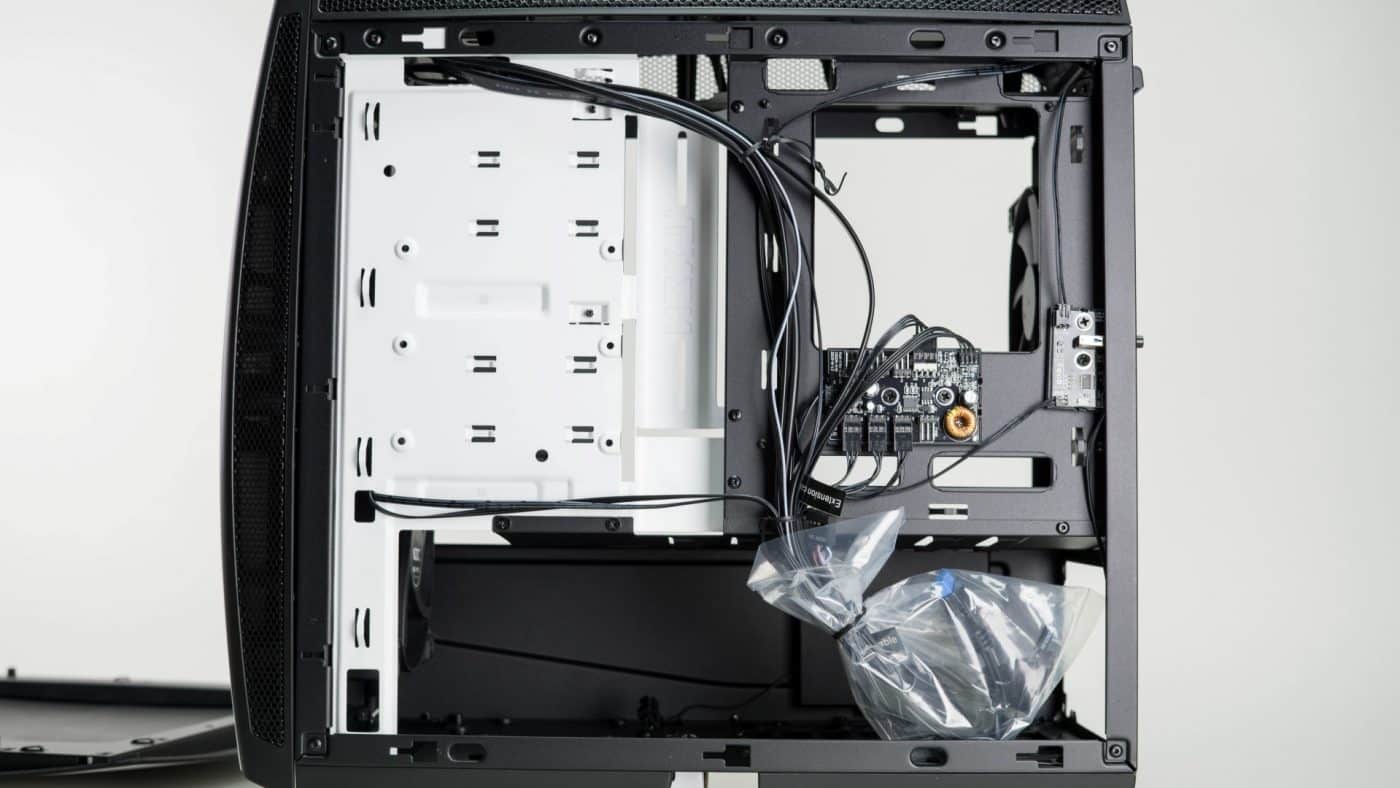
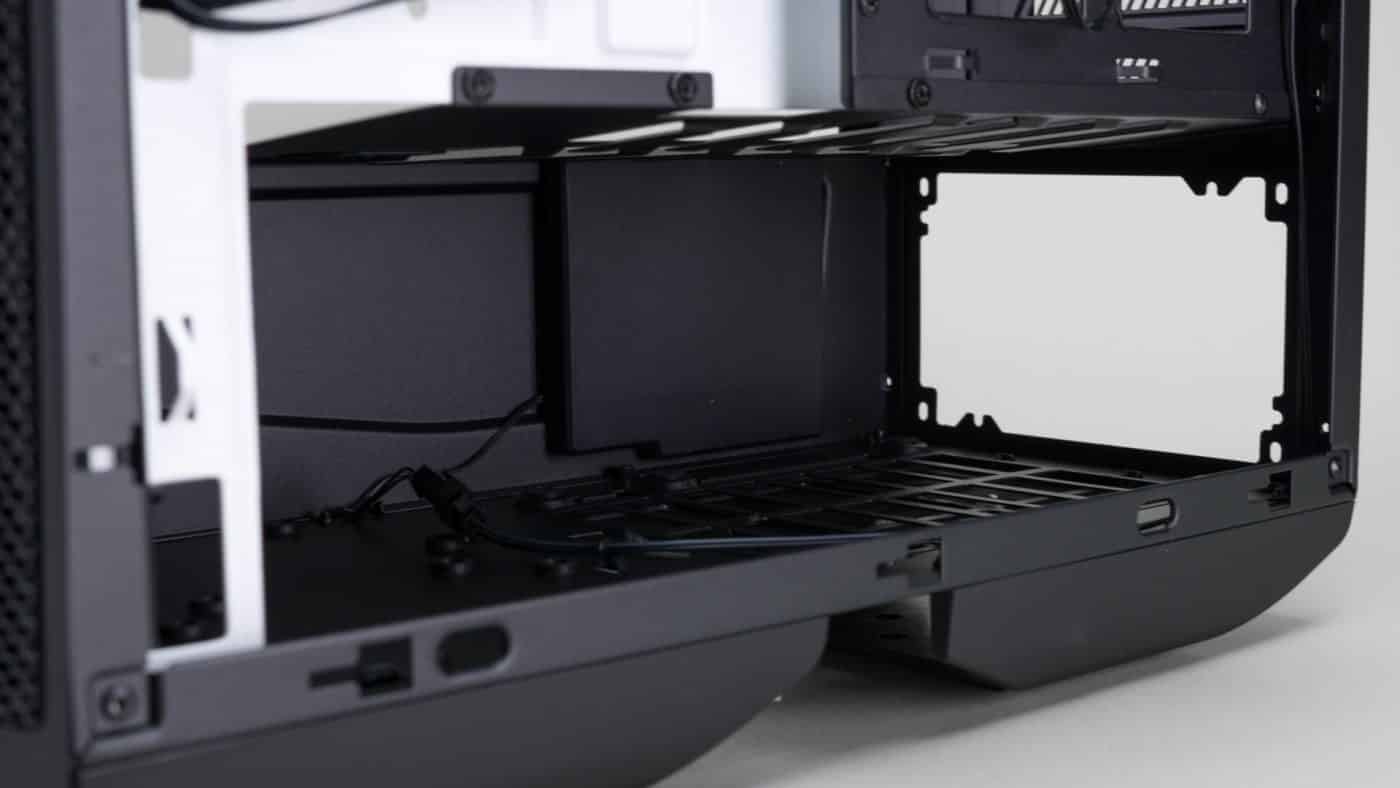
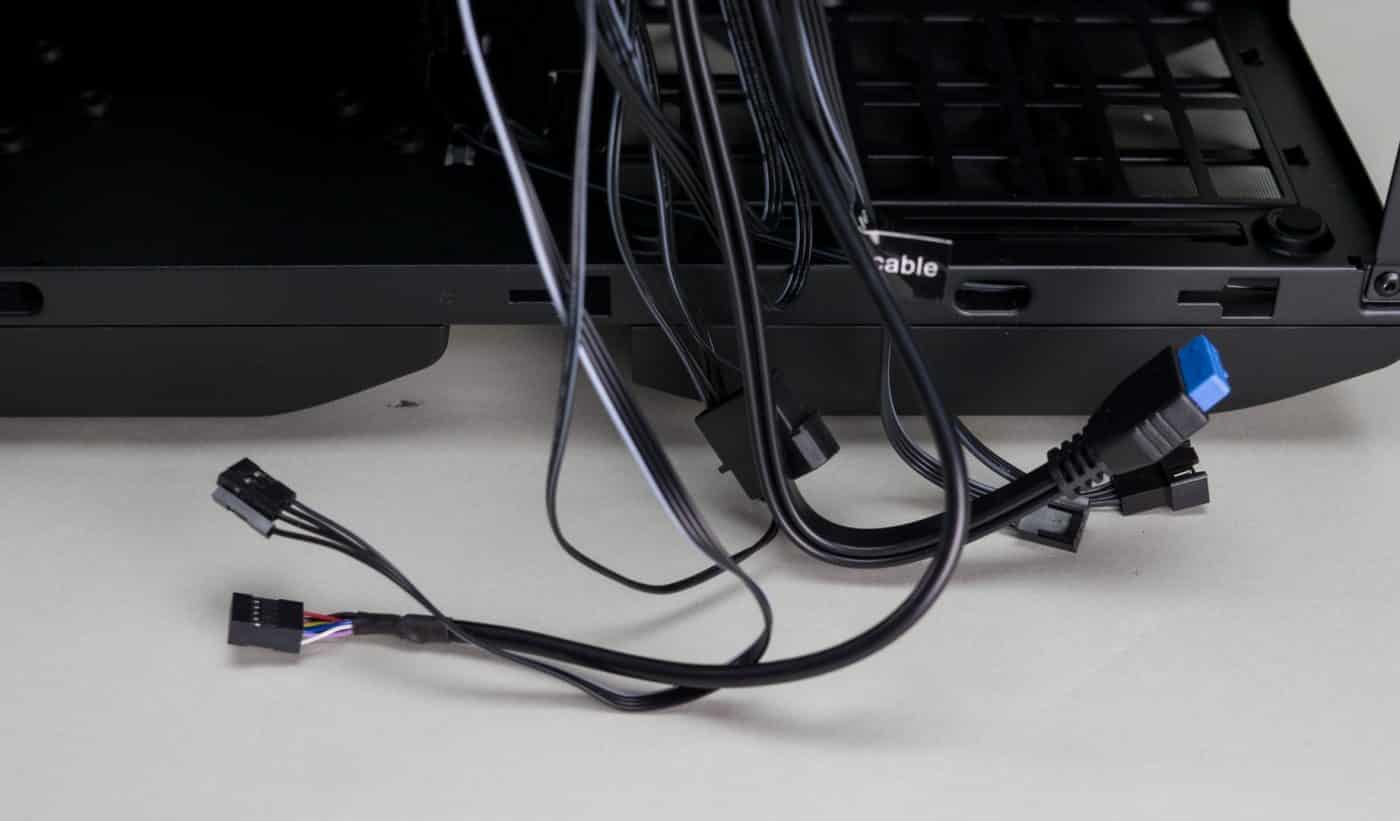
Dropping down we find a pretty spacious PSU area. There are rubber stands for even your longest power supplies. Directly in front of the stands are a couple of mounting locations for both SSDs and larger 3.5” HDDs. Of course using a longer PSU will start to take up space for cables but it’s nice that the room is there if you need it. Speaking of cables, the Manta comes with a horde of cables tied up on the back. These include a USB 3.0 connector, PWM cable, molex for the fans and LEDs, and the other standard connectors for the power switch, ETC.
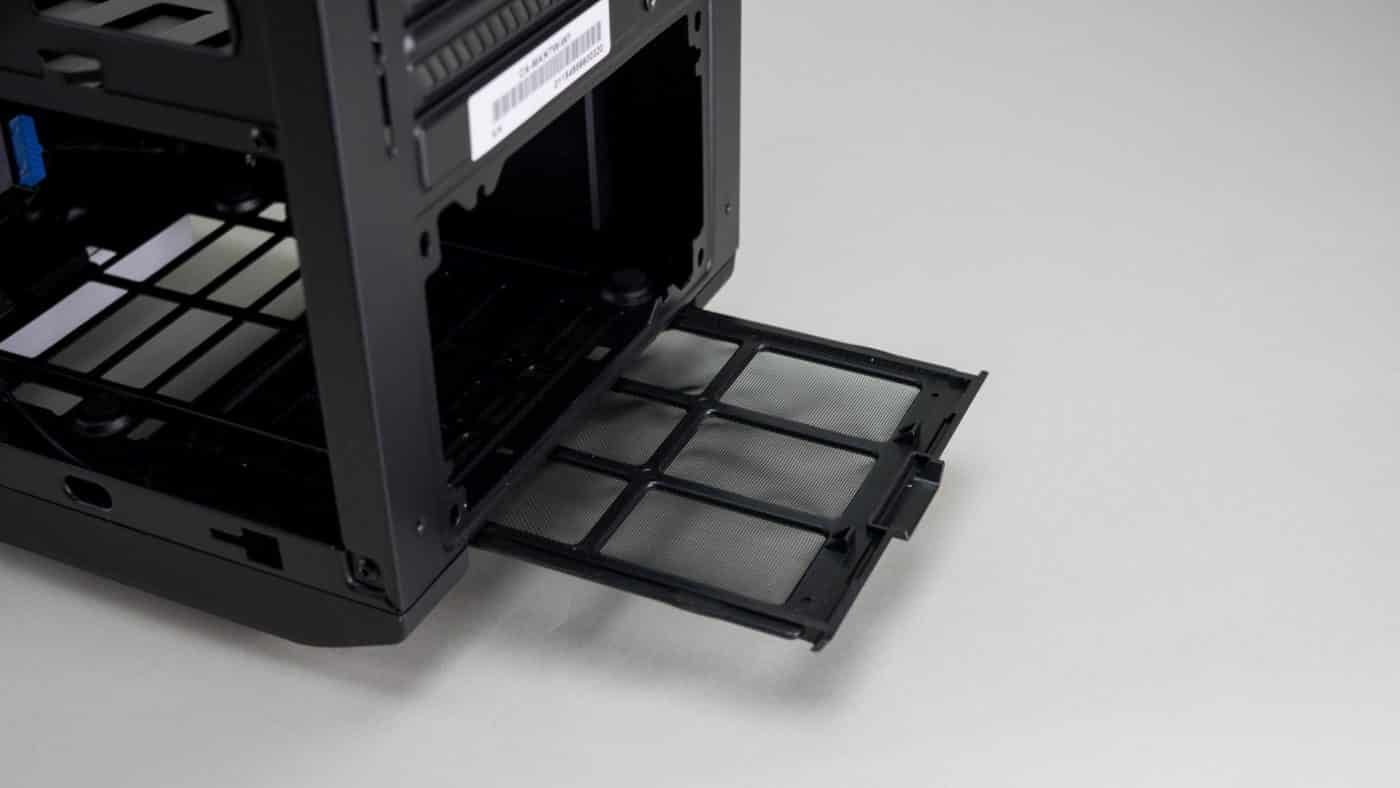
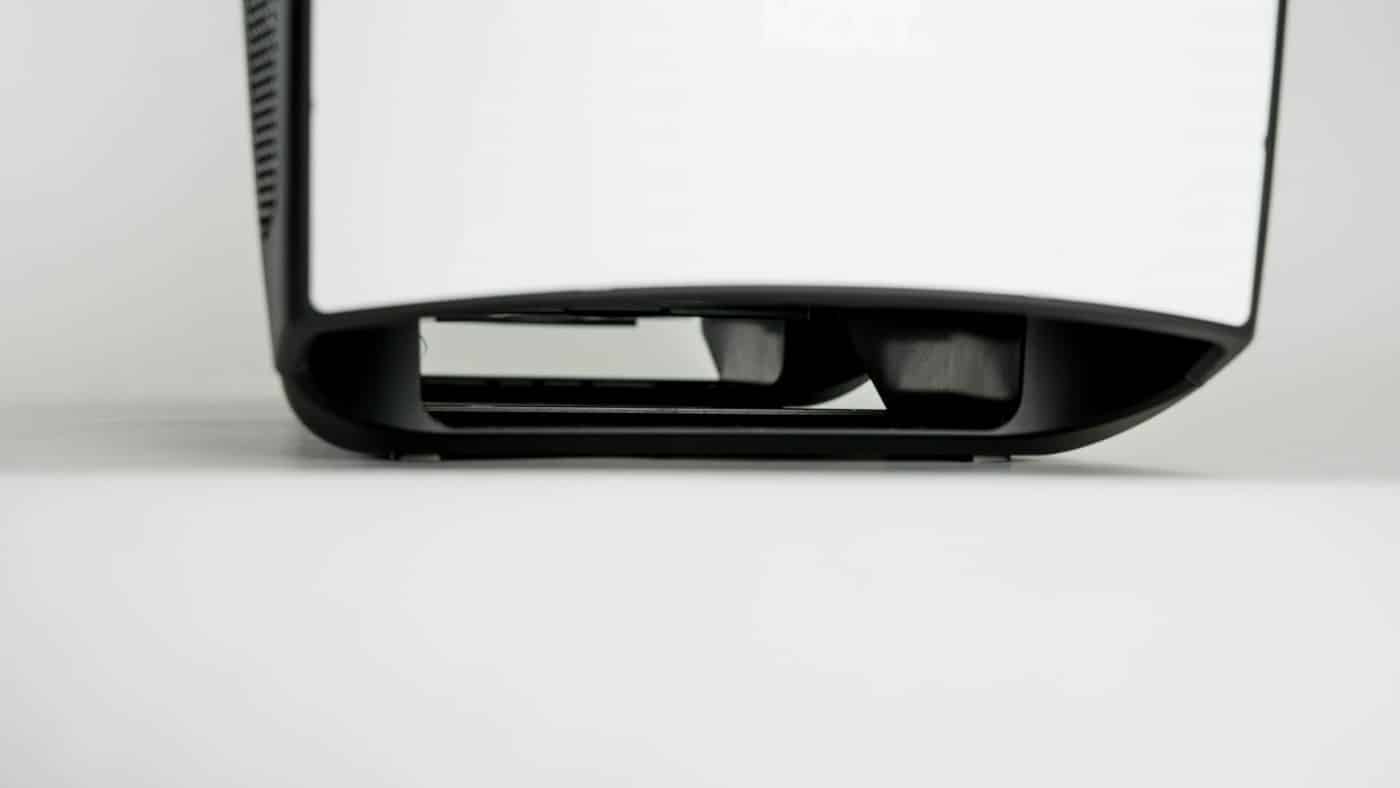
At the back bottom of the case you will find one of the Manta’s two dust filters, this one for the PSU. This pulls out easily away from the case. The case feet are really U shaped channels that lift the case up off your desk surface. There is actually quite a lot of room beneath the case and it really makes me wonder what kind of mods could one throw down there? The feet are secured with simple screws making their removal pretty straight forward if you so desire.
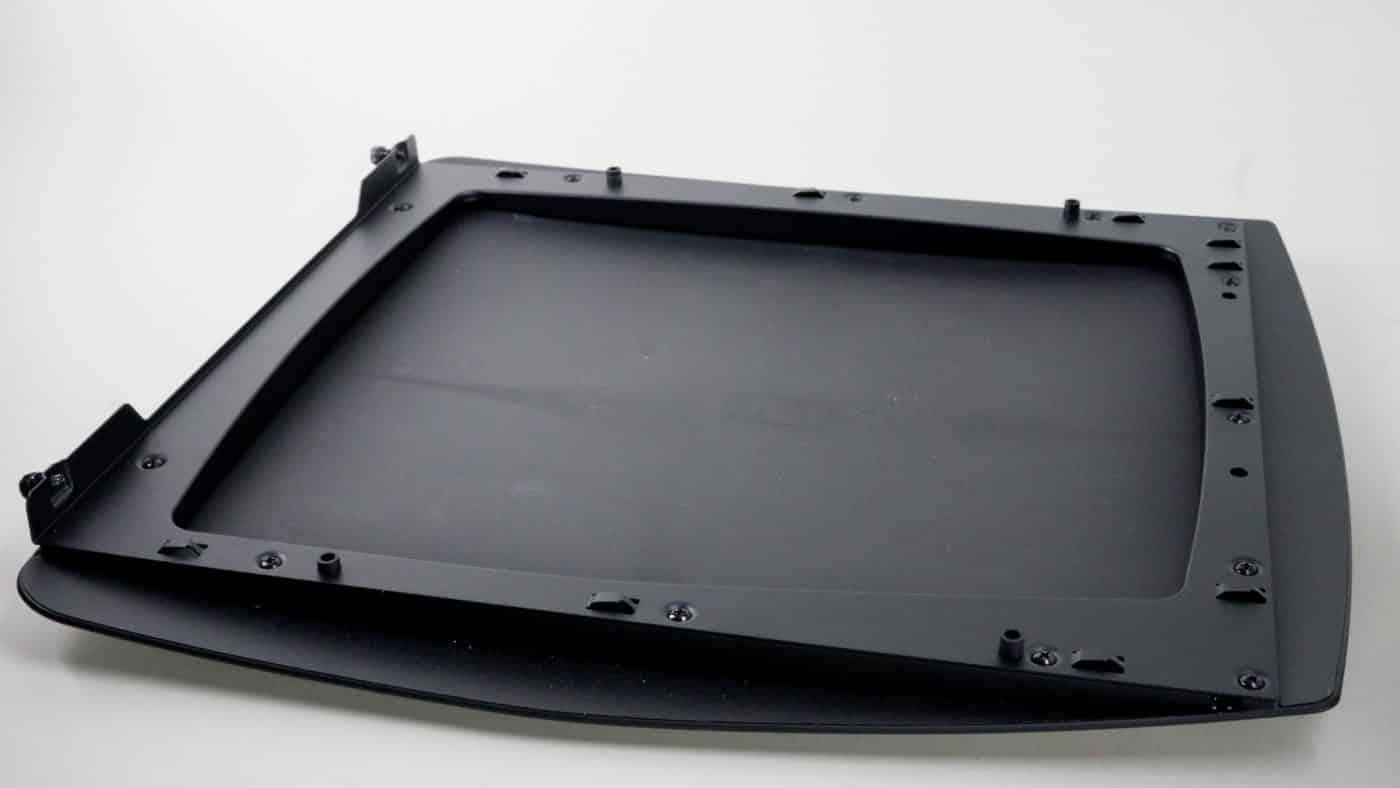
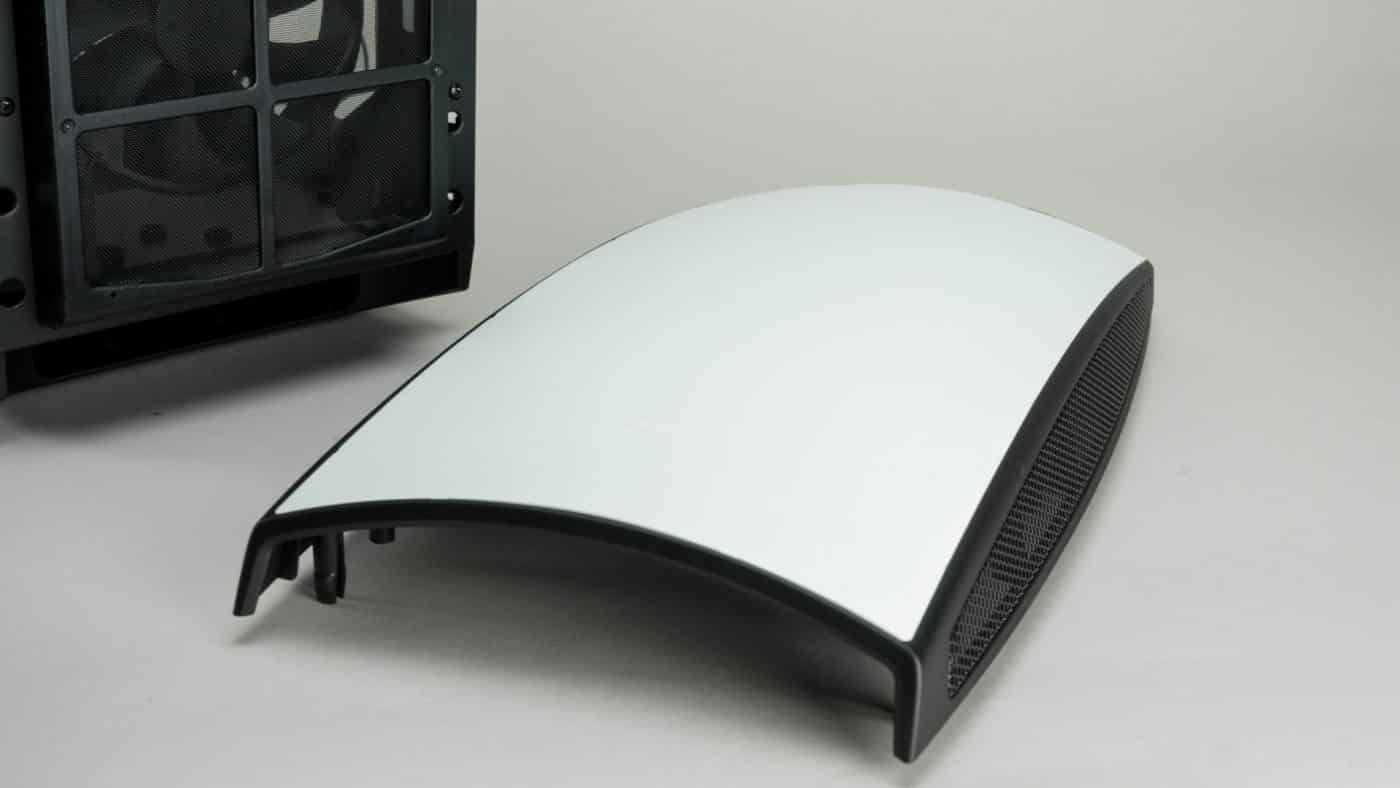
In order to access the front fans you need to remove the front panel. This is a very simple task, just pull out on the bottom of the panel and it will pop right away from the case. The panel is actually very deep and provides room for fans to be mounted inside it’s dished curve.
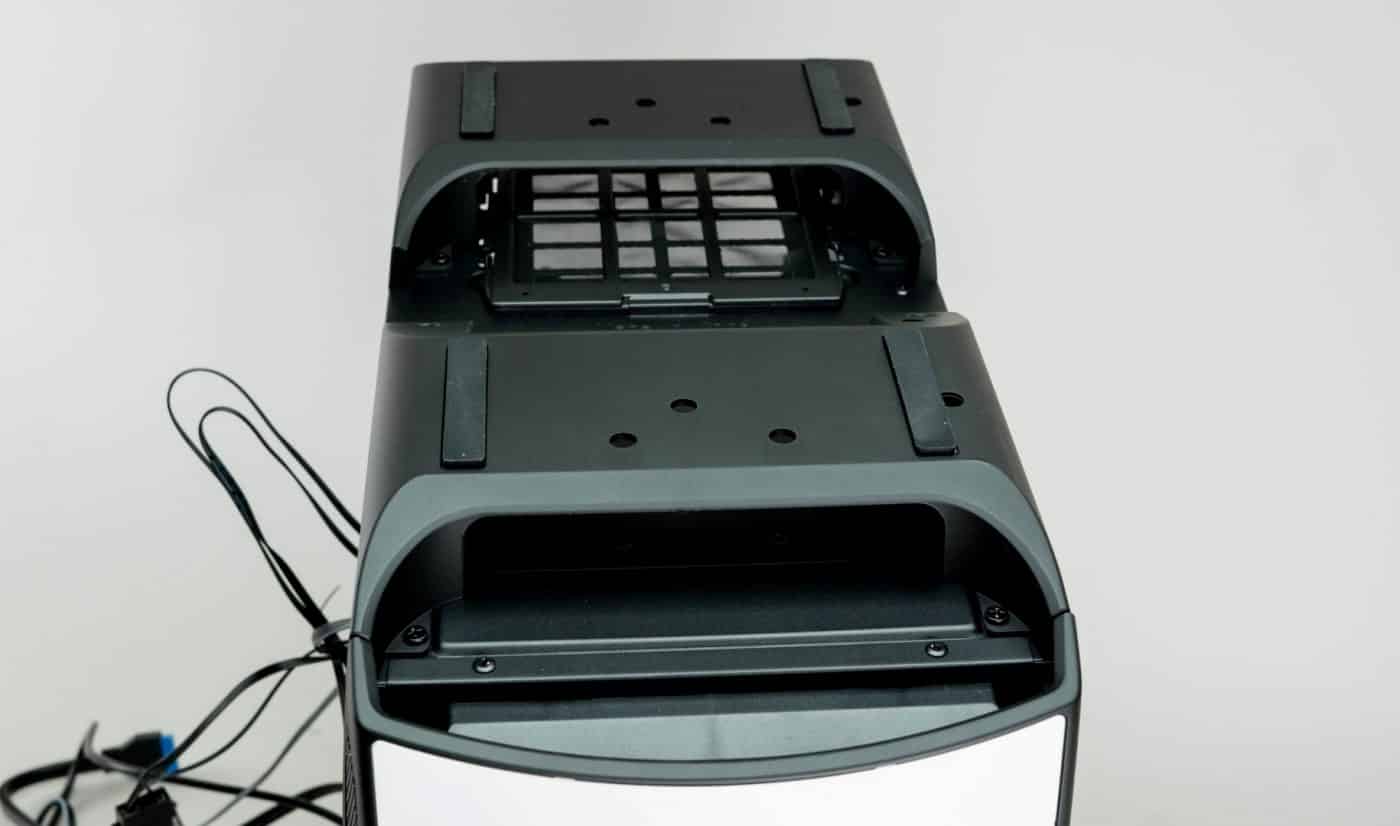
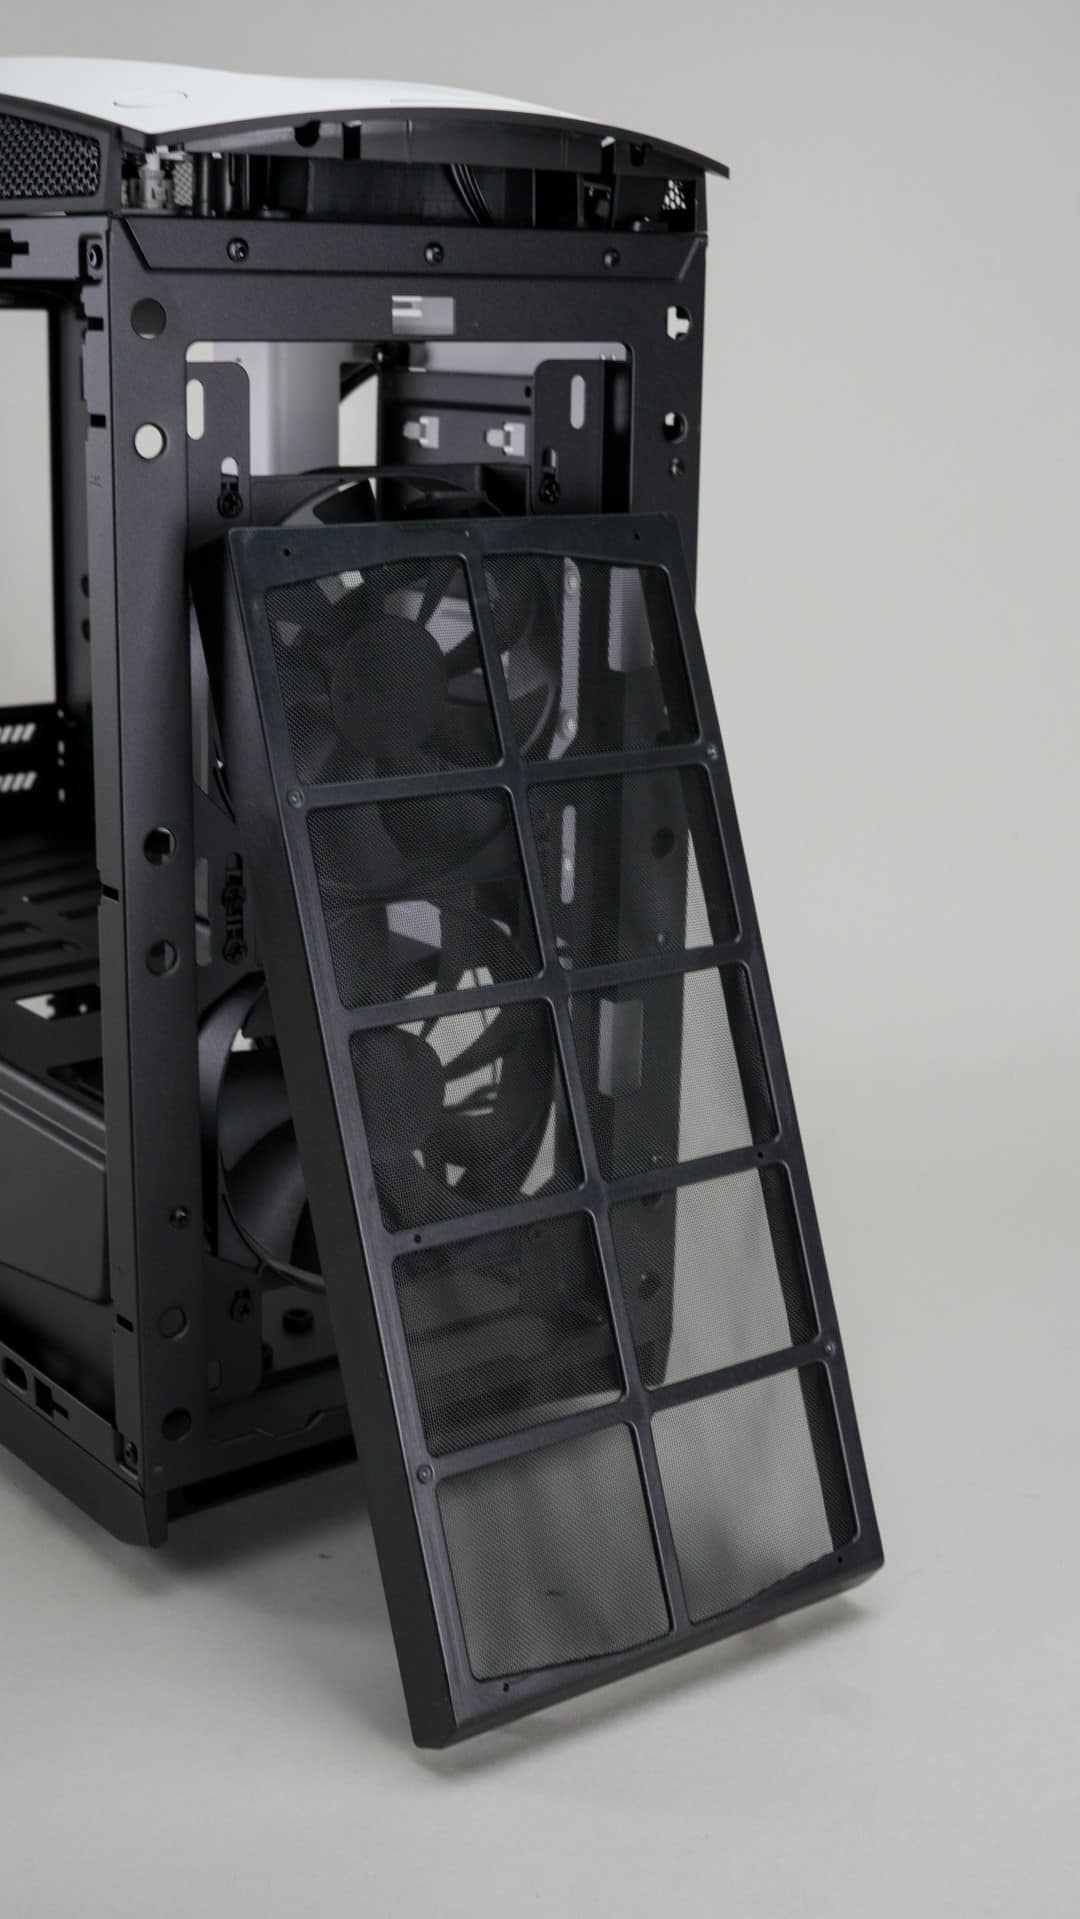
Before you can get at the fans you will find a single large dust filter that covers the entire 280mm fan mounting area. This single filter is really nice as you can easily remove it for cleaning. As you can see from the photo, behind the filter are the front mounted fans. These can be moved from the inside if needed and mounted directly beneath the filter on the outside to provide more radiator room.
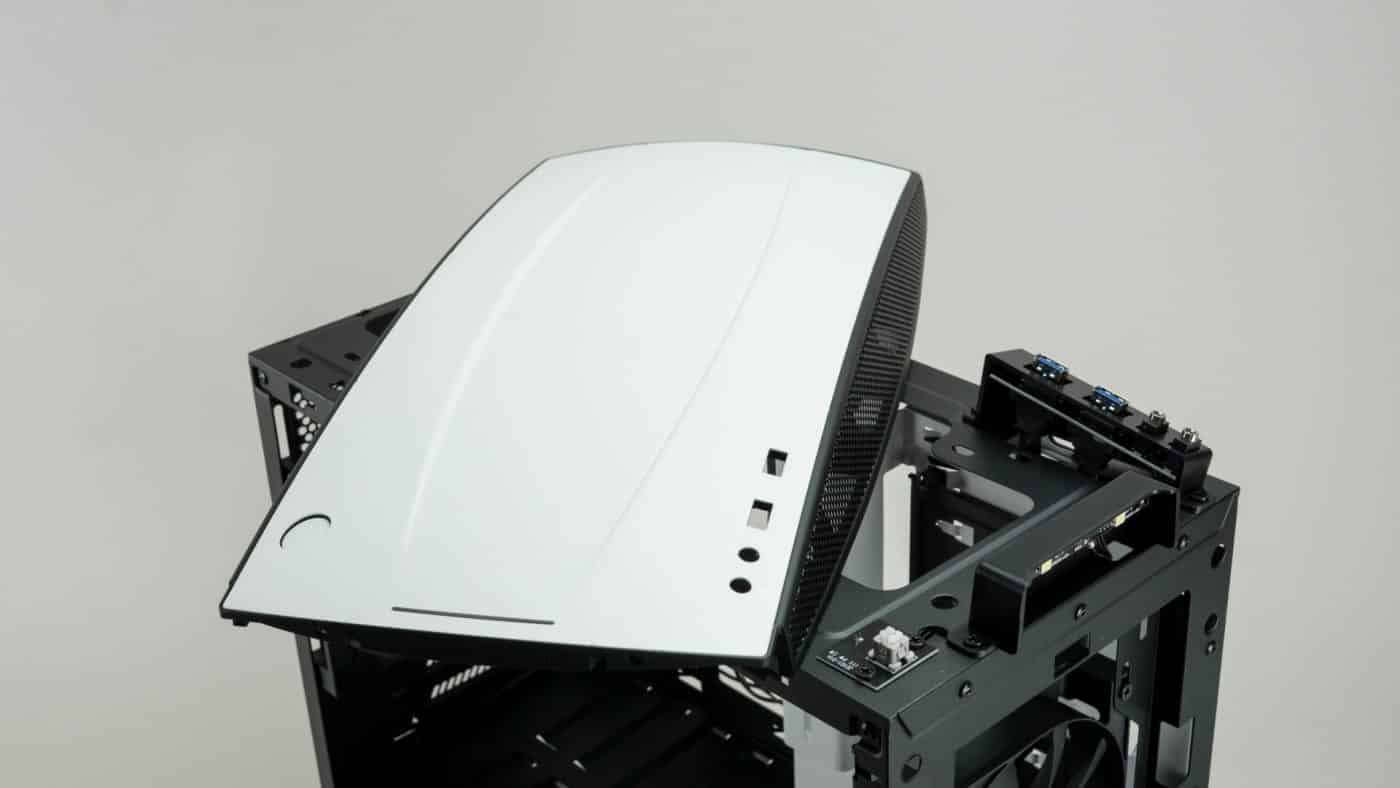
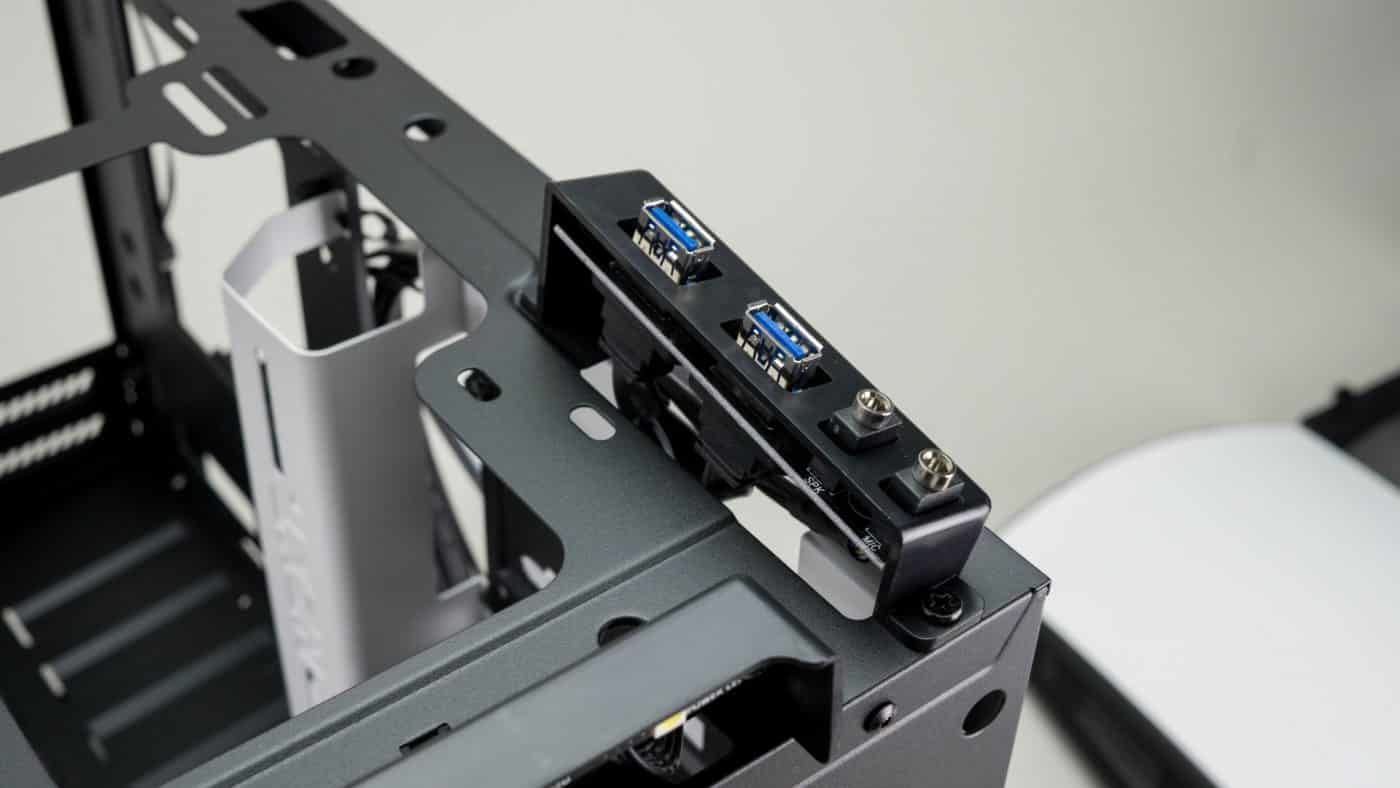
With the front panel removed the top panel comes off the same exact way. It is very similar to the front panel with a deep curved design. Under the top panel are the boards for the I/O devices, the LED housing, and the Power switch. Of course you also find the top of the chassis with mounting room for up to a pair of 140mm fans.
With all the panels back in place, the Manta is really quite the striking case.
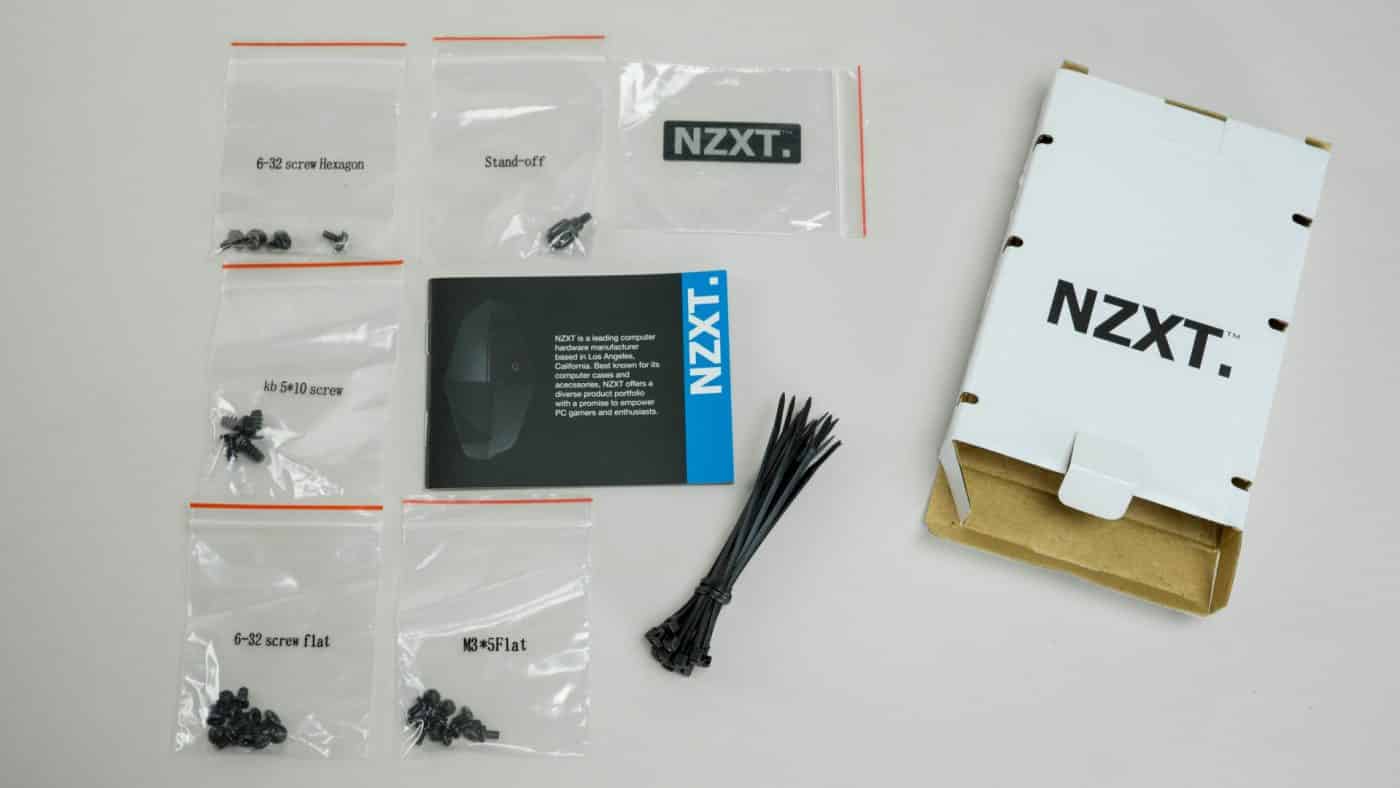
Included is a small white box of accessory parts. You will find a brief product guide, a case badge, zip ties, and several sets of screws for installation.