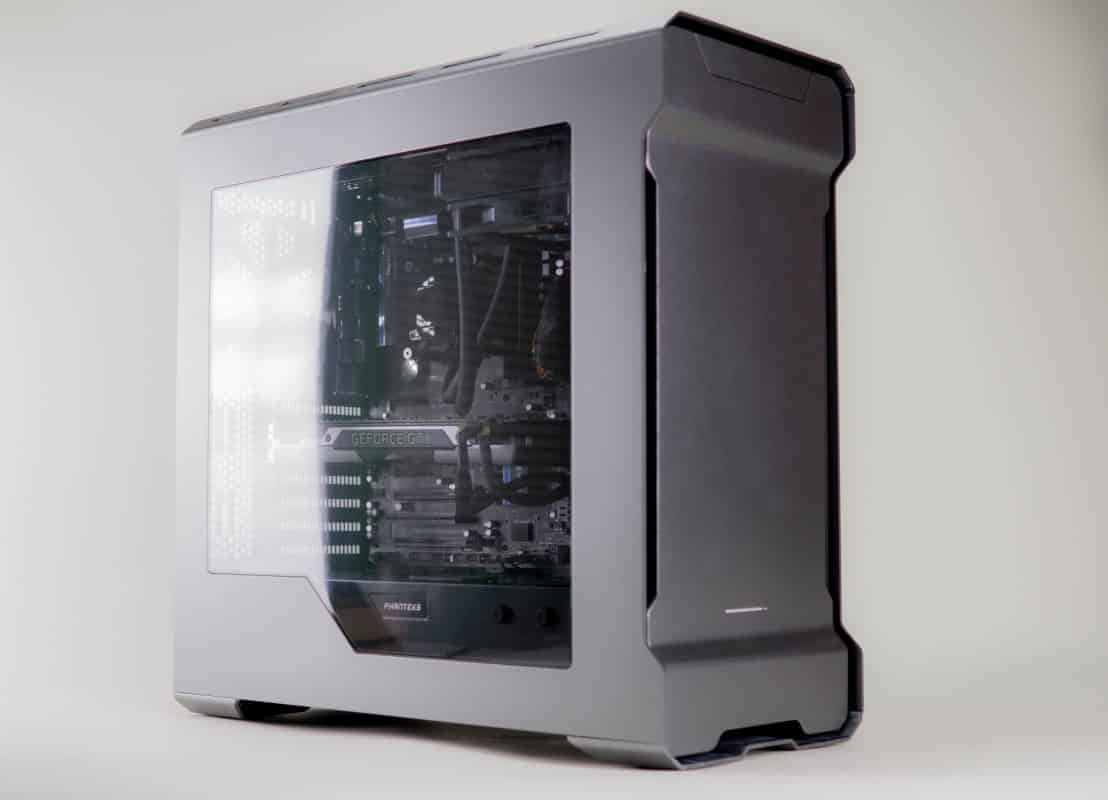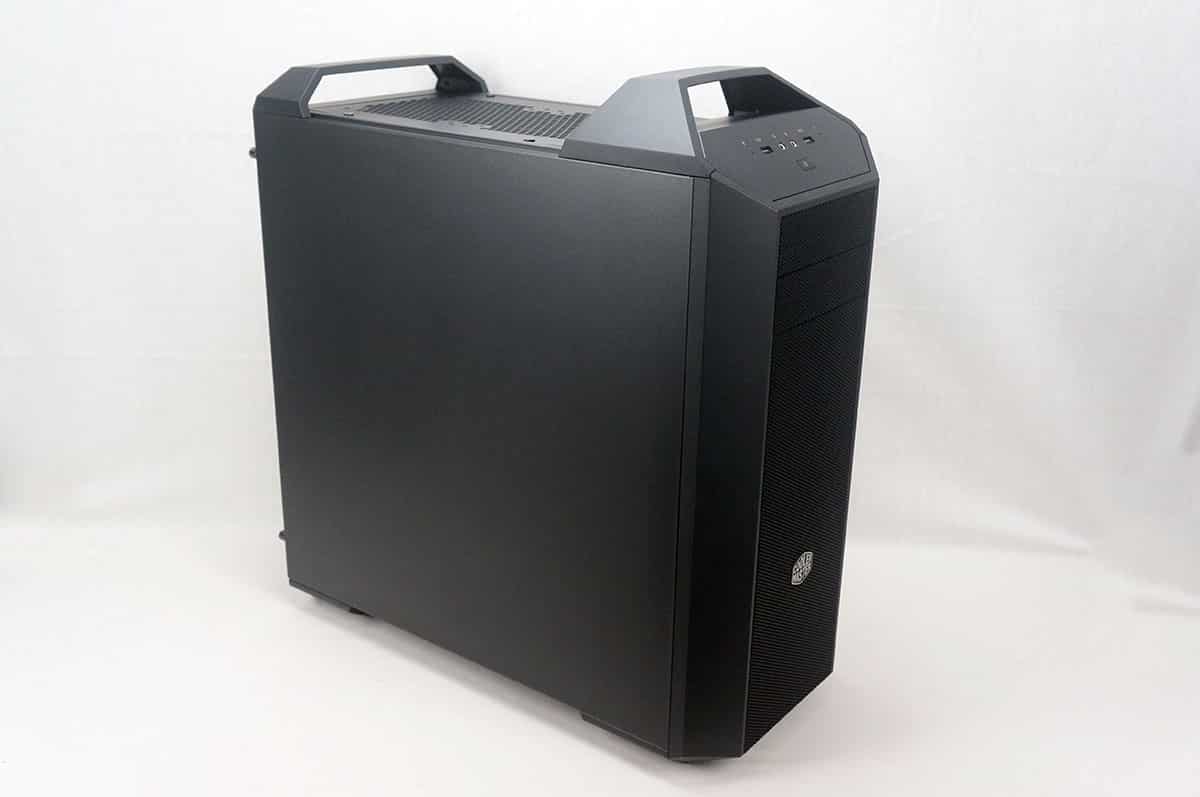
Installation
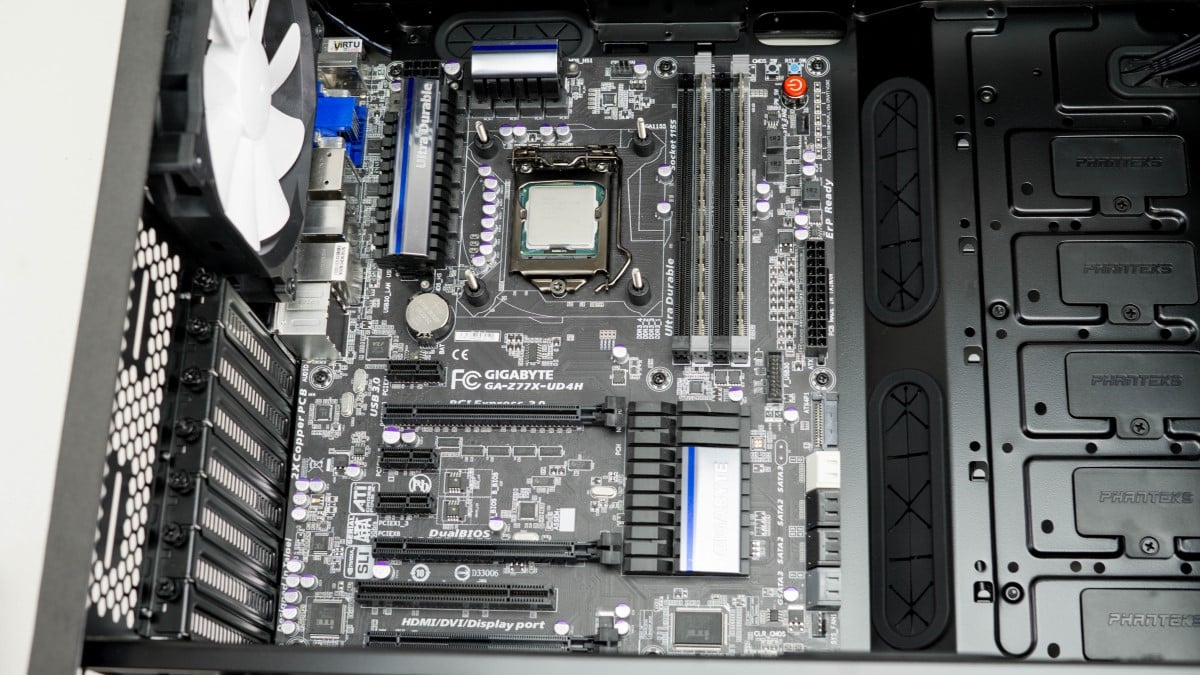
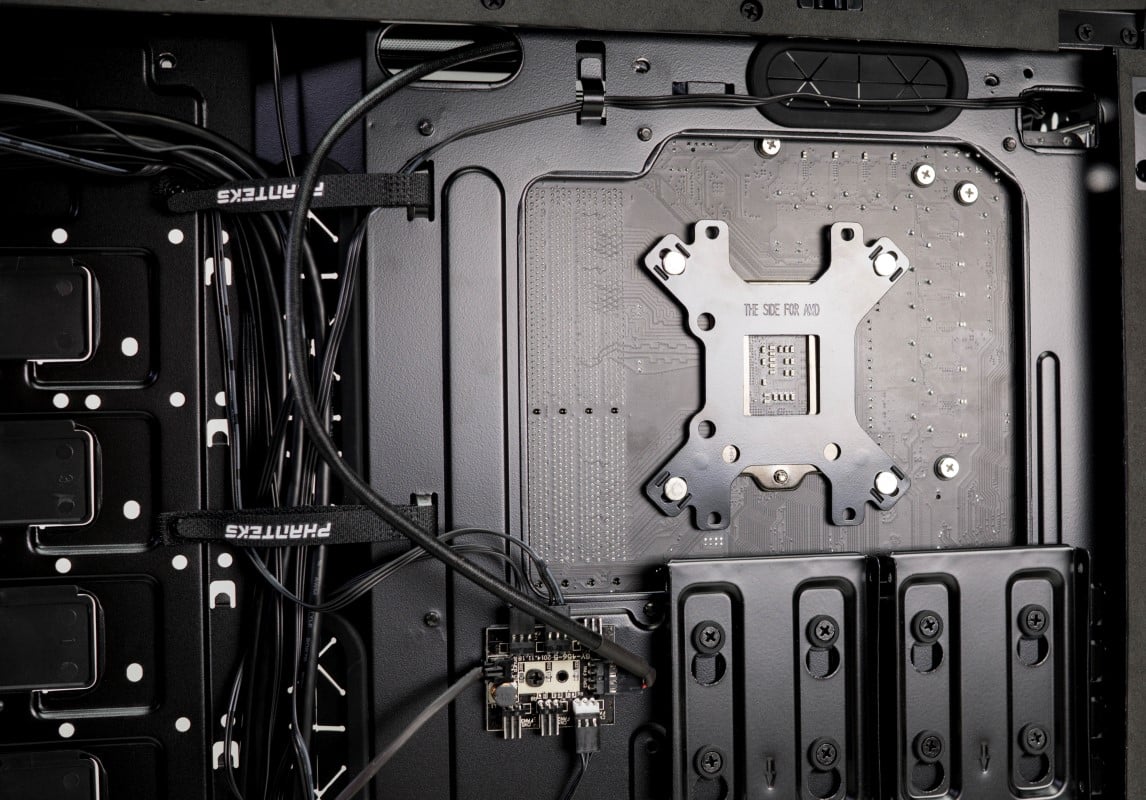
With such and open installation space I fully expect this to be a breeze. Let’s go ahead and get started shall we. First things first, snap the I/O cover into the opening. Now we can set our full ATX motherboard into place, the standoffs are already set in the correct holes which is convenient. The use of standoffs with edges that slot into the motherboard holes is really nice as it holds the board in place. We already have the back plate and stand offs installed for the AiO cooler that we are going to use, but if we didn’t there would have been plenty of space from the cut out to do so with the motherboard still attached.
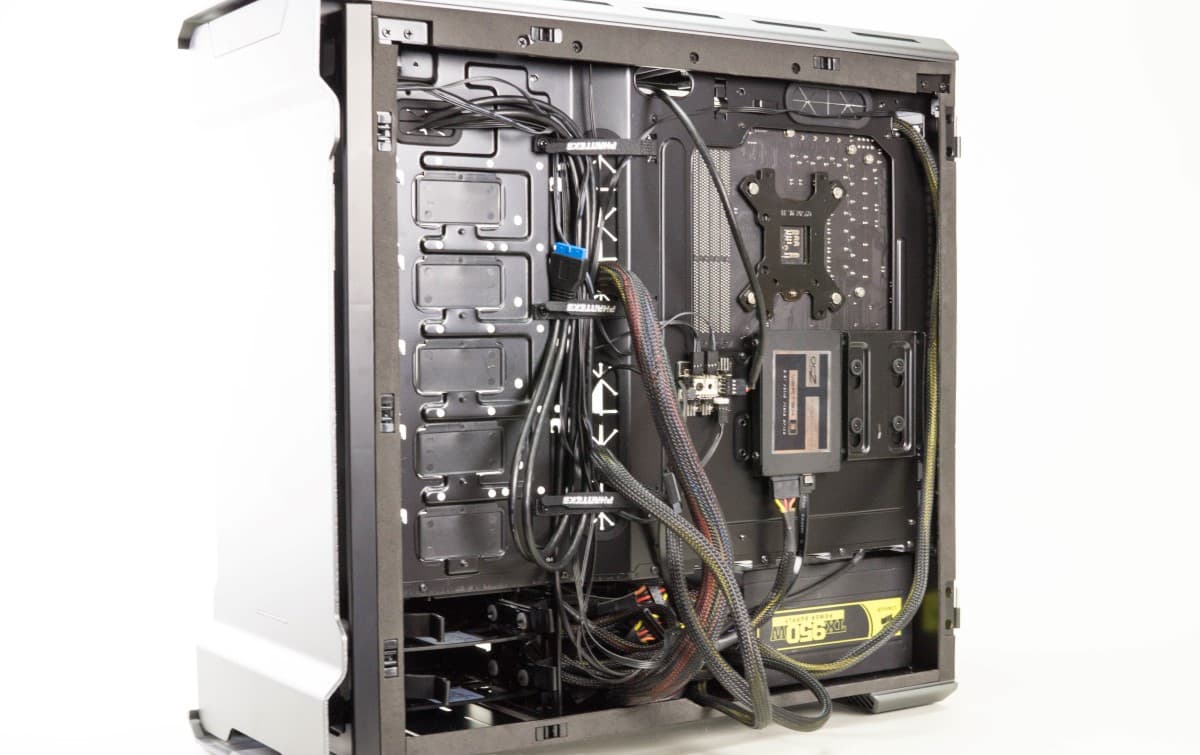
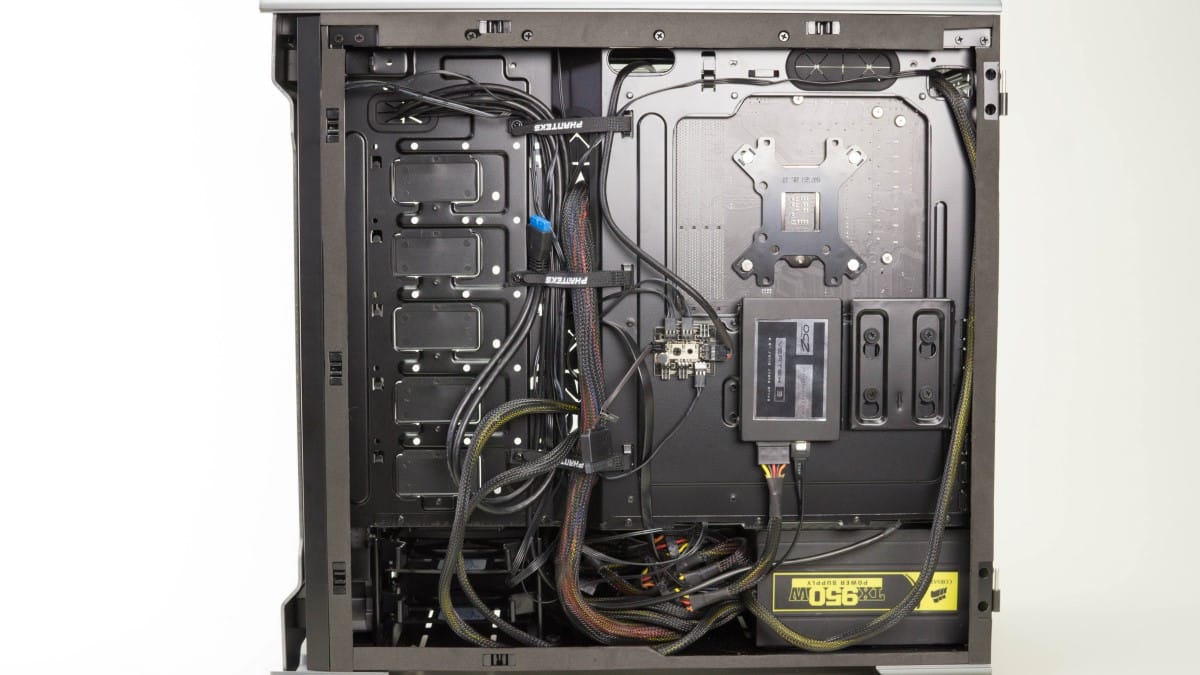
For this build we are using the hardest PSU to install; a full size non-modular Corsair unit, this might get a little tight. The PSU slides right into place and is easily secured to the back of the case. The non-modular cables could easily be a challenge for a poorly designed case. We’ll find out after we get done with our cable routing.

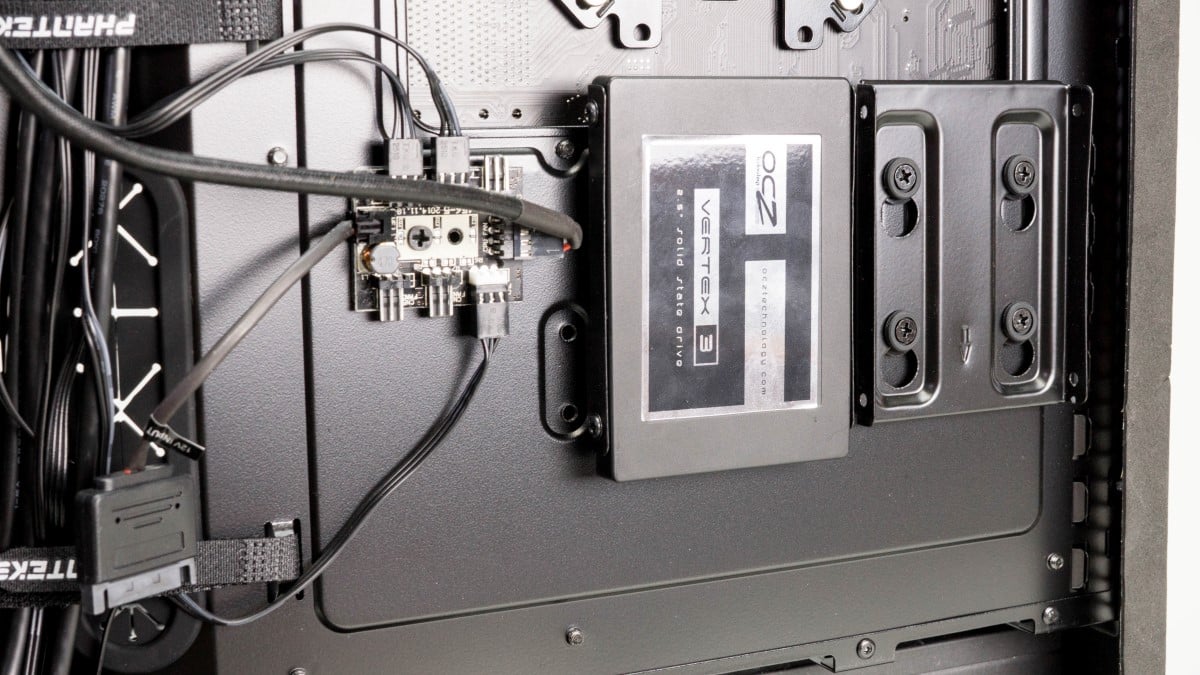
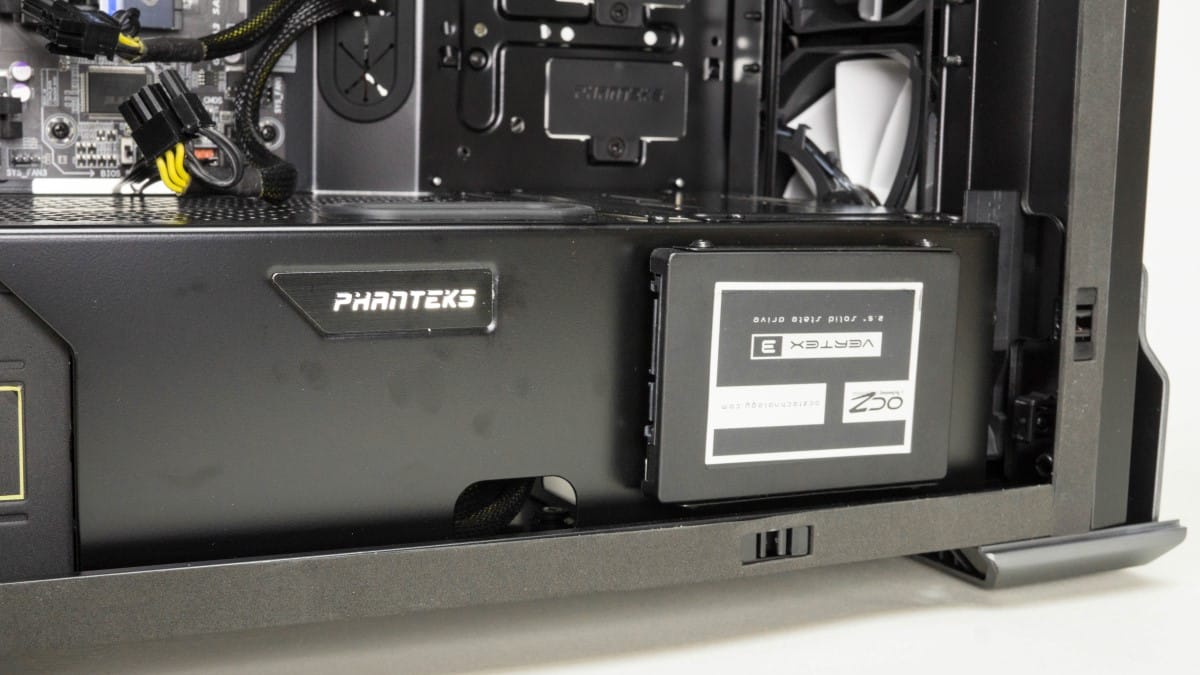
Installing the SSD is done simply by removing one of the brackets and screwing the drive into place with four screws from the accessory case. Once secured, snap it back into place.


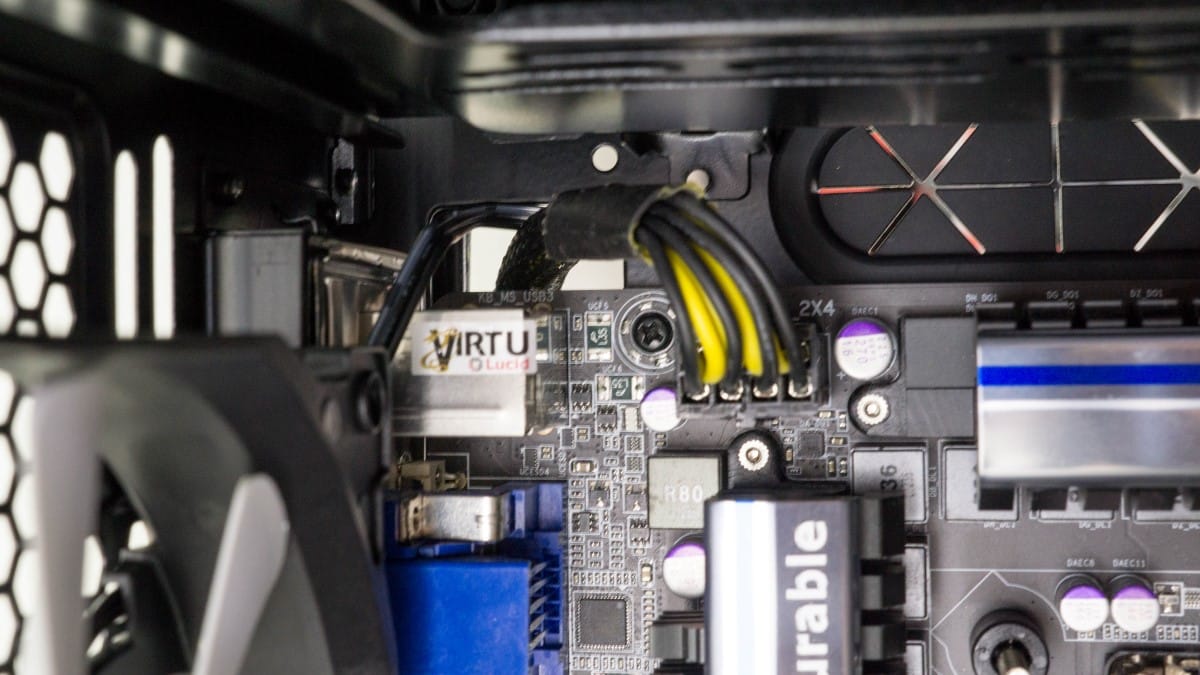
We’ll start with the cable routing now. Unfortunately we found that the cutout for the 8 pin CPU power cable is partially blocked by the motherboard. Eventually we were able to get it in by separating the two halves. This might be an issue on some PSUs though and something to keep in mind before you get to far into your installation. The rest of the cable routing was incredibly simple. All the extra cables were easily bound up and stashed in the extra space near the PSU. The one thing I do wish Phanteks had including was a cable tie along the 8 pin route. It isn’t in the way, but is loose and I don’t like that.
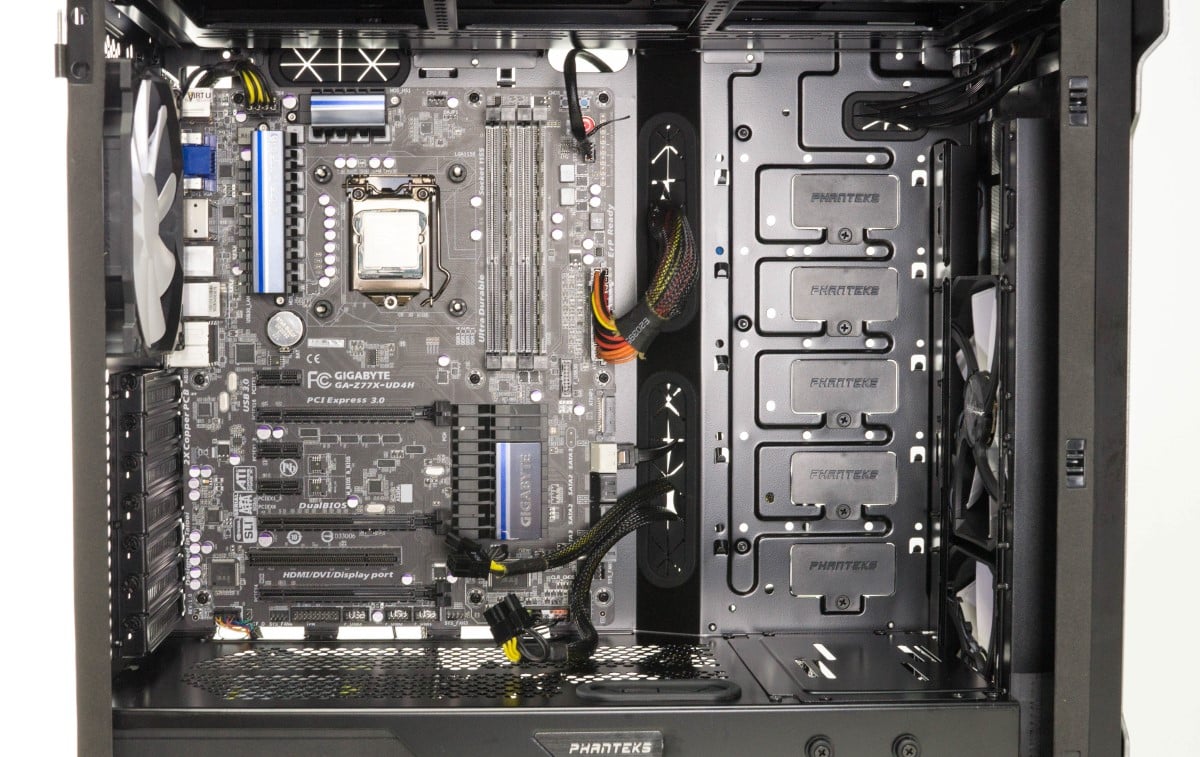
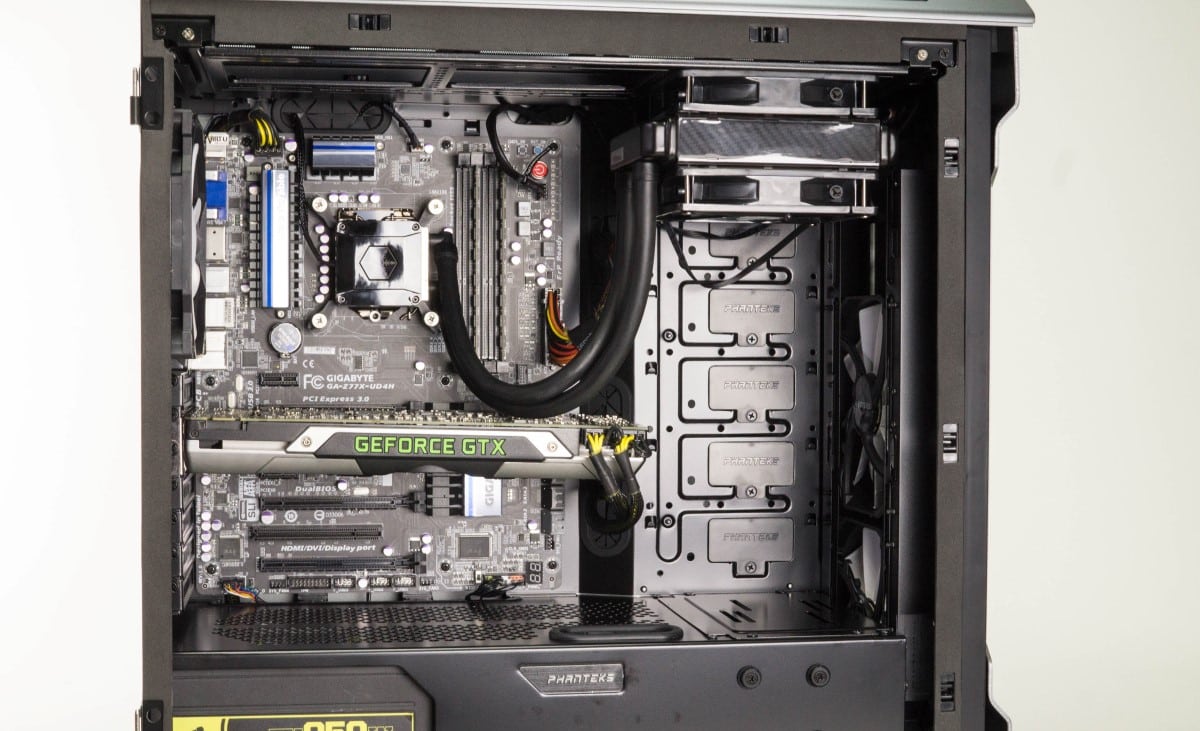
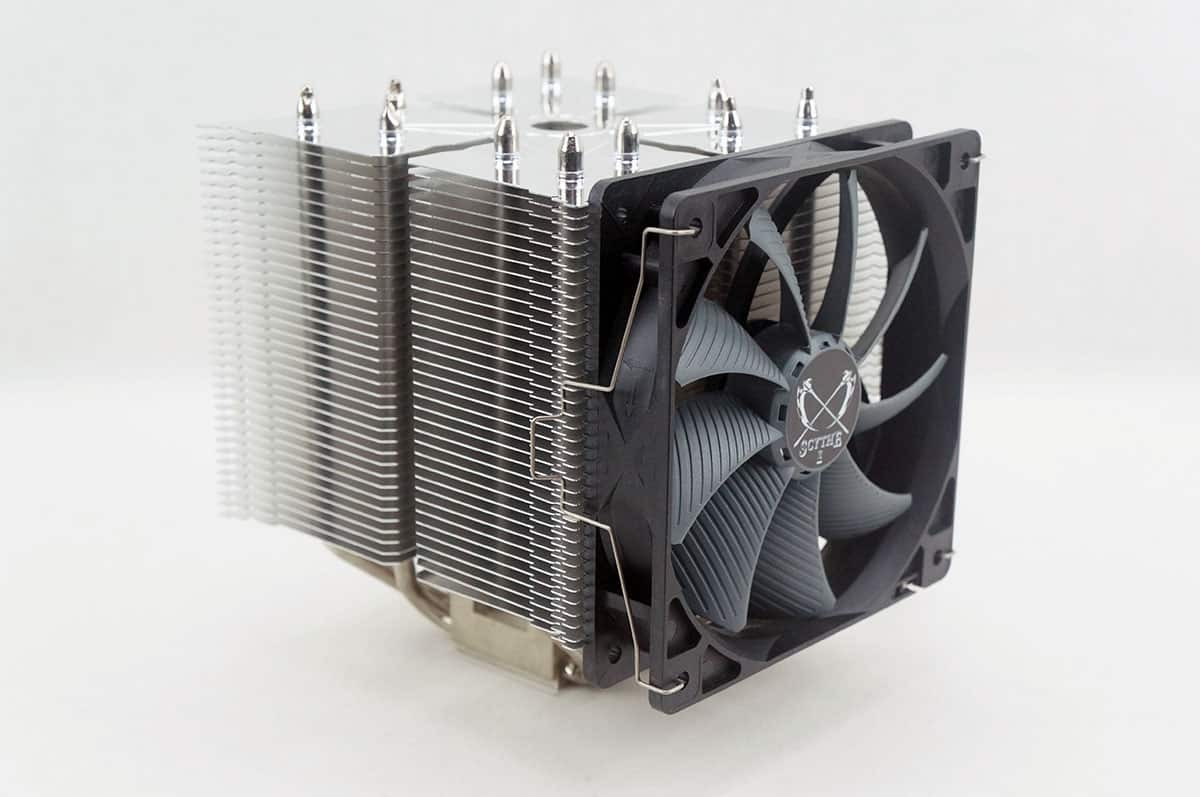
Most of the main components are now installed and we can begin to finish off the installation. First let’s get our CPU cooler installed and ready to go. We are using a Silverstone TD03-E 120mm AiO water cooler with 120mm fans in push/pull. It’s a pretty thick radiator as well and should give a good demonstration of the kind of space we have. Removing the five screws pull the radiator bracket from the top of the case. We already have the bottom fan attached to the radiator, now we just need to attach the other side to the bracket. Aligning the bracket with the fan and attaching screws is completely painless.
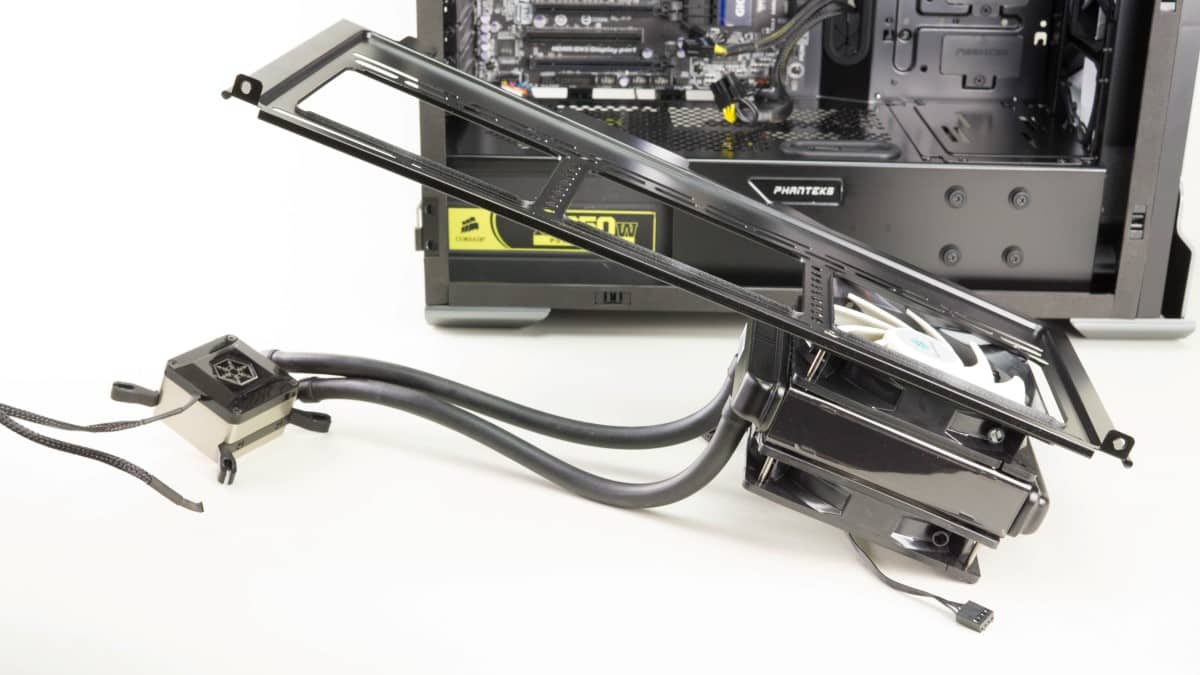

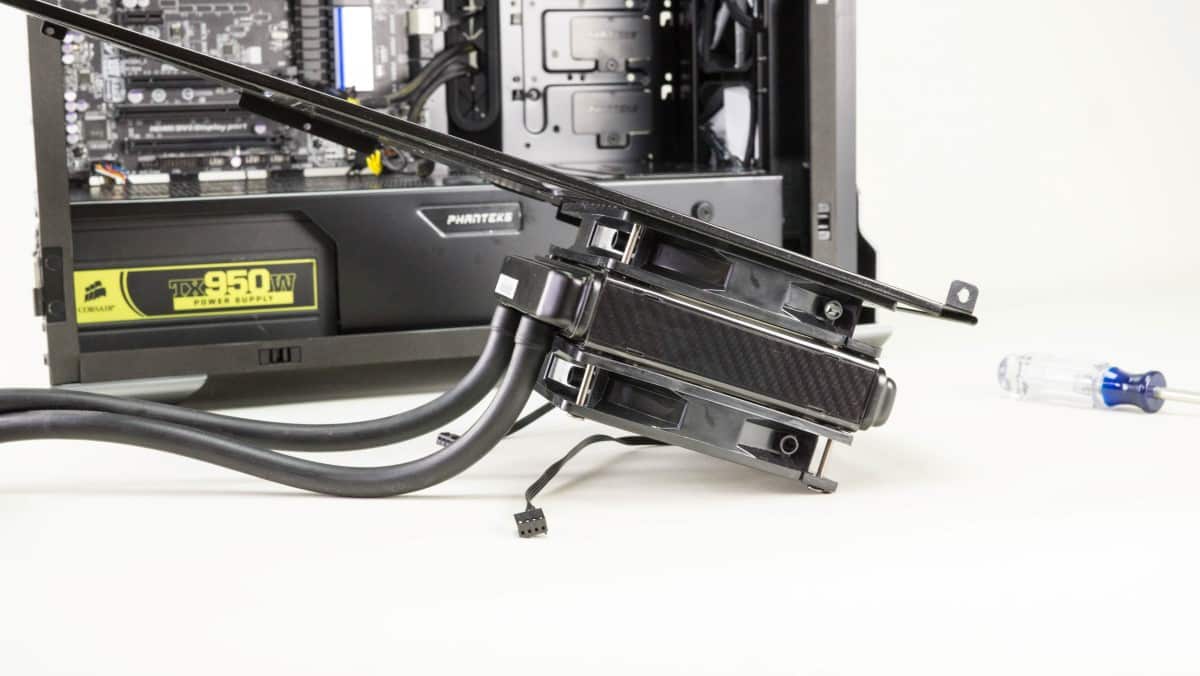
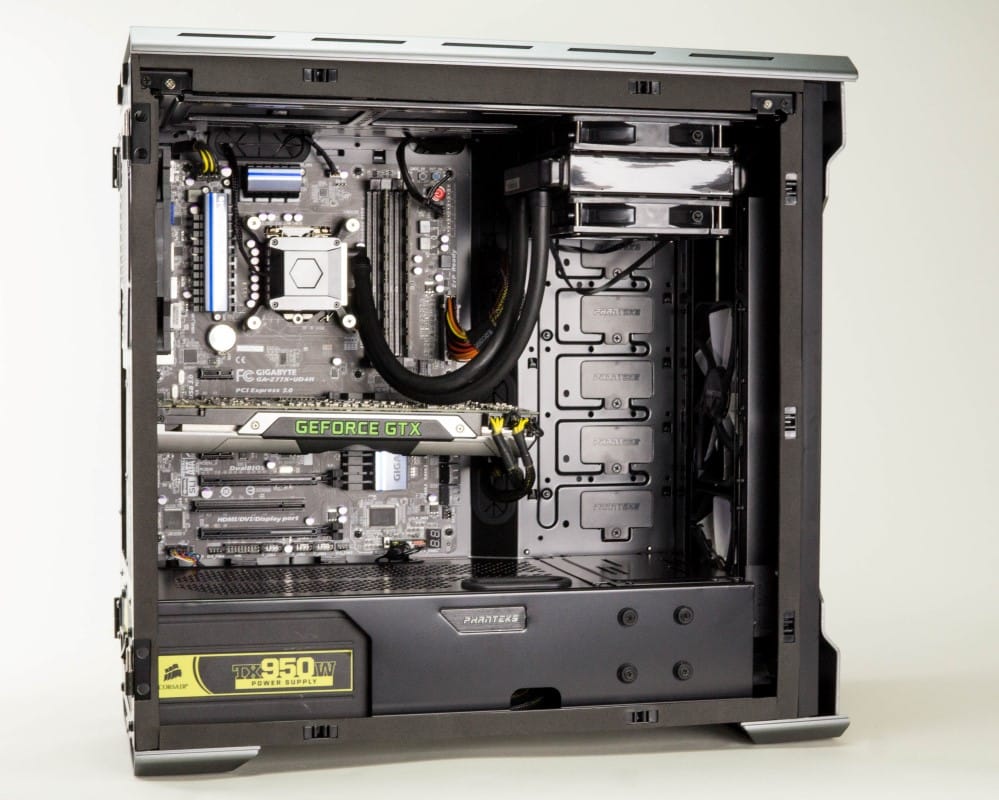
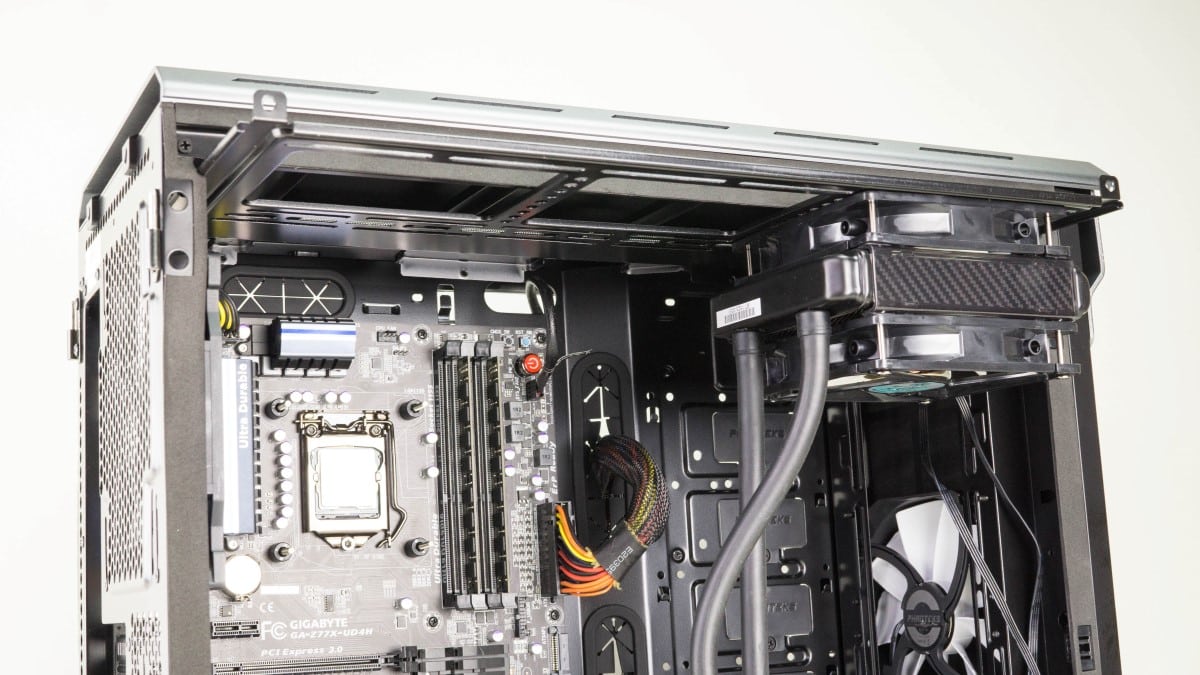
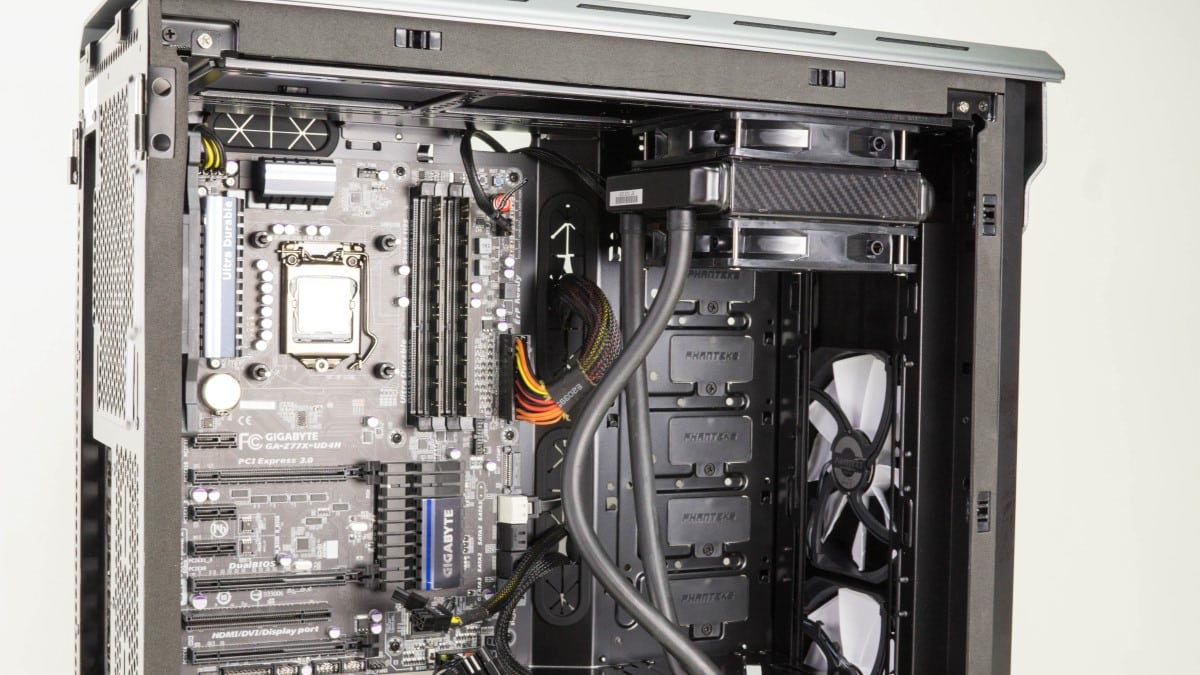
Once all four screws are attached the bracket can be slid back into the case and secured once again with the five silver screws. Putting the radiator in the far fan space on the bracket really spreads things out and helps to keep the interior of the case looking clean. There was plenty of length in the AiO tubing to attach the pump to the CPU with ease. One thing you will notice is that a thick radiator with dual fans will drop down below the top of the motherboard. This would normally be a problem, but not so for the Evolv ATX. The case had plenty of width and the bracket is offset towards the window keeping it away from the motherboard and ram.

Although we installed our SSD in the back of the case for simplicity, it is also just as easy to run the cables to the front of the case through the dedicated SSD pass through and install it there. The same mounts that are found on the back are placed up here as well.
Well go ahead and throw our largest GPU on hand into the build just to demonstrate the kind of space you have. Our EVGA GTX 690 is about as long of a GPU as you can get. As you can see there is really no size limit when it comes to your choice of GPU as there is ample room left over in our build.


With the GPU installed the build is now complete. Time to plug in a power cable and see if you did it right. Thanks to the huge amount of space in the interior of this mid tower, the result is one of the cleanest installs possible. This case really takes the headache out of building a computer that also looks good inside.