Setup & Lighting
Getting the Razer Nommo speakers set up is pretty easy. Set them up on your desk and connect the two speakers together and then connect the USB cable from the right speaker to your PC. This cable is pretty long so you shouldn’t really have to worry about it not reaching your tower. Finally plug in the power cable and you’ll be good to go. With the speakers powered on Windows will automatically recognize them and install the appropriate drivers, after which time the Razer Nommo will appear in your audio devices.

From here you could just use the speakers as they would function no problem, but if you wanted to do any customization you’ll need to install Razer’s Synapse software. With the software installed we can click into the Nommo settings. On the main page we have an overview of the speakers showing what the two buttons do, a volume slider, and pre-set equalizer settings for Default, Game, Music, and Movie.

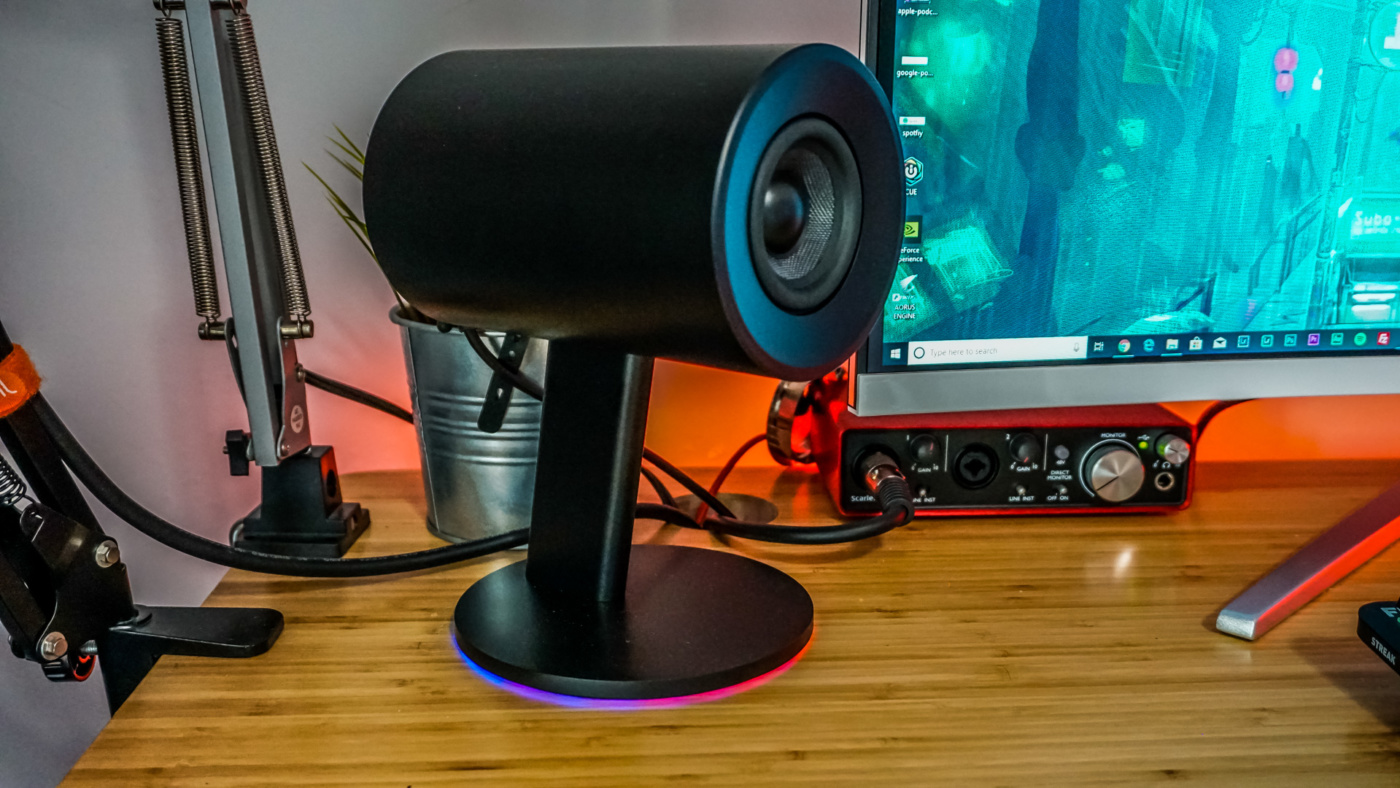
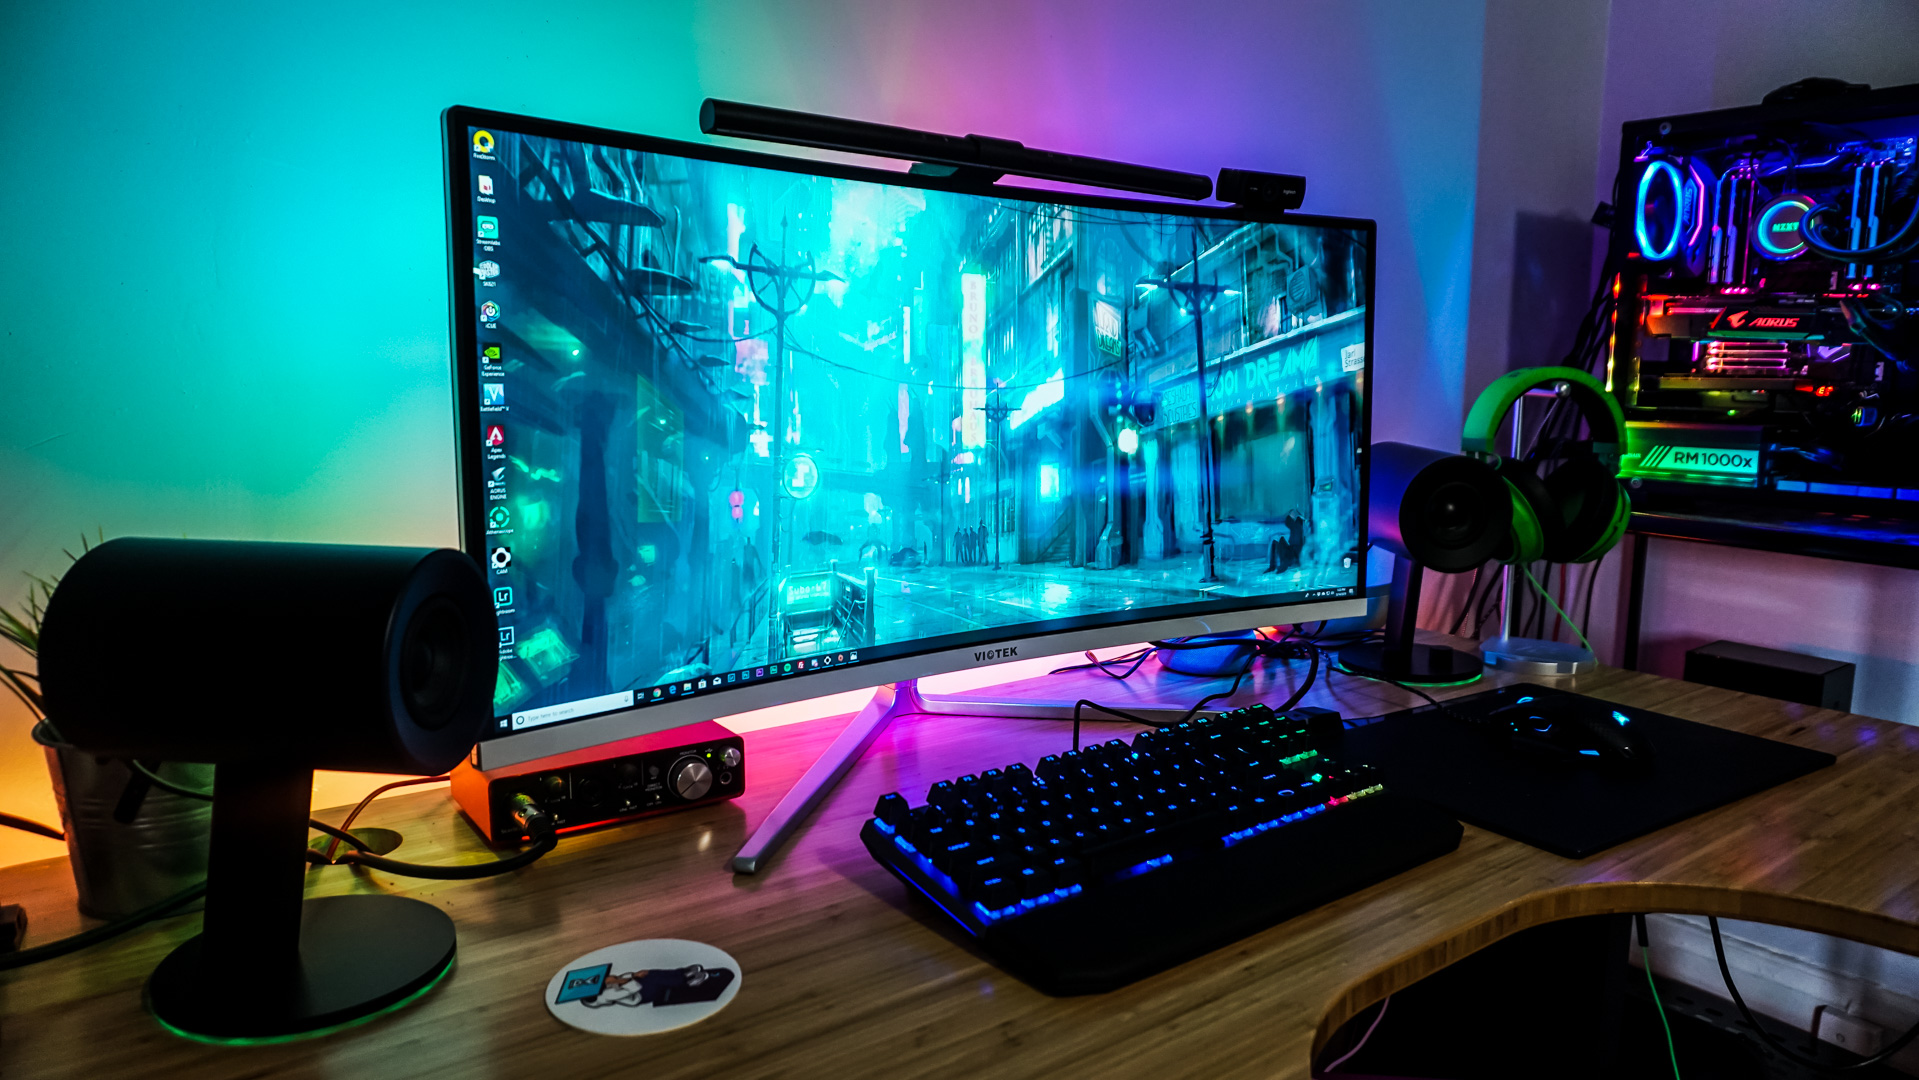
Moving over to lighting we can adjust the brightness of the RGB lighting on the base of the speakers. We can also set the lighting to turn off when our display turns off. As far as RGB effects go there are a handful of “quick effects”, but you can go into Chroma studio to create your own advanced effects. These speakers also work with Chroma Connect so if you have a compatible game the lighting effects will reflect what is going on in the game.

While you might not be a fan of the RGB craze it is pretty cool that there is customizable RGB LEDs on these speakers. It just adds more to your setup and if you have other Razer devices you can match all of the RGB effects so they are the same. It is also nice that you get a visual indicator (via RGB LEDs) of the volume and bass levels when you adjust them.