Usage & Testing
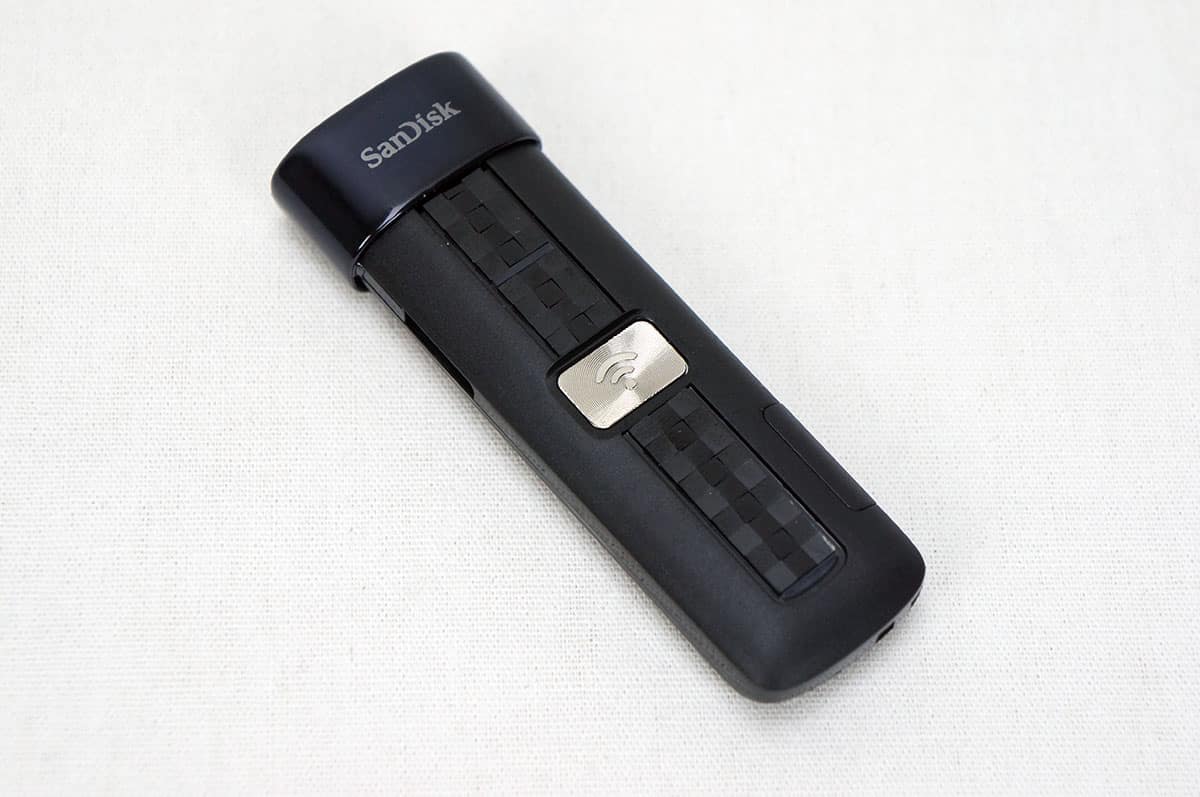
So before you start using the wireless function of the drive I would go ahead and charge up the device. It can be charged by simply plugging it into an open USB port or even a USB charger. Once the drive is charged up you power it on by pressing the larger button in the center of the drive. Both of the LEDs on the drive will flash to let you know that the drive is online.
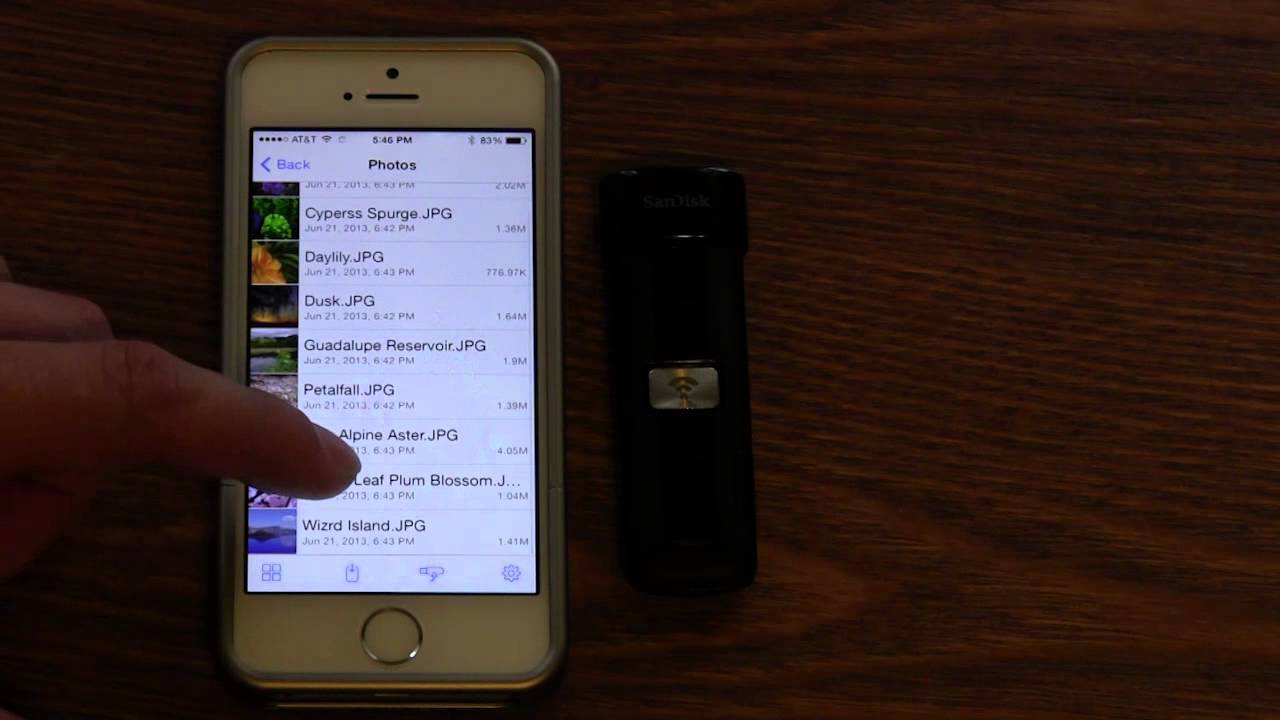
This drive is mainly made to be used with mobile devices. SanDisk offers their Wireless Flash Drive app for both Android and iOS and it is very easy to find on the app store. Below is a video showing you how easy the app is to use.
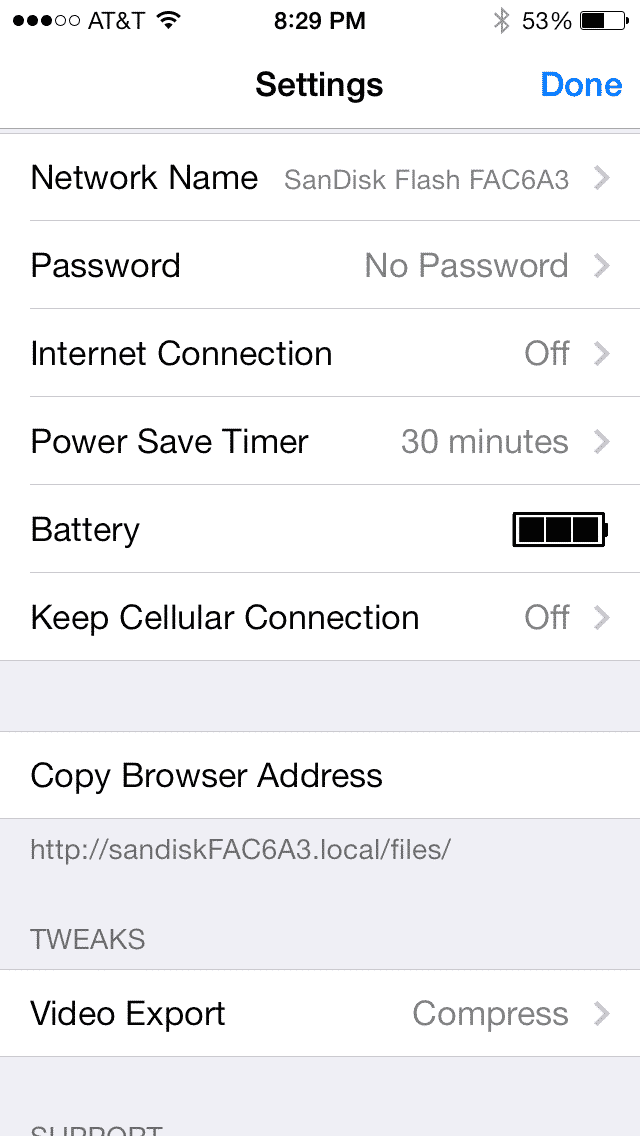
One thing that I did not cover in the video was the settings menu. This allows you to change various different settings within the drive like set a password and even connect to another WiFi access point so your device can still use the internet.
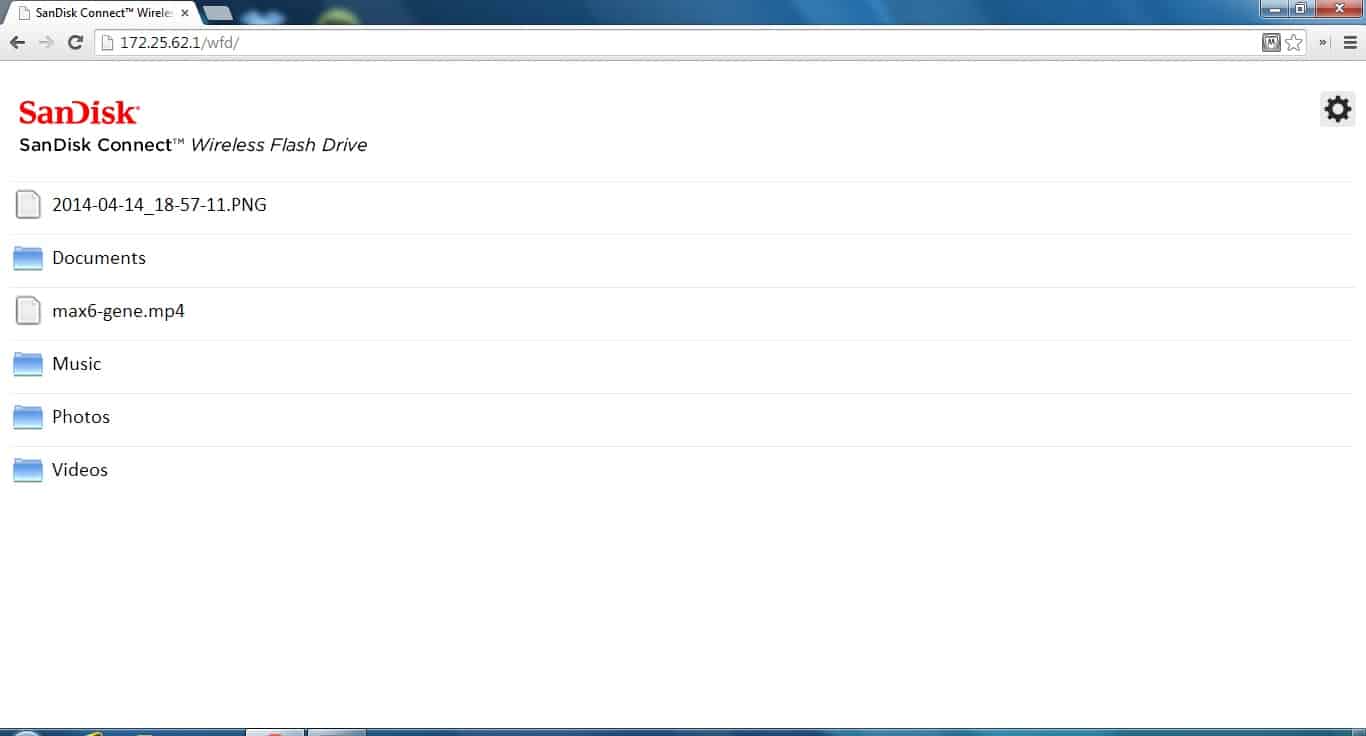
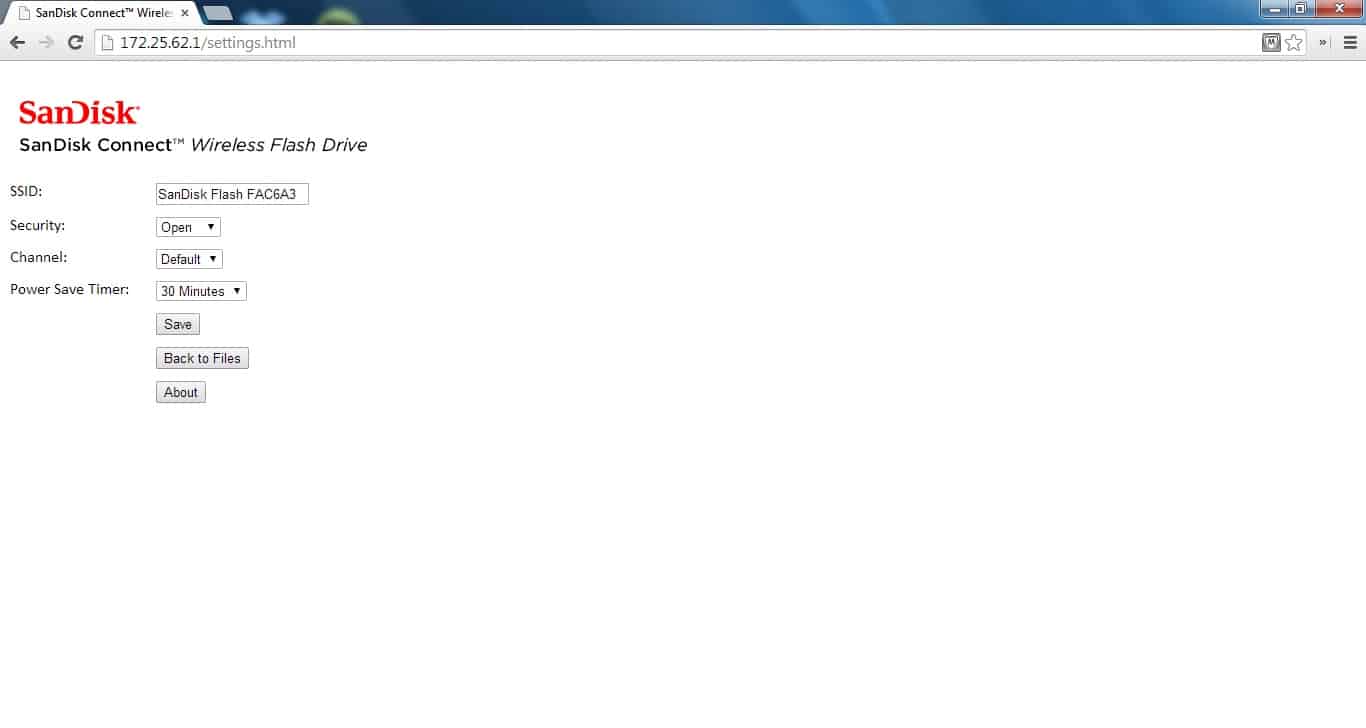
You can also connect to the drive wirelessly from any PC. First you will need to connect your wireless to the drive. Now SanDisk says all you need to do is goto www.SanDisk.com/wfd in your browser. I had tried this and the URL would no resolve. So I did a simple ipconfig in the command prompt and found my gateway which was 172.25.62.1. It put that into my browser and it brought up the screen you seen below. It is basically a file listing of what is on the drive. You can easily stream and download media.
There also is a settings menu, but it is not as in depth as the one that is on the mobile app for some reason.
Finally this drive can be used as a normal USB drive. I decided to do a little speed testing using HDTune Pro.
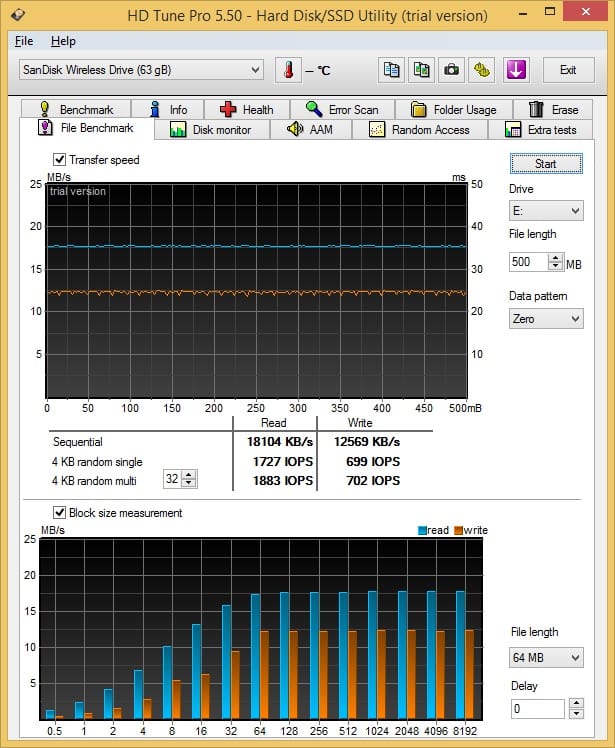
As you can see not the fastest drive out there. This just means it is going to take longer to transfer files to the drive from your computer.


Ho can’t use USB 3.0, guest you need a PC for that or a stupid ass Mac. The hell with this USB Flash drive, Smart Phone’s and tables.