Installation
We will be installing the Mugen MAX in our Intel X79 socket, which makes use of the LGA 2011 socket. The Mugen MAX is compatible with all recent AMD and Intel sockets. The first thing you are going to want to do is install the mounting bolts as you see in the photo below.
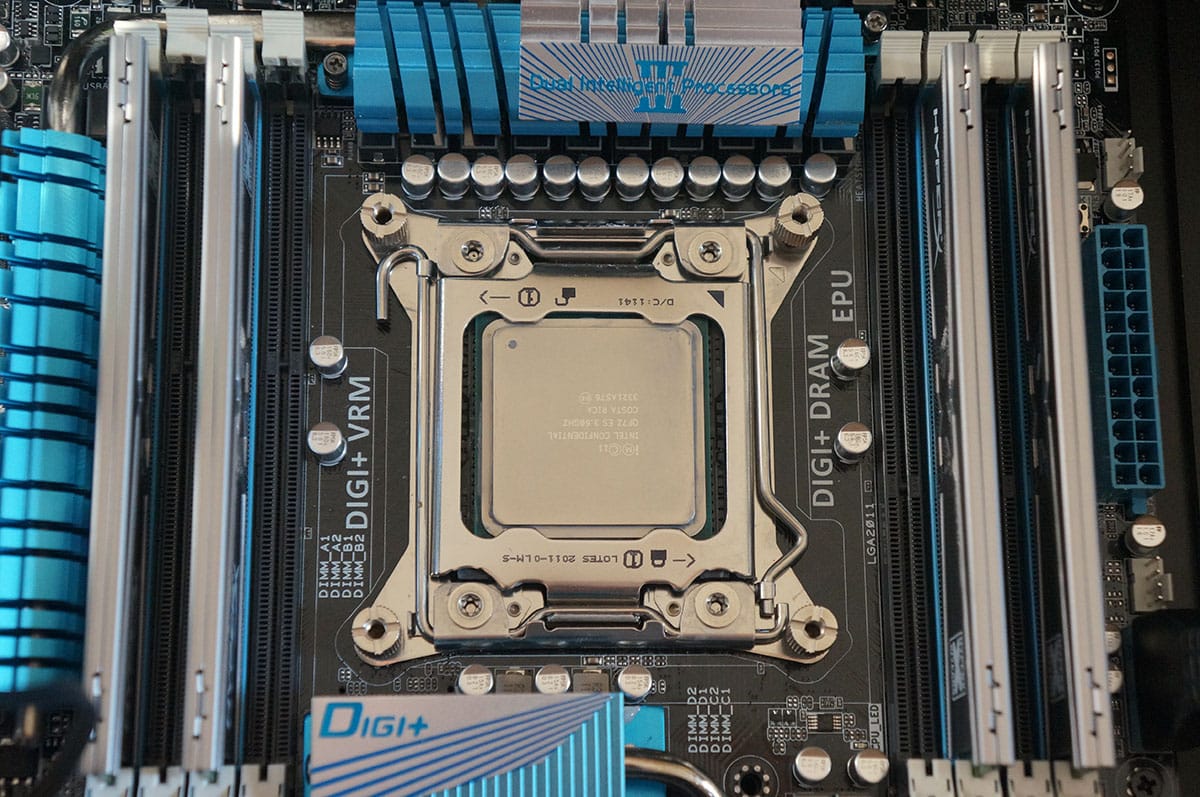
The next thing you are going to want to do is install the two mounting brackets as you see shown below. This is the proper orientation of them for socket 2011 installation.
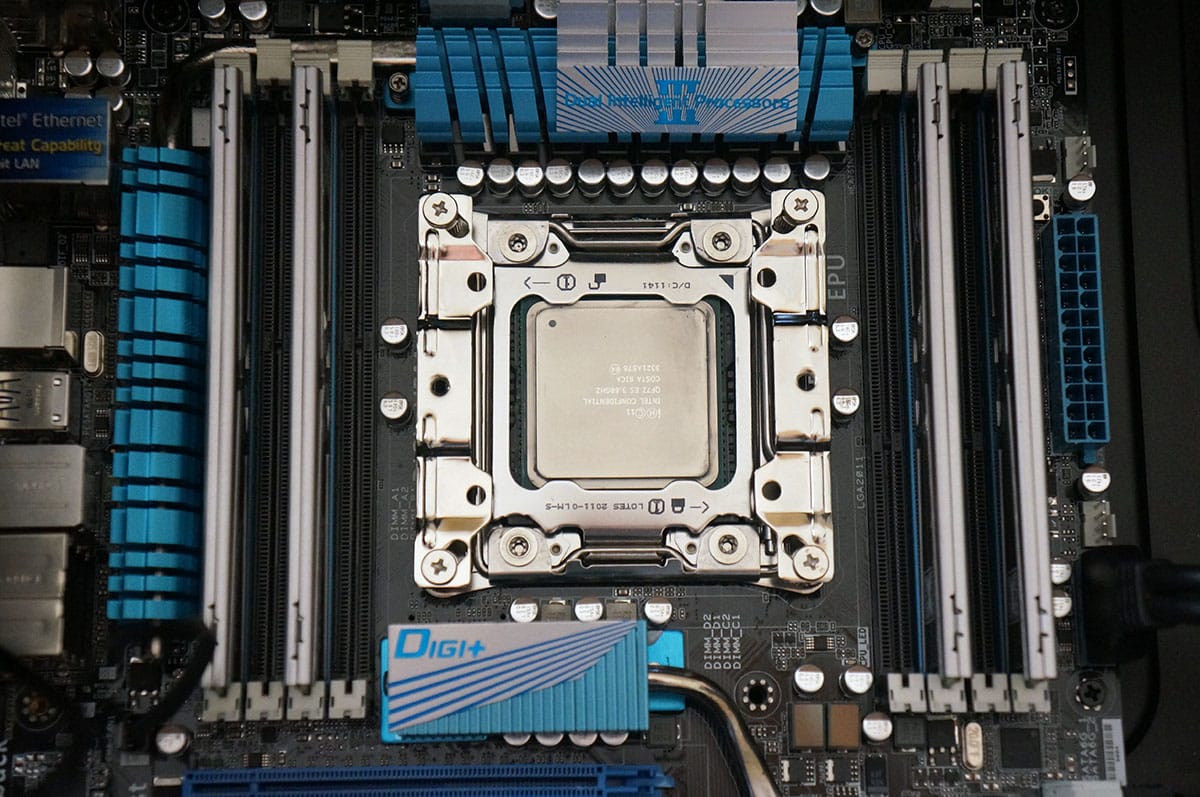
Make sure you have removed the fan from the heatsink if you haven’t already. Now carefully place the mounting beam on top of the CPU block. It can only go in one way so you’ll know if you have it in the wrong place.
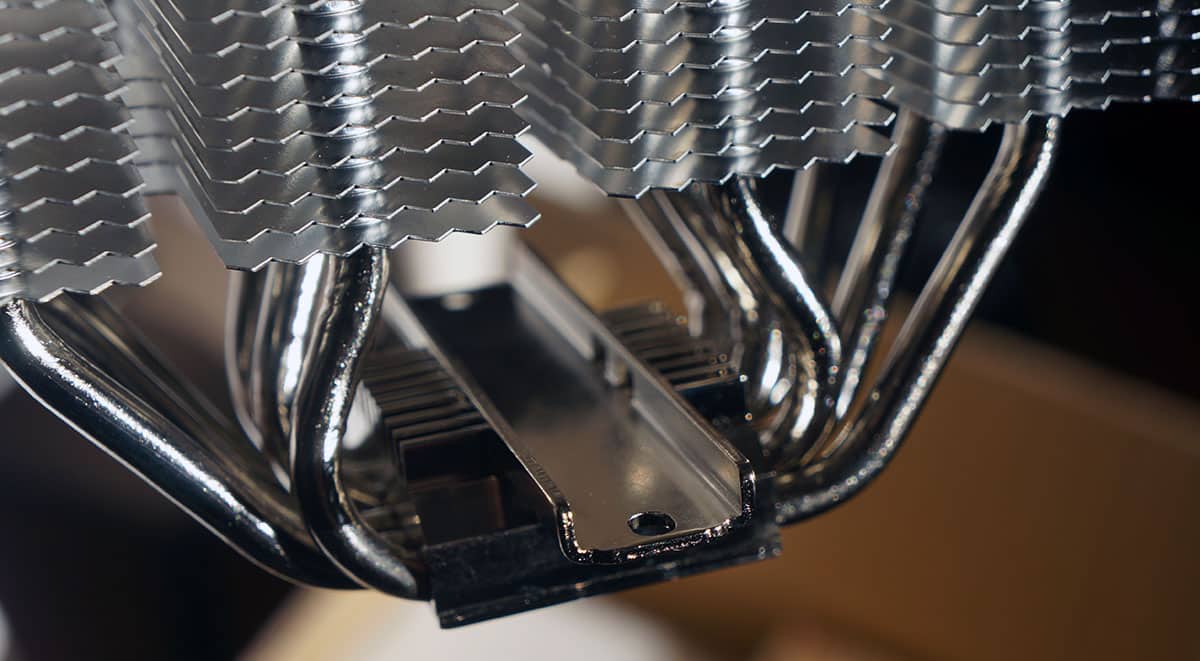
Now install your thermal paste on your CPU and carefully place the cooler on top of your CPU. From here you can secure the heatsink with the included mounting screws.
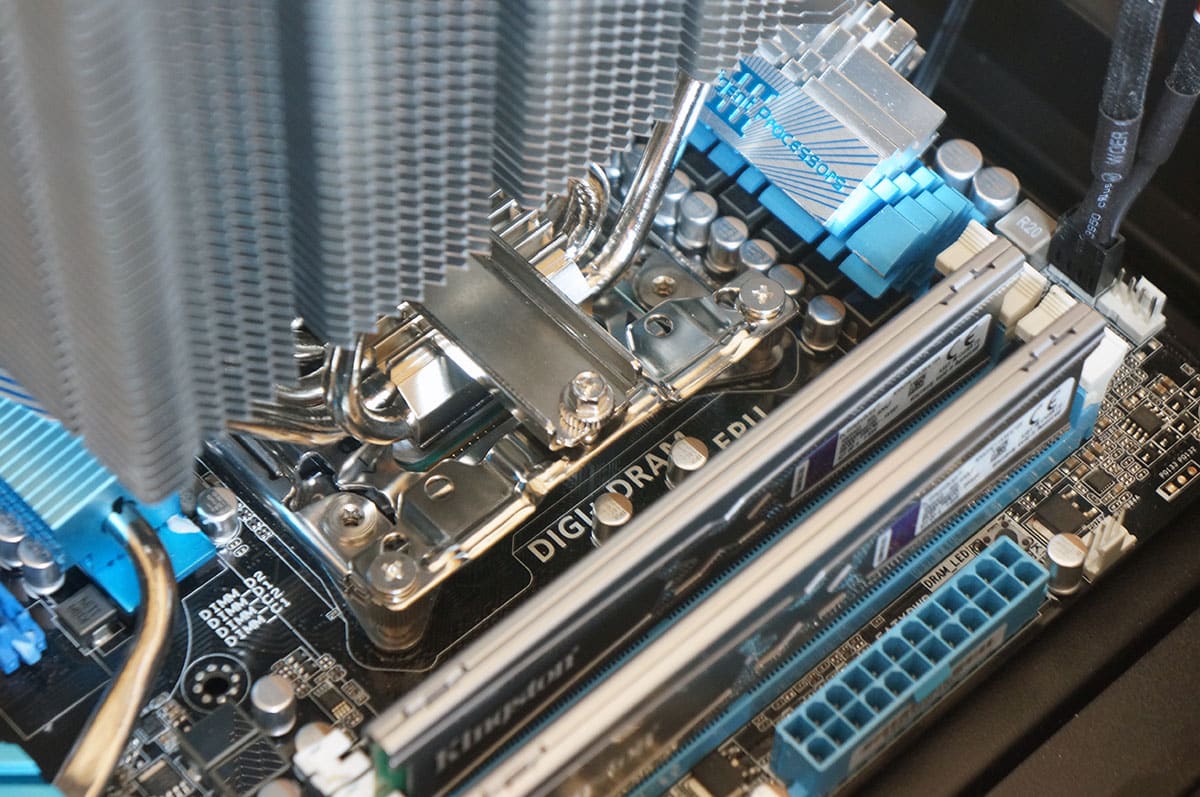
While one side is extremely easy to secure because you can use a screwdriver the other side is a bit more difficult because you have to use the included wrench. This does take some time and can be a little bit annoying, but for most of you, you will only have to do this once.
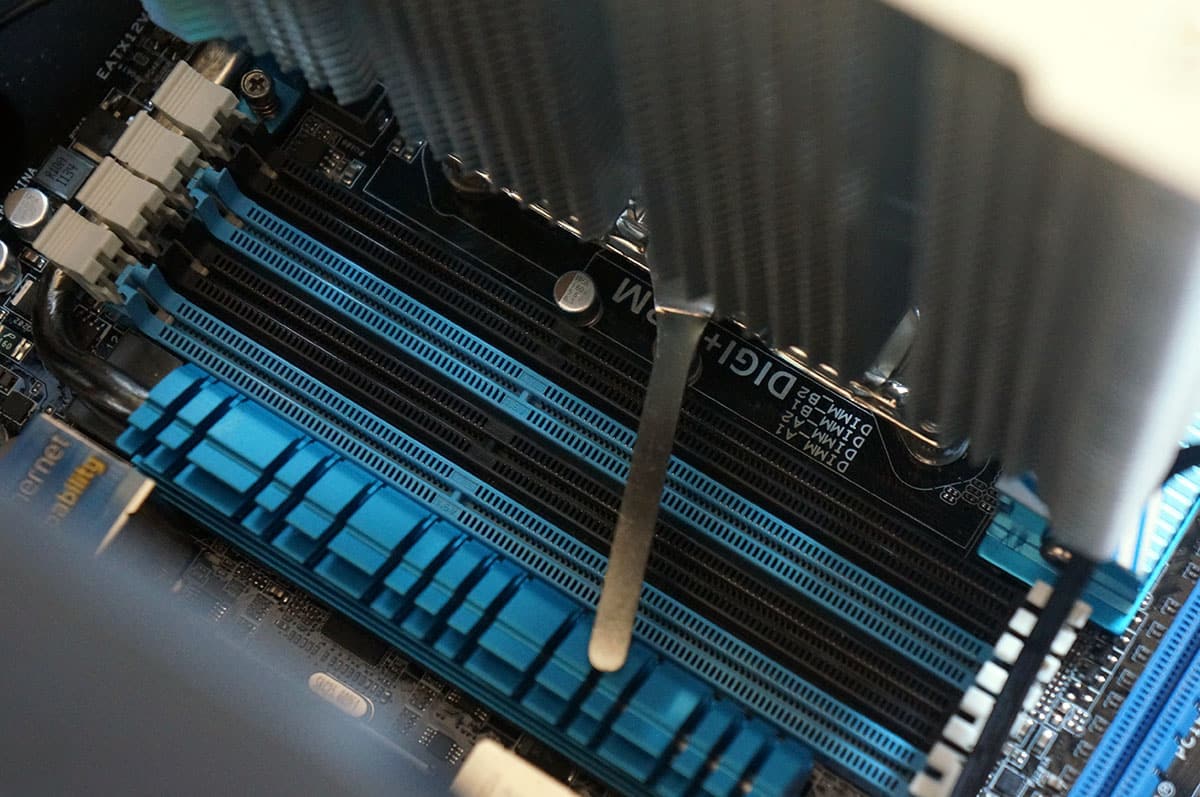
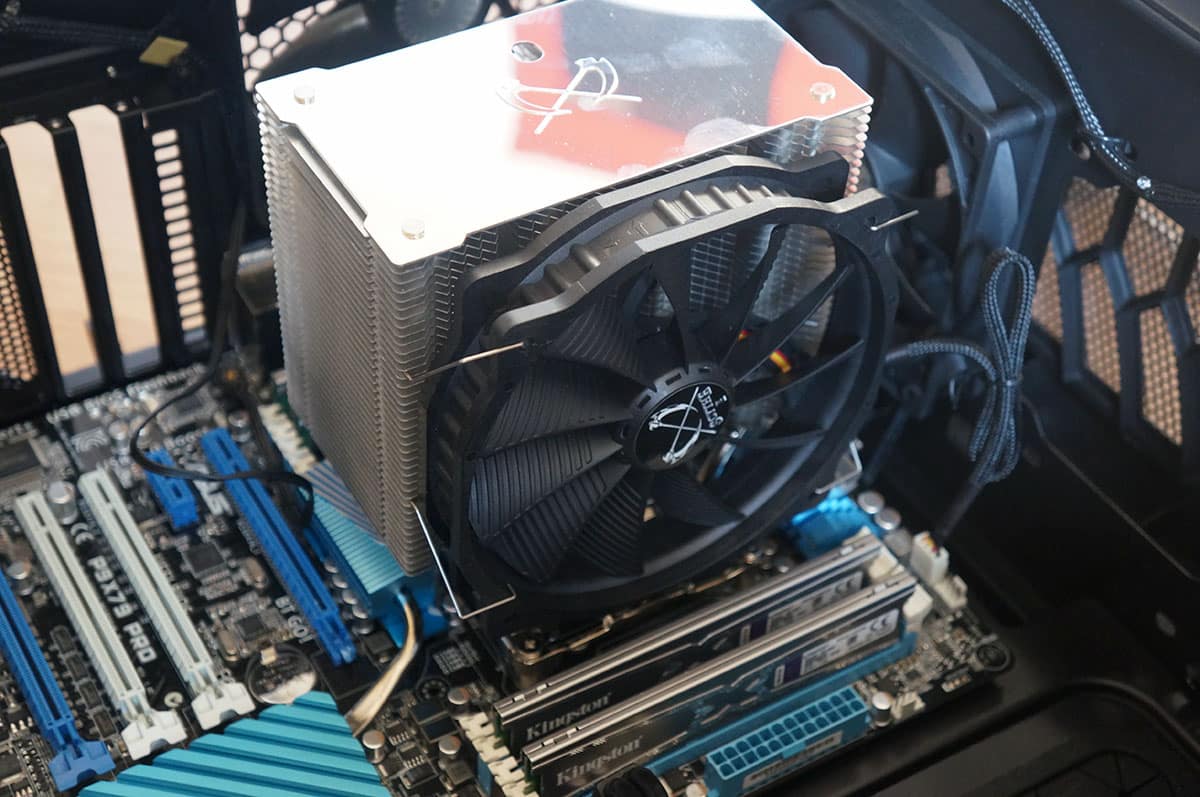
Once you have the heatsink installed you can go ahead and install your fan. You can see that even with the fan installed there is more than enough room for our memory. For those wondering I did the entire installation with the motherboard inside of my case. The case is the Cooler Master Cosmos II so it is quite large. If you have a smaller case you may need to take your motherboard out of the case to complete installation.