Installation
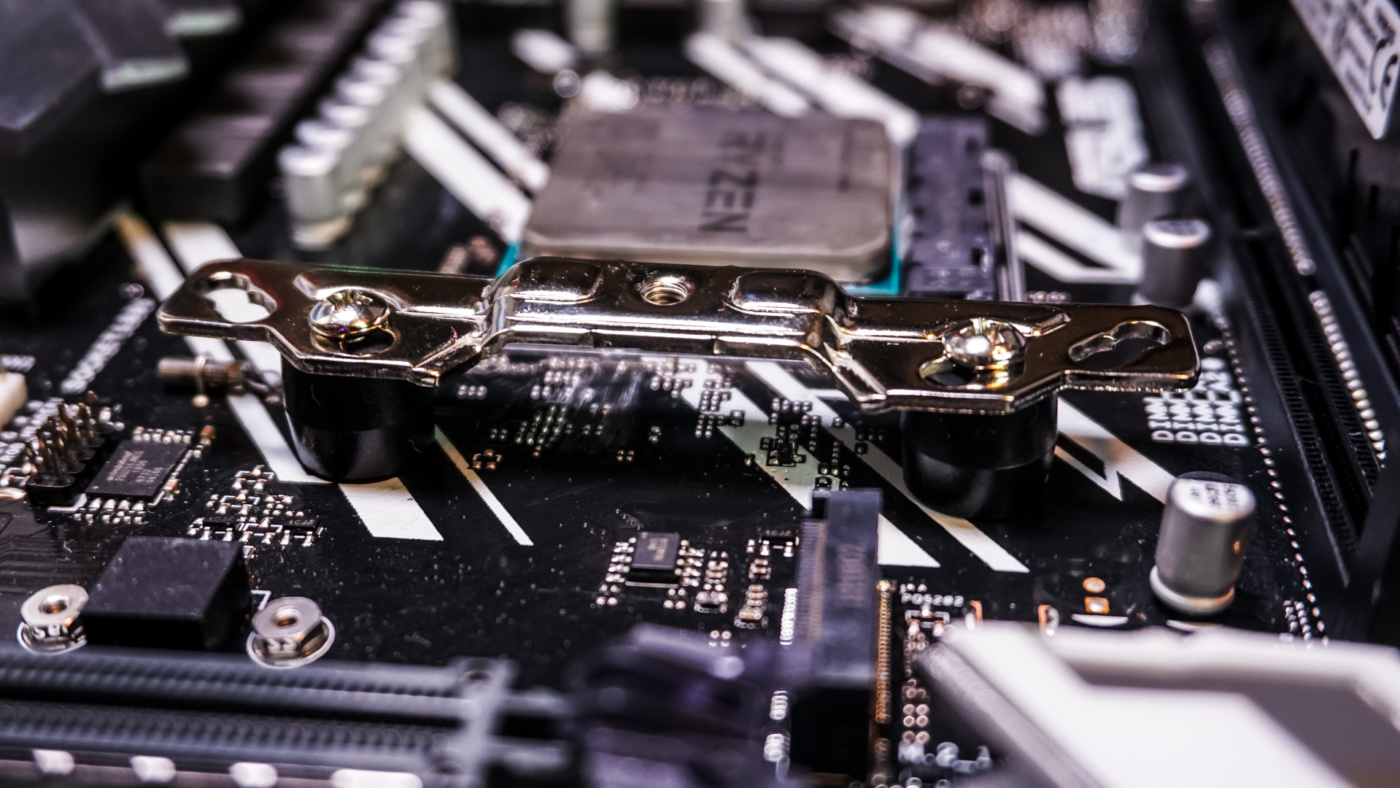
Based on the size of the Ninja 5 you would think that installation would be difficult, but it is actually one of the easiest installations we’ve done on our AM4 system. Since we are installing on AM4 you are going to want to remove the AM4 mounting bracket from your motherboard, but be sure to keep the backplate in place.
Next find the mounting plates, plastic spacers, and the #9 long screws. Place the spacers on top of the holes in your motherboard, then very carefully put the mounting bars on top securing them with the #9 long screws.
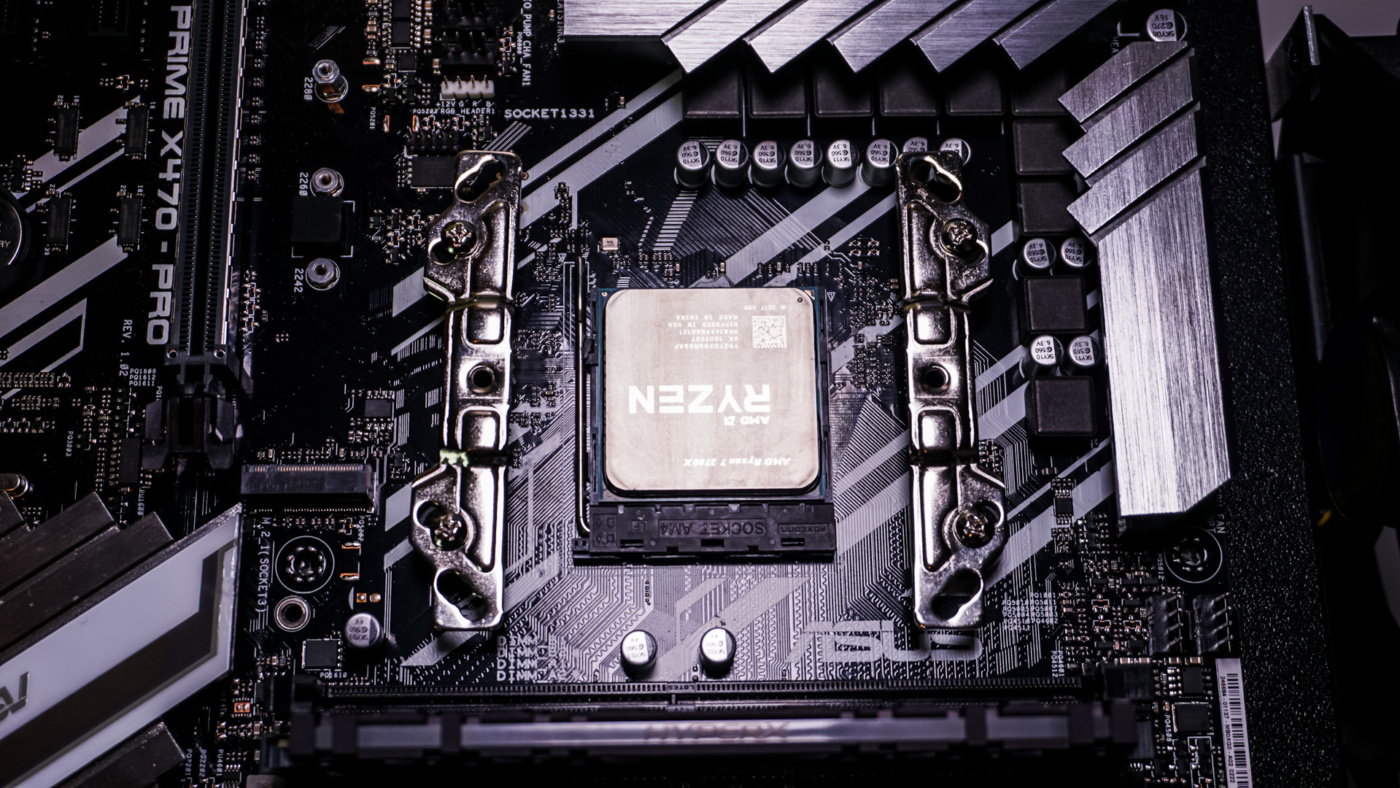
When you have both mounting bars secured your setup should look like the photo below. Keep in mind that the mounting holes should point in towards the CPU and refer to the instructions on what holes to use when securing the mounting bars.
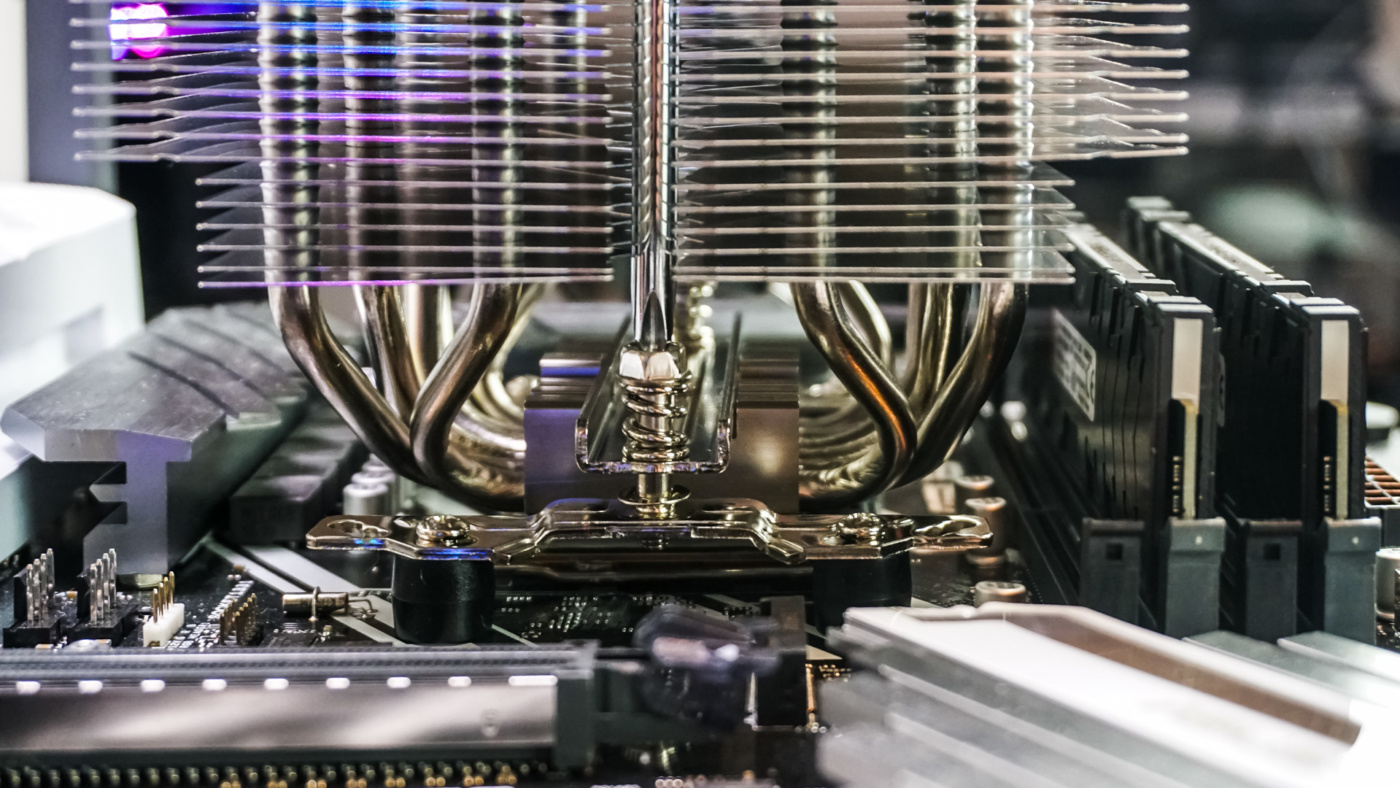
Apply your thermal paste and then carefully take the Ninja 5 and place it on top of your CPU lining up the screws with the holes on the mounting bars. It is a good idea to take off the fans if you had installed them prior. With the Ninja 5 sitting on your CPU secure it with the included screwdriver.
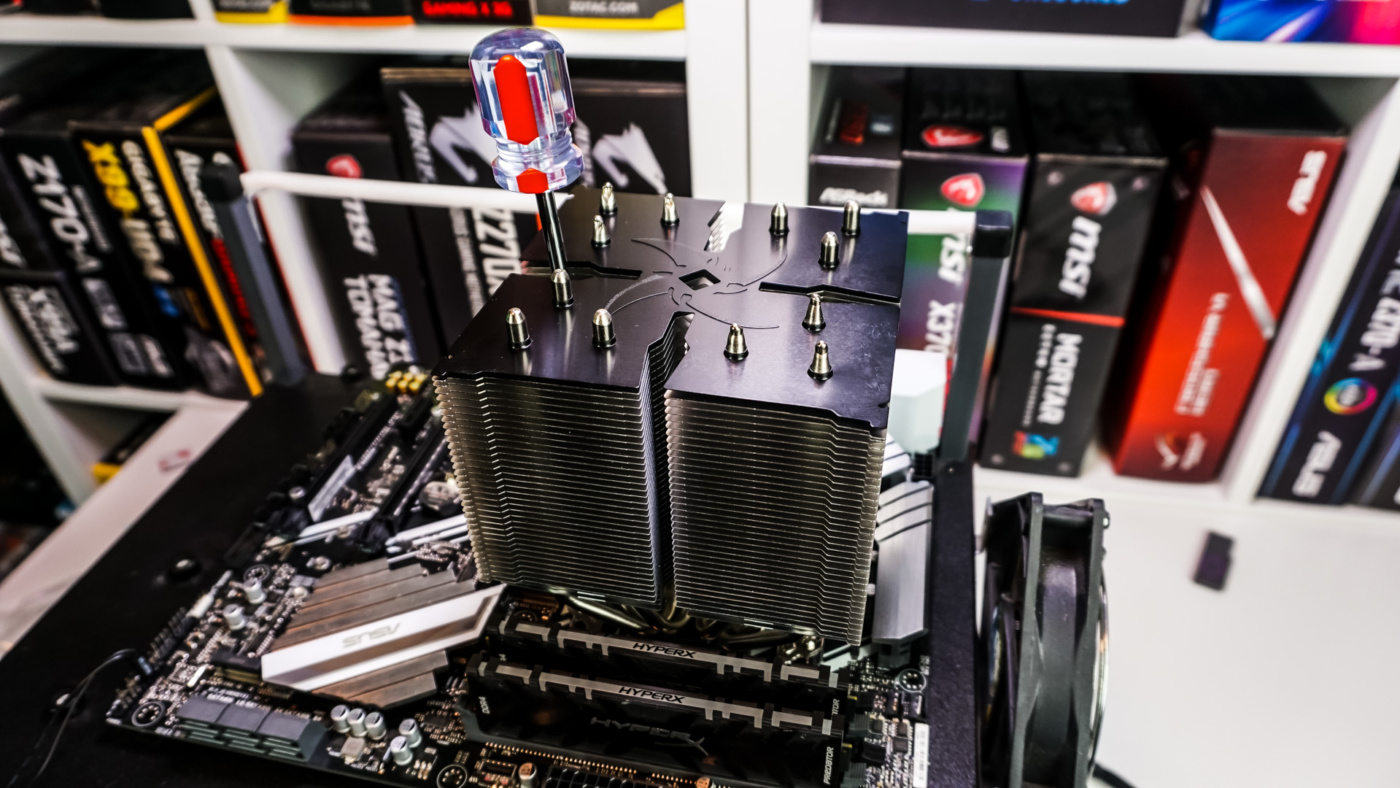
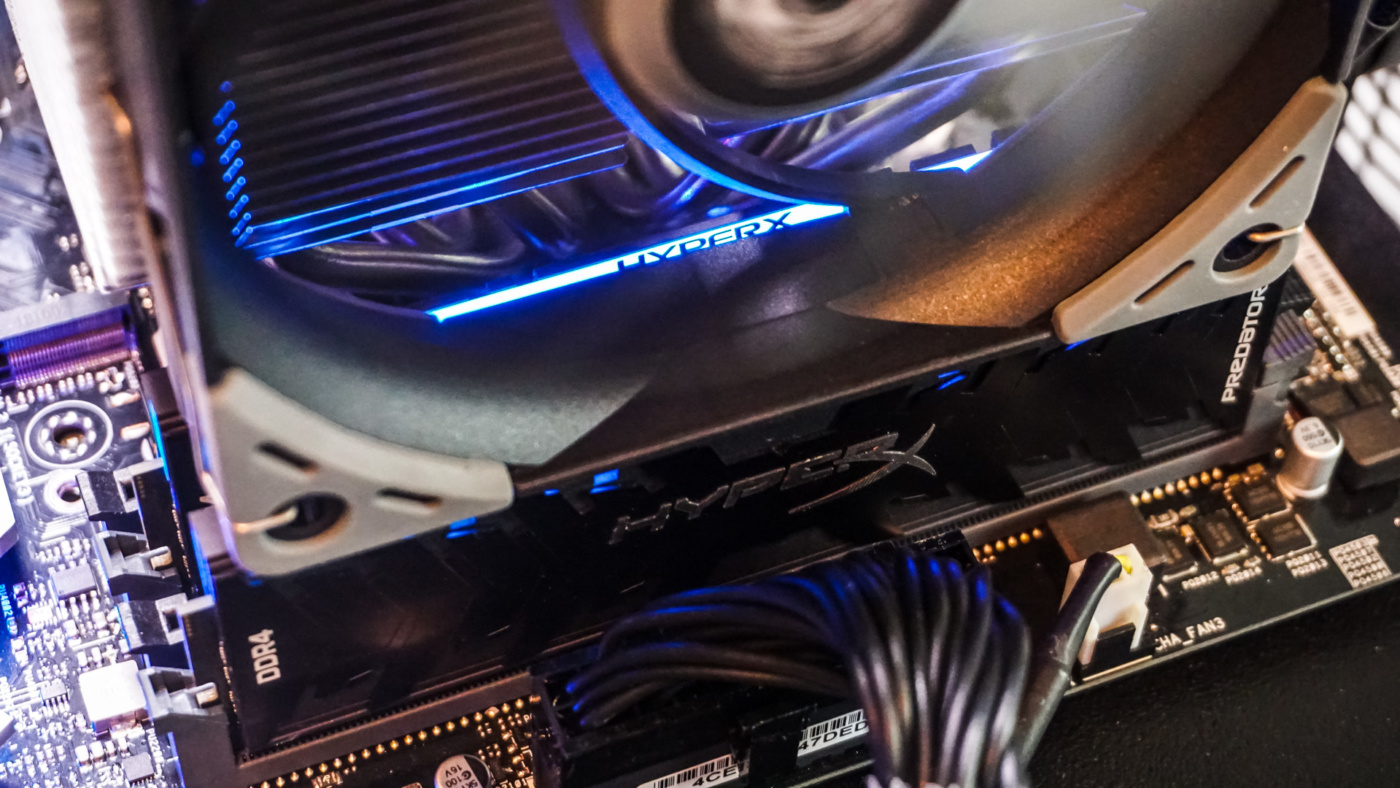
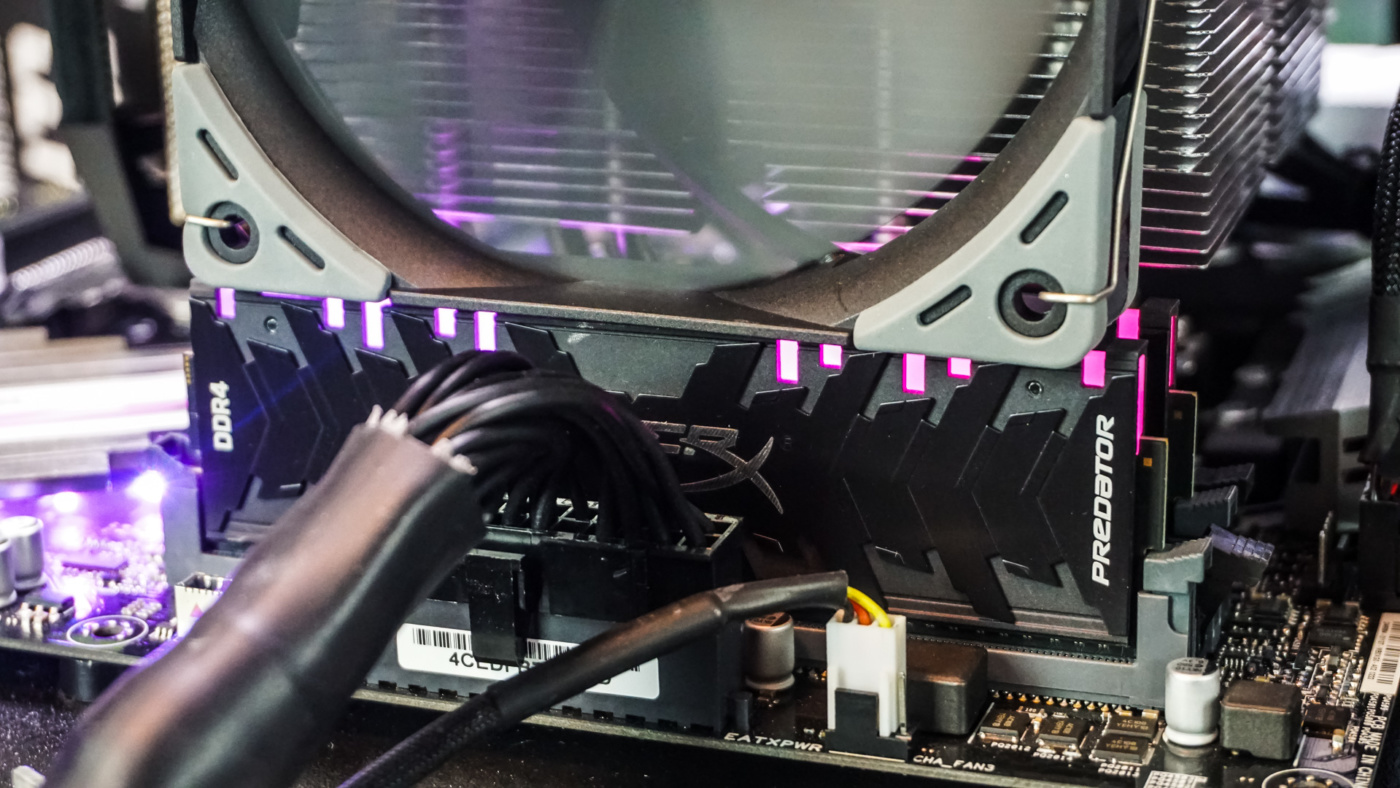
Now the last thing to do is install your fans, connect them to the Y-connector and plug it in to your CPU fan header. If you have larger memory modules you’ll likely have to move the front fan up a little bit.
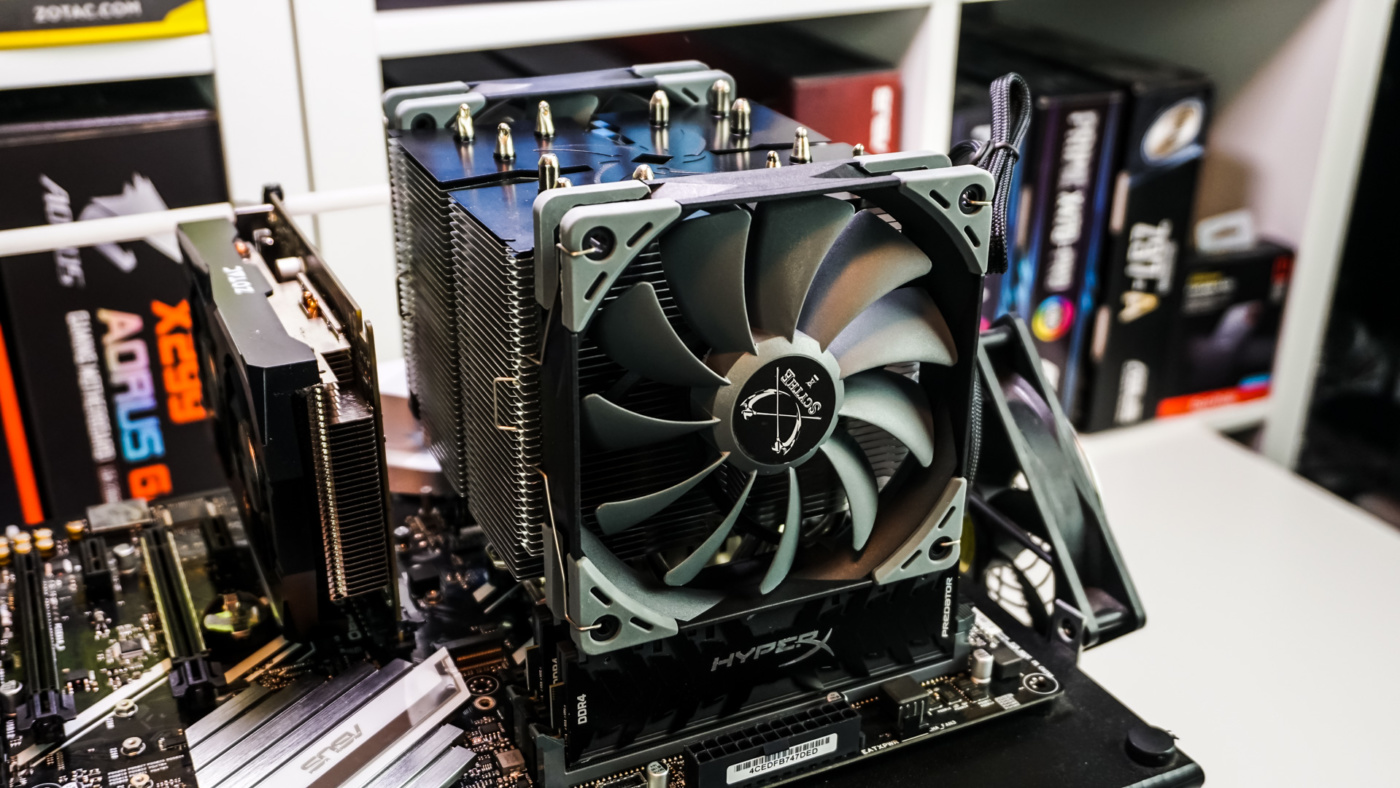
Another thing you are going to want to consider is that the front fan completely covers all four DIMM slots (at least on our AM4 system) so if you have RGB memory you want to show off it is going to be covered.