Installation
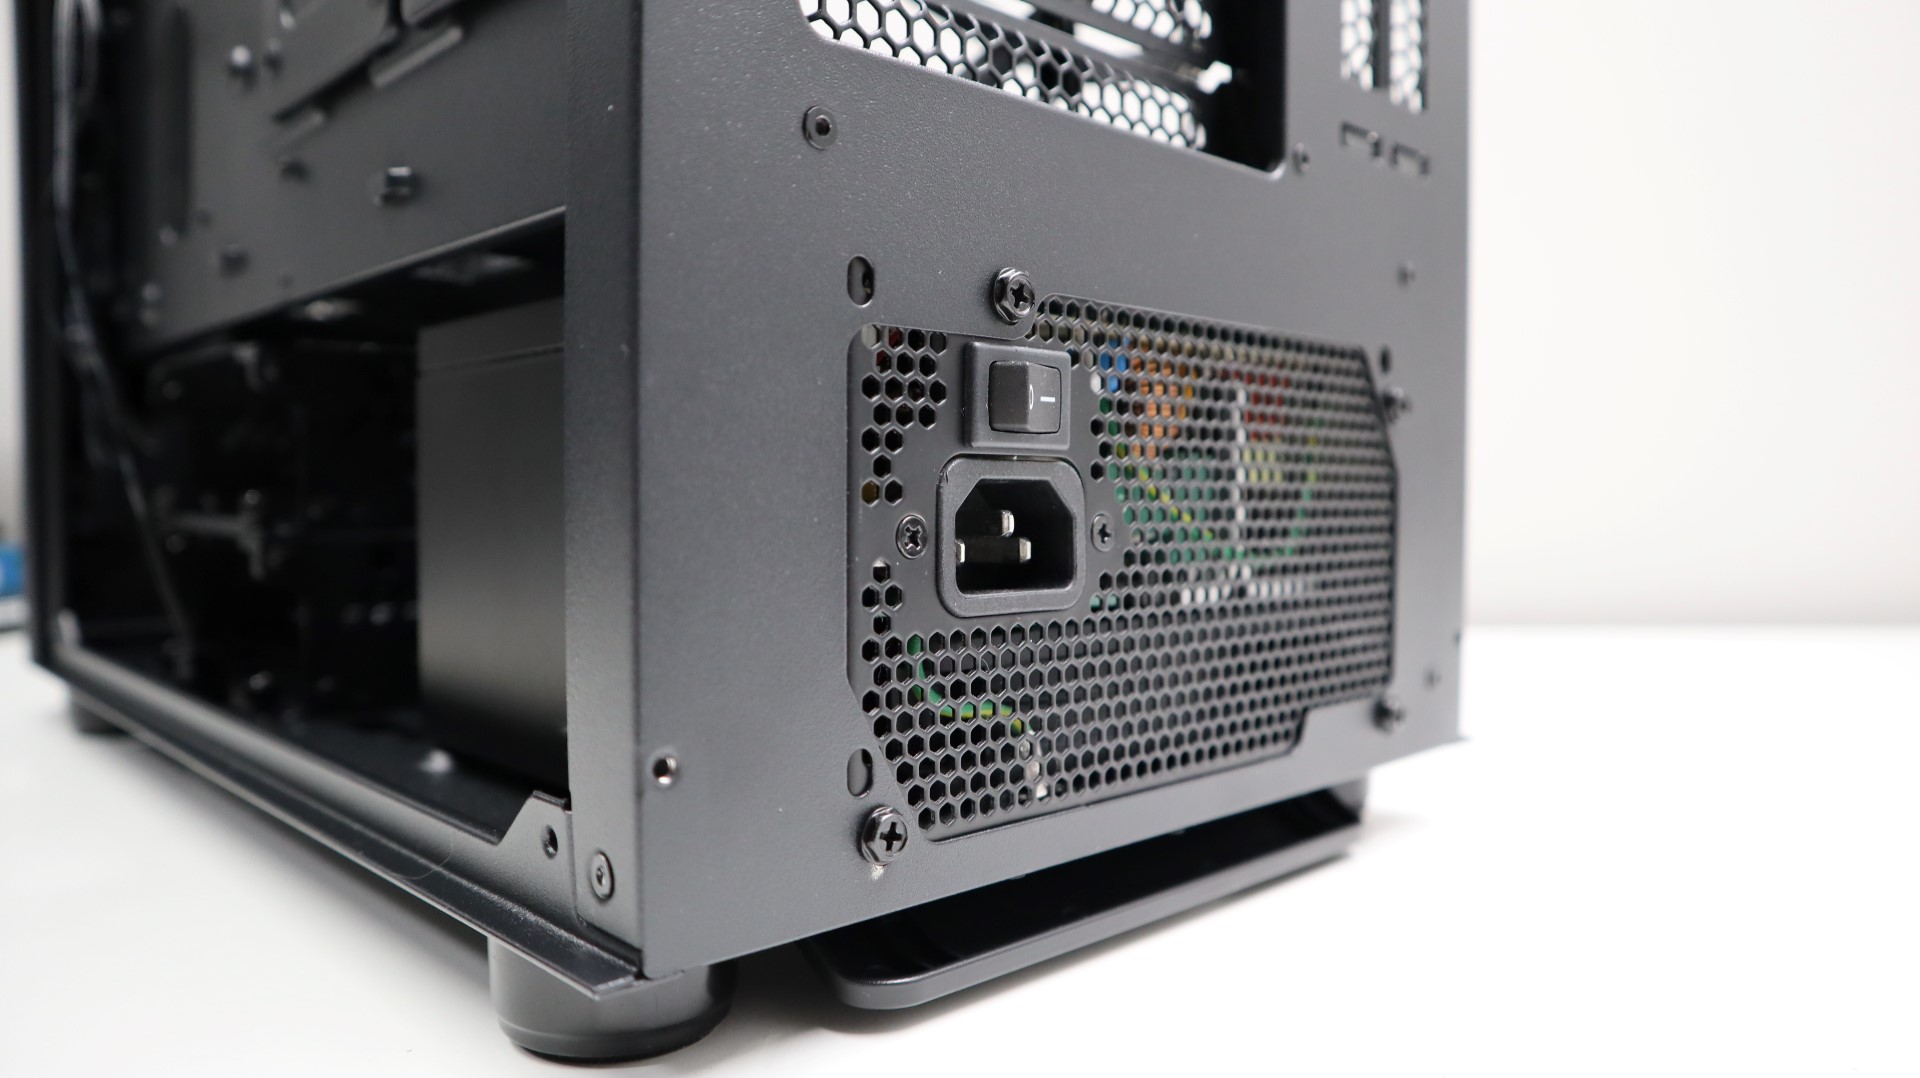
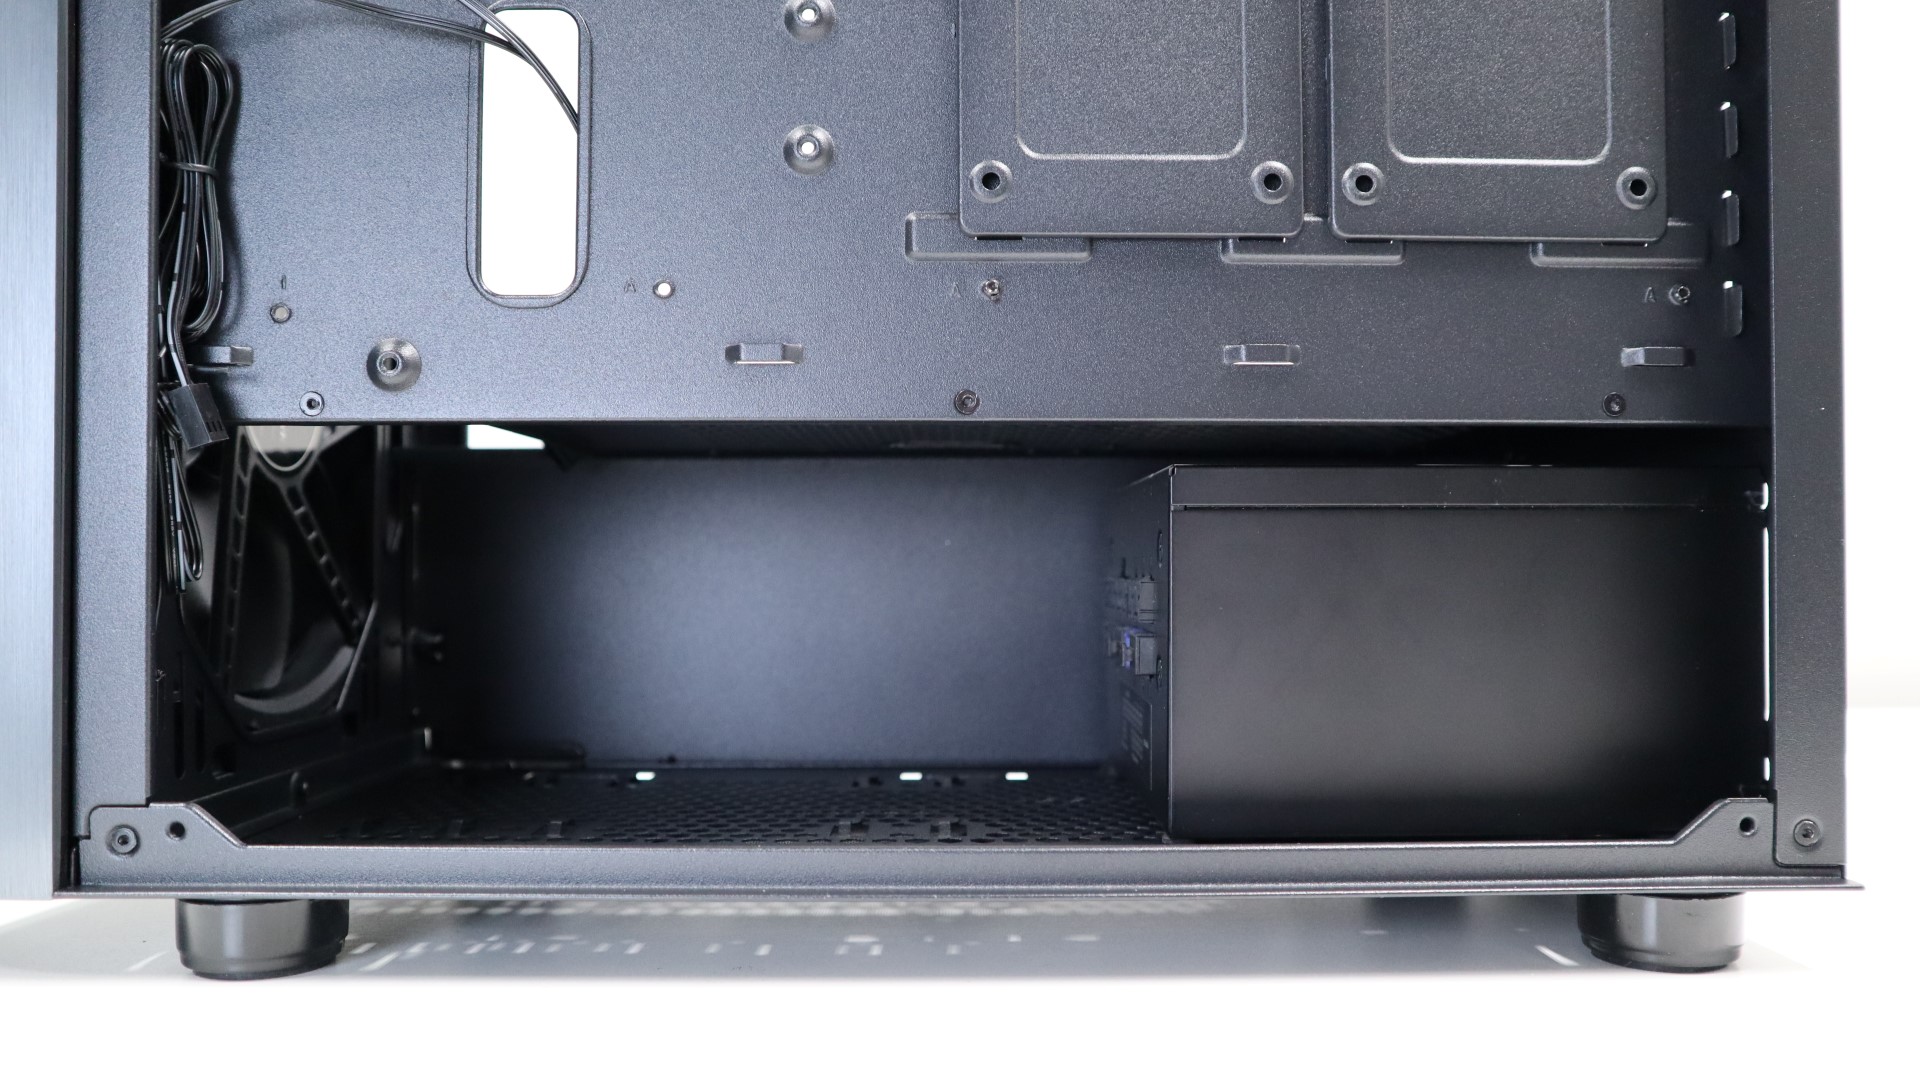
The first component installed in our build process of the SETA A1 is our power supply. Installing from the right side of the case is pretty standard, and there was plenty of room for our power supply to slide in. It really helps to have a fully modular unit when building, though there should still be room for a non-modular unit as well.
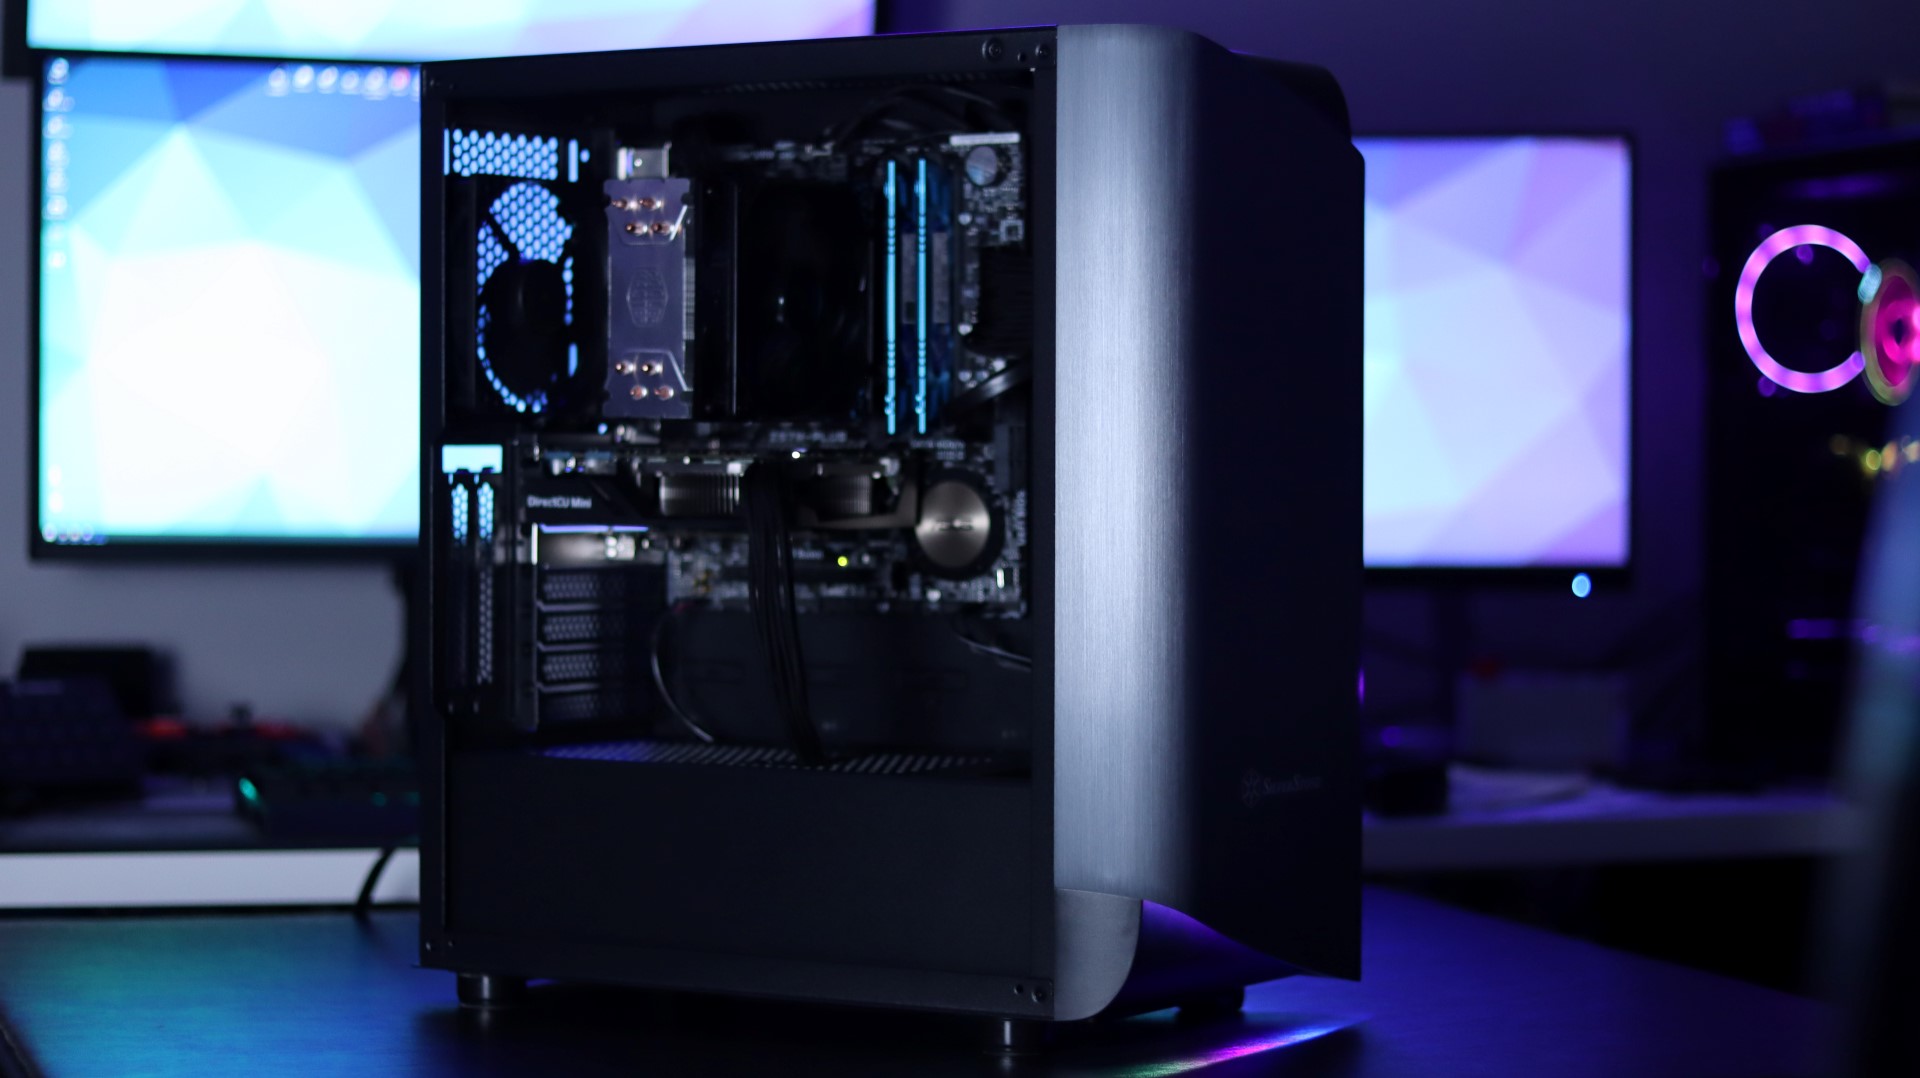
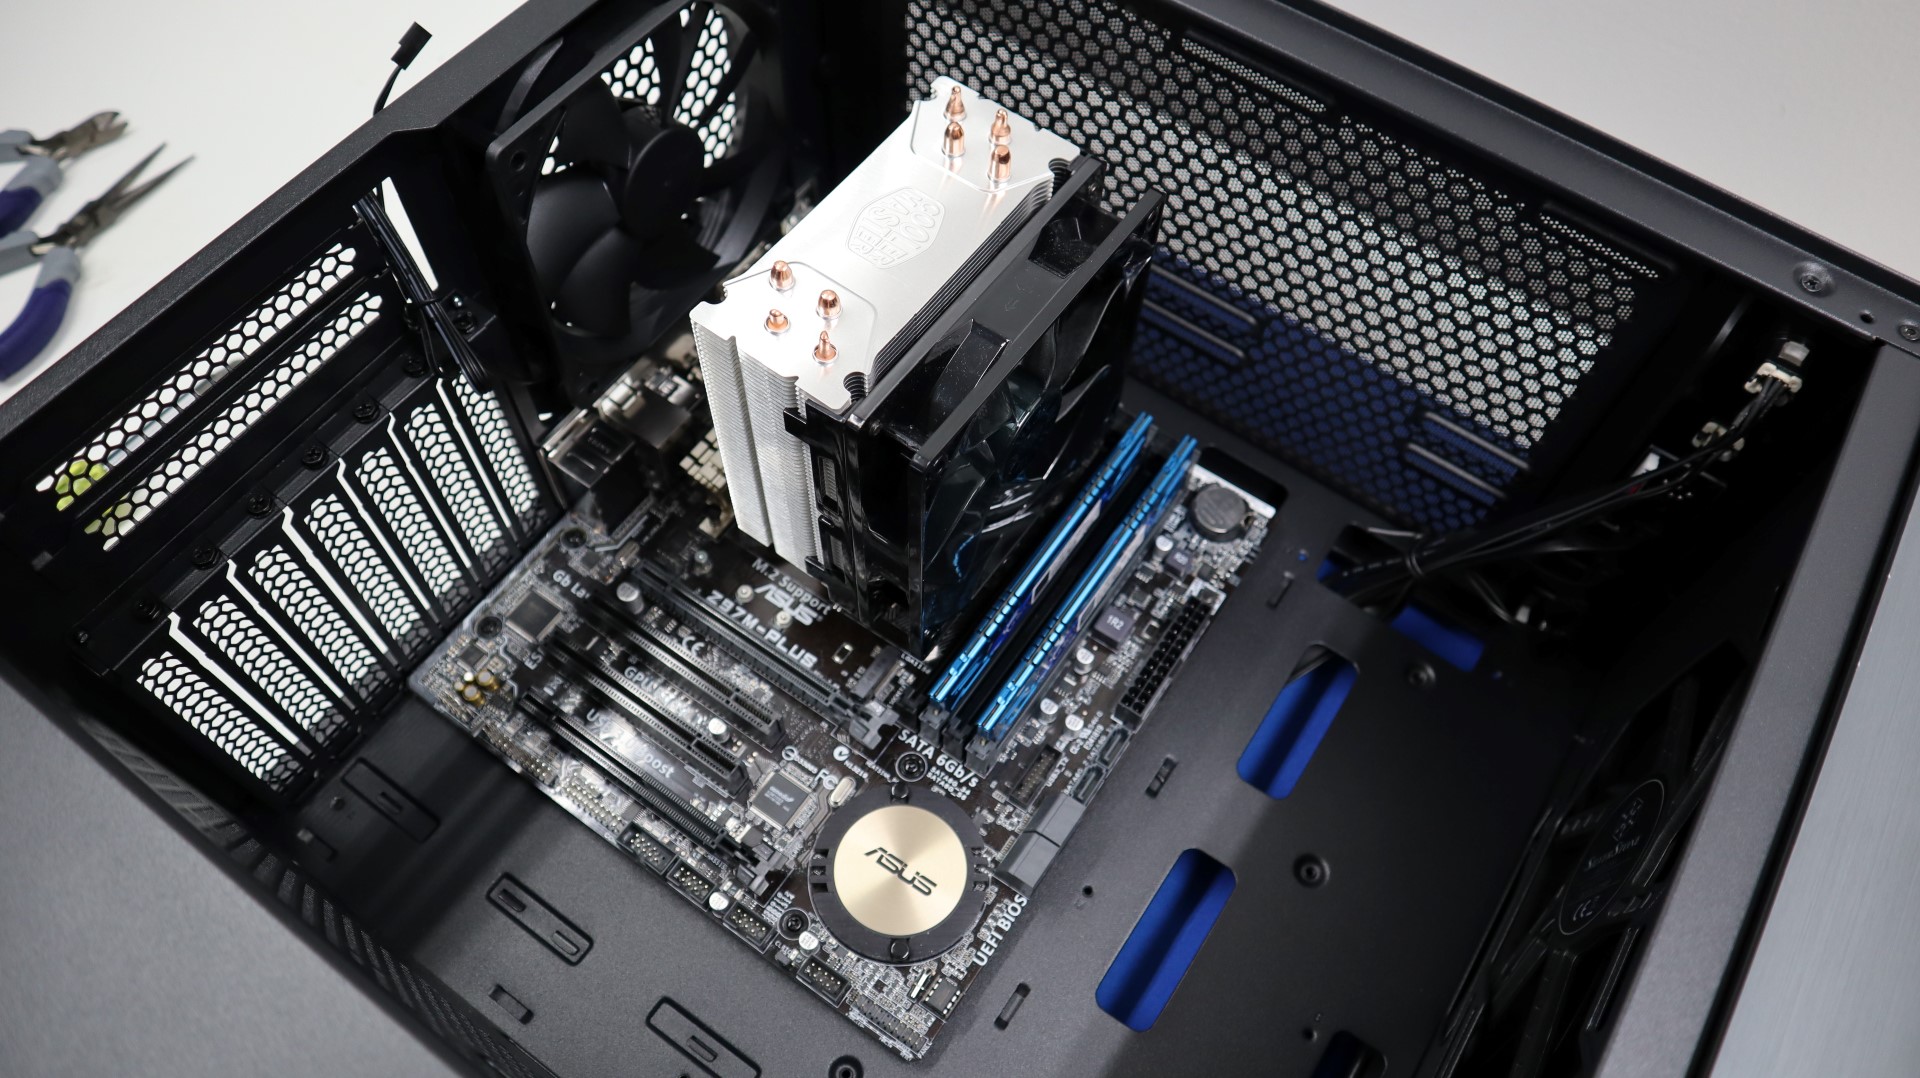
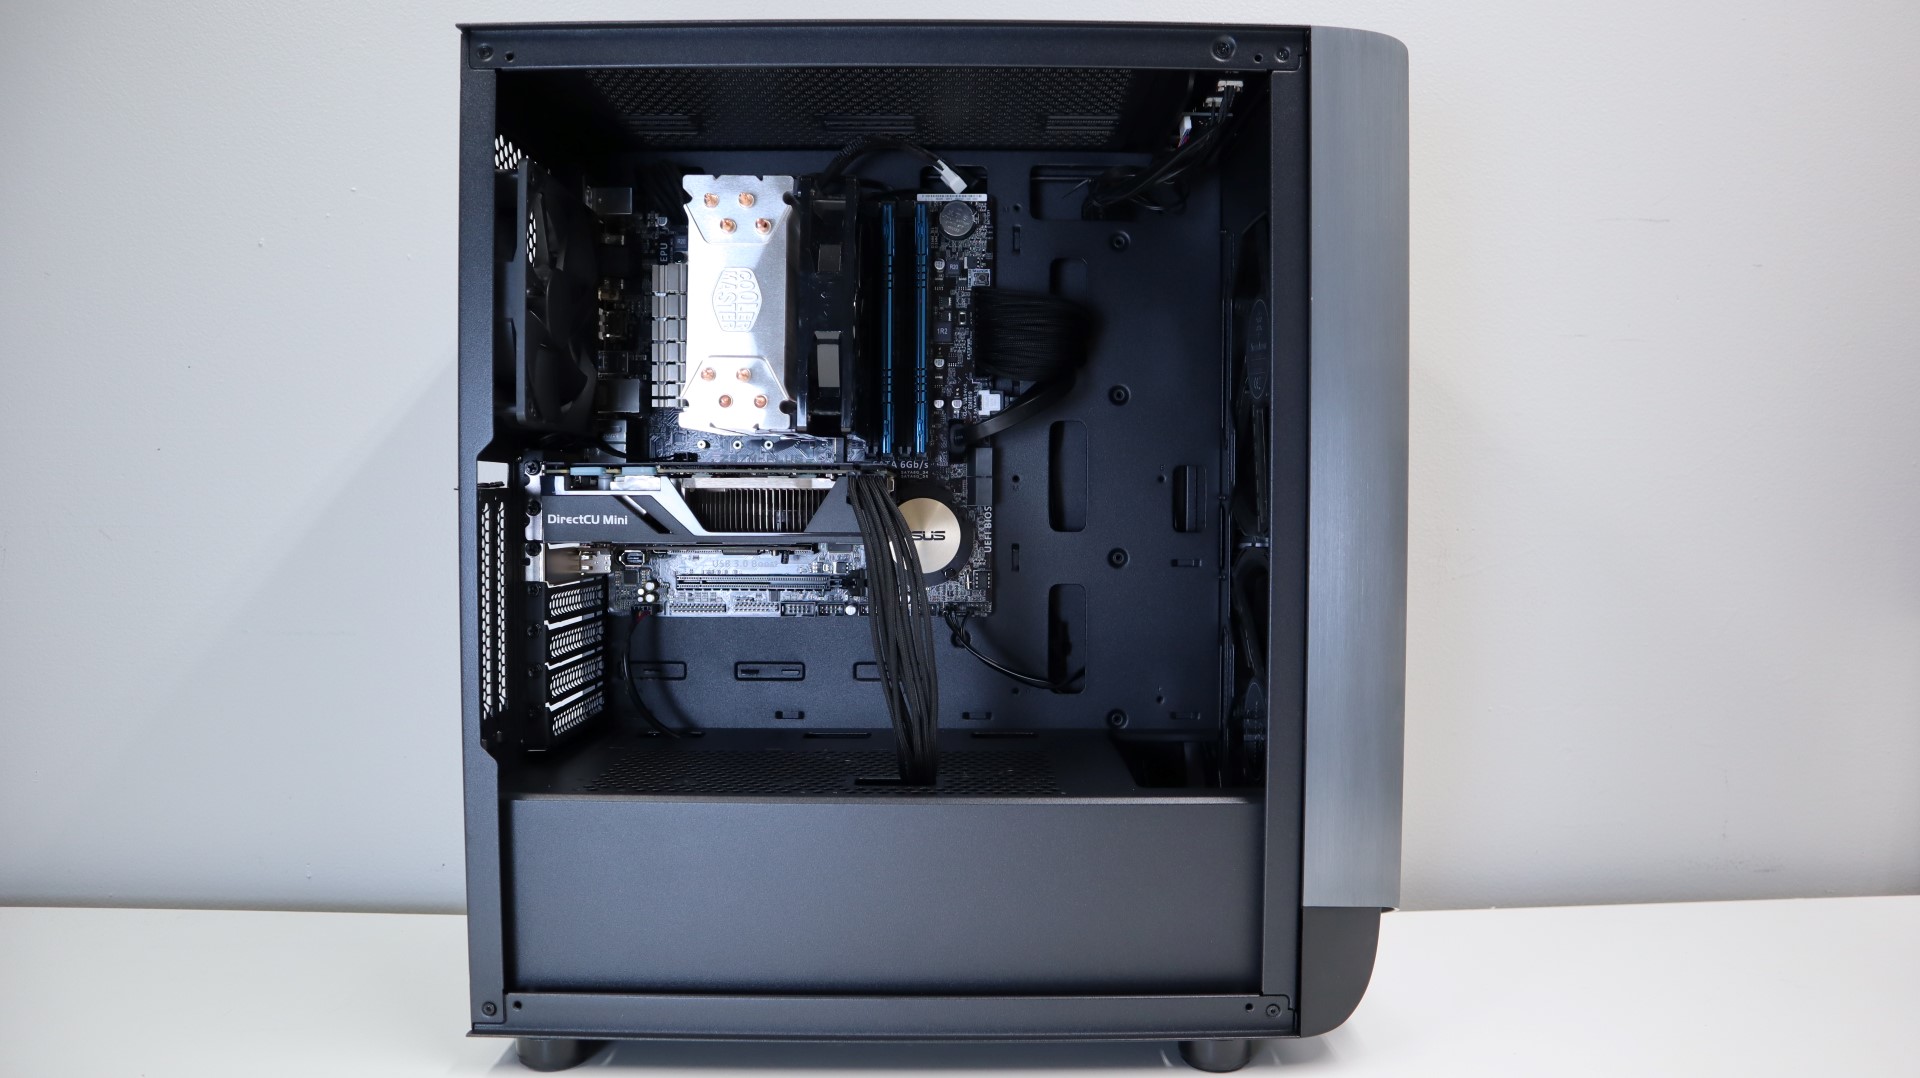
Next up is our motherboard, which we had no issues installing at all. We really appreciate the inclusion of the standoffs that keep your motherboard in place while inserting screws. This makes the installation process that much easier, especially when using a motherboard with an insulated I/O shield. The SETA A1 supports CPU coolers up to 175mm in height, which was plenty of room for our Hyper 212 Evo.
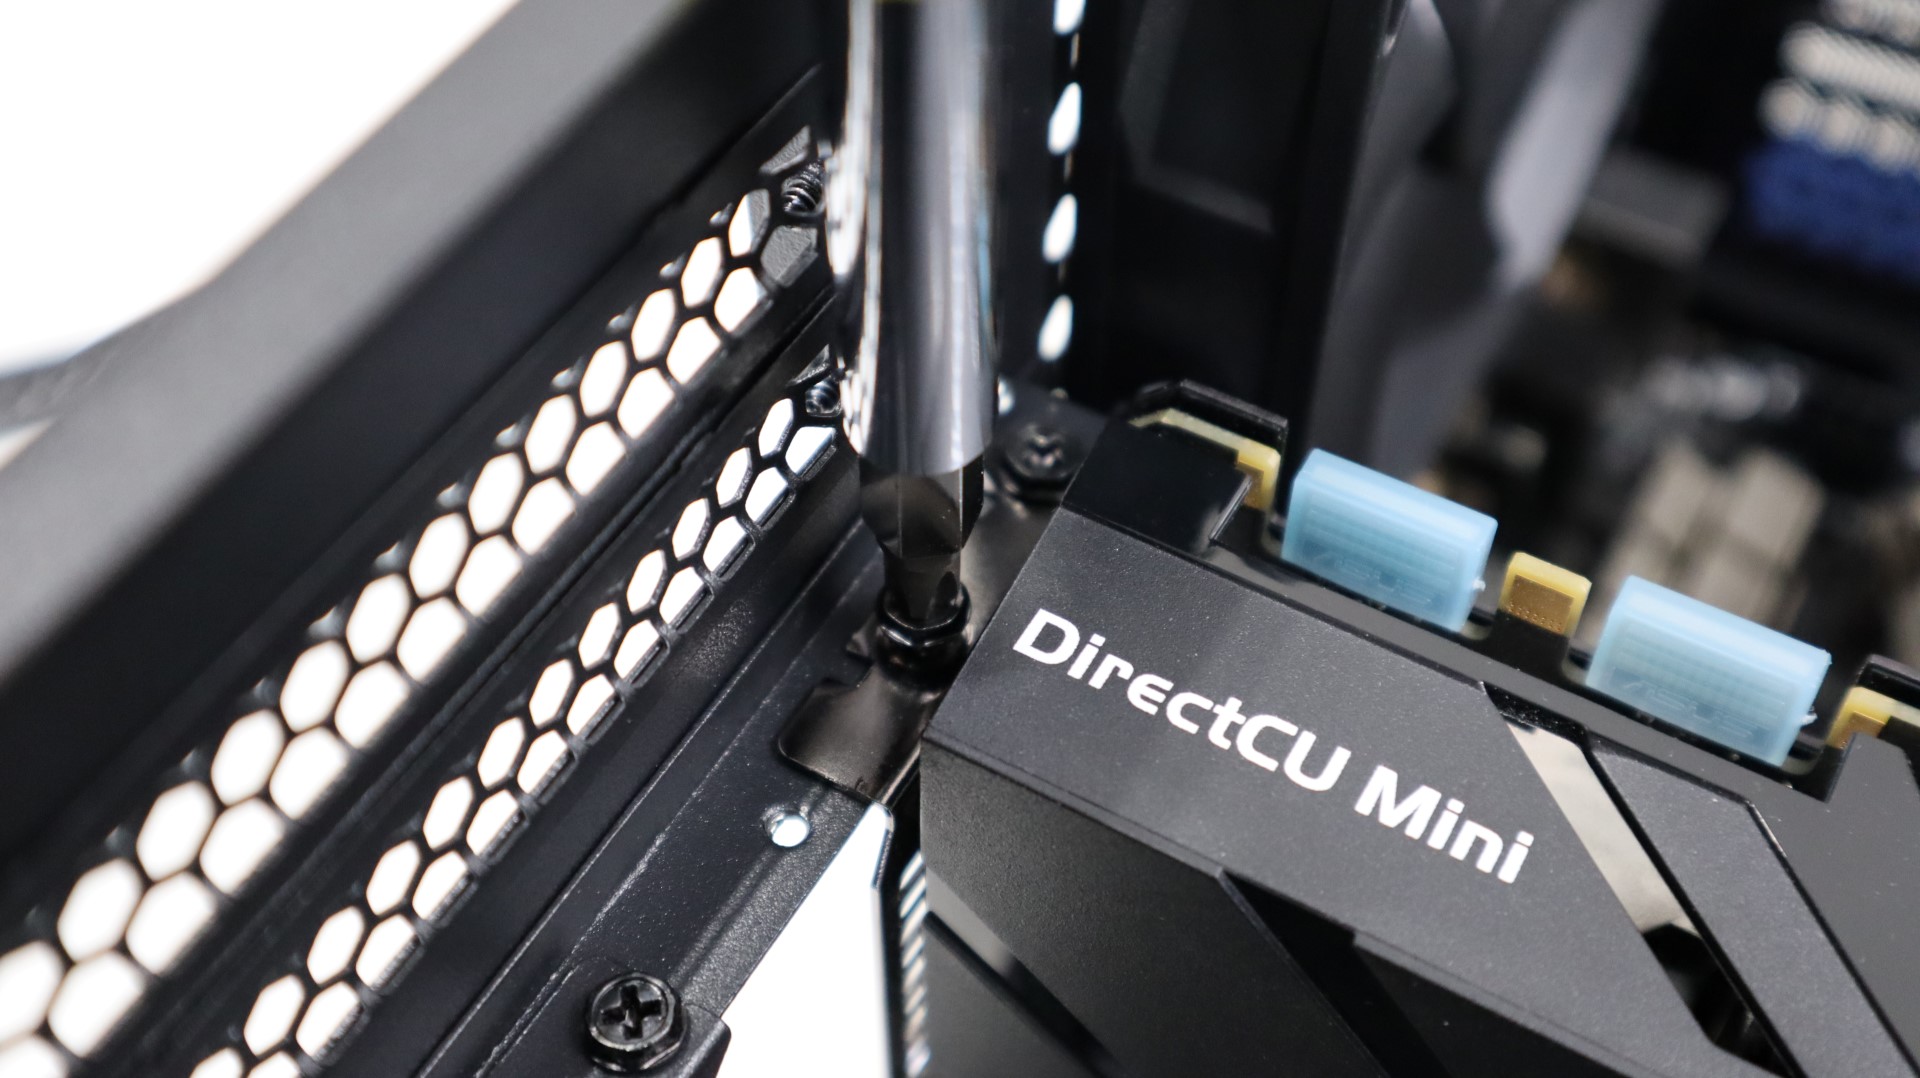
The internal mounting hardware for add in cards made our video card installation quick an easy, and the slight cutout for screwdriver access makes removing and installing screws a breeze. While we are using a compact version of the GTX 970, the SETA A1 supports add-in cards up to 350mm in length with the stock front fans, and 325mm in length if you choose to mount 25mm thick fans inside the case.
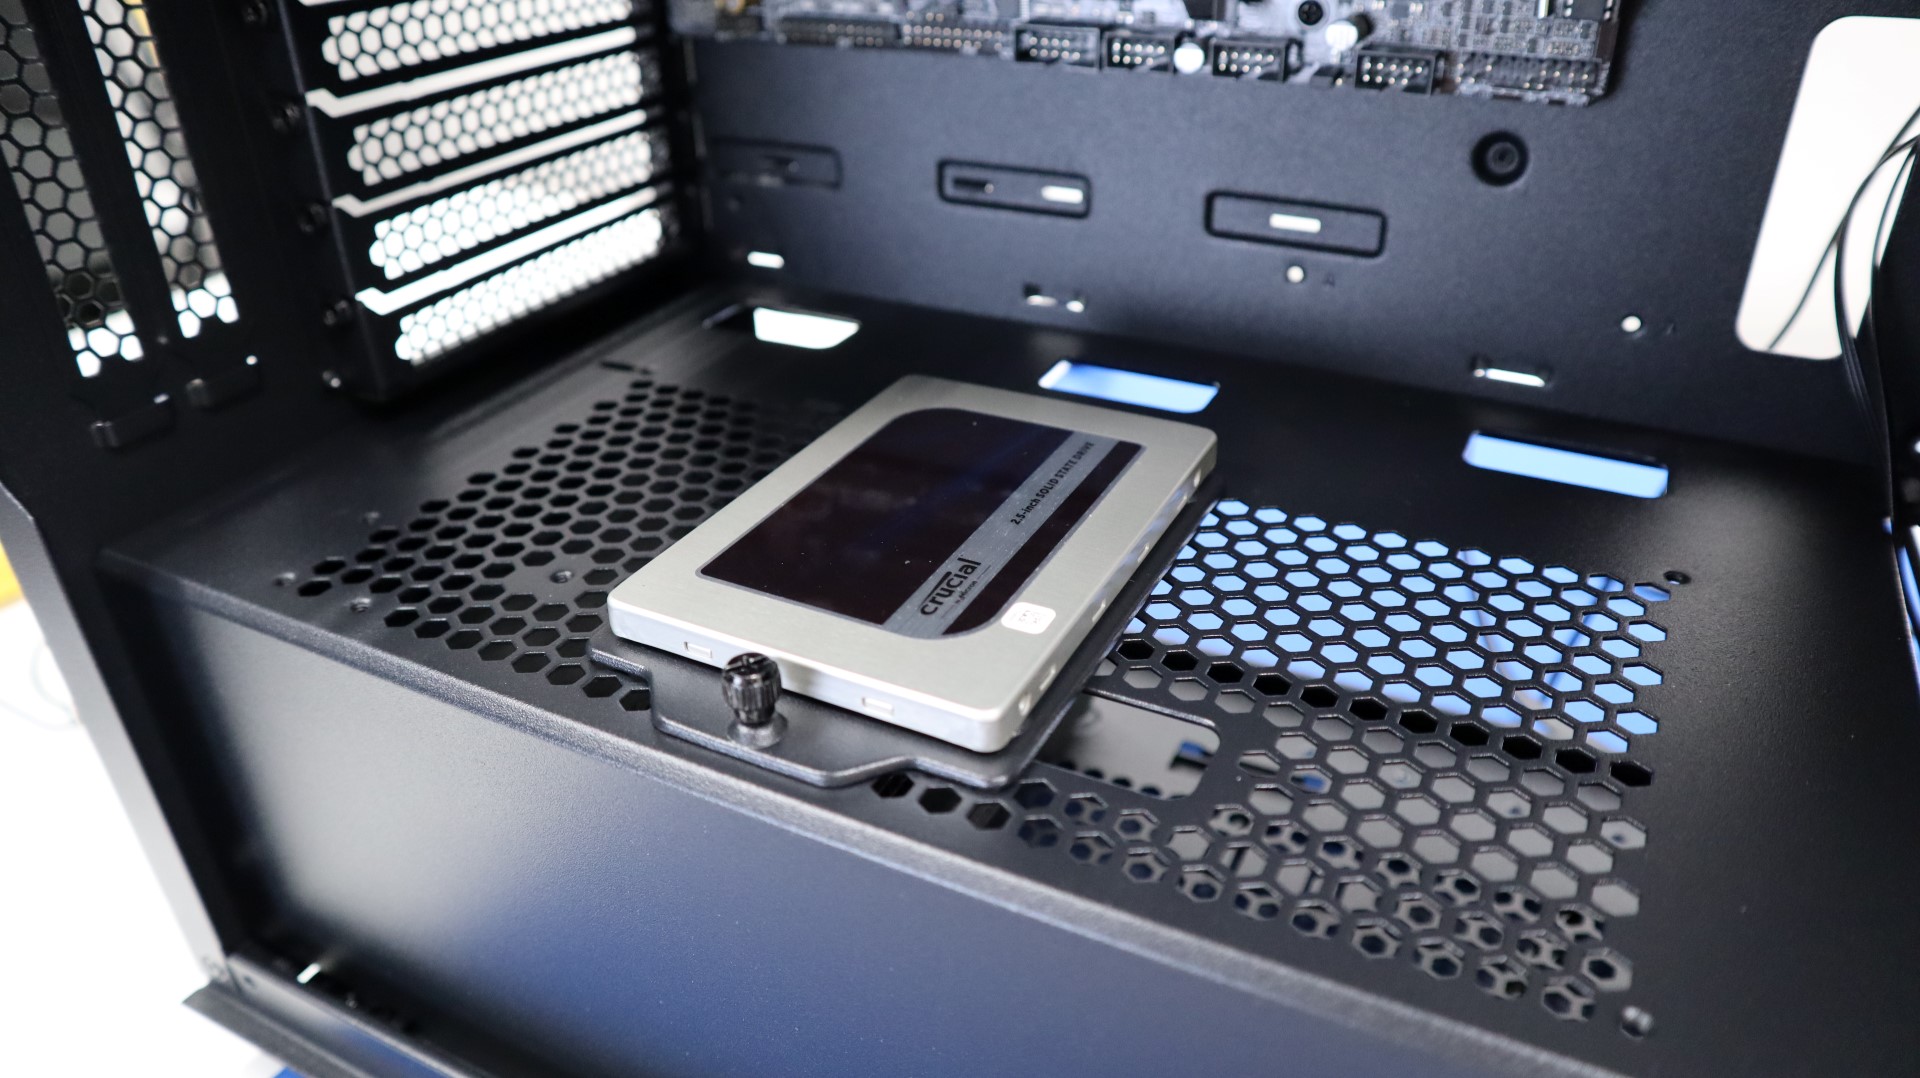
As we mentioned earlier, the SETA A1 uses drive trays for the 2.5″ drives, and these can be mounted either behind the motherboard or on the power supply shroud. We chose to place our drive behind the motherboard, and after securing the drive to the tray with four screws, a single thumbscrew was all it took to keep the drive in place.

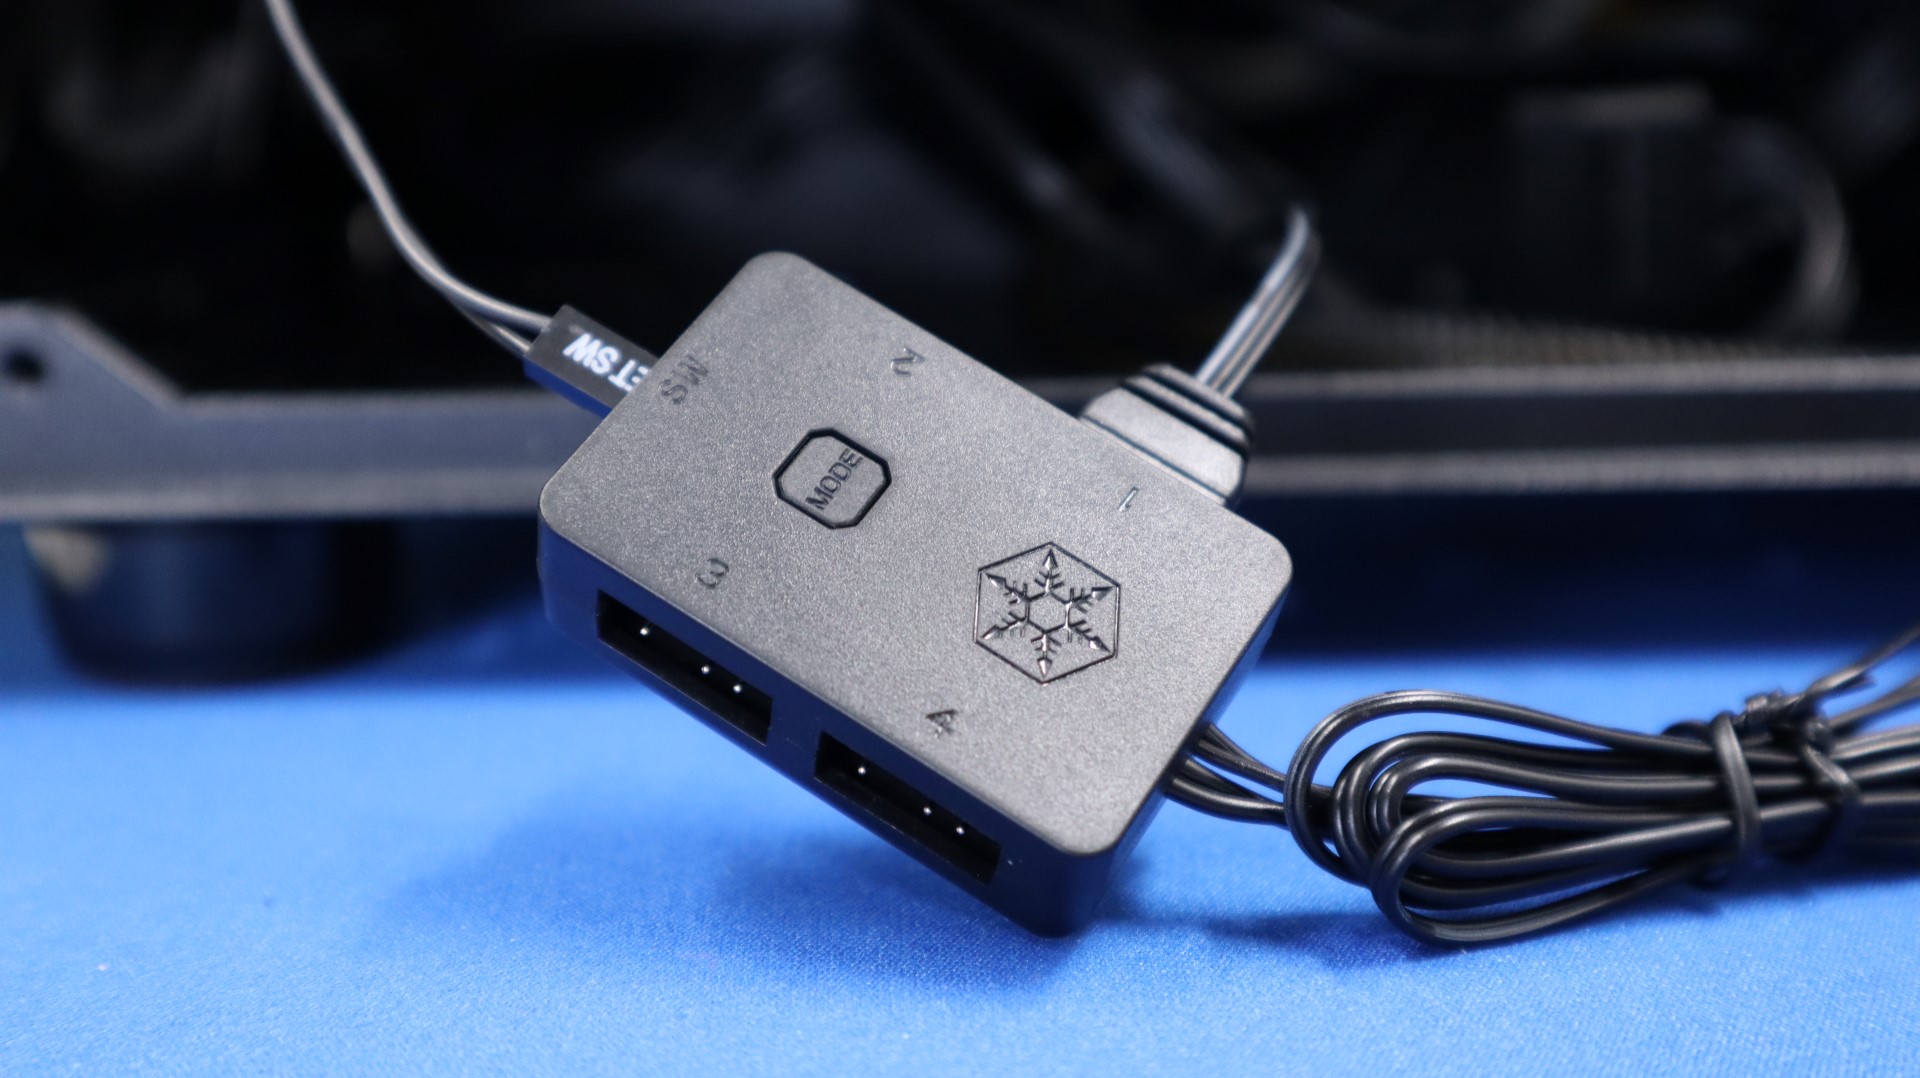
Next we were ready to wire up the included ARGB controller. As we previously mentioned, we decided to connect our reset switch wiring to the controller so that we could adjust the lighting from outside of the case. We then connected the single 3-pin ARGB cable from the front light strips to one of the controller’s headers. We then connected the controller’s SATA connection to our power supply, finalizing the controller setup.
Last, but certainly not least, we connected the rest of our power and data cables, routing them in the most efficient manners possible using only the included zip ties and twist ties. Routing the cabling was quite easy thanks to the plentiful cable management cutouts, though we would have liked to see rubber grommets in these cutouts for improved aesthetics.

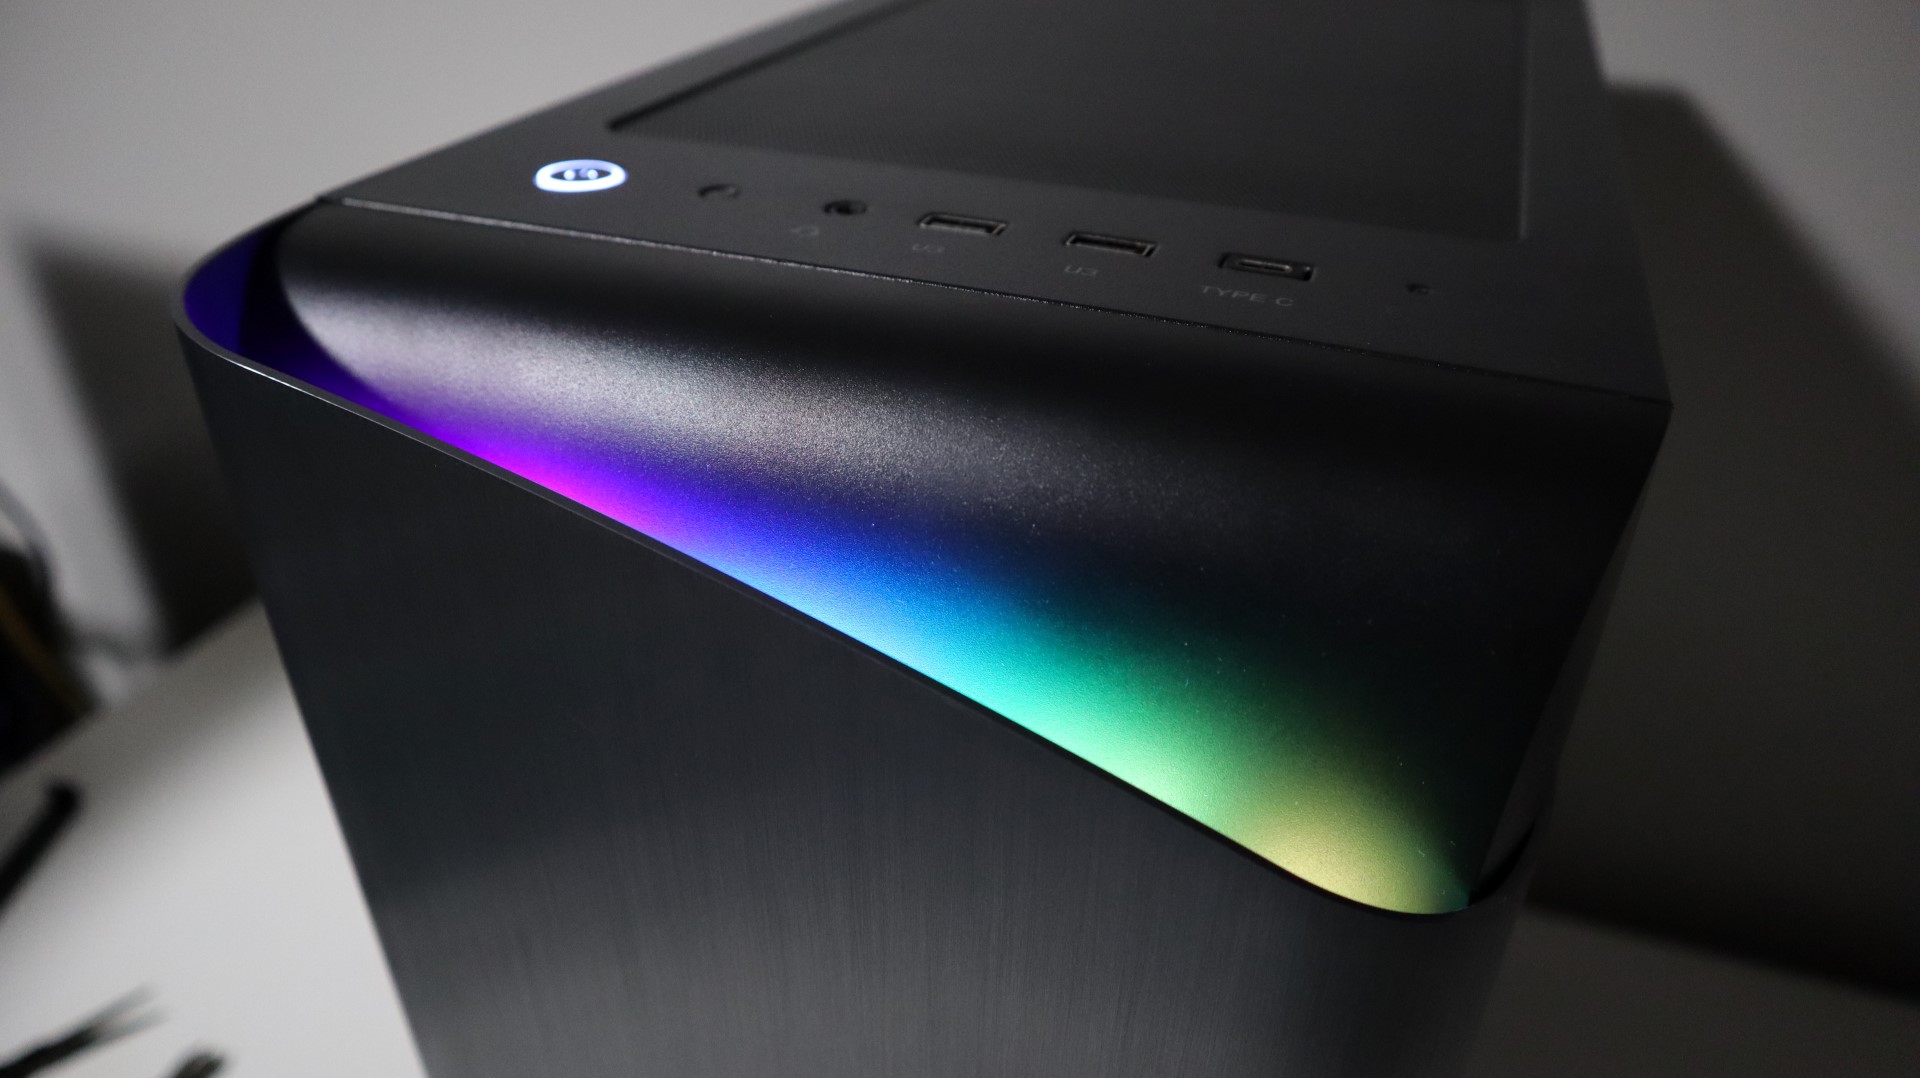
With the system powered on, we got a good look at the front panel and the back-lit glow that appears behind the aluminum front facade. Cycling through the various lighting modes via the reset switch provided us with plenty of options for the light strips, and even more options are available when pairing the controller with a compatible motherboard.